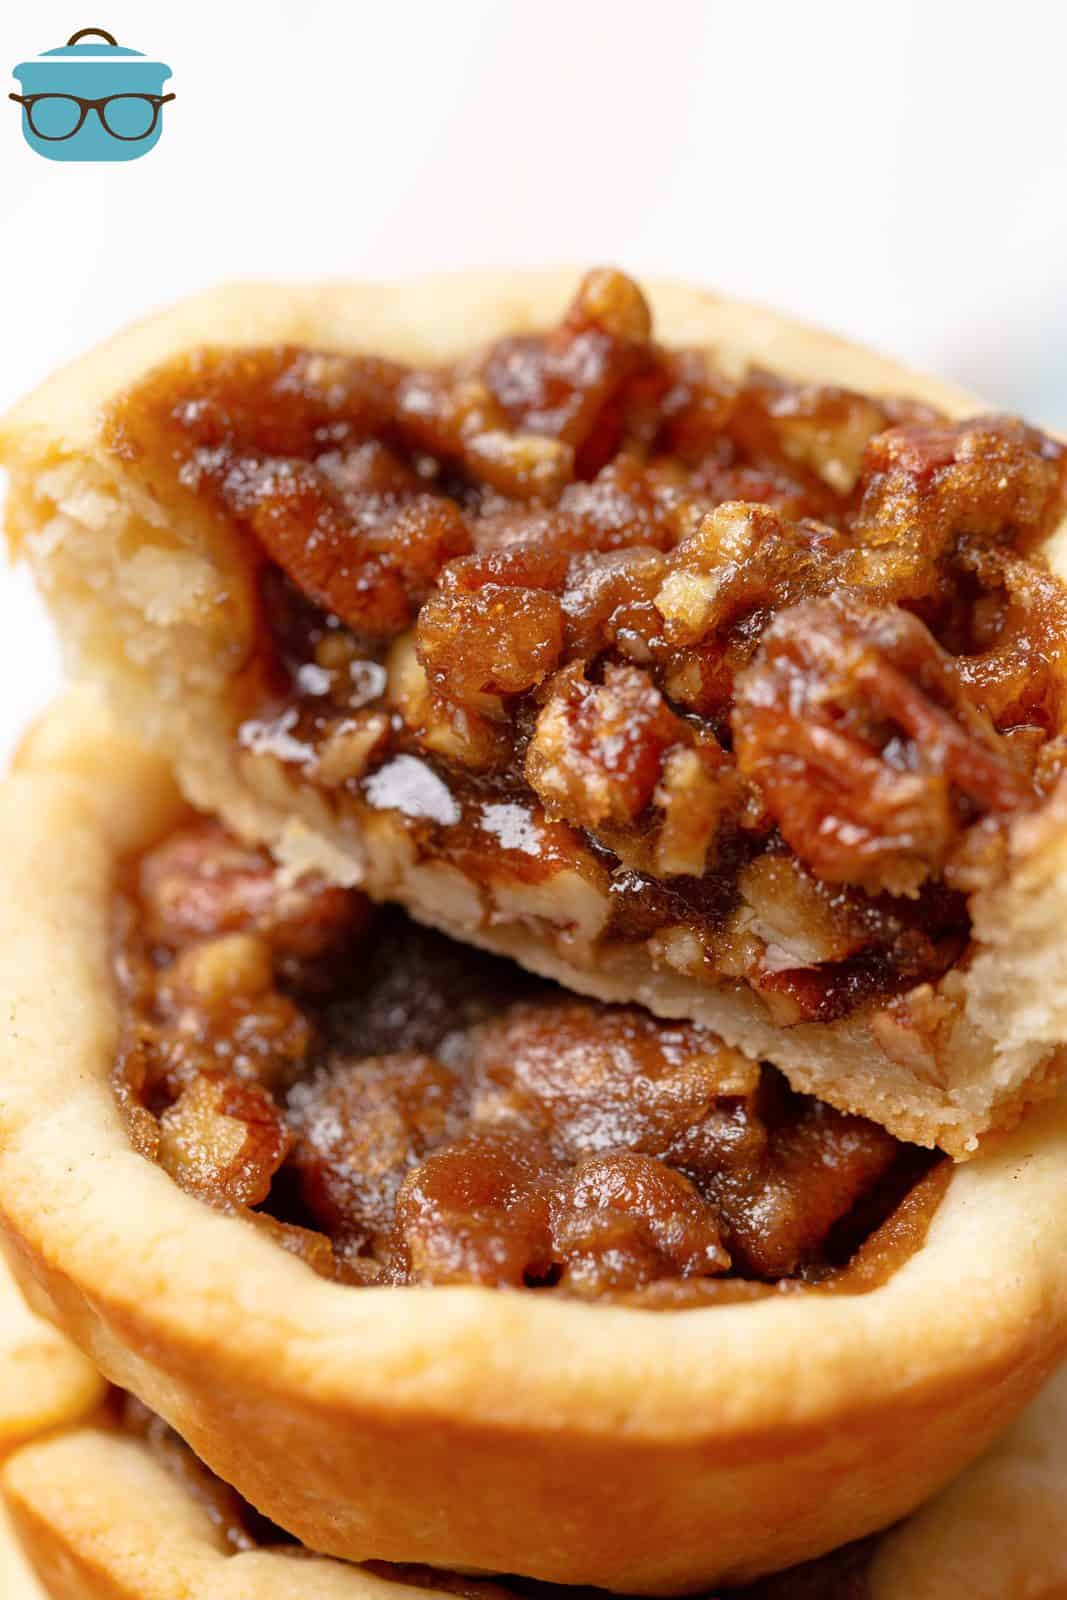
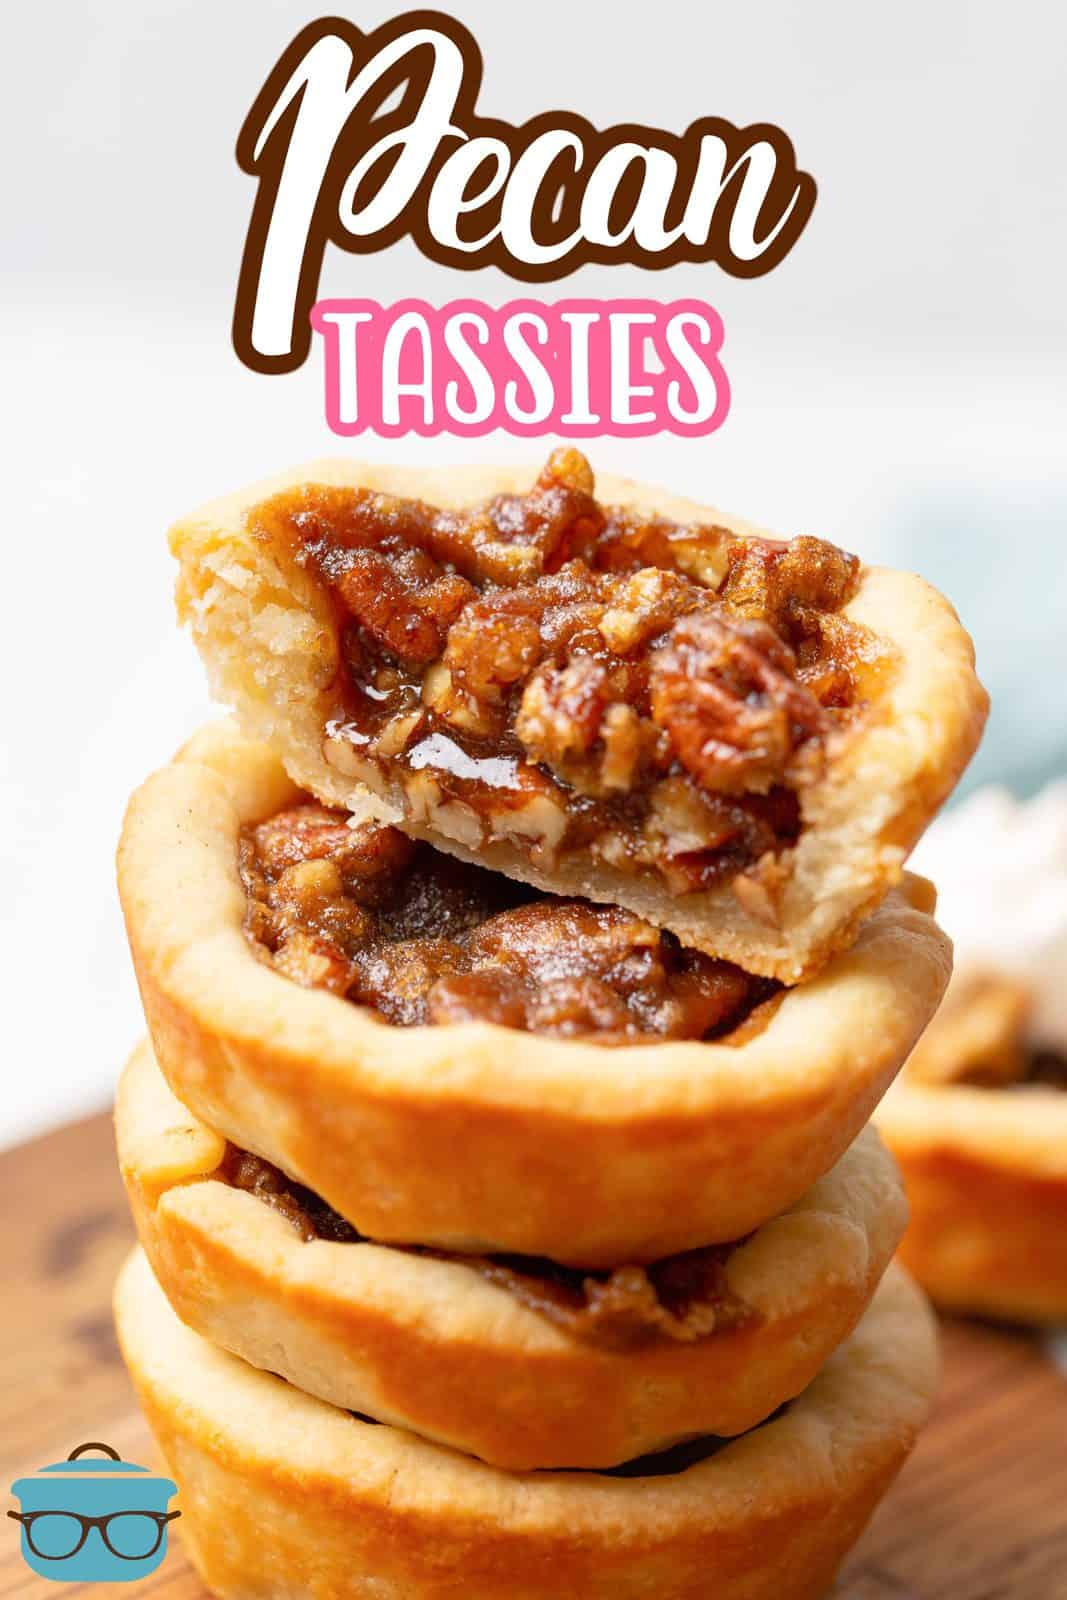
Pecan Tassies
A cute and tasty dessert, these Pecan Tassies are like miniature pies that are rich, crunchy and absolutely delicious!
LIKE A MINI PIE OR TART
I’m obsessed with all things pecan. I’m from the south so pecans are literally in our backyard. These Pecan Tassies (also known as Pecan Tarts) are one recipe that folks always ask me to make around the holidays. These tassies don’t have many ingredients at all and the ingredients are easy to find! The hardest part is waiting for the dough to chill, but I’ll tell you, it’s totally worth the wait! If you want a yummy dessert, but do not want to commit to a whole pie, then this Pecan Tassie recipe is just what you need.
FREQUENTLY ASKED QUESTIONS:
Some fun history trivia for you. Pecans are native to central and eastern regions in North America. Native Americans enjoyed them for hundreds of years before colonizers came along. They were much easier to shell than other nuts in North America and they were often found close to natural waterways so they were easy to find.
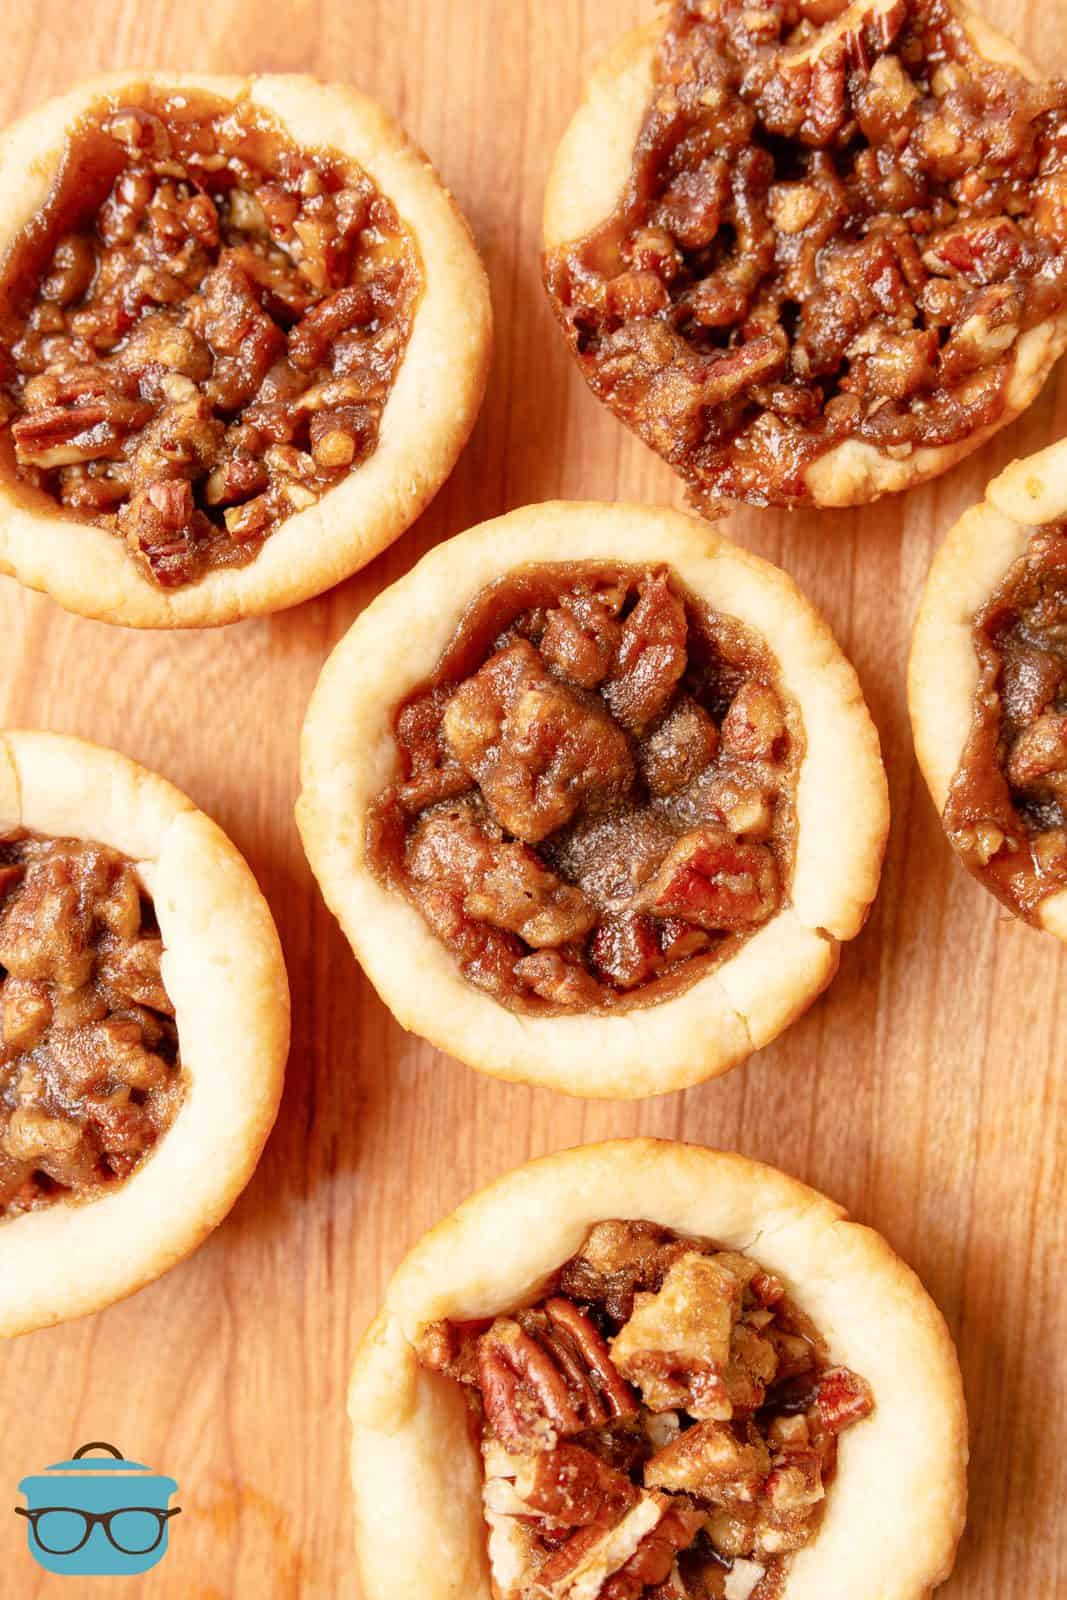
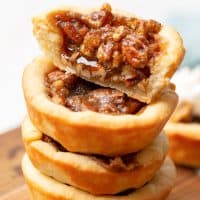
Tassies are like mini pies or tarts. These ones are filled with a pecan mixture but there are other tassies that can be made of other various fillings such as lemon, chocolate and more.
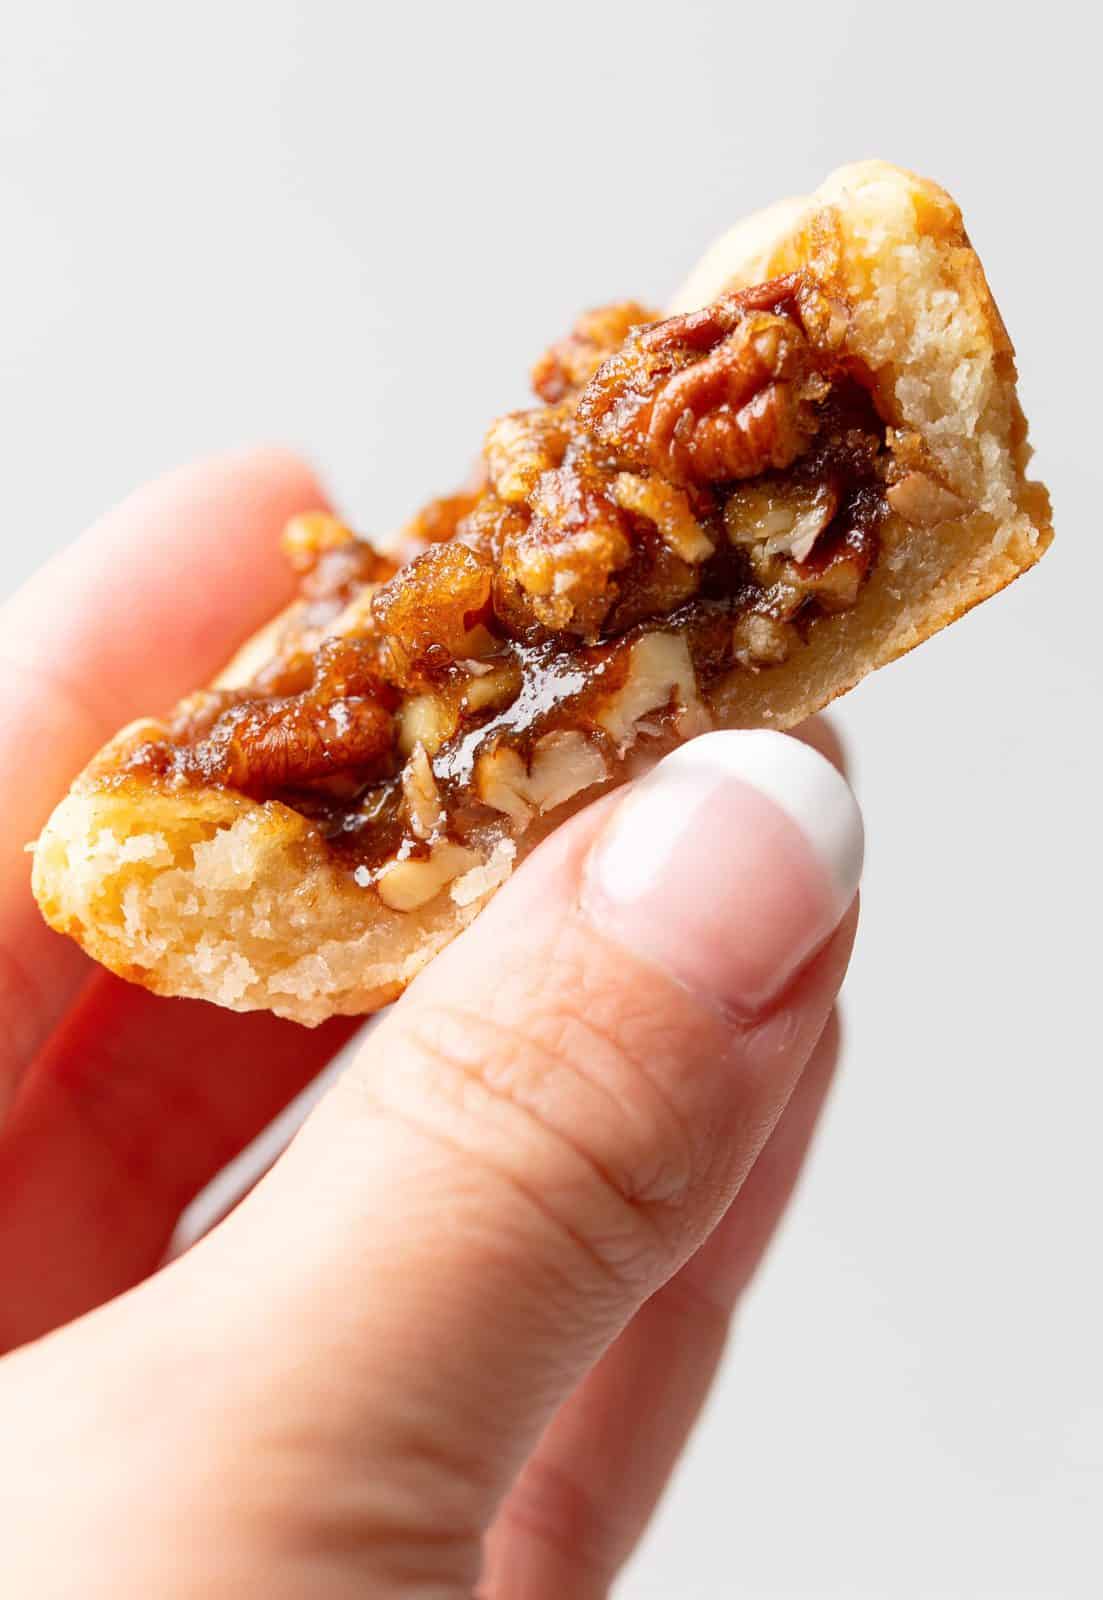
The dough is not quite a pie crust but more of a shortbread cookie crust that consists of cream cheese, butter and flour.
Tassie pans are just mini muffin pans.
Absolutely! I actually highly encourage it. This recipe makes about 8-10 so if you plan on making these for a larger gathering and not just home enjoyment then a larger batch is warranted.
You can store at room temperature in an airtight container where they will last for up to 4 days. You can extend the life of these by placing in the refrigerator where they will last for about a week. They can also be frozen. Let cool completely and then place in a freezer container. These will last for up to 2-3 months in the freezer. Let defrost at room temperature.
INGREDIENTS NEEDED: (FULL RECIPE AT THE BOTTOM OF THE POST)
- all-purpose flour
- cream cheese
- salted butter
- pecans
- brown sugar
- vanilla extract
HOW TO MAKE PECAN TASSIES:
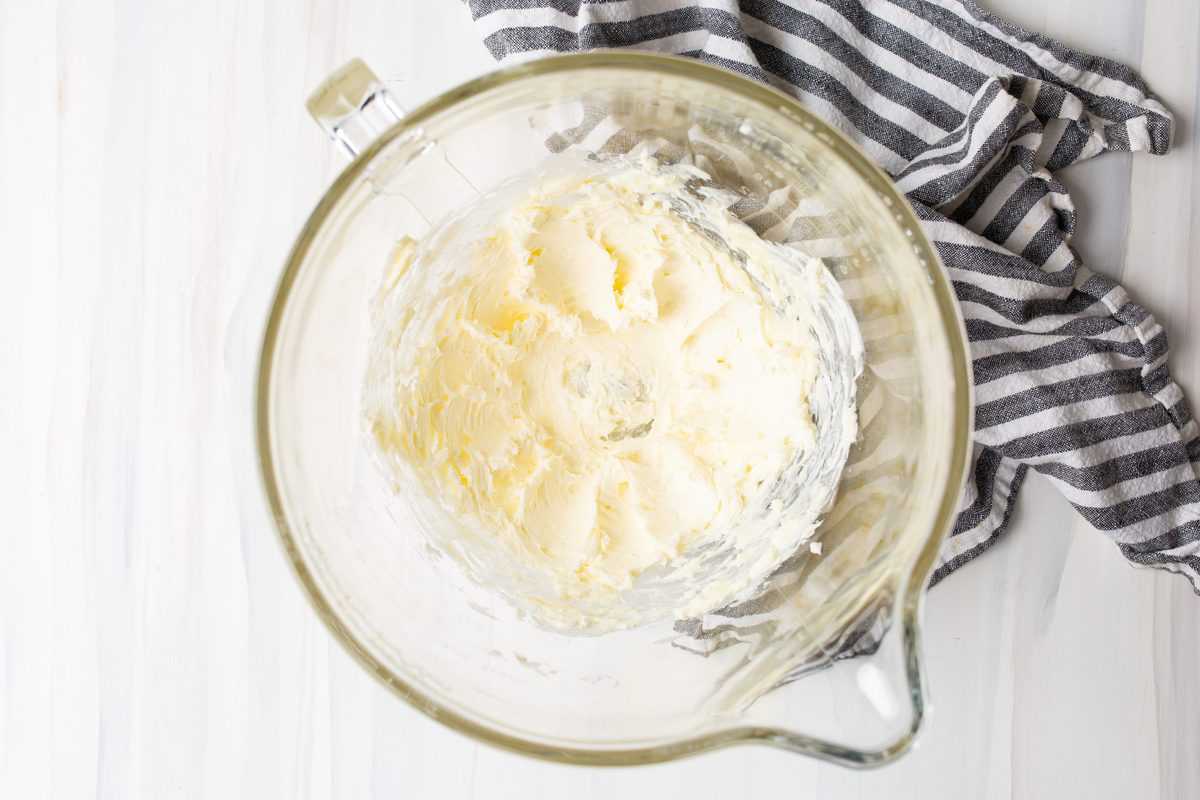
Spray a mini muffin pan with nonstick cooking spray. In a stand mixer cream together the cream cheese and butter.
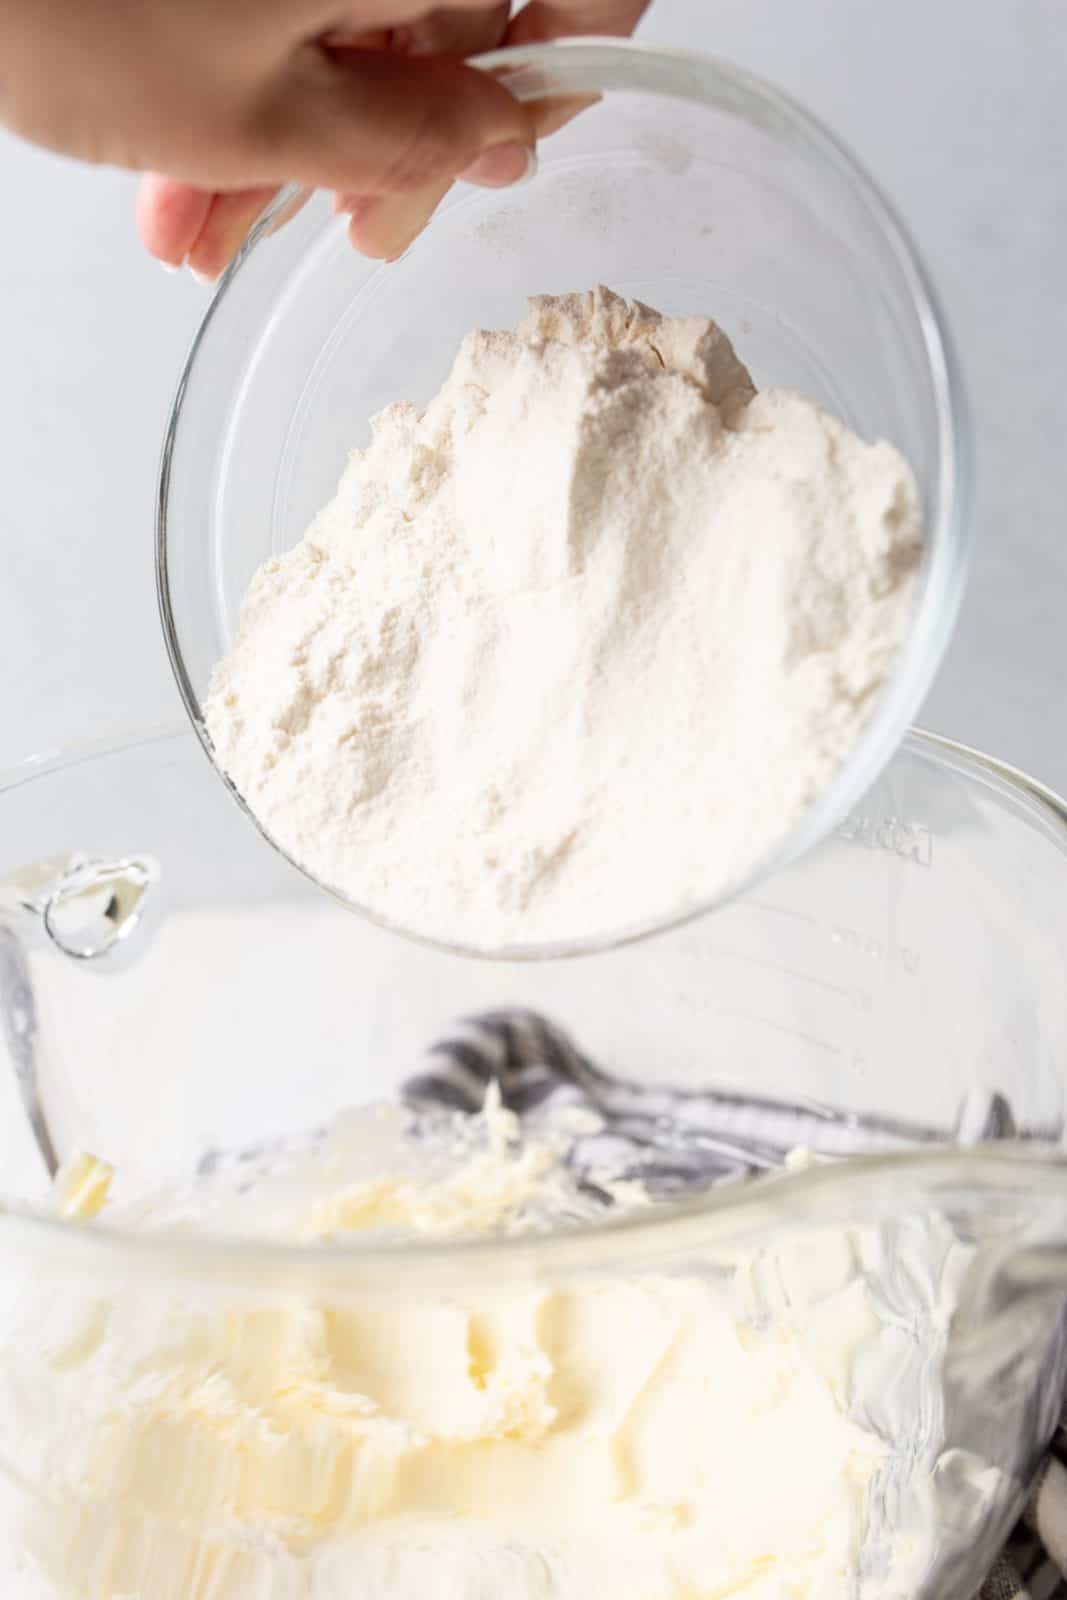
Add the flour, mixing until combined.
Ball with hands and wrap in plastic wrap and refrigerate for 1 hour. Remove from refrigerator and allow to soften enough to roll.
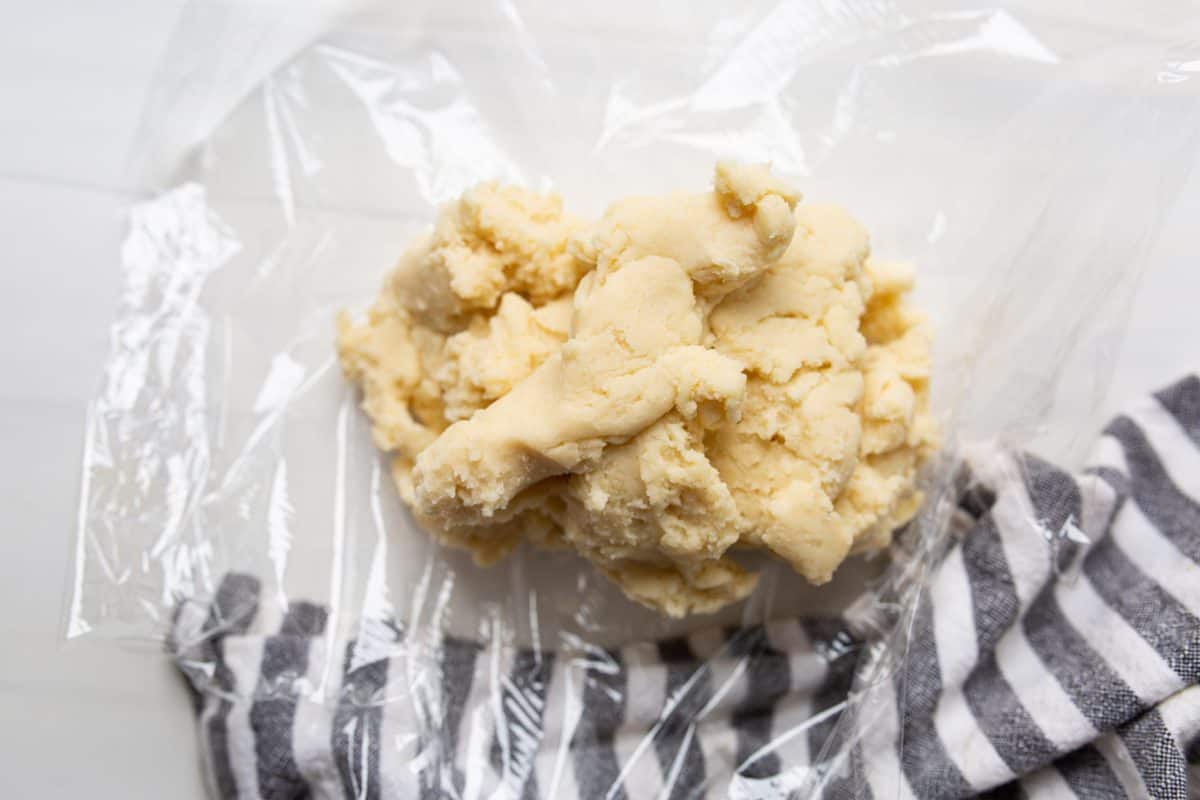
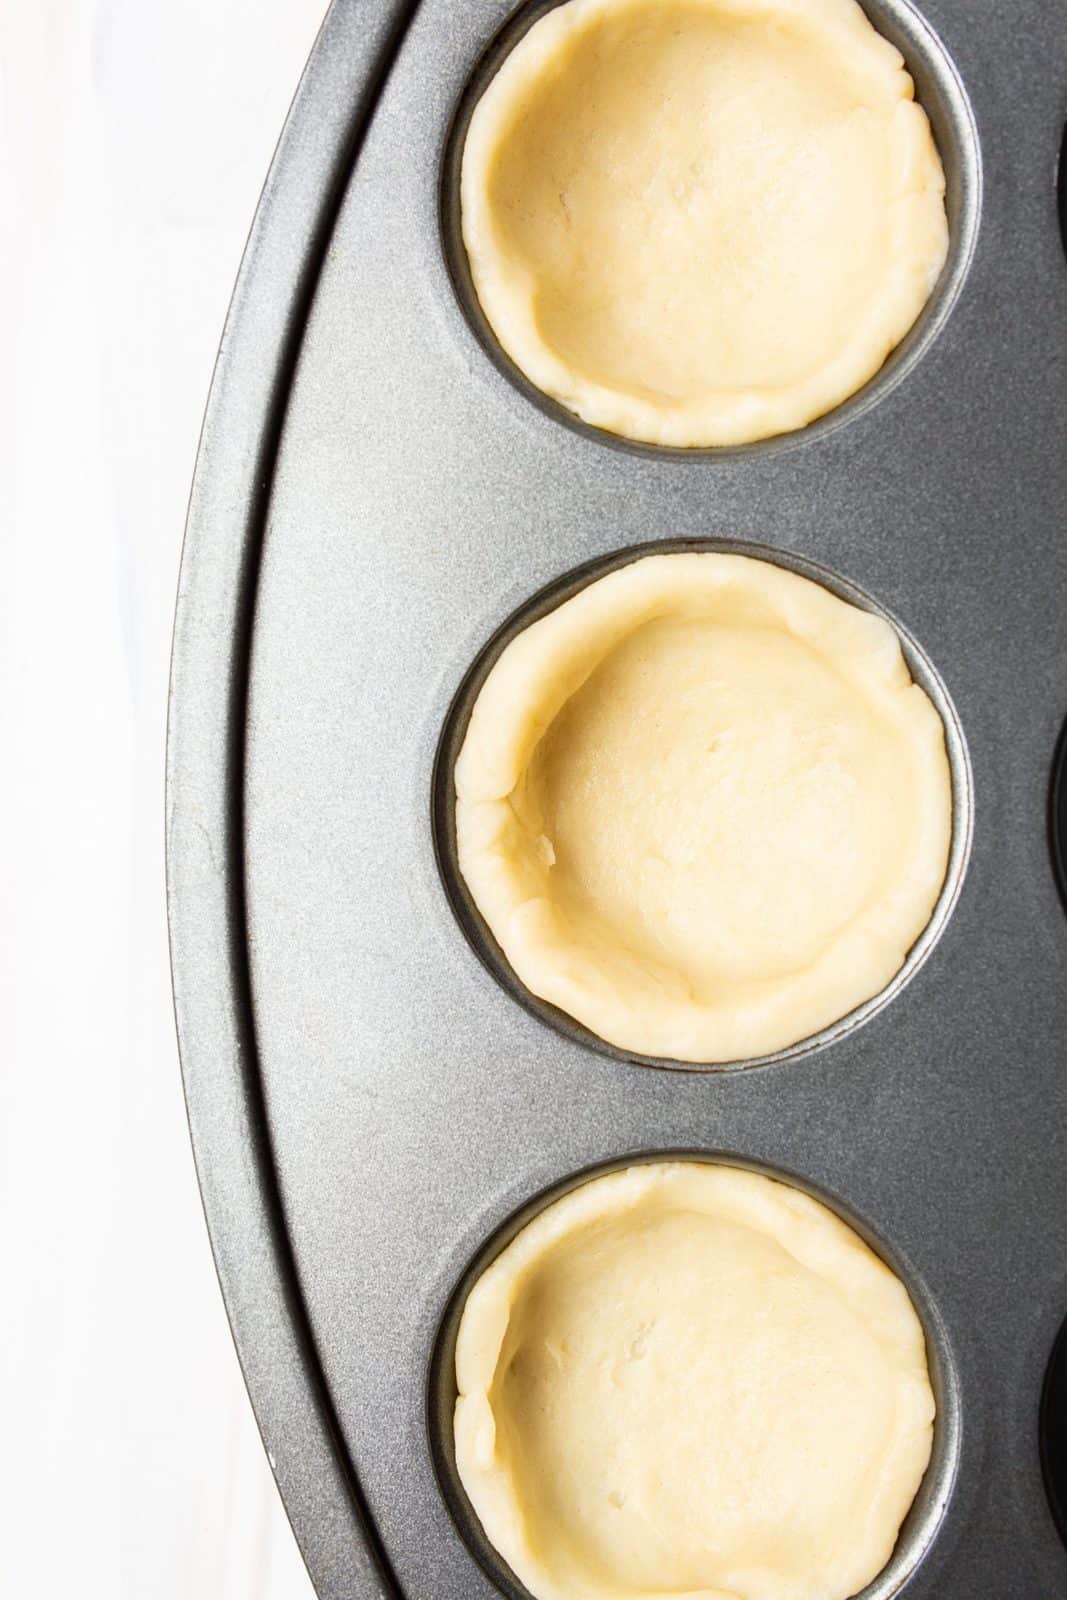
Roll on a lightly floured surface and cut out 3 inch diameter circles and about 1/8th inch in thickness. Ball up the dough as needed to reroll for more circles. Tuck into muffin tins and gently push up on the sides to create a bowl.
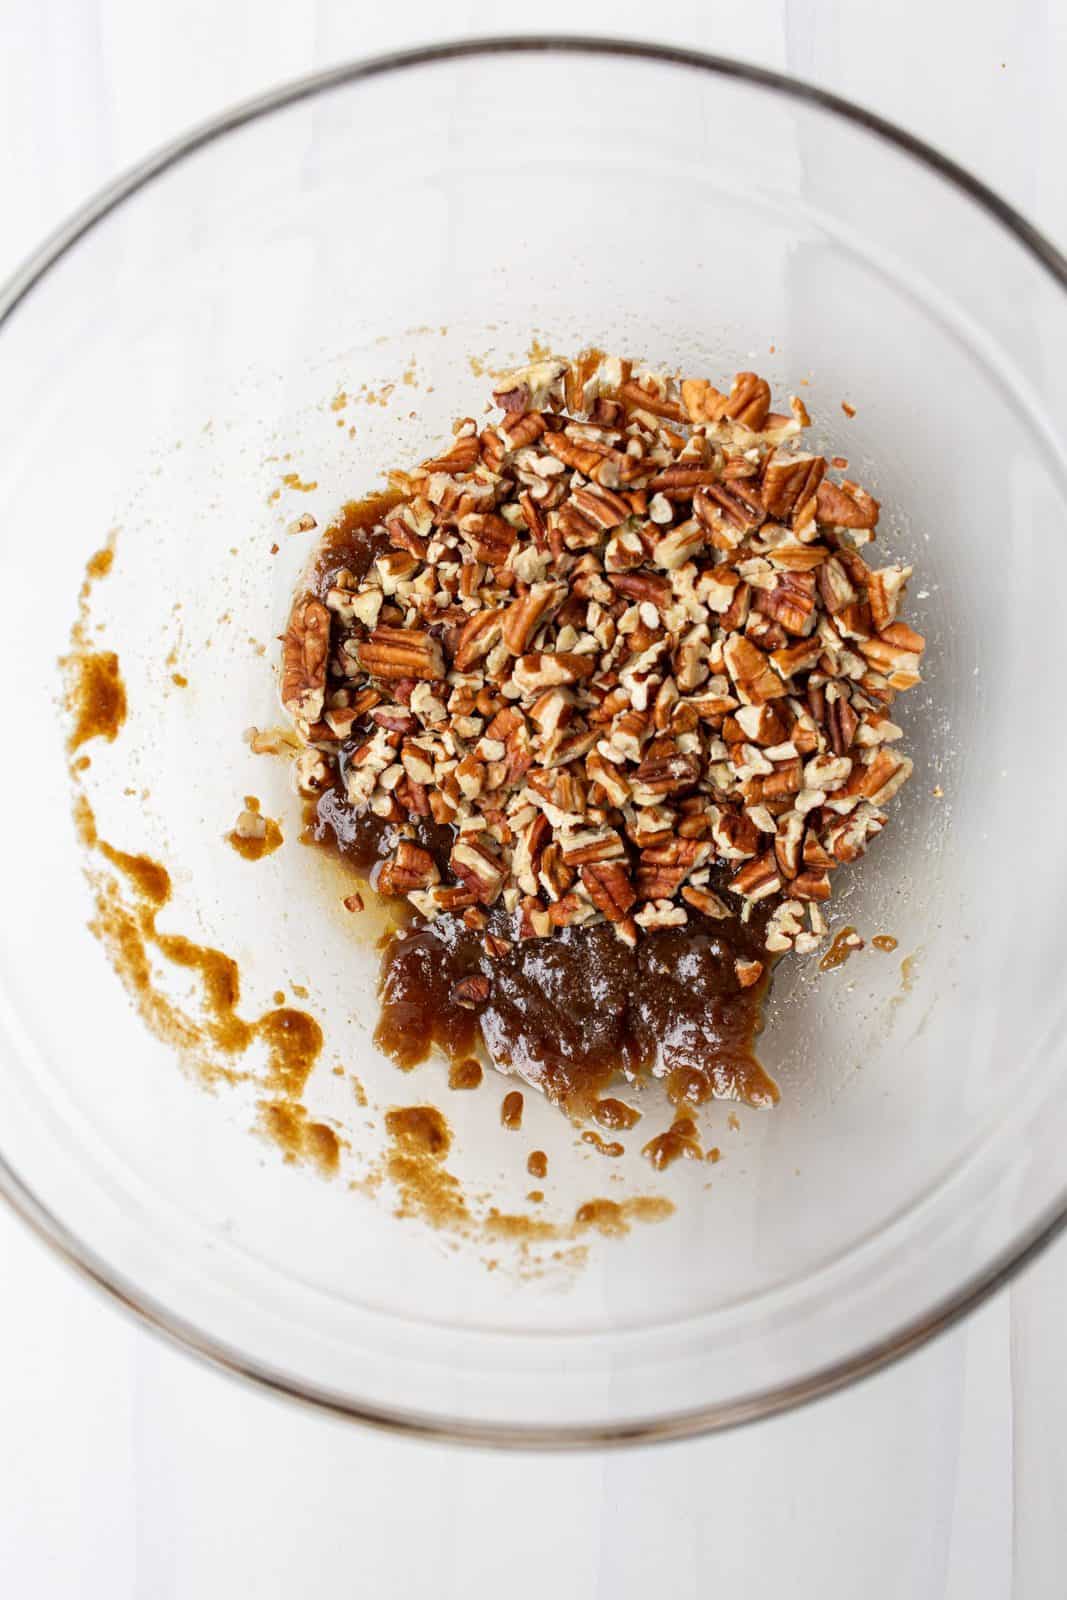
In bowl, mix your filling ingredients together until combined.
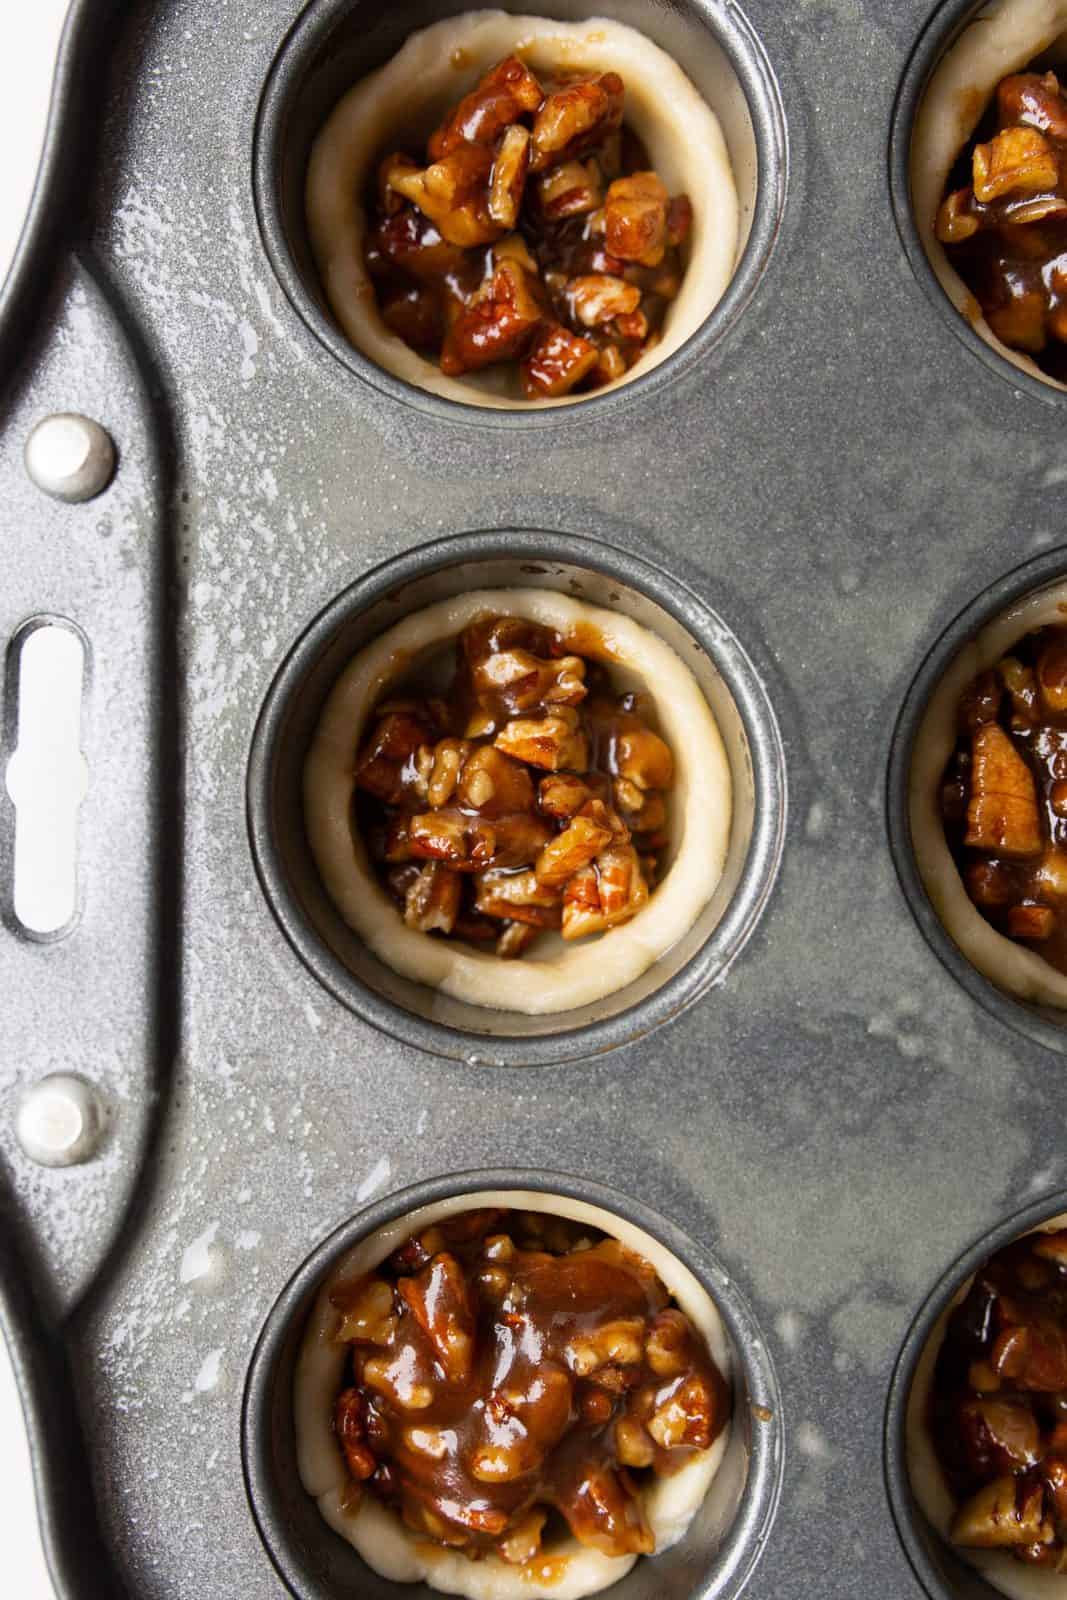
Fill the dough with 2 teaspoons filling, about 3/4 full. Filling to the top will cause overflow.
Bake at 350 degrees F for about 20 minutes. Remove and let cool in the pan for 3 minutes. Use a knife to loosen and remove from the pan.
Garnish with whipped cream and cinnamon if desired.
CRAVING MORE RECIPES?
Pecan Tassies
Ingredients
Shell:
- 1 cup all-purpose flour
- 3 Tablespoons cream cheese, room temperature
- ½ cup (1 stick) salted butter, room temperature
Filling:
- 1 cup pecans, chopped
- ½ cup loosely packed brown sugar
- 3 Tablespoons salted butter, melted
- 1 teaspoon vanilla extract
Instructions
- Spray a mini muffin pan with nonstick cooking spray. In a stand mixer cream together the cream cheese and butter.
- Add the flour, mixing until combined.
- Ball with hands and wrap in plastic wrap and refrigerate for 1 hour. Remove from refrigerator and allow to soften enough to roll.
- Roll dough on a lightly floured surface and cut out 3 inch diameter circles and about 1/8th inch in thickness. Ball up the dough as needed to reroll for more circles.
- Tuck dough into muffin tin and gently push the dough up the sides to create a little bowl.
- In a bowl mix together the filling ingredients until combined.
- Fill the dough with 2 teaspoons filling, about halfway. Filling to the top of the dough will cause overflow.
- Bake at 350 degrees F for about 20 minutes.
- Remove and let cool in the pan for 3 minutes. Use a knife to loosen and remove from the pan. Garnish with whipped cream and cinnamon, if desired.
Notes
- These can be frozen, see my tips above.
- Make sure you chill your dough for at least 1 hour.
- Easily double this recipe for larger gatherings.
Nutrition
Nutritional Disclaimer
“The Country Cook” is not a dietician or nutritionist, and any nutritional information shared is an estimate. If calorie count and other nutritional values are important to you, we recommend running the ingredients through whichever online nutritional calculator you prefer. Calories and other nutritional values can vary quite a bit depending on which brands were used.


