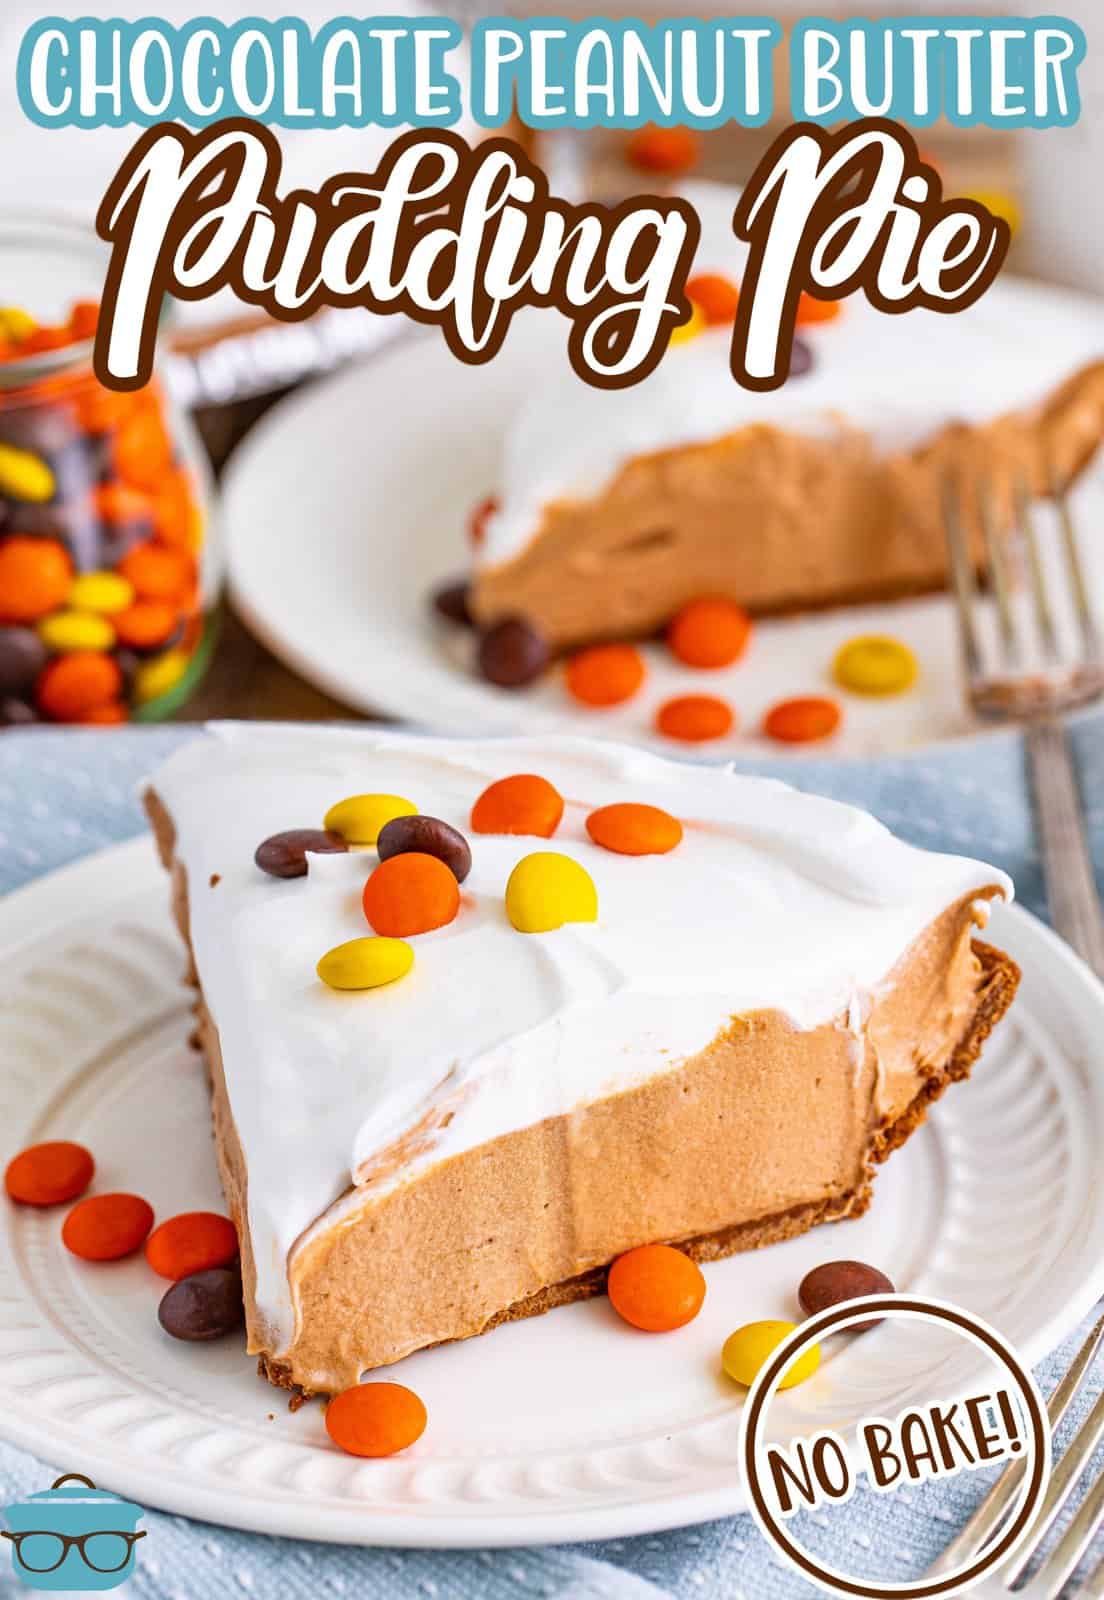
No Bake Chocolate Peanut Butter Pudding Pie
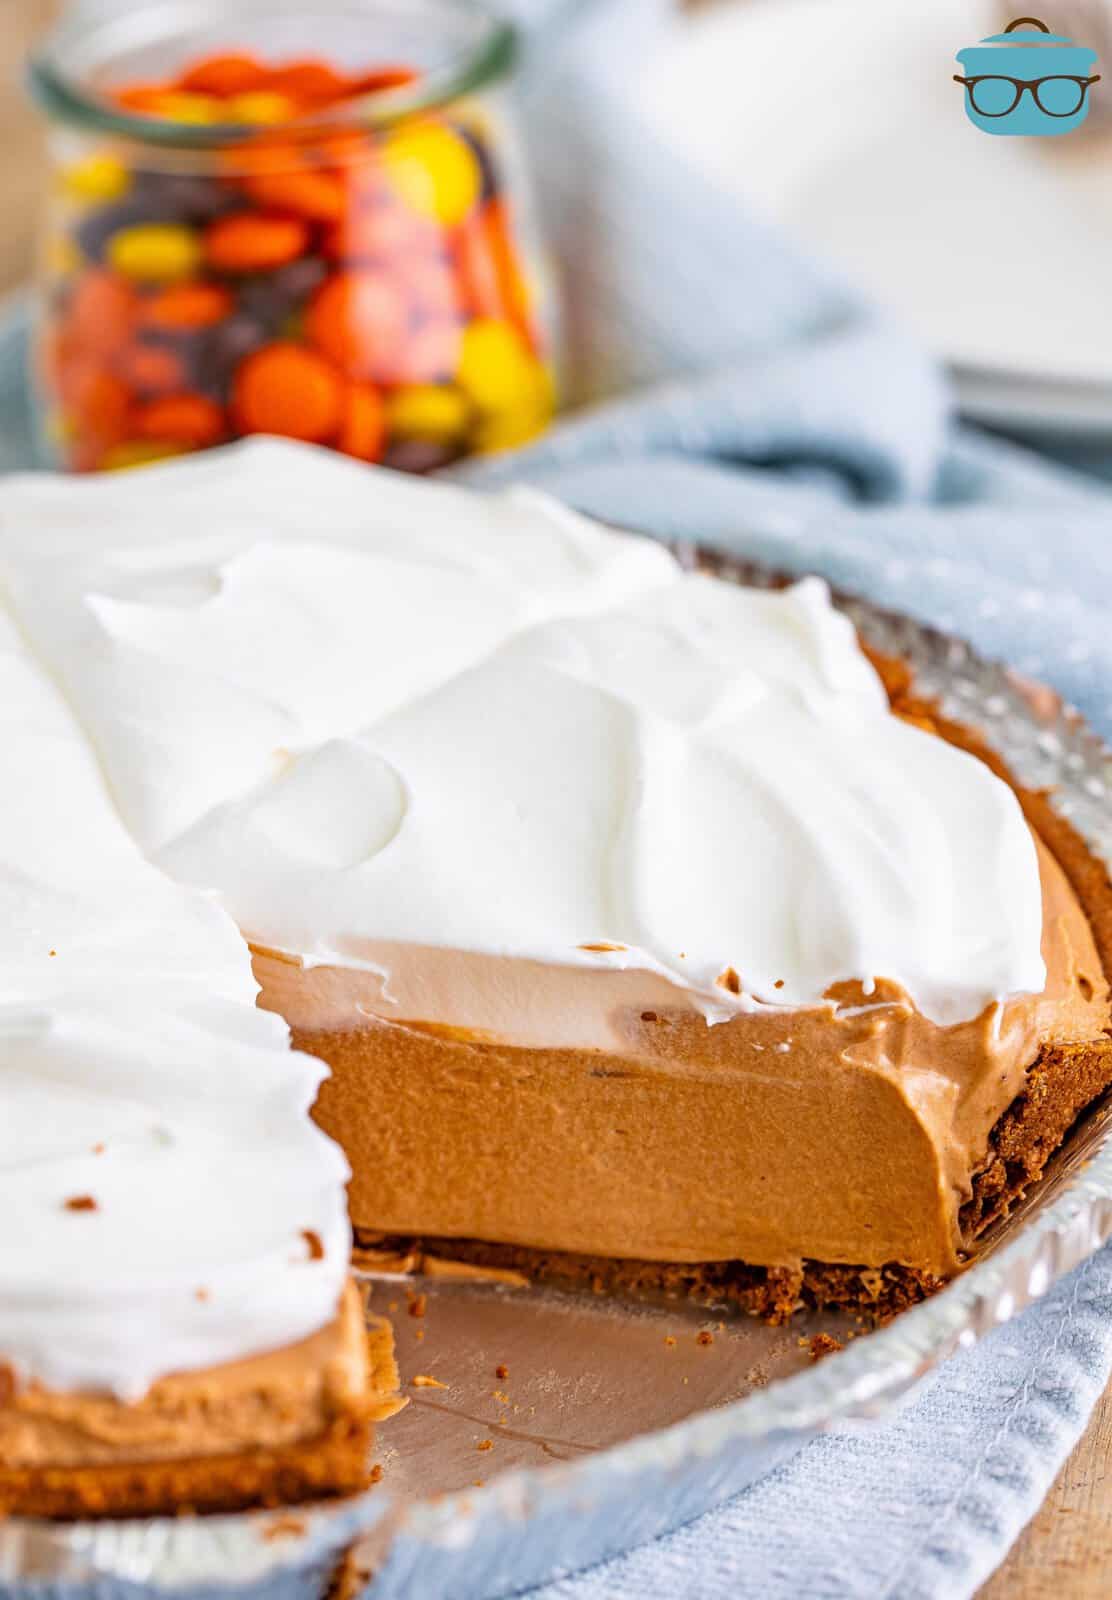
This creamy, No Bake Chocolate Peanut Butter Pudding Pie has the perfect chocolate and peanut butter flavor that only takes minutes to prepare!
A CREAMY NO BAKE PUDDING PIE
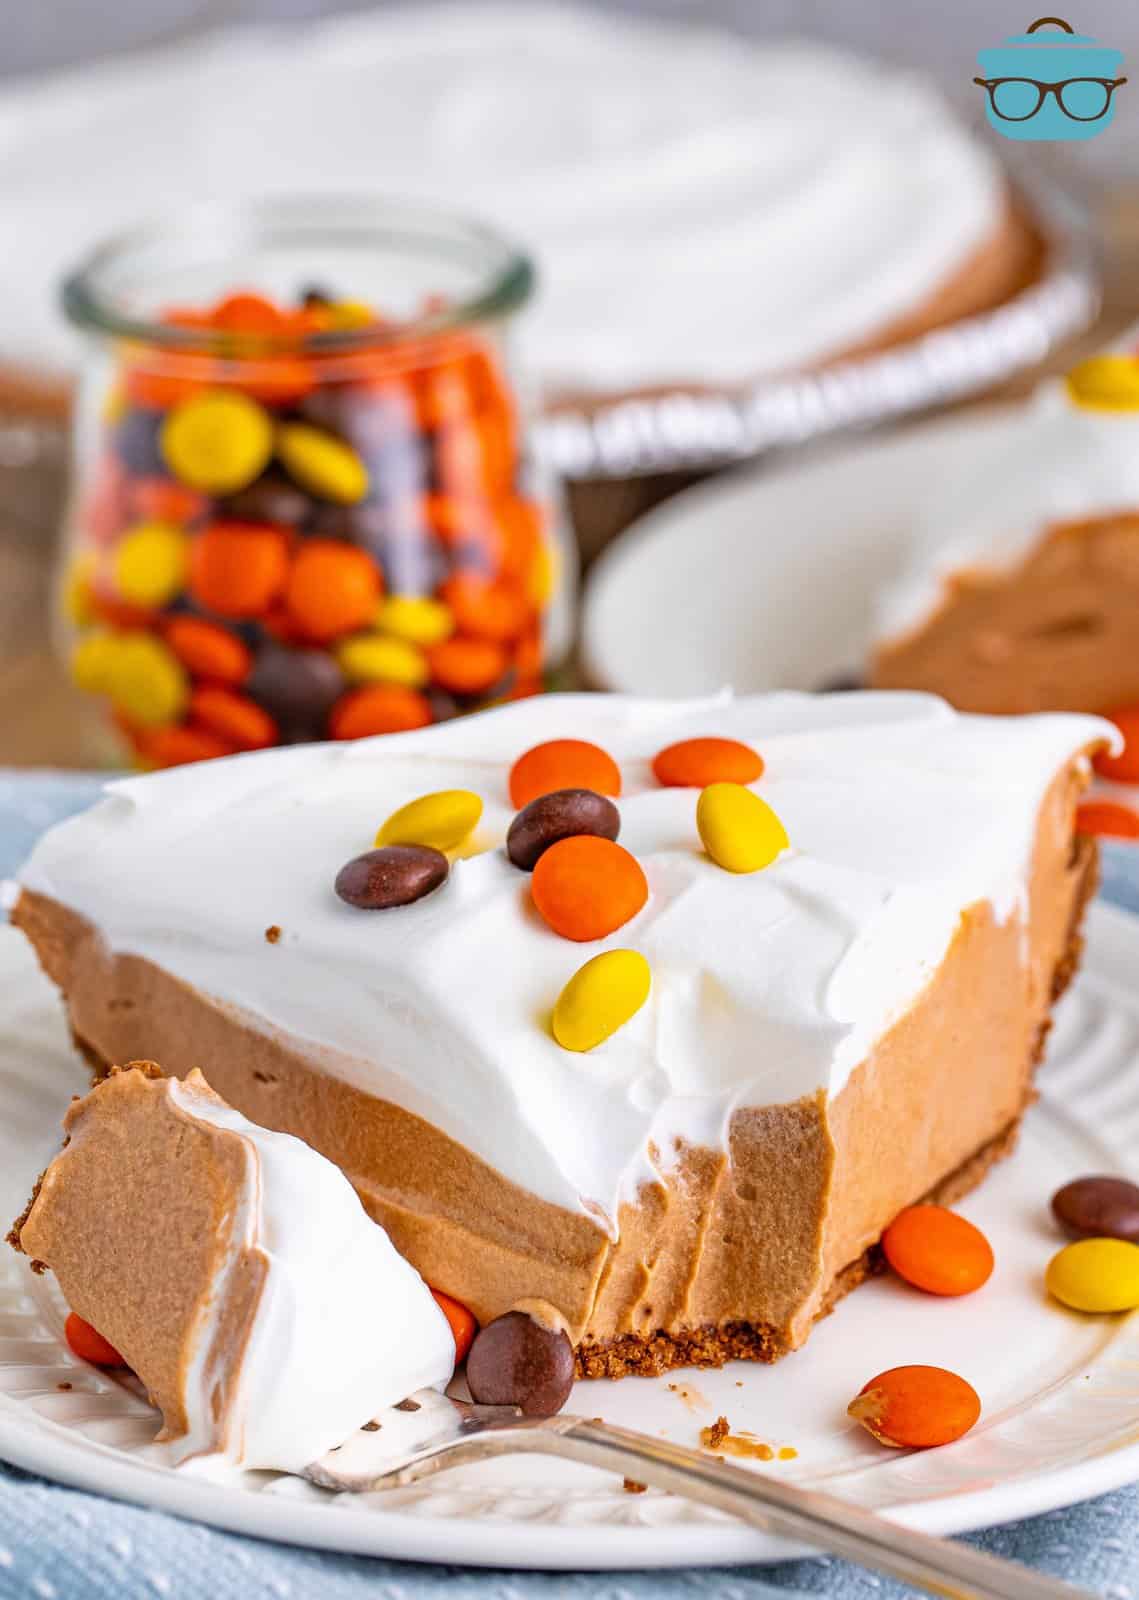
If you enjoy all things with both chocolate and peanut butter, you’re going to love every bite of this No Bake Chocolate Peanut Butter Pudding Pie! Rich, creamy, and silky smooth, this no bake pie is the perfect dessert to whip up now to have on hand for dessert later tonight. Plus, this recipe makes 2 pies so you can enjoy one tonight and freeze one for later (or share with a friend!)
FREQUENTLY ASKED QUESTIONS:
Feel free to add some other fun things like chocolate chips, chopped-up candy bars, chopped-up cookies, or other treats right into the pudding pie filling.
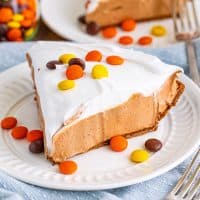
I love this pie just the way it is, but you could add some toppings like chopped peanuts, chopped up Reese’s peanut butter cups, or melted peanut butter and chocolate sauce on top of each slice of pie.
Sure! This Peanut Butter Chocolate Pie would be delicious in a graham cracker crust or maybe even a traditional pie crust would work nicely.
If you want to swap out the peanut butter, try Nutella or almond butter instead for another flavor combo.
You bet. Let your frozen pie sit on the counter at room temperature for up to 30-45 minutes before slicing and serving. It’ll be similar to the texture of ice cream, and so, so delicious.
Yes, you can. Just swap the instant pudding mix out for a different flavor in the same size box.
Keep your pie covered in the refrigerator for up to 1 week, or you can freeze it for up to 3 months. When you aren’t serving this pie, it needs to be refrigerated since it’s a soft set, no bake pie with perishable ingredients.
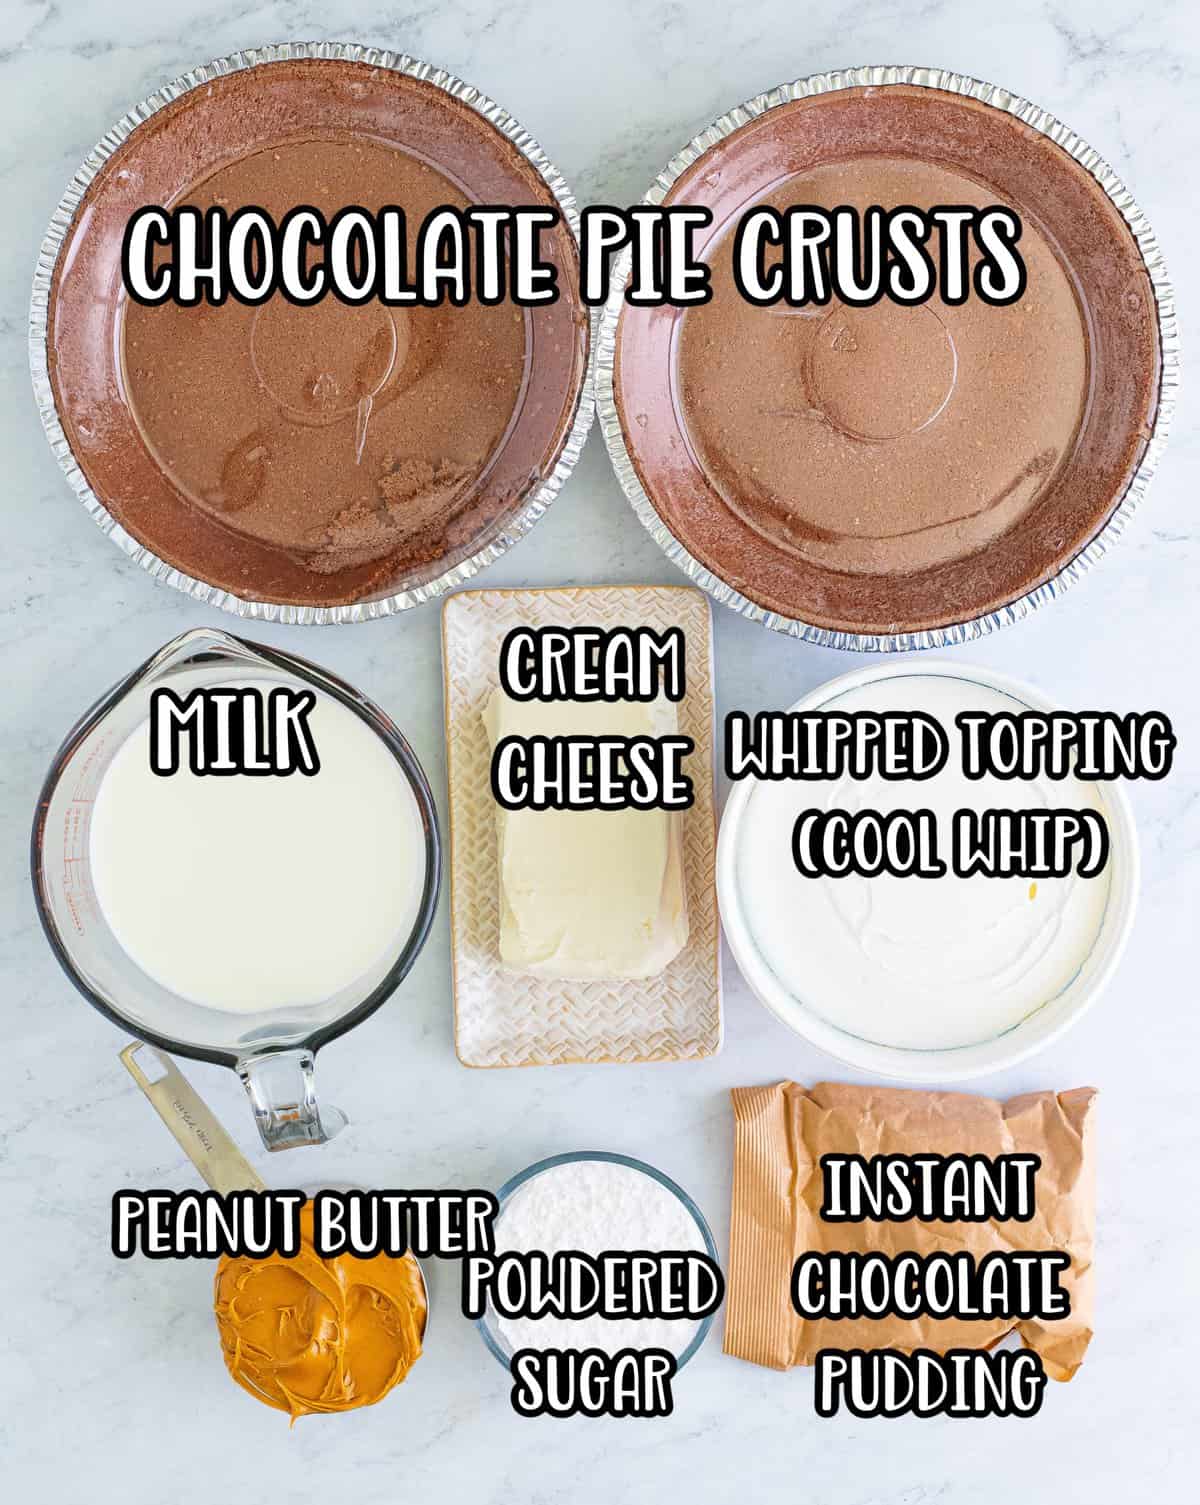
INGREDIENTS NEEDED: (SEE RECIPE CARD BELOW FOR THE FULL RECIPE)
- instant chocolate pudding mix – It has to be instant and not the cook and serve. The boxes sit very close to each other on the shelf so it’s really important that you read the boxes carefully because sometimes the word “instant” is not obvious on the packaging. If you get cook and serve, this will not set up.
- whole milk – I prefer whole milk because I like how creamy it makes the filling but you could use 2% if you prefer.
- cream cheese– it’s important that it is fully softened to room temperature or you’ll end up with lumps that you’ll never be able to get out.
- creamy peanut butter – if you want to change things up, try using crunchy peanut butter instead
- powdered sugar – this mixes into the filling better than granulated sugar so use powdered sugar only.
- whipped topping – the brand name is “Cool Whip.” Whipped topping comes frozen so just be sure to put it into the refrigerator overnight for it to thaw.
- chocolate pie crusts – you can find these near the graham cracker pie crusts (baking aisle) of your grocery store.
HOW TO MAKE NO BAKE CHOCOLATE PEANUT BUTTER PUDDING PIE
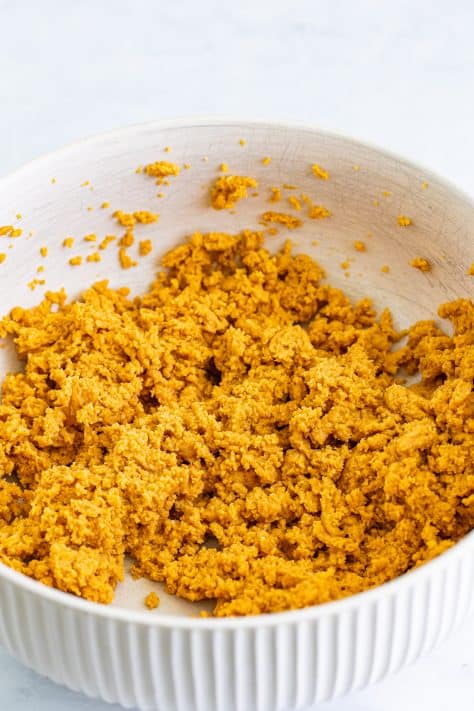
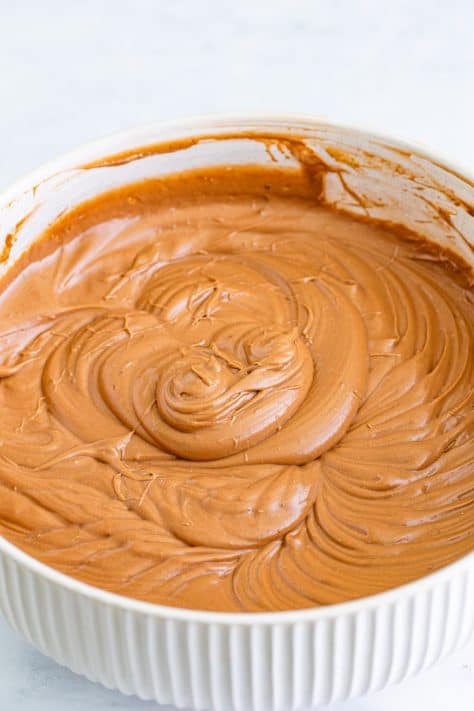
Take a medium-sized bowl and whisk the instant pudding mix together with the milk for about 2 minutes until it thickens. Then, put the mixture in the refrigerator for 5 minutes to let it set. In a large bowl, use an electric hand mixer (or a stand mixer) to blend the cream cheese, peanut butter, and powdered sugar until the mixture becomes smooth and thick. It almost looks like clumpy graham cracker crumbs.
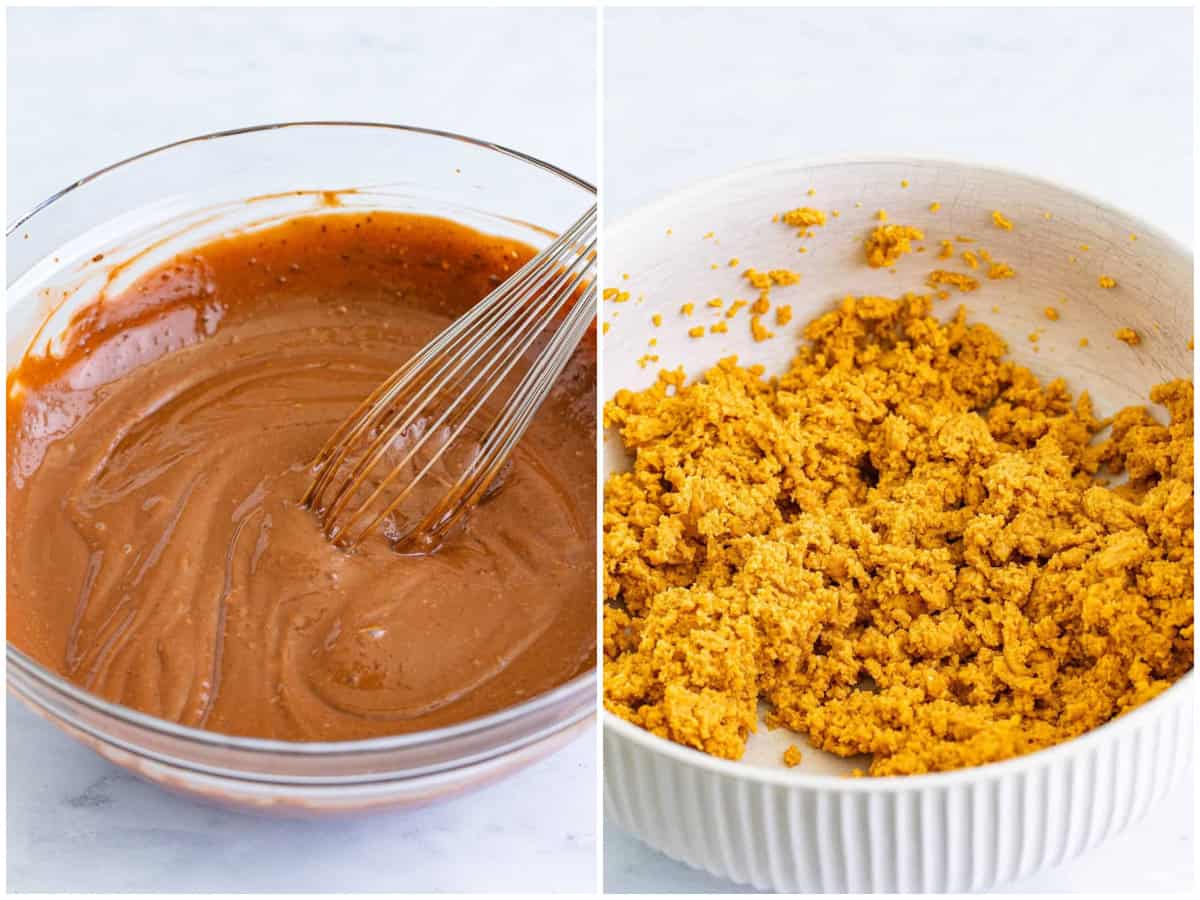
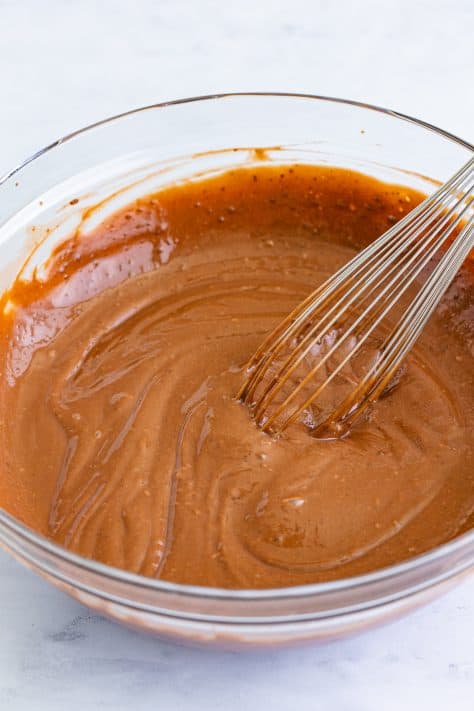
Gradually add spoonfuls of the prepared chocolate pudding into the mixture. Make sure to fully incorporate each spoonful before adding more.
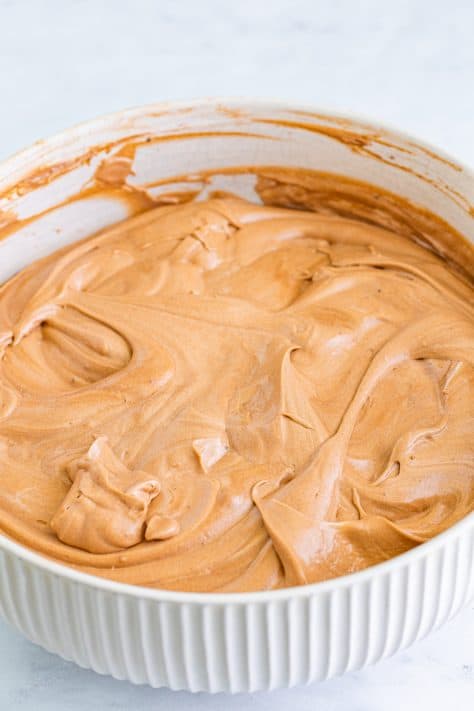
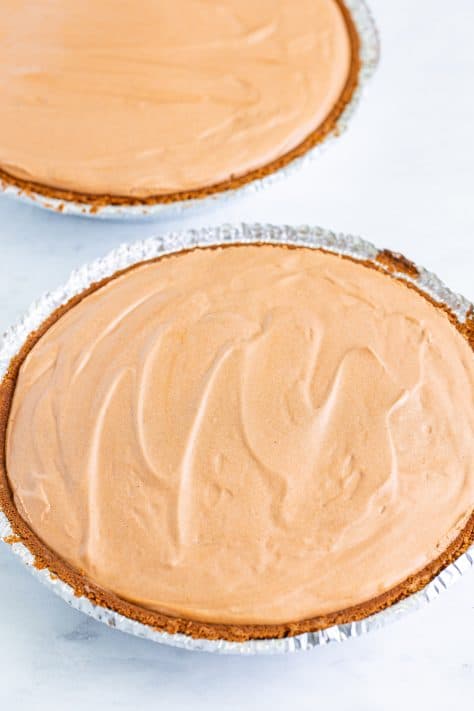
Continue to add all of the pudding and then gently fold in half of the whipped topping until the mixture is evenly combined with no streaks. Divide the filling mixture in half and place half of it into each of the pie crusts.

Cover the pies and refrigerate them for at least 6 hours. Or allow them to set overnight for the best results. Don’t skip this step. When you’re ready to serve, top each pie with the remaining whipped topping, slice, and enjoy!
CRAVING MORE RECIPES?
Originally published: November 2023
Republished: March 2025
No Bake Chocolate Peanut Butter Pudding Pie
Ingredients
- 5.9 ounce instant chocolate pudding mix (larger box)
- 3 cups whole milk
- 8 ounce block cream cheese, softened to room temperature
- 1 cup creamy peanut butter
- ¾ cup powdered sugar
- 16 ounce (large tub) whipped topping (divided use)
- 2 (6 ounce) chocolate pie crusts
Instructions
- Take a medium-sized bowl and whisk 5.9 ounce instant chocolate pudding mix with 3 cups whole milk for about 2 minutes until it thickens. Then, put the mixture in the refrigerator for 5 minutes to let it set.

- In a large bowl, use an electric hand mixer (or a stand mixer) to blend 8 ounce block cream cheese, softened to room temperature, 1 cup creamy peanut butter and 3/4 cup powdered sugar until the mixture becomes smooth and thick. It almost looks like clumpy graham cracker crumbs.
- Gradually add spoonfuls of the prepared chocolate pudding into the mixture. Make sure to fully incorporate each spoonful before adding more.
- Continue to add all of the pudding and then gently fold in half of the whipped topping until the mixture is evenly combined with no streaks.
- Divide the filling mixture in half and place half of it into each of the chocolate pie crusts.
- Cover the pies and refrigerate them for at least 6 hours, or overnight for the best results, allowing them to set. DO NOT skip this step.
- When you’re ready to serve, top each pie with the remaining whipped topping, slice, and enjoy!


Notes
- Please refer to my FAQ’s (Frequently Asked Questions) and ingredient list above for other substitutions or for the answers to the most common questions.
- This recipe makes 2 pies. Eat one now and maybe freeze one for later.
- Leftovers should be stored in the fridge, covered, for up to a week or in the freezer for up to 3 months.
Nutrition
Nutritional Disclaimer
“The Country Cook” is not a dietician or nutritionist, and any nutritional information shared is an estimate. If calorie count and other nutritional values are important to you, we recommend running the ingredients through whichever online nutritional calculator you prefer. Calories and other nutritional values can vary quite a bit depending on which brands were used.


How would this recipe be dairy free using coconut milk & dairy free cream cheese?
Do you mean how do I think it would turn out? I’ll be honest, I am not familiar at all with using dairy free products so you’re guess might be much better than mine if you’re used to using those products – I’m sorry!