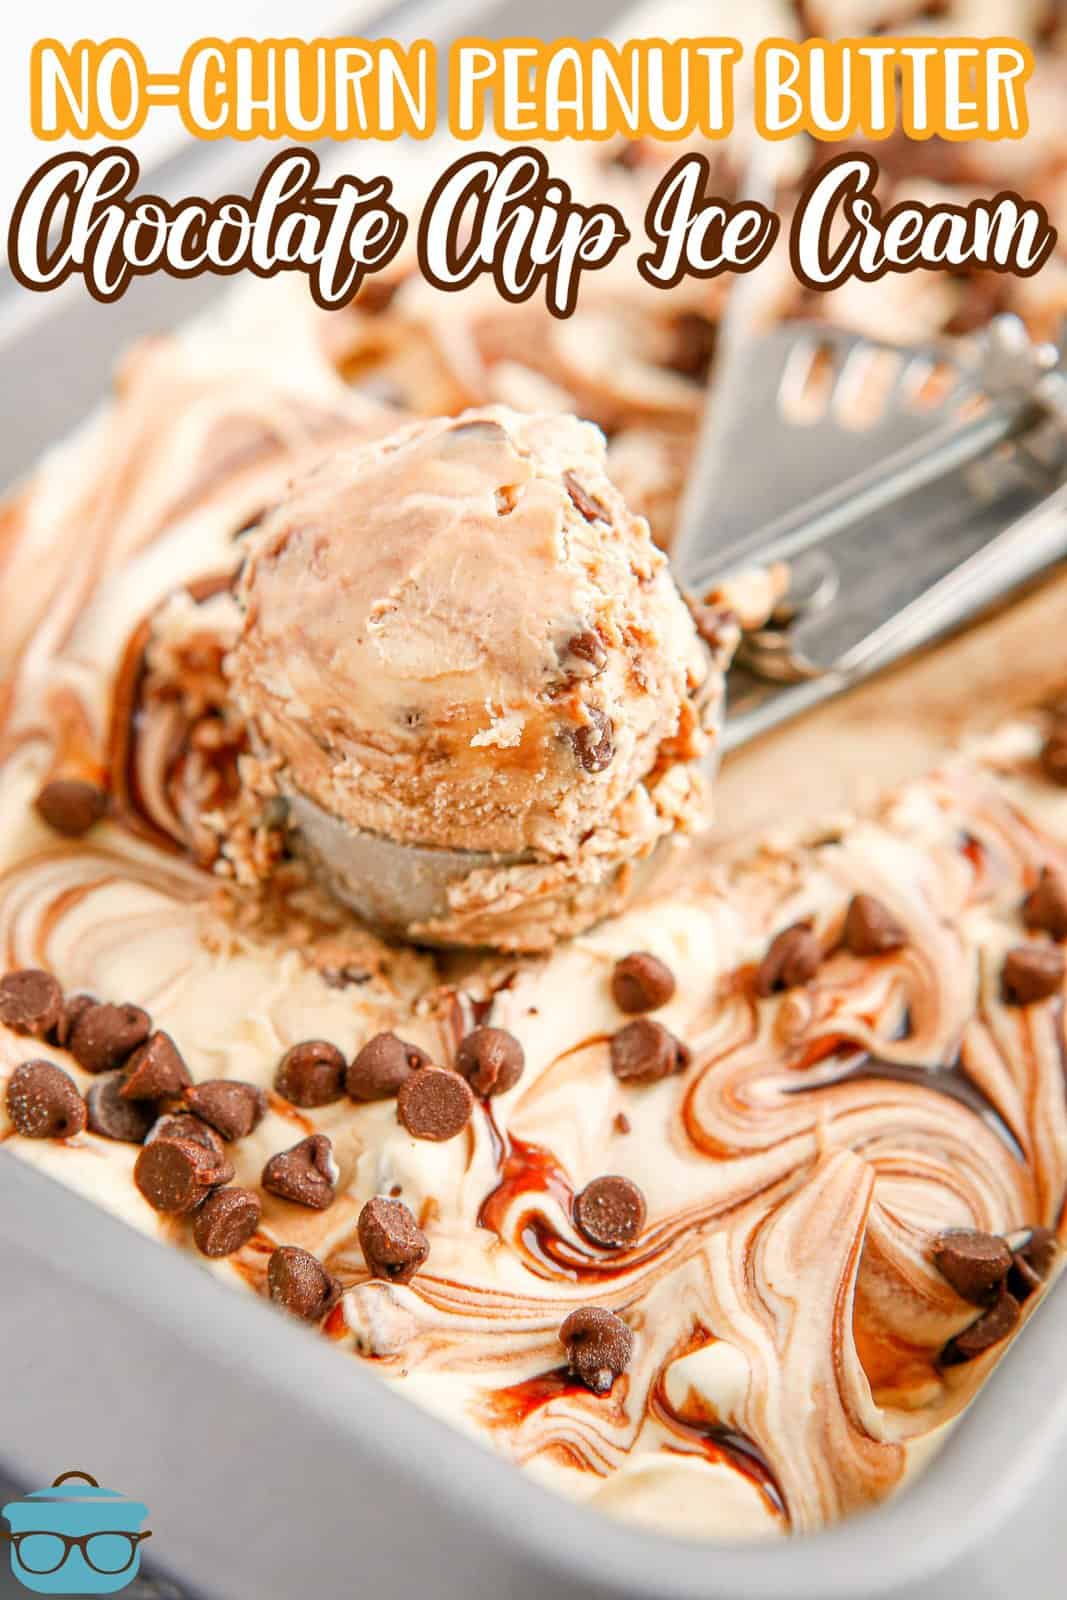
No-Churn Peanut Butter Chocolate Chip Ice Cream
This No-Churn Peanut Butter Chocolate Chip Ice Cream needs no special equipment to make. It uses simple ingredients to give you a cold, delicious treat!
A TASTY AND EASY ICE CREAM
Who doesn’t love ice cream? One thing that I do love to do is make homemade ice cream because it is so so easy. You don’t need an ice cream maker to make a deliciously creamy ice cream. This No-Churn Peanut Butter Chocolate Chip Ice Cream is one of my favorites because I absolutely love peanut butter. It comes together quickly. The hardest part is waiting for it to set up but it’s worth it. If you are craving a simple, old-fashioned treat, then you need to make this No-Churn Peanut Butter Chocolate Chip Ice Cream recipe.
FREQUENTLY ASKED QUESTIONS:
This will make about 1 1/2 quarts of ice cream.
I usually use creamy but chunky will also work and will give you a nice little crunch. I do not recommend using natural peanut butter for this recipe.
This needs to be chilled for at least 6-8 hours to get the correct texture.
Add some more chocolate sauce, melted peanut butter, chocolate chips, peanuts, etc.
Store leftover ice cream in an airtight container in the freezer for up to 4-6 weeks or store in the loaf pan with plastic wrap for up to 1 week.
INGREDIENTS NEEDED: (FULL RECIPE AT THE BOTTOM OF THE POST)
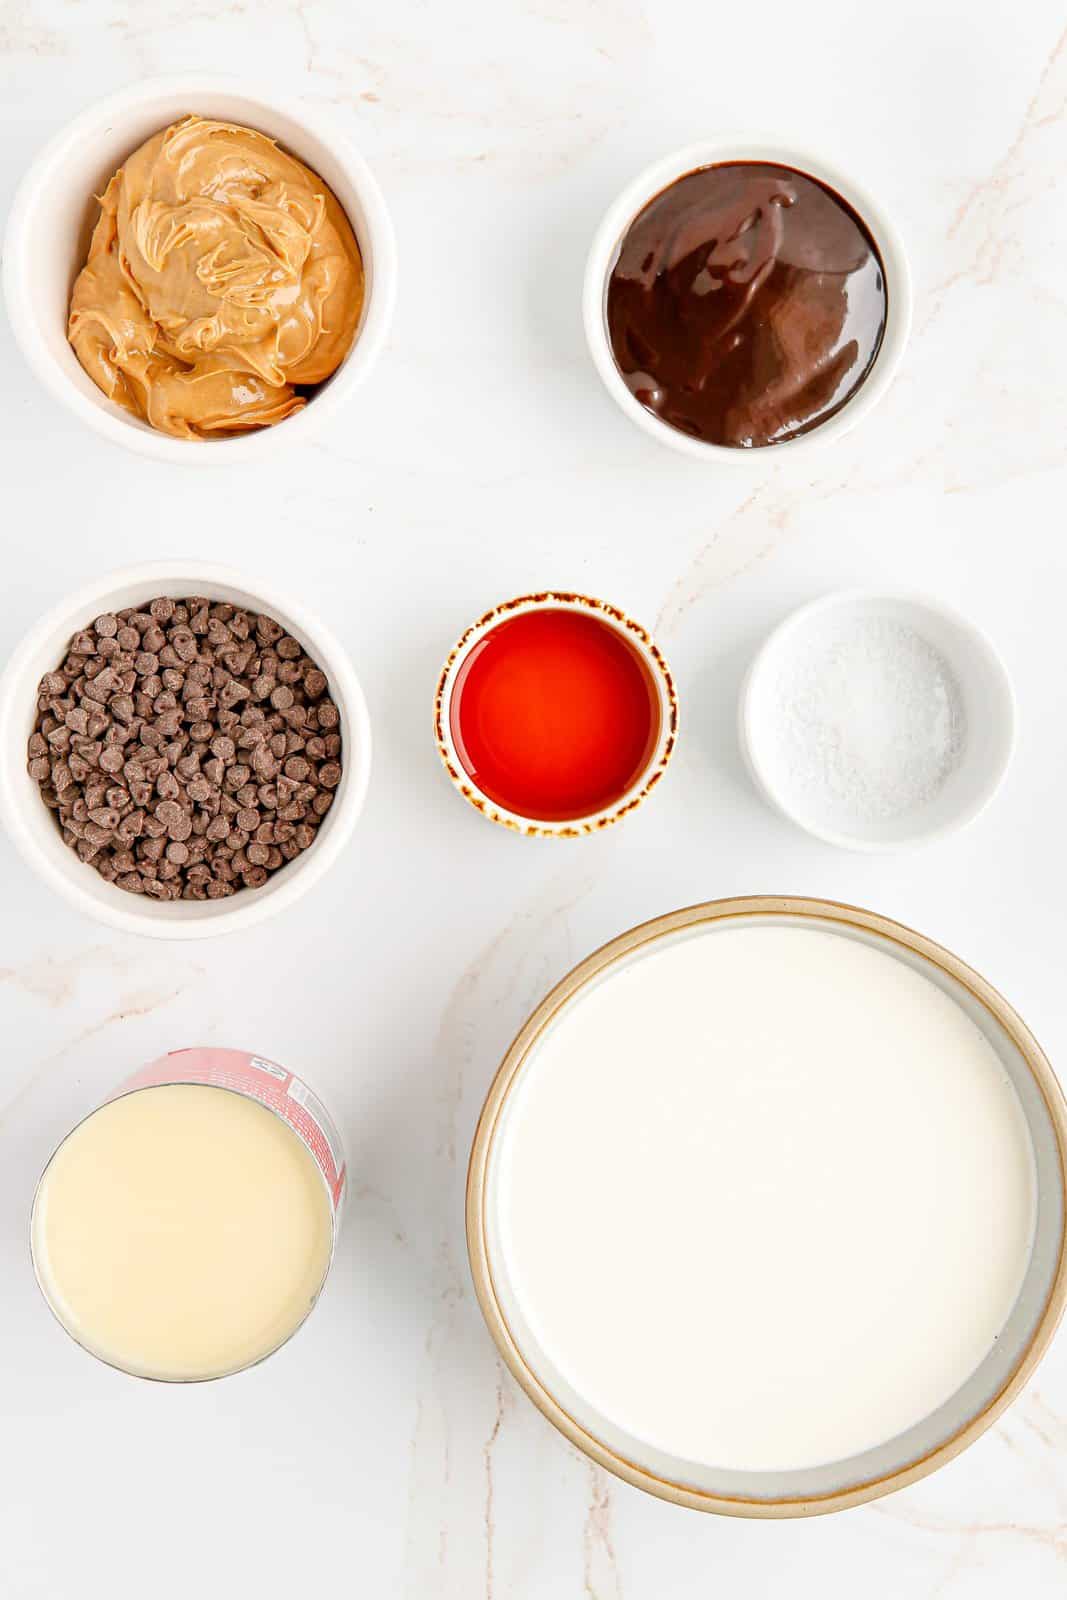
- heavy whipping cream
- sweetened condensed milk
- peanut butter
- chocolate sauce (like Hershey’s)
- mini chocolate chips
- vanilla extract
- sea salt
HOW TO MAKE NO-CHURN PEANUT BUTTER CHOCOLATE CHIP ICE CREAM:
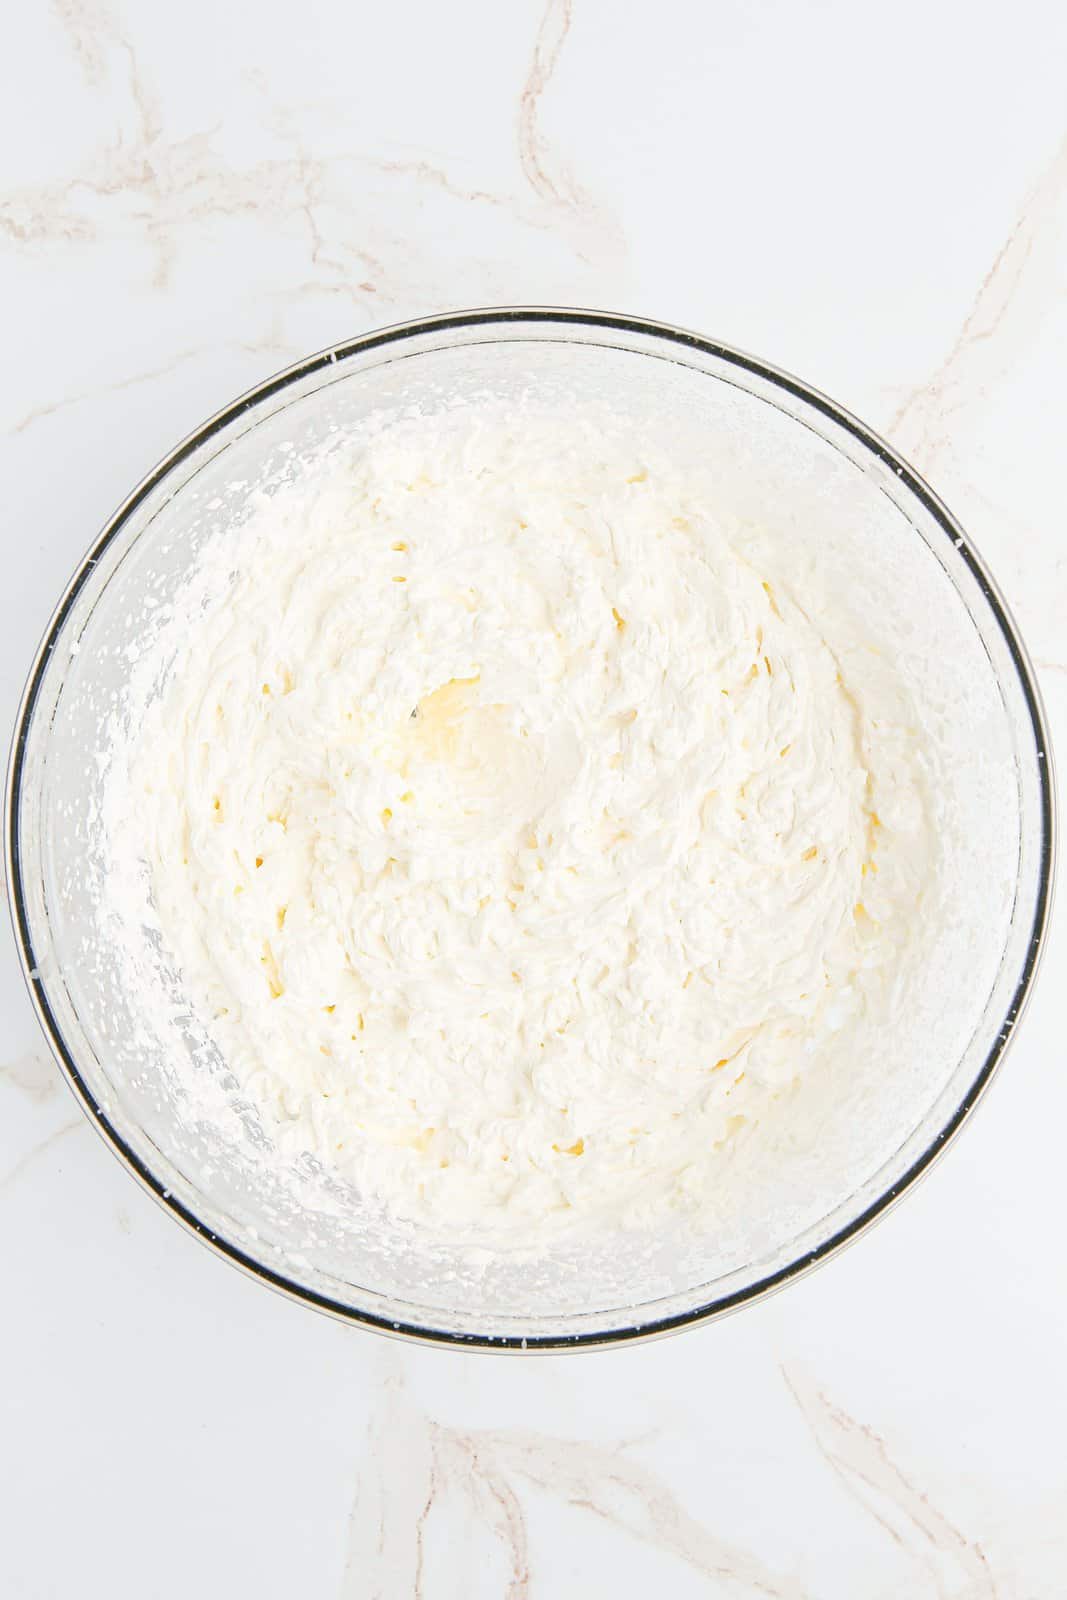
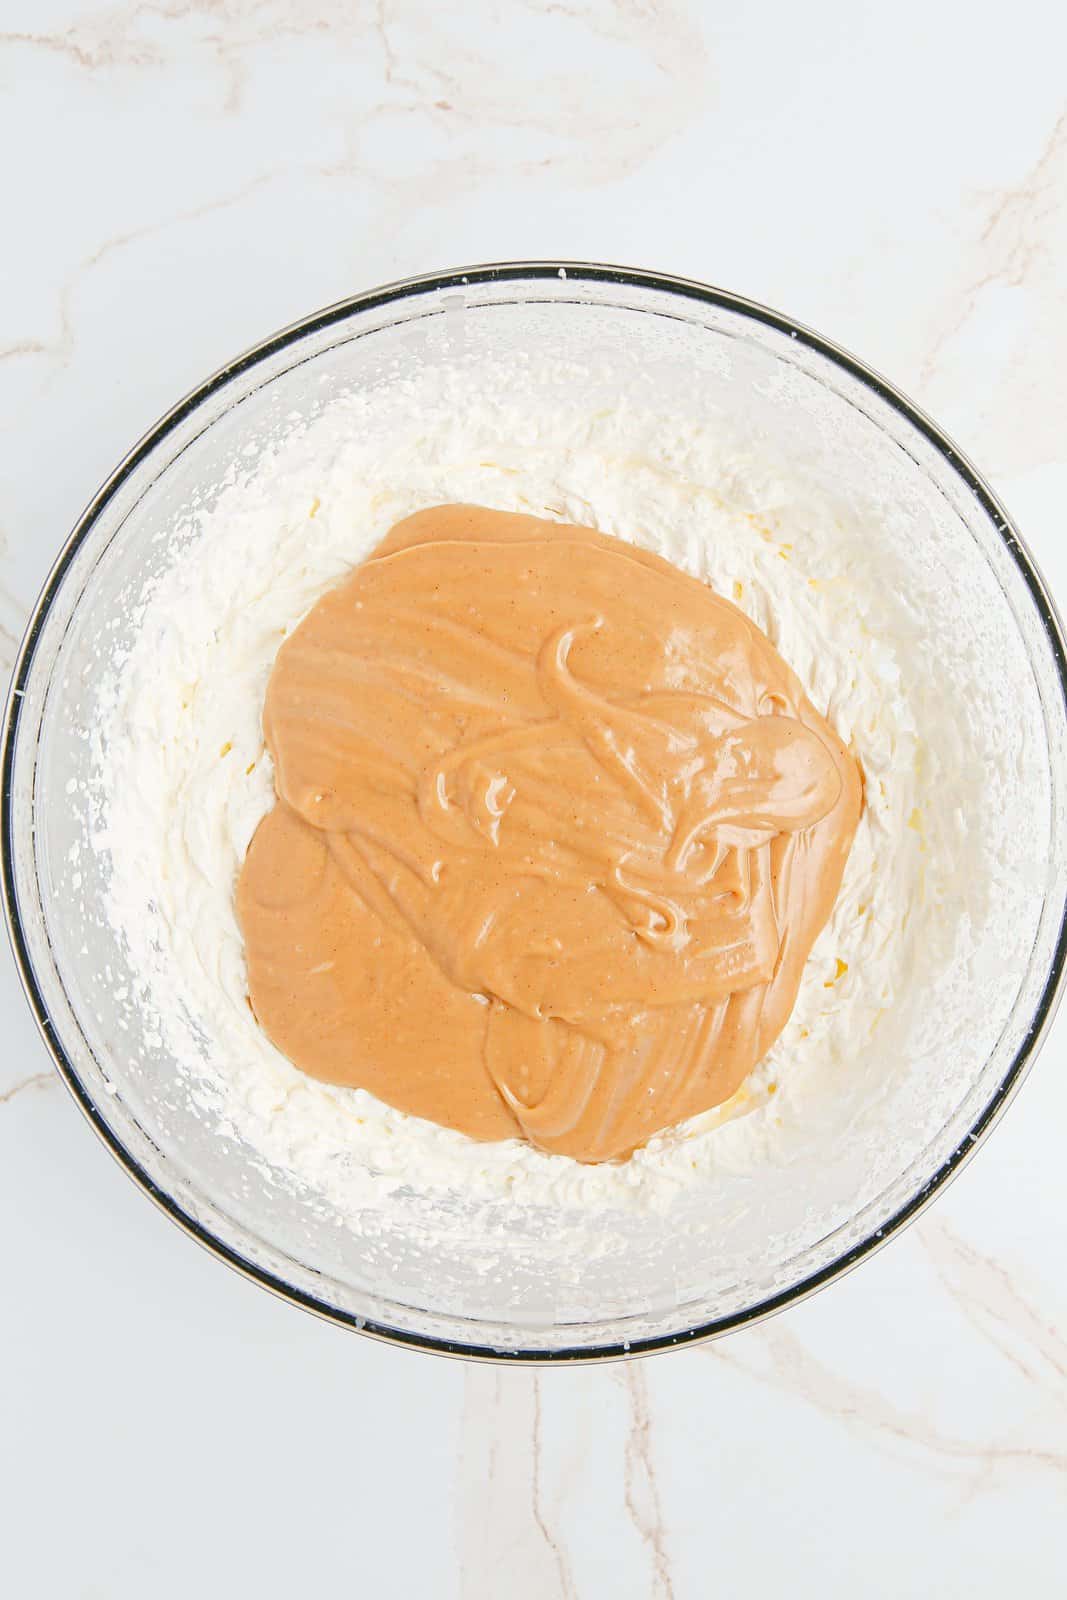
Place a loaf pan in your freezer to chill. Use an electric mixer to beat the cold heavy whipping cream in a large mixing bowl until stiff peaks form.
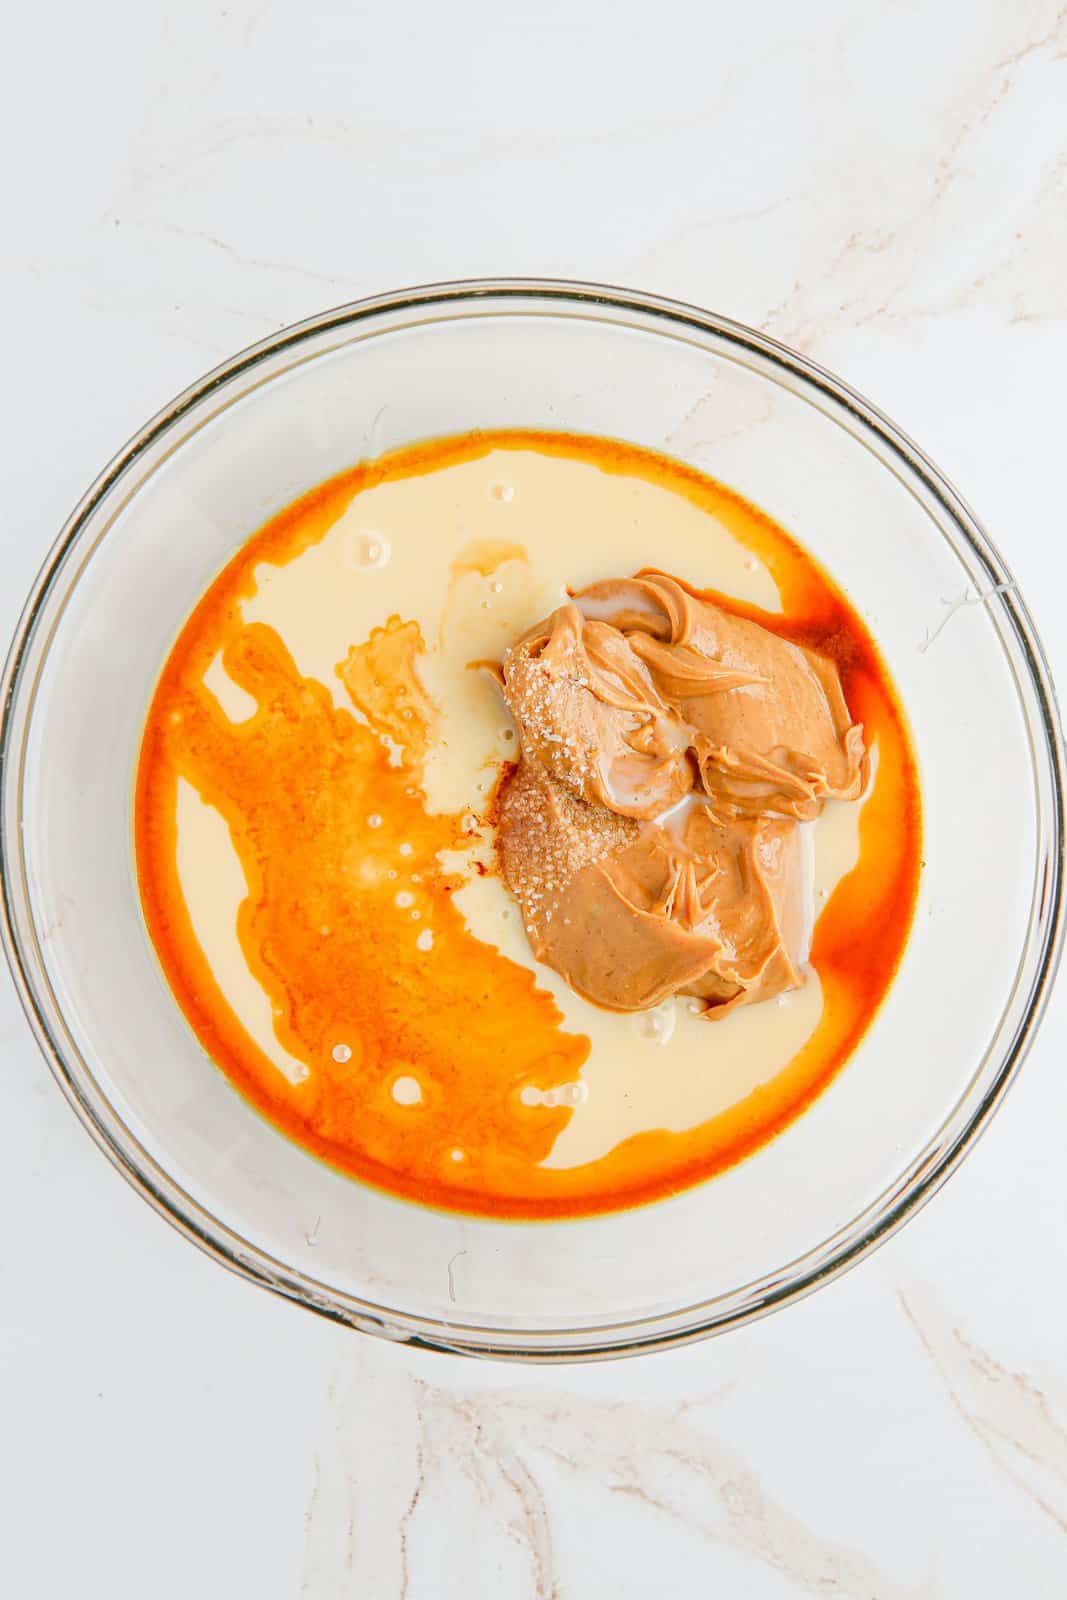
In a separate mixing bowl, stir together the condensed milk, peanut butter, vanilla extract and sea salt until well combined.
Add the peanut butter mixture to the whipped cream. Fold together until just combined.
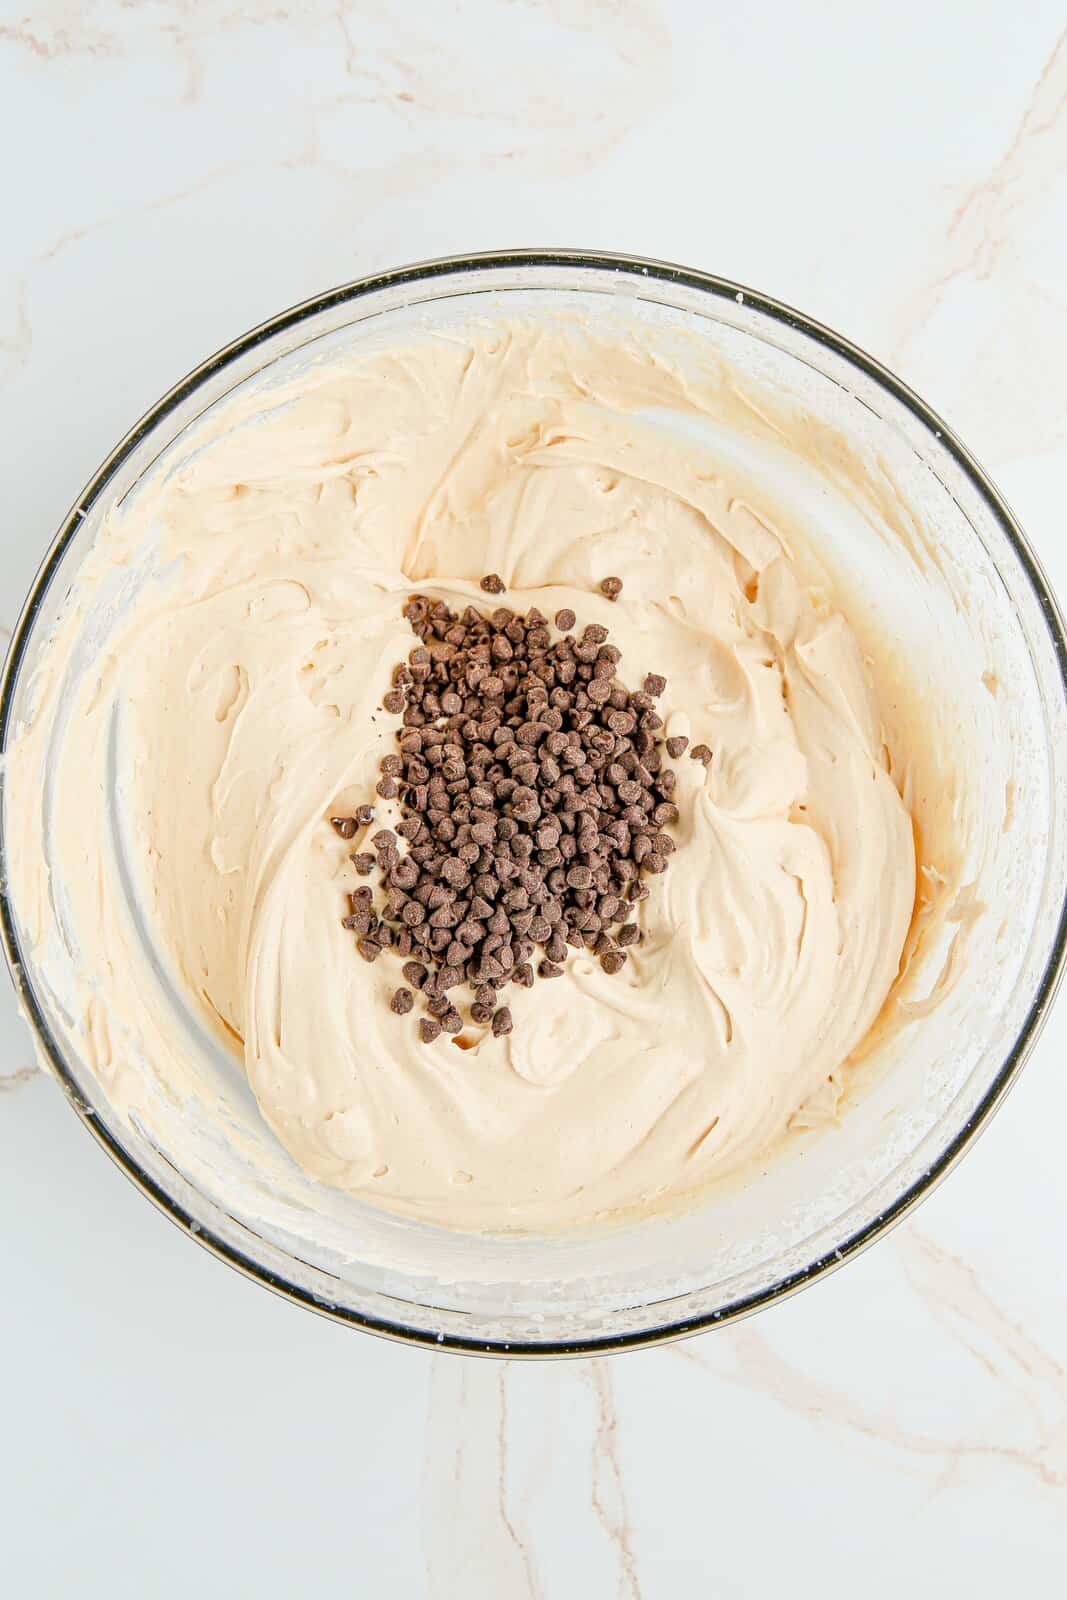
Then add ½ cup mini chocolate chips and fold until incorporated.
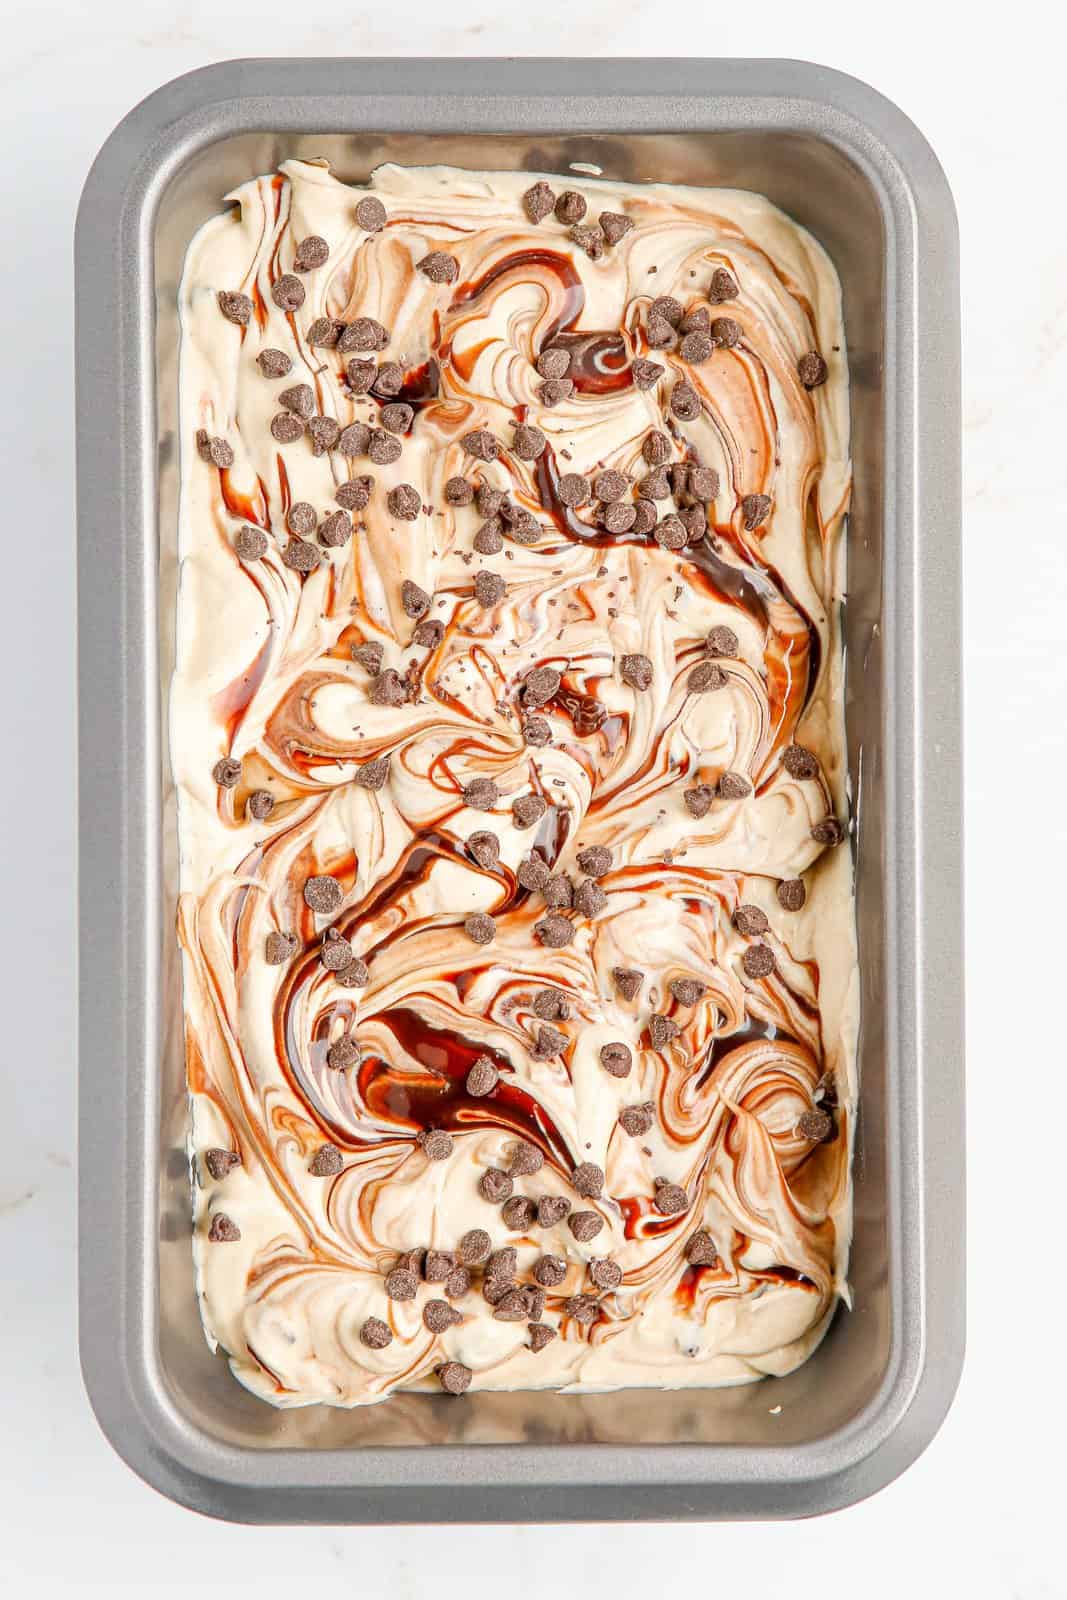
Remove the chilled loaf pan from the freezer and pour half of the peanut butter ice cream into the pan. Dollop ¼ cup of the chocolate sauce on top of the ice cream. Pour the remaining peanut butter ice cream mixture into the pan and dollop the remaining chocolate sauce.
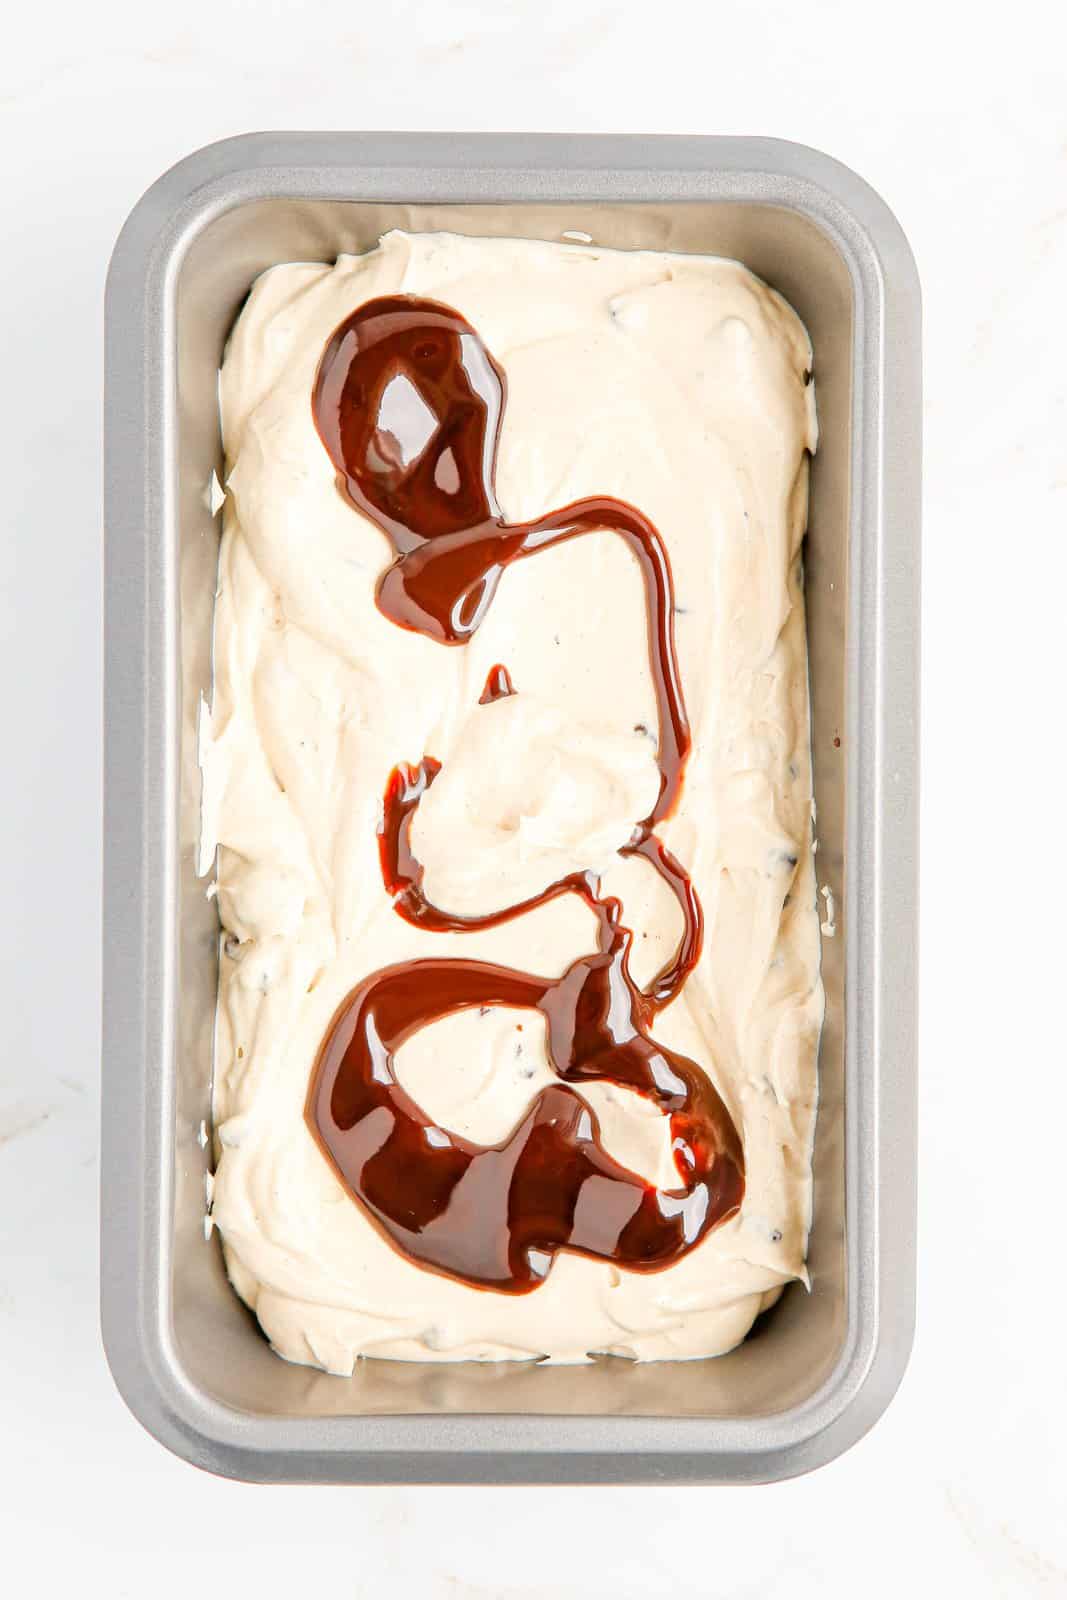
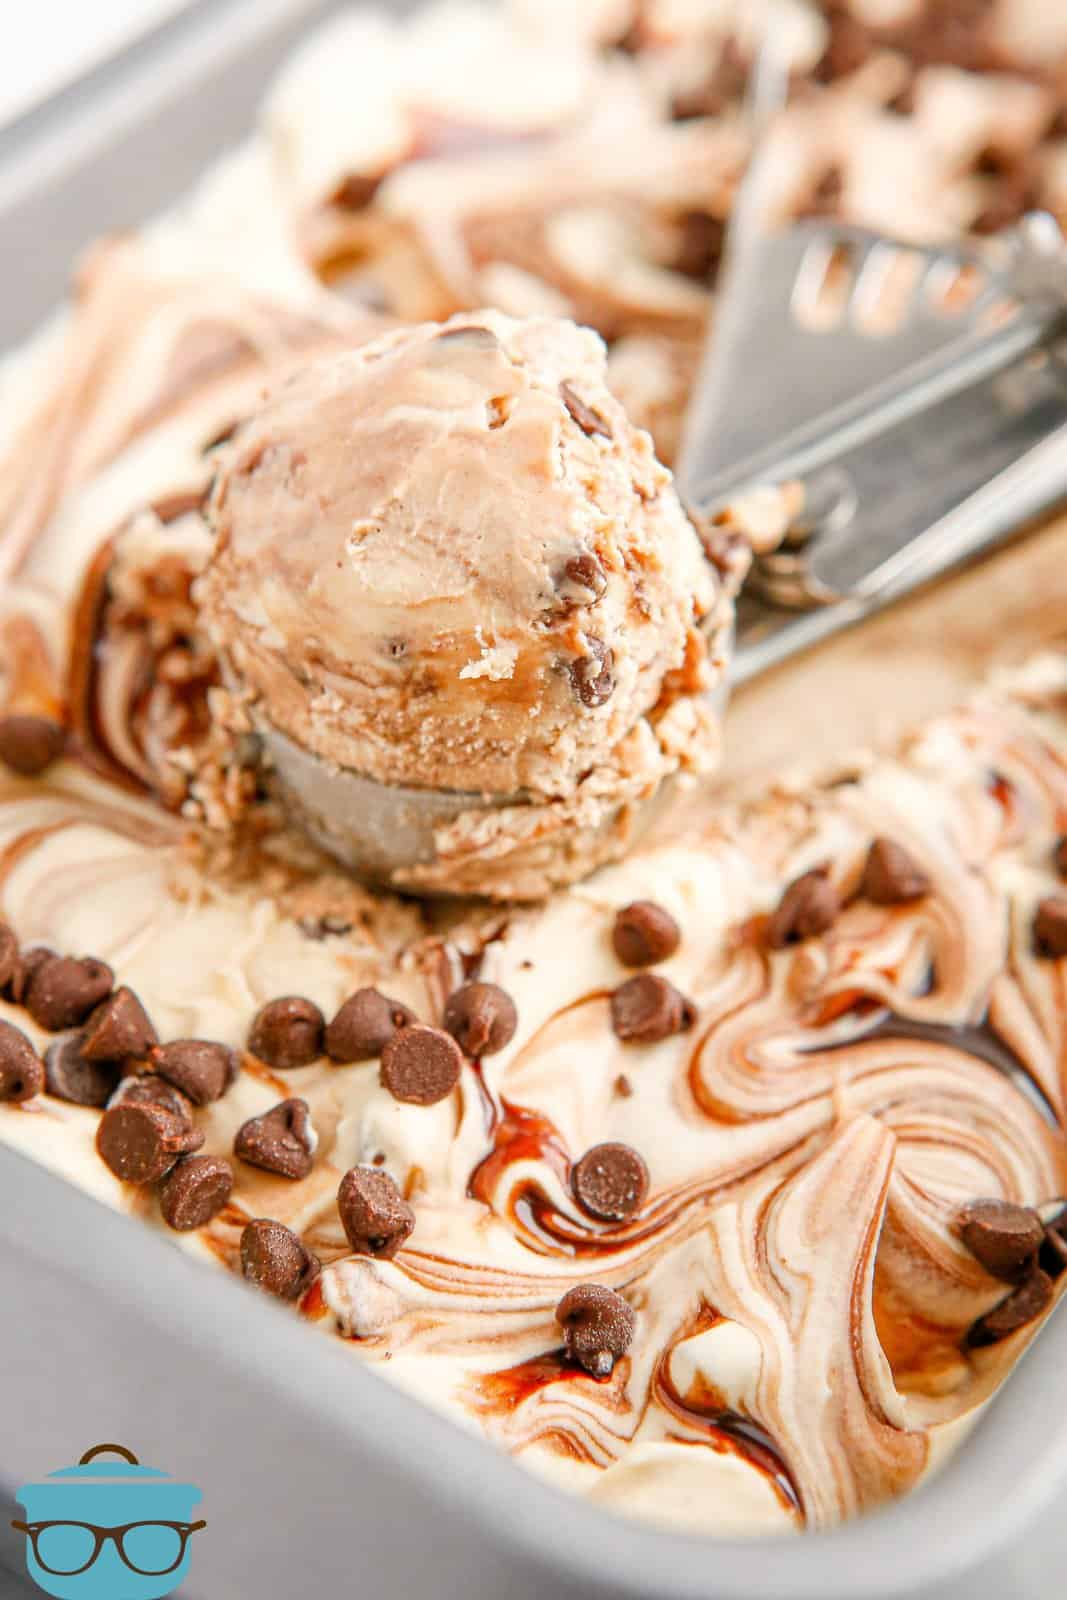
Swirl the sauce in with a butter knife and sprinkle the tablespoon of chocolate chips on top. Place the loaf pan back into the freezer for 6-8 hours or until the ice cream is fully set.
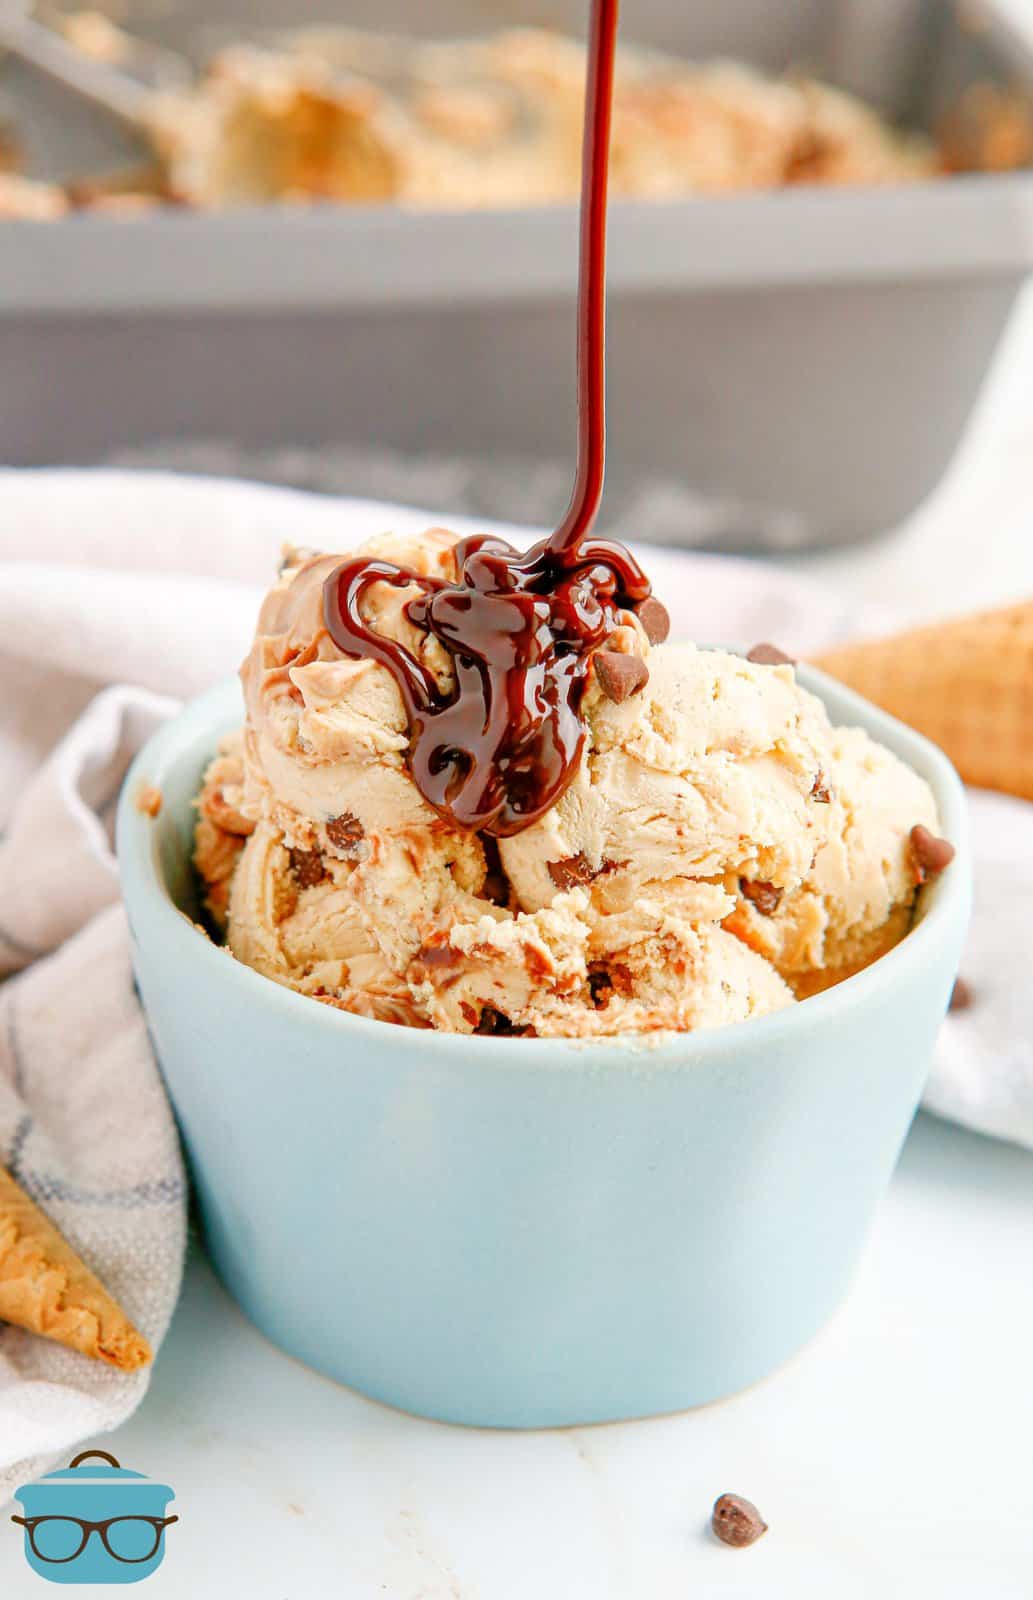
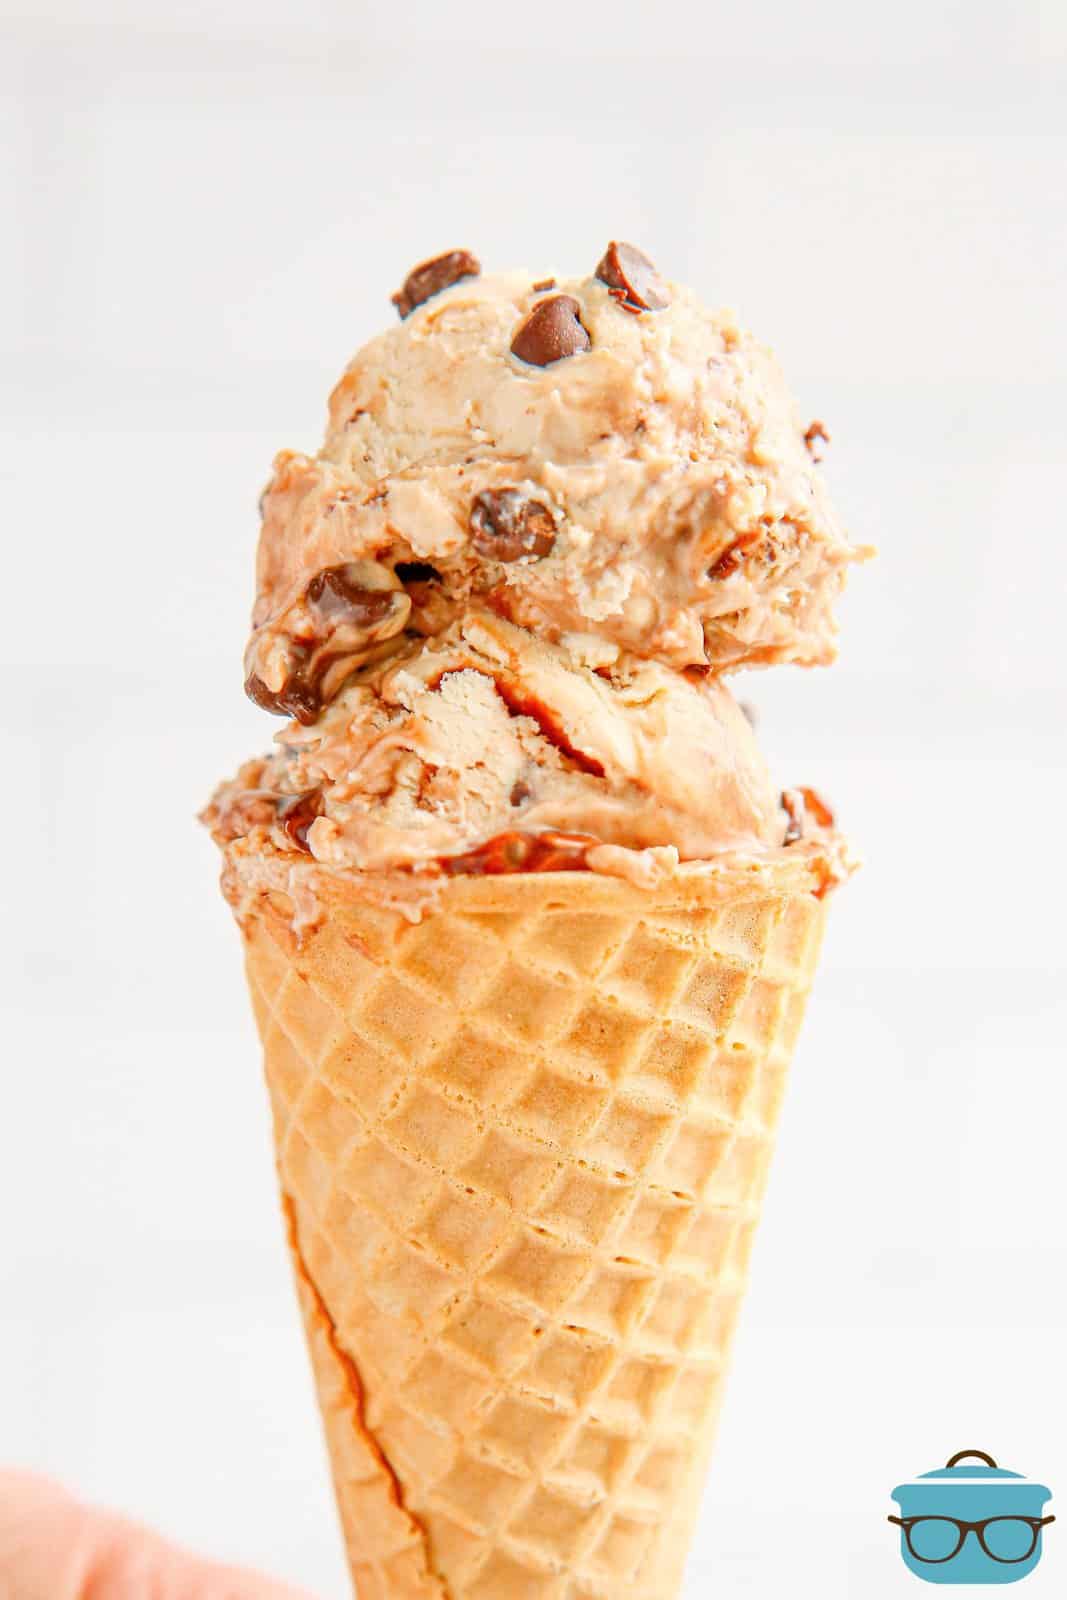
When ready, scoop into an ice cream cone or bowl and serve.
Enjoy!
WANT MORE DELICIOUS RECIPES? YOU MUST TRY THESE!

No-Churn Peanut Butter Chocolate Chip Ice Cream
Ingredients
- 2 cups cold heavy whipping cream
- 14 ounce can sweetened condensed milk
- 1 cup peanut butter, creamy or chunky
- ½ cup chocolate sauce (like Hershey's), divided use
- ½ cup + 1 tablespoon mini chocolate chips divided use
- 1 teaspoon vanilla extract
- ⅛ teaspoon sea salt
Instructions
- Place a loaf pan in your freezer to chill.
- Use an electric mixer to beat the cold heavy whipping cream in a large mixing bowl until stiff peaks form.
- In a separate mixing bowl, stir together the condensed milk, peanut butter, vanilla extract and sea salt until well combined.
- Add the peanut butter mixture to the whipped cream. Fold together until just combined.
- Then add ½ cup mini chocolate chips and fold until incorporated.
- Remove the chilled loaf pan from the freezer and pour half of the peanut butter ice cream into the pan. Dollop ¼ cup of the chocolate sauce on top of the ice cream. Pour the remaining peanut butter ice cream mixture into the pan and dollop the remaining chocolate sauce.
- Swirl the sauce in with a butter knife and sprinkle the tablespoon of chocolate chips on top.
- Place the loaf pan back into the freezer for 6-8 hours or until the ice cream is fully set.
- When ready, scoop into an ice cream cone or bowl and serve, enjoy!
Notes
- Creamy or chunky peanut butter will work. Natural peanut butter will not work in this as it will not set up properly.
- Easily double this recipe and make in two pans.
Nutrition
Nutritional Disclaimer
“The Country Cook” is not a dietician or nutritionist, and any nutritional information shared is an estimate. If calorie count and other nutritional values are important to you, we recommend running the ingredients through whichever online nutritional calculator you prefer. Calories and other nutritional values can vary quite a bit depending on which brands were used.


what size loaf pan did you use for this?
Just a standard size loaf pan. I think it’s a 9×5. Any similar size pan will work though. Hope that helps! 🙂