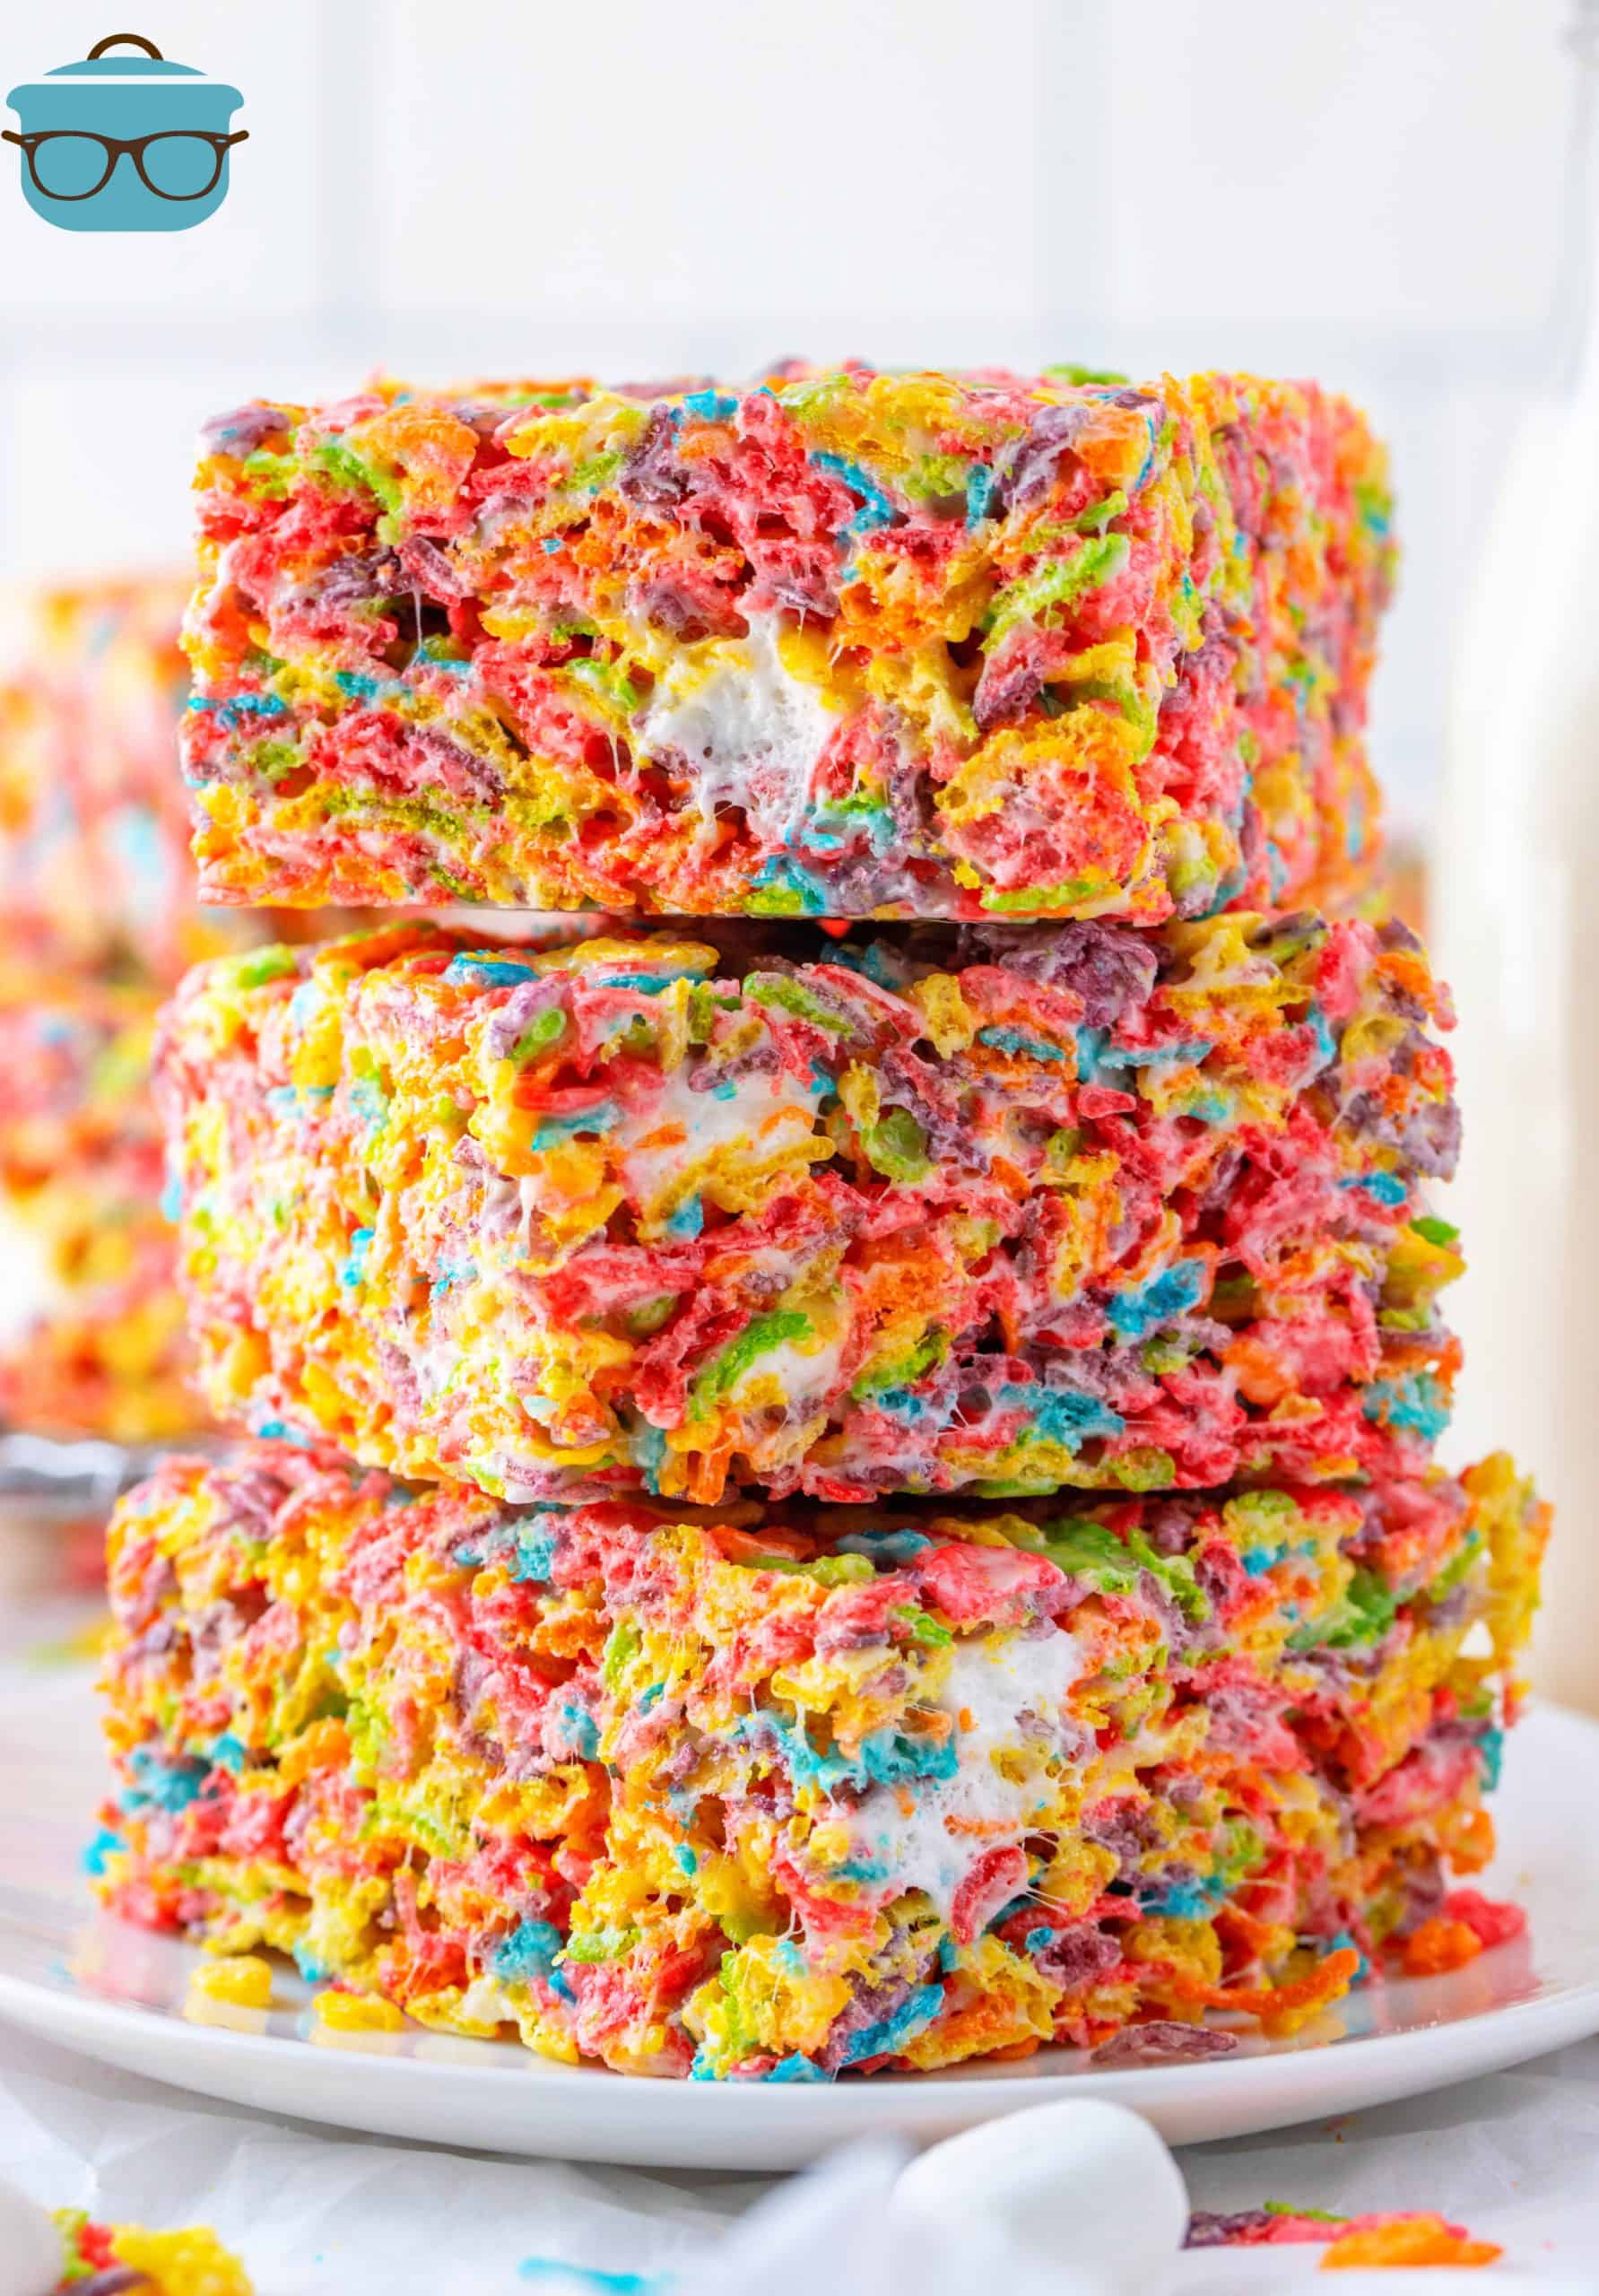
Fruity Pebbles Treats
With only 3 ingredients, these Fruity Pebbles Treats are a fun, easy and absolutely tasty bar that comes together quickly and the whole family loves!
FRUITY, FUN GOOEY TREATS
I’m an adult and I still love Fruity Pebbles cereal. Please tell me that I’m not alone. This was one cereal that I grew up on and that I still love today. I especially love these Fruity Pebbles Treats! They are just like Rice Krispies Treats but with Fruity Pebbles. They pack a lot more flavor though than regular Rice Krispies treats. The colors, the ooey gooey marshmallow coating and the mixing in of whole marshmallows really make these something special. If you want something easy but just a bit different, then you have to make this Fruity Pebbles Treats recipe!

We really loved these!! Perfect recipe – don’t need to change a thing!
– Jennie
TIPS FOR MAKING FRUITY PEBBLES TREATS:
- Mini marshmallows are used in this recipe. You can use the same amount in larger marshmallows but you will not get the whole marshmallow effect when we add in the 1/2 cup of mini marshmallows towards the end.
- I use an 8×8-inch pan for these so they are thicker. If you want a thinner bar then you can use a 9×13-inch pan instead.
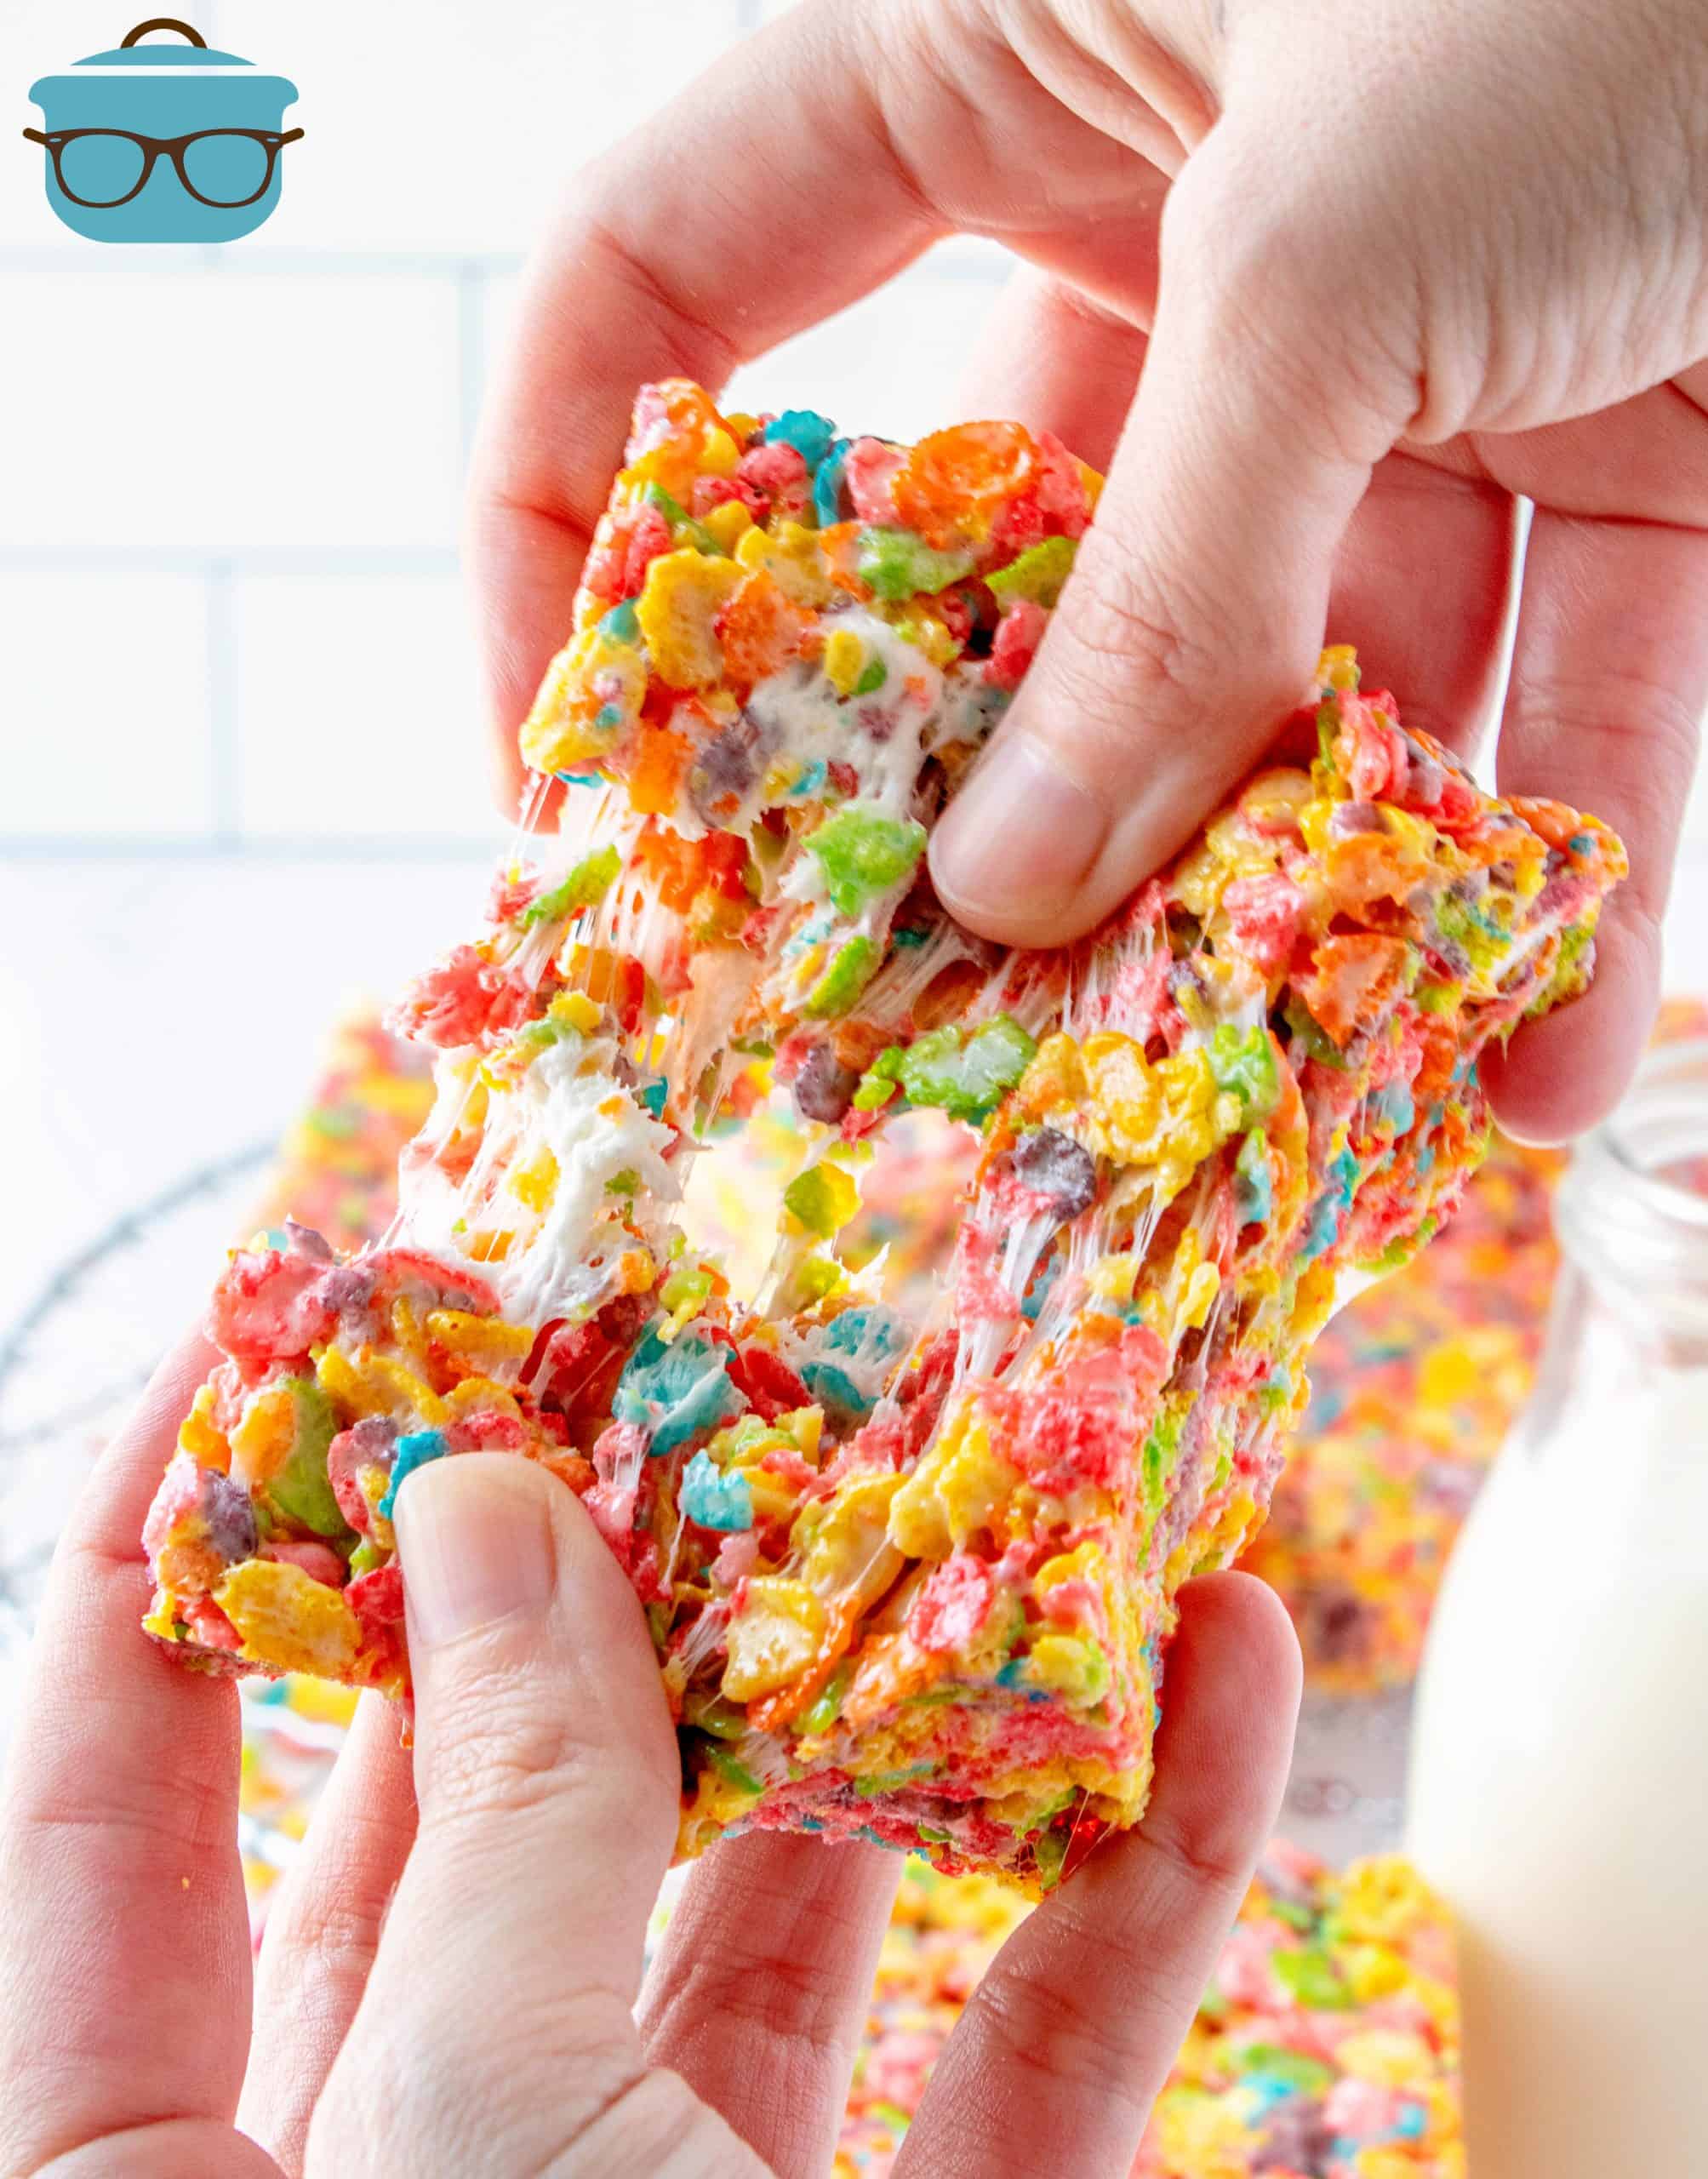
- I like to add the extra mini marshmallows into the mixture so you get bursts of marshmallow goodness in each bar. I think it really makes it stand out when you cut into them too.
- These need to set up for at least 1 hour before cutting into.
- If you are not a fan of Fruity Pebbles then you should try Cocoa Pebbles for a chocolate version! However, this same recipe will also work with regular Rice Krispies too!
HOW TO STORE LEFTOVERS:
- These Fruity Pebbles Treats can be stored in the pan itself (covered with foil or plastic wrap) or cut and placed into a ziploc bag or airtight container.
- These can be stored (covered) on the countertop at room temperature for up to 3 days. I do not recommend freezing these bars.
- To “freshen” up the bars if they start getting a bit stale, just pop an individual bar into the microwave for about 8 seconds to soften.

INGREDIENTS NEEDED: (SEE RECIPE CARD BELOW FOR THE FULL RECIPE)
- salted butter – I know it seems weird using salted butter in a sweet dessert but it really helps offset the overall sweetness of the dessert but does not make it salty.
- mini marshmallows – do not substitute with marshmallow cream (or fluff) since it won’t set up properly.
- Fruity Pebbles cereal – you can use the store brand version of these. These are also amazing with Cocoa Pebbles.

HOW TO MAKE FRUITY PEBBLES TREATS:
In a large pot add the butter. Over medium heat, melt the butter slowly. Don’t let the butter bubble and burn.

Add in the marshmallows. Melt together the butter and marshmallows just until the marshmallows start melting. Take off heat before they are fully melted (they will continue to melt from the residual heat.)

Add in the Fruity Pebbles cereal. Mix Fruity Pebbles and marshmallow mixture until combined.

Add in 1/2 cup mini marshmallows. Stir again until incorporated. Press mixture into a greased 8”x 8” baking dish and let set for about 1 hour.

Cut into squares and serve.
CRAVING MORE RECIPES? GIVE THESE A TRY!
Originally published: April 2021
Updated and republished: March 2025
Fruity Pebbles Treats
Ingredients
- 4 Tablespoons salted butter (1/2 stick)
- 10 ounces mini marshmallows, plus 1/2 cup (see notes below)
- 6 cups Fruity Pebbles cereal (or Cocoa Pebbles)
Instructions
- Grease an 8×8-inch baking dish with butter or nonstick cooking spray.
- In large pan slowly melt 4 Tablespoons salted butter (1/2 stick). Don't let the butter bubble and burn.

- Stir 10 ounces mini marshmallows into the melted butter. Stir gently just until the marshmallows start to melt. Remove pot off the heat before completely melted and bubbling (the residual heat will continue to melt them.)
- Stir in 6 cups Fruity Pebbles cereal and mix until combined.
- Add in the additional 1/2 cup mini marshmallows and stir again just until incorporated.
- Press mixture into prepared baking dish and let set for about one hour.

- Cut into squares and serve.


Notes
- Mini marshmallows are used in this recipe. You can use the same amount in larger marshmallows but you will not get the whole marshmallow effect when we add in the 1/2 cup of mini marshmallows towards the end.
- I use an 8″x 8″ pan for these so they are thicker. If you want a thinner bar then you can use a 9″x 13″ pan instead.
- I like to add the extra 1/2 cup mini marshmallows into the mixture so you get bursts of marshmallow goodness in each bar. I think it really makes it stand out when you cut into them too.
Nutrition
Nutritional Disclaimer
“The Country Cook” is not a dietician or nutritionist, and any nutritional information shared is an estimate. If calorie count and other nutritional values are important to you, we recommend running the ingredients through whichever online nutritional calculator you prefer. Calories and other nutritional values can vary quite a bit depending on which brands were used.
")


great
Turned out great! Thanks for the recipe.
We LOVE these. We have a tradition of making them every snow storm.
looks like in the recipe it calls for salted butter but in the photo posted it says unsalted, which is confusing.
We really loved these!! Perfect recipe – don’t need to change a thing!
is it ok to double the recipe
Yep!
I’m an adult and totally on Team Fruity Pebbles! Making ASAP!
Thank you!!! Ha! I’m not alone!