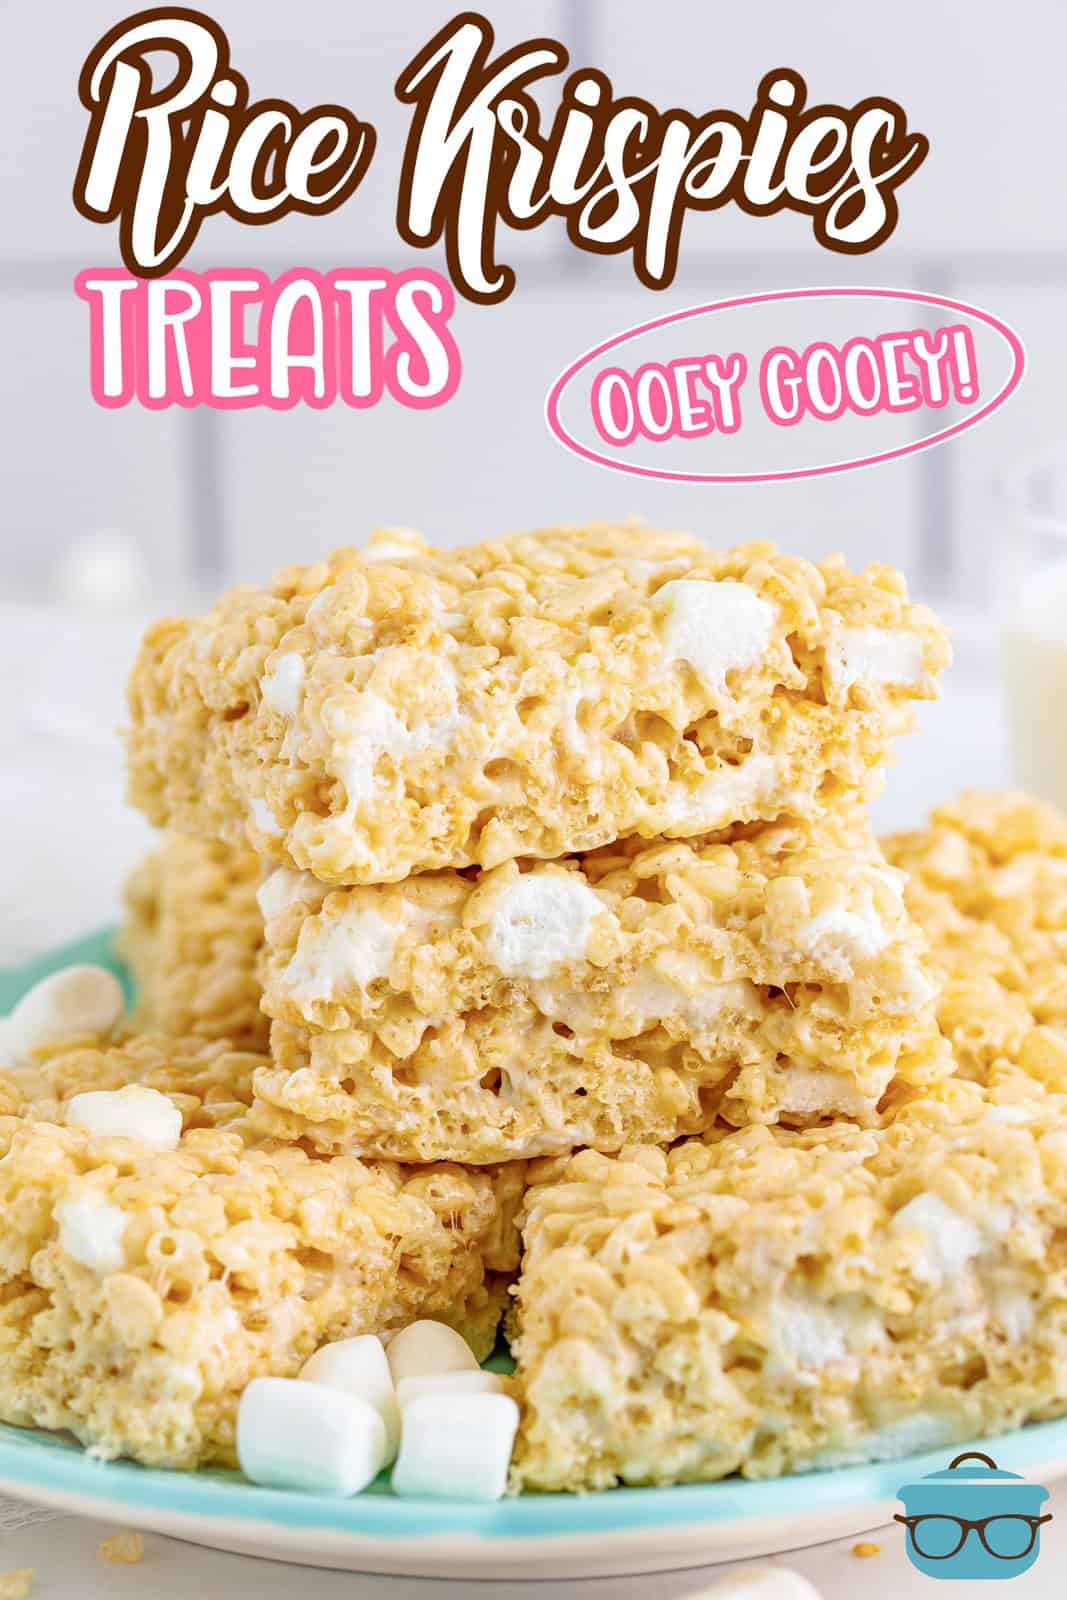
Rice Krispies Treats (Oooey Gooey)
Everyone loves classic Rice Krispies Treats. Made with 5 ingredients and only 15 minutes of actual work, the hardest part is waiting for them to set!
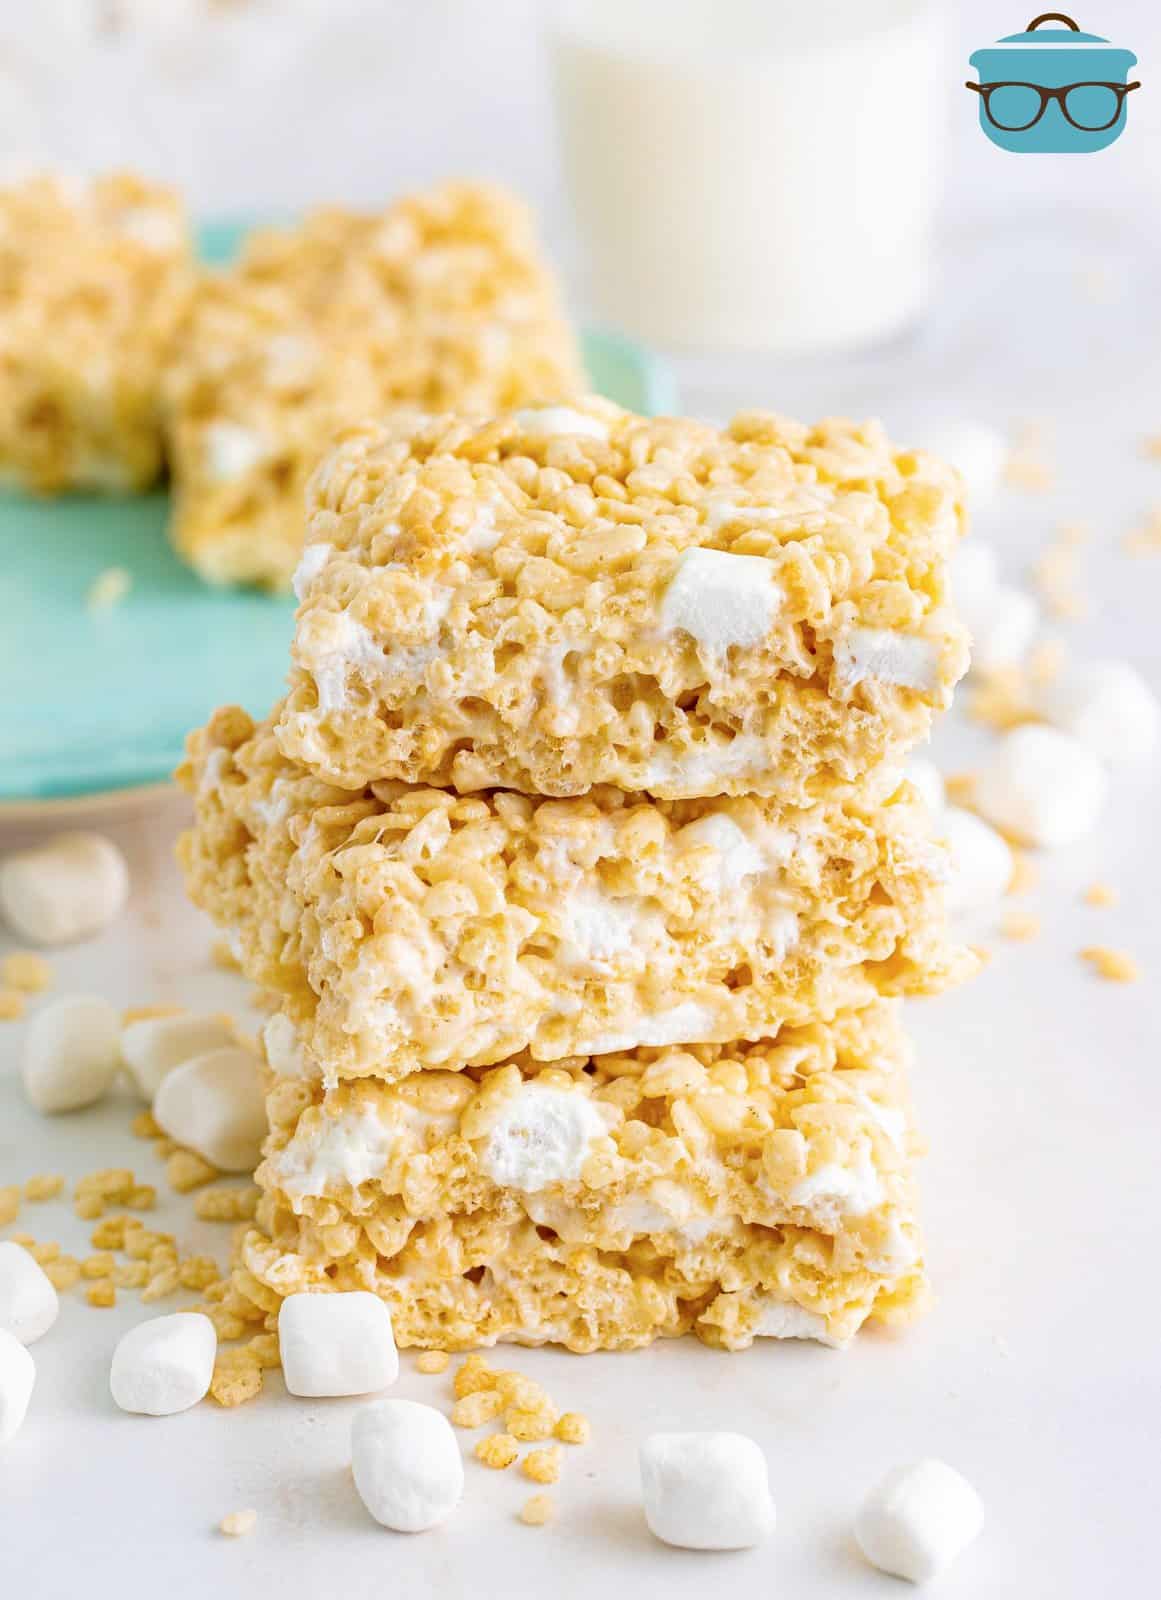
A CLASSIC OOEY GOOEY STICKY SNACK BAR
Who doesn’t enjoy a bite of the classic marshmallow sticky Rice Krispie Treat bars?! They’re what childhood memories are made of. Each bite is full of ooey, gooey, creamy, crunchy goodness that just can’t be beat. These treats are simple enough for an everyday dessert or snack, or can be jazzed up easily to serve at parties, holidays, or special occasions.
FREQUENTLY ASKED QUESTIONS
Yes. We used the regular sized box so you wouldn’t have to guess how much cereal to use anymore. The recipe is the perfect ratio. However, if you have a bigger box of Rice Krispie cereal, you’ll need 10 cups of cereal.
Did you know they’ve been around since 1939? Two employees of Kellogg’s, Mildred Day and Malitta Jensen decided to make these treats so the company could use them to help promote the cereal by showing that it’s not just for breakfast use, it can make delicious snacks or desserts too!
We think they really seal the deal on these treats, but if you don’t want to use that many marhsmallows, you can lighten it up a bit. We think that much marshmallows really makes them extra gooey and gives them that texture you’re looking for.
I like to use vanilla extract but it can be left out or traded for a different flavor. These treats would be good with any of these: almond, lemon, strawberry, or cake batter extracts.
Leftover treats can be stored in an airtight container and be kept at room temp for up to 5 days. If stacking or storing them in layers, use a piece of parchment paper in between them to help them stay nice and gooey. Our treats never last that long because we always demolish them before then, they’re that good!
Yes, you can certainly freeze these treats. If frozen properly, they’ll last for three months. Try flash freezing them on a parchment lined baking tray for a few hours so they freeze individually before placing wrapping them in plastic wrap and placing them in a freezer safe container or bag.
INGREDIENTS NEEDED: (FULL RECIPE AT THE BOTTOM OF THE POST)
- salted butter
- mini marshmallows
- vanilla extract
- salt
- Rice Krispies cereal

HOW TO MAKE RICE KRISPIES TREATS:
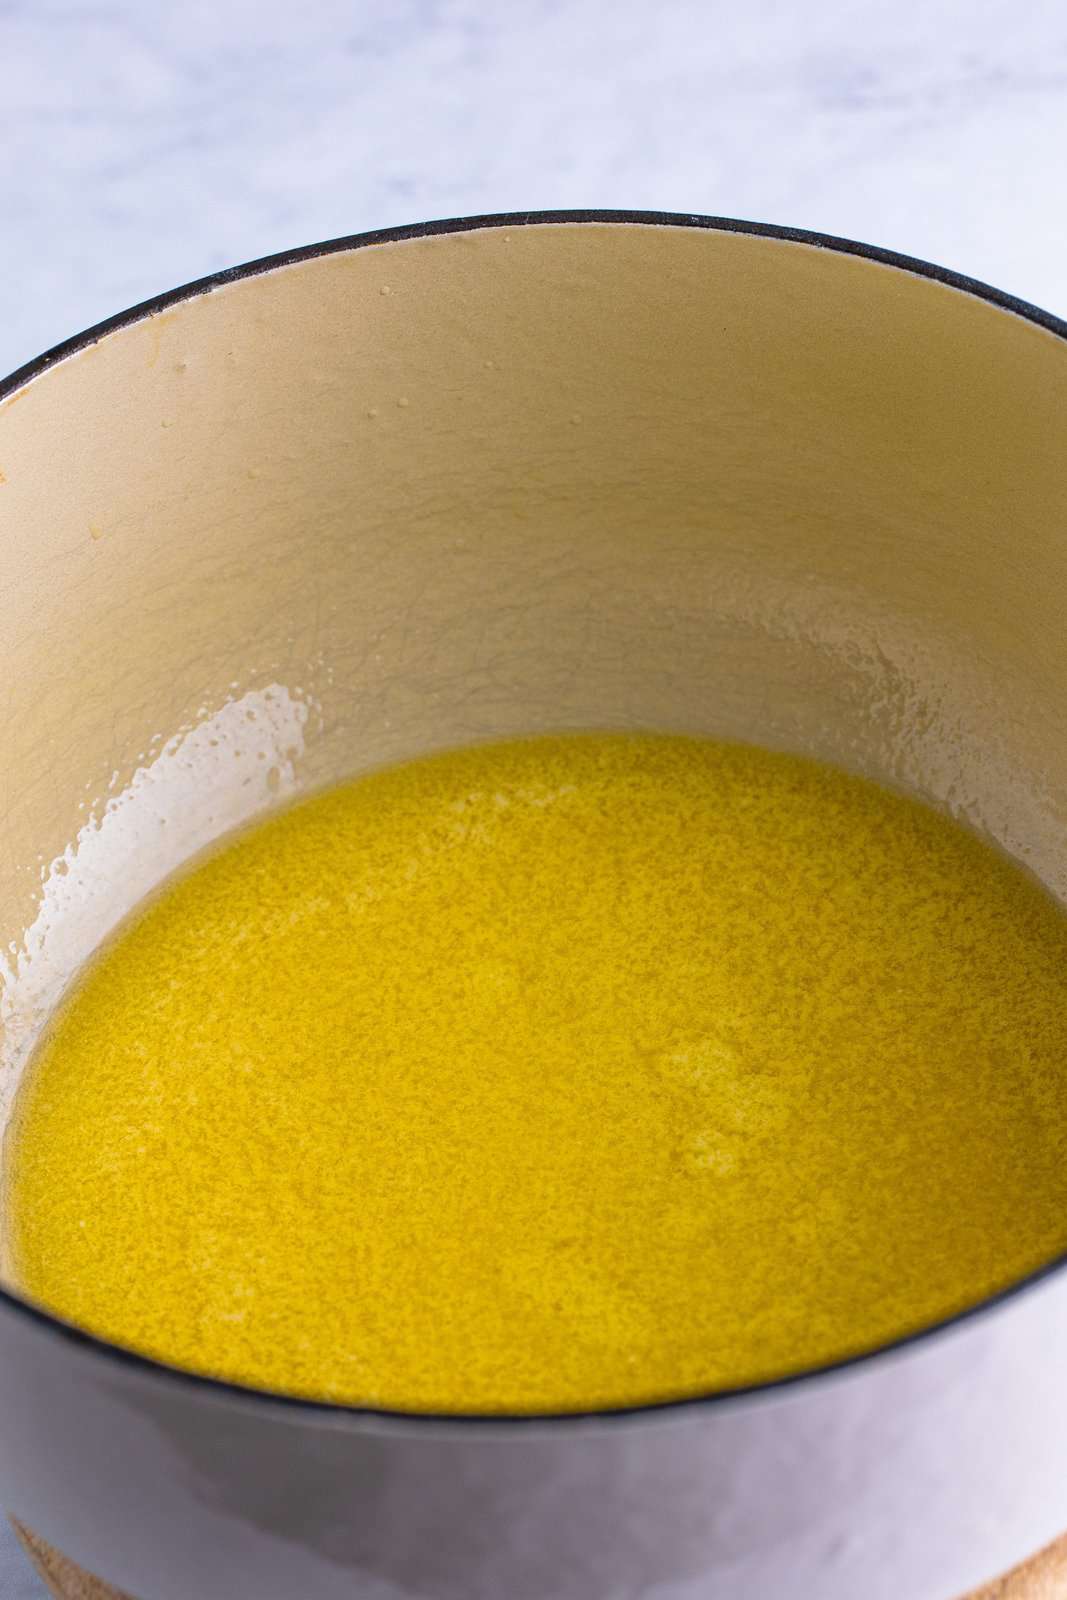
Grab a jelly roll pan (10×15-inch) and line with foil before lightly spraying it with cooking spray and setting it aside. Add butter to dutch oven or large pot and melt over medium-low heat.
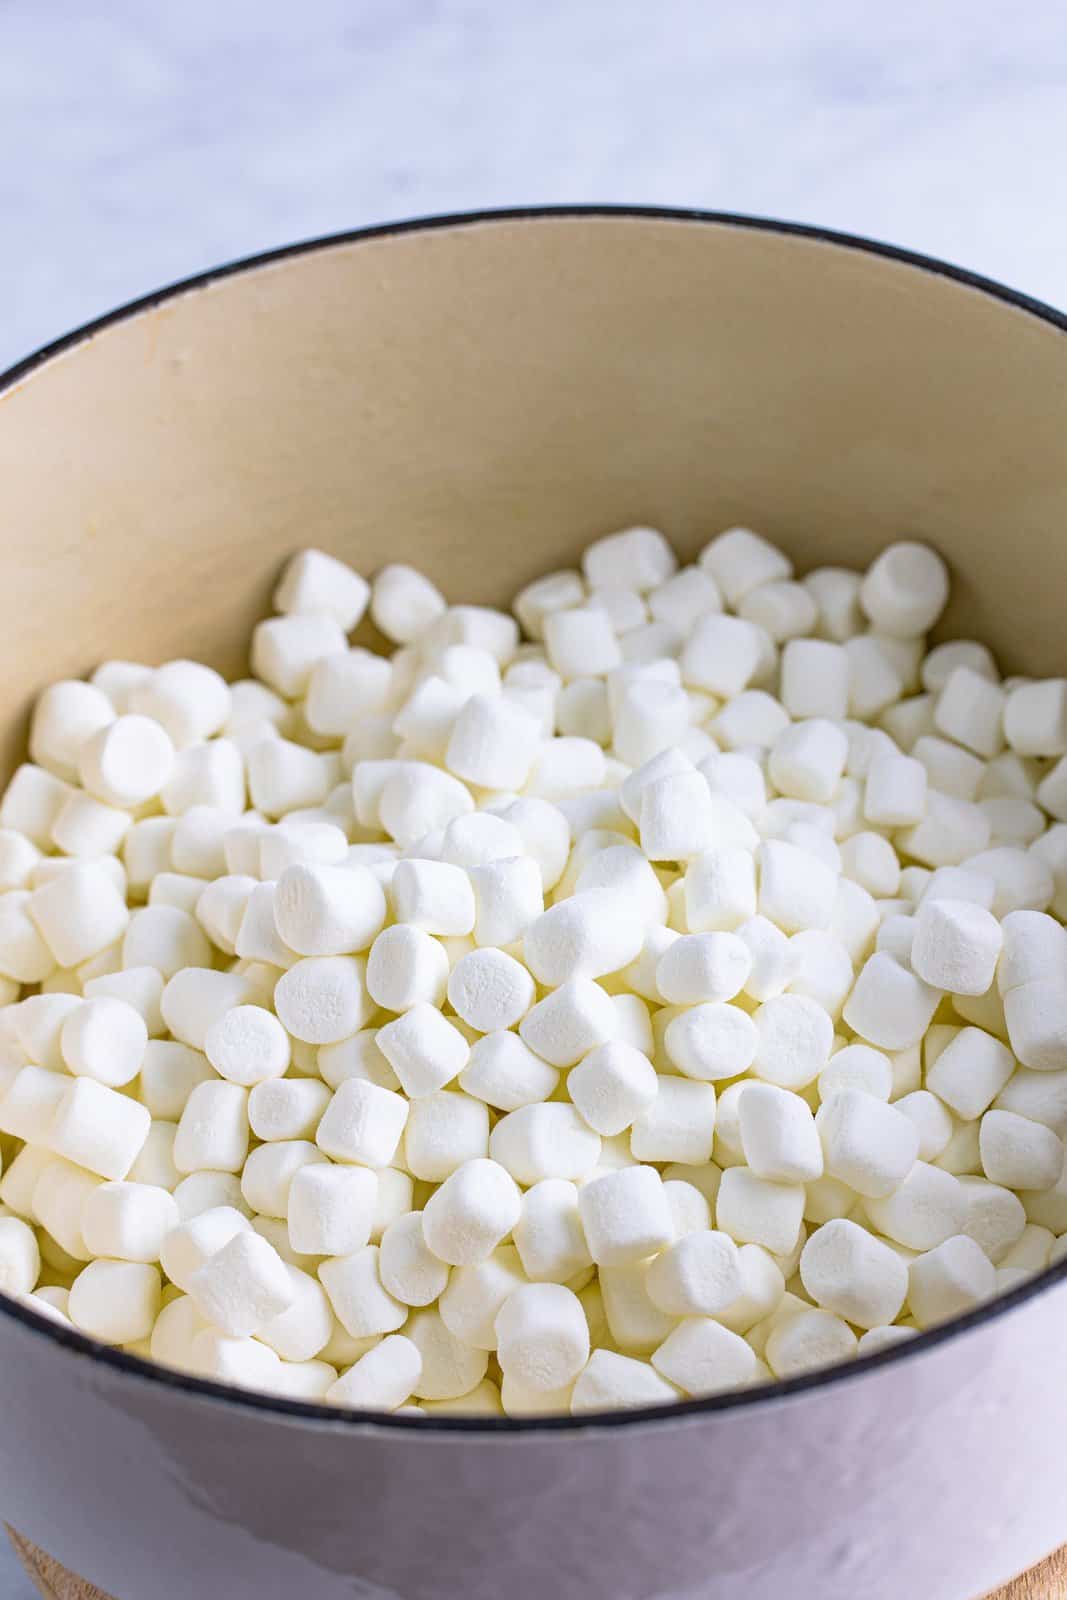
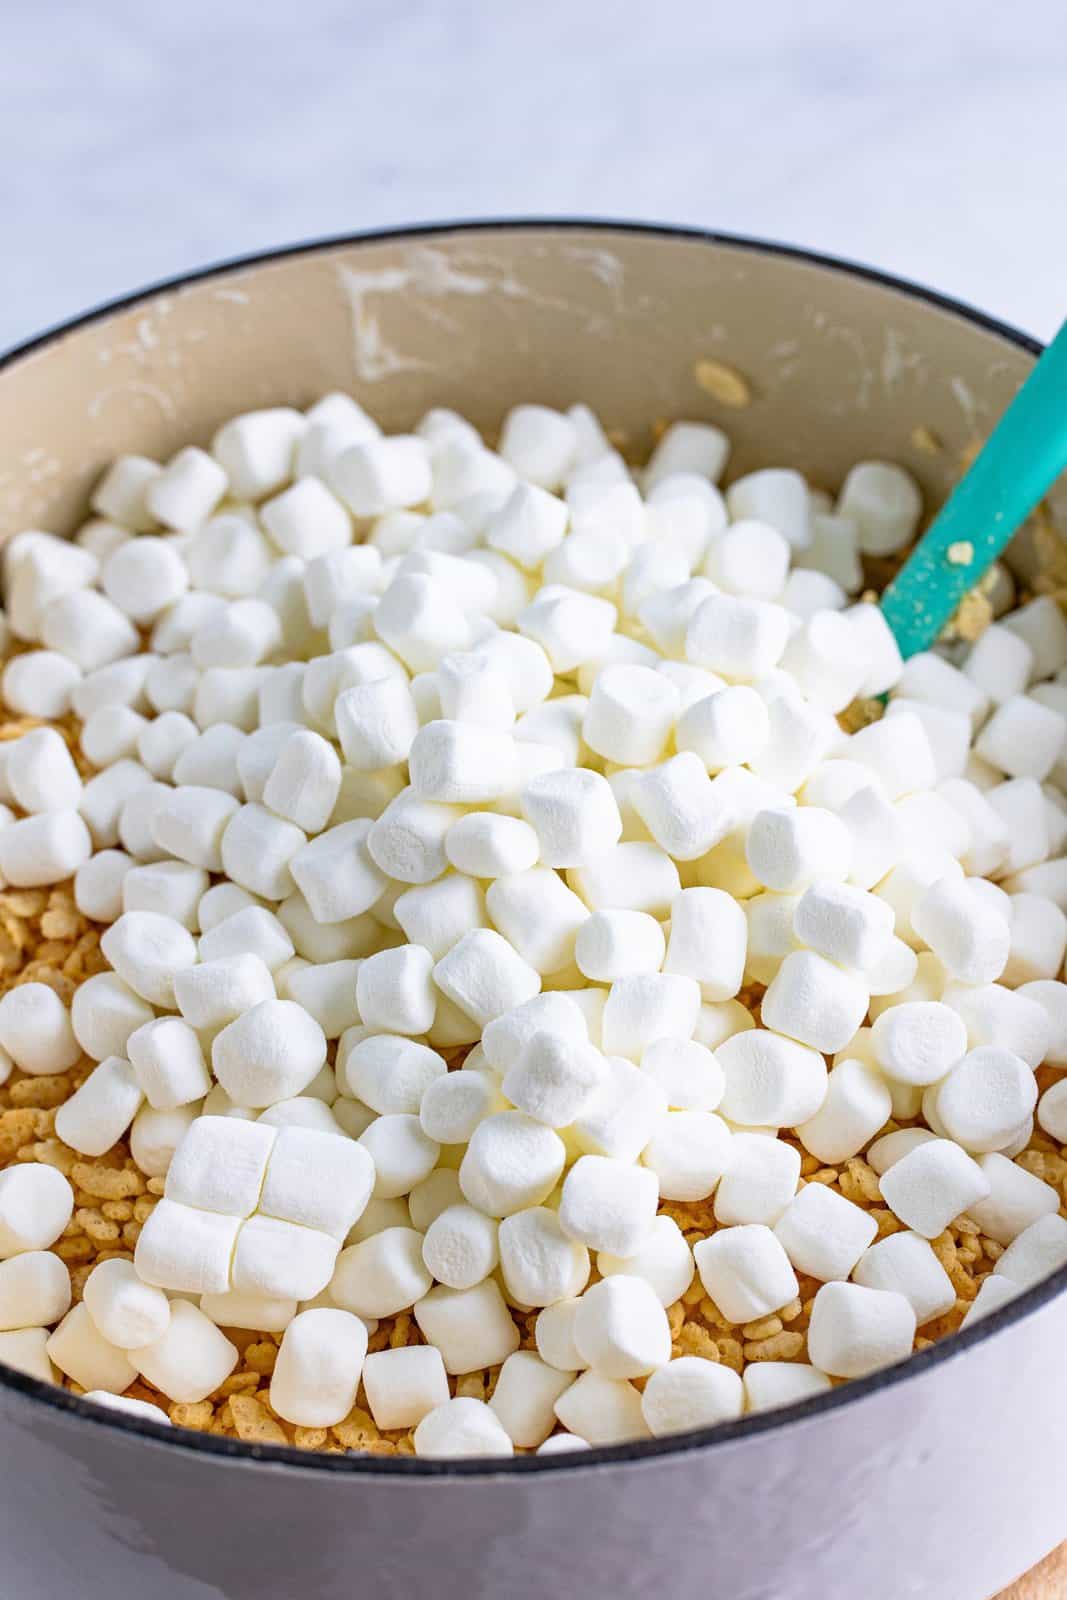
Set 4 cups of marshmallows to the side and add the rest to the melted butter pot.
Stir constantly until all is melted and combined.
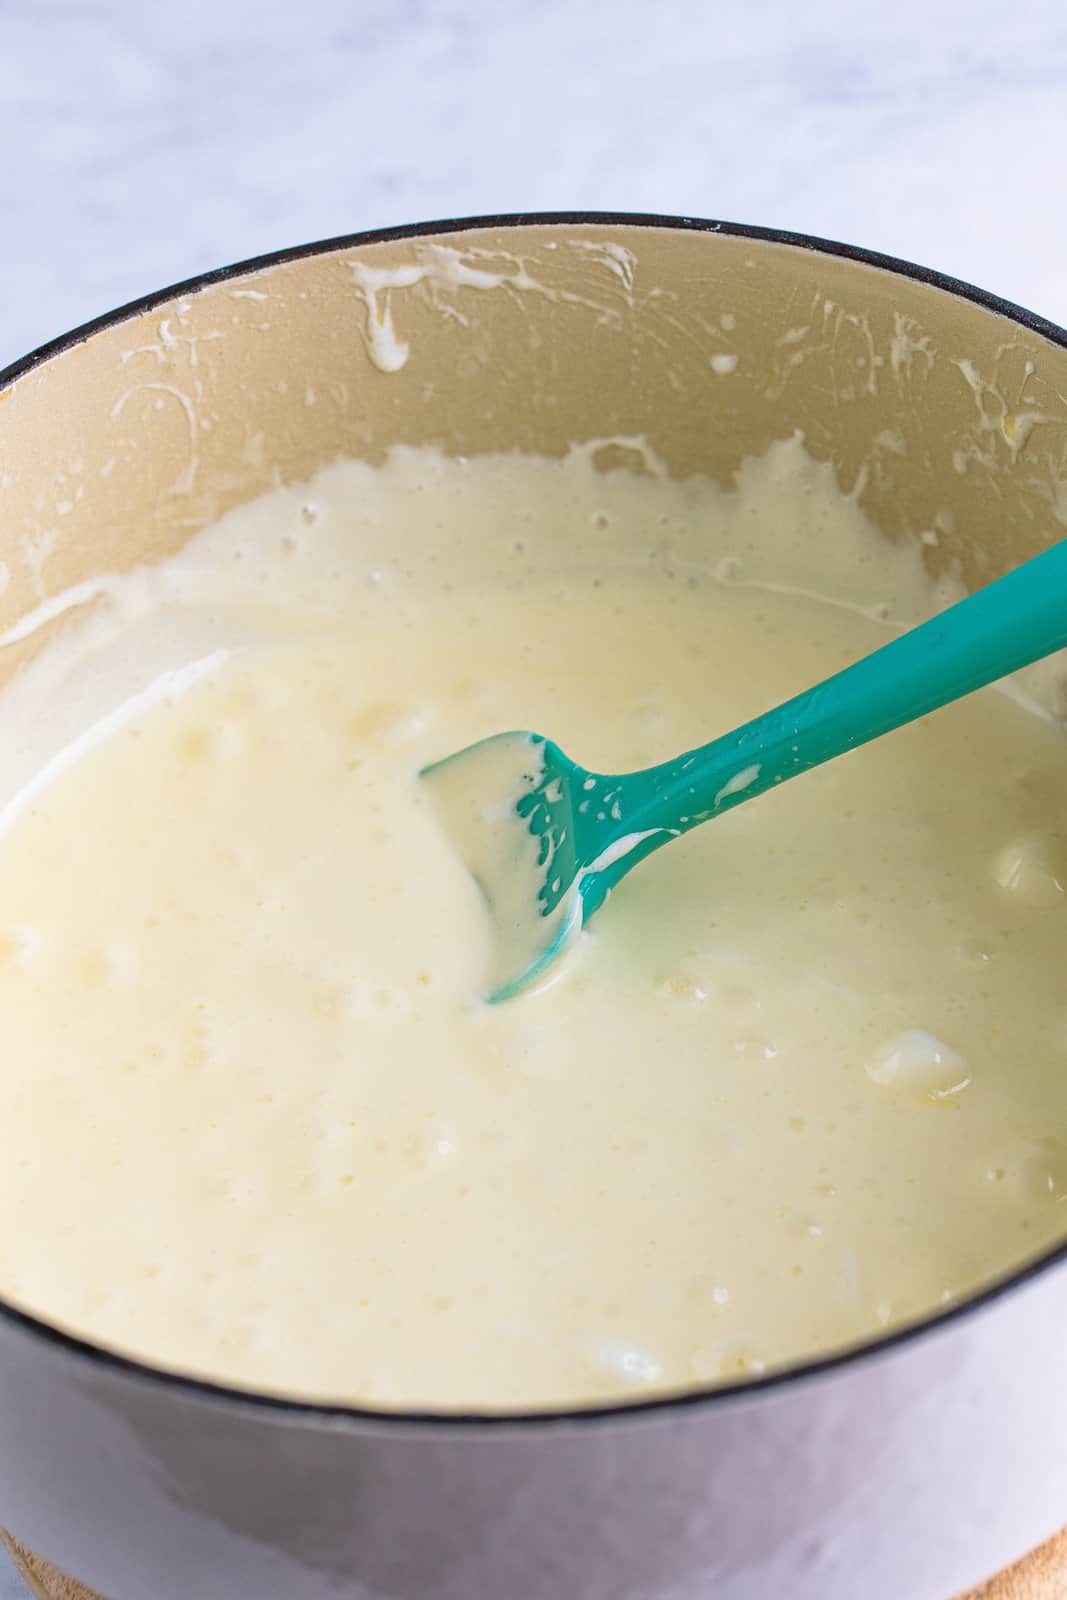
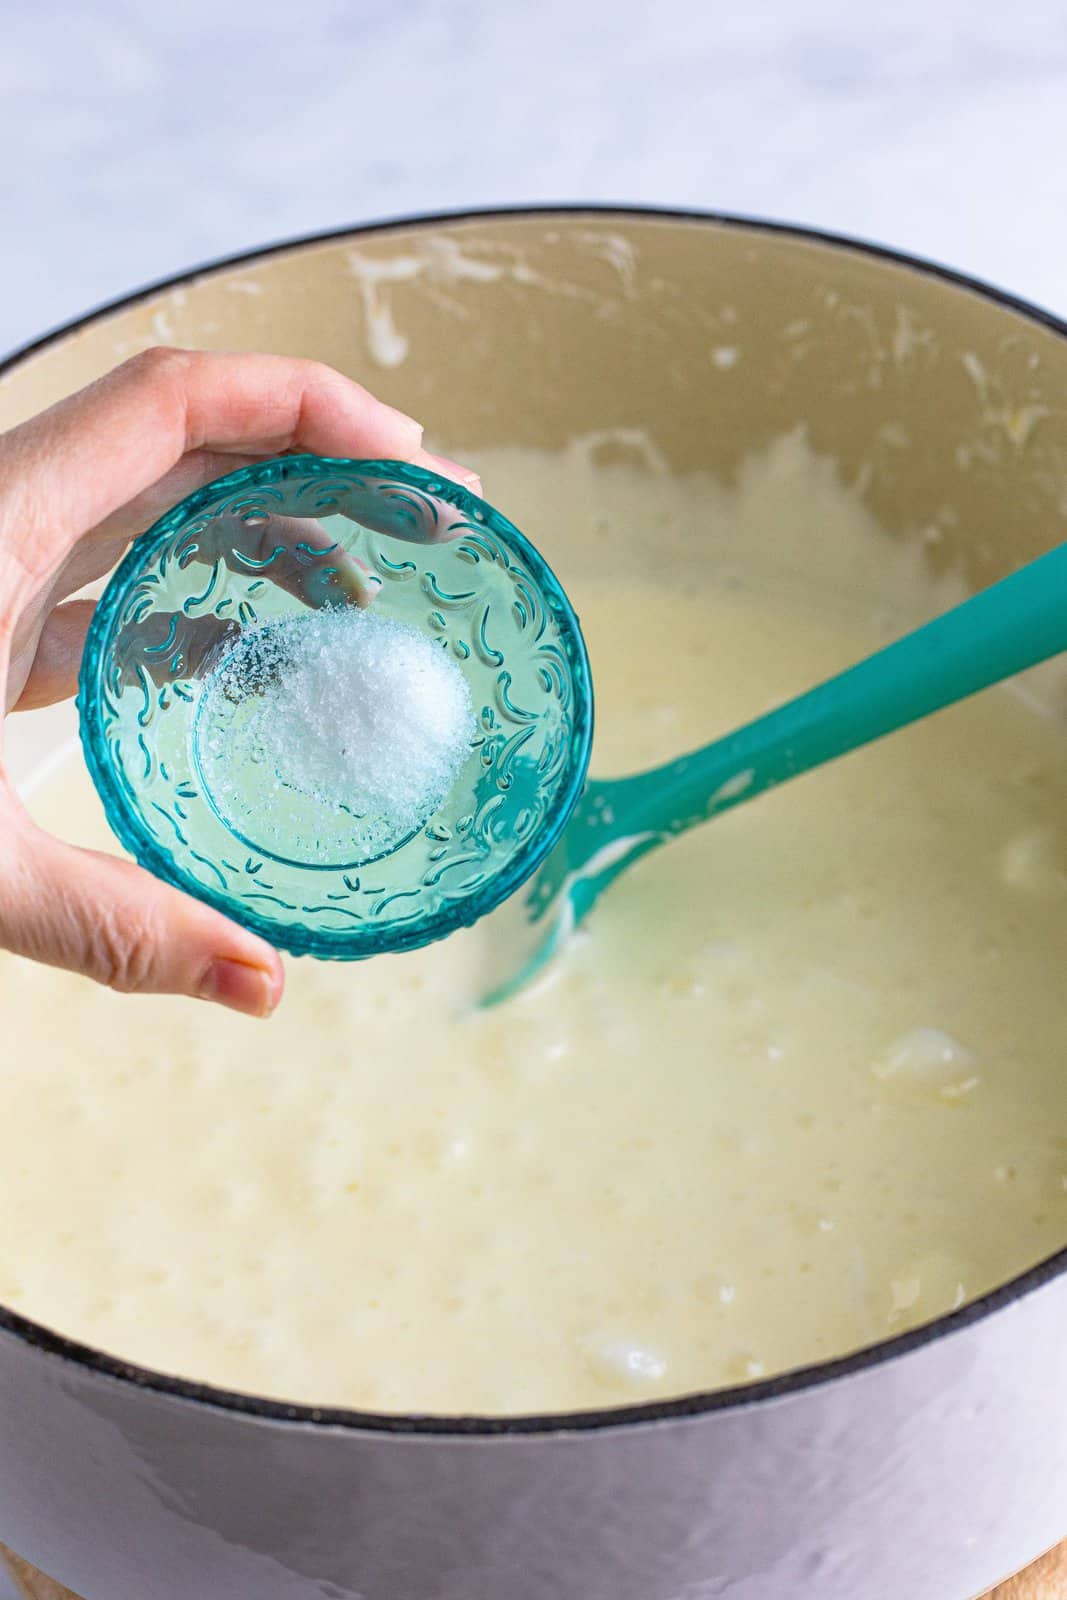
Remove the mixture from the heat. Add salt and stir.
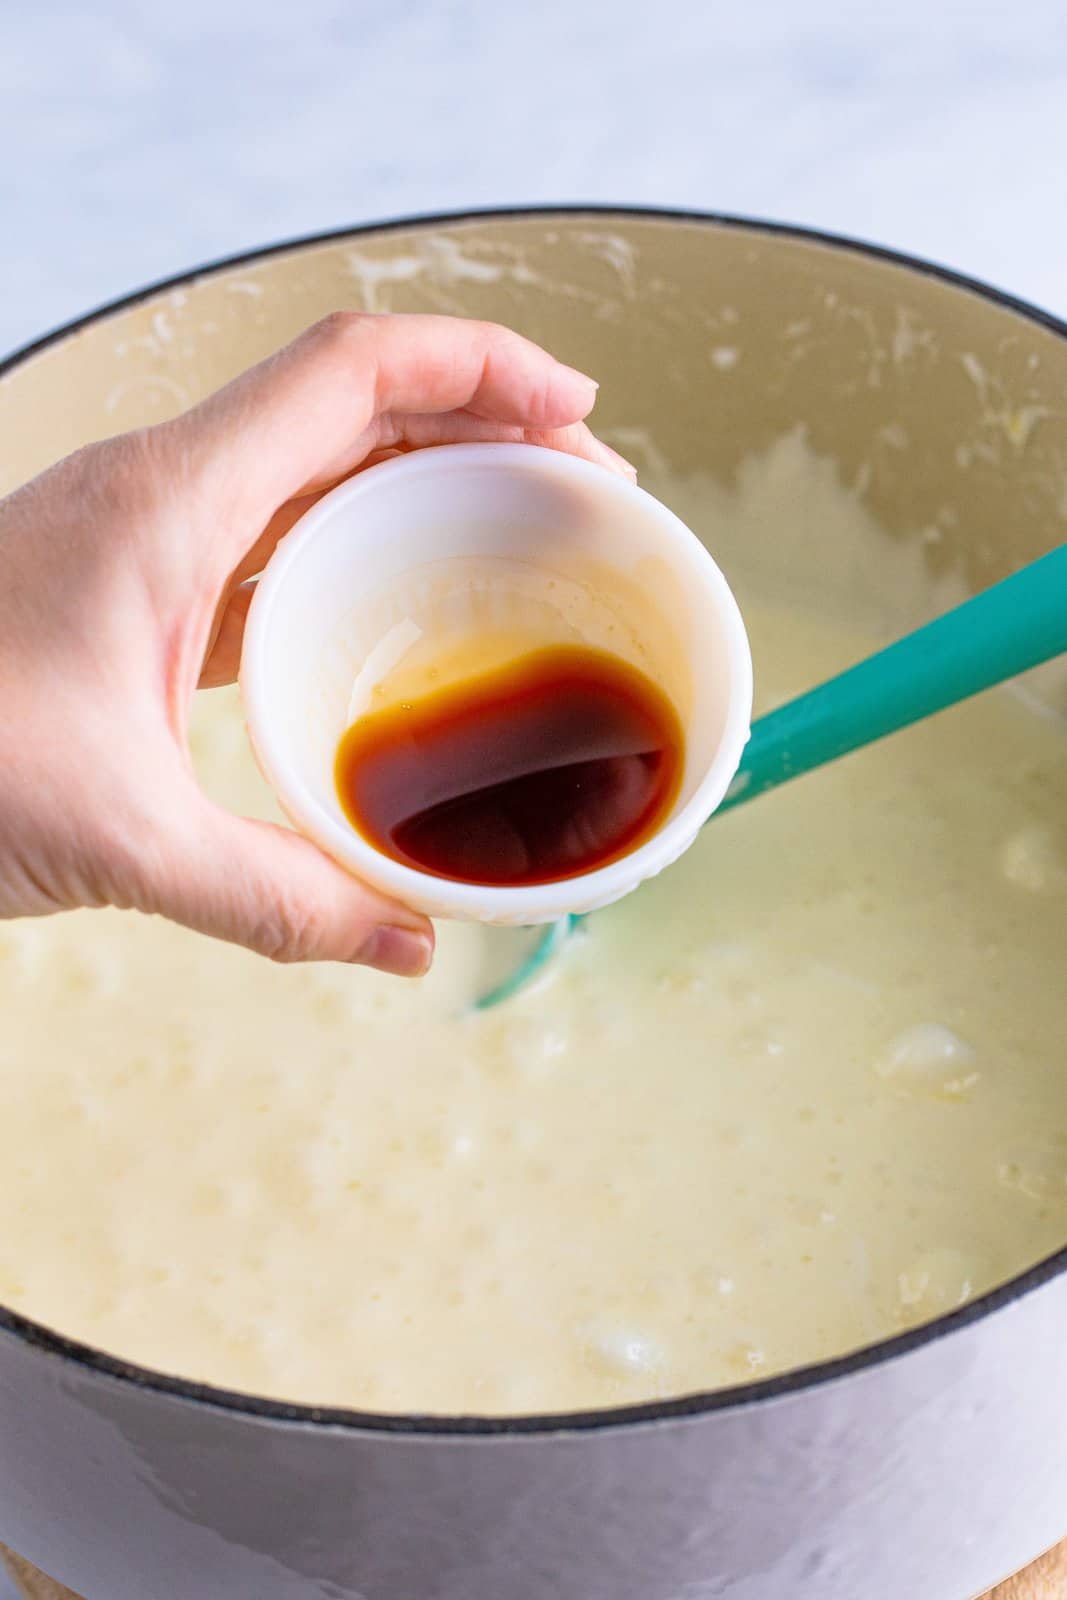
Add vanilla extract and stir.
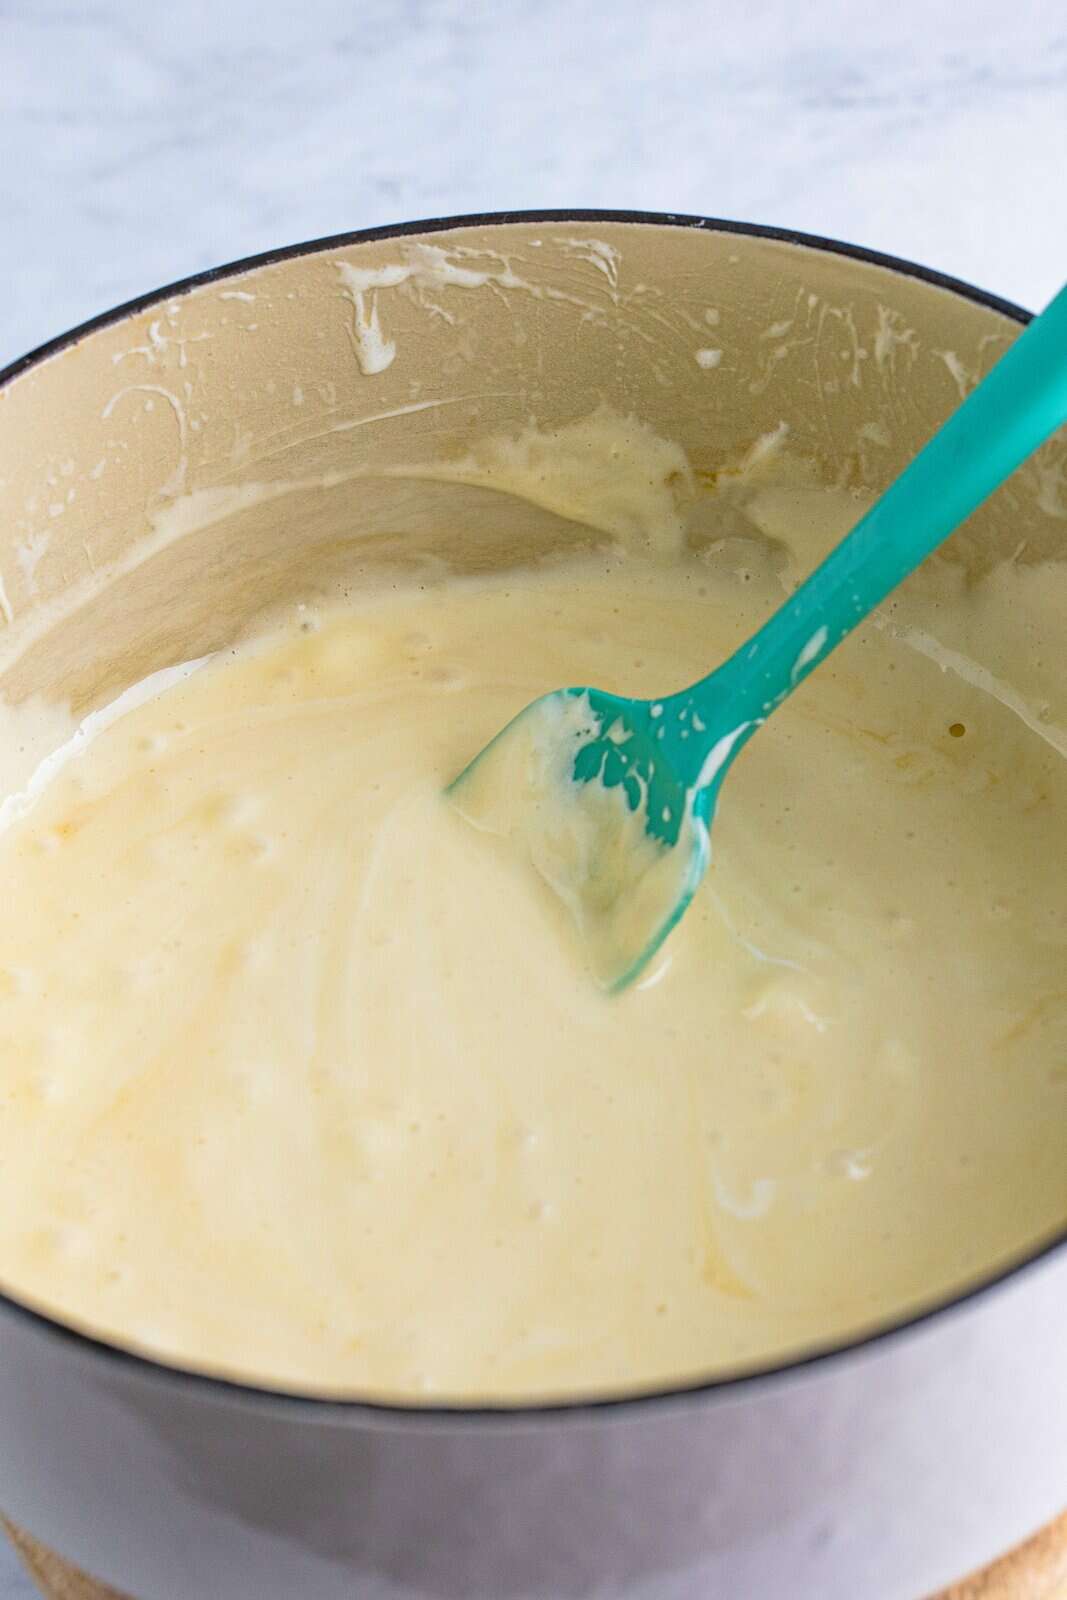
Stir well to combine.
Add half of the Rice Krispie cereal to the mixture.
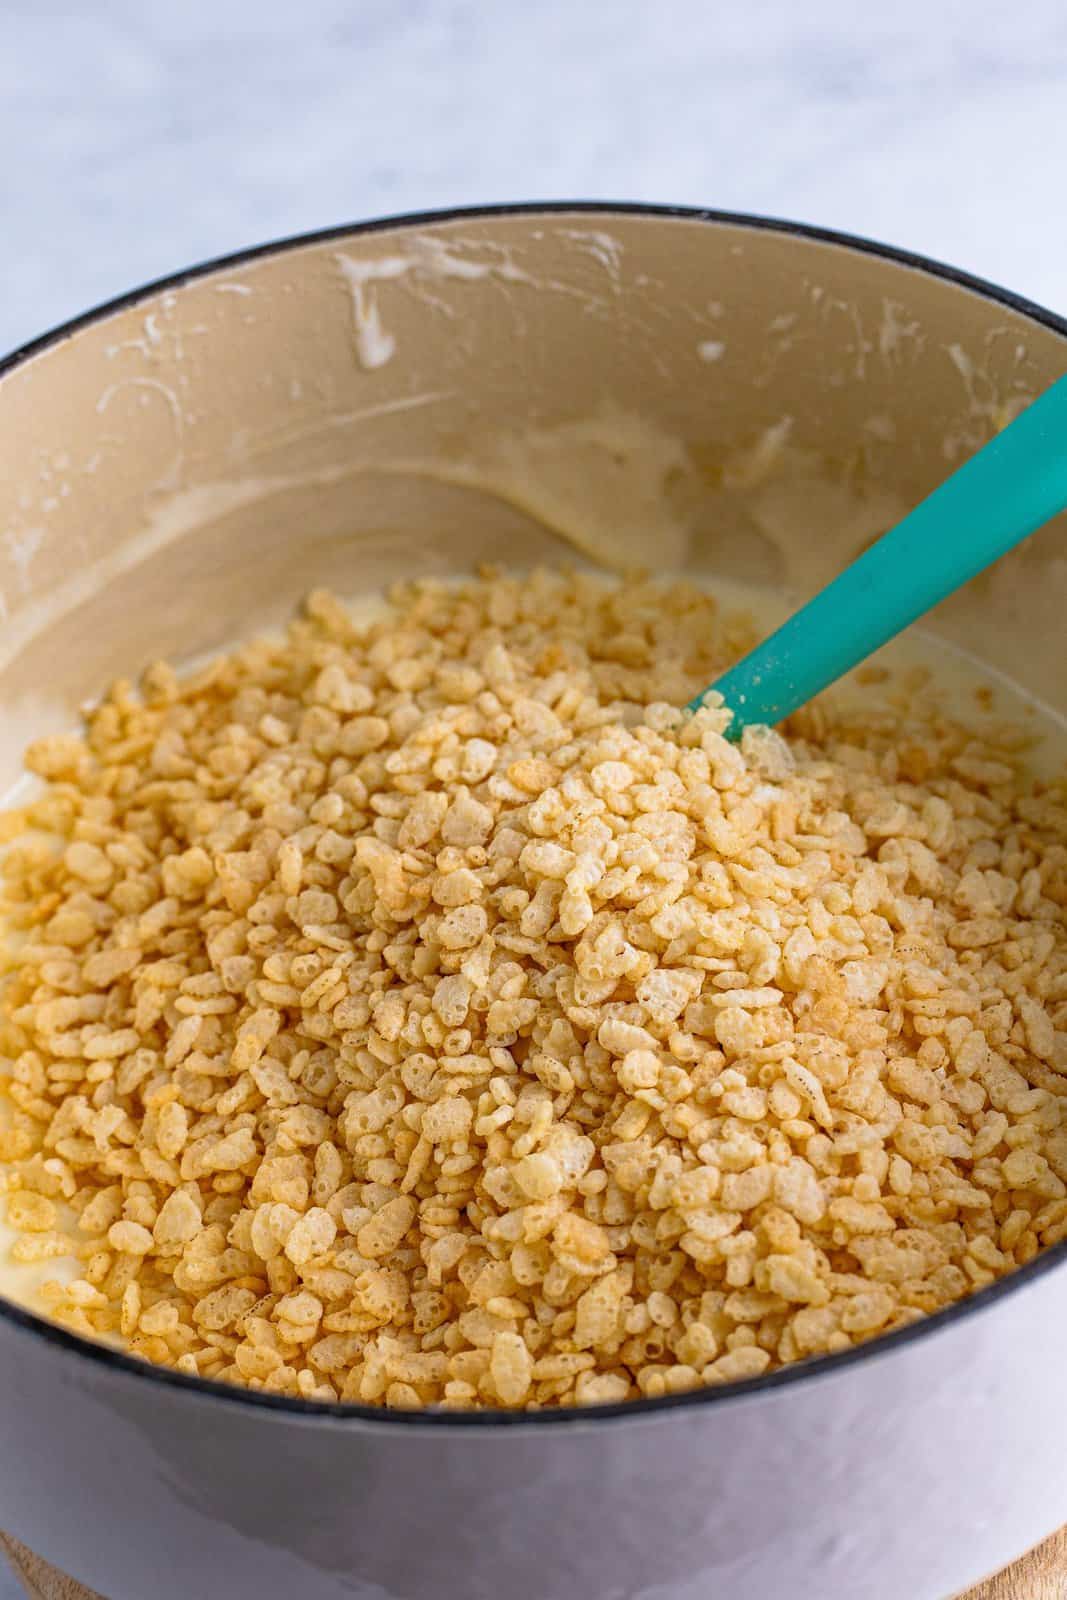
Stir to combine.
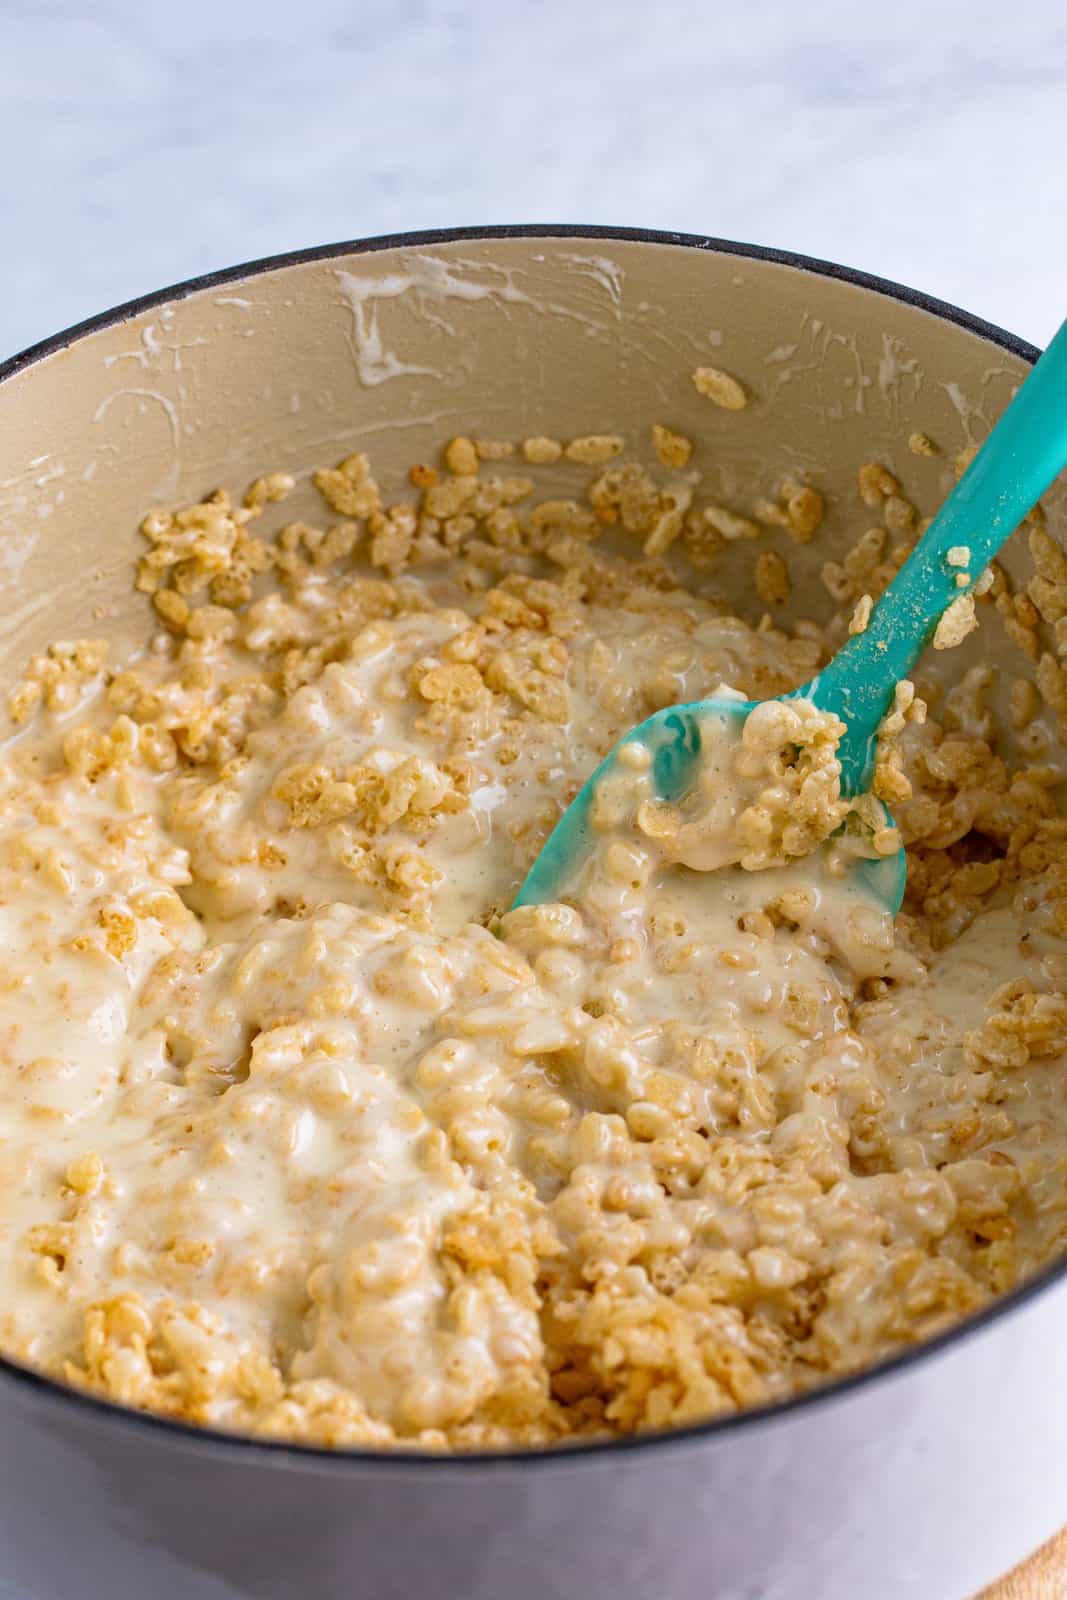
Add the rest of the cereal and reserved marshmallows to the mix.
Stir to combine.

Transfer the mixture to the prepared jelly roll pan.
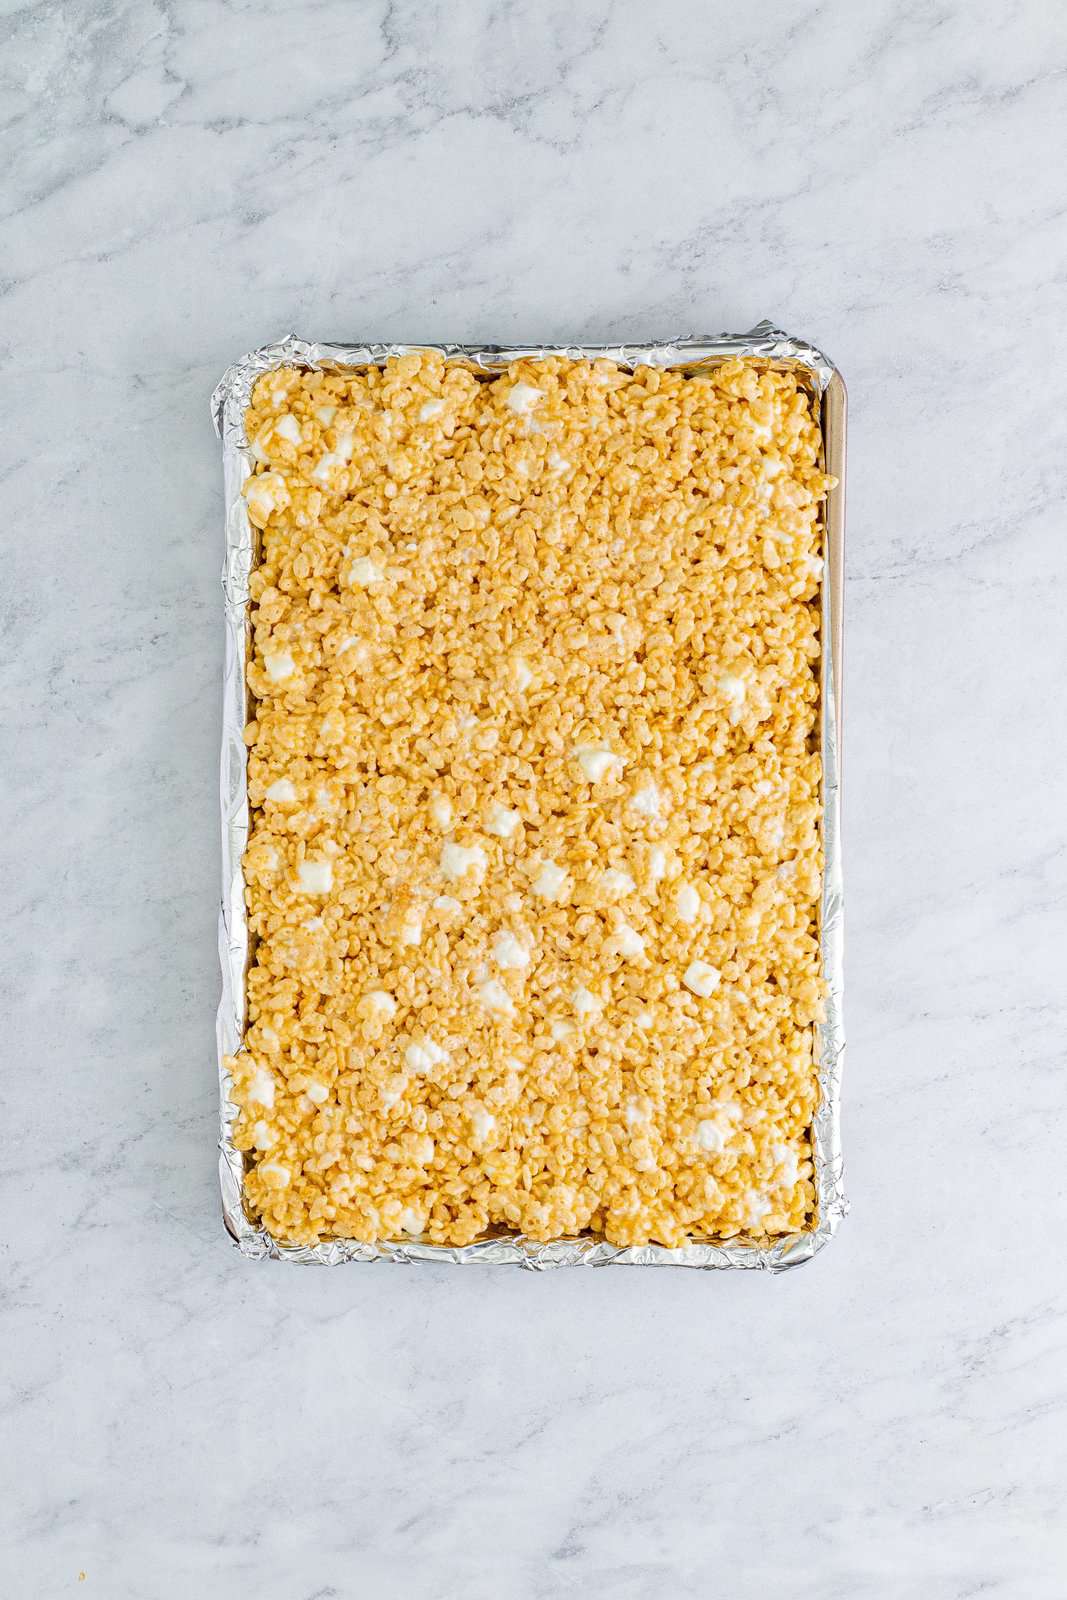
Use nonstick cooking spray to lightly spray your hands and carefully press the treat mixture into the pan. You do not want to smash the mixture down, just simply form it to the shape of the pan.

Let them set up for at least 2 hours.
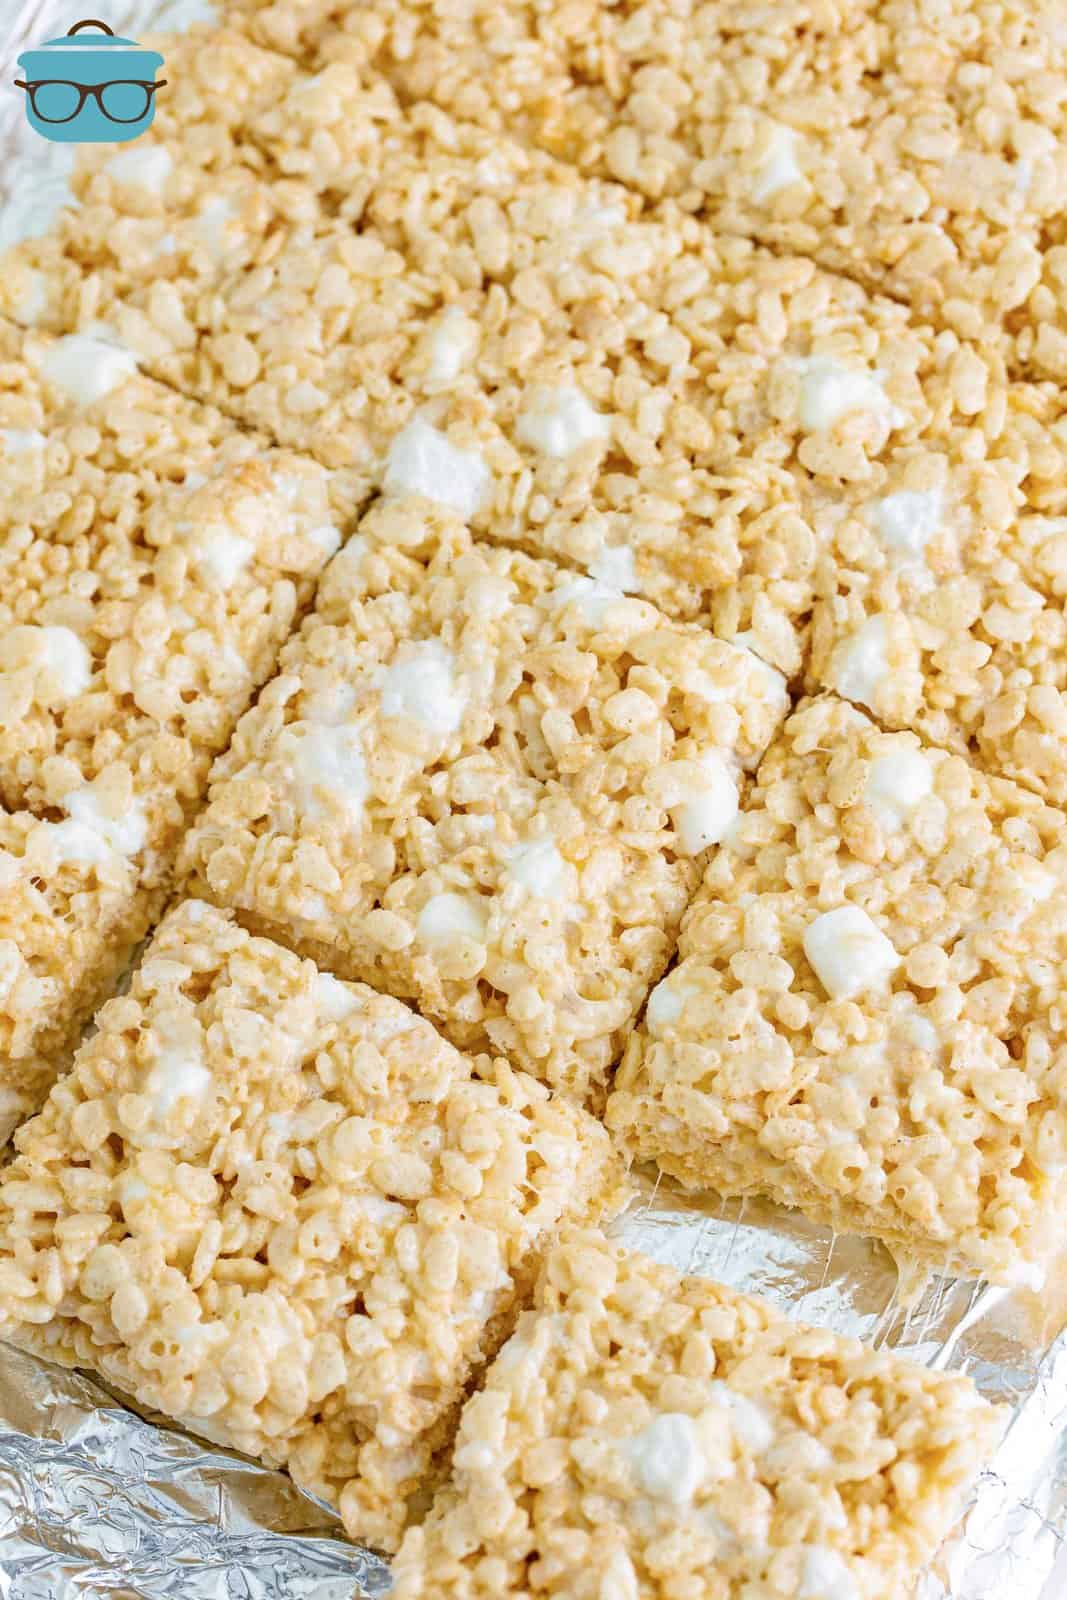
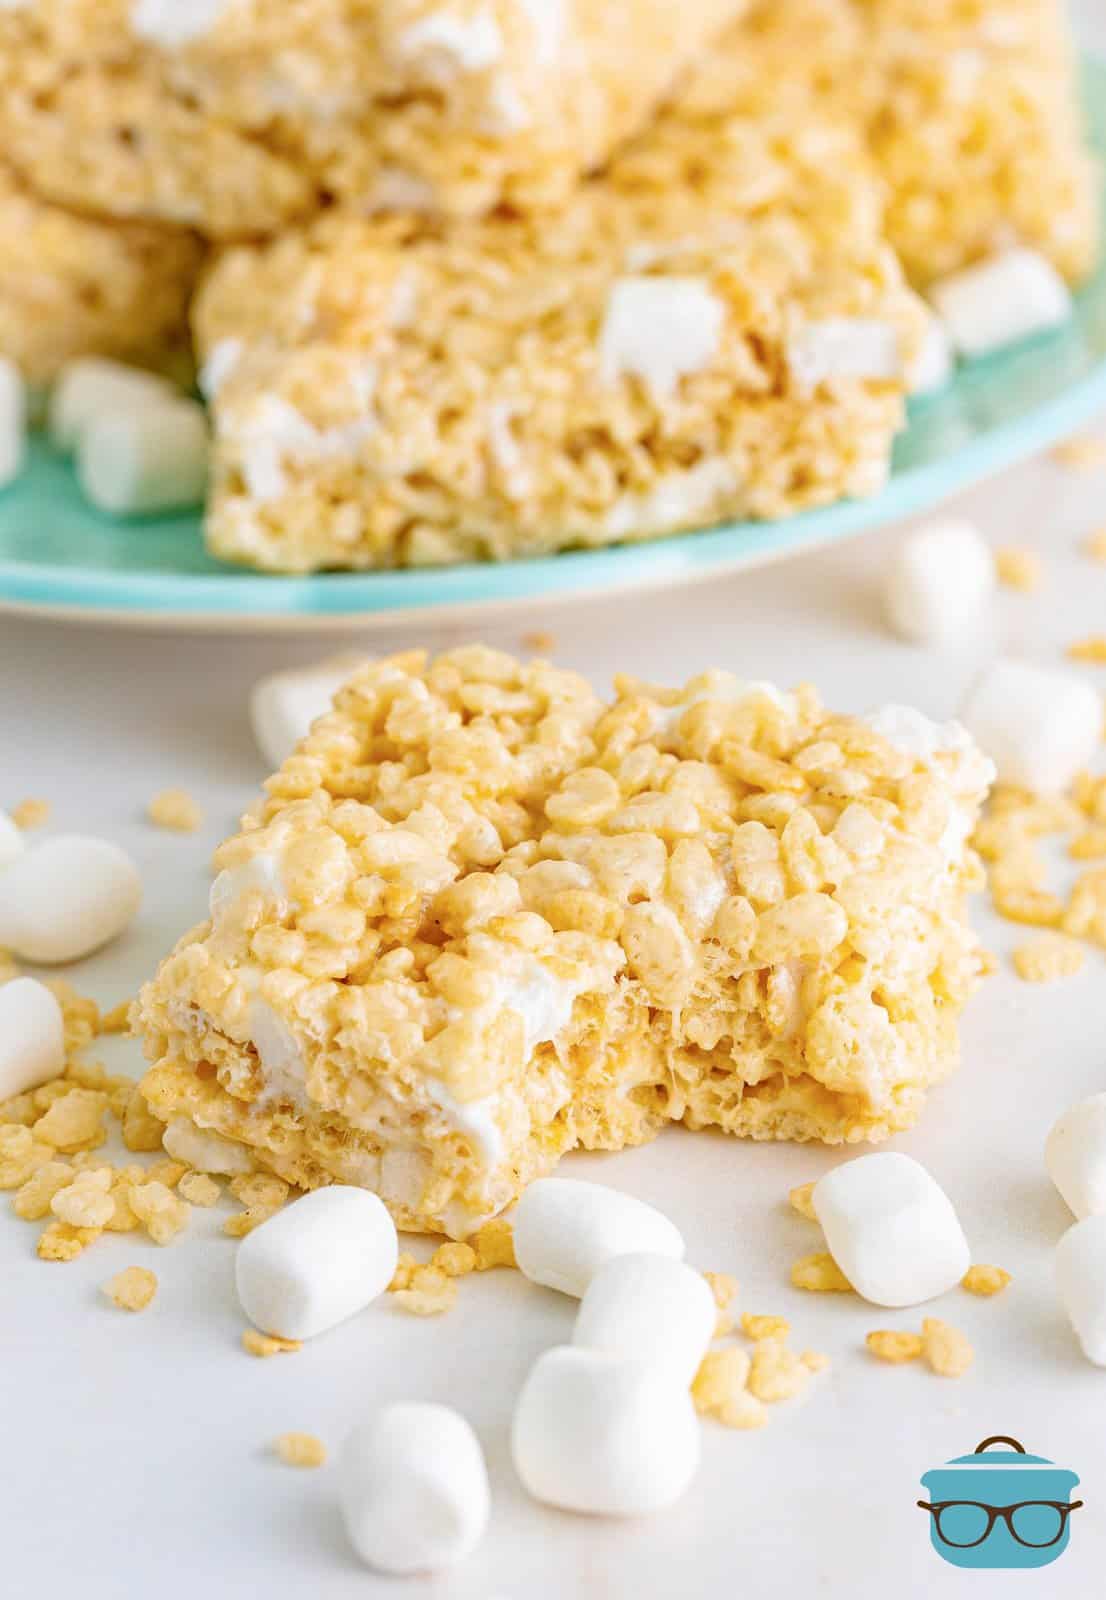
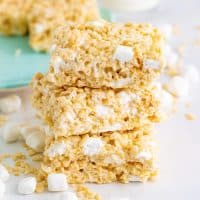
Cut into bars and serve.
CRAVING MORE RECIPES?
Rice Krispie Treats (Oooey Gooey!)
Ingredients
- 1 cup salted butter (2 sticks)
- 3 (10-ounce) bags mini marshmallows
- 1 tablespoon vanilla extract
- ¼ teaspoon salt
- 9 ounce box rice Krispies cereal
Instructions
- Grab a jelly roll pan (10×15-inch) and line with foil then lightly spray with nonstick cooking spray. Set aside.
- Add butter to dutch oven or large pot and melt place over medium-low heat.
- Set 4 cups of marshmallows to the side for later and add the rest to the melted butter pot. Stir constantly until all is melted and combined.
- Remove the mixture from the heat. Add salt and stir.
- Add vanilla extract and well to combine.
- Add half of the Rice Krispies cereal to the mixture. Stir to combine.
- Add the rest of the cereal and reserved marshmallows to the mix. Stir to combine.
- Transfer the mixture to the prepared jelly roll pan.
- Use nonstick cooking spray to lightly spray your hands and carefully press the treat mixture into the pan. You do not want to smash the mixture down, just simply form it to the shape of the pan.
- Let them set up for at least 2 hours. Cut into bars and serve!
Notes
- I use salted butter and additional salt in the recipe to help cut down on the sweetness. It helps balance the treat bars out and really helps set these bars apart. But you can certainly leave out the additional salt.
- You can change up the texture even more by adding some mix-ins. Try using: chopped nuts or candy bars, mini chocolate chips, or sprinkles.
- No jelly roll pan? No problem, make thicker bars in a 9×13-inch baking dish instead.
Nutrition
Nutritional Disclaimer
“The Country Cook” is not a dietician or nutritionist, and any nutritional information shared is an estimate. If calorie count and other nutritional values are important to you, we recommend running the ingredients through whichever online nutritional calculator you prefer. Calories and other nutritional values can vary quite a bit depending on which brands were used.


how big is your jelly roll pan that you used?
10×15 – but if you have a smaller one, or don’t own one, that is fine. You can use a 9×13 and they’ll just be a bit thicker.