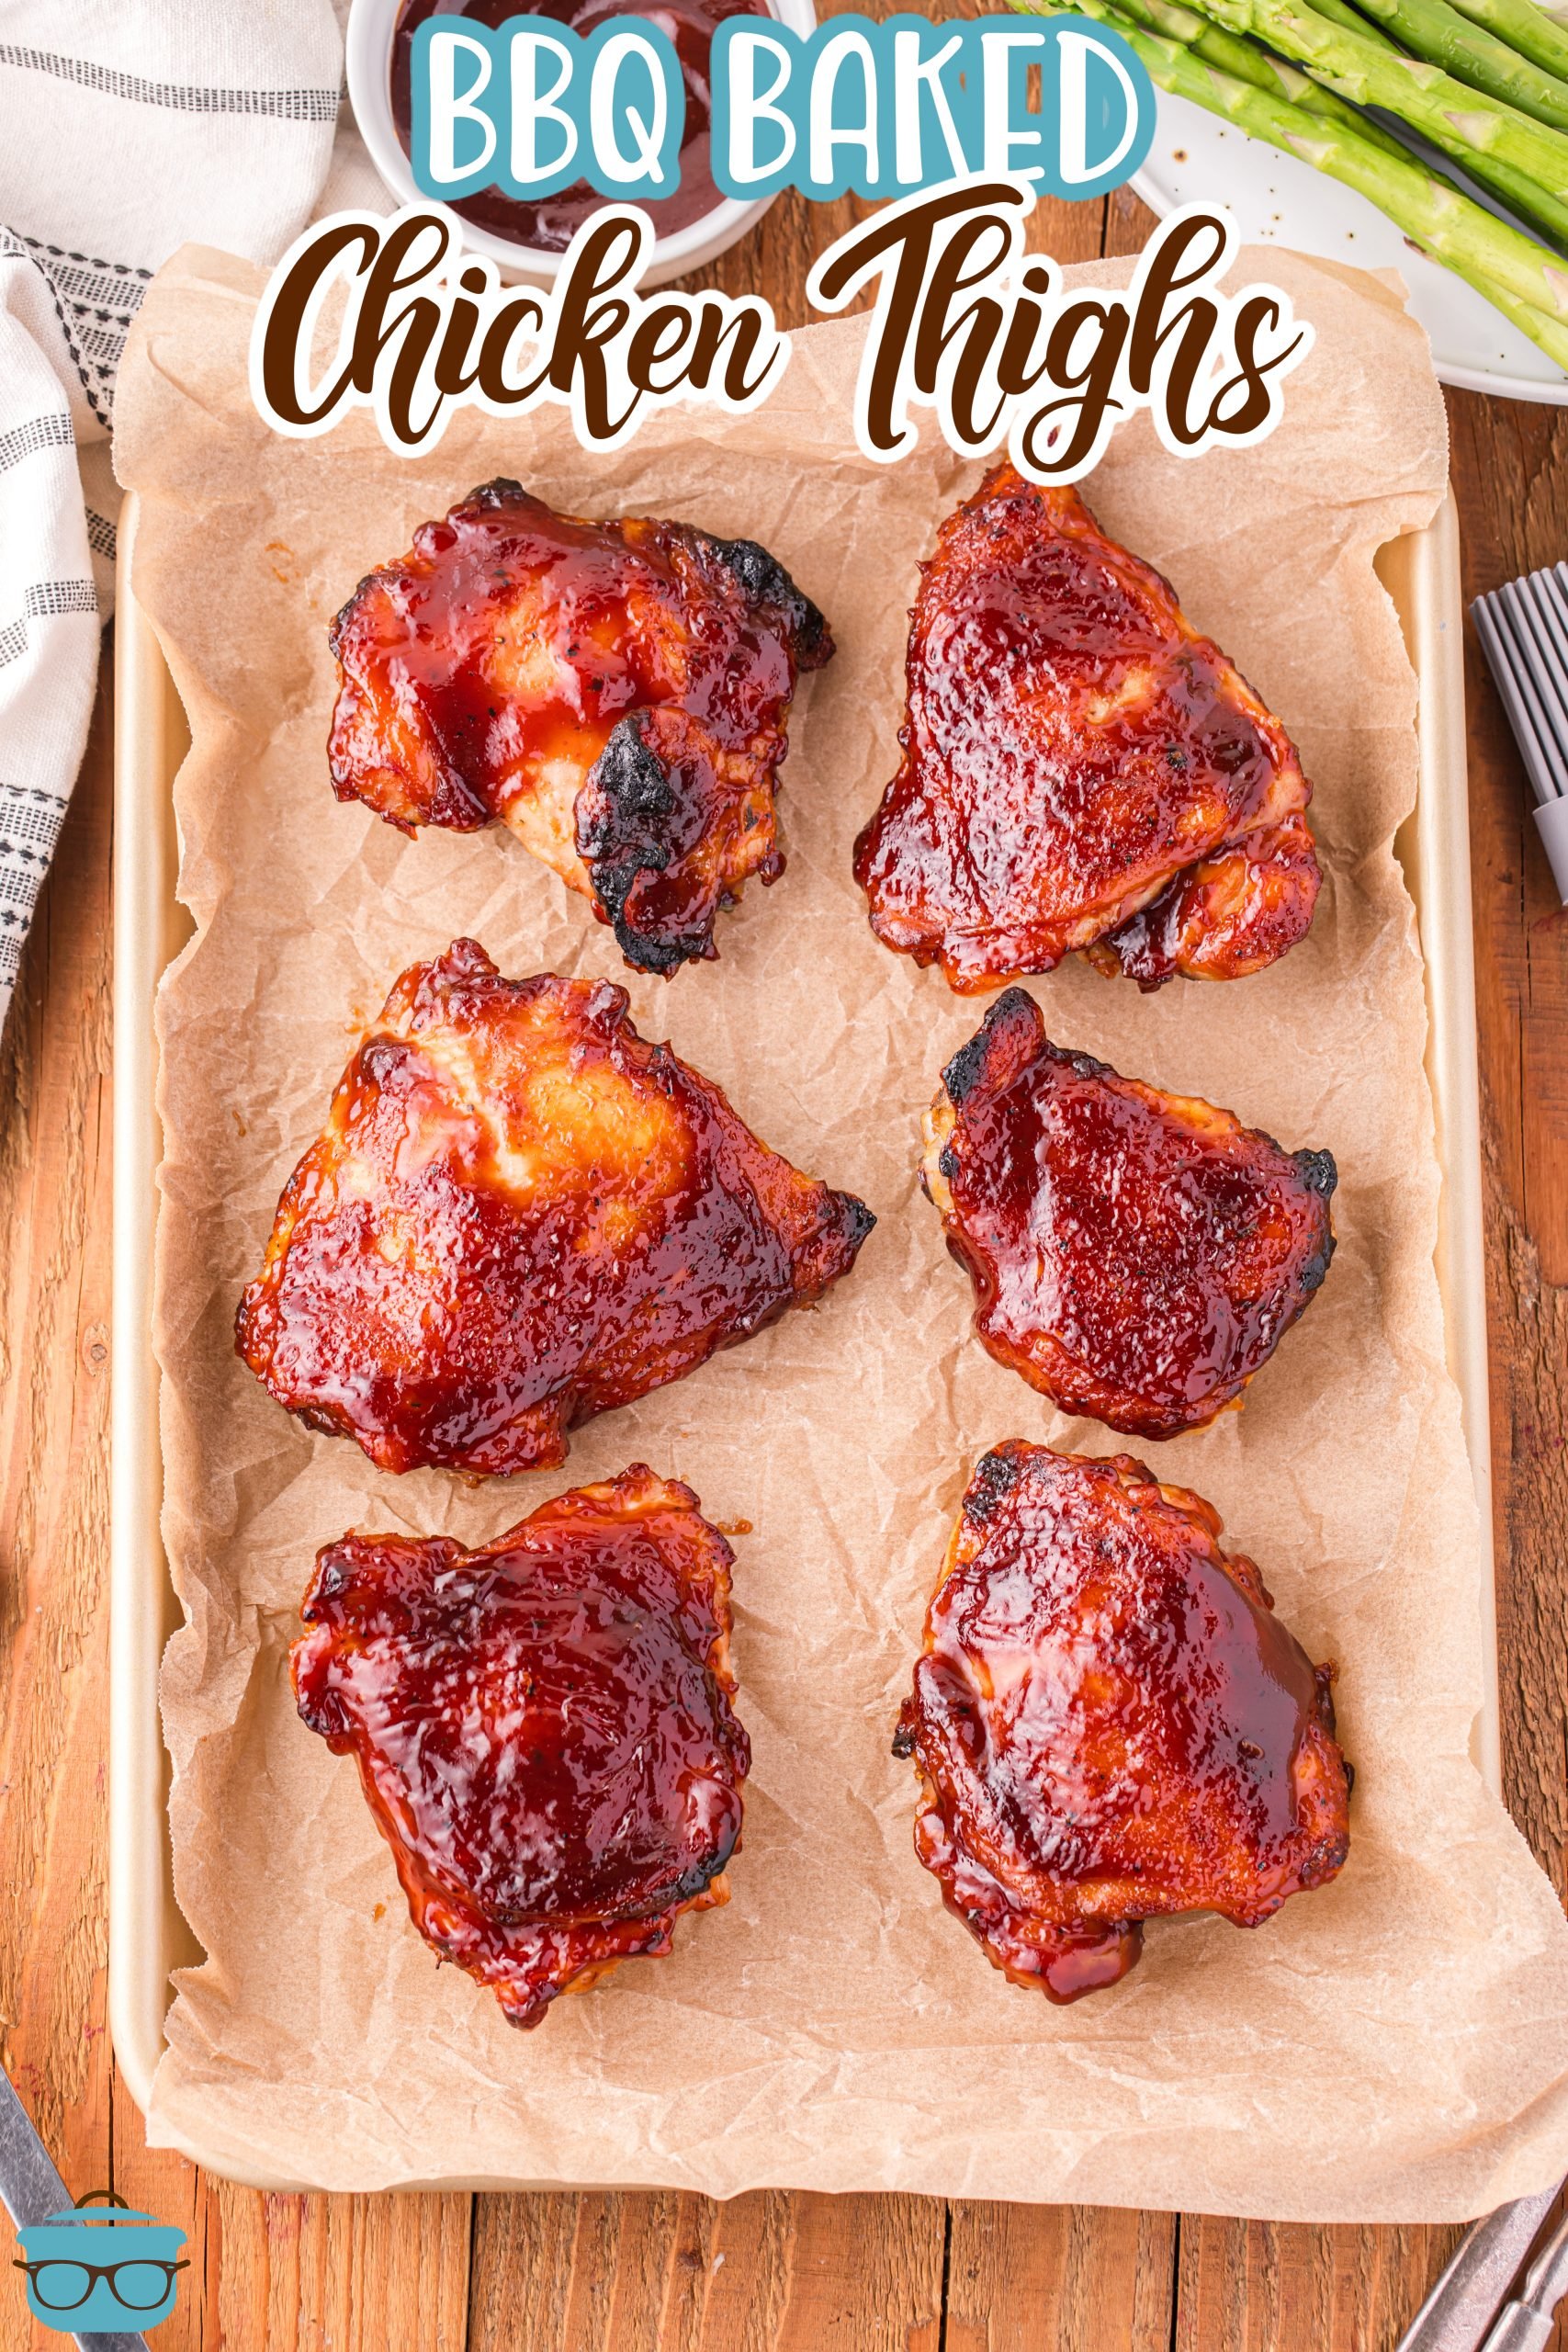
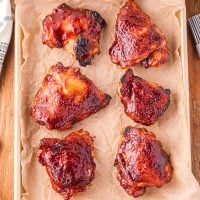
BBQ Baked Chicken Thighs
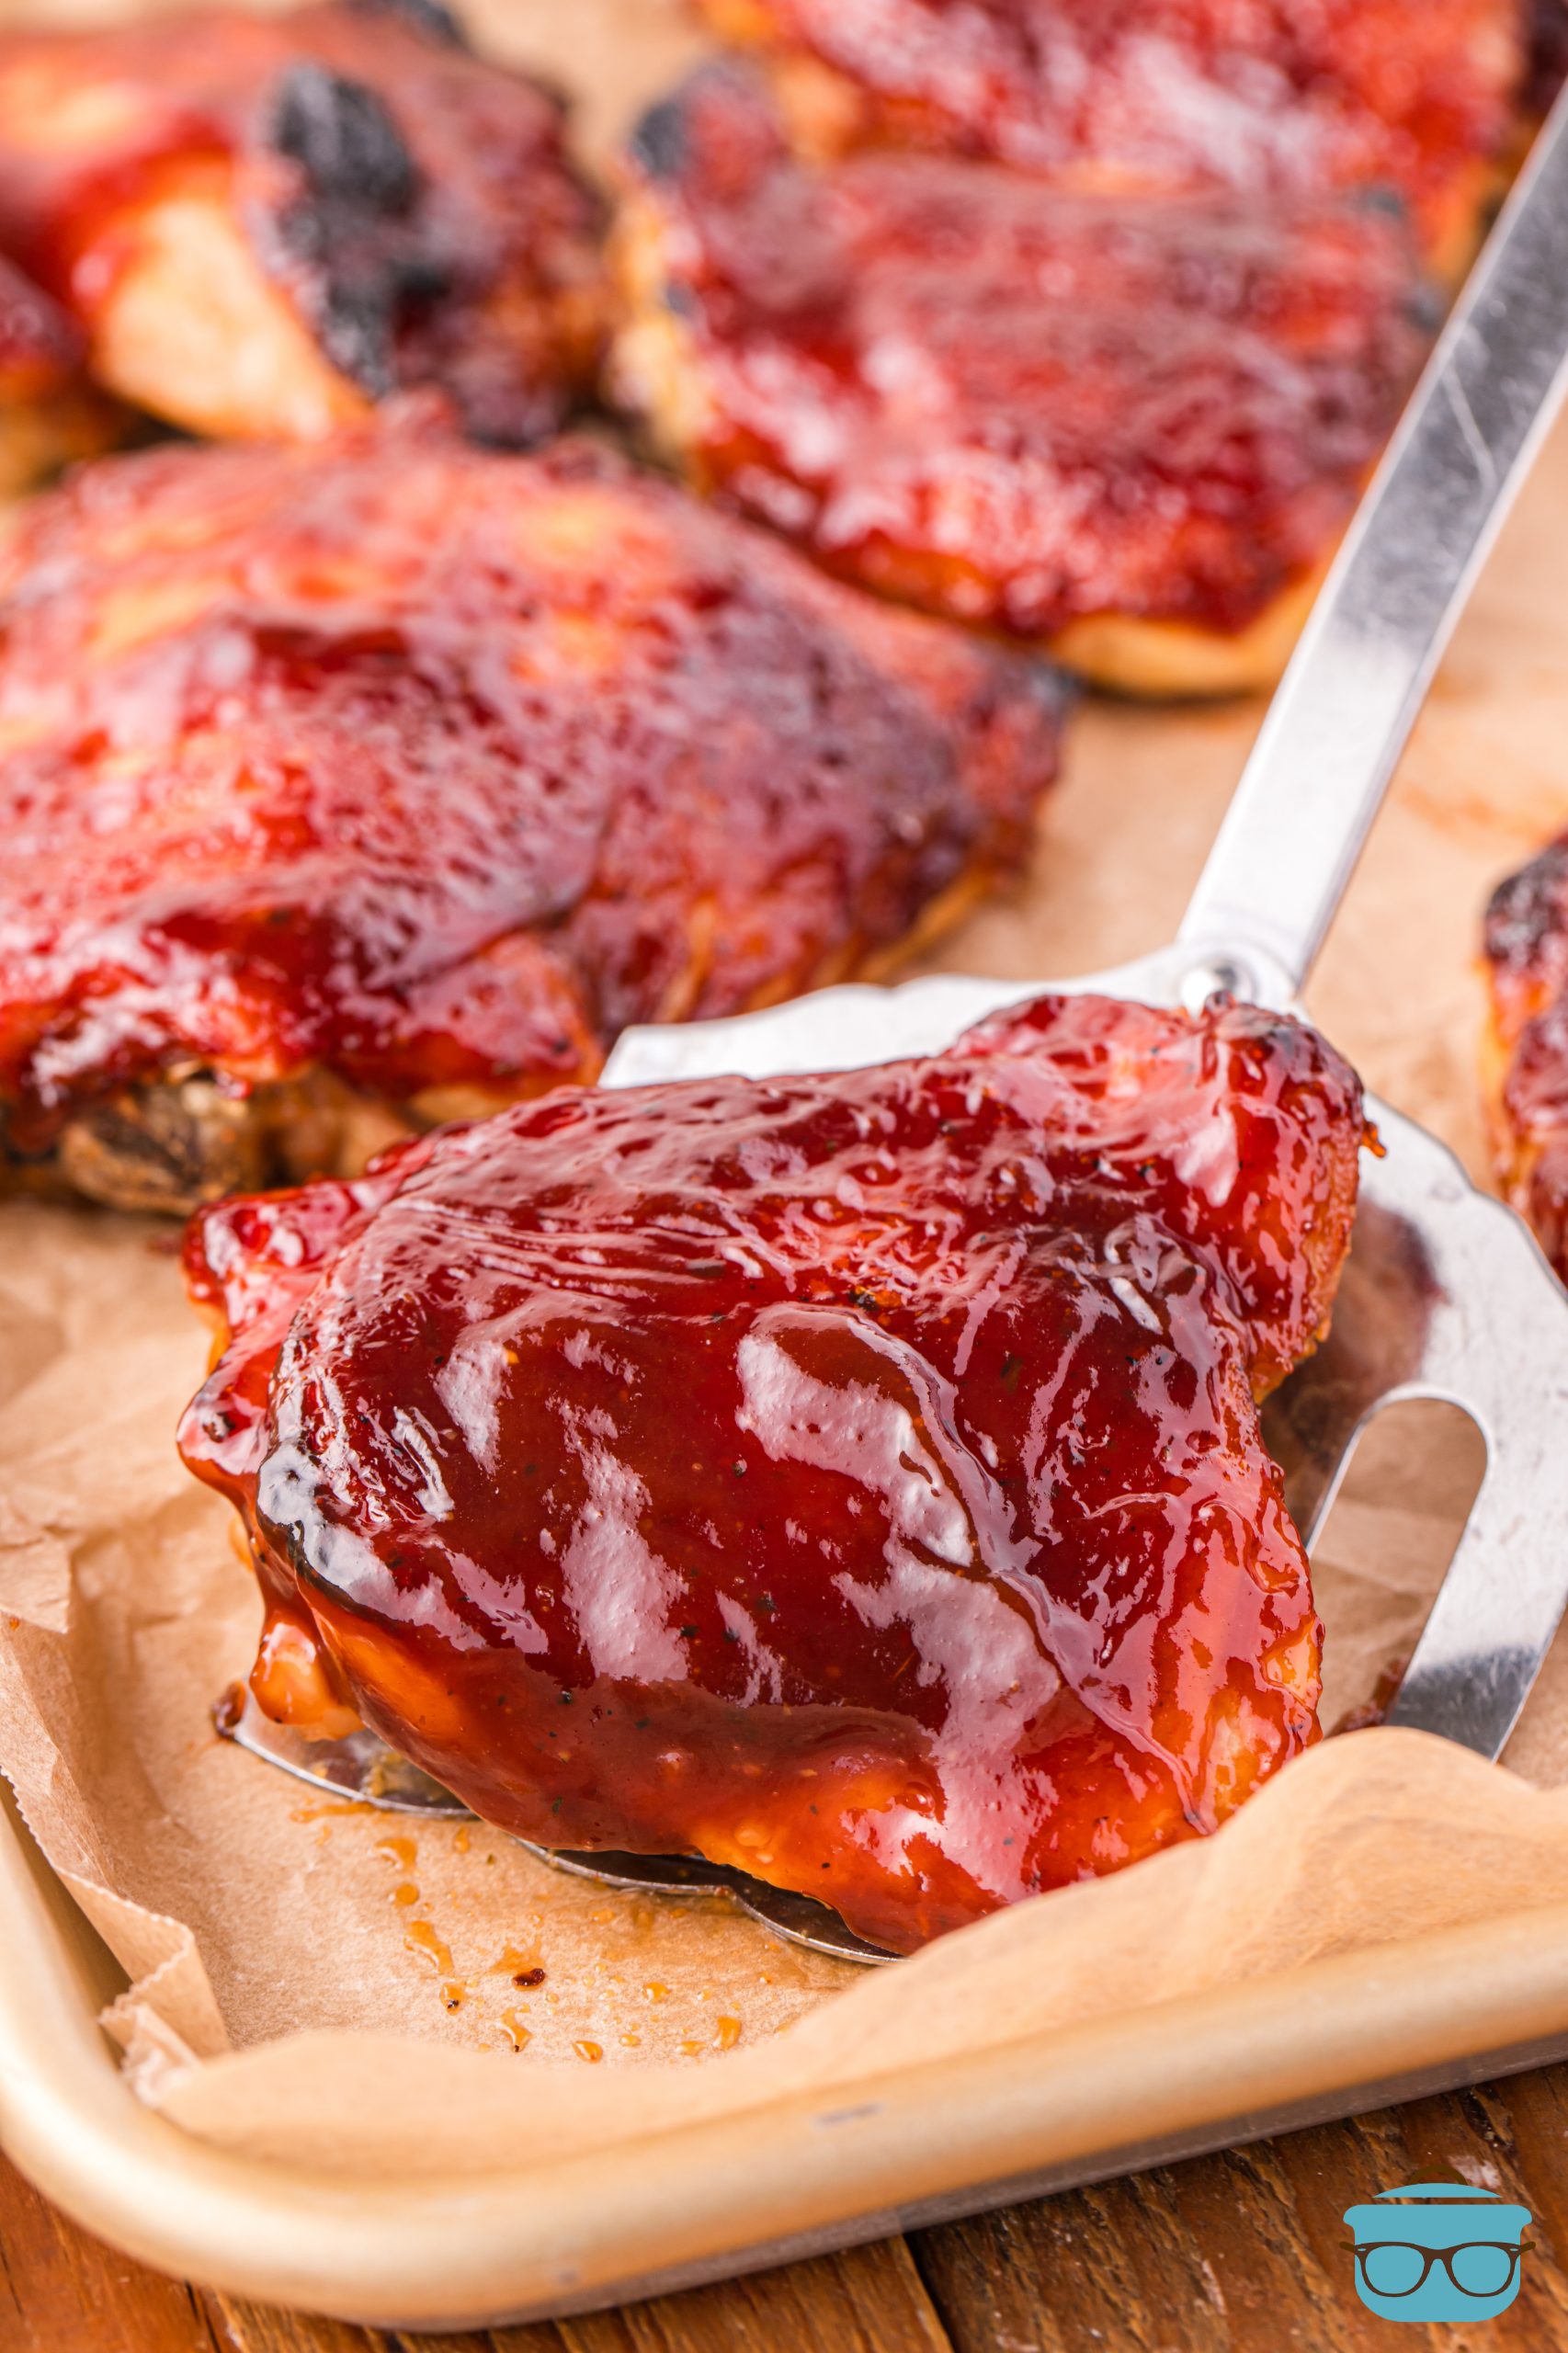
Ready in just 40 minutes and using only 3 simple ingredients, these BBQ Baked Chicken Thighs are so flavorful and finger-licking good!
A 3 INGREDIENT CHICKEN THIGH RECIPE
We all know and have seen grocery prices have been on the rise. And we also know that when the prices go up, they never come back down. So, for those of use who are meat eaters, we have to find ways to save money on meat and even shop differently than we used to (is anyone else getting much more hardcore about couponing?) Chicken thighs (while not exceptionally cheap) are still cheaper than chicken breasts. So I’m going to show more recipes using this less expensive cut of meat and these BBQ Baked Chicken Thighs are just the thing to get started!
FREQUENTLY ASKED QUESTIONS:
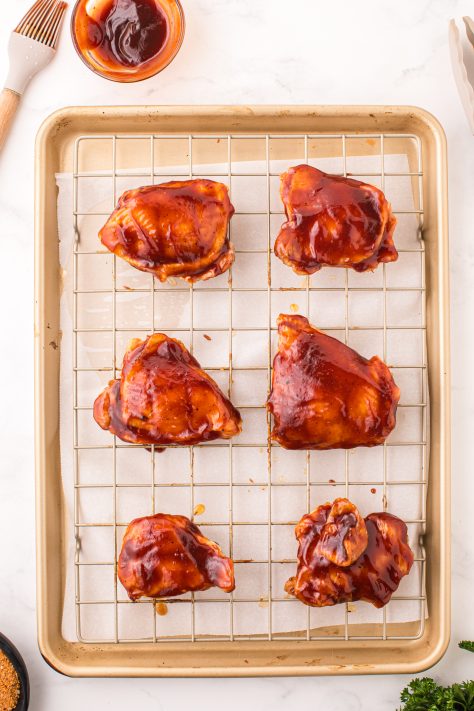
I use a set similar this sheet pan and baking rack combo (paid affiliate link) from Amazon and it seems to work really well. But you can use any ones you have that will fit together. Baking racks are good for so many things! In this recipe, it allows air and heat to flow around the whole piece of chicken. It does the same thing with bacon in the oven. If you like crispier bacon, use a baking rack instead of laying the bacon directly on the baking sheet.
Don’t want to use store-bought? No worries, I got you covered. It is super simple to make, just combine these ingredients and rub on chicken thighs according to recipe instructions:
1 teaspoon garlic powder
1/2 teaspoon red pepper flakes
1/2 teaspoon paprika
1 teaspoon black pepper
1 teaspoon mustard powder
2 teaspoons salt
3 teaspoons brown sugar
I always recommend getting a good digital thermometer when cooking meat, as it helps ensure the meat is safely cooked and avoids dry, overcooked meat. They are so simple to use and fairly inexpensive. However, if you don’t have one, there are several other ways to check that your chicken is fully cooked.
1. Visual Inspection: Cut into the thickest part of one of the chicken thighs. The meat should no longer be pink, and the juices should run clear. The chicken needs more cooking time if you see any pinkness.
2. Texture: The chicken should feel firm to the touch when pressed. If it feels soft or squishy, it’s likely not cooked through. Be careful if using this method so as not to burn your fingers.
3. Bone Test: This is helpful if you do not wish to cut into the chicken meat, which can dry it out. If you’re using bone-in thighs, the last part to cook through should be near the bone. Check that the meat closest to the bone is no longer pink and the juices are clear.
4. Timing: Follow the recommended cooking times in the recipe as a general guideline. Cooking times can vary depending on the size of the chicken thighs and the accuracy of your oven, so use this as an estimate and adjust as needed using the other methods.
It’s not necessary. We want the chicken thigh skin to get nice and crispy with the rub seasoning on it. Then let it get even crispier and possibly bubble when we broil it with the bbq sauce on it. If we covered it with foil, it wouldn’t get nice and crispy.
If you want grilled thighs, I’d suggest making my Grilled BBQ Chicken Thighs recipe instead.
The sky is the limit. Here are some options:
– Potato Salad
– Macaroni Salad
– Crock Pot BBQ Baked Beans
– Hawaiian Mac Salad
– Marinated Tomatoes and Cucumbers
– Grilled Corn on the Cob
Baked BBQ Chicken Thighs should be cooled to room temperature for no longer than 2 hours and then stored in the refrigerator for 3-4 days. If you want to store them longer, you can freeze them in a freezer safe airtight container or bag for 2-3 months. Always reheat chicken to a minimum of 165F degrees internally before serving.
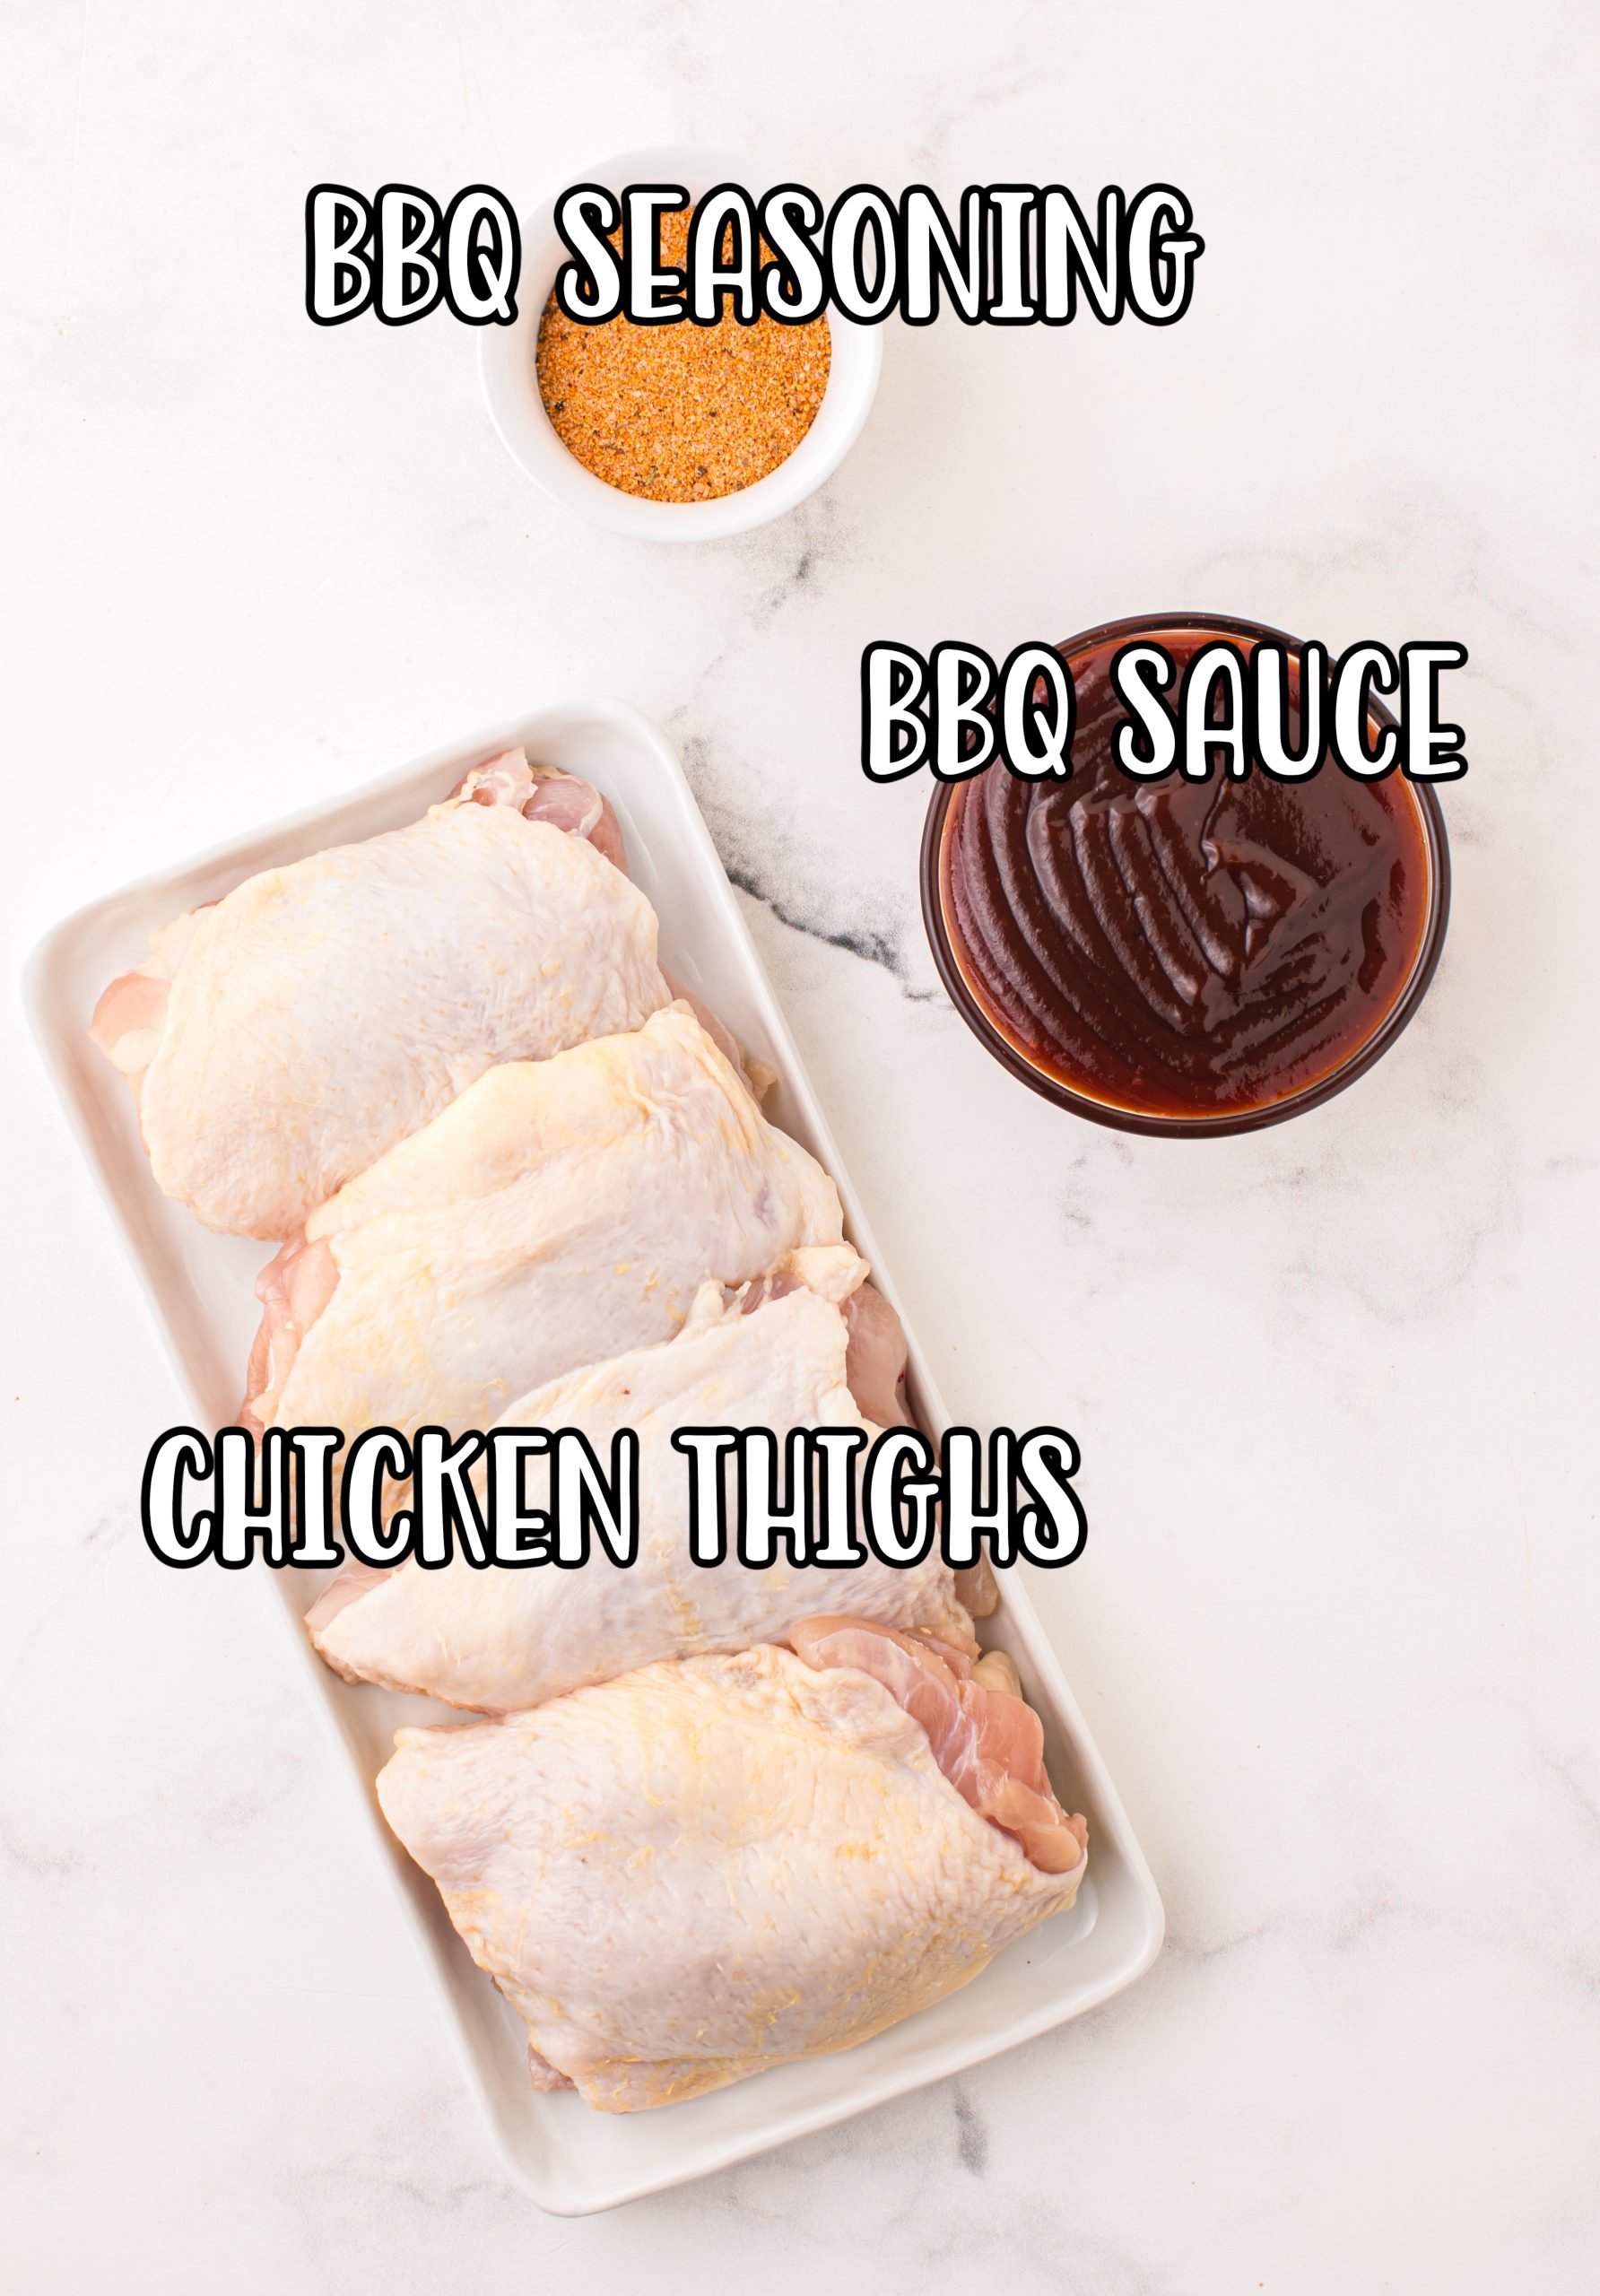
INGREDIENTS NEEDED: (SEE RECIPE CARD BELOW FOR THE FULL RECIPE)
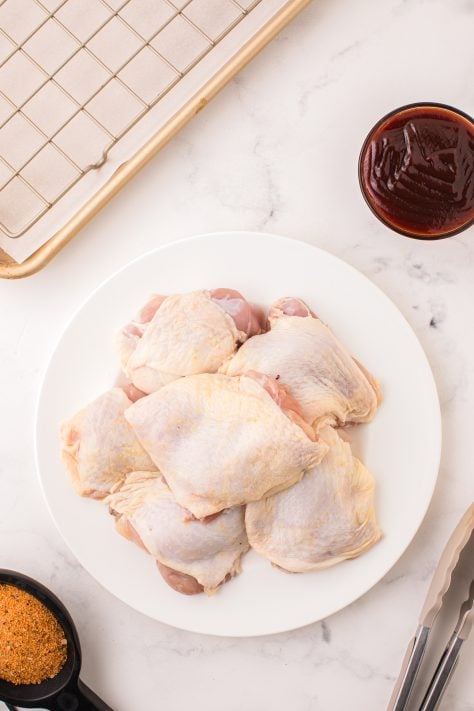
- bone-in skin-on chicken thighs – any cut works as a substitute, but the benefit of bone-in and skin-on is the bone helps cook the chicken evenly all the way through (it also seems to come out more tender too) and the skin helps lock in that moisture in the meat which gives you that juicy chicken we all love.
- If you use other cuts of meat, you will need to adjust the cooking time, depending on the size of the chicken pieces. If you choose to use boneless, skinless chicken, be aware that it can dry out much more quickly since chicken breasts don’t take as long to cook as thighs. Be careful not to overcook it.
- BBQ rub – For this recipe, I used Kinder’s “The BBQ Blend” rub (paid affiliate link) for this recipe. The Kinder’s brand can also be found at Walmart. But, you can use your favorite BBQ rub instead or make a homemade version (Check the FAQ section for my homemade recipe.)
- BBQ sauce– My favorite store bought BBQ sauce is Sweet Baby Ray’s “Hickory and Brown Sugar” BBQ sauce, which I used for this recipe. You can use any BBQ sauce you love or try making a homemade BBQ sauce!
HOW TO MAKE BBQ BAKED CHICKEN THIGHS
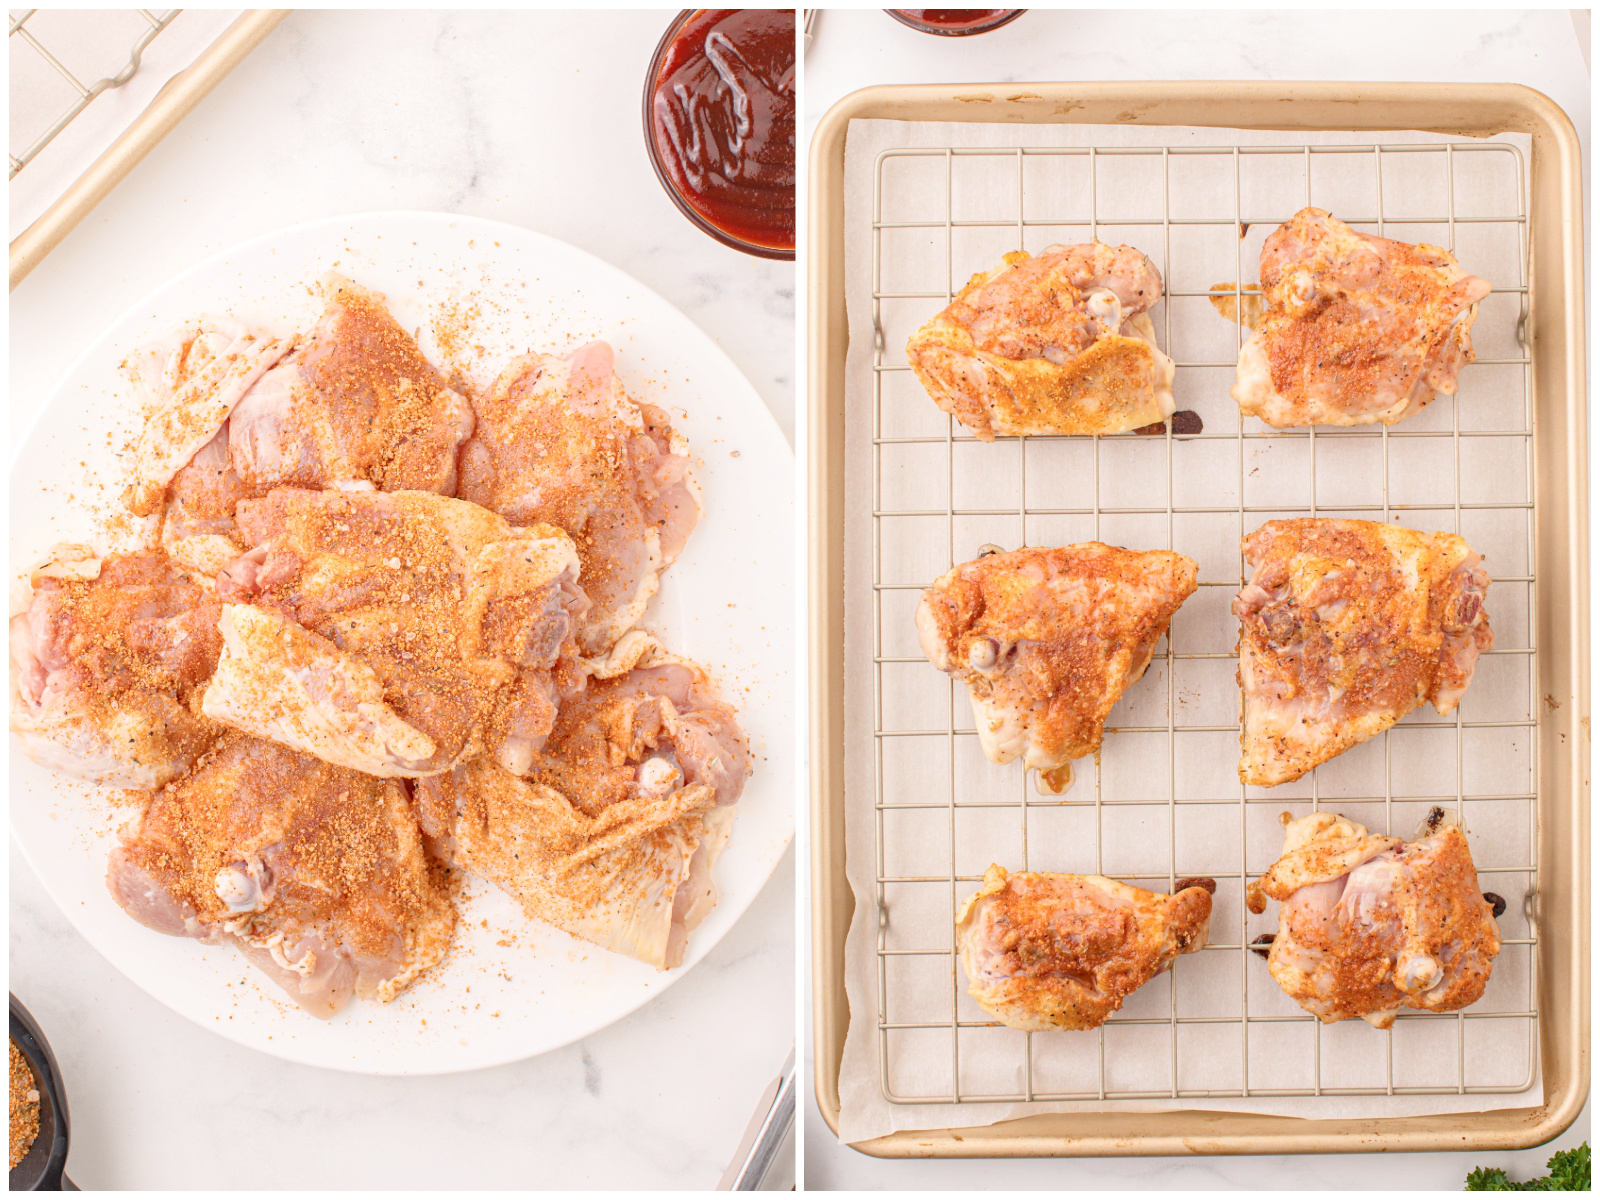
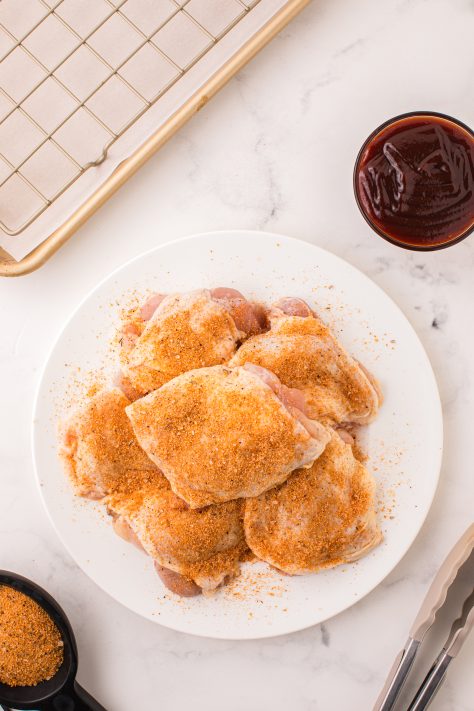
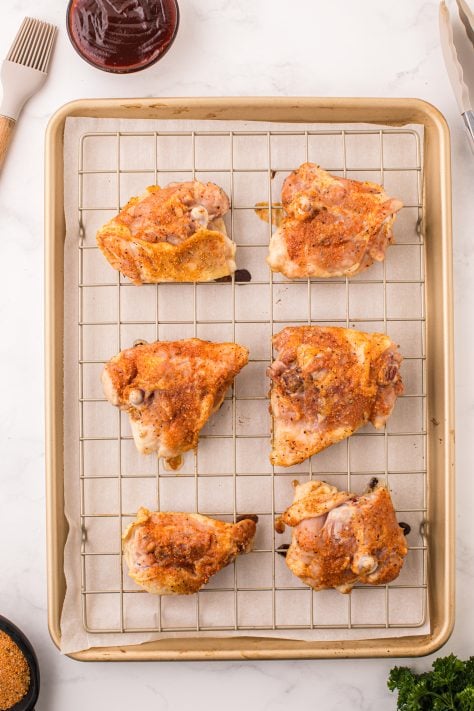
Preheat the oven to 425 degrees Fahrenheit and line a large baking sheet with parchment paper. Place a baking rack on top of the parchment paper. Make sure the baking rack fits inside of the baking sheet you are using. Pat the thighs dry with paper towels. Sprinkle 1½ Tablespoons of the BBQ rub all over one side of all the thighs.
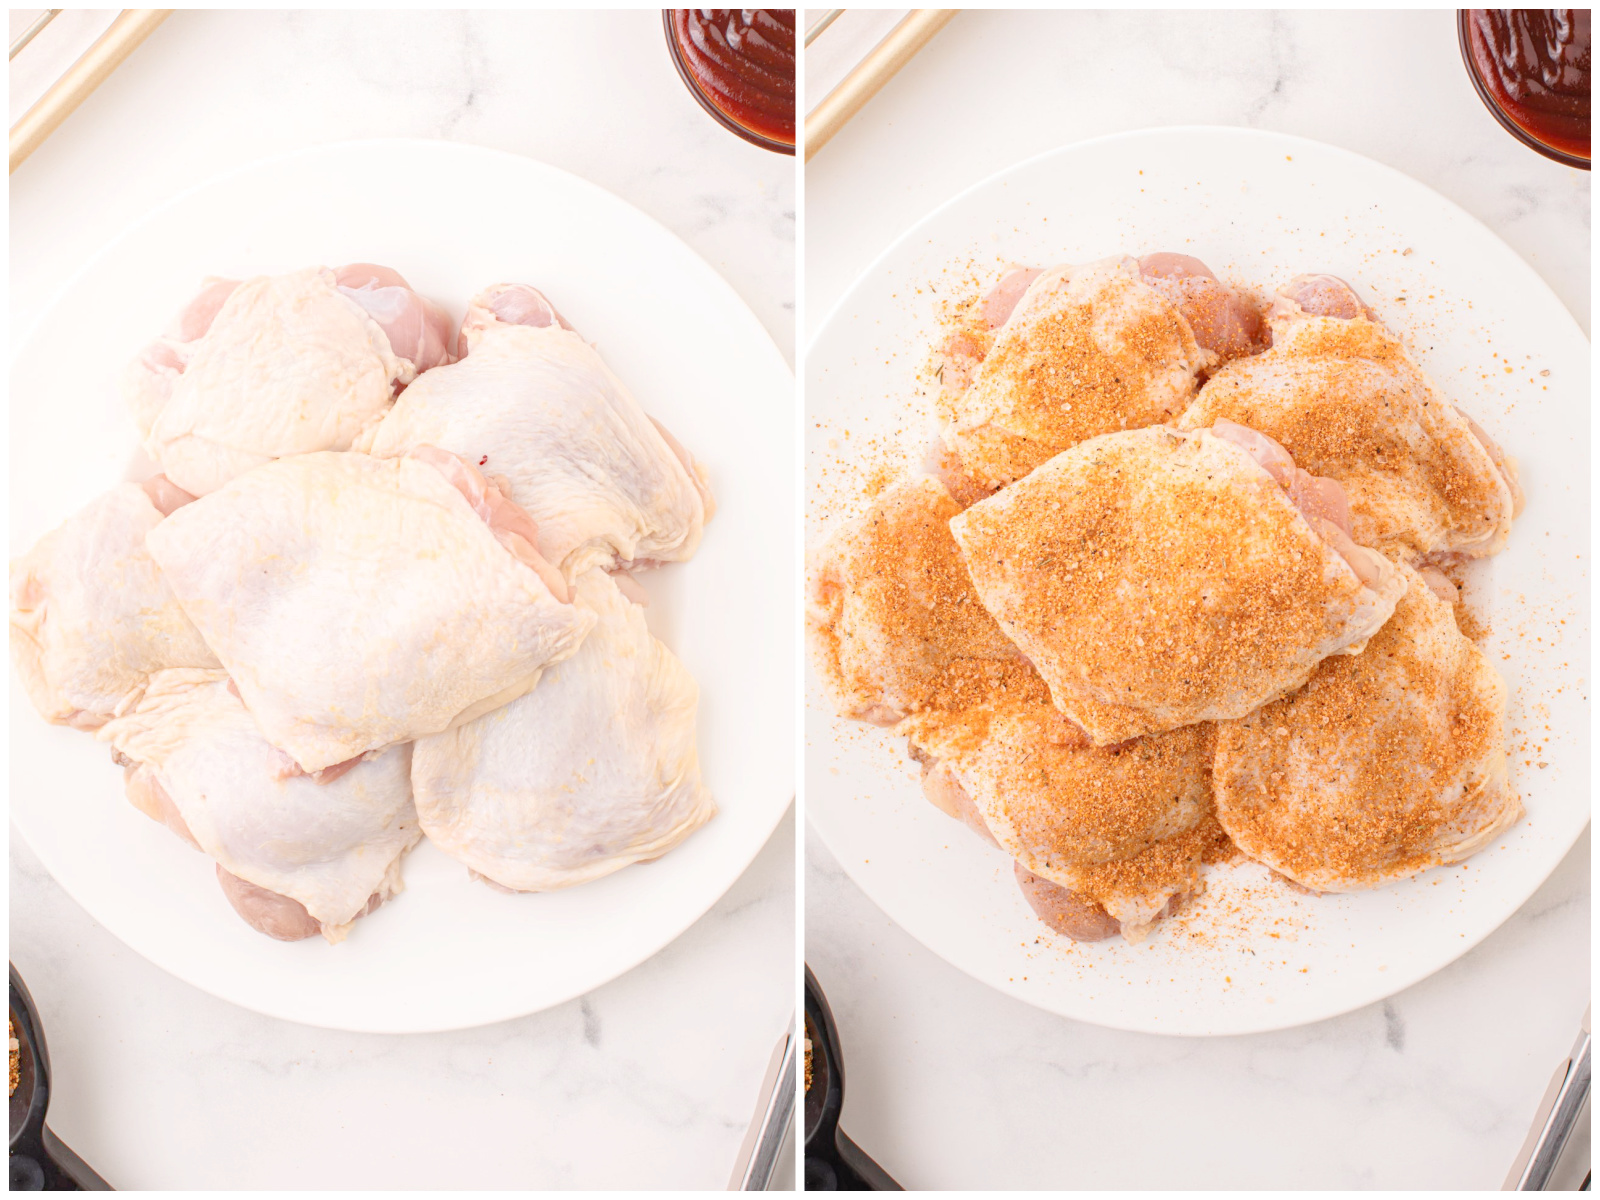
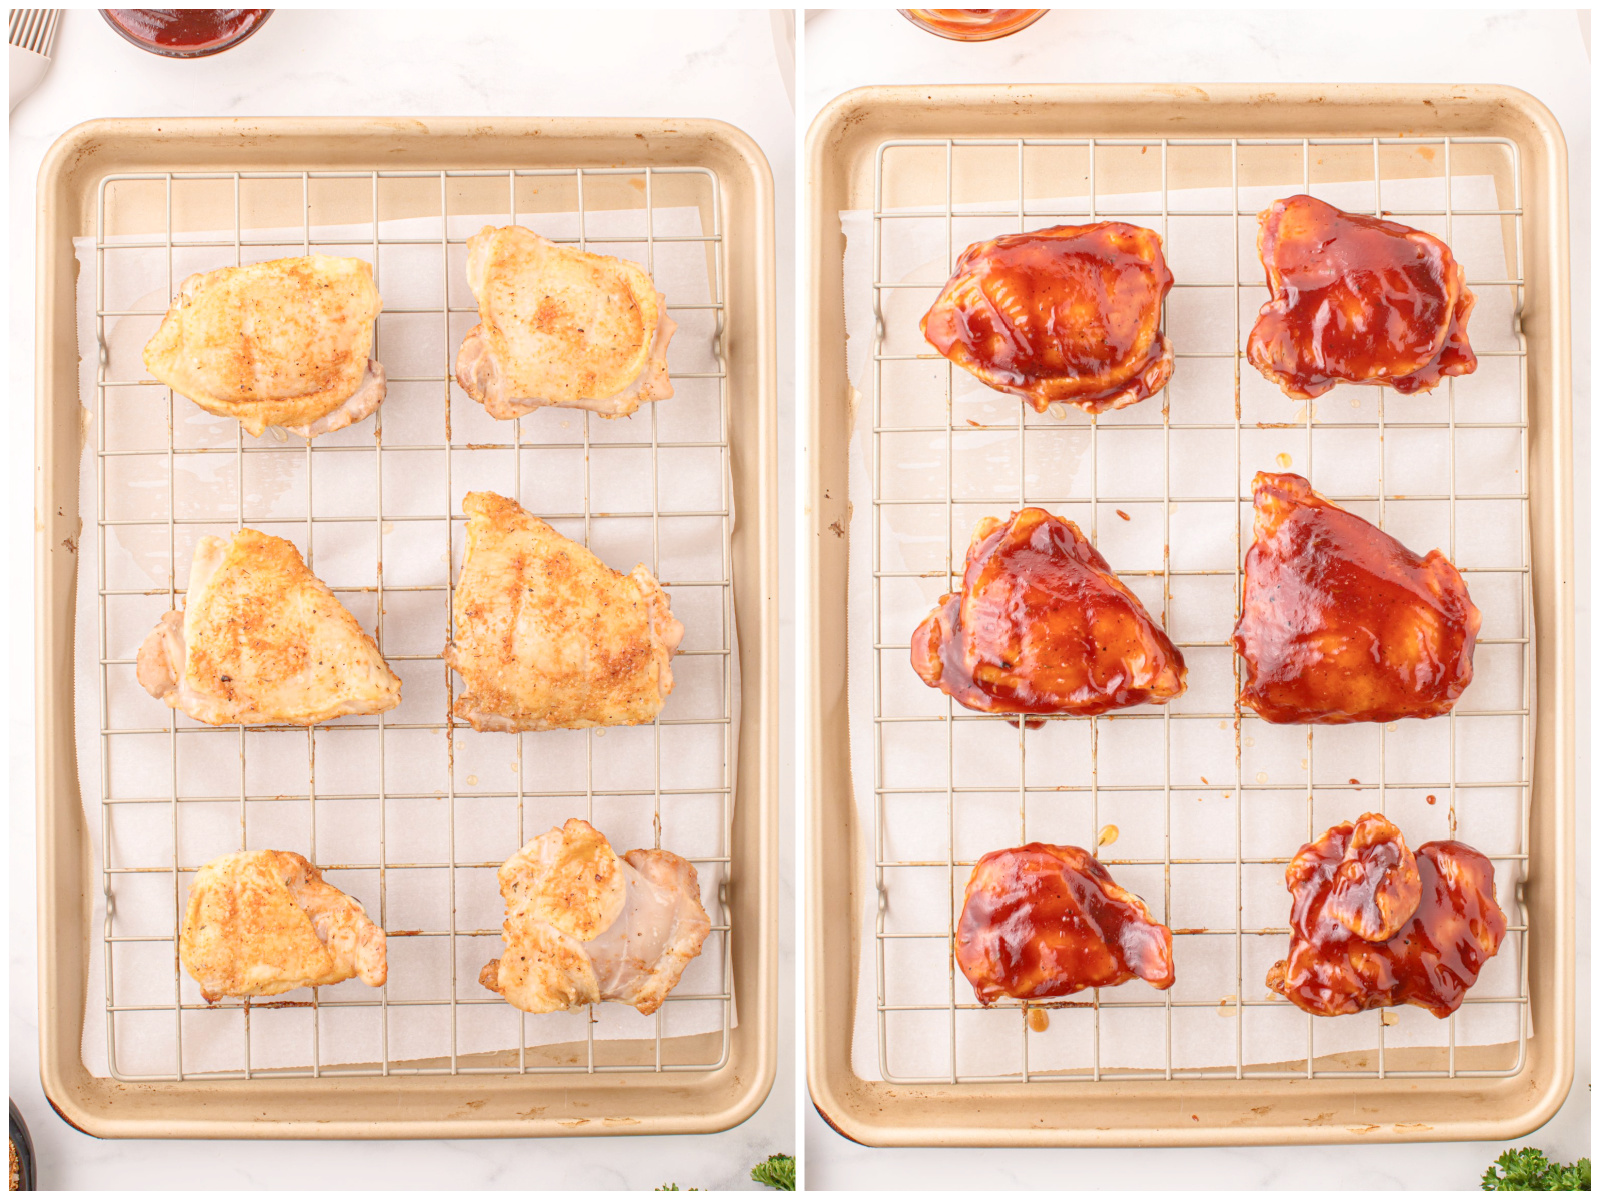
Then turn them over and rub the rest over the other sides. Place the thighs on the prepared baking sheet, top side down. Bake for 10 minutes.
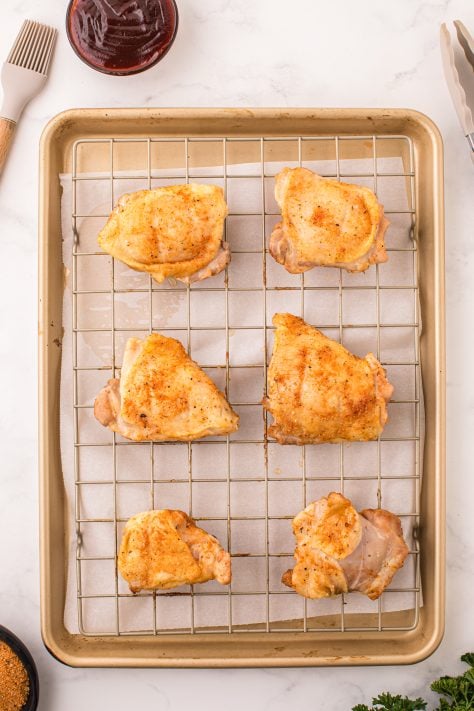
Flip the chicken over, and bake for another 10 minutes. Brush BBQ sauce all over the chicken thighs and allow them to continue baking, top side up, for 7-10 more minutes or until a digital thermometer reads 165F degrees when inserted into the thickest part of the chicken (without touching the bone).
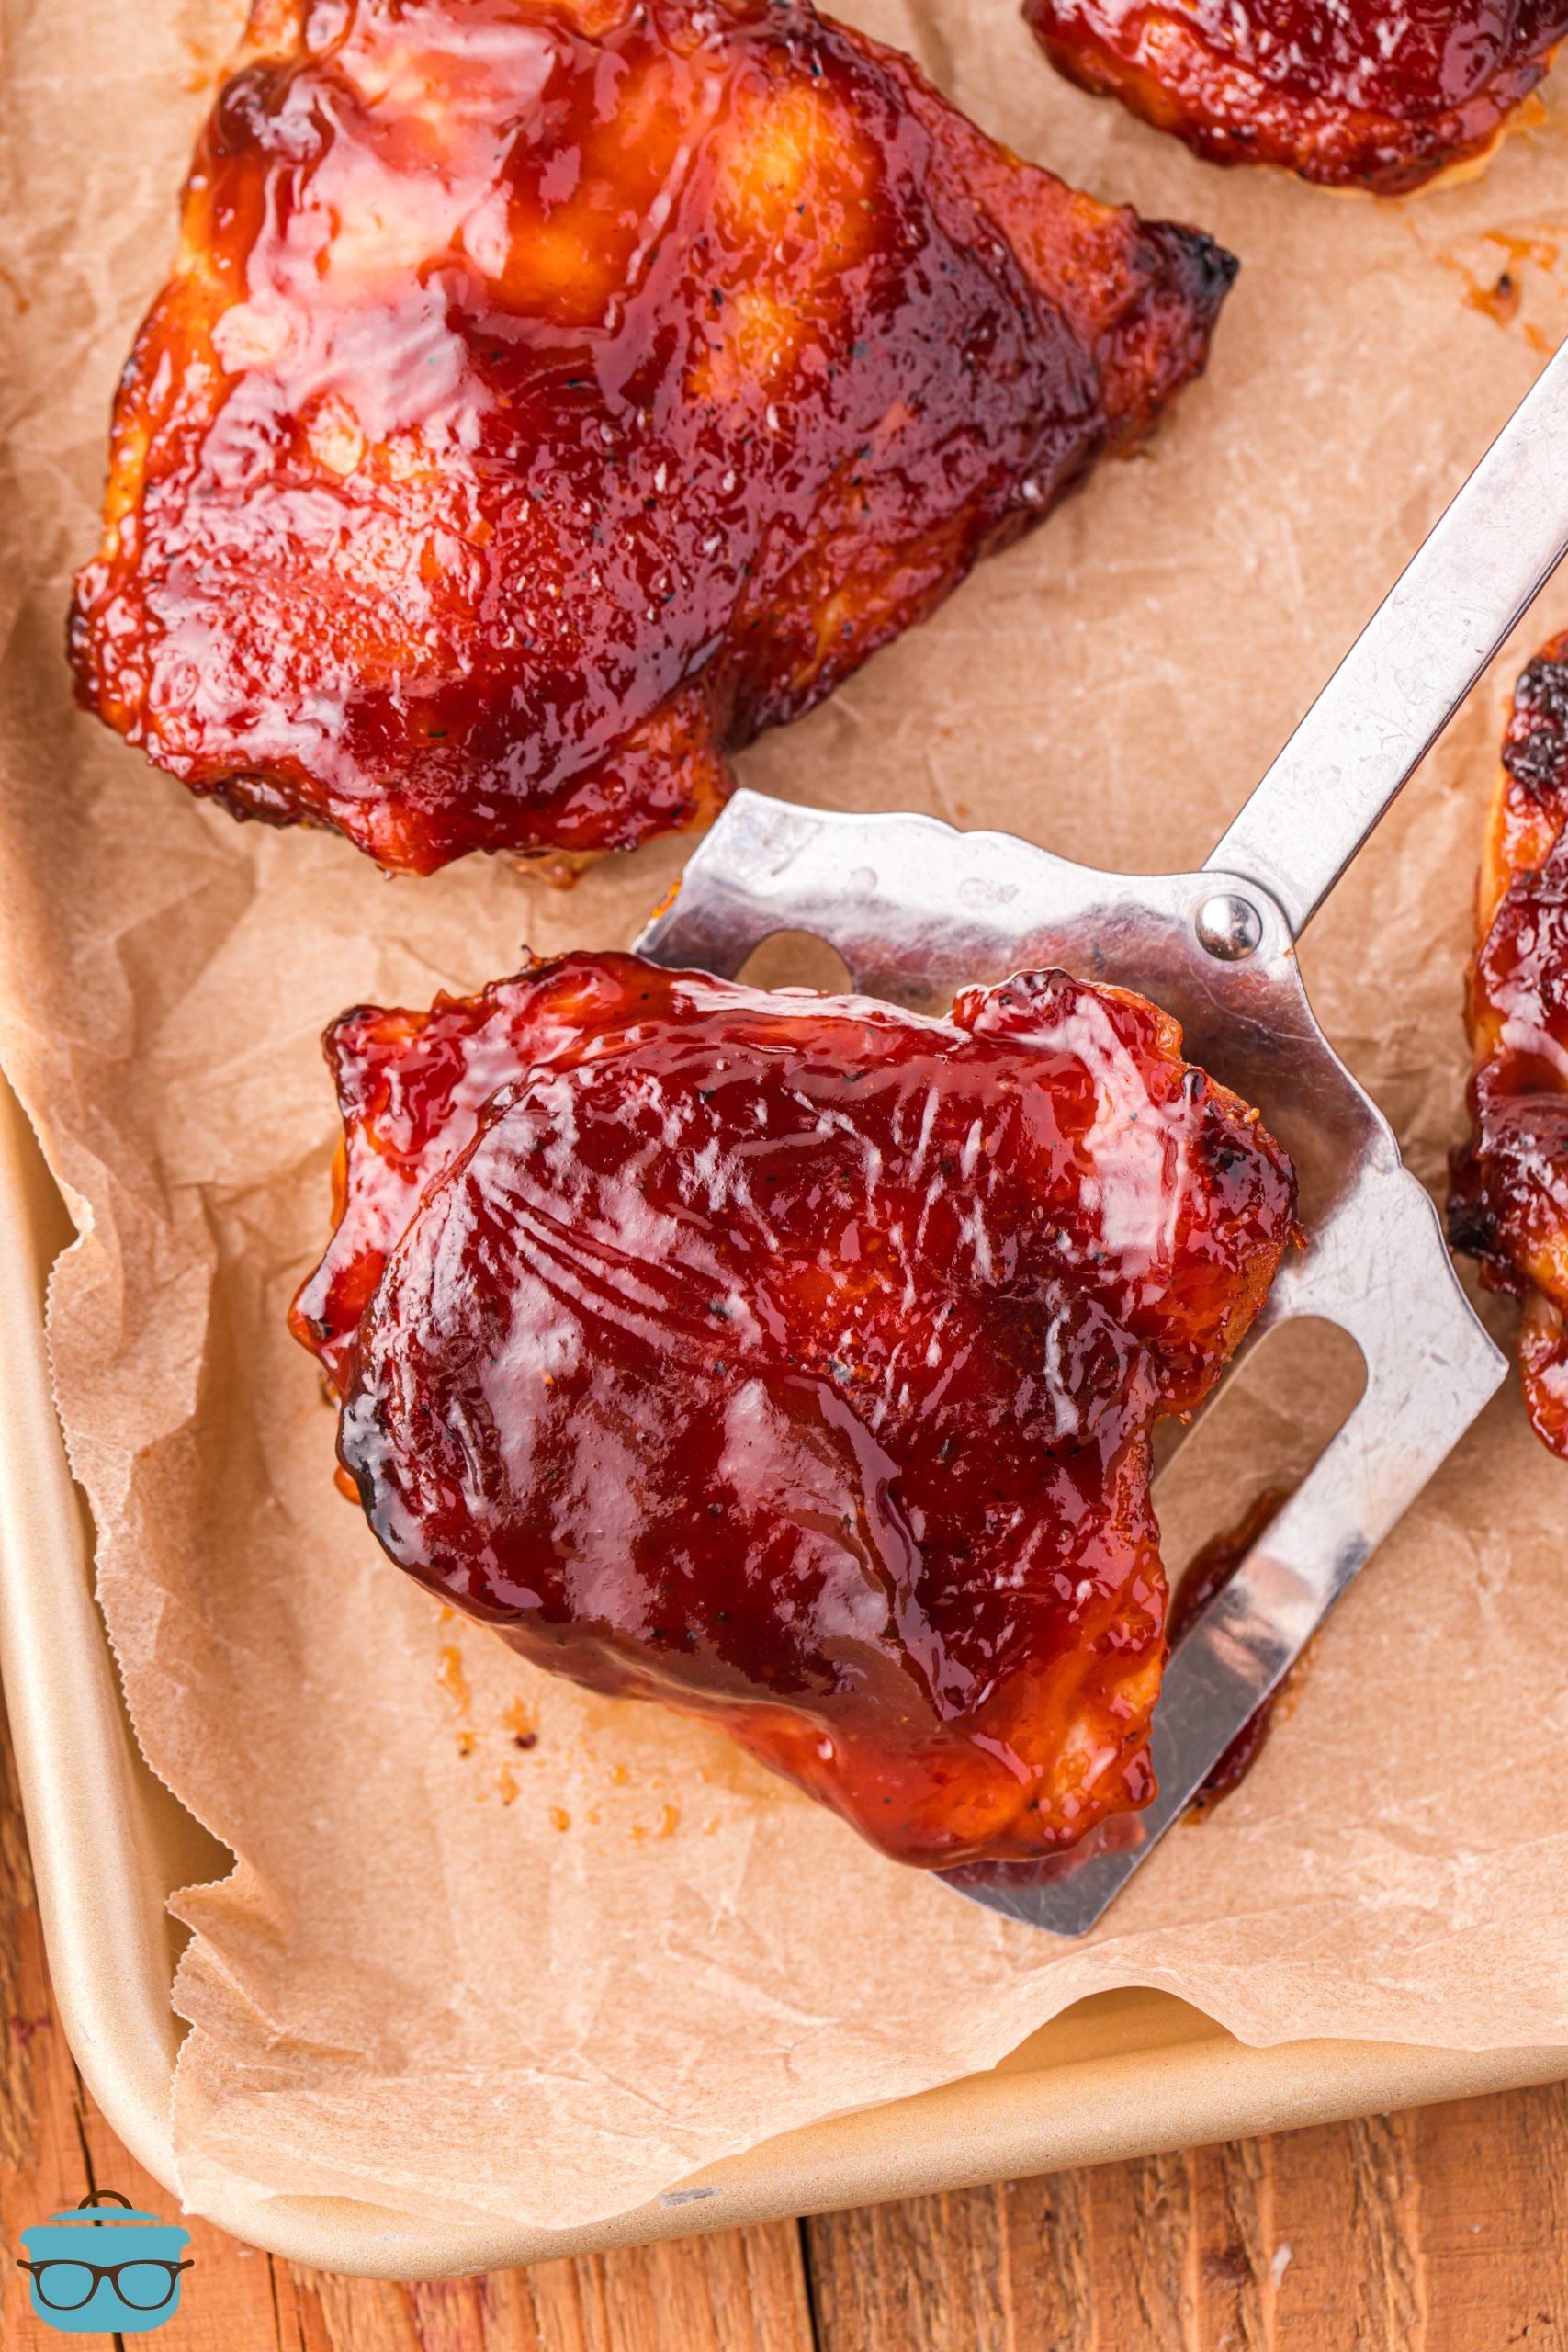
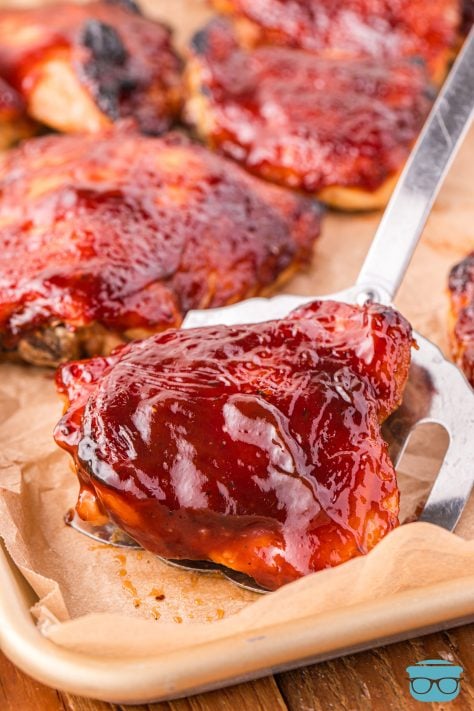
Optional: Once cooked through, brush again with BBQ sauce and broil for 3-5 minutes or until the skin is crispy and BBQ sauce is starting to bubble. Serve BBQ sauce, optional.
CRAVING MORE RECIPES?
BBQ Baked Chicken Thighs
Ingredients
- 2.5 pounds bone-in, skin-on chicken thighs
- 3 Tablespoons BBQ rub
- 1 cup BBQ sauce (plus more for serving)
Instructions
- Preheat the oven to 425F degrees and line a large baking sheet with parchment paper. Place a baking rack on top of the parchment paper. Make sure the baking rack fits inside of the baking sheet you are using.
- Pat the thighs dry with paper towels.

- Sprinkle 1 ½ Tablespoons of the BBQ rub all over one side of all the thighs, then turn them over and rub the rest over the other sides.
- Place the thighs on the prepared baking sheet, top side down.
- Bake for 10 minutes, flip the chicken over, and bake for another 10 minutes.
- Brush BBQ sauce all over the chicken thighs and allow them to continue baking, top side up, for 7-10 more minutes or until a digital thermometer reads 165F degrees when inserted into the thickness part of the chicken (without touching the bone).
- Optional: once cooked through, brush again with BBQ sauce and broil for 3-5 minutes or until the skin is crispy and BBQ sauce is starting to bubble. Serve with extra BBQ sauce, optional.
Notes
- Please refer to my FAQ’s (Frequently Asked Questions) and ingredient list above for other substitutions or for the answers to the most common questions.
Nutrition
Nutritional Disclaimer
“The Country Cook” is not a dietician or nutritionist, and any nutritional information shared is an estimate. If calorie count and other nutritional values are important to you, we recommend running the ingredients through whichever online nutritional calculator you prefer. Calories and other nutritional values can vary quite a bit depending on which brands were used.

")


What rub do you use for this recipe?
It’s above in the FAQ (frequently asked questions) section 🙂