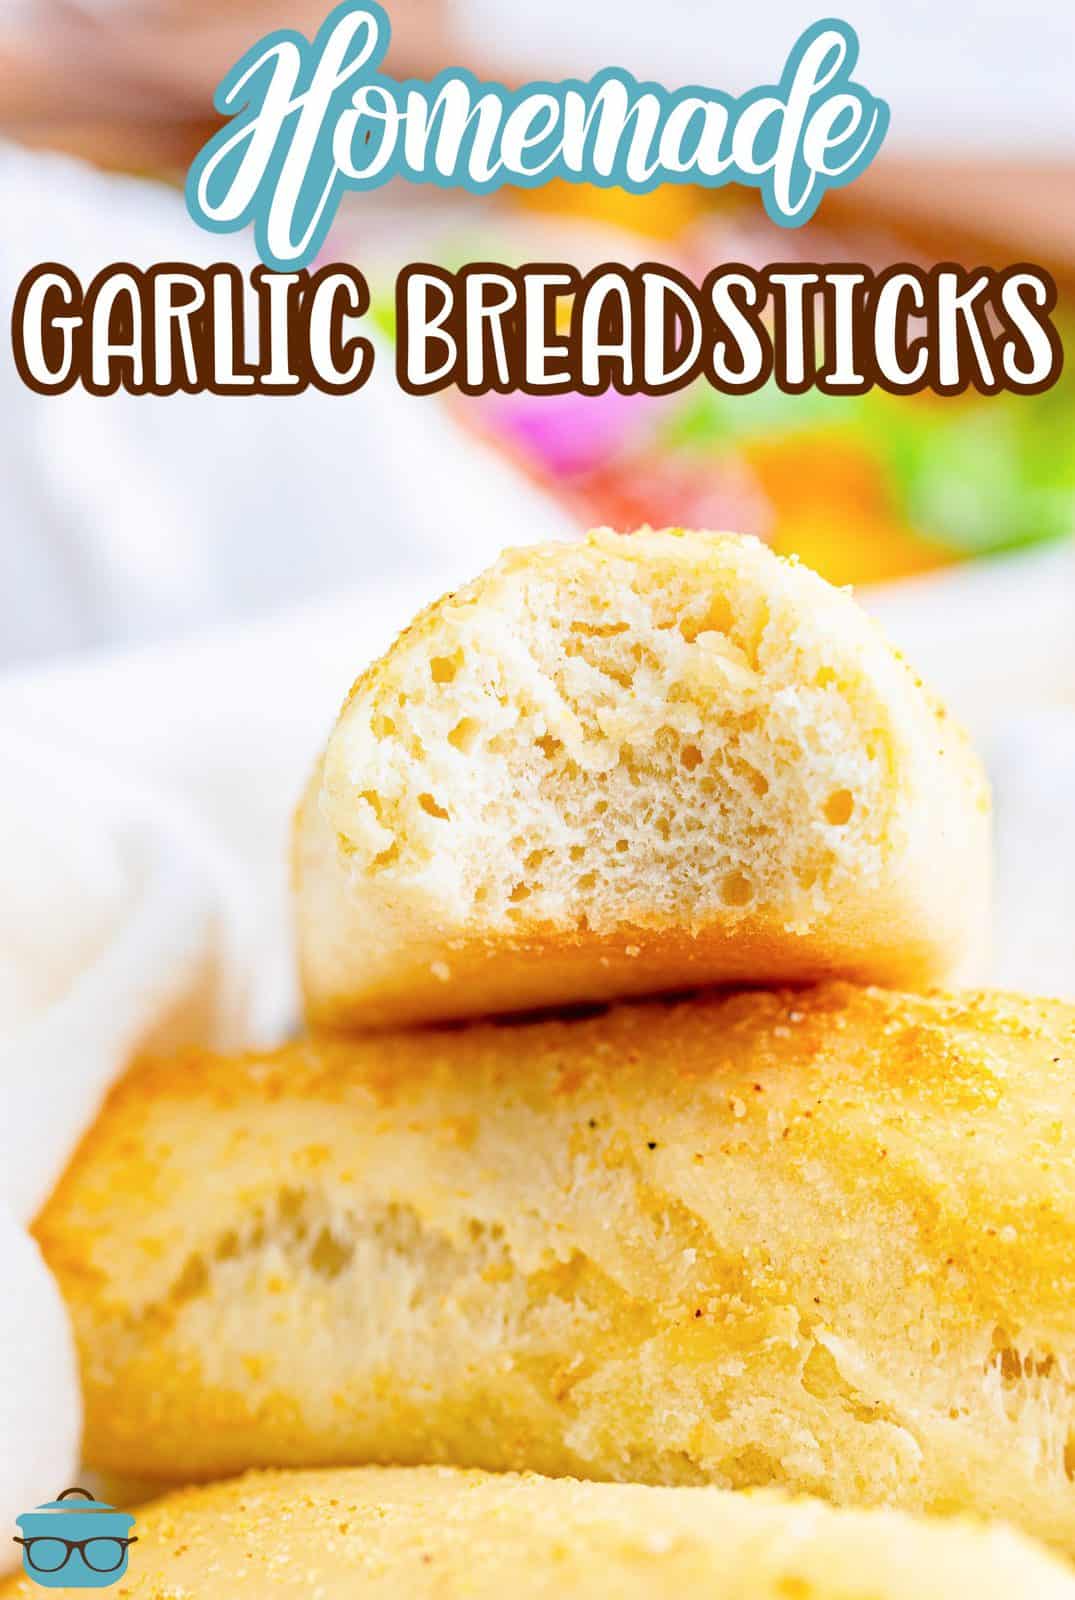
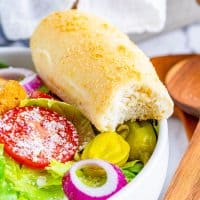
Homemade Garlic Breadsticks
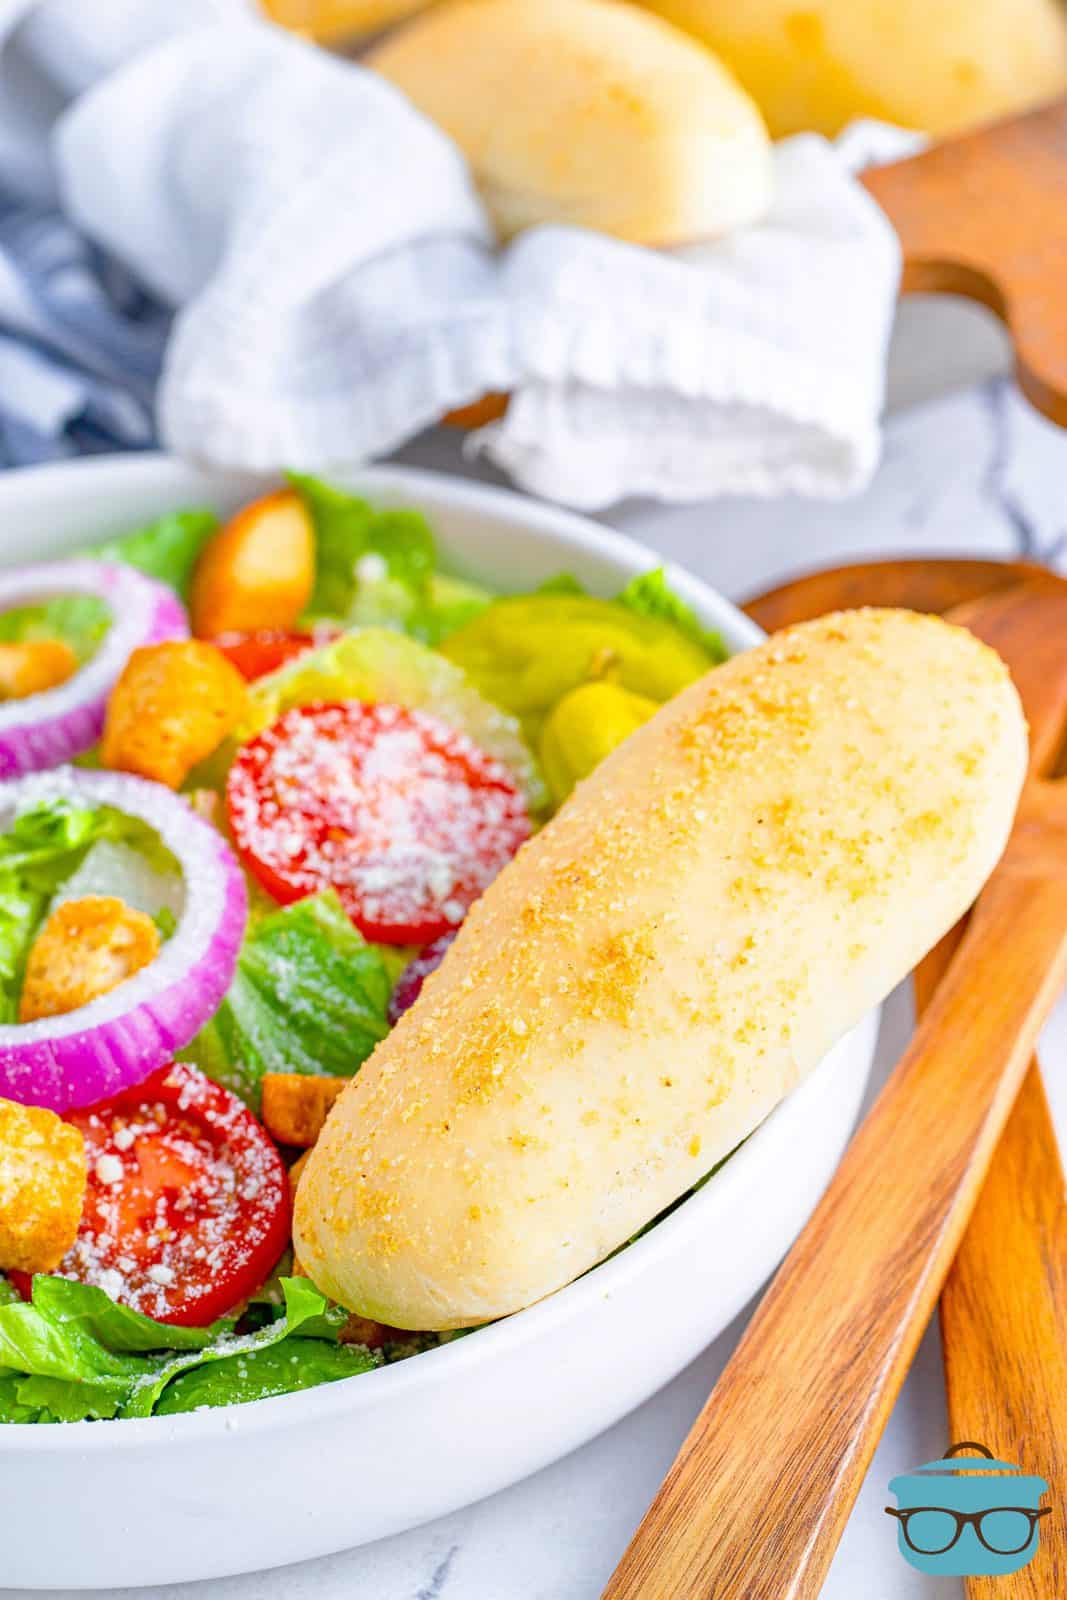
These homemade garlic breadsticks taste so fresh and absolutely delicious. A tender breadstick with an amazing garlic butter topping!
AN HOMEMADE BREADSTICK RECIPE
I initially was calling this a Copycat Olive Garden breadstick recipe. But honestly, that wasn’t exactly accurate because they taste way better and they look more like mini loaves of bread rather than your typical Olive Garden breadstick. These breadsticks are warm and buttery and garlicky and easier to make than you might think!
TIPS FOR MAKING HOMEMADE GARLIC BREADSTICKS:
They only real key here is to have fresh, active yeast and to knead your dough until smooth and elastic. If you can do that, then you can have fresh breadsticks. And the buttery sauce that you spread on top. Oh. My. Word. You can put on as much or as little of it on as you like (and I like a lot)! Also, you gotta try eating these with my Pasta e Fagioli or Zuppa Toascana.
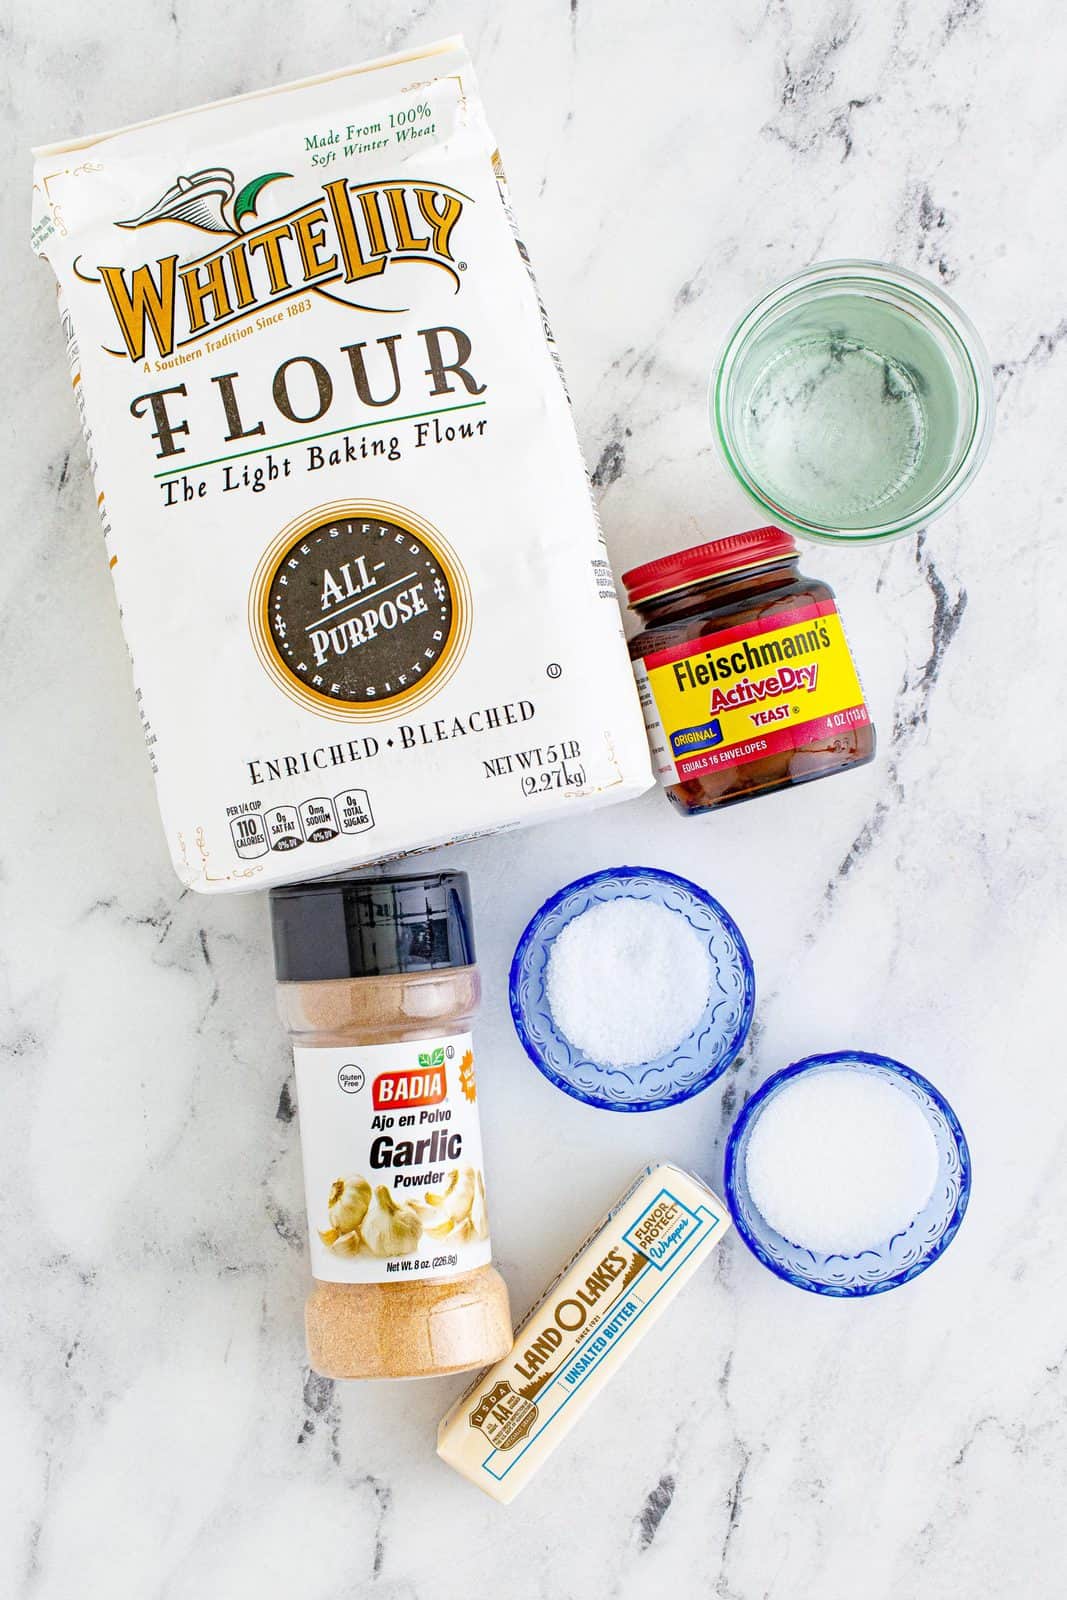
INGREDIENTS NEEDED: (FULL RECIPE AT THE BOTTOM OF THE POST)
- very warm water
- active dry yeast
- all-purpose flour
- unsalted butter
- sugar
- salt
HOW TO MAKE HOMEMADE GARLIC BREADSTICKS:
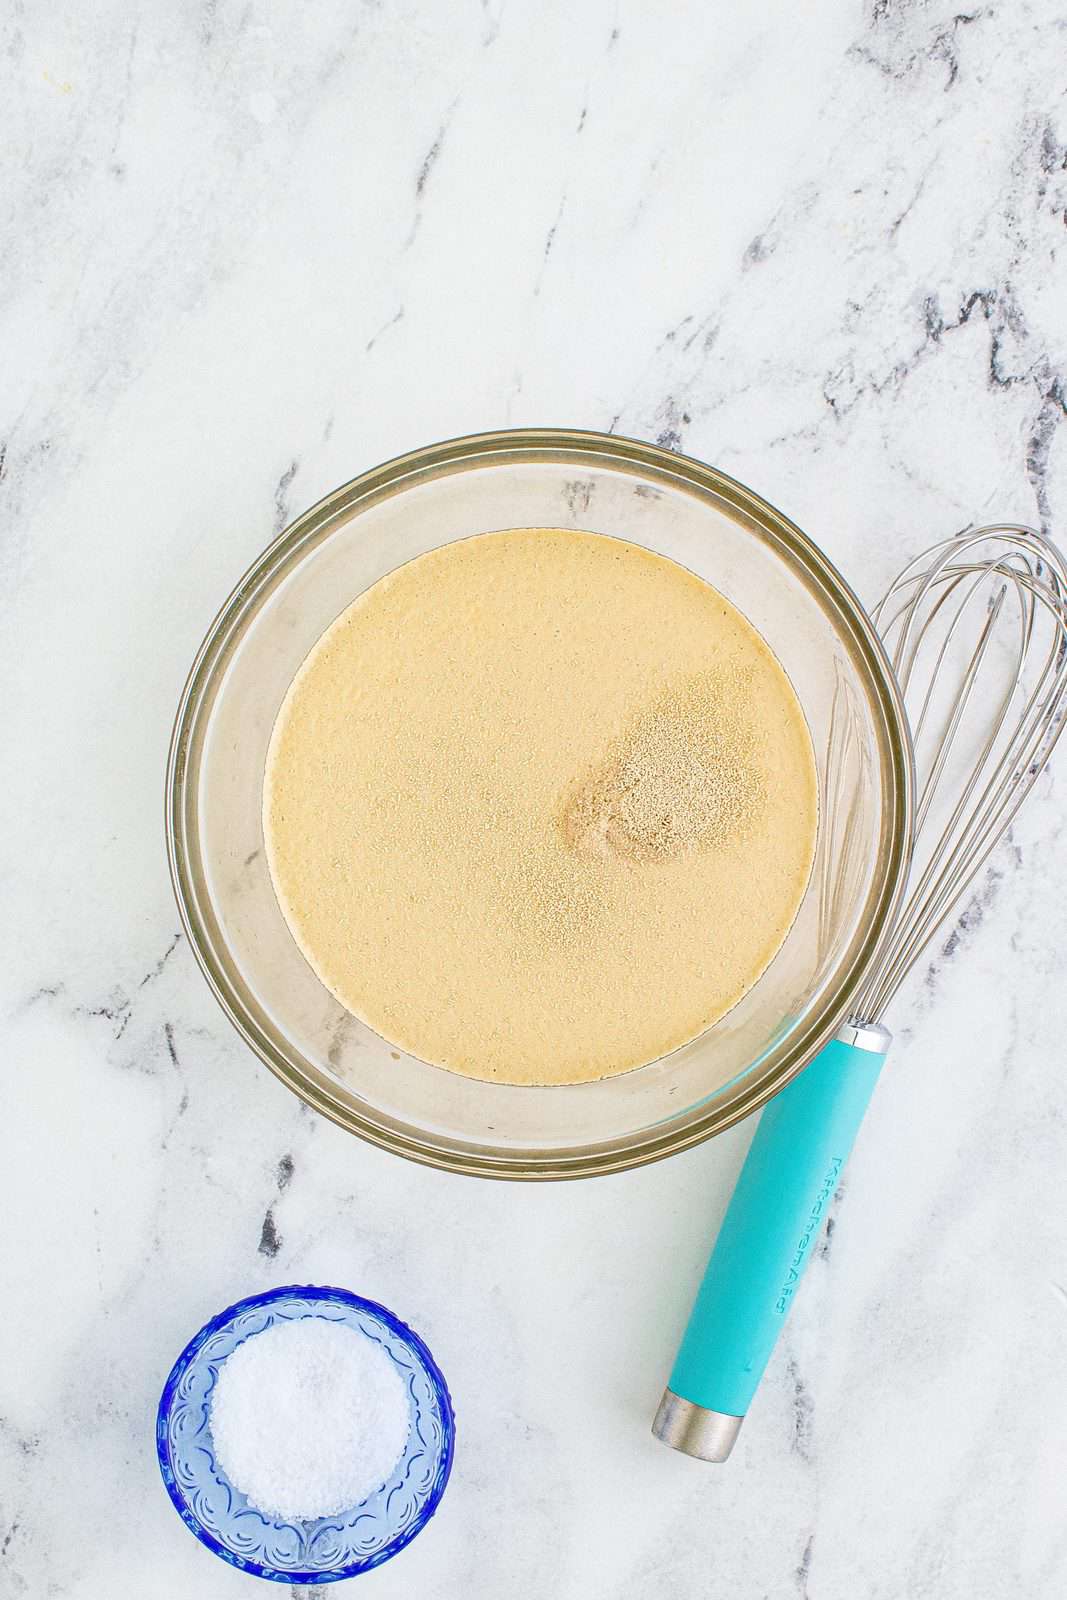
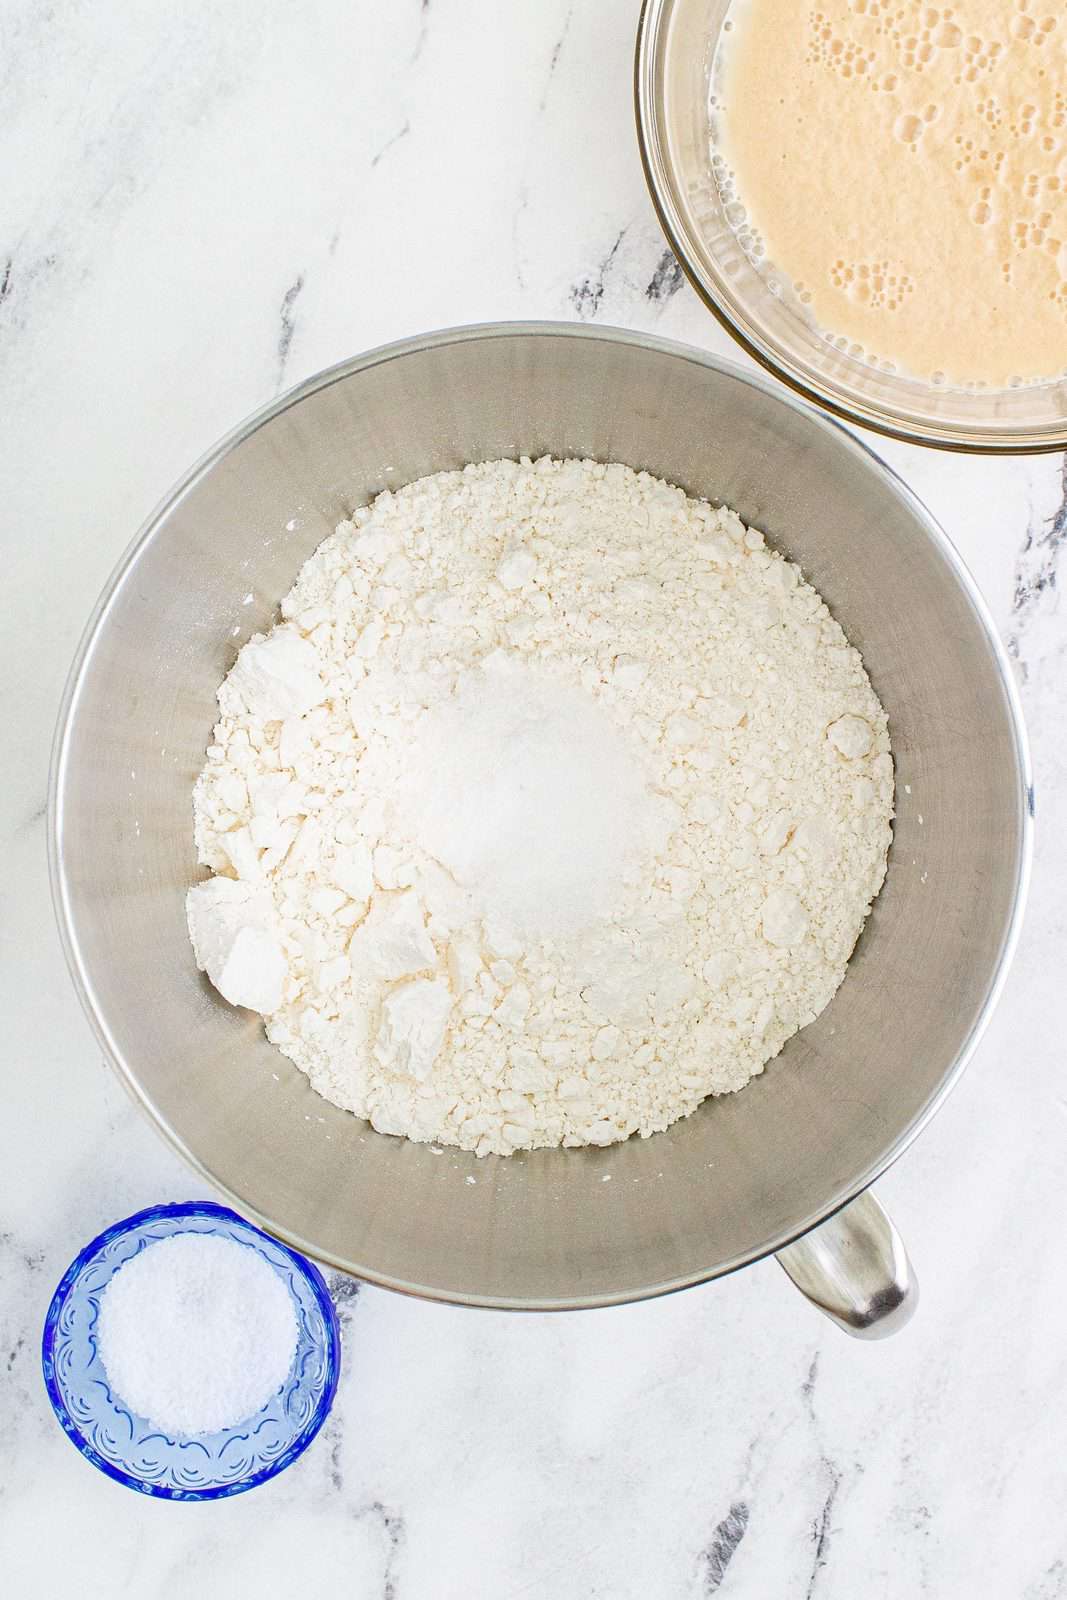
In a large bowl, dissolve sugar and yeast in warm water and allow to sit for 10 minutes, covered. Mixture should be frothy.
In the bowl of your stand mixer or medium-sized bowl, combine flour and salt.
Add yeast mixture and melted butter to flour mixture.
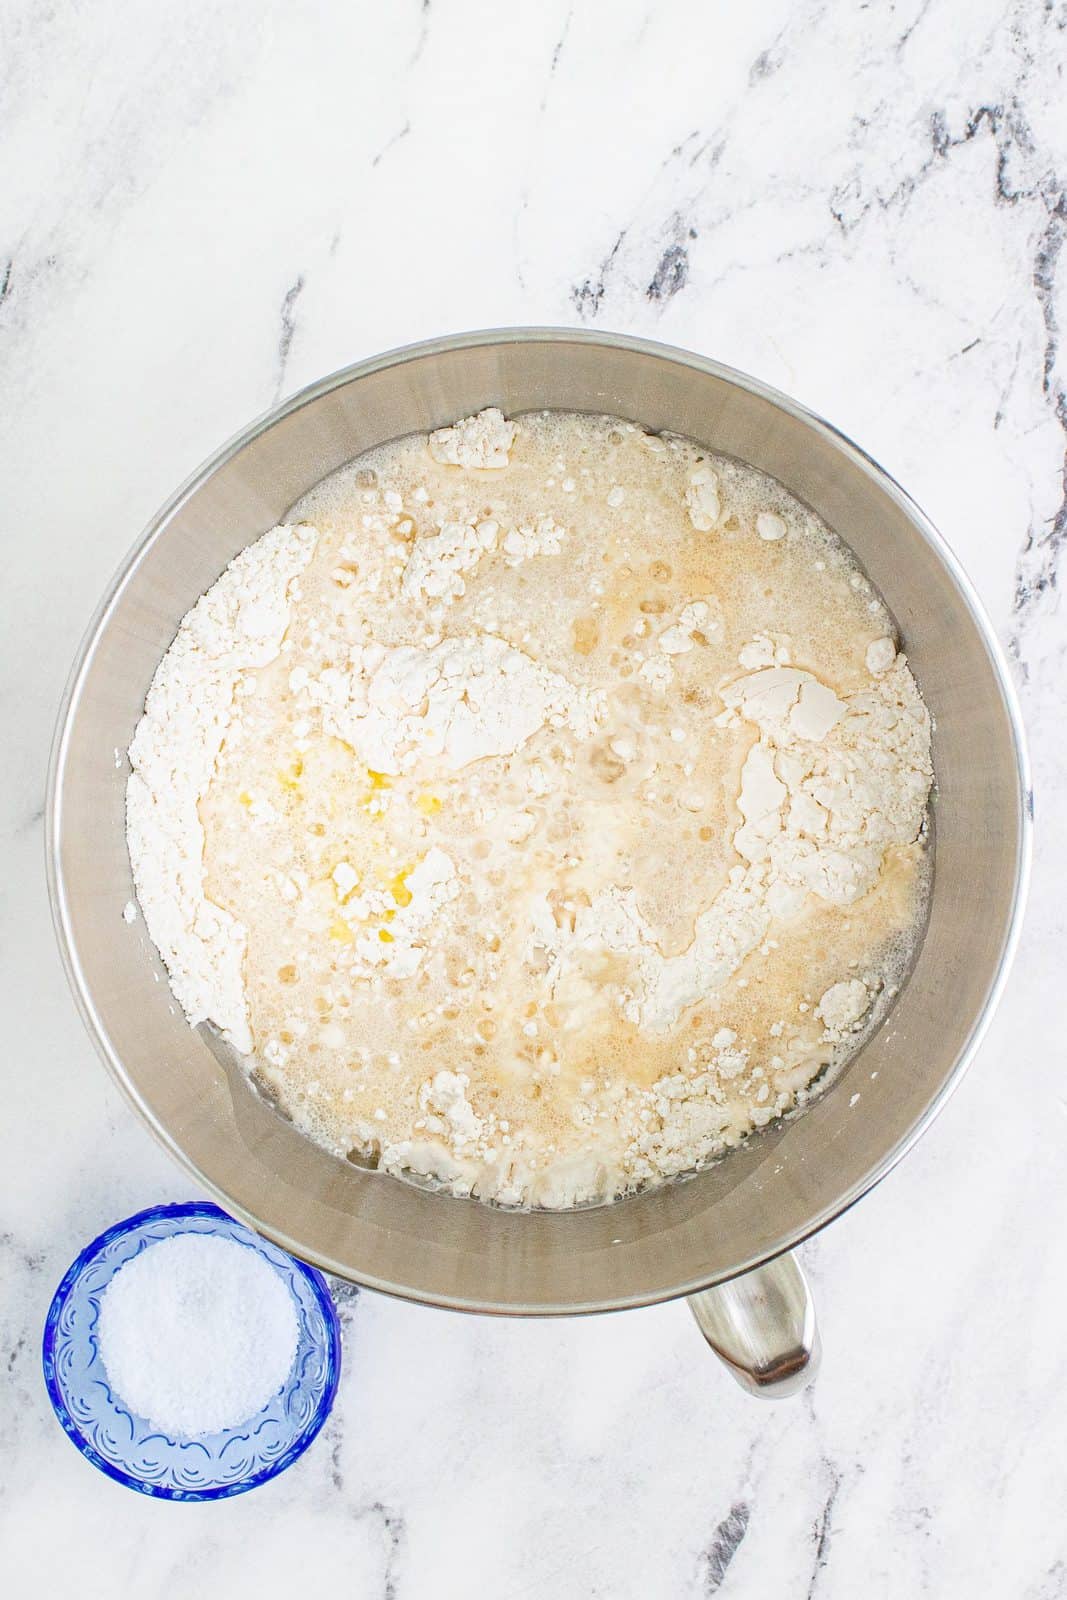
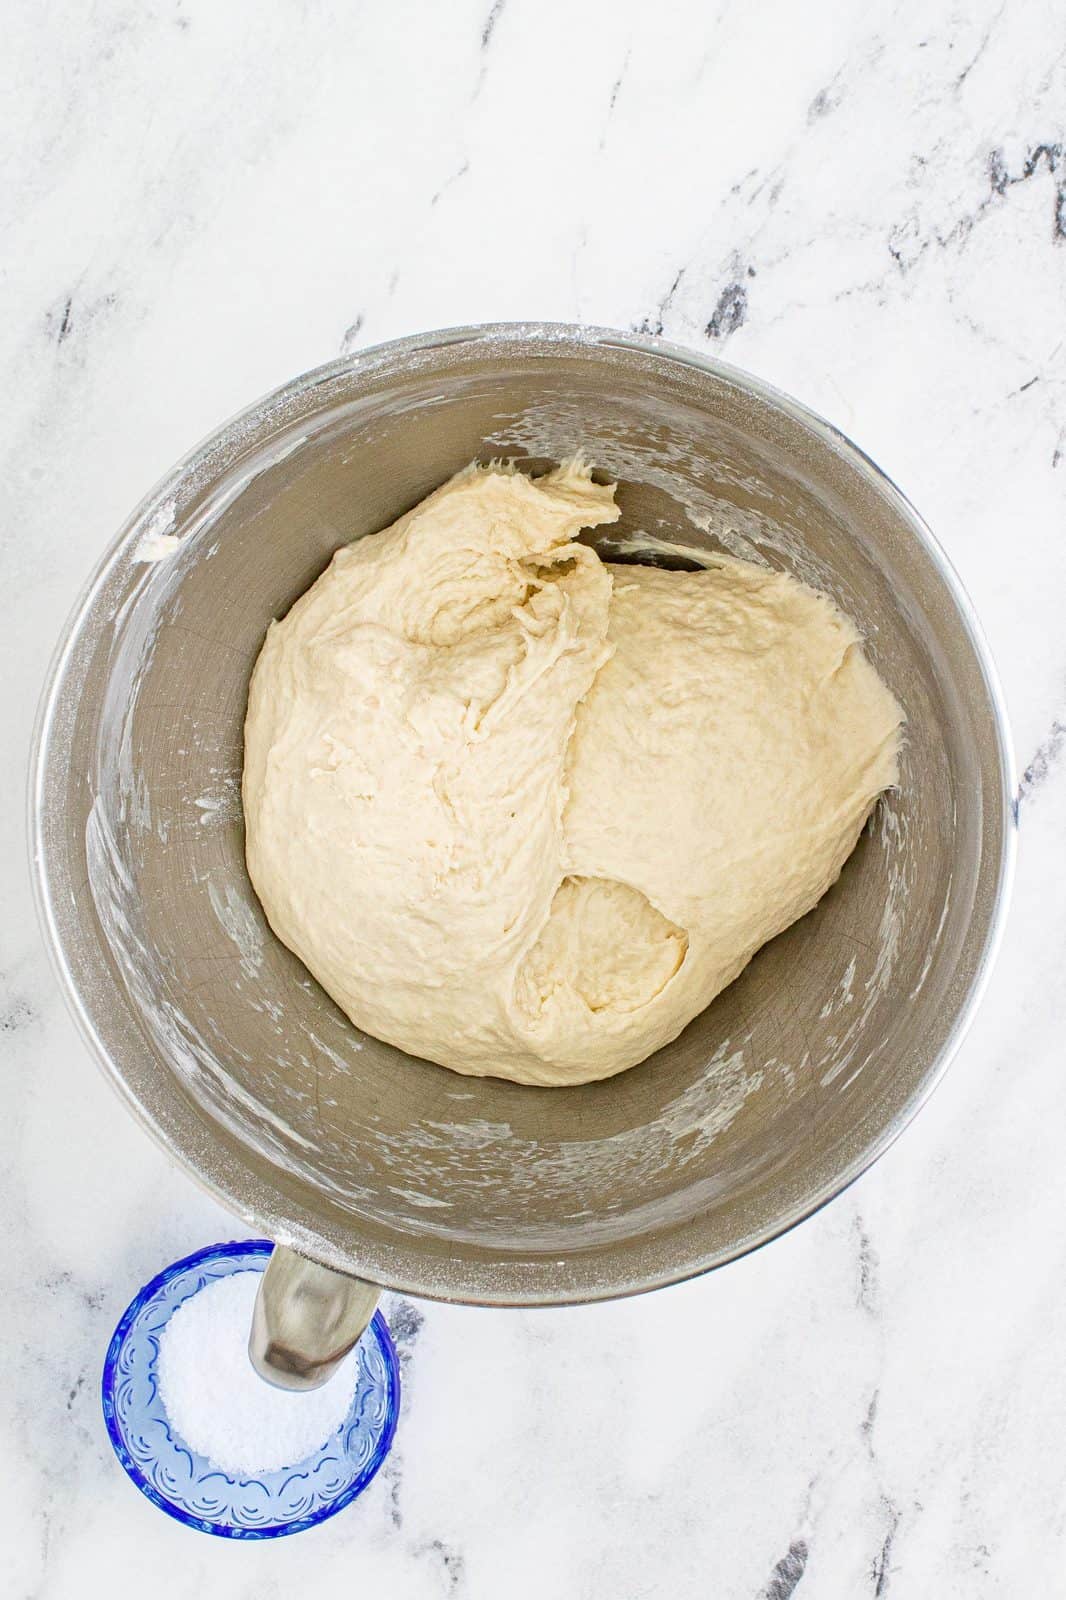
Mix with dough hook attachment on stand mixer or stir with a wooden spoon until fully combined. Knead dough for about 8-10 minutes just until dough is smooth and elastic.
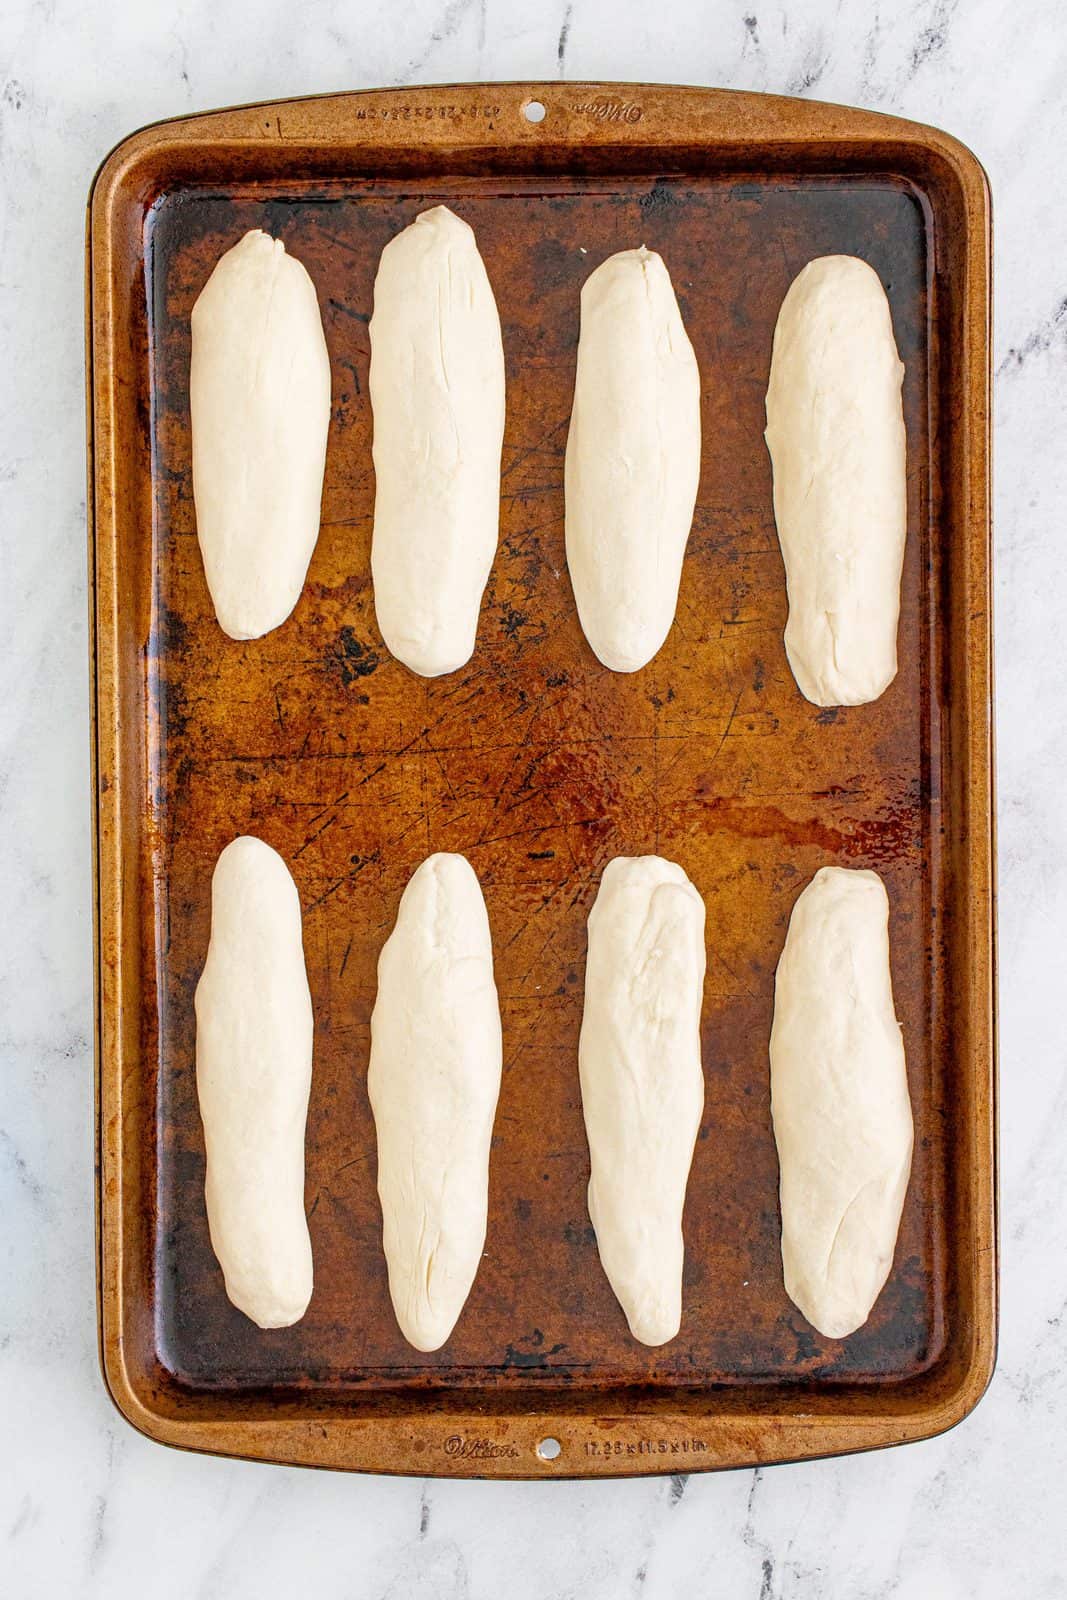
Spray baking sheet with nonstick spray. Pull off pieces of dough and roll out into strips. It helps to roll them in between your hands or on the countertop until smooth. The first few times I made this, I pulled off way too much dough for each breadstick. So pull off smaller size pieces than you would think you’d need. Remember these are going to double in size!
Cover the dough with plastic wrap sprayed with nonstick spray (so dough doesn’t stick to it from the inside) or cover with a clean kitchen towel. Put in a warm place to rise.
Note: I like to preheat my oven to about 150F degrees and then turn it off once it has warmed. I’ll put my breadsticks in there because it is a nice, warm and draft-free place for the bread to rise. Once they have doubled in size, remove sheet from oven and preheat oven up to 400F degrees. Once it has reached temperature, take plastic wrap off of breadsticks and put in the oven.

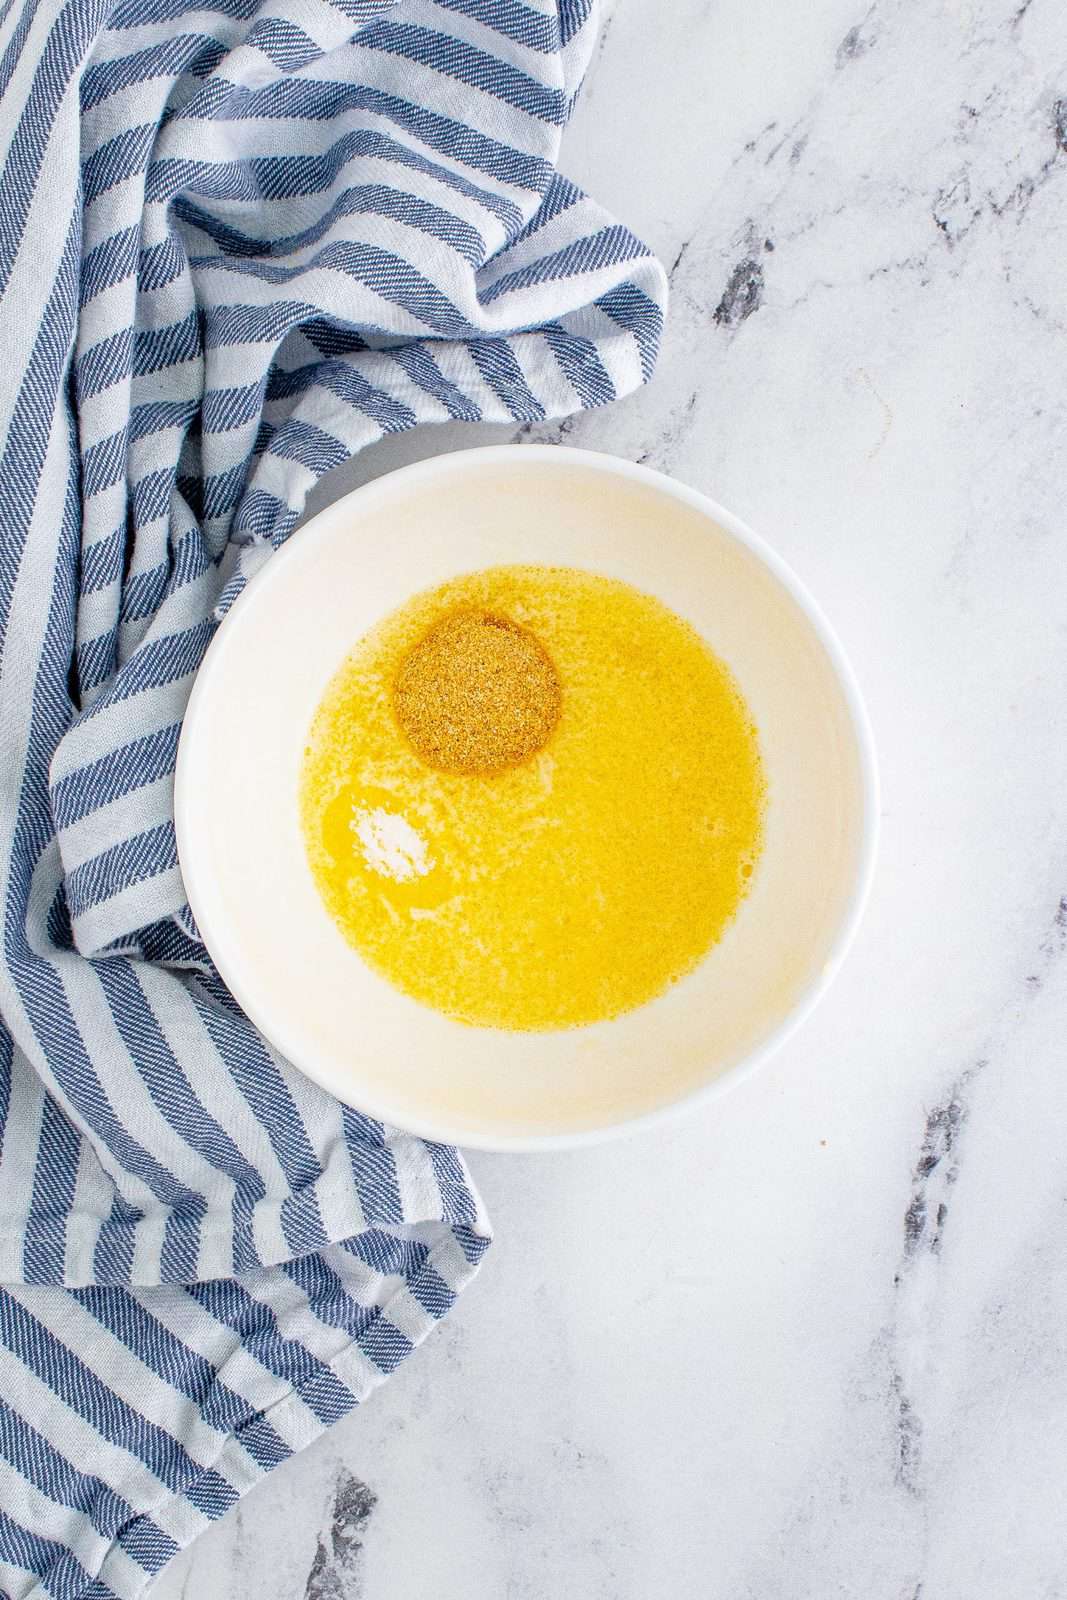
While they are baking, make butter topping. Microwave butter until melted and add garlic powder and salt, stir until combined.
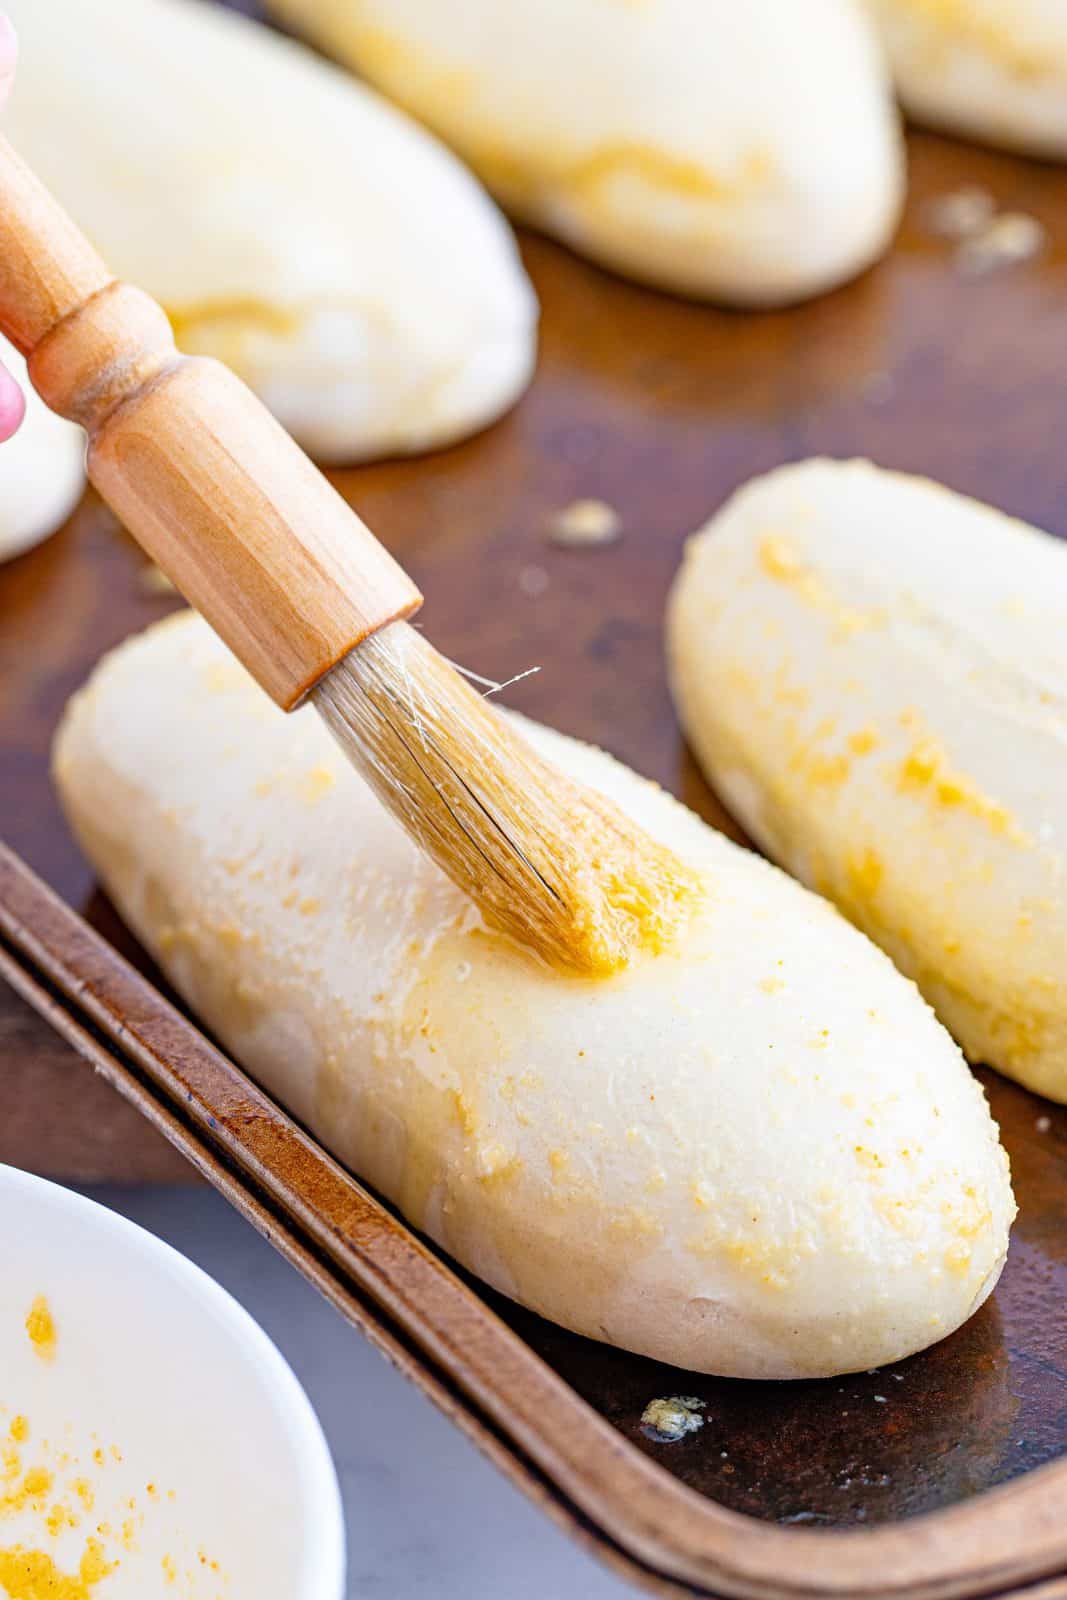
After 6 or 7 minutes of baking, brush the bread sticks with half the butter mixture.
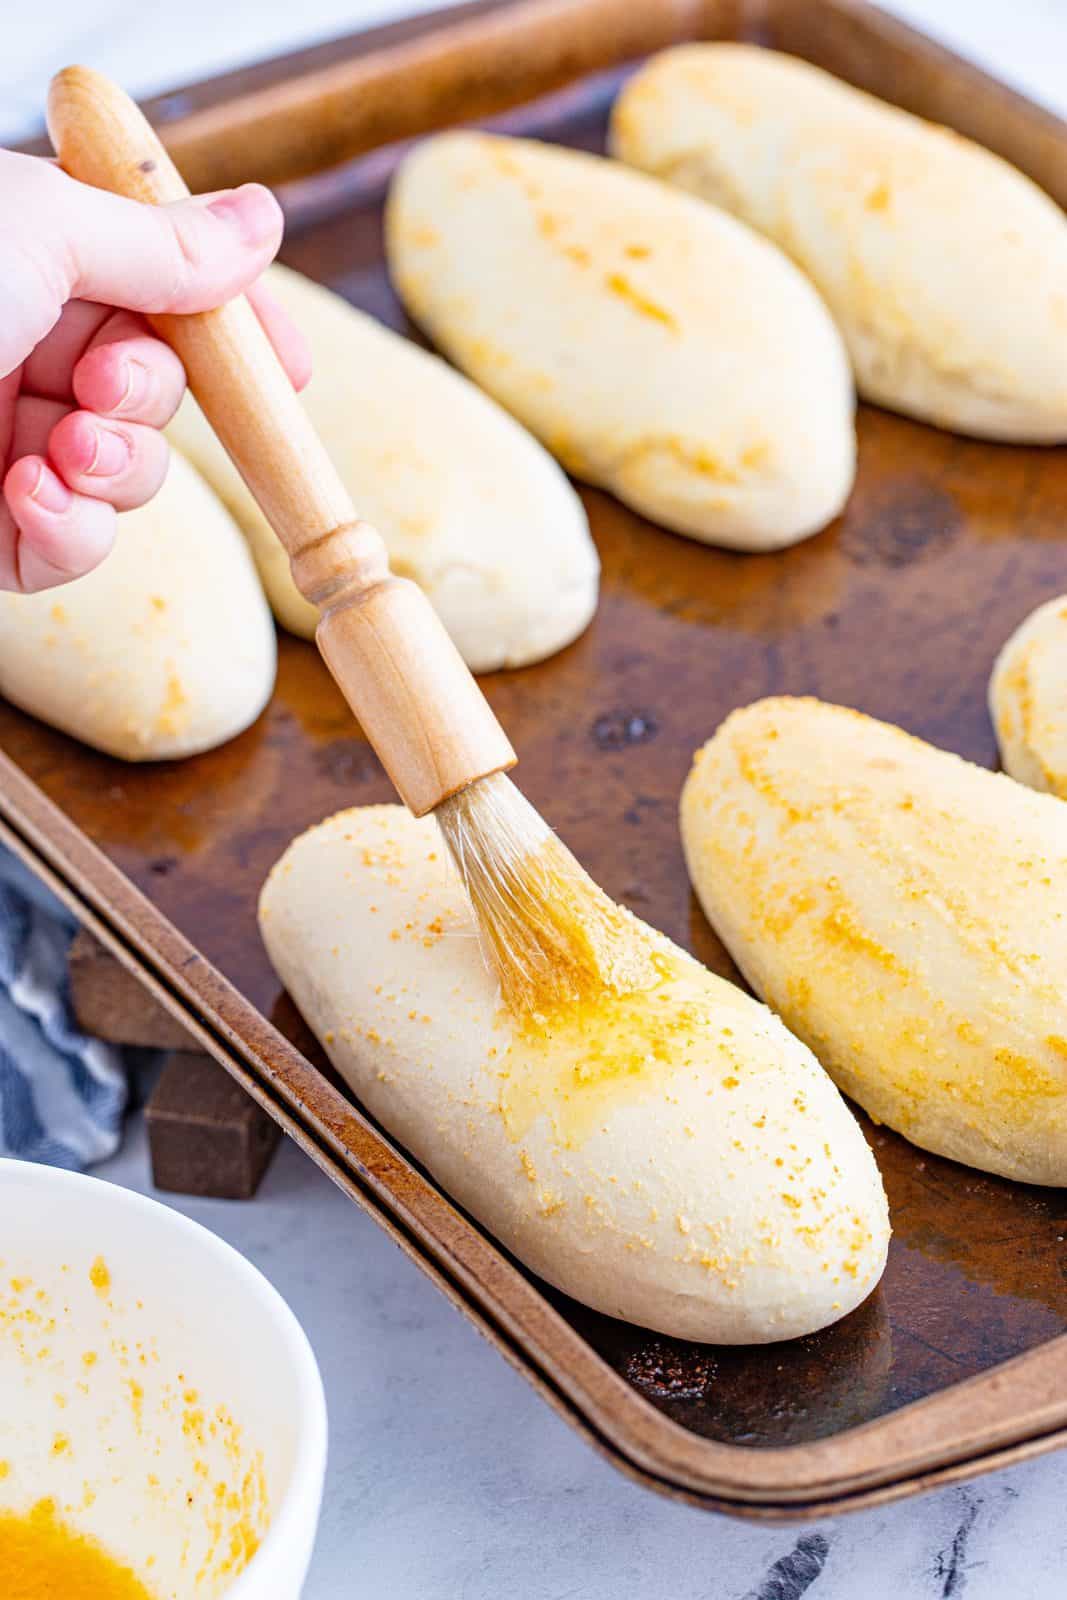
Then continue to bake for another 6-7 minutes. Immediately upon removal from the oven, brush the other half of the butter on the sticks.
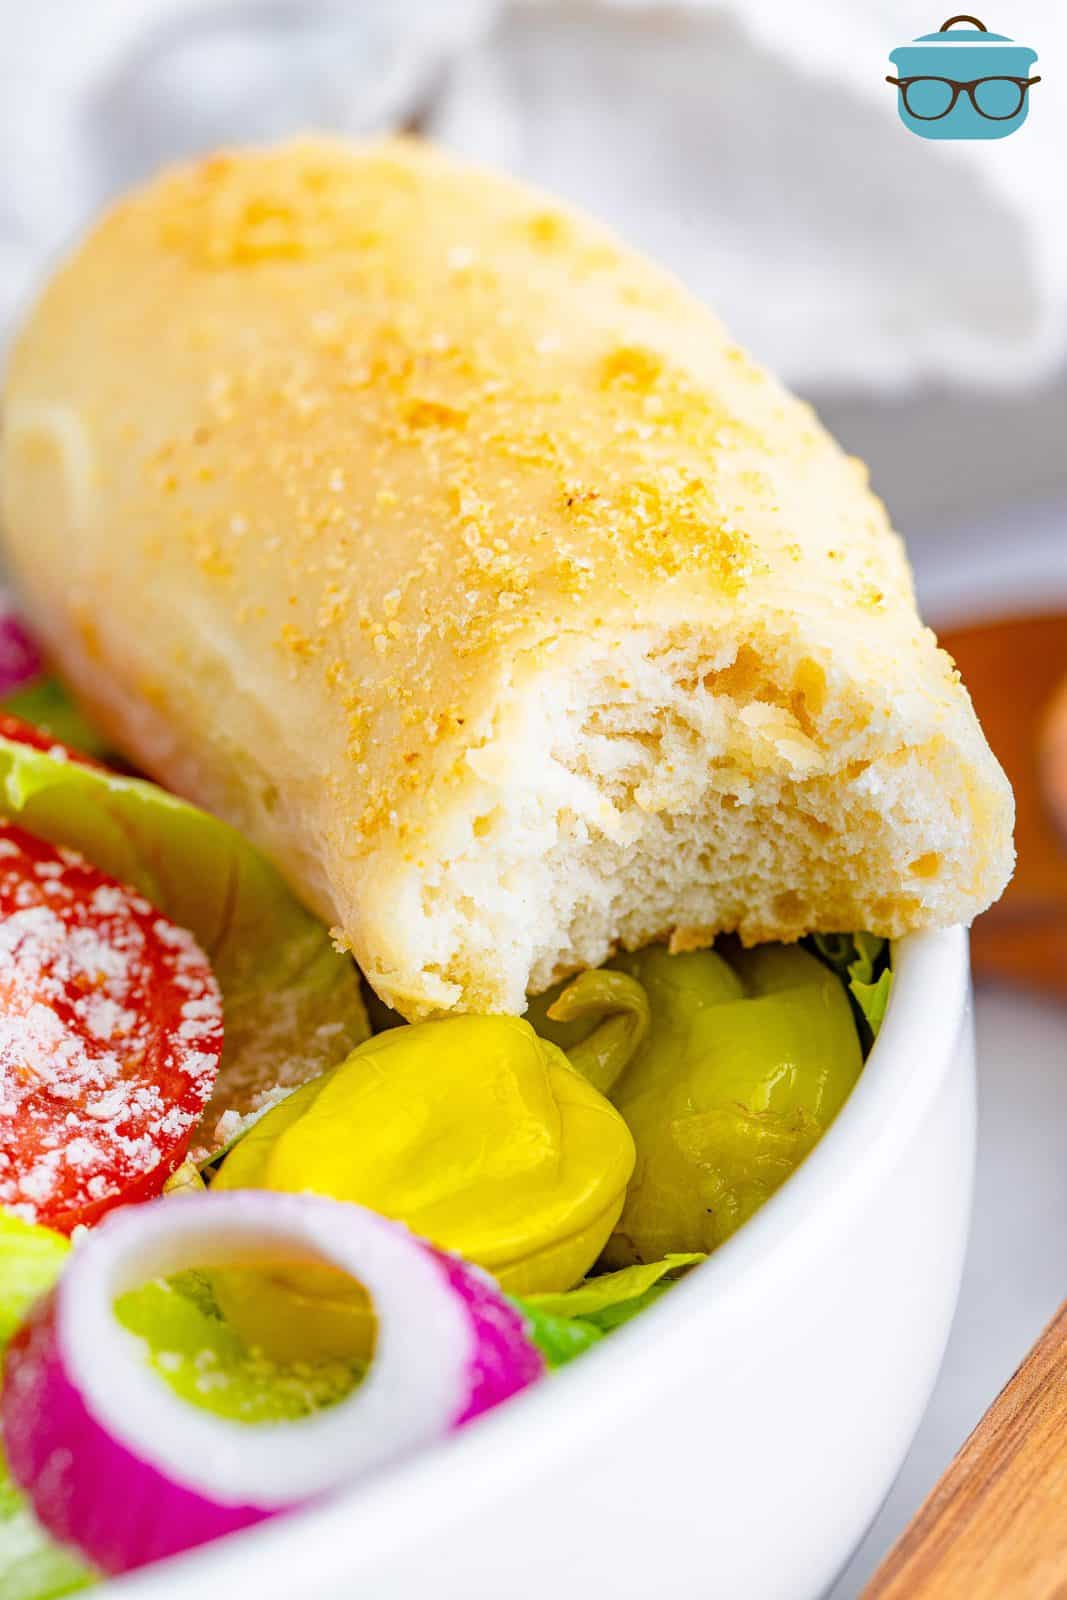
Allow them to cool for a minute or two, and enjoy!
CRAVING MORE RECIPES?
Homemade Garlic Breadsticks
Ingredients
For the breadsticks:
- 1 ½ cups very warm water
- 1 packet active dry yeast (2 1/4 teaspoons)
- 4 ¼ cups all-purpose flour (I like White Lily flour)
- 2 tablespoons unsalted butter melted
- 2 tablespoons sugar
- 1 tablespoon salt
For the garlic butter topping:
- ¼ cup unsalted butter (1/2 stick)
- 1 teaspoon garlic powder
- 1 teaspoon table salt
Instructions
- In a large bowl, dissolve sugar and yeast in warm water and allow to sit for 10 minutes, covered. Mixture should be frothy.
- In the bowl of your stand mixer or medium-sized bowl, combine flour and salt.
- Add yeast mixture and melted butter to flour mixture.
- Mix with dough hook attachment on stand mixer or stir until fully combined.
- Knead dough for a few minutes (about 7-8 minutes) just until dough is smooth and elastic.
- Spray baking sheet with nonstick spray.
- Pull off pieces of dough and roll out into strips. Remember these are going to double in size!
- Cover the dough with plastic wrap sprayed with nonstick spray (so dough doesn’t stick to it from the inside) or cover with a clean kitchen towel and put in a warm place to rise.
- Once they have doubled in size (about an hour), preheat oven up to 400F degrees.
- Once oven has reached temperature, take plastic wrap (or dish towel) off of breadsticks and put in the oven to bake.
- While they are baking, make butter topping. Microwave butter until melted and add garlic powder and salt, stir until combined.
- After 6 or 7 minutes of baking, brush the bread sticks with half the butter mixture.
- Then continue to bake for another 6-7 minutes.
- Immediately upon removal from the oven, brush the other half of the butter on the sticks.
Video

Nutrition
Nutritional Disclaimer
“The Country Cook” is not a dietician or nutritionist, and any nutritional information shared is an estimate. If calorie count and other nutritional values are important to you, we recommend running the ingredients through whichever online nutritional calculator you prefer. Calories and other nutritional values can vary quite a bit depending on which brands were used.
Originally published: August 2011
Updated & republished: January 2021


These were really good. So soft and they looked like little torpedoes. LOL. Perfect homemade taste and everyone really enjoyed them!
Linda's idea of the bread dough just reminded me I have a ball in the freezer. Had dinner at OG and can't wait to go again. Love their salad, bread sticks and Chicken Scampi. Now I can make the salad dressing and breadsticks at home. Thanks for the great recipies.
For semi-cheat, you could use a ball of pizza dough easily found in most grocery stores. I'm pretty sure most places just use pizza dough for their bread sticks. Still tastier than the popp'n fresh, but easier than waiting for the yeast to do its work.
These look amazing ! How many can I expect to have, using the scratch recipe? I realize size determines amt, but just an idea please ? There is just the two of us (though we could probably down these as if there were four of us !)
I want to thank you for the Breadstick recipes. Definitely want to make them!
Just tried these, they are sooo good! We had Olive Garden salad dressing for the salads and my mom's homemade spaghetti sauce for the pasta. Yum.
Do you think I could freeze these? Should I freeze them before or after I bake and if I freeze them uncooked do I need to thaw them before cooking?
I cant wait to try these! I just made the smothered pork chops and southern string beans with bacon for my friend and my mom last night and it was absolutely delicious. The best meal I have made yet. Keep the good recipes coming! -Kate
Has anyone tried to make a few batches and freeze them? Could you freeze the dough or cooked breadstick better? Thanks
ask Google if you can freeze the dough, you should be able to find out.
Made these tonight they were so good. Also made your spaghetti and olive garden salad dressing…..all were great. I just discovered your blog today, I love it! I will definitely be making more of your recipes.
When I make homemade breadsticks I roll the dough out onto a floured surface and using a pizza cutter cut into strips. It makes them all nice and even. I am going to try this recipe. Can I make the dough on my bread maker?
I made these today – they were very good. I cooked them a bit long, so the bottoms were a bit crispy, but that was more my distraction than the recipe. Thanks!
i made these exactly as the recipe said. they were delicious! def will make again 🙂
Can I use my bread machine to make the scratch version!!
About how many minutes to knead dough? and do you mix the yeast and sugar at first or just put it in there and let it sit? (This is my first time doing this!)
As an experienced baker I always get my yeast, sugar, warm water ready in my stand mixer first and let it proof there (why dirty another bowl?) and then when it has gotten all foamy I start adding in the dry ingredients. This way I can watch the dough consistency and not add too much, or too little flour. As for length of time to knead I’ve learned the minimum is around 8 minutes, longer produces a finer crumb and softer bread. You’ll probably have to pull the dough down off the hook a couple times as it tends to ‘climb’ but the machine does all the rest of the work for you.
I loved the Garlic Breadstick Recipe! I made two batches and they were the best bread sticks I have eaten in years. Thank You for the recipe!
I made these breadsticks tonIght and they were delicious! I didn't let them rise enough but they were the best thing I think I have ever made! Thank yo sooooo much!
Wow! I LOOOOVE Olive Garden breadsticks. Just made these tonight, and they taste just like them. These are sooo good! Thank you for the recipe! We had them with the olive garden soup that we made with the crock pot which was also excellent.
Thank you for this recipe. They were delicious!!! The second time I made them I added some Parmesan cheese to the butter mixture and YUM!
Looks like you have parmesan cheese on the breadsticks, I assume you just sprinkle it on after you brush the breadsticks with butter.
Hi Lela. That's not Parmesan cheese on there. That is just the garlic salt that is in the butter mixture. But if you really love Parmesan cheese, feel free to add it on top. 🙂
These are awesome!! I cheat and make the dough in my breadmaker. Works great!
That was my big question if I could use a breadmaker…I like to cheat also lol Just use the same ingredients??
These were so good – thank you!
Now about the yeast, if they didn't rise that means your yeast was no good. Even new packets of yeast can go bad on the grocery store shelf. That's why it is a good idea to "proof" your yeast first before using. Add your yeast to your very warm water and sugar mixture. After 5 to 10 minutes it should "bloom" or look very frothy and bubbly. If it doesn't do that then the yeast is no good. I hope I covered everything for you!