Homemade Garlic Breadsticks (+Video)
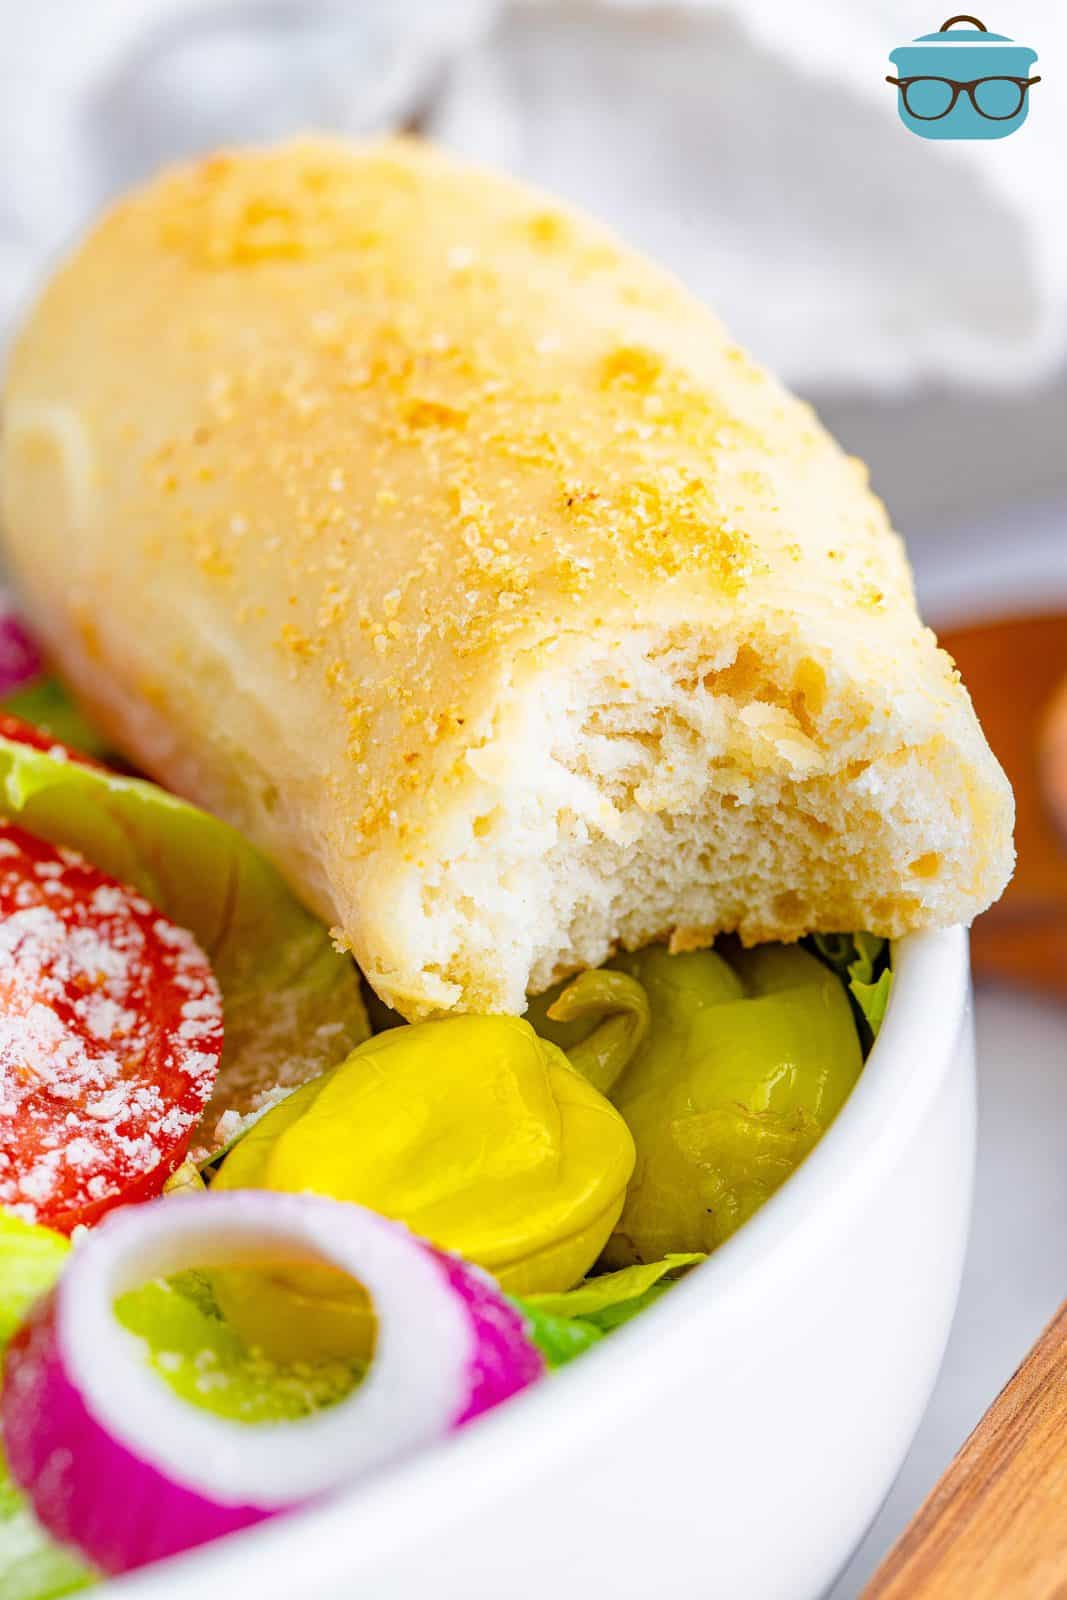
These homemade garlic breadsticks taste so fresh and absolutely delicious. A tender breadstick with an amazing garlic butter topping!
AN HOMEMADE BREADSTICK RECIPE
I initially was calling this a Copycat Olive Garden breadstick recipe. But honestly, that wasn’t exactly accurate because they taste way better and they look more like mini loaves of bread rather than your typical Olive Garden breadstick. These breadsticks are warm and buttery and garlicky and easier to make than you might think!
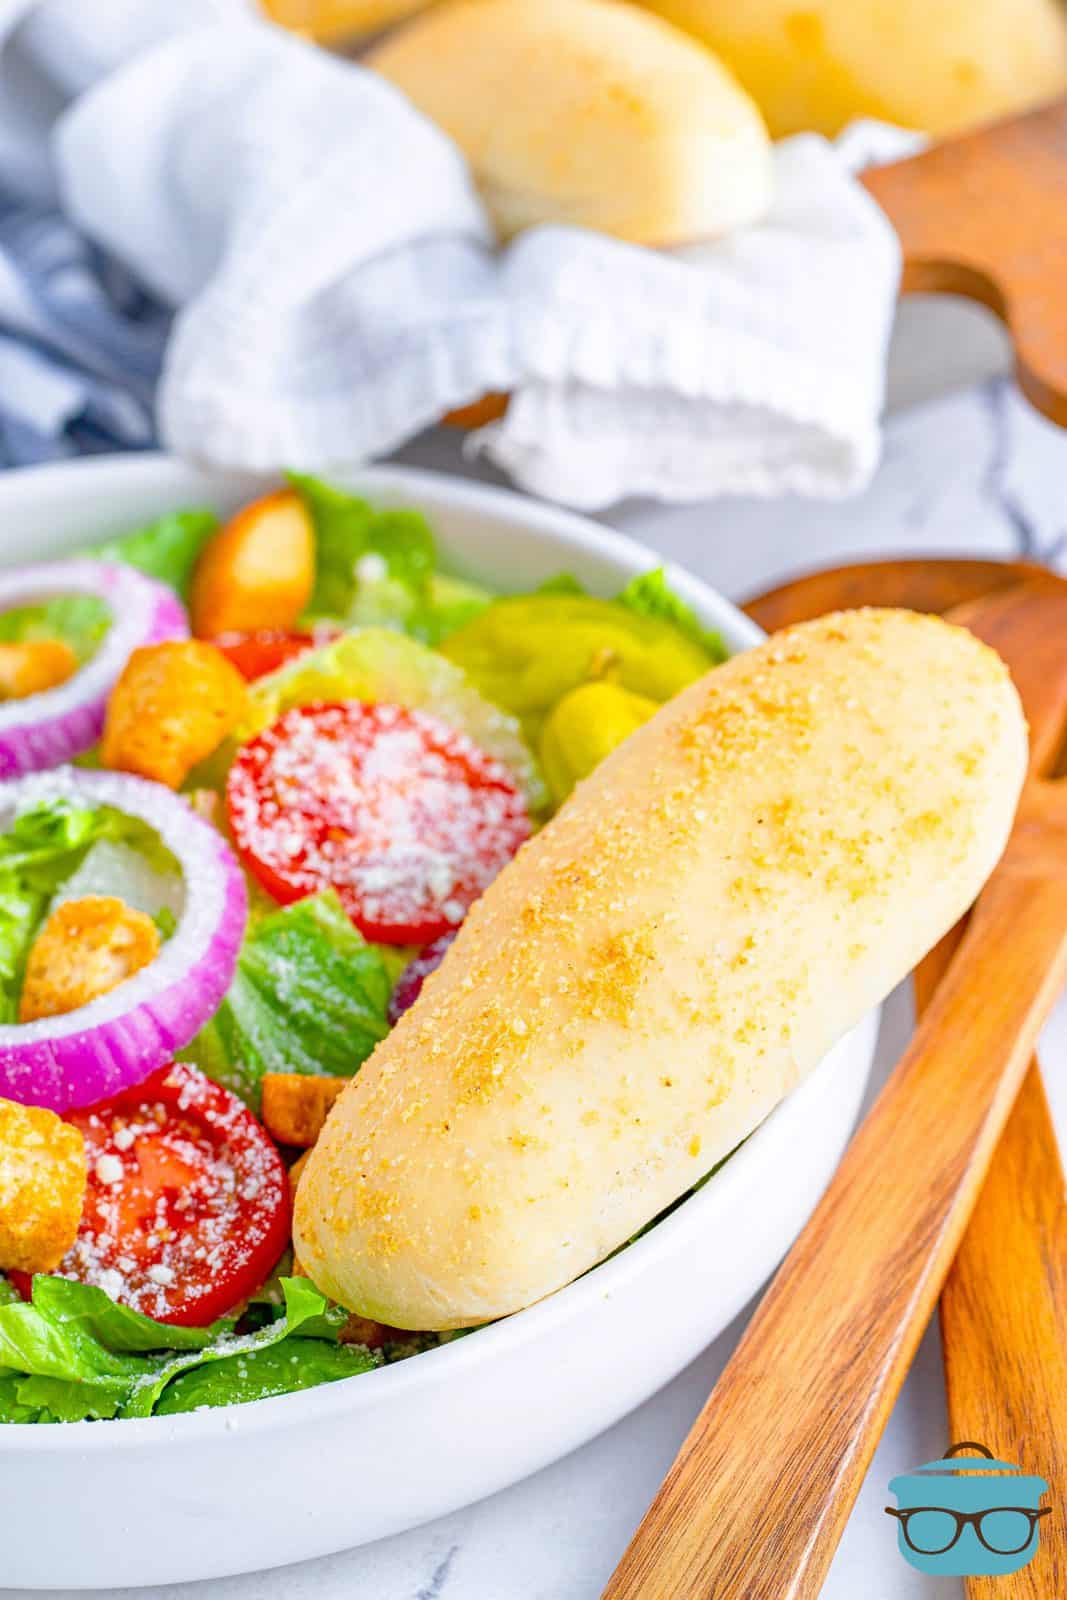
TIPS FOR MAKING HOMEMADE GARLIC BREADSTICKS:
They only real key here is to have fresh, active yeast and to knead your dough until smooth and elastic. If you can do that, then you can have fresh breadsticks. And the buttery sauce that you spread on top. Oh. My. Word. You can put on as much or as little of it on as you like (and I like a lot)! Also, you gotta try eating these with my PASTA E FAGIOLI or ZUPPA TOSCANA.
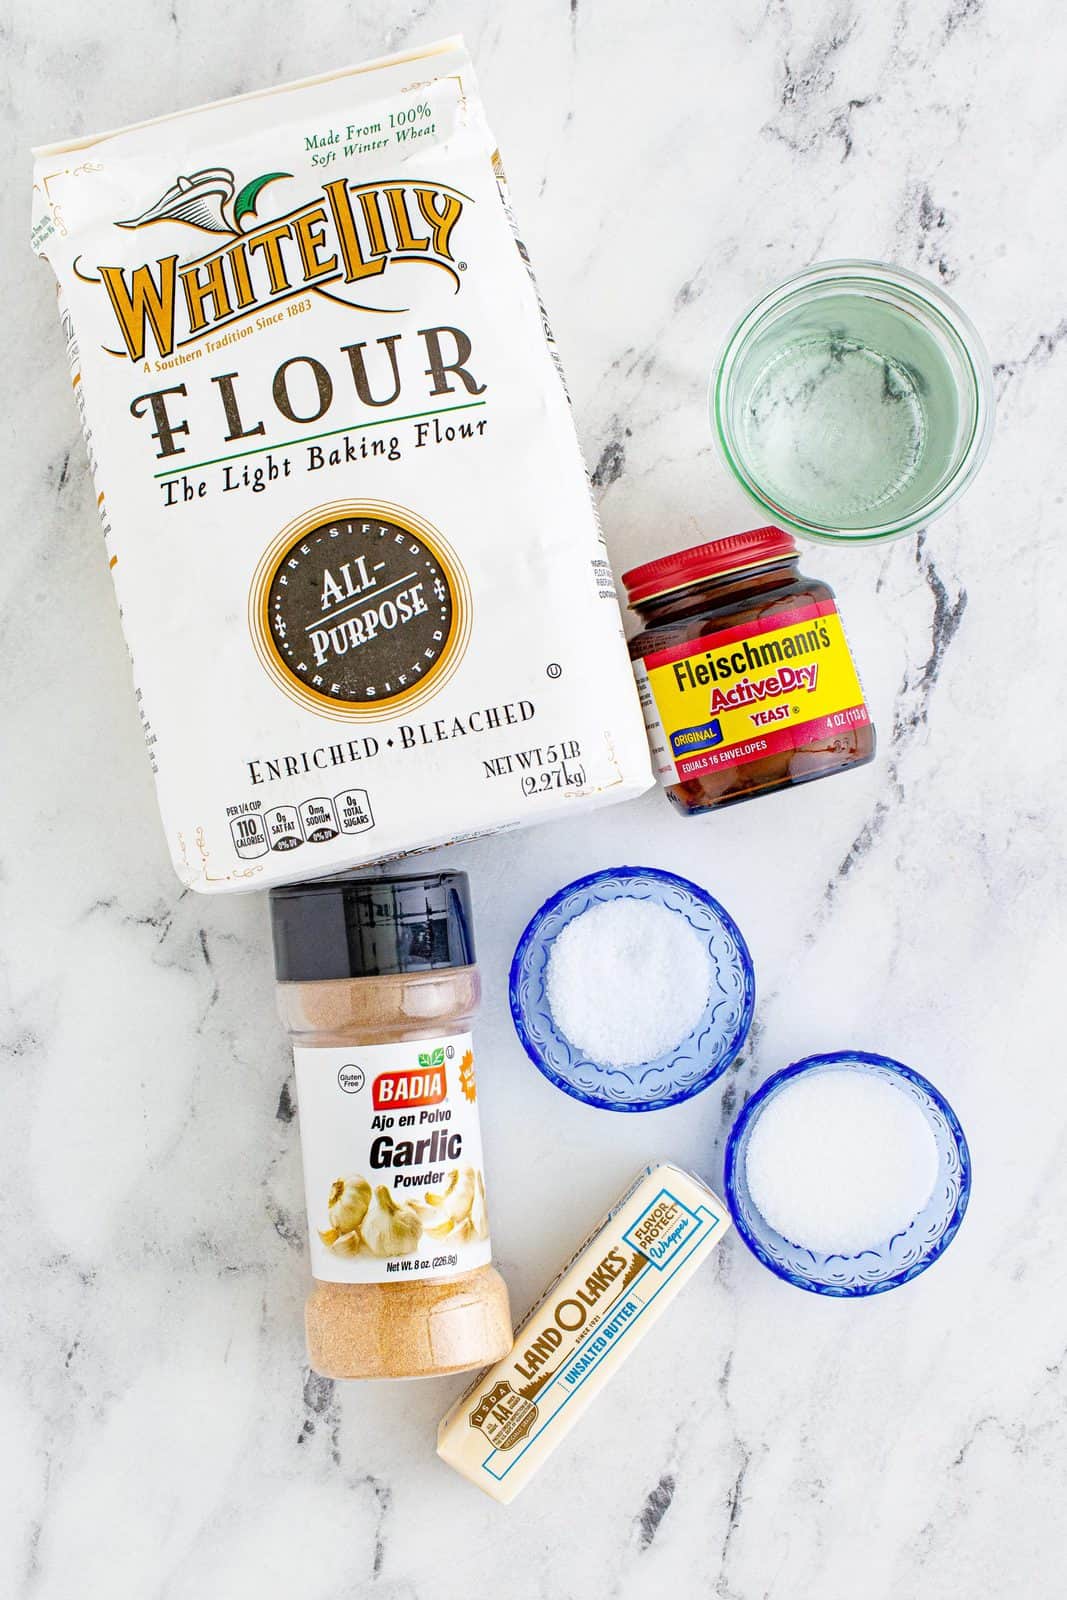
INGREDIENTS NEEDED: (FULL RECIPE AT THE BOTTOM OF THE POST)
- very warm water
- active dry yeast
- all-purpose flour
- unsalted butter
- sugar
- salt
HOW TO MAKE HOMEMADE GARLIC BREADSTICKS:
In a large bowl, dissolve sugar and yeast in warm water and allow to sit for 10 minutes, covered. Mixture should be frothy.
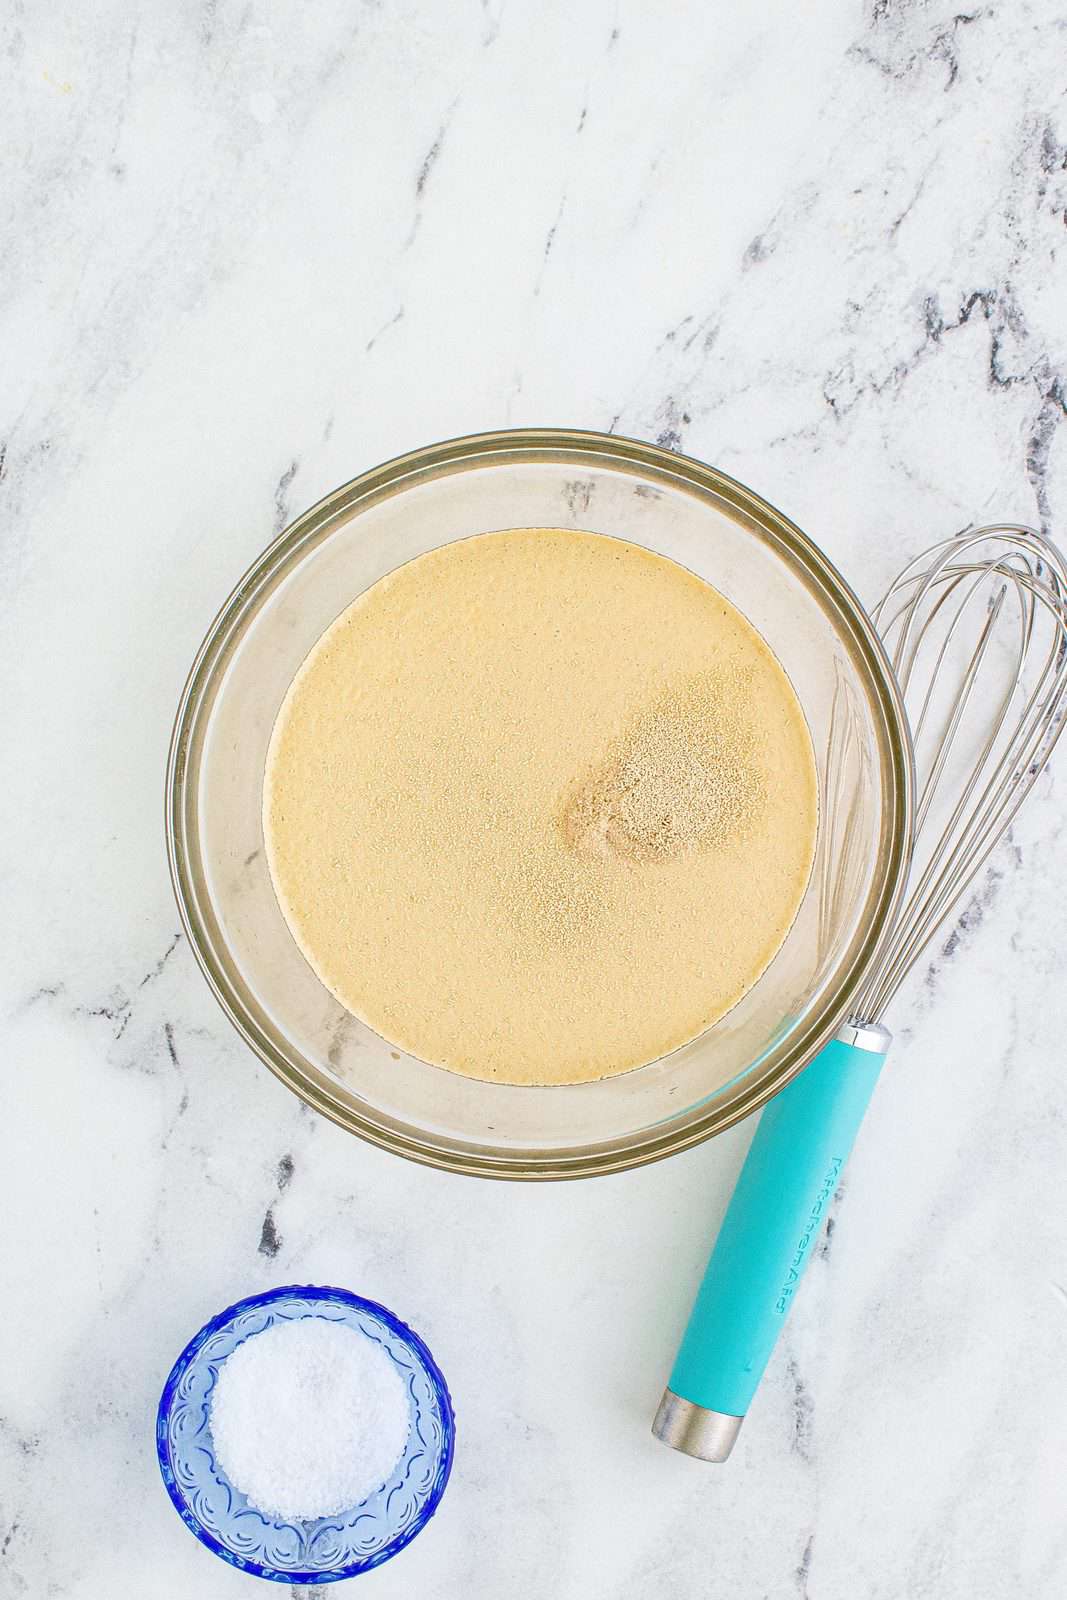
In the bowl of your stand mixer or medium-sized bowl, combine flour and salt.
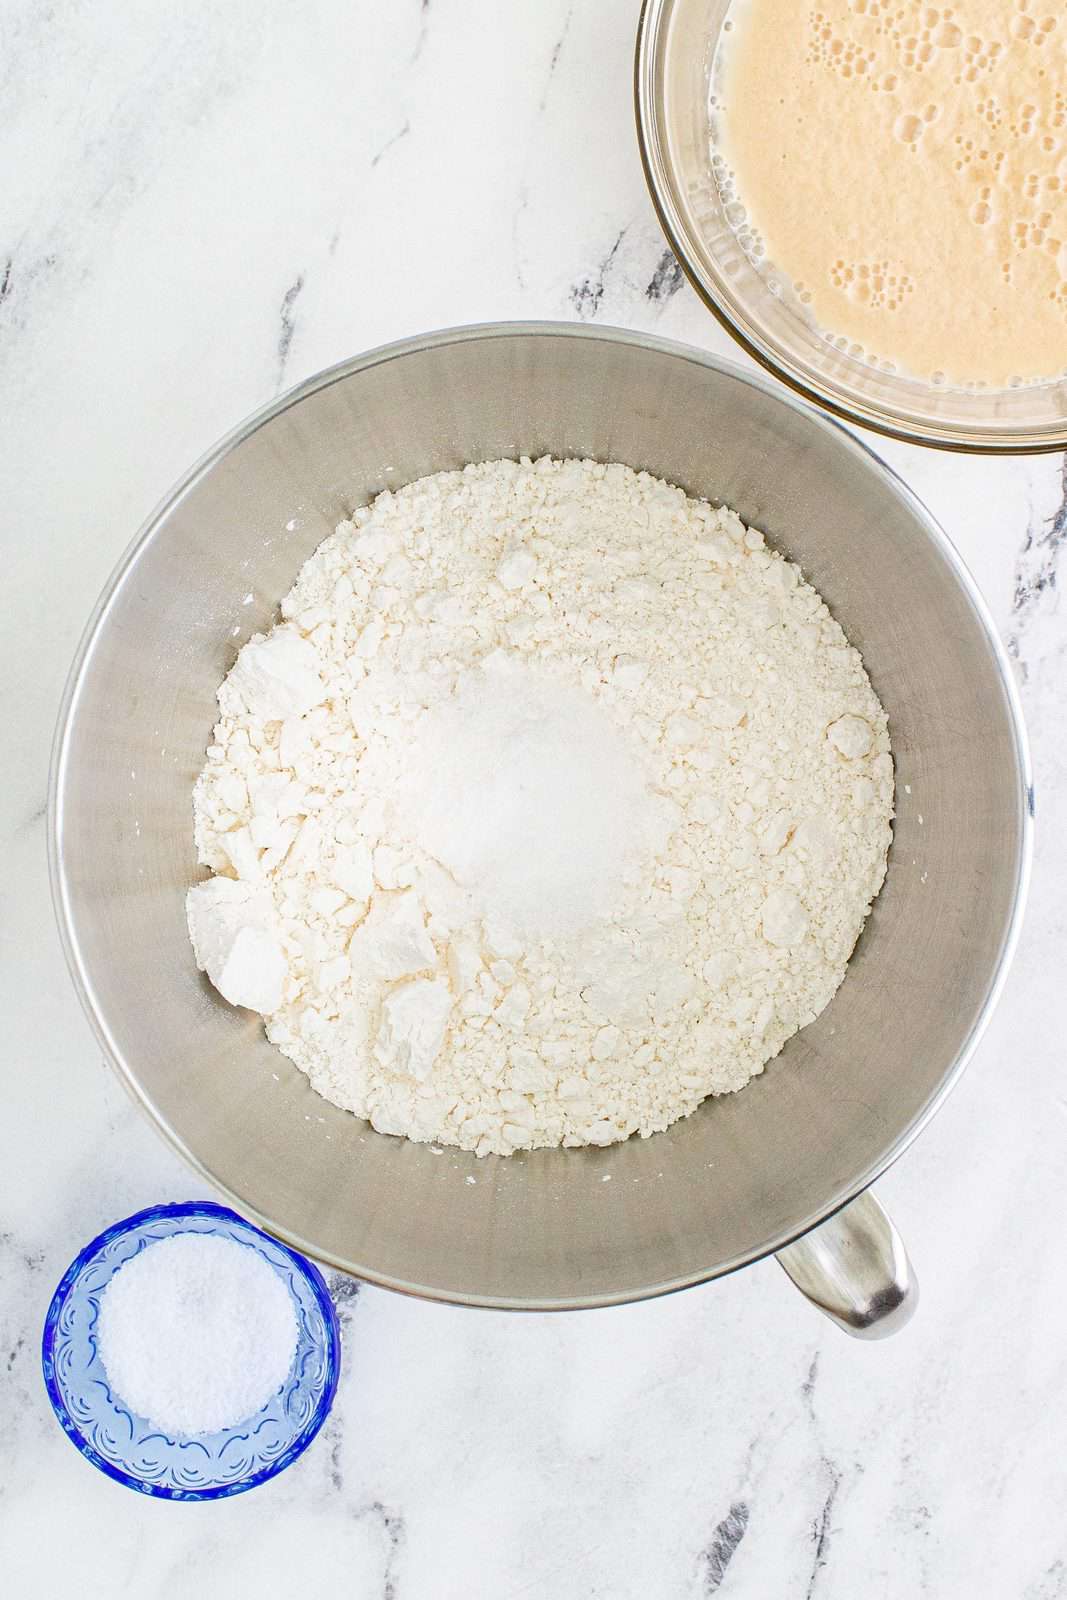
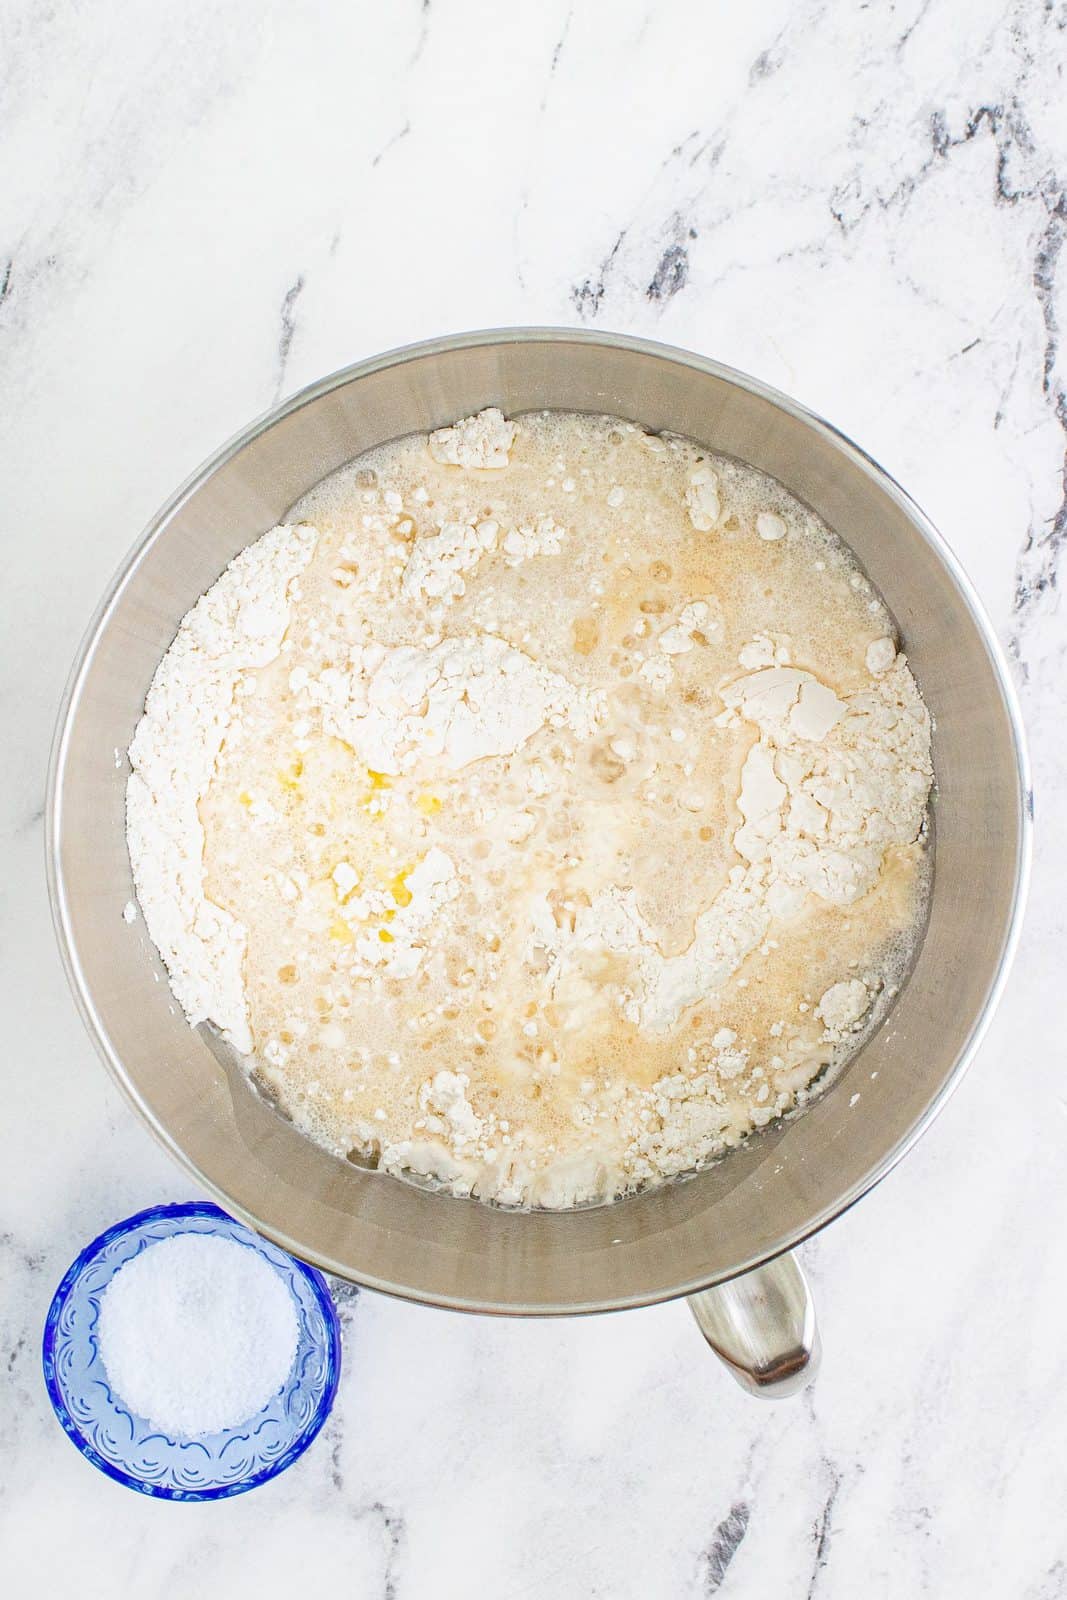
Add yeast mixture and melted butter to flour mixture.
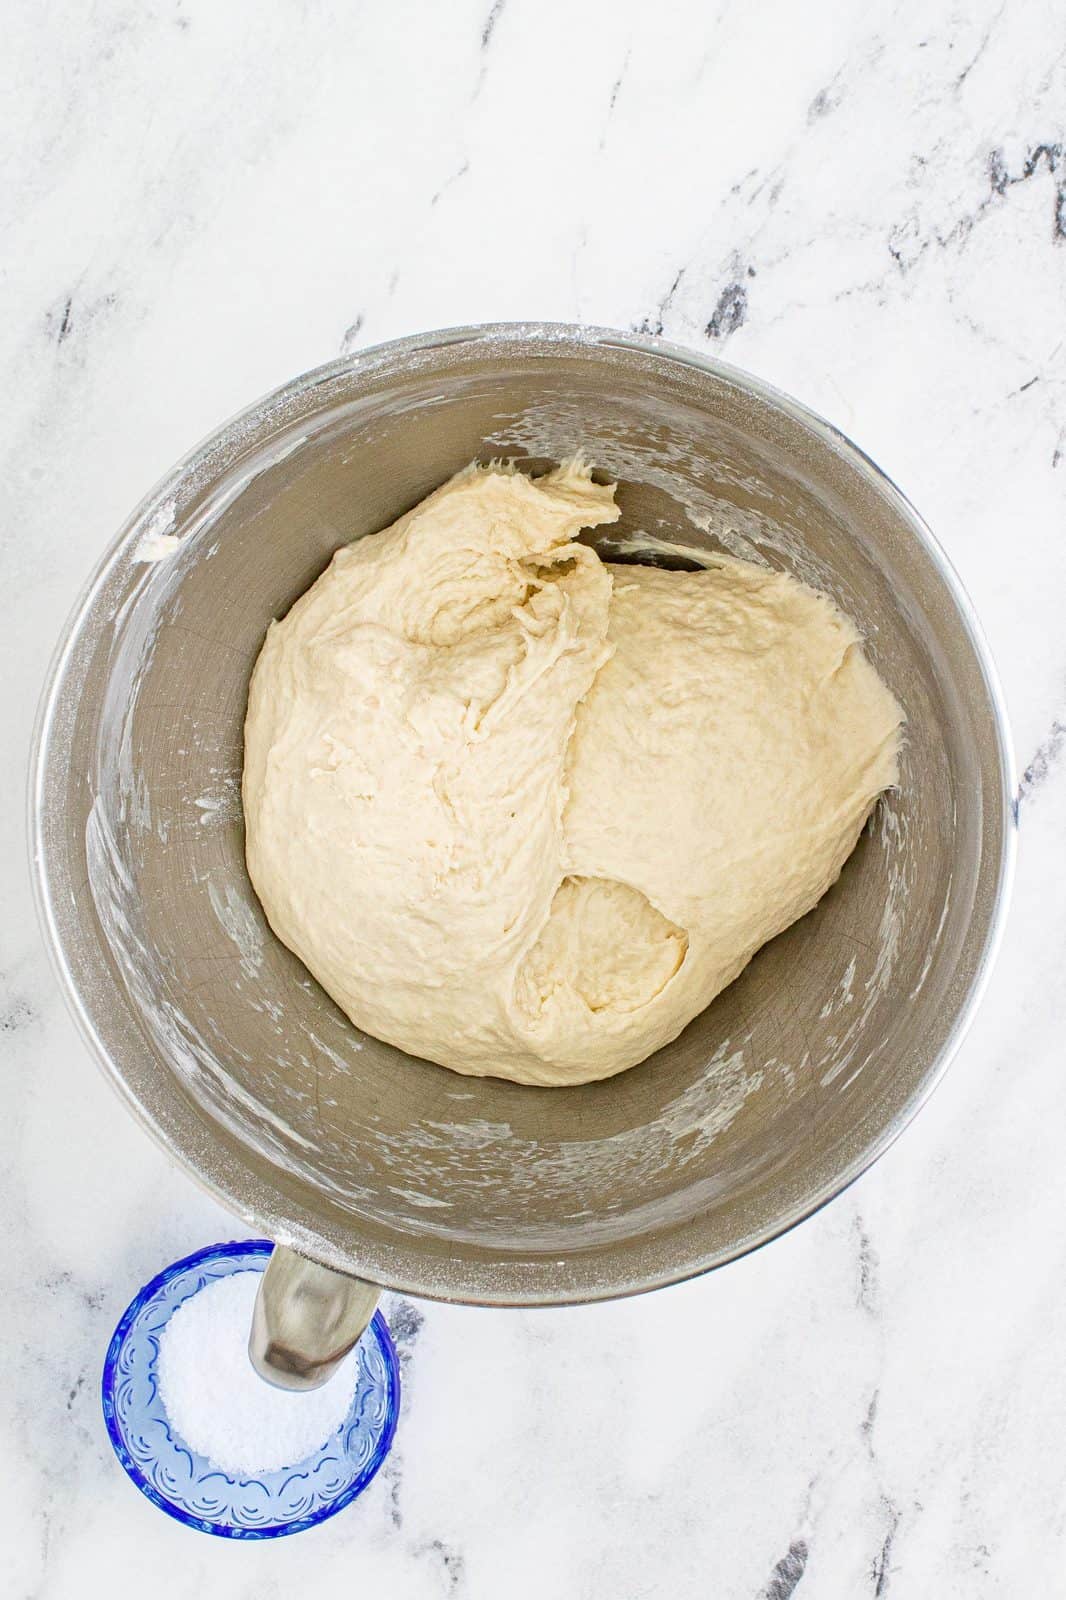
Mix with dough hook attachment on stand mixer or stir with a wooden spoon until fully combined. Knead dough for about 8-10 minutes just until dough is smooth and elastic.
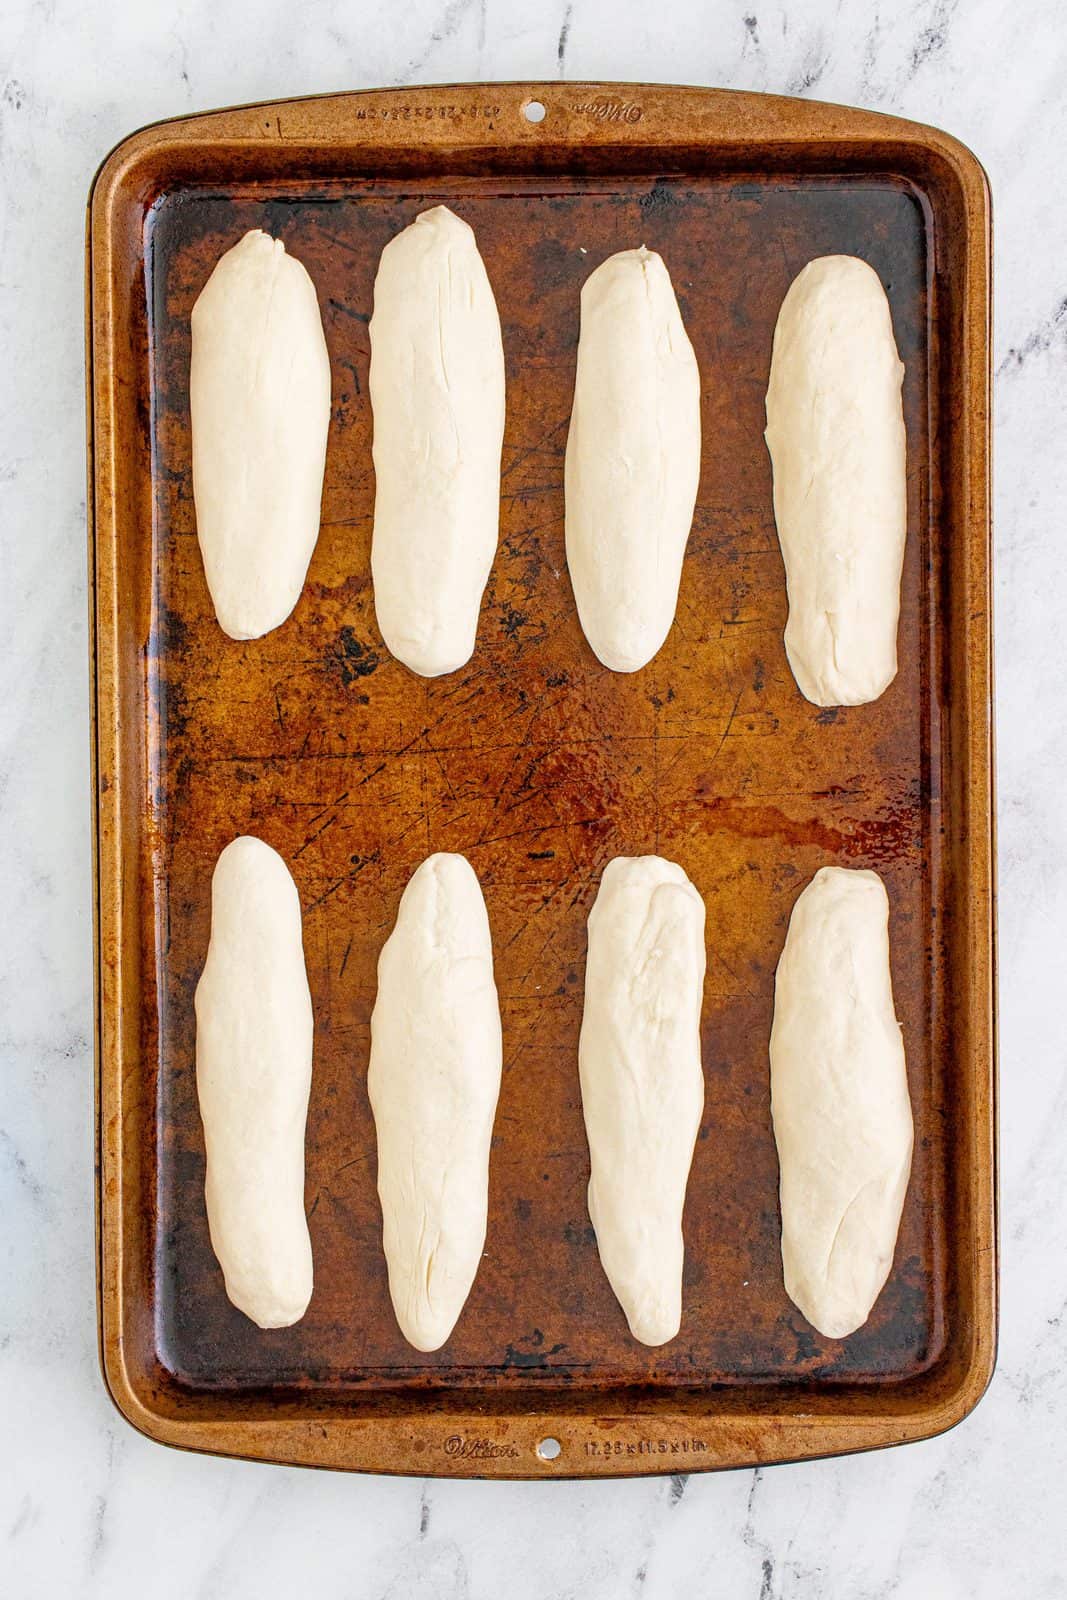
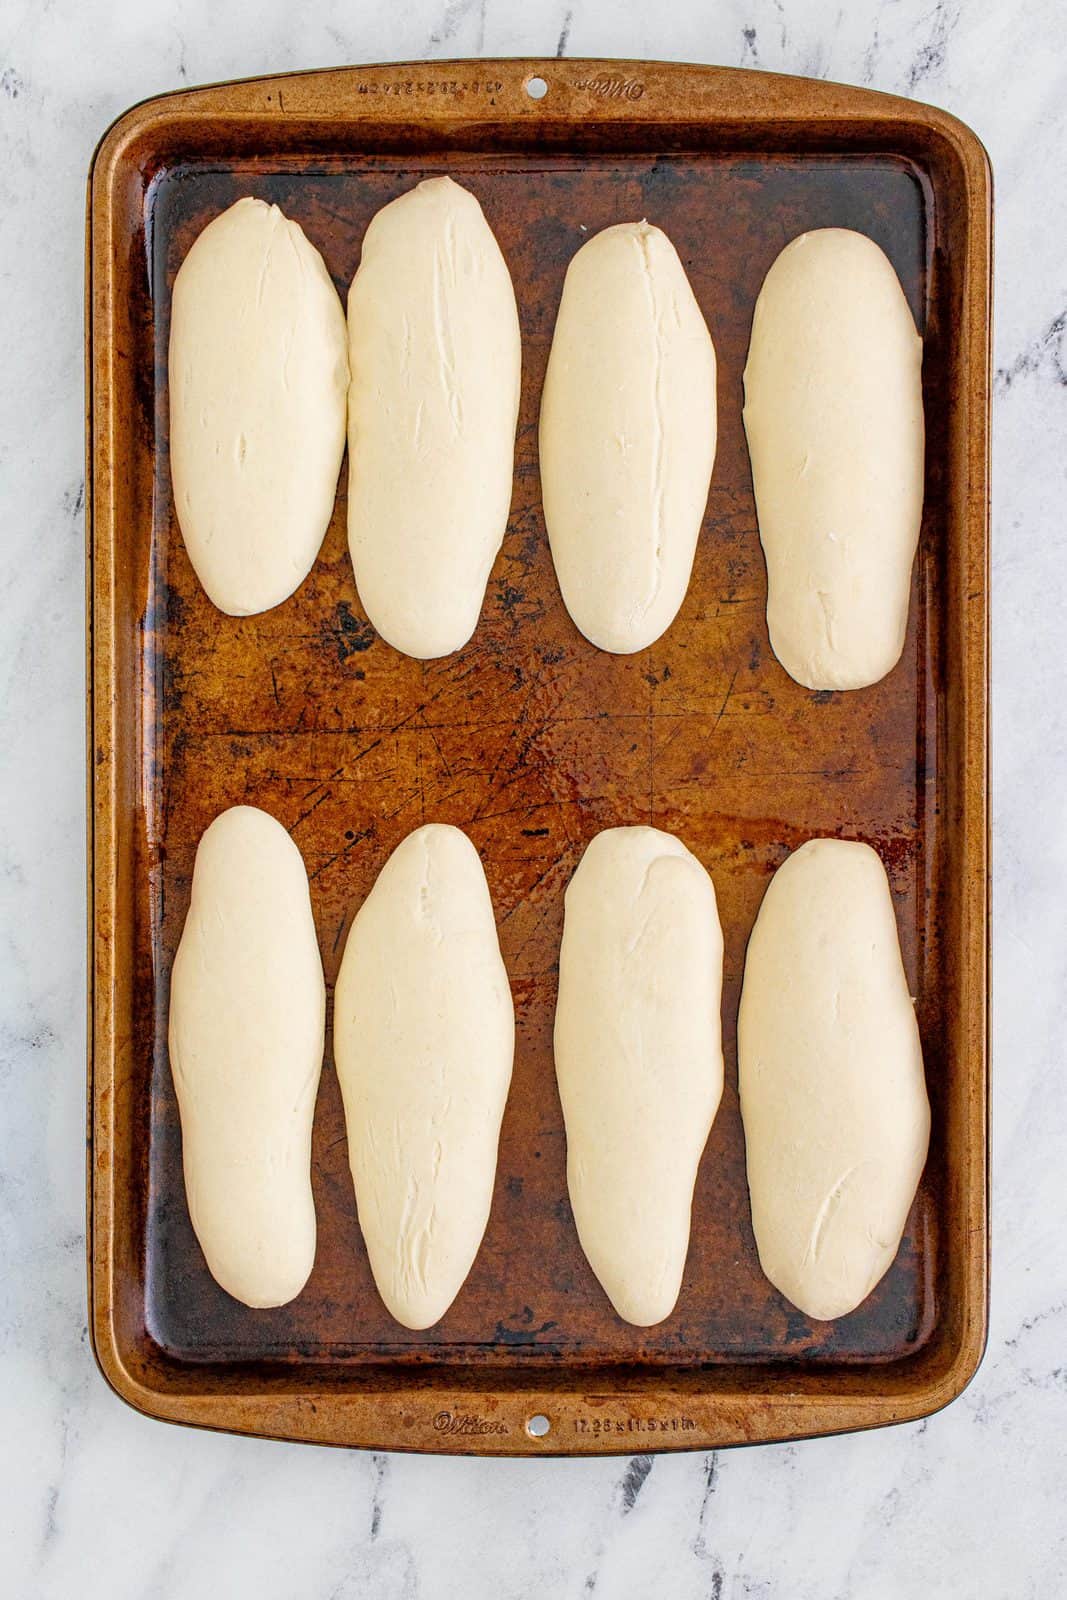
Spray baking sheet with nonstick spray. Pull off pieces of dough and roll out into strips. It helps to roll them in between your hands or on the countertop until smooth. The first few times I made this, I pulled off way too much dough for each breadstick. So pull off smaller size pieces than you would think you’d need. Remember these are going to double in size!
Cover the dough with plastic wrap sprayed with nonstick spray (so dough doesn’t stick to it from the inside) or cover with a clean kitchen towel. Put in a warm place to rise.
Note: I like to preheat my oven to about 150F degrees and then turn it off once it has warmed. I’ll put my breadsticks in there because it is a nice, warm and draft-free place for the bread to rise. Once they have doubled in size, remove sheet from oven and preheat oven up to 400F degrees. Once it has reached temperature, take plastic wrap off of breadsticks and put in the oven.
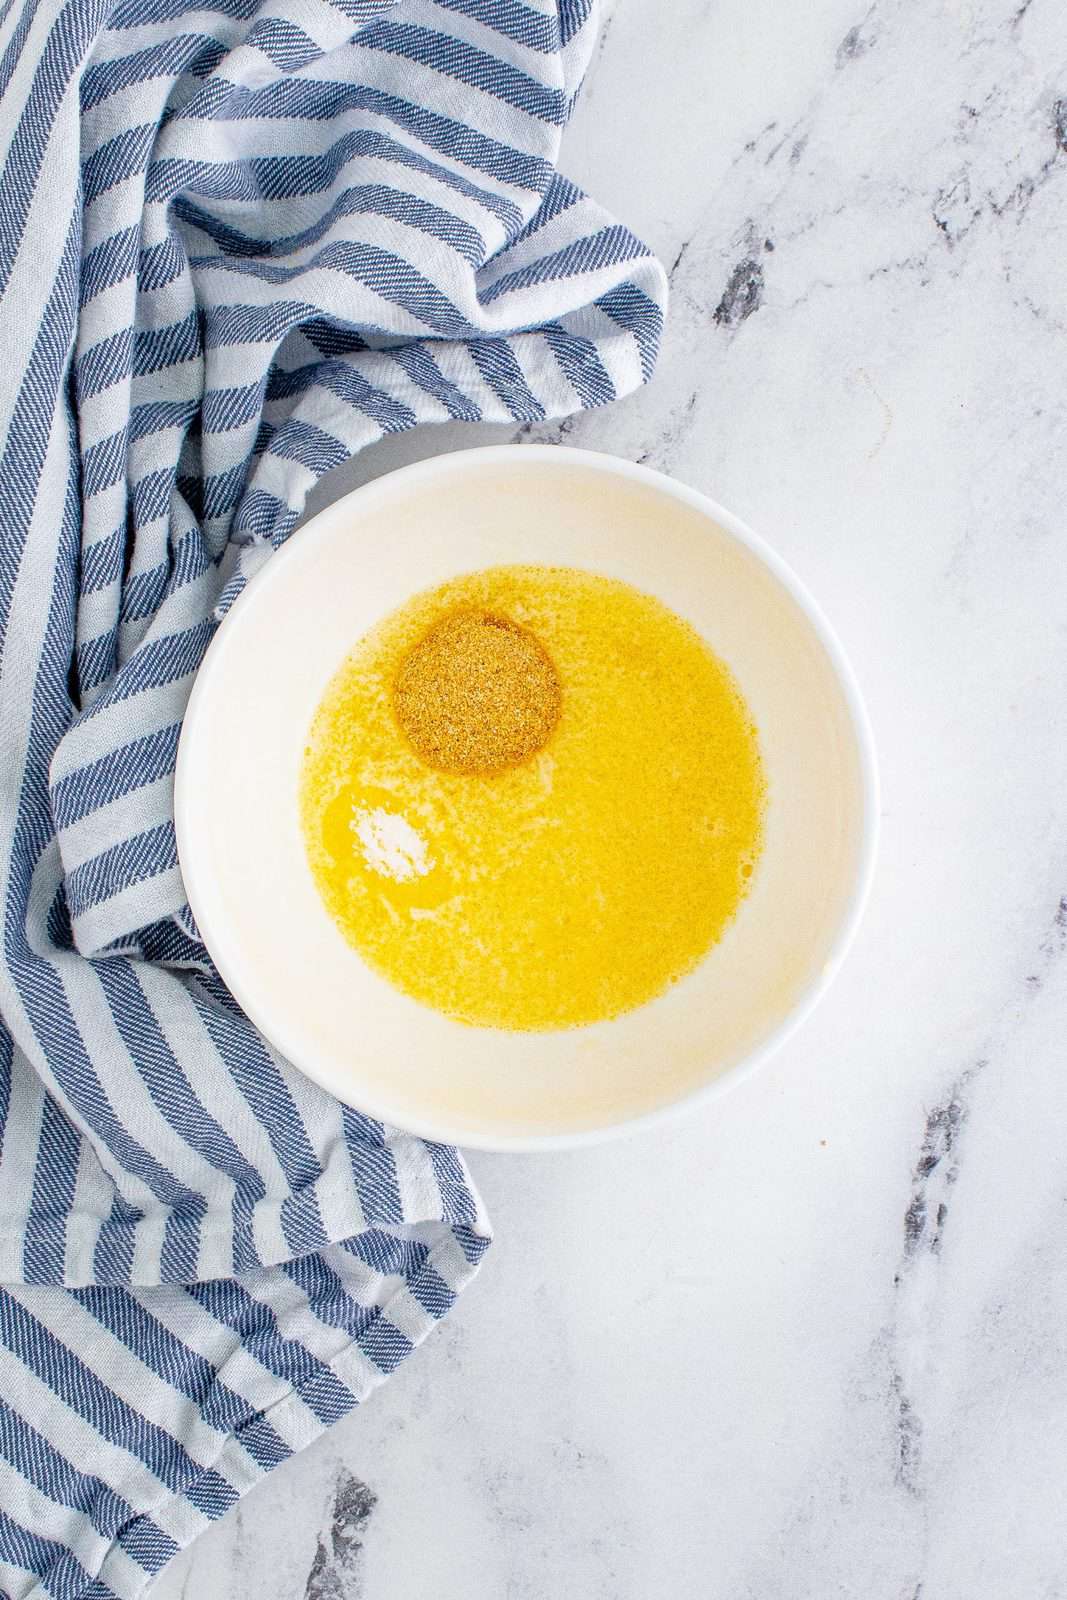
While they are baking, make butter topping. Microwave butter until melted and add garlic powder and salt, stir until combined.
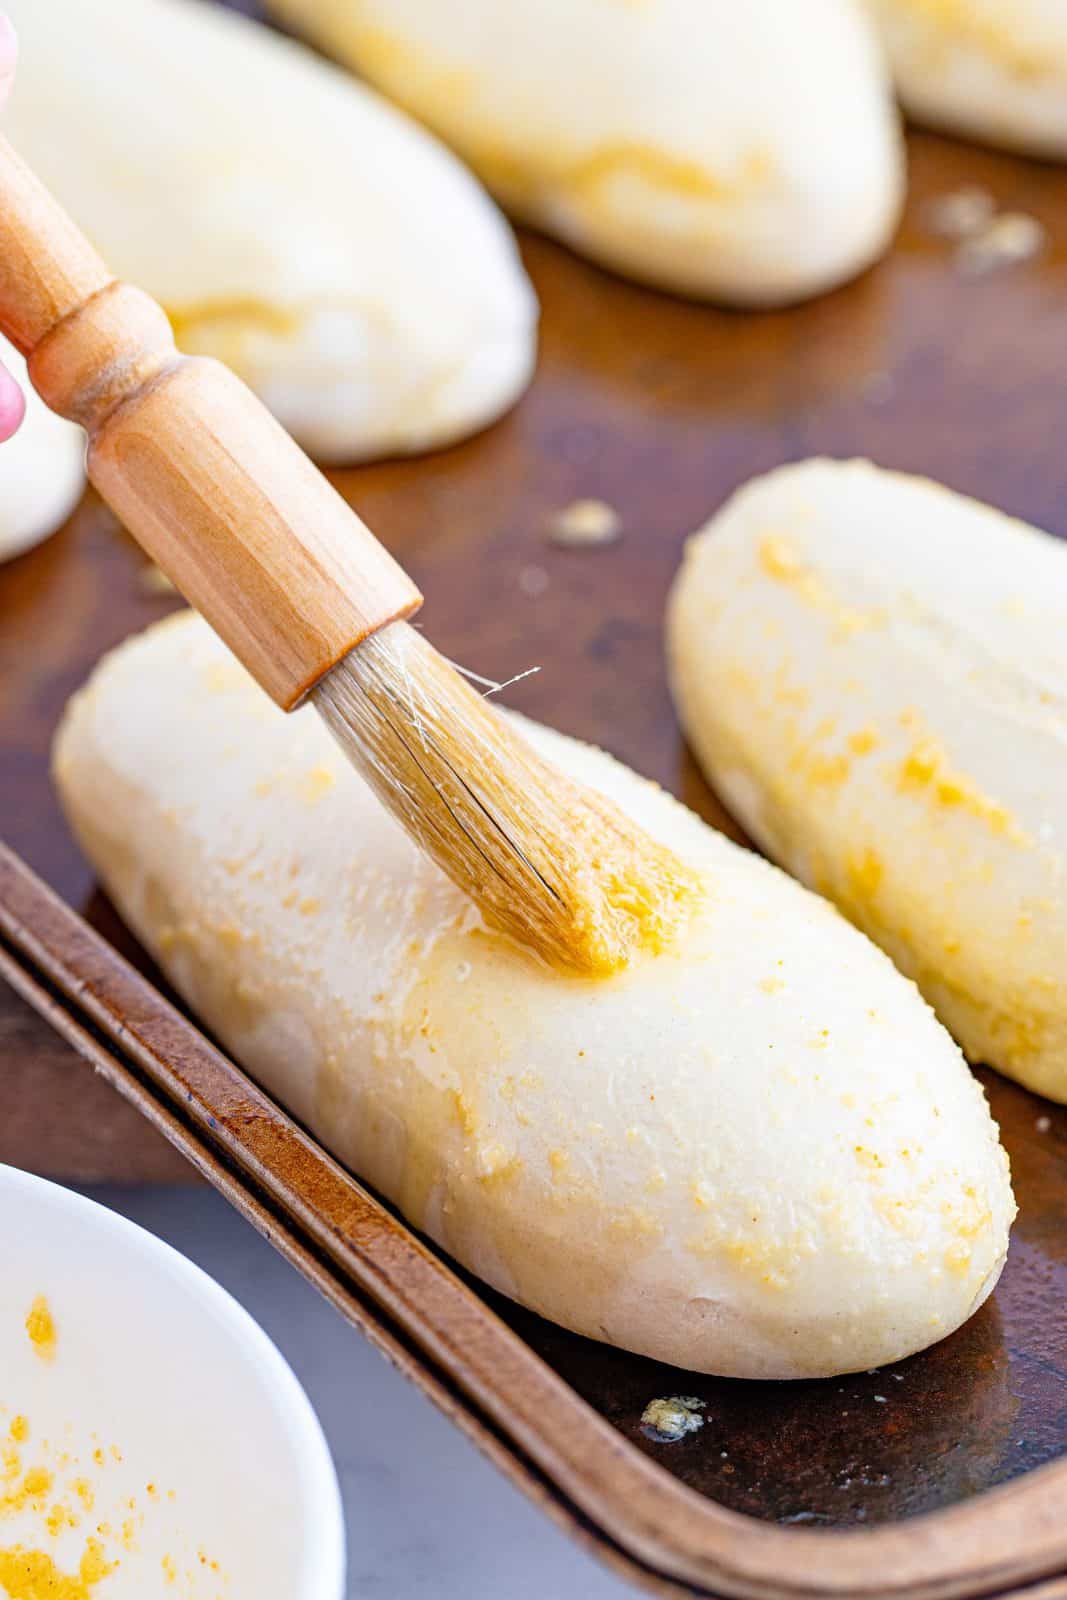
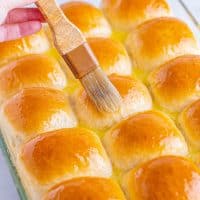
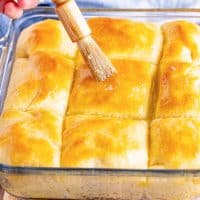
After 6 or 7 minutes of baking, brush the bread sticks with half the butter mixture.
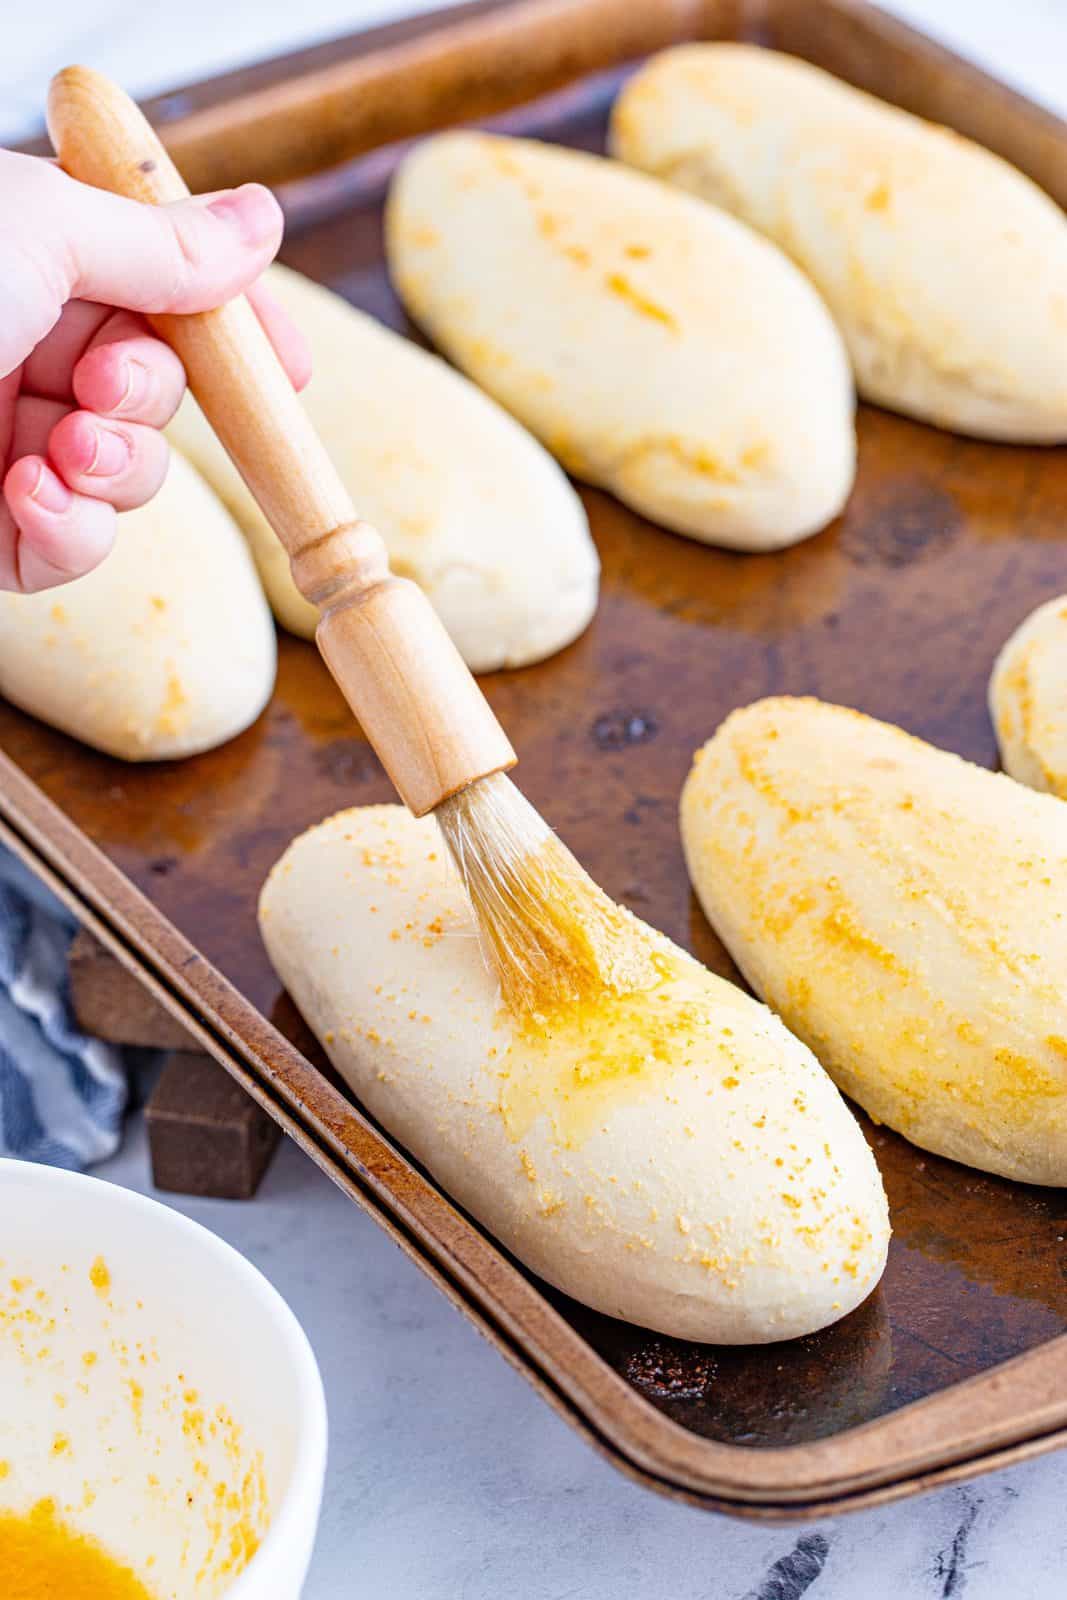
Then continue to bake for another 6-7 minutes. Immediately upon removal from the oven, brush the other half of the butter on the sticks.
Allow them to cool for a minute or two, and enjoy!
CRAVING MORE RECIPES?
Homemade Garlic Breadsticks (+Video)
Ingredients
For the breadsticks:
- 1 ½ cups very warm water
- 1 packet active dry yeast (2 1/4 teaspoons)
- 4 ¼ cups all-purpose flour (I like White Lily flour)
- 2 tablespoons unsalted butter melted
- 2 tablespoons sugar
- 1 tablespoon salt
For the garlic butter topping:
- ¼ cup unsalted butter (1/2 stick)
- 1 teaspoon garlic powder
- 1 teaspoon table salt
Instructions
- In a large bowl, dissolve sugar and yeast in warm water and allow to sit for 10 minutes, covered. Mixture should be frothy.
- In the bowl of your stand mixer or medium-sized bowl, combine flour and salt.
- Add yeast mixture and melted butter to flour mixture.
- Mix with dough hook attachment on stand mixer or stir until fully combined.
- Knead dough for a few minutes (about 7-8 minutes) just until dough is smooth and elastic.
- Spray baking sheet with nonstick spray.
- Pull off pieces of dough and roll out into strips. Remember these are going to double in size!
- Cover the dough with plastic wrap sprayed with nonstick spray (so dough doesn’t stick to it from the inside) or cover with a clean kitchen towel and put in a warm place to rise.
- Once they have doubled in size (about an hour), preheat oven up to 400F degrees.
- Once oven has reached temperature, take plastic wrap (or dish towel) off of breadsticks and put in the oven to bake.
- While they are baking, make butter topping. Microwave butter until melted and add garlic powder and salt, stir until combined.
- After 6 or 7 minutes of baking, brush the bread sticks with half the butter mixture.
- Then continue to bake for another 6-7 minutes.
- Immediately upon removal from the oven, brush the other half of the butter on the sticks.
Video

Nutrition
Nutritional Disclaimer
“The Country Cook” is not a dietician or nutritionist, and any nutritional information shared is an estimate. If calorie count and other nutritional values are important to you, we recommend running the ingredients through whichever online nutritional calculator you prefer. Calories and other nutritional values can vary quite a bit depending on which brands were used.
Originally published: August 2011
Updated & republished: January 2021
Hi Christina, thank you for your comment. I've made these lots so I might have some pointers for you 🙂
As for the salt, I have a lot of people question the measurement & it is right and we enjoy the taste but I understand salt is one of those things that lots of folks are sensitive too. If your dough is dryish then that means you have too much flour. That may be because you are packing your measuring cup with flour. The best way to measure flour (if you don't have a kitchen scale) is to dip your measuring cup into the flour, don't pack or shake it. Just take your finger and swipe off the excess. This will give you as close to one cup as possible (although if you were to measure it on a scale, it probably would still measure in weight a little over a cup). I hope that helps. I've had quite a few positive results from readers on this one, so it may just be one of those things that you have to get a feel for. I'm certainly no expert at bread by any means, I've just made these a lot! 🙂
Hi Brandie,
I made these breadsticks last night for Valentine's dinner. And boy, I don't know what happened! Mine came out hard and dense. Even when I was kneading the bread it was dryish. I left them to rise for almost an hour although they didn't double in size. Every time I use my dough hook, I feel that it doesn't incorporate the ingredients enough. Any pointers? Also, 1 tablespoon of salt was WAY too salty, in my opinion. Thanks for any pointers!
Christina
Hi Kim, the rising time will vary (depending on your altitude and where you put your dough to rise). You want the dough to be doubled in size. For me, it typically takes about an hour if I use my oven to proof it. So just keep an eye on your dough. Hope that helps!
How long do they need to stay in the oven to rise? I've never made bread like this without the recipe saying how long to let them rise.
Gill, you sure can. Were you wanting to freeze the dough? Just make sure you wrap it up well and place it in a freezer bag. Then when you are ready to make them, be sure to take them out in enough time so the dough has a chance to rise for the second time 🙂
Can I make the dough ahead of time and rise/bake them later?
Ok, so I made them. They were great! I gotta learn though, how to make a decent sized breadstick, lol. Mine were way too big. But they tasted great. I followed your recipe exactly.
Yay Christina! So glad it turned out for you! When I first started making them, min kinda looked like little torpedoes…LOL. So funny. I've gotten a little better at making them smaller. 🙂
I am going to go ahead and give these a shot, but I am suprised by the whole TABLEspoon of salt! That scares me a bit.
Making these tonight – but am I reading that right? 1 Tablespoon of salt? Also, about how many breadsticks do you usually get from this recipe? Thanks a bunch!
My husband and I love Olive Garden breadsticks… But we don't go there to eat anymore because they've gotten pricier than we'd like. Can't wait to try this recipe!
BTW, I really enjoy your blog and I can't wait to try many of the recipes you've posted. Hope you don't mind, but I added your badge to my blog… ~Christine
Oh yum! I'll take both versions! My kids would eat these everyday if I made them!
My family could live off of my breadsticks…pretty sure it is close to yours! And I always keep refrigerator biscuits habdy juuuuust in case! 🙂
Made the homemade version. So easy and so yum!!! Thanks! http://bellesbazaar-heather.blogspot.com/
made them this evening (shortcut) and boy they were tasty! My 2 year old kept saying "more"…I made crock pot spaghetti sauce with meat…a tasty combination and a big hit for dinner!
Wynne, it makes me so happy when I hear that someone's little one liked a recipe! You just made my day with that comment. So happy to hear it was successful for you!! Yay!
These look great! But question: you leave the plastic wrap on when you put them in the oven at 200 degrees? It won't melt to it? heatha100@gmail.com
Thanks for sharing these!! I can't wait to try them!!
Janet
I always wanted to know how to make these. Fabulous! Miriam@Meatless Meals For Meat Eaters
Yum!! I love those breadsticks! Thanks for sharing!
Ha! I love that you gave us the shortcut version along with the regular. Now I have absolutely no excuse to say that making bread sticks takes too much time and I would love to slop up some spaghetti sauce with those!
Yes, please! Love these! Now if we could only figure out that salad dressing and I'd be eating those two things every day!
I was SO hoping you would share these! Lol I think people will go crazy for them 🙂
Everyday Mom's Meals
I love Olive Garden bread sticks, we just enjoyed some last night at the never ending pasta bowl…I will have to make this recipe for sure.
Love your short cut idea for the bread sticks. You could also use your garlic butter topping to make garlic bread. Thanks for sharing.