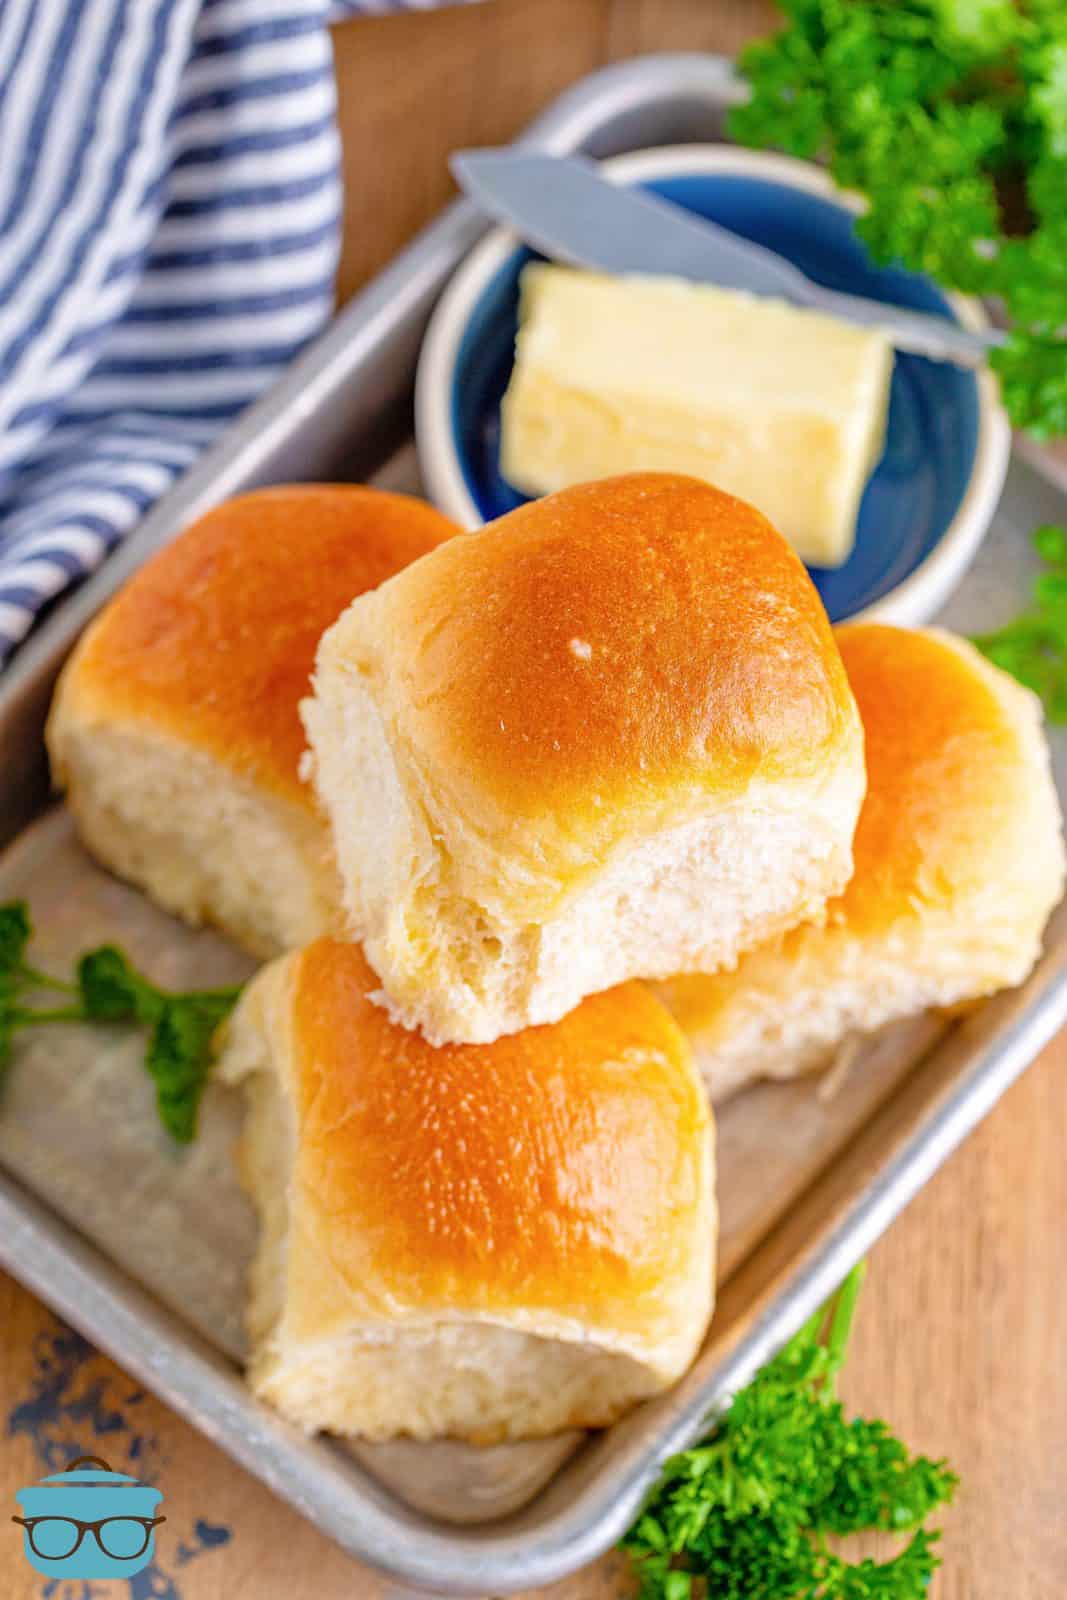
Homemade Dinner Rolls
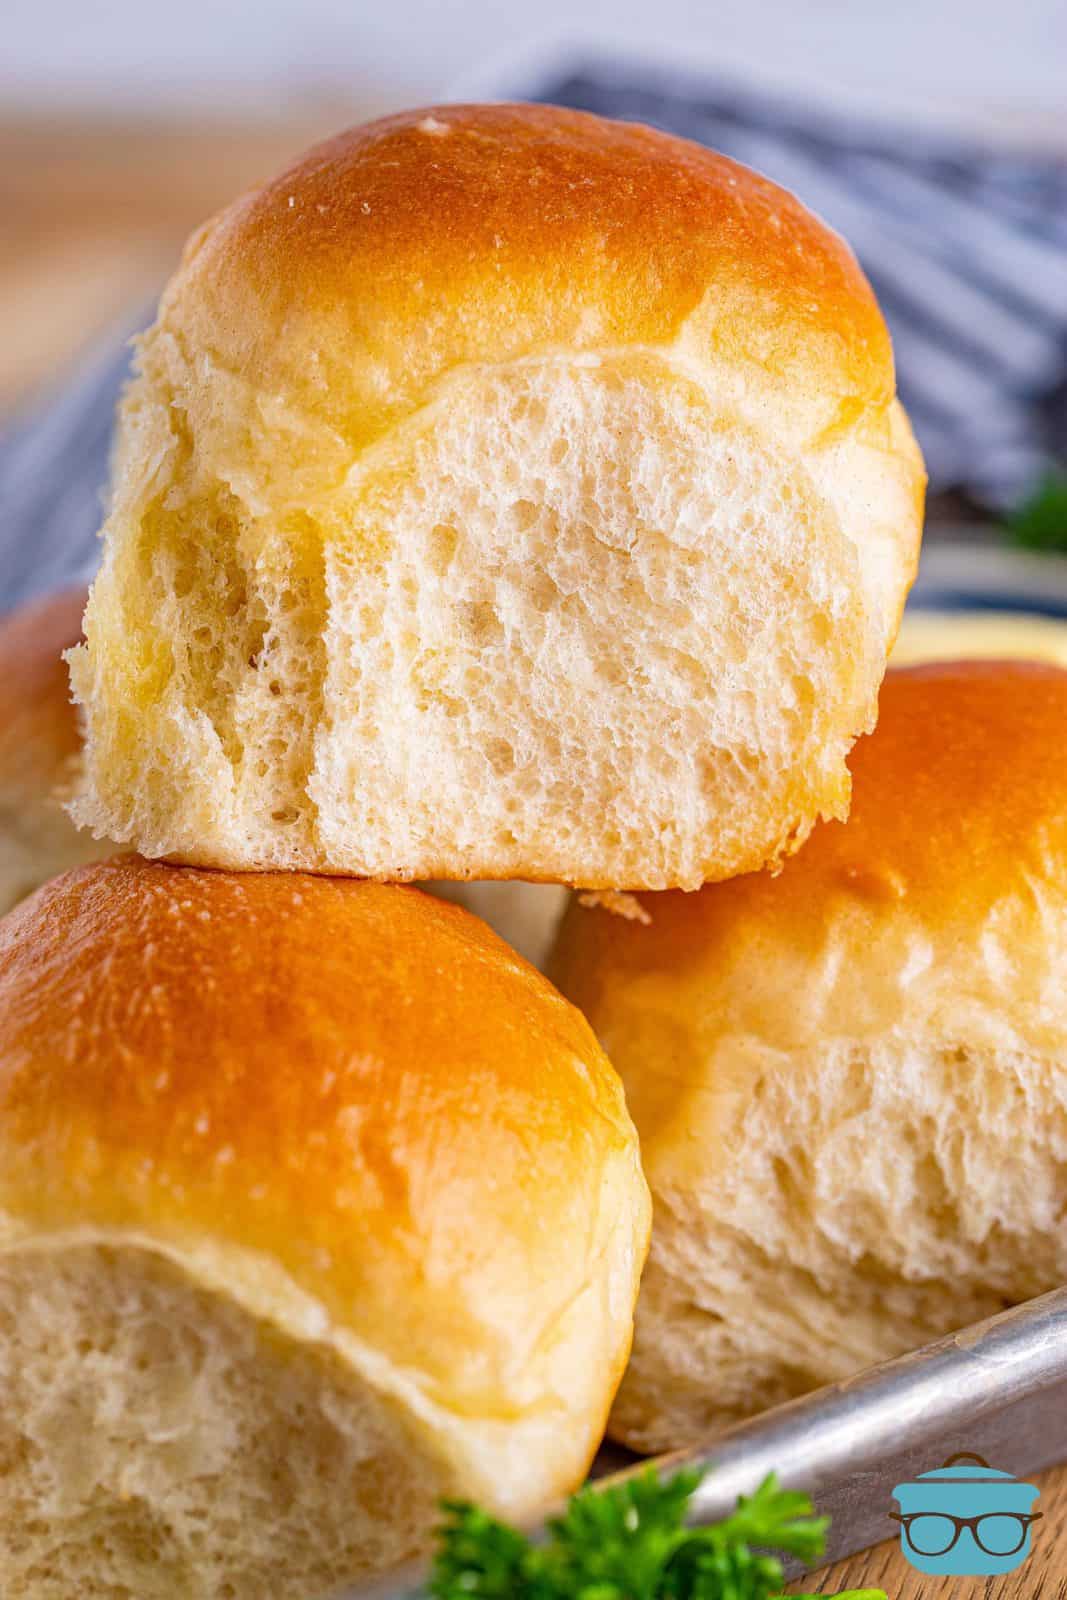
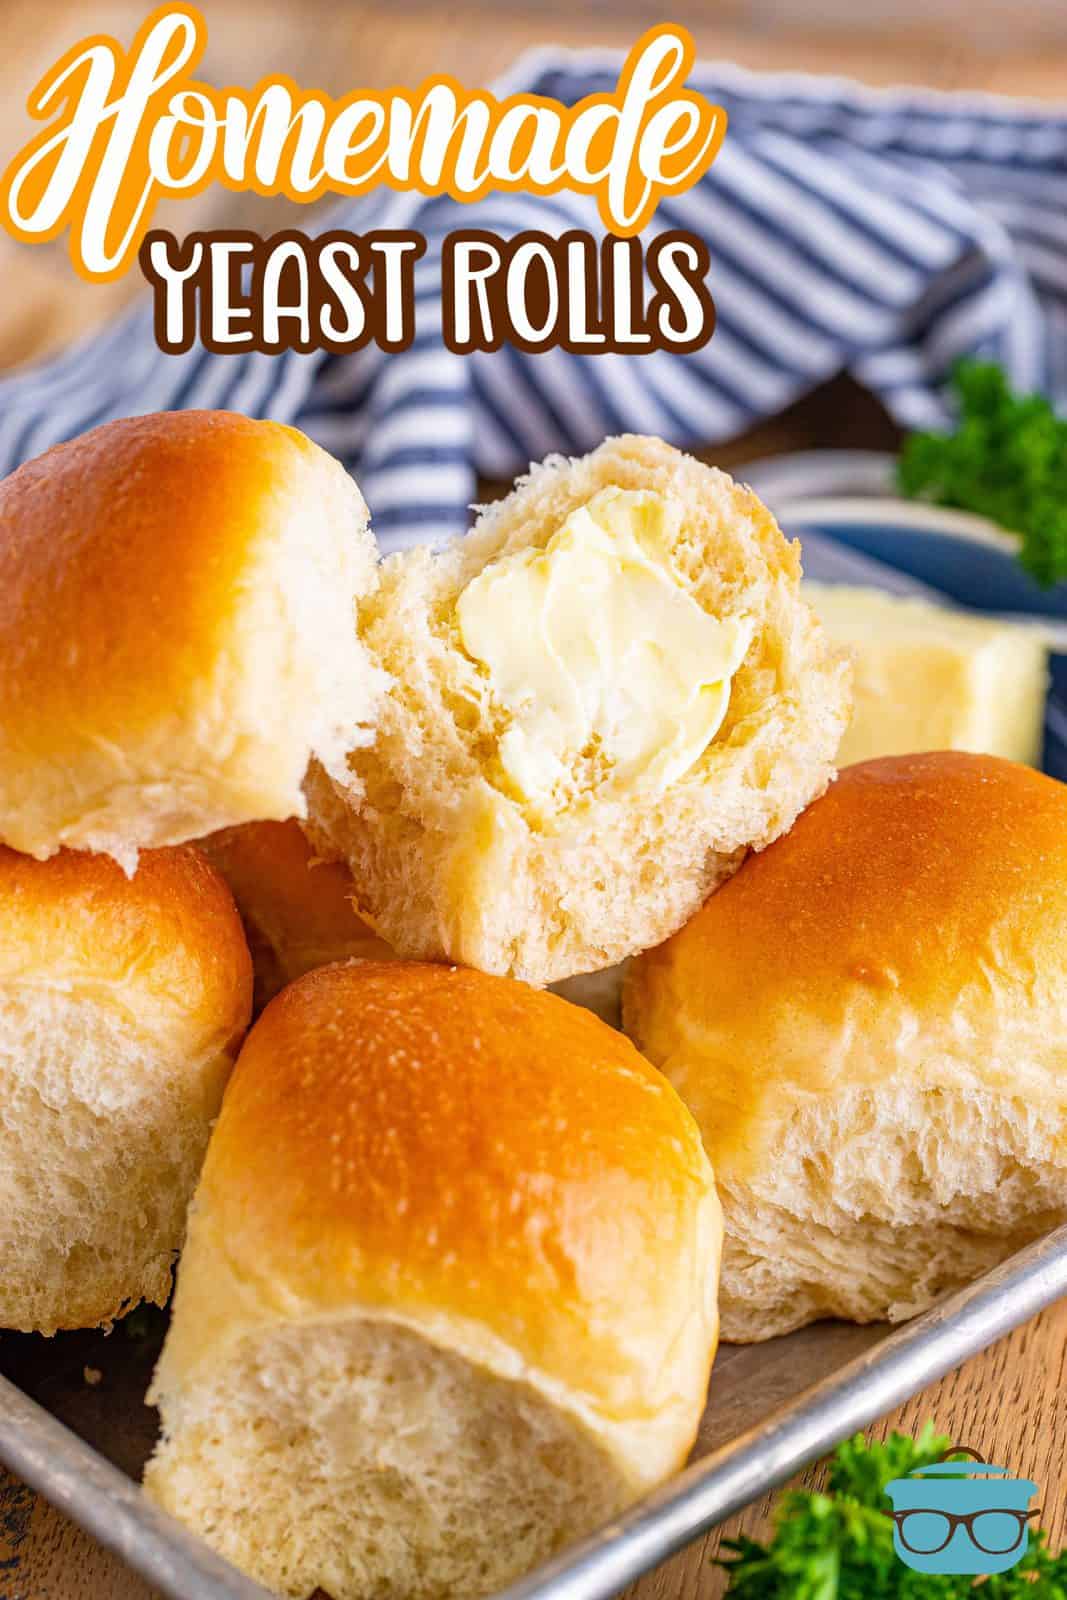
These homemade Dinner Rolls are so light, fluffy and buttery! A delicious bread recipe that is a great accompaniment to any meal!
A Delicious Homemade Yeast Roll Recipe
One recipe that I think everyone should have is a good recipe for Homemade Yeast Rolls. I know some people can be intimidated by making bread and working with yeast, but trust me, there is nothing to worry about. Practice makes perfect and I work to make yeast recipes as easy and understandable as possible. I’ve even included a step-by-step video in the recipe card below. You will be so impressed with yourself for making them!!This is my go-to homemade recipe and it never fails me!

These rolls are absolutely amazing! This was my second year making them for Easter and everyone couldn’t stop saying how delicious they are and that I needed to continue to bring them!
– Sophia
Frequently Asked Questions:
You can also stir/knead the dough by hand. You will need a little extra flour to keep your work surface floured (so the dough doesn’t stick). Do steps 1-3 the same way, except use a large bowl instead of a stand mixer. Stir the flour in with a sturdy spoon until a dough is formed. Then, place the dough on a clean floured work surface and knead the dough by hand for about 3-4 minutes until it is smooth and elastic-feeling. Go on to the next steps as stated.
For the way that this recipe is formulated, you cannot use instant yeast and will need to use regular active dry yeast.
If your liquid is too cold it will not activate yeast or if it is too warm it can kill the yeast. Remember yeast is a “living thing” so it likes warmth and food (the food is the sugar). I like to use a kitchen thermometer to check the temperature. You will want your milk to be between 105-110 degrees F. But you should be able to stick a clean finger in the water and find it very warm but not scalding hot.
They are the same thing. Depending on where you live, some folks call them dinner rolls and some call them yeast rolls. But they are both breads made with yeast. Some dinner rolls tend to be sweeter than a traditional yeast roll (like Hawaiian dinner rolls).
If the dough sits around too long after rising, it will start to flatten. You lose that airiness and they start to deflate. Basically you have “old dough” at this point. Now, you can still certainly bake them. They will still taste good but they won’t be as fluffy and the tops will be a tad crisp as opposed to soft. Also, sometimes too much flour is added to the dough. You want just enough flour for it to not stick to the sides of your mixing bowl.
Yes you can. They will rise slowly because they are in a cold environment rather than warm. You do have to let them come to room temperature before baking though. You will follow the directions below, pounding down the dough, forming into balls and putting into a baking dish. Cover with plastic wrap then put in the refrigerator. The next day, allow the rolls to come to room temperature, remove the plastic wrap and bake as directed.
Yes! See my recipe for Whole Wheat Dinner Rolls. Unfortunately you can’t just substitute white flour for wheat flour 1:1. You do have to adjust some of the other variables because wheat flour needs a bit more liquid than white.
Keep any leftovers in an airtight container on the counter for up to 5 days. These can also be frozen There are two different methods (before baking or after baking). If you want to freeze before baking, make your rolls and place them in a baking dish and then cover with plastic wrap and then foil and place in the freezer where they will keep for one month. Remove from the freezer and defrost in the oven and then cover with plastic wrap and let rise and then bake per instructions. To freeze already baked rolls, let cool completely and then place in a freezer bag. These will last in the freezer for up to 6 months. Let defrost on the countertop. You can also warm in the oven if desired.
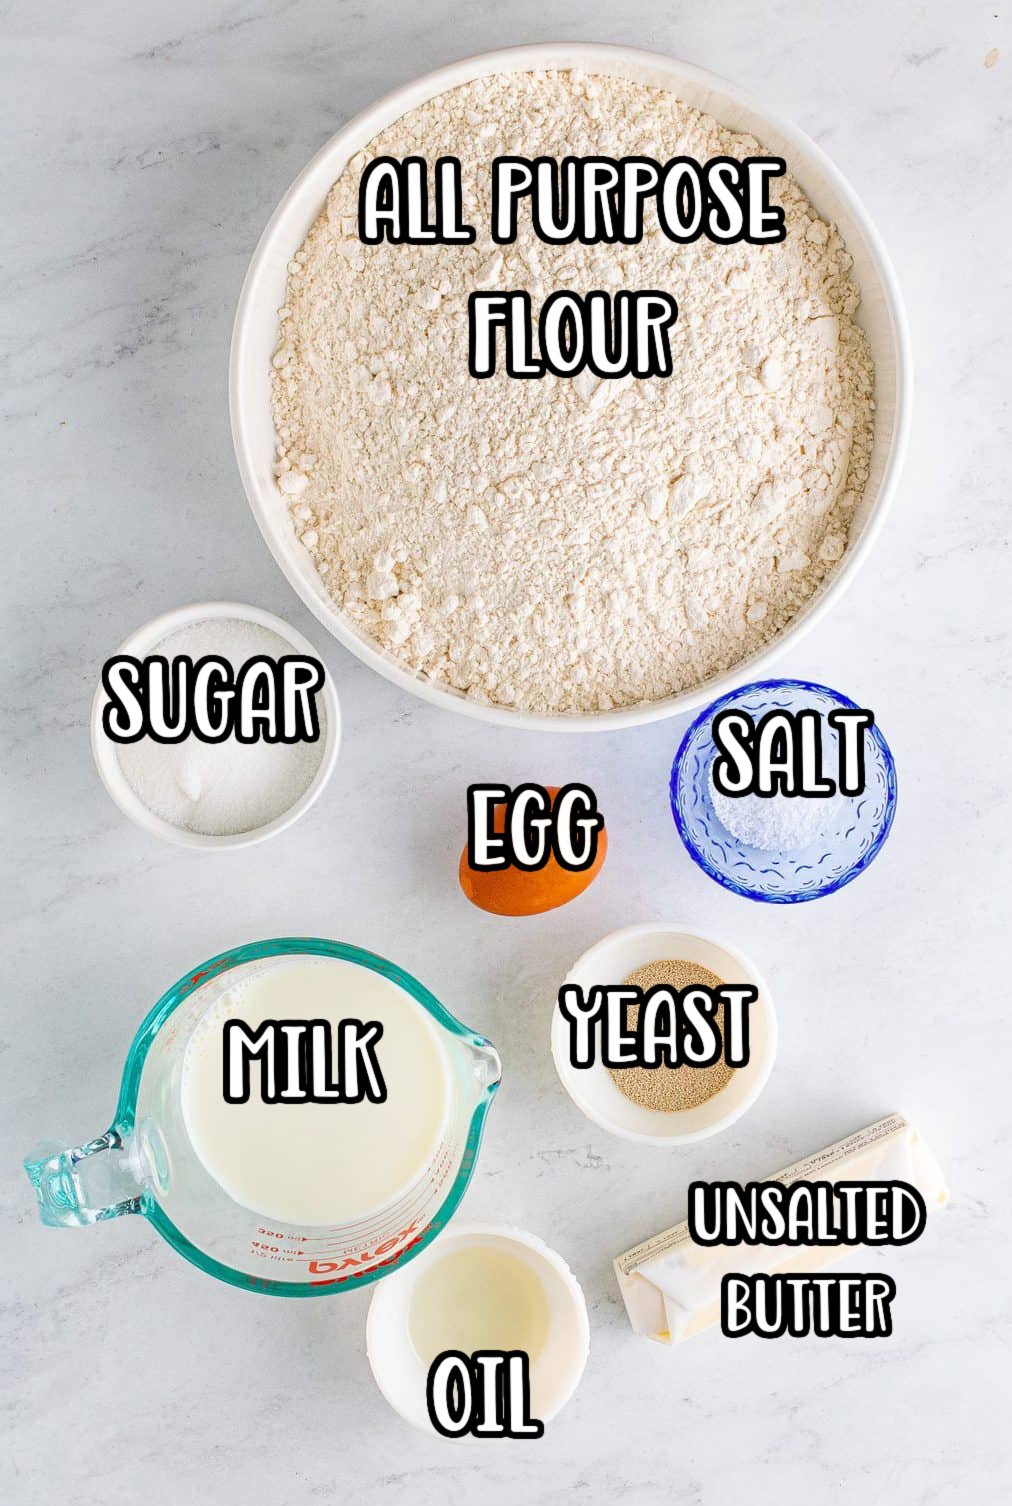
Ingredients Needed: (See Recipe Card Below For The Full Recipe)
How To Make Dinner Rolls:
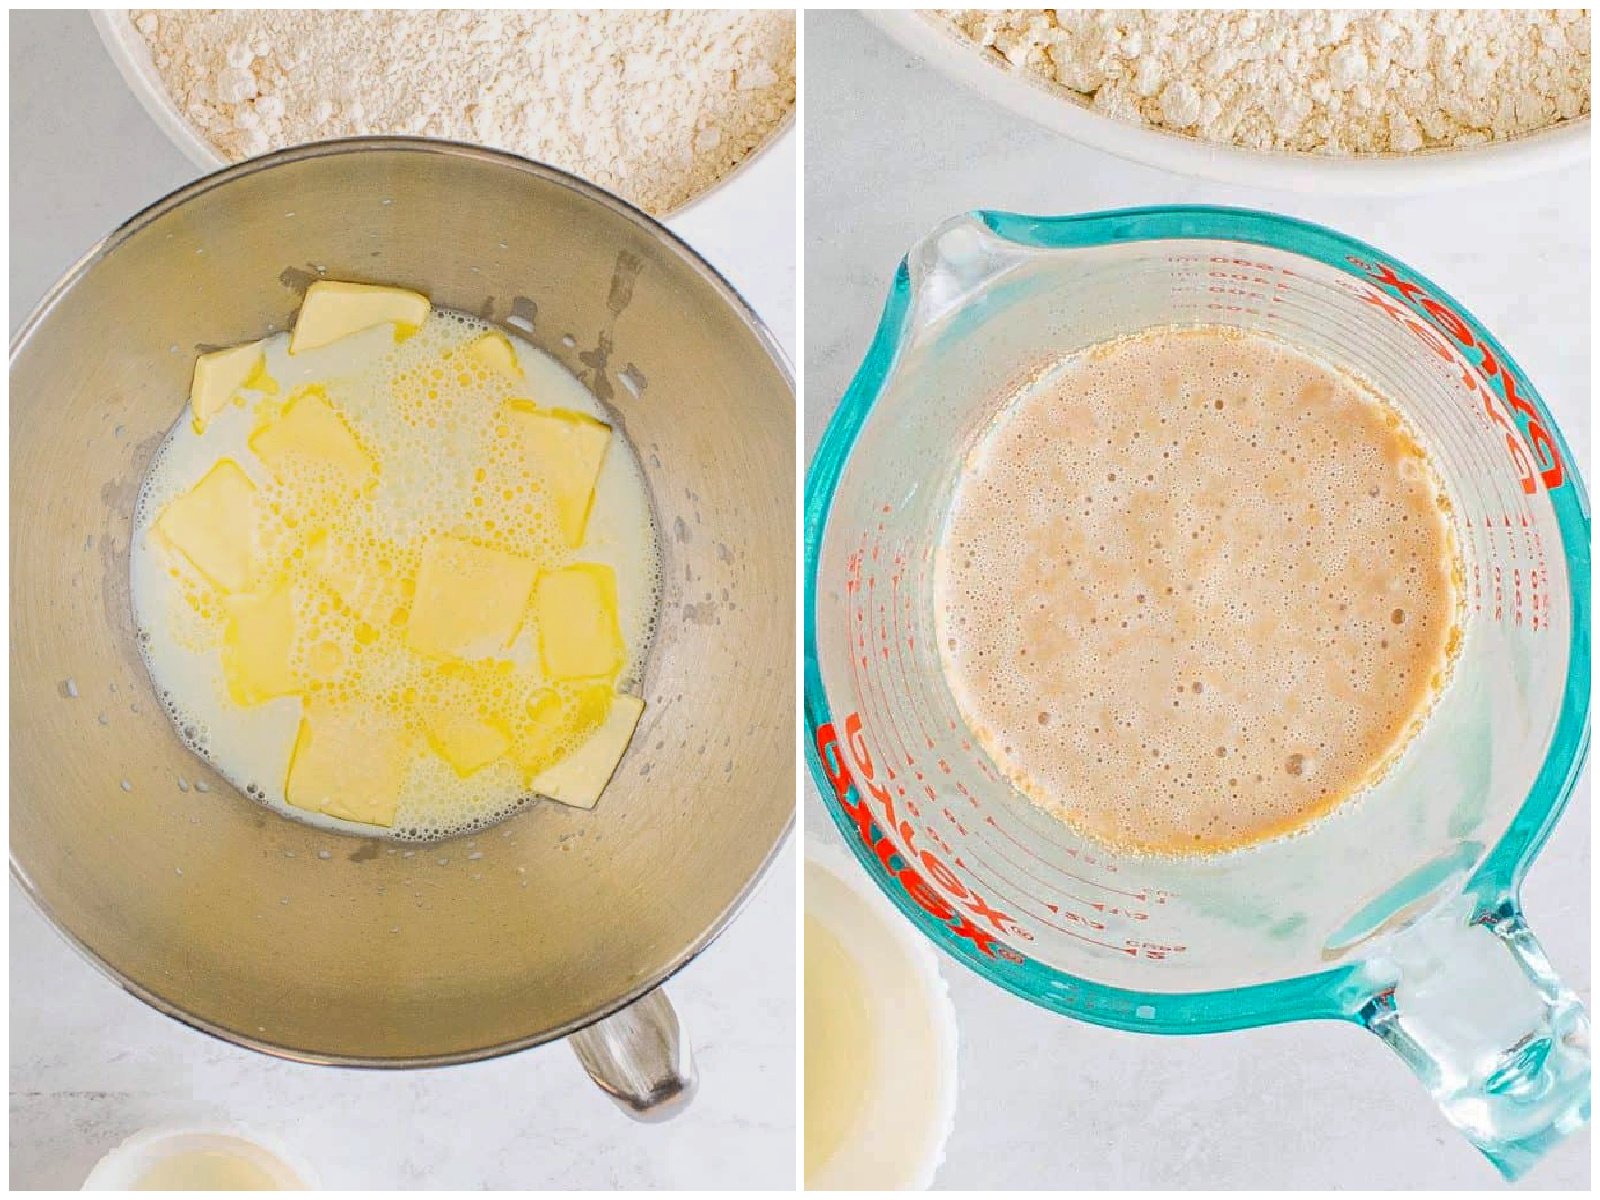
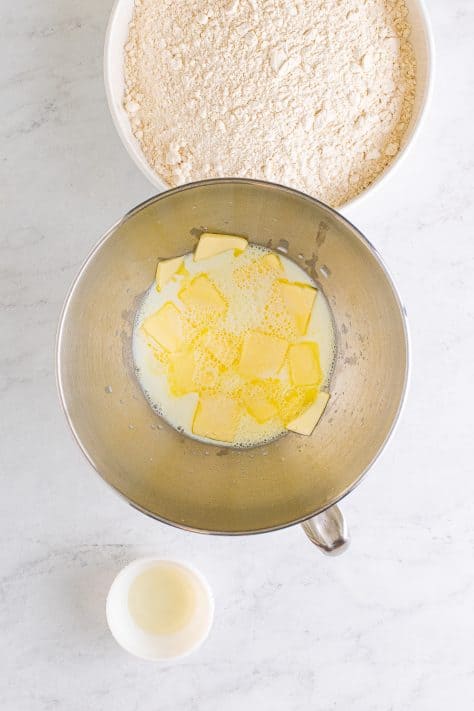
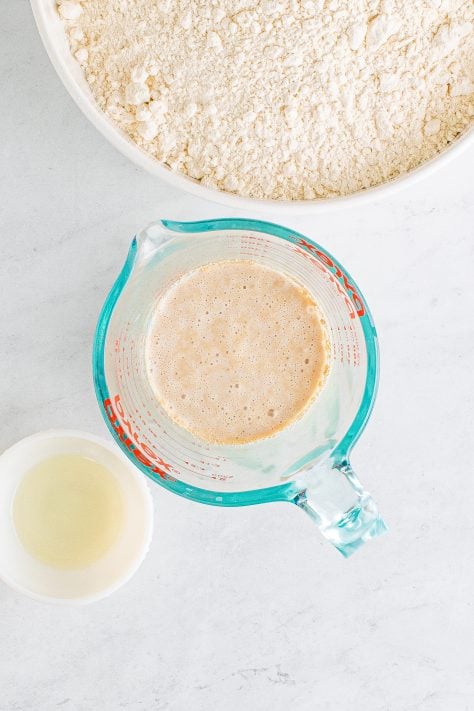
Take half of the butter and slice it as thin as you can. Add the slices to the bottom of a stand mixer. Add the sugar and salt to the mixer. Warm the milk in a microwave safe bowl in the microwave. I like to do this in 15-30 second intervals. We want the milk to be a temperature between 105-110°F (do not warm to over 110°F). Pour 1 cup of the warm milk into the bowl with the butter, no need to stir, just let it sit.
Add the yeast to the remaining milk and give it a stir. Let it sit for about 5 minutes, until foamy.
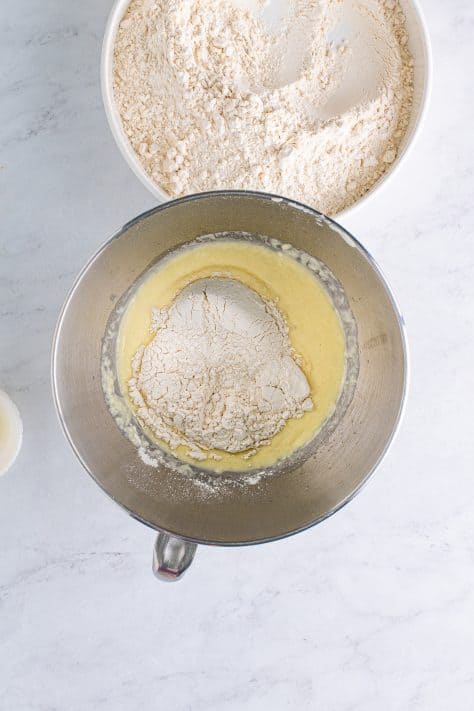
Add this mixture to the mixer. Add in the egg and stir everything to combine. Using the hook attachment, start stirring in the flour 1 cup at a time, scrape down the sides as needed.
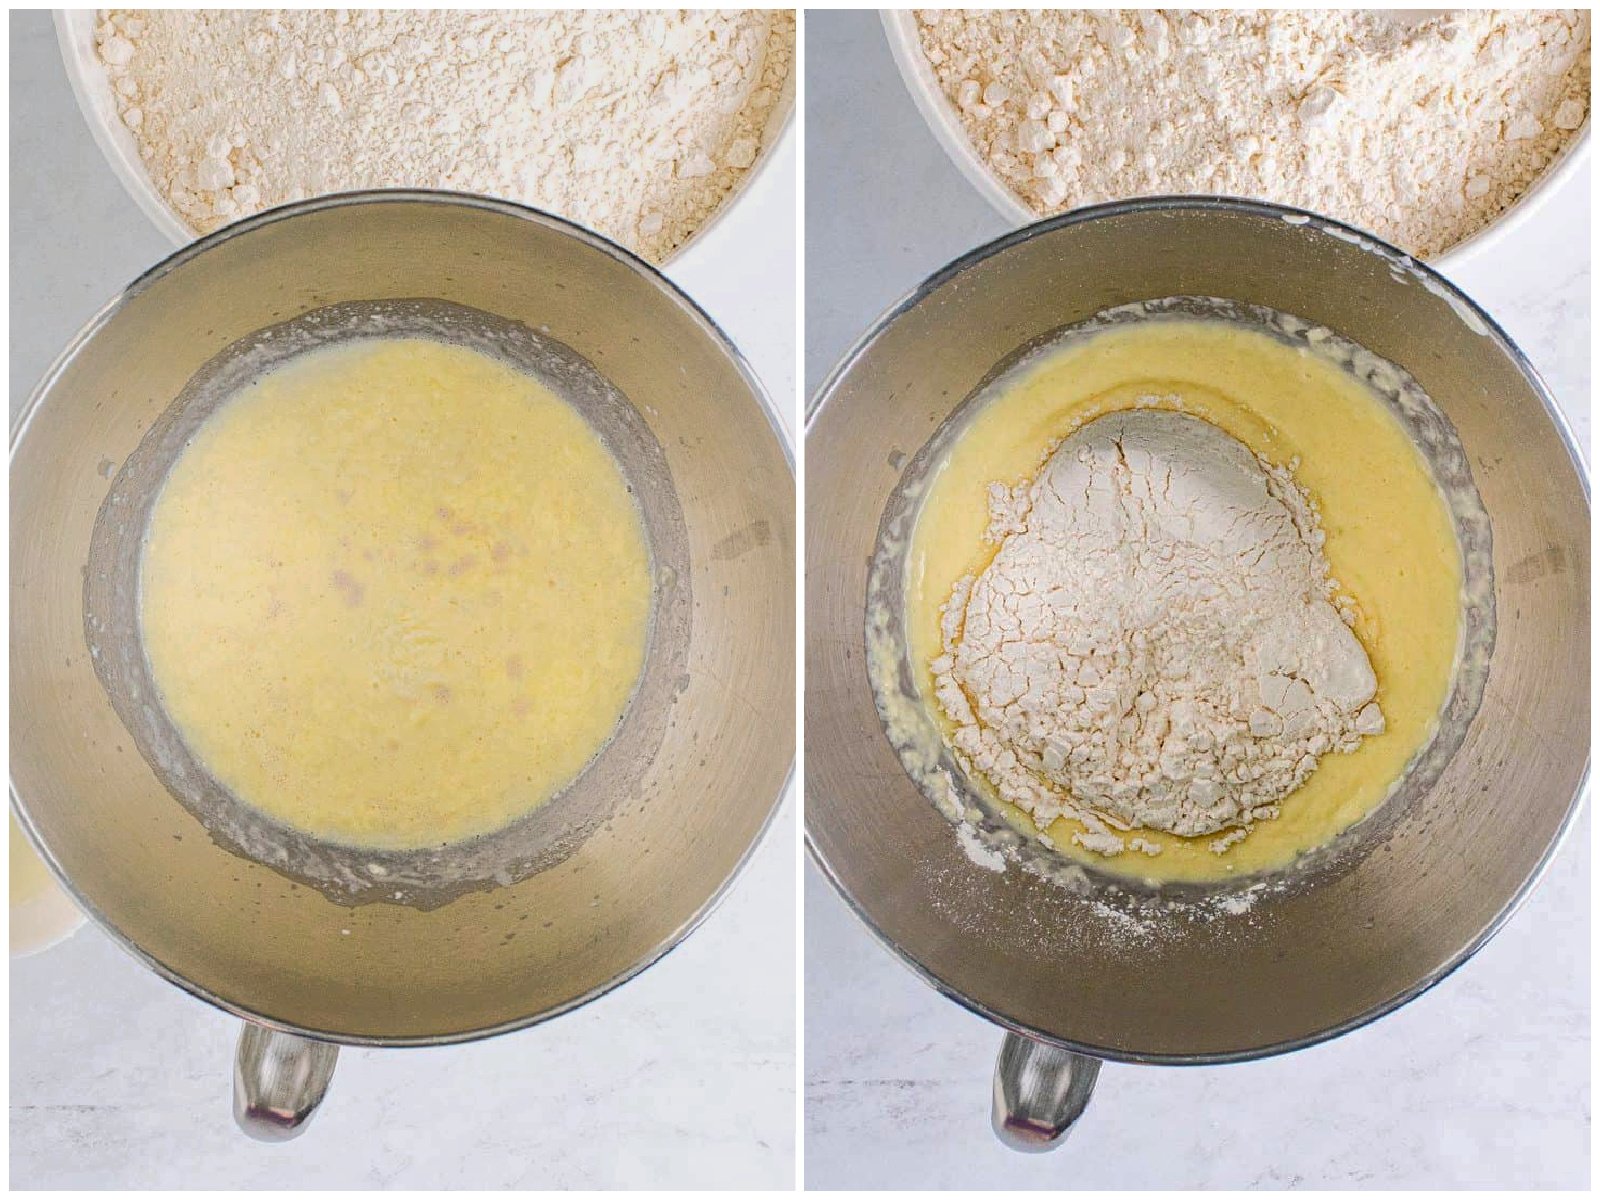
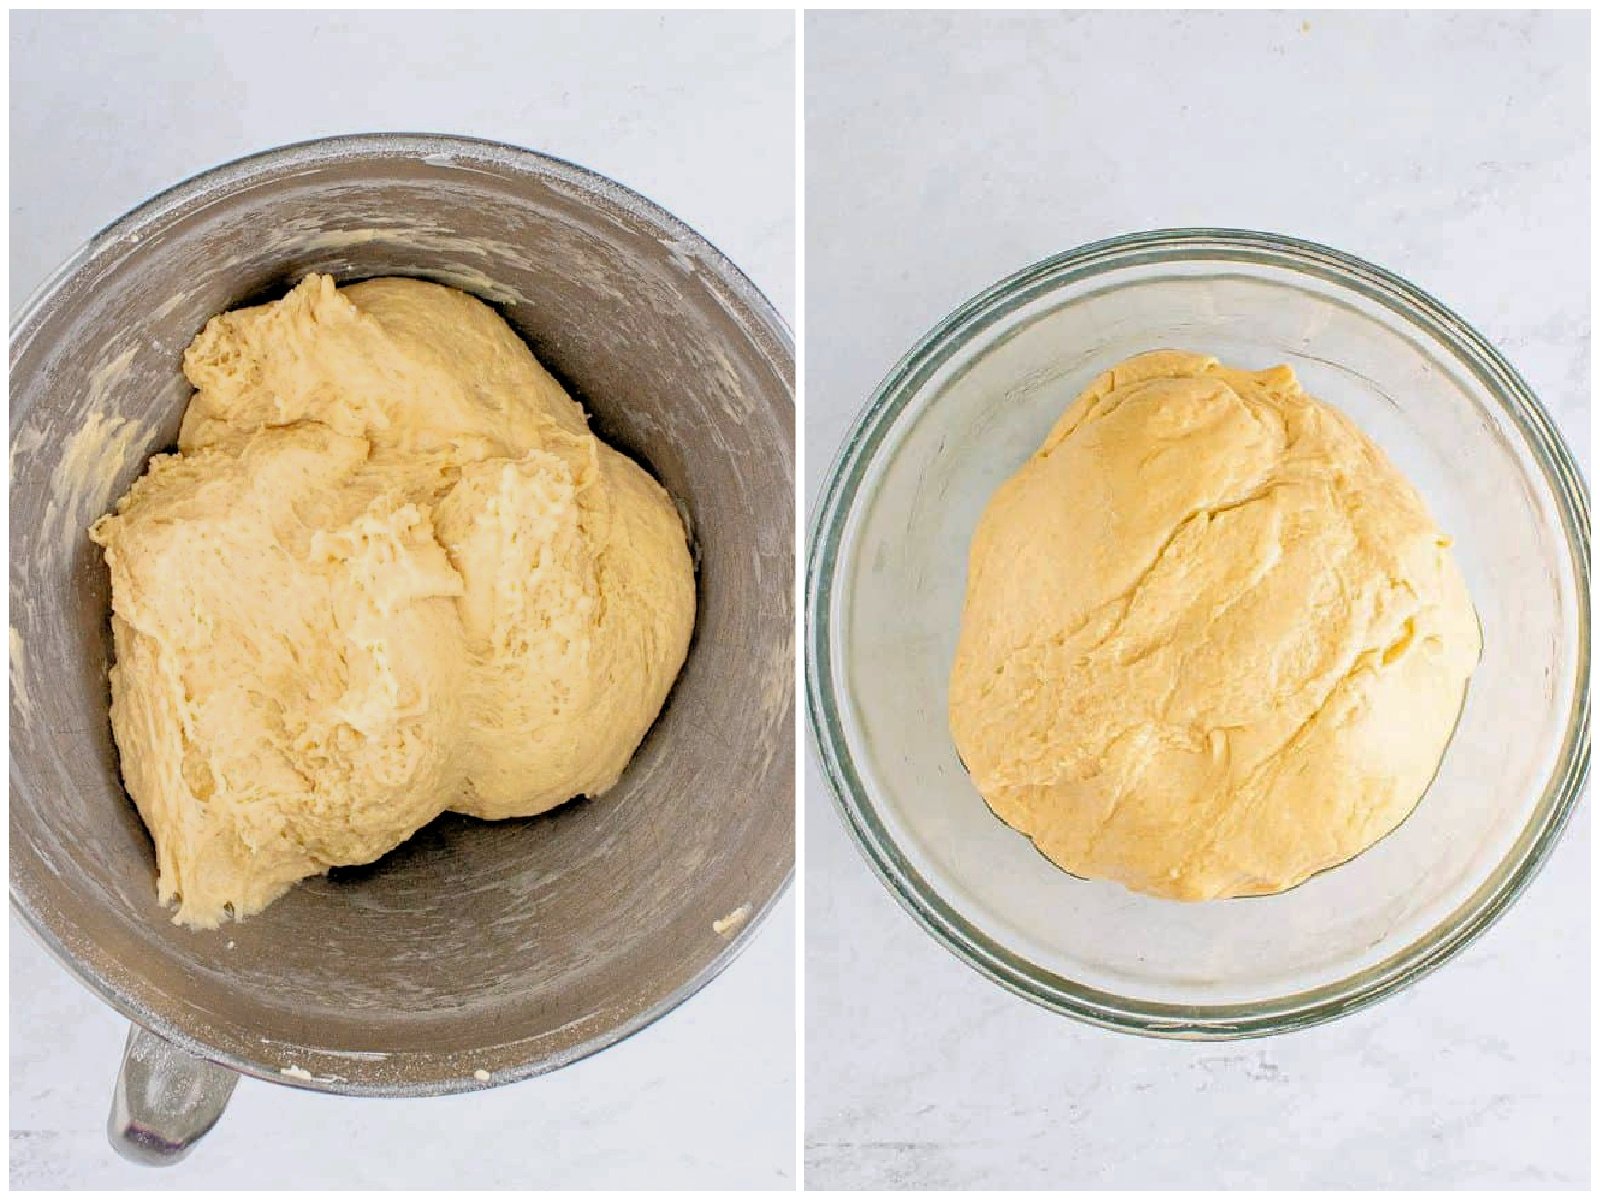
Do this until you add 3 and ½ cups of flour. Once the mixture resembles a dough, turn the speed to medium-high and start to knead it. If it doesn’t start to cleanly pull away from the sides of the bowl, add a little flour at a time (up to a half cup) until the sides of the bowl are clean. If the dough is still attached at the very bottom of the bowl that’s okay. Continue to knead for 3 minutes.
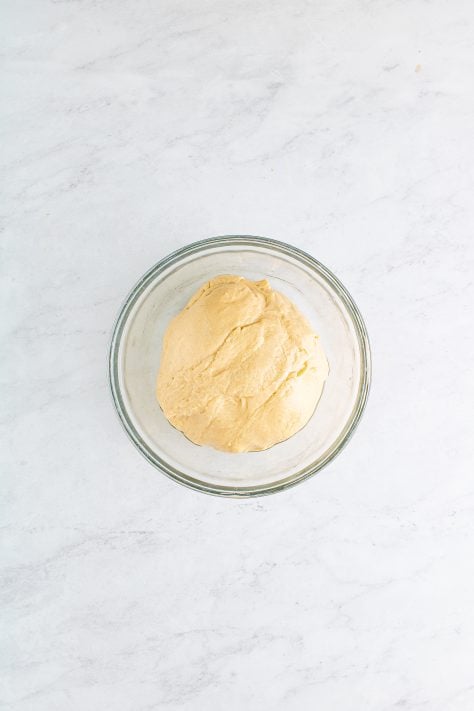
In a large bowl, add the vegetable oil. Take the dough out of the mixer and add it to the bowl with the oil, turn it around in the oil so it is coated. Cover with plastic wrap and let it rise in a warm place for 1-2 hours until doubled in size.
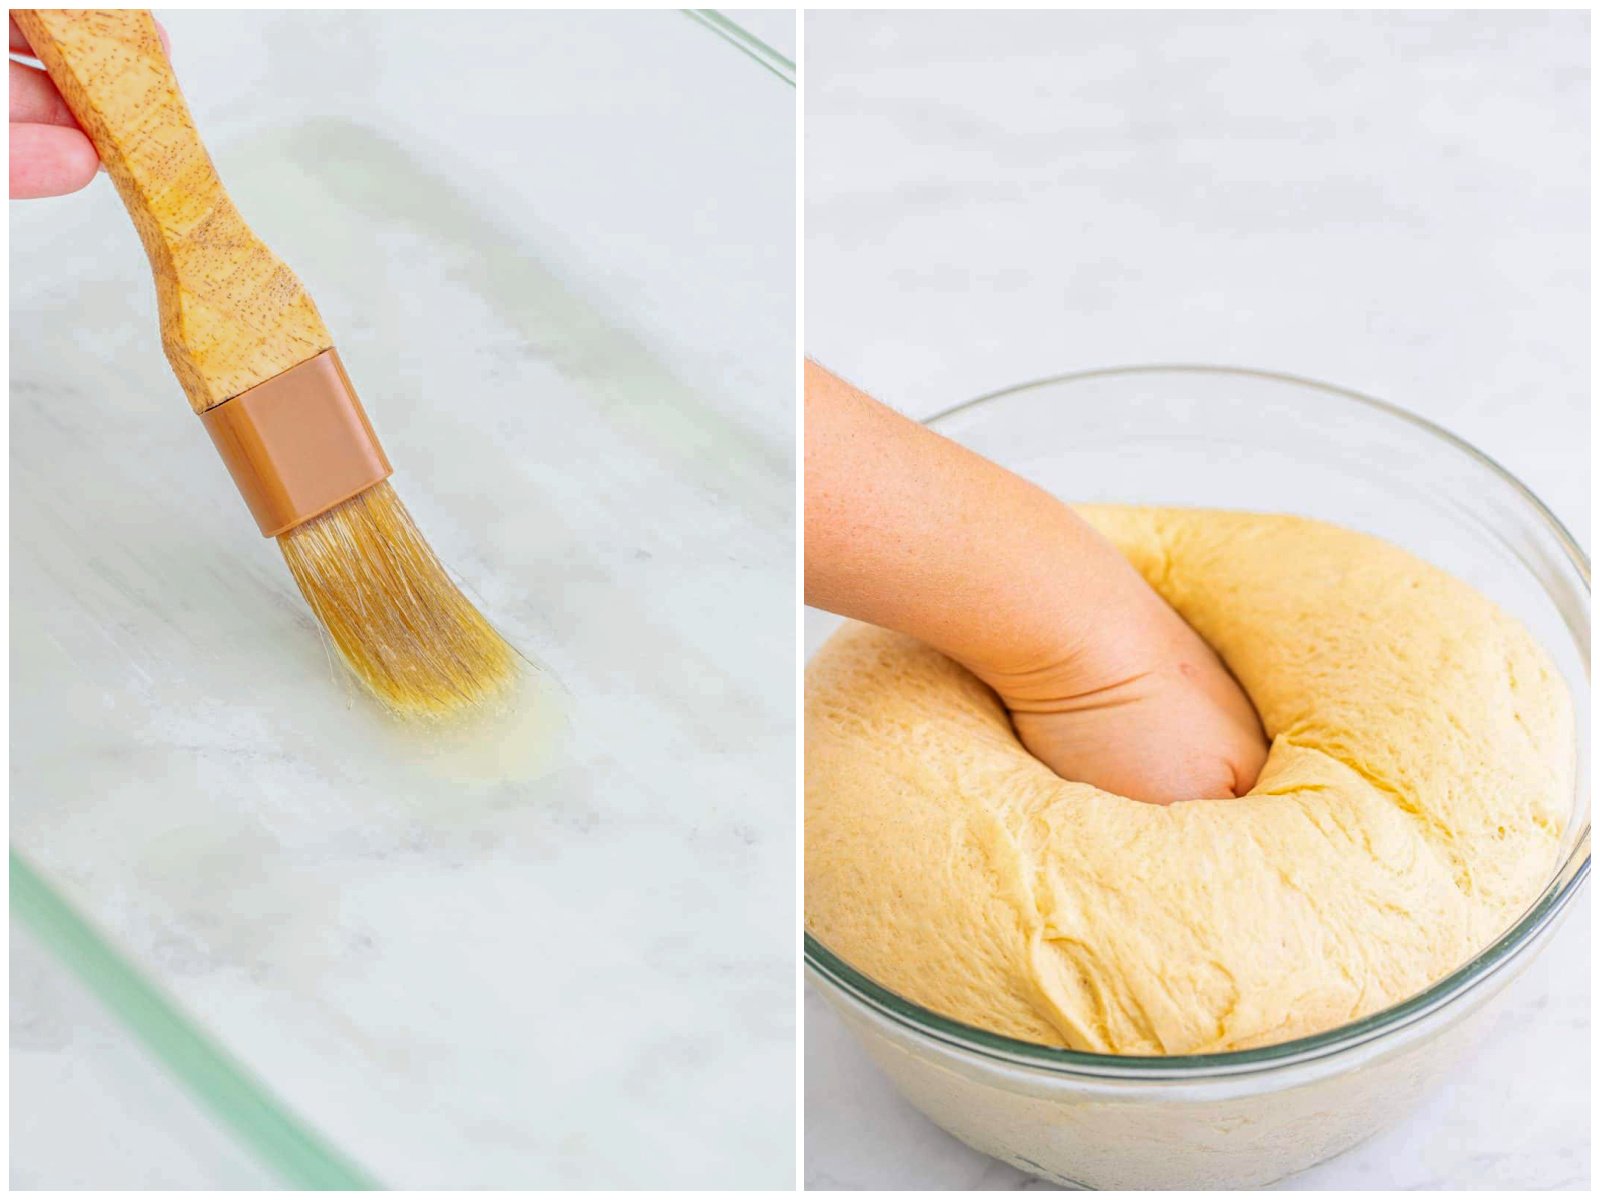
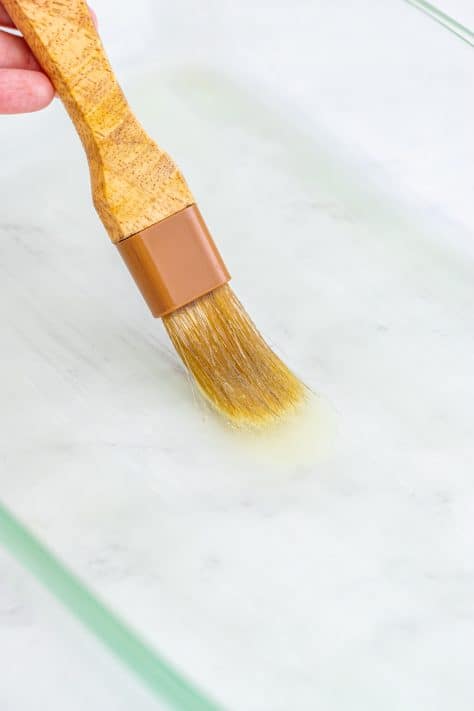
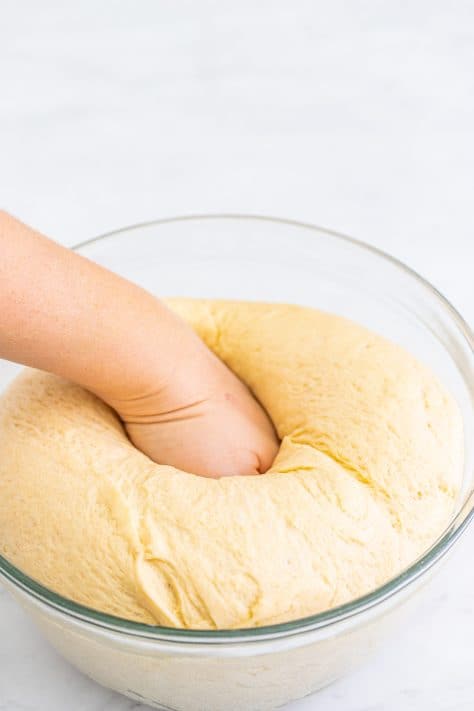
Melt the remaining ¼ cup of butter. Brush a 9″x 13″ baking dish with some of the butter, you will only need a small amount, set aside. Punch down the dough to release the air bubbles.
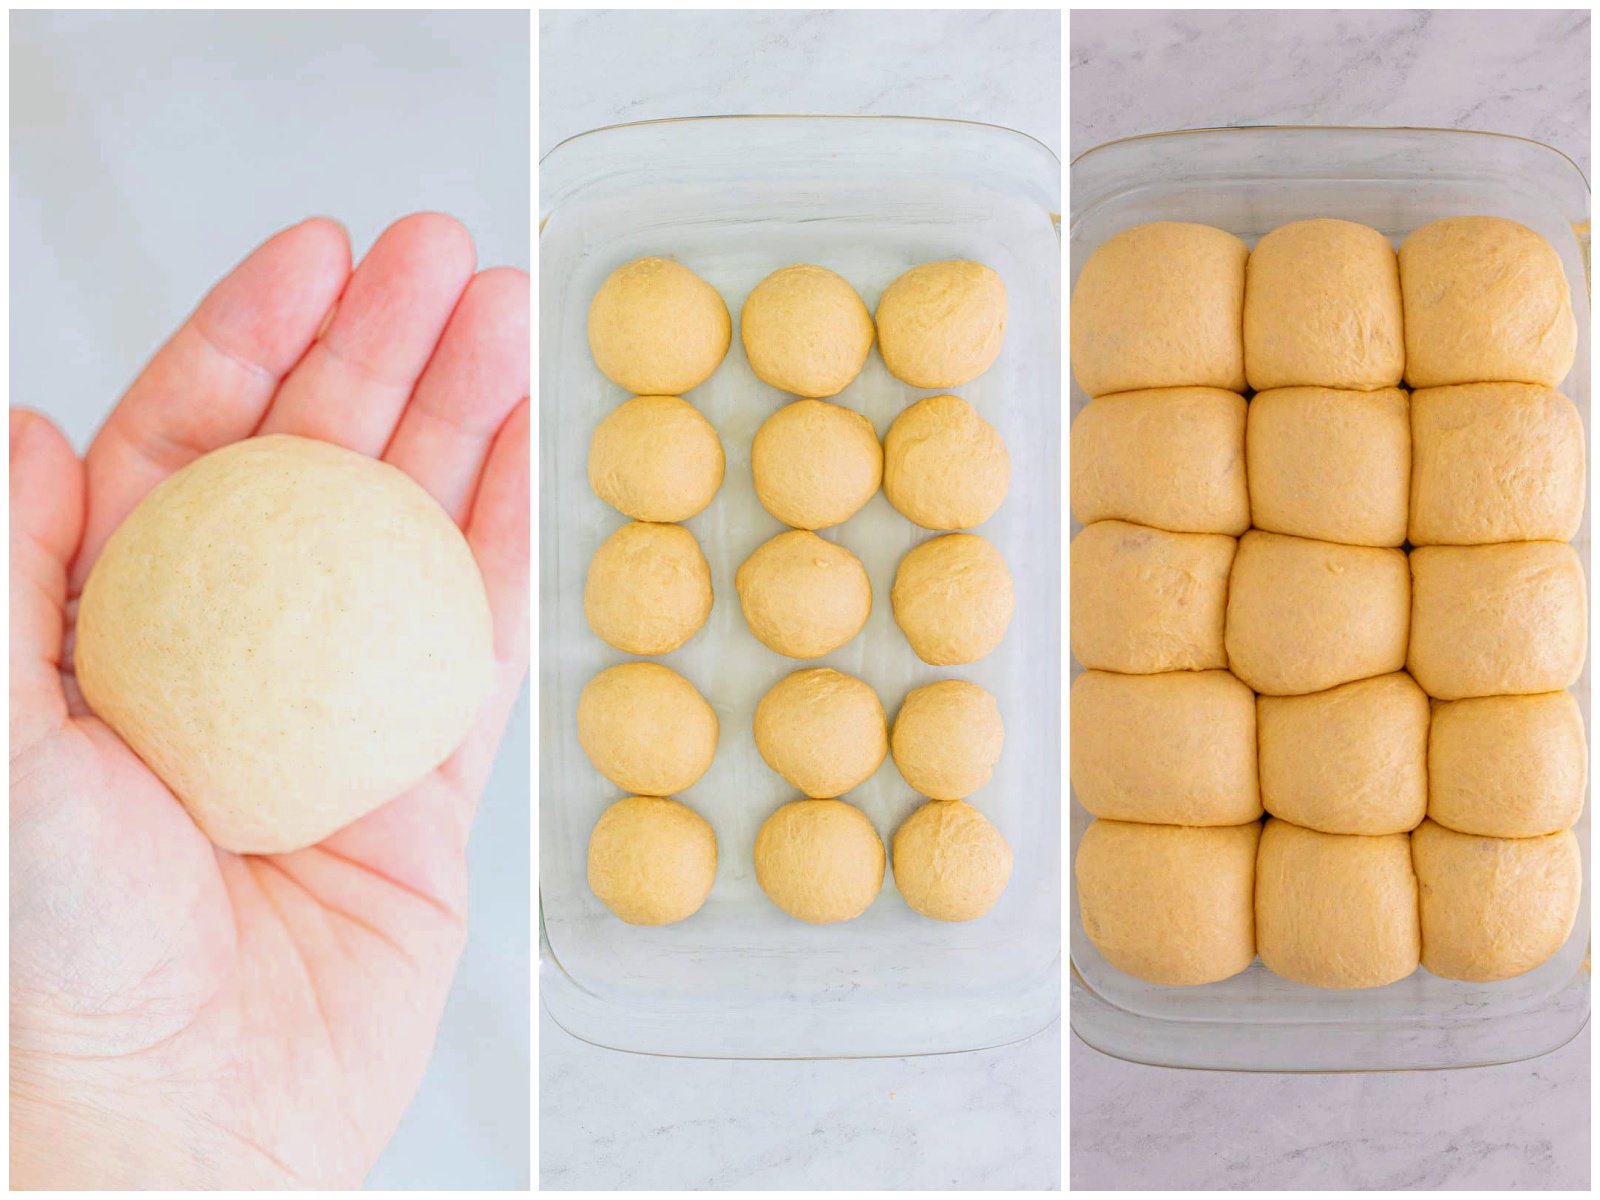
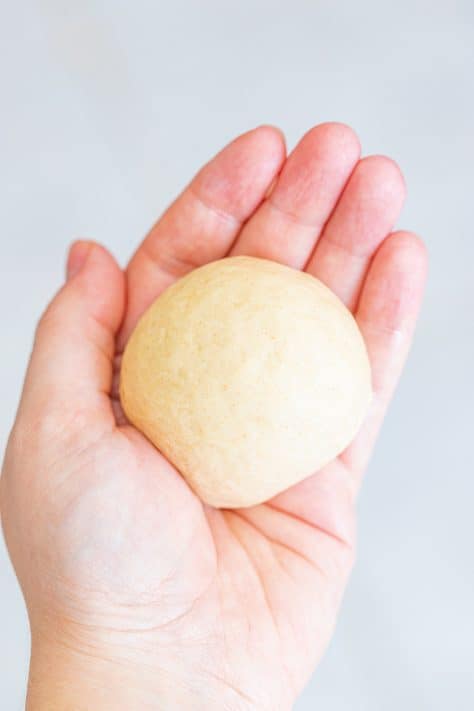
Divide the dough into 15 sections. Take each dough ball with your hands and stretch it out, tuck the ends of the dough around itself to form a smooth ball and pinch the seams together. Gently roll it between your hands to form a ball.
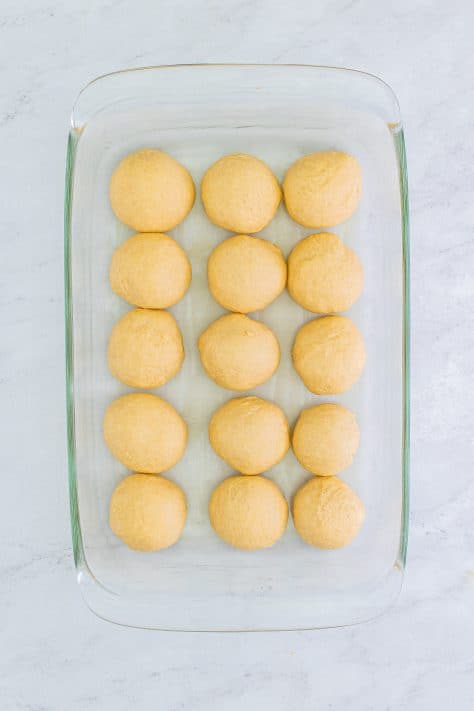
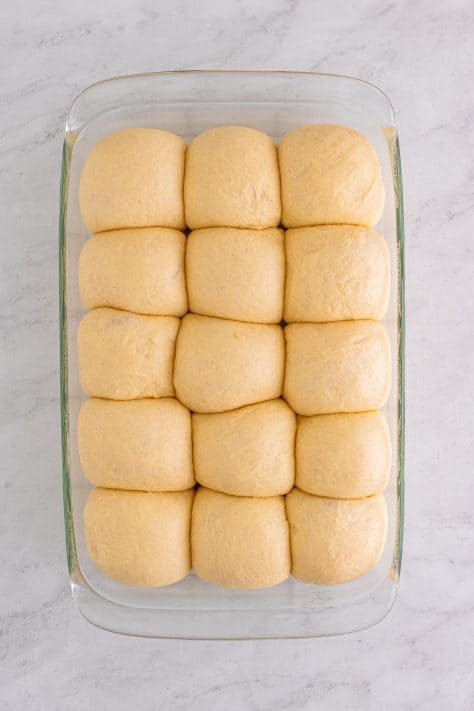
Place the ball seam side down into the prepared baking dish, 5 rows of 3 rolls. Cover again with plastic wrap and let them double in size, about 1 hour.
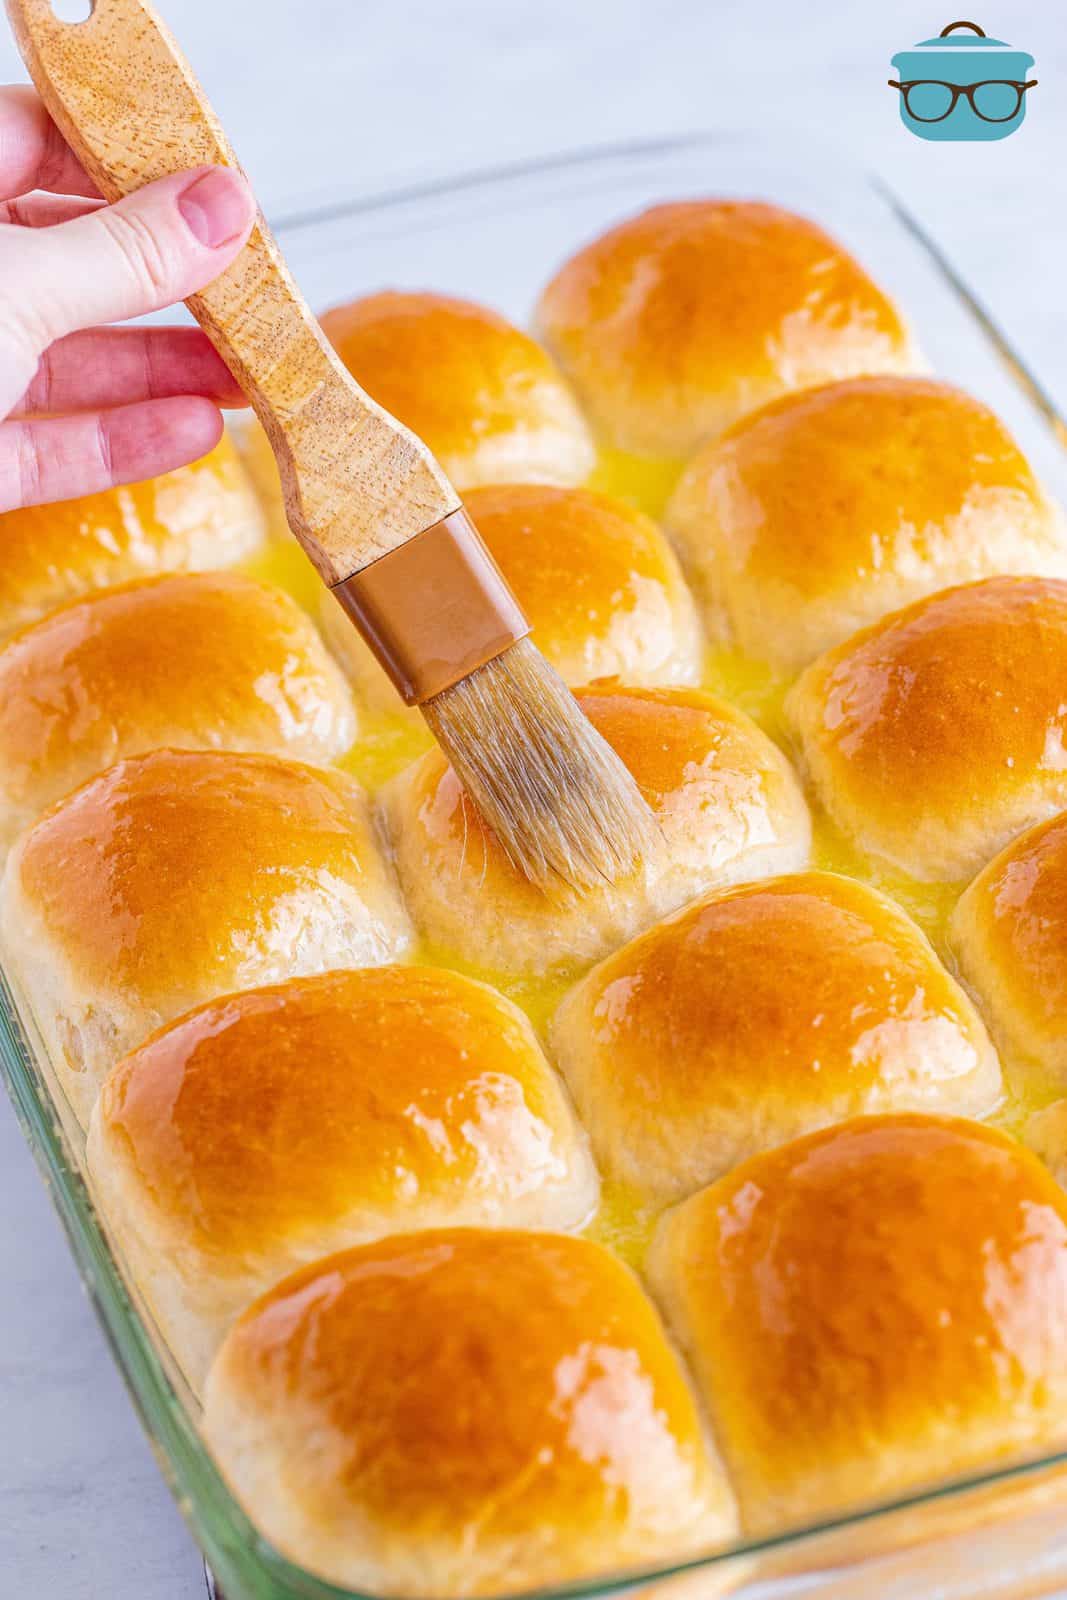
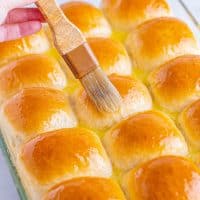
Preheat the oven to 350°F. Take the plastic wrap off the baking dish and bake for 20-25 minutes until the tops are golden brown, and when tapped, the rolls sound hollow. Immediately brush the rest of the butter all over the hot rolls.
Let cool and serve.
Craving More Bread Recipes?
- Honey Wheat Dinner Rolls
- Potato Rolls
- Pizza Hut Breadsticks
- Little Caesar’s Crazy Bread
- Cheesy Garlic Bread
- Butter Swim Biscuits
- Buttermilk Biscuits
- Yeast Roll Biscuits
- 7Up Biscuits
- 2 Ingredient Biscuits
- Butter Swim Yeast Rolls
- Homemade White Bread
- Hot Cross Buns
- Homemade Whipped Butter
Homemade Dinner Rolls
Ingredients
- ¼ cup unsalted butter
- ¼ cup granulated sugar
- 1 teaspoon kosher salt
- 1 ¼ cups whole milk (divided use)
- 2 ¼ teaspoons (1 packet) active dry yeast
- 1 large egg, beaten
- 3 ½ cups all-purpose flour (more may be needed)
- 1 teaspoon vegetable oil
For coating the baking dish and for topping the rolls:
- ¼ cup unsalted butter
Instructions
- Take 1/4 cup unsalted butter and slice it as thin as you can, add the slices to the bottom of a stand mixer. Add ¼ cup granulated sugar and 1 teaspoon kosher salt to the mixer.
- Warm 1 ¼ cups whole milk milk in a microwave safe bowl in the microwave. I like to do this in 15-30 second intervals. The temperature of the milk should be between 105-110°F (do not warm to over 110°F). Pour 1 cup of the warm milk into the bowl with the butter, no need to stir, just let it sit.

- Add 2 ¼ teaspoons (1 packet) active dry yeast to the remaining 1/4 cup milk and give it a stir. Let it sit for about 5 minutes, until foamy. Add this mixture to the mixer. Add in 1 large egg, beaten and stir everything to combine.
- Using the hook attachment, start stirring in 3 ½ cups all-purpose flour (one cup at a time), scrape down the sides as needed.
- Do this until you add 3 and ½ cups of flour. Once the mixture resembles a dough, turn the speed to medium-high and start to knead it.
- If the dough doesn’t start to cleanly pull away from the sides of the bowl, add a little flour at a time (up to a half cup) until the sides of the bowl are clean, if the dough is still attached at the very bottom of the bowl that’s okay. Continue to knead for 3 minutes.
- In a large bowl, add 1 teaspoon vegetable oil. Take the dough out of the mixer and add it to the bowl with the oil, turn it around in the oil so it is coated. Cover with plastic wrap and let it rise in a warm place for 1-2 hours until doubled in size.
- Melt 1/4 cup unsalted butter. Brush a 9"x 13" baking dish with some of the butter. You will only need a small amount. Set aside.
- Punch down the dough to release the air bubbles.
- Divide the dough into 15 sections. Take each dough ball with your hands and stretch it out, tuck the ends of the dough around itself to form a smooth ball and pinch the seams together, gently roll it between your hands to form a ball.
- Place the ball seam side down into the prepared baking dish, 5 rows of 3 rolls. Cover again with plastic wrap and let them double in size, about 1 hour.
- Preheat the oven to 350°F. Take the plastic wrap off the baking dish and bake for 20-25 minutes until the tops are golden brown and when tapped the rolls sound hollow.
- Immediately brush the rest of the melted butter all over the hot rolls then serve.


Video

Notes
- These can be made without a stand mixer, see my tips above.
- You can freeze these before or after baking.
- Add in some additions to flavor these rolls if desired, I gave some ideas above.
Nutrition
Nutritional Disclaimer
“The Country Cook” is not a dietician or nutritionist, and any nutritional information shared is an estimate. If calorie count and other nutritional values are important to you, we recommend running the ingredients through whichever online nutritional calculator you prefer. Calories and other nutritional values can vary quite a bit depending on which brands were used.
Originally published: November 2021
Updated photos and republished: March 2025


turned out flawless! super easy and quick too!
I am not a great baker and I made these so easily! Your instructions were spot on and so easy to follow (also, thank you for the video and all the pics, great for visual learners like me!) These were so soft and the flavor was ridiculously good!
Best rolls ever, I’ve made them 6 times, everyone loves them. Thanks so much for the recipe.
Easy and delicious
how long does it need to knead the. read in stand mixer? sorry, newbie here.
It’s ok! Until it starts to pull away from the bowl. It’s hard to give exact times as it can be different depending on your mixer or if you’re doing it by hand, your altitude, the humidity in your house. etc. Take a look at my photos and video to give you an idea of how it should look 🙂
These will not disappoint! Soft fluffy rolls, believe that your first time making them, won’t be your last.
These Homemade rolls of yours were a big hit at our Easter dinner table yesterday.
They are so yummy!! And they are easy to make!
Thank you!
Dianne
These turned out perfect! I used bread flour because that’s what I had, didn’t change the measurements. These were so great out of the oven for Easter lunch!
I have made these several times. My family think that they are the best tasting, light and airy rolls that I have ever made.
This was a wonderful recipe! Thank you
Easy recipe. Always hate baking with yeast, gives me anxiety. Beautiful dinner rolls! My mom would be proud. Thanks for the recipe!
Love hearing that Kari! Totally relate when it comes to yeast – ha!