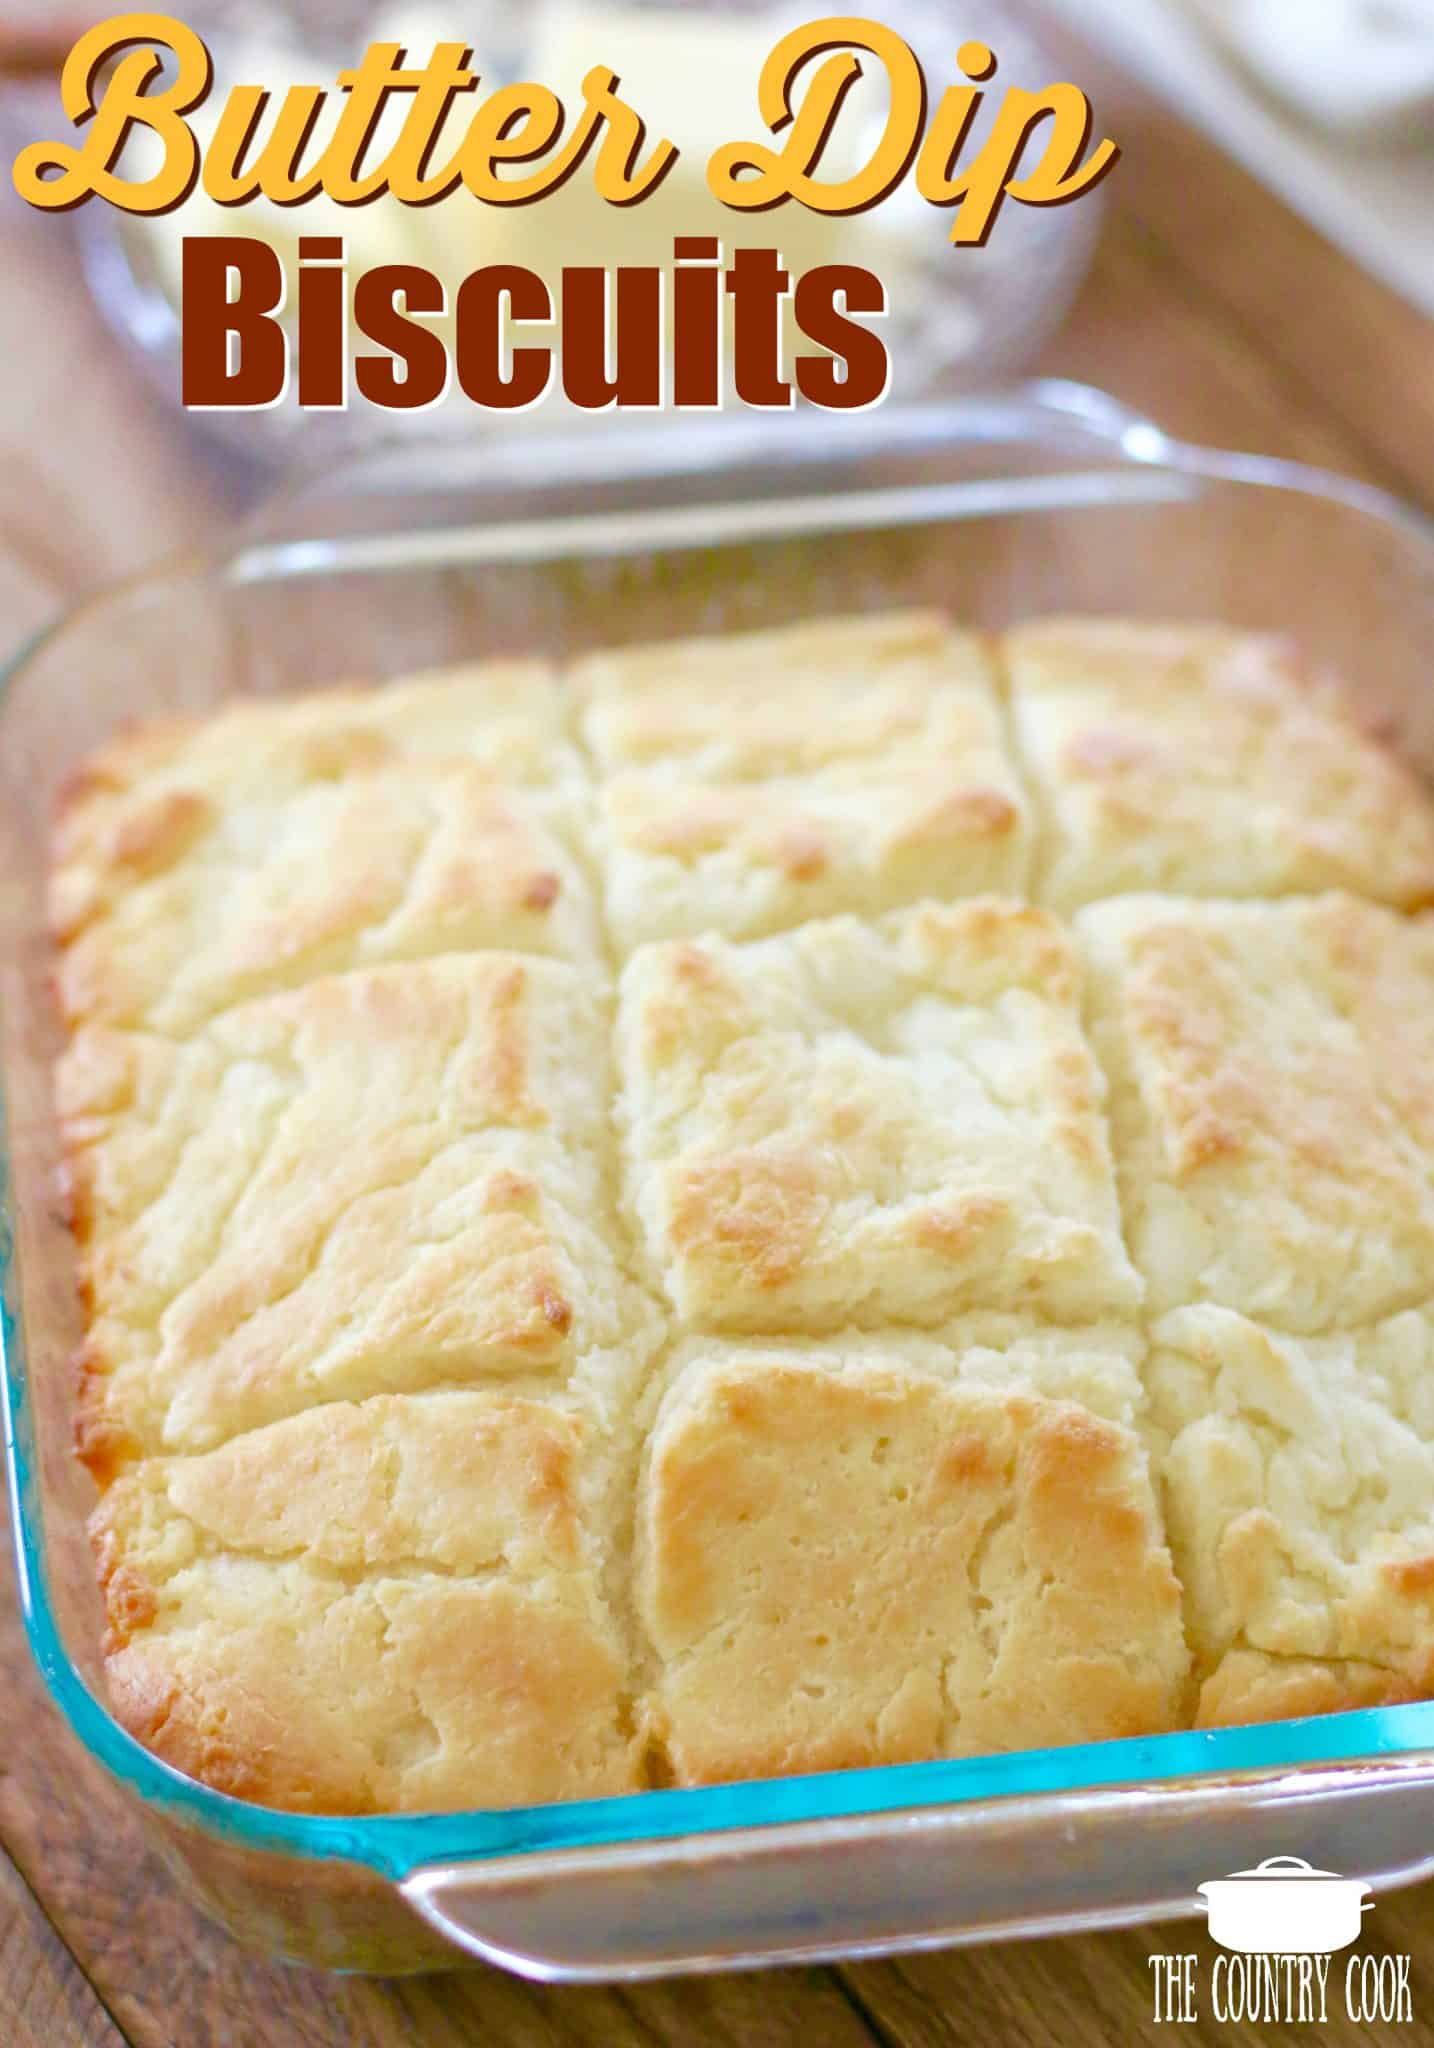
Butter Dip Biscuits
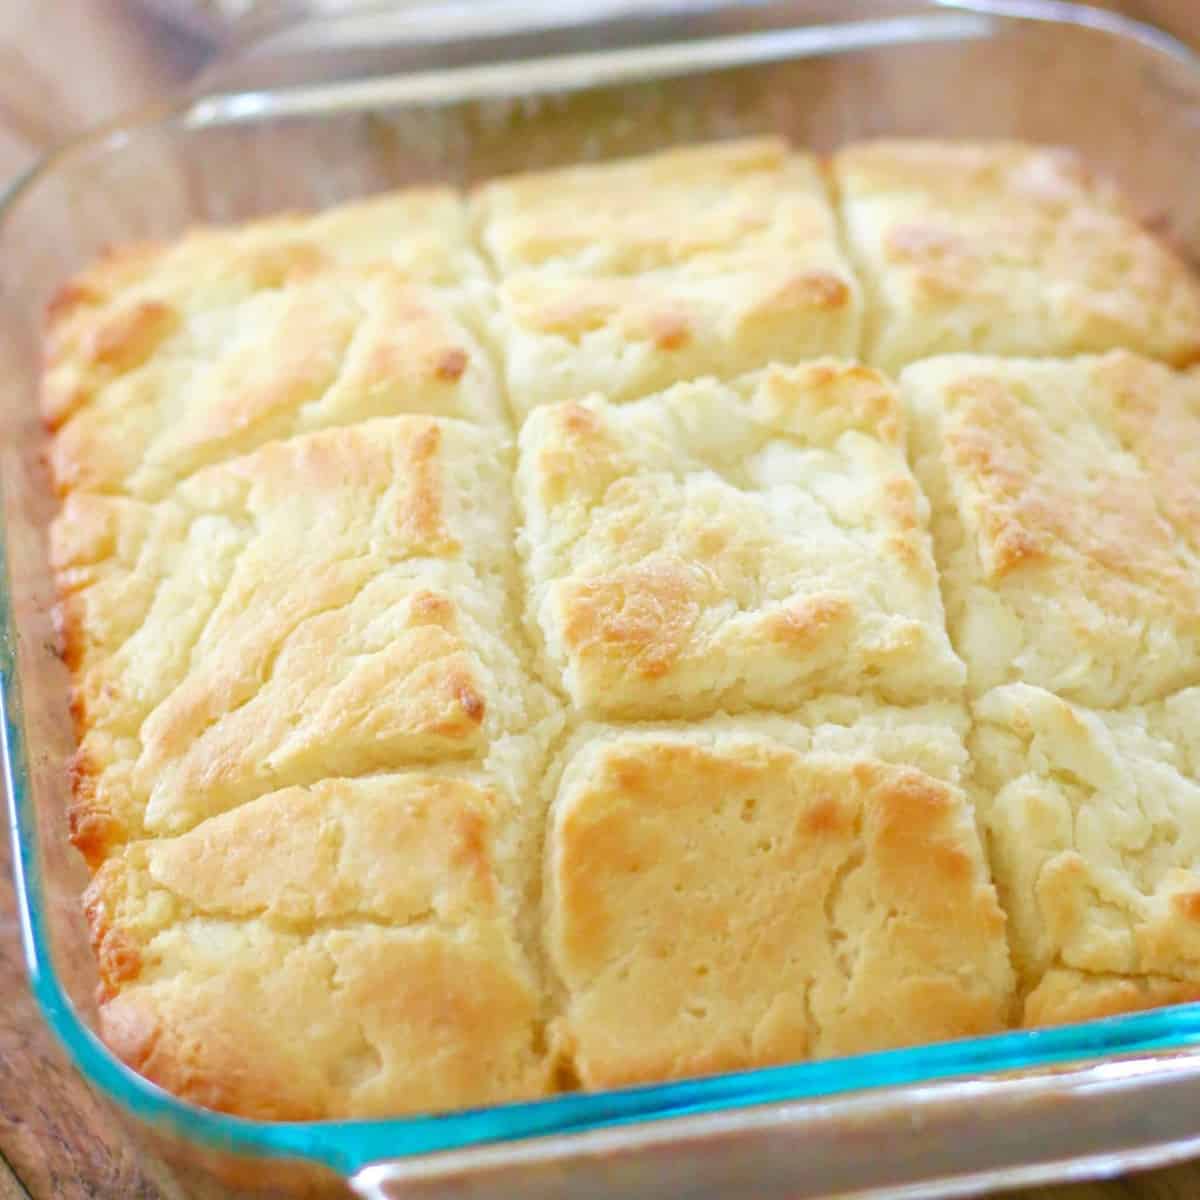
Butter Dip Buttermilk Biscuits (also called Butter Swim Biscuits) are the easiest homemade biscuits. No biscuit cutter needed! Thick, fluffy and buttery!
A.K.A. Butter Swim Biscuits
Did the title of this recipe get your attention? I first shared this recipe back in 2012 (I’ve updated the photos since then) and it has been copied by many others over the years but this here is the original! If you want to see that original post, check it out HERE. I’ve come a long way since then! This is such an easy recipe. You don’t even have to roll out any dough or use biscuit cutters! Also, if you love this recipe be sure to check out my Blueberry Butter Dip Biscuits, Cinnamon Roll Butter Swim Biscuits, Strawberries and Cream Butter Dip Biscuits or my Cheddar Garlic Butter Dip Biscuits!

The best biscuits I have ever made in my life. And I am an expert baker and biscuit maker and these are the perfect biscuits. They taste great and so much easier to make. Ask any of my family members – I am the go-to guy for biscuits so I know what. I’m talking about.
– Norman
Frequently Asked Questions
I’ve slightly modified this Betty Crocker recipe since I’ve started making these. I started using buttermilk instead of the original milk and I doubled the ingredients so that they come out thicker. So yes, you can use milk but make sure it is not skim milk.
Honestly I am not sure. I only cook and bake with cow’s milk. But if you try it, please let me know how it turns out for you!
This is totally optional. I think it can depend on the brand used as well. We use quite a bit of baking powder in these so if you are sensitive at all to specific tastes, I would recommend using an aluminum free baking powder if possible. The ingredient image below shows a brand that does have aluminum in it but Bob’s Red Mill and Rumford make aluminum free versions that I really like.
These are definitely big and fluffy which is how we like them. But you can cut the recipe in half for a thinner biscuit or spread the batter into a larger baking dish.
Yes, absolutely! Just do not add the baking powder and salt to the recipe as it is already included in self-rising flour.
Either a glass or ceramic baking dish. Metal baking dishes can heat up the butter and cause it to burn as the biscuits are still baking.
Technically you do not need to. I just like to make doubly sure that the biscuits will not be sticking anywhere in my baking dish.
Buttermilk is a man ingredient in this and I prefer the real thick stuff. When you make your own buttermilk, you don’t get that exact same taste and texture. However, if you want to make your own: the ratio is typically one cup of milk mixed with one tablespoon of lemon juice or vinegar. Allow it to sit for about 5-10 minutes before using.
Absolutely! I have a Butter Dip (or Butter Swim) Yeast Roll recipe here.
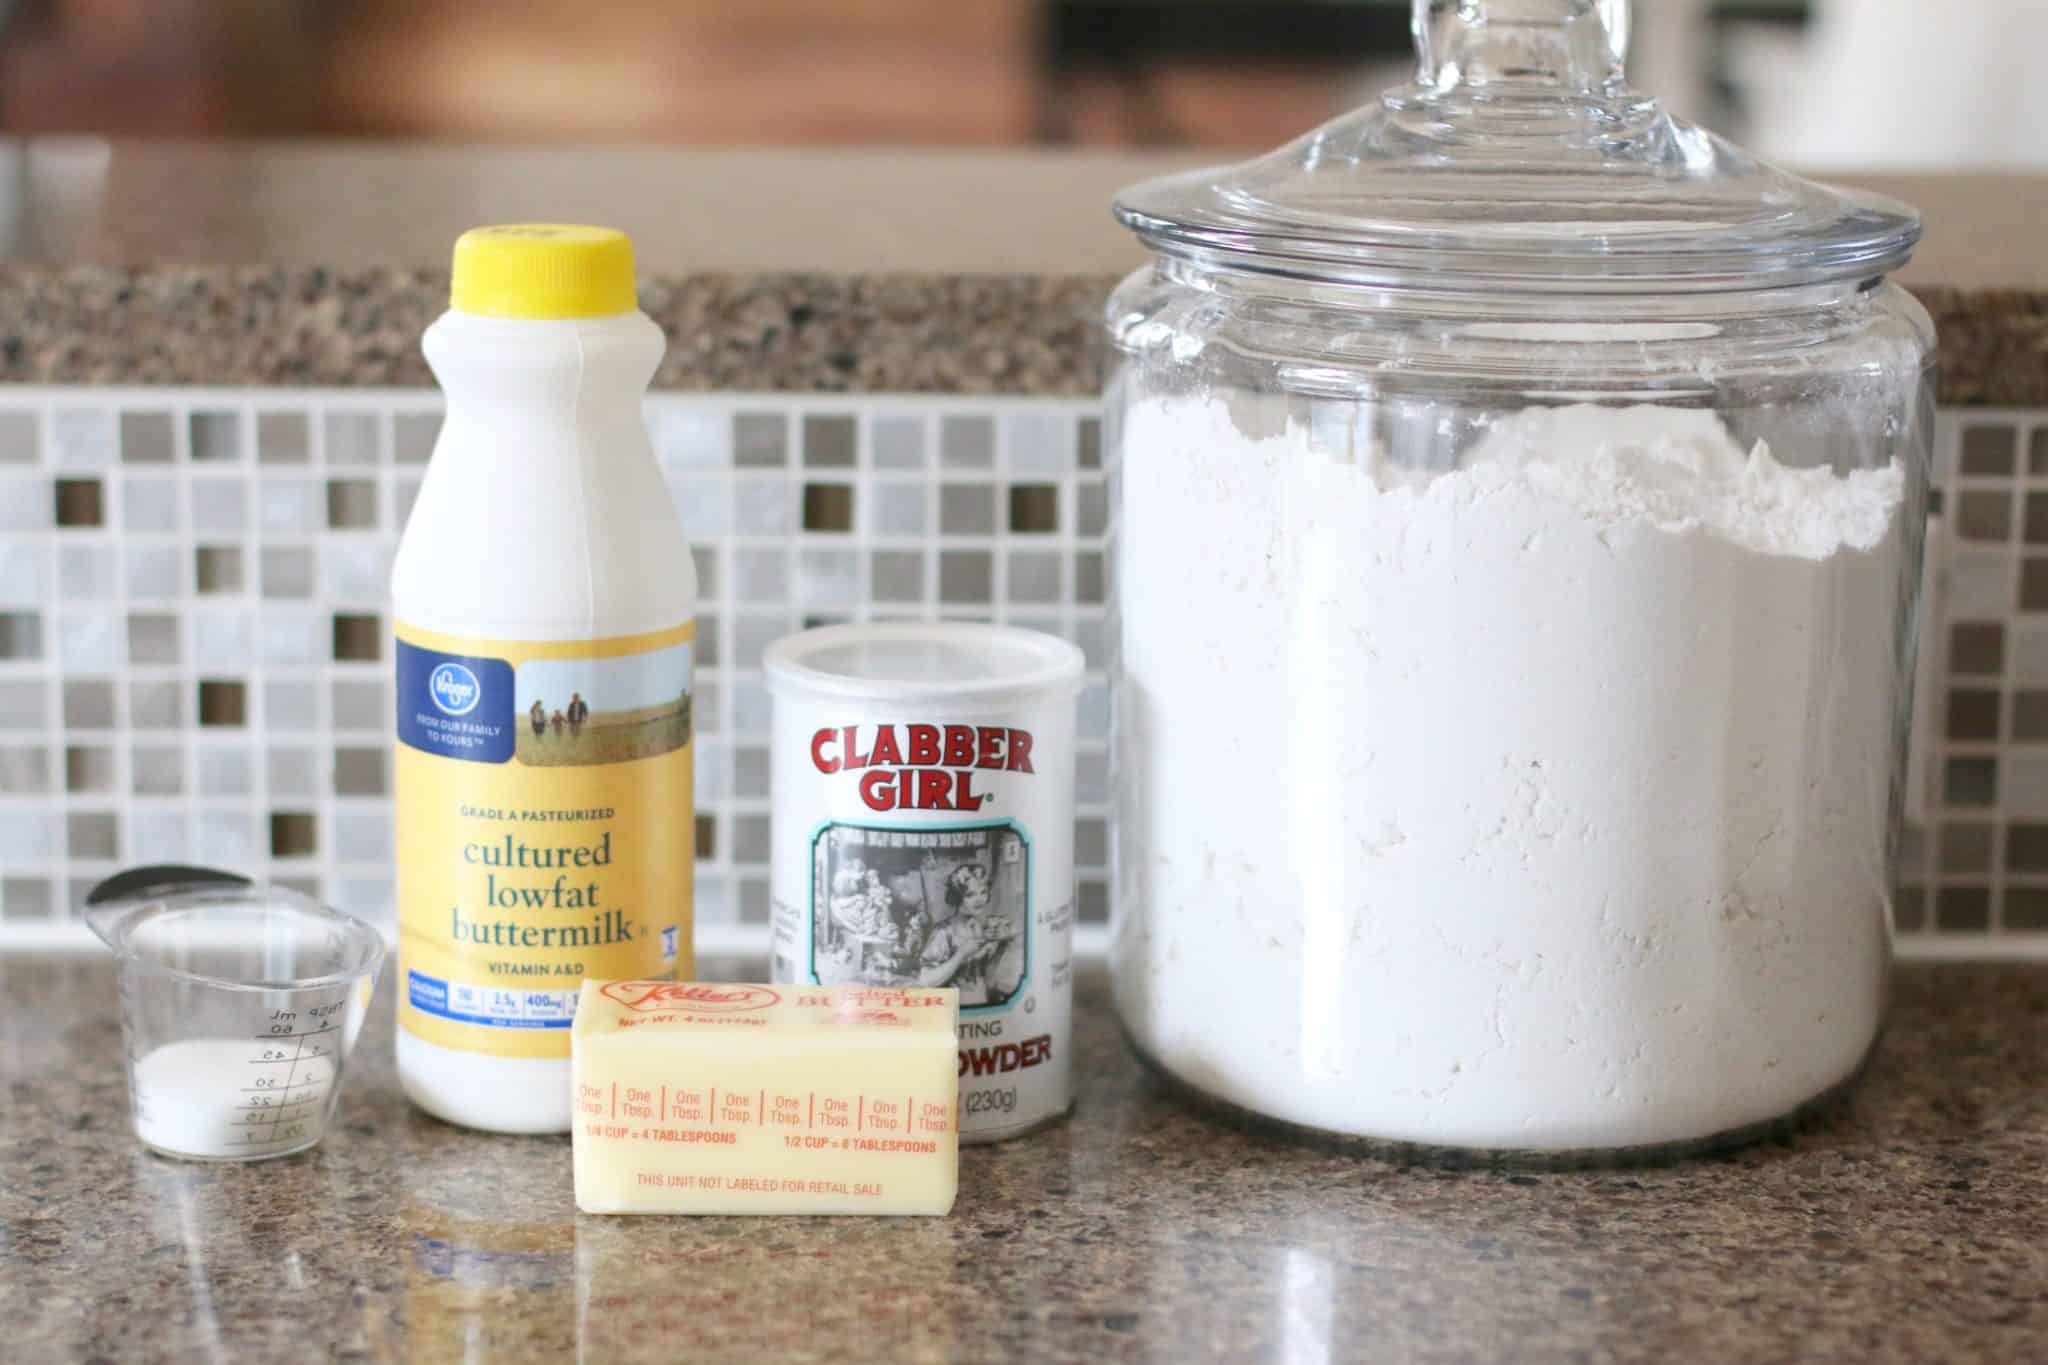
Ingredients Needed: (See Recipe Card Below For The Full Recipe)
- salted butter
- all-purpose flour * (see my notes above about self-rising flour)
- sugar
- baking powder I like to use an aluminum free baking powder when possible since I am sensitive to the taste of it. Please note, the brand used below is not aluminum free but if you are looking for one, Bob’s Red Mill makes a really good one and it is usually sold in a bag.
- salt
- buttermilk – if you forgot to pick up buttermilk from the store, see my post on How to Make Buttermilk.
How To Make Butter Dip Biscuits
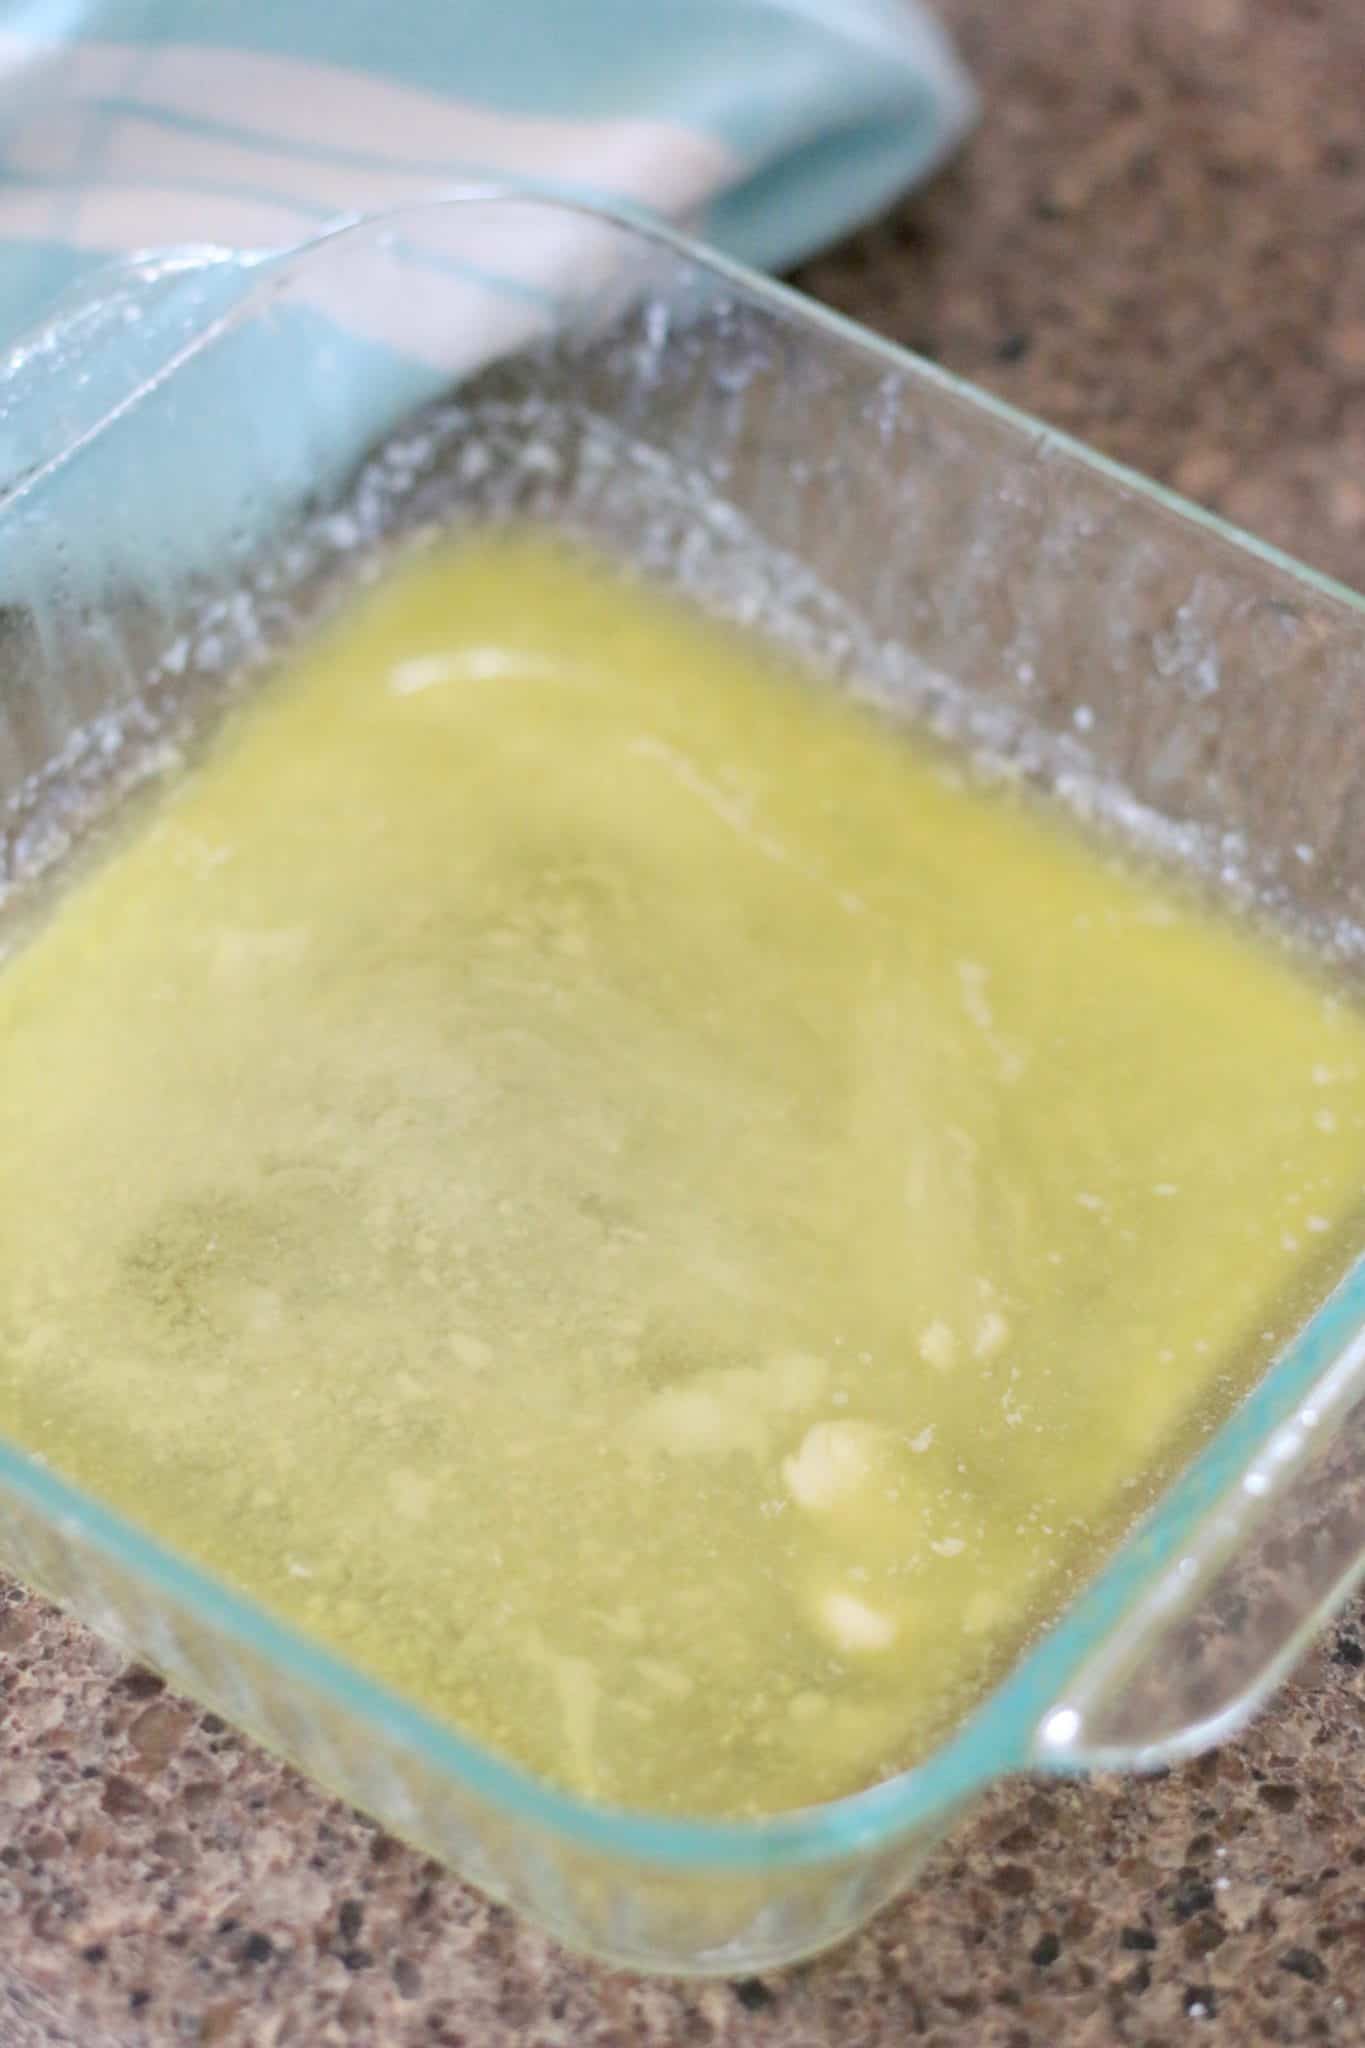
Preheat oven to 450F degrees. Spray a glass or ceramic 9×9-inch baking dish with nonstick cooking spray (I like the kind with flour in it). In a microwave-safe bowl, melt stick of butter in the microwave. Pour melted butter into prepared baking dish.
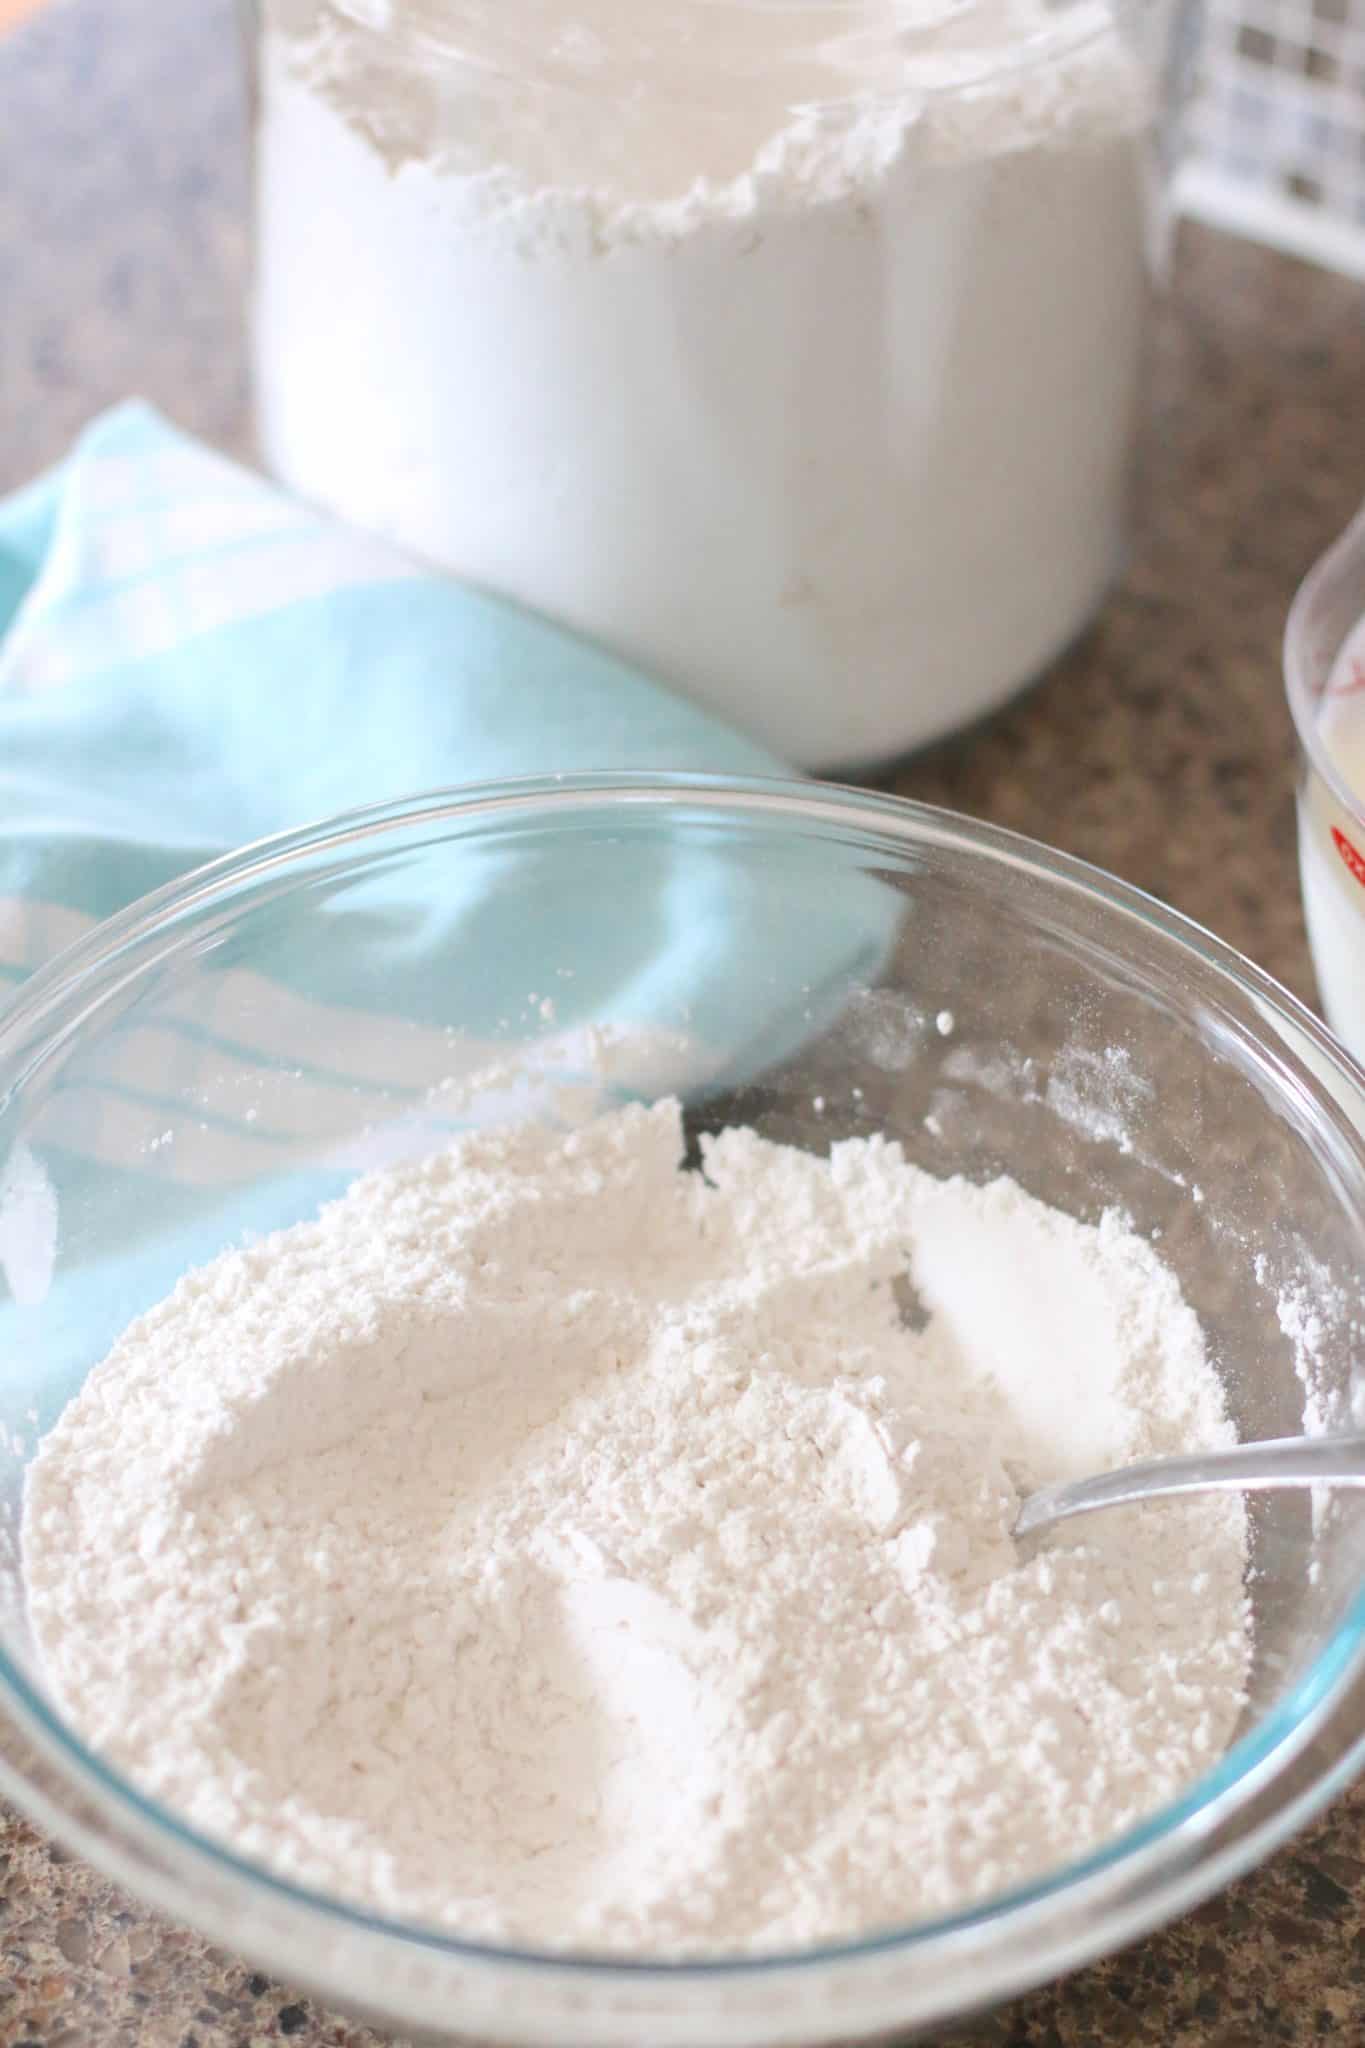
In a medium bowl, mix together the flour, sugar, baking powder and salt.
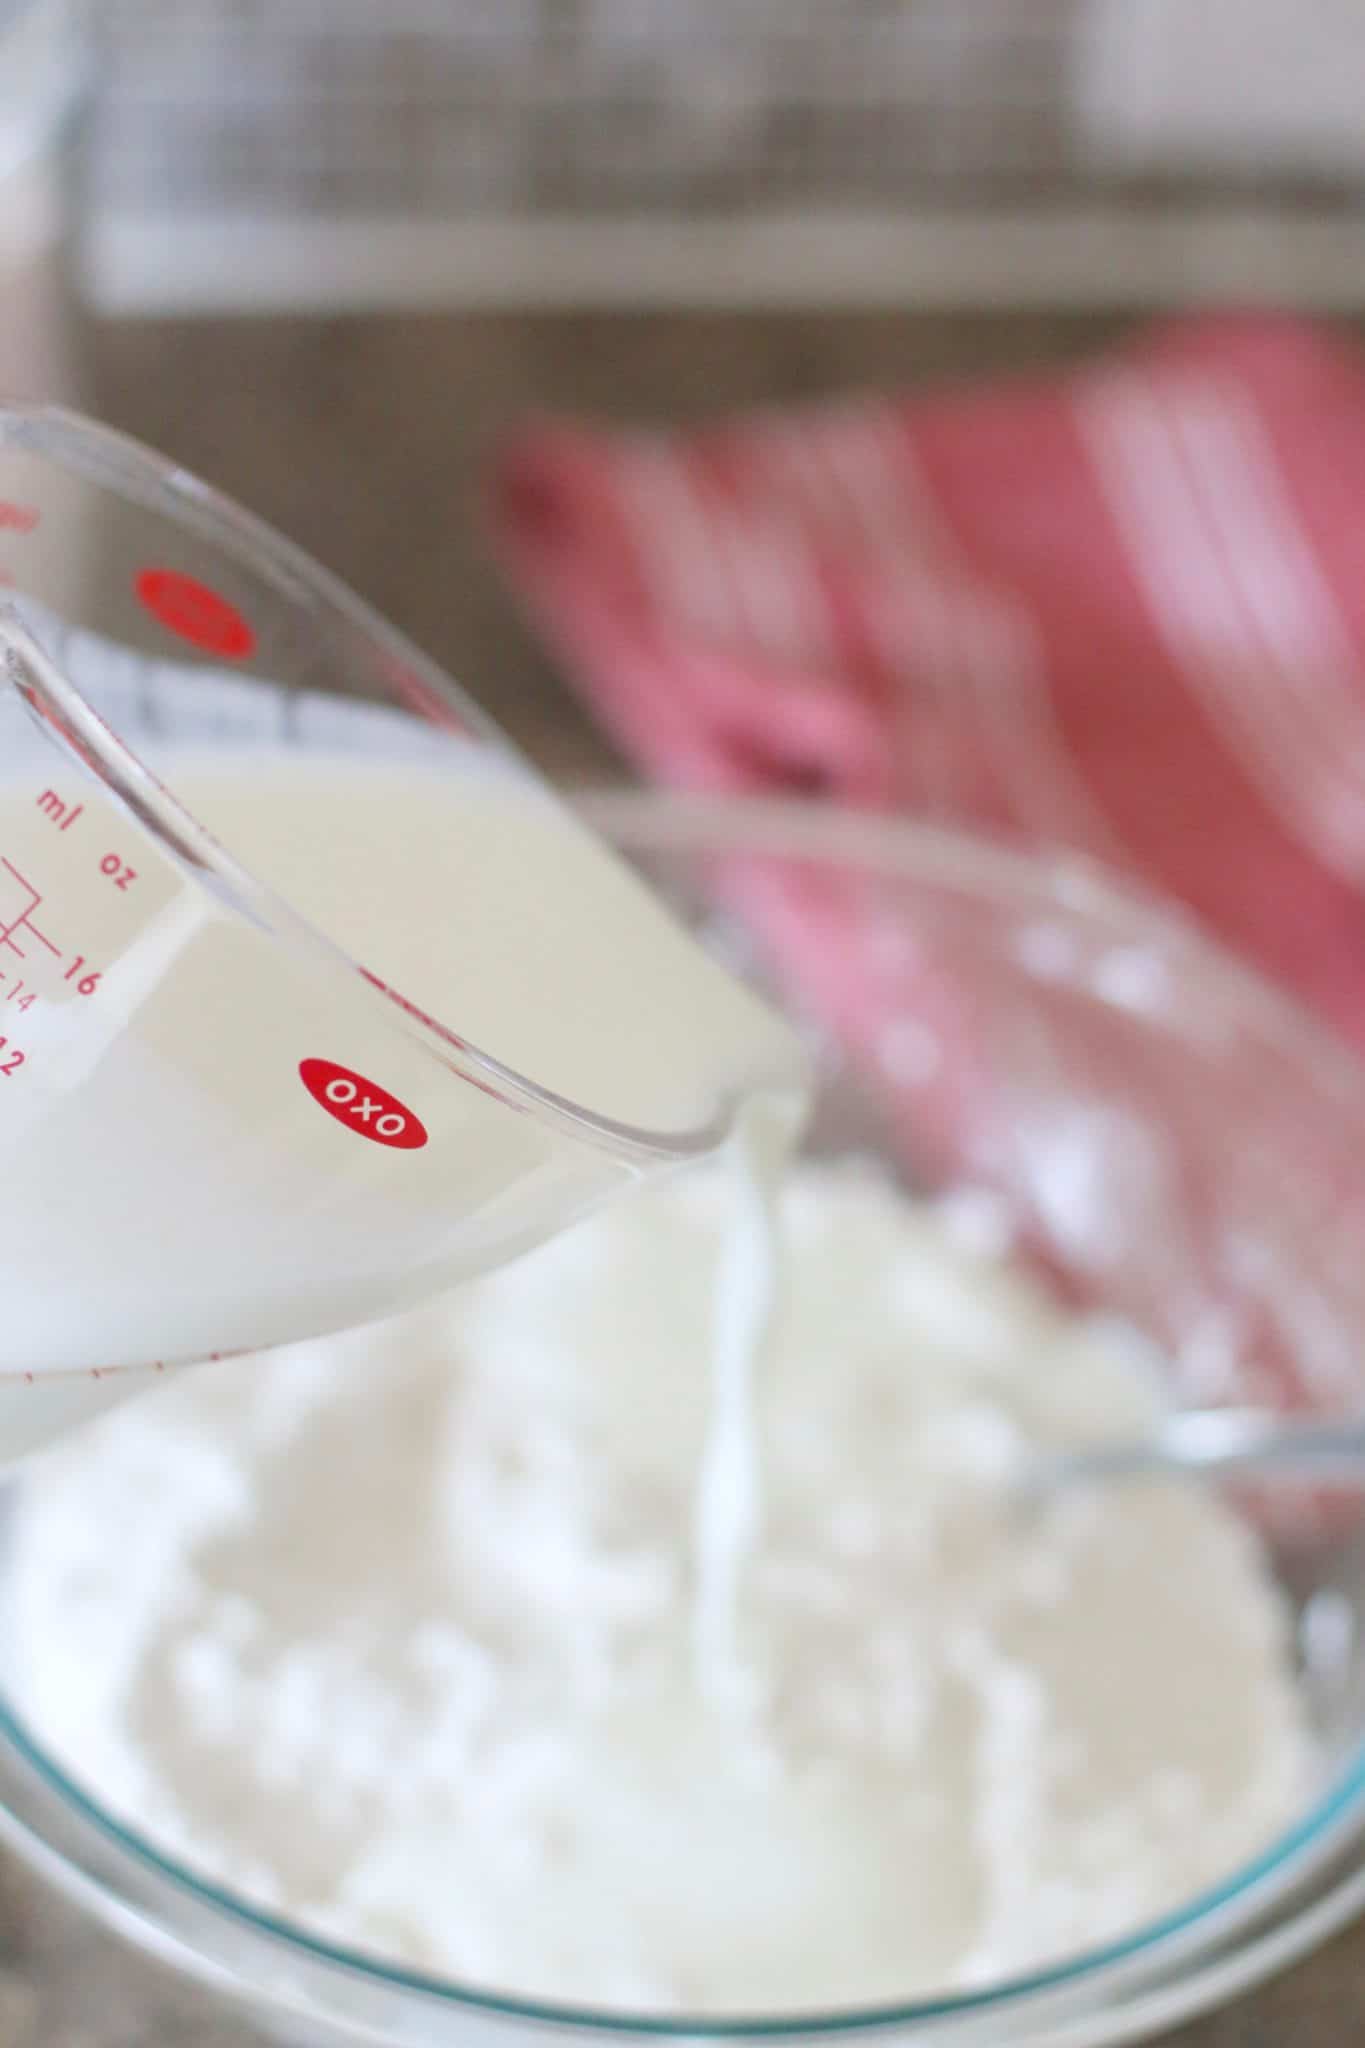
Pour in the buttermilk.
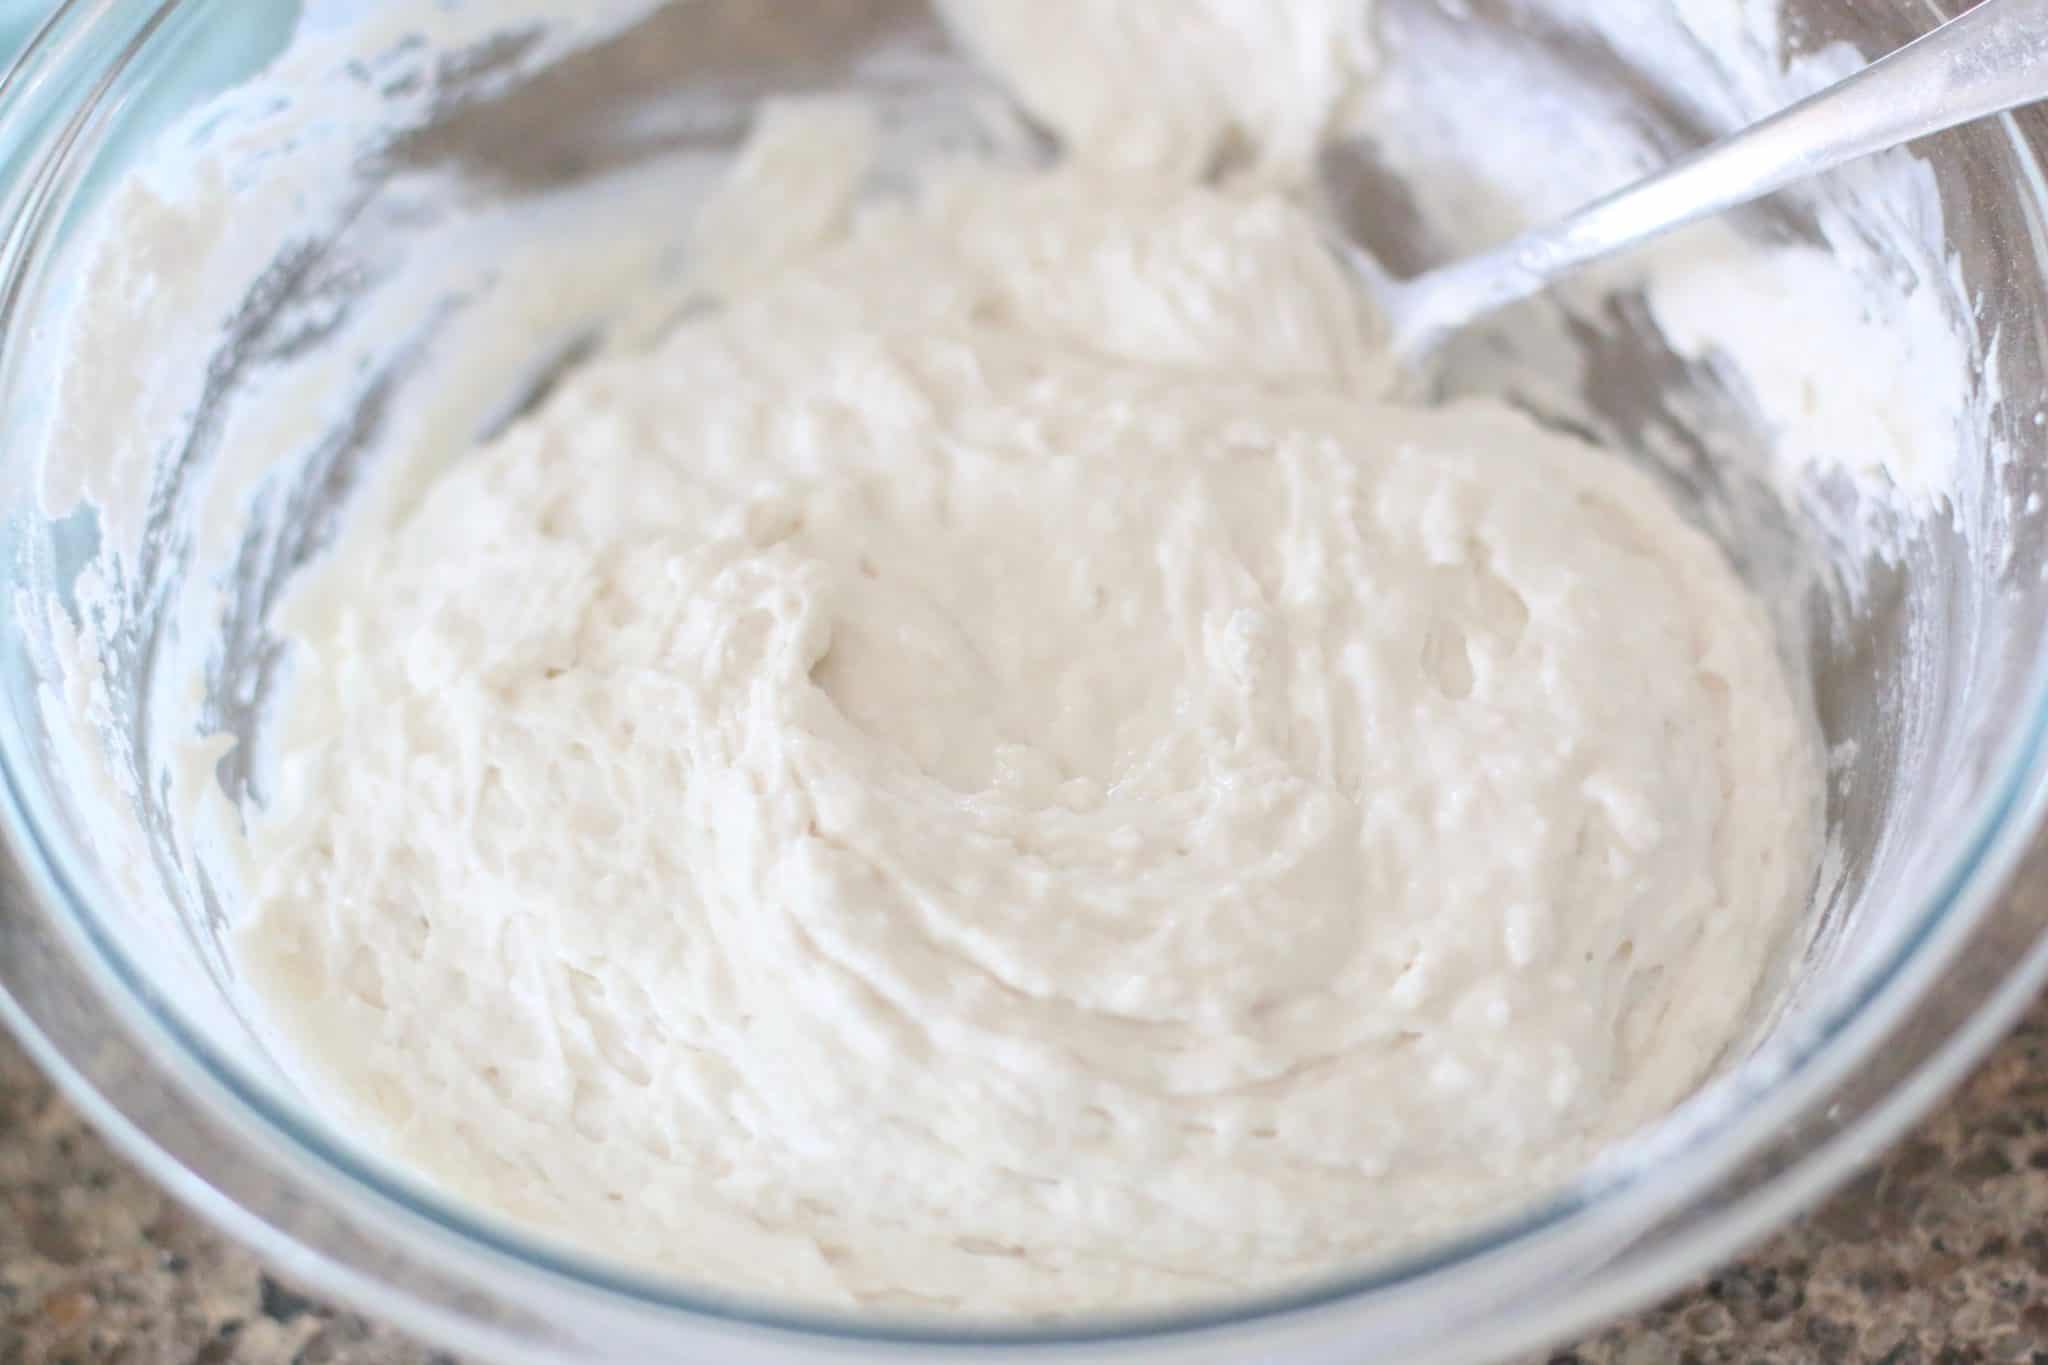
Stir until a loose dough forms. Batter will be sticky.
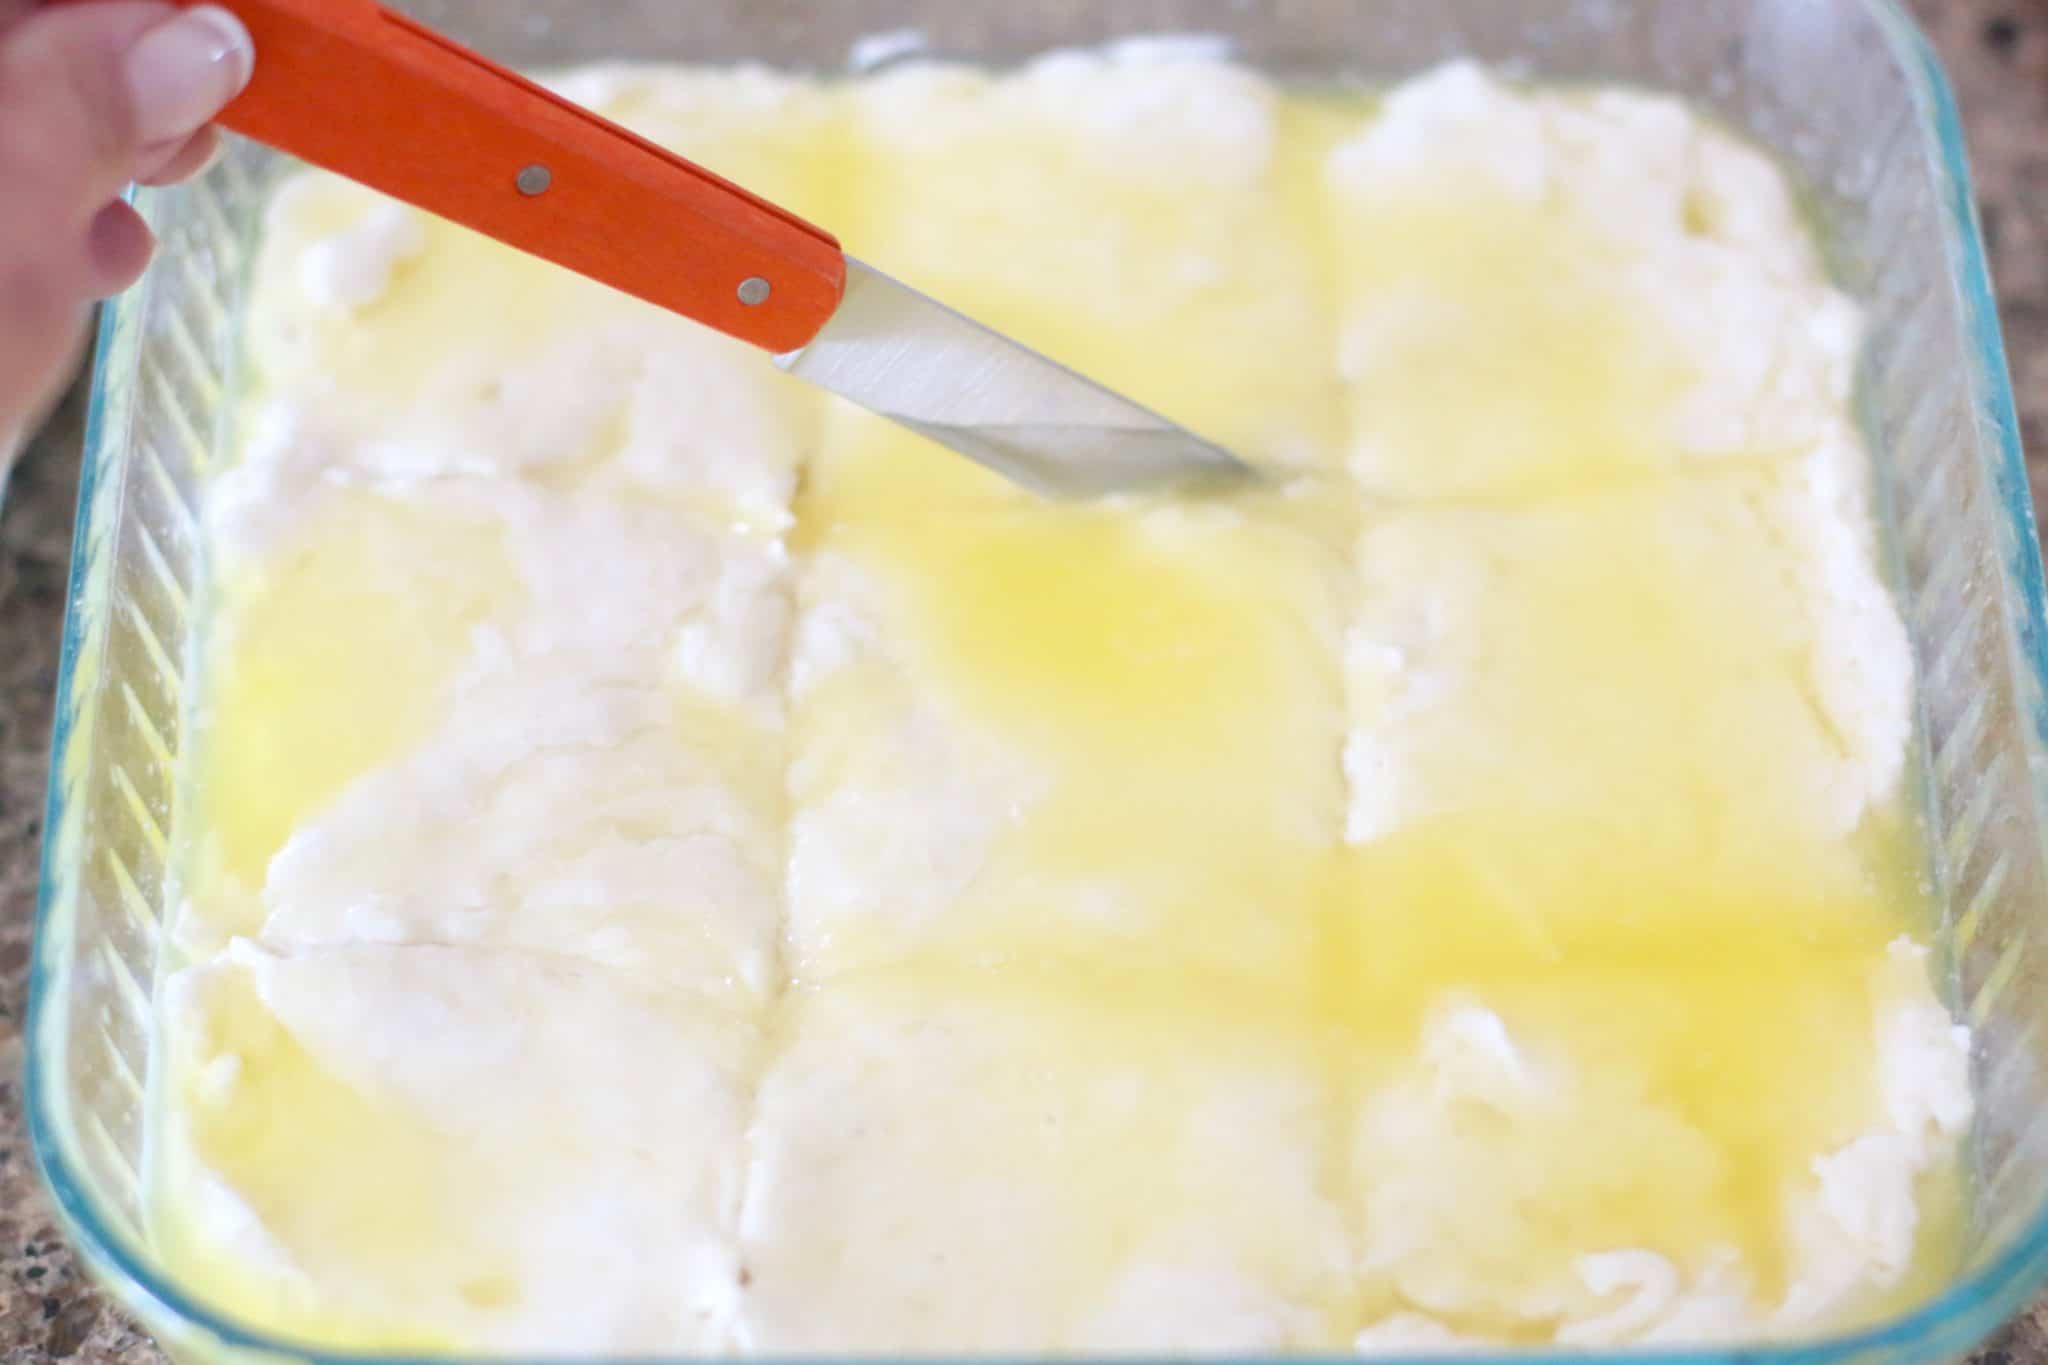
Pour biscuit dough into baking dish (right on top of the melted butter.) Spread it out with the back of a spoon or a butter knife or your hand.
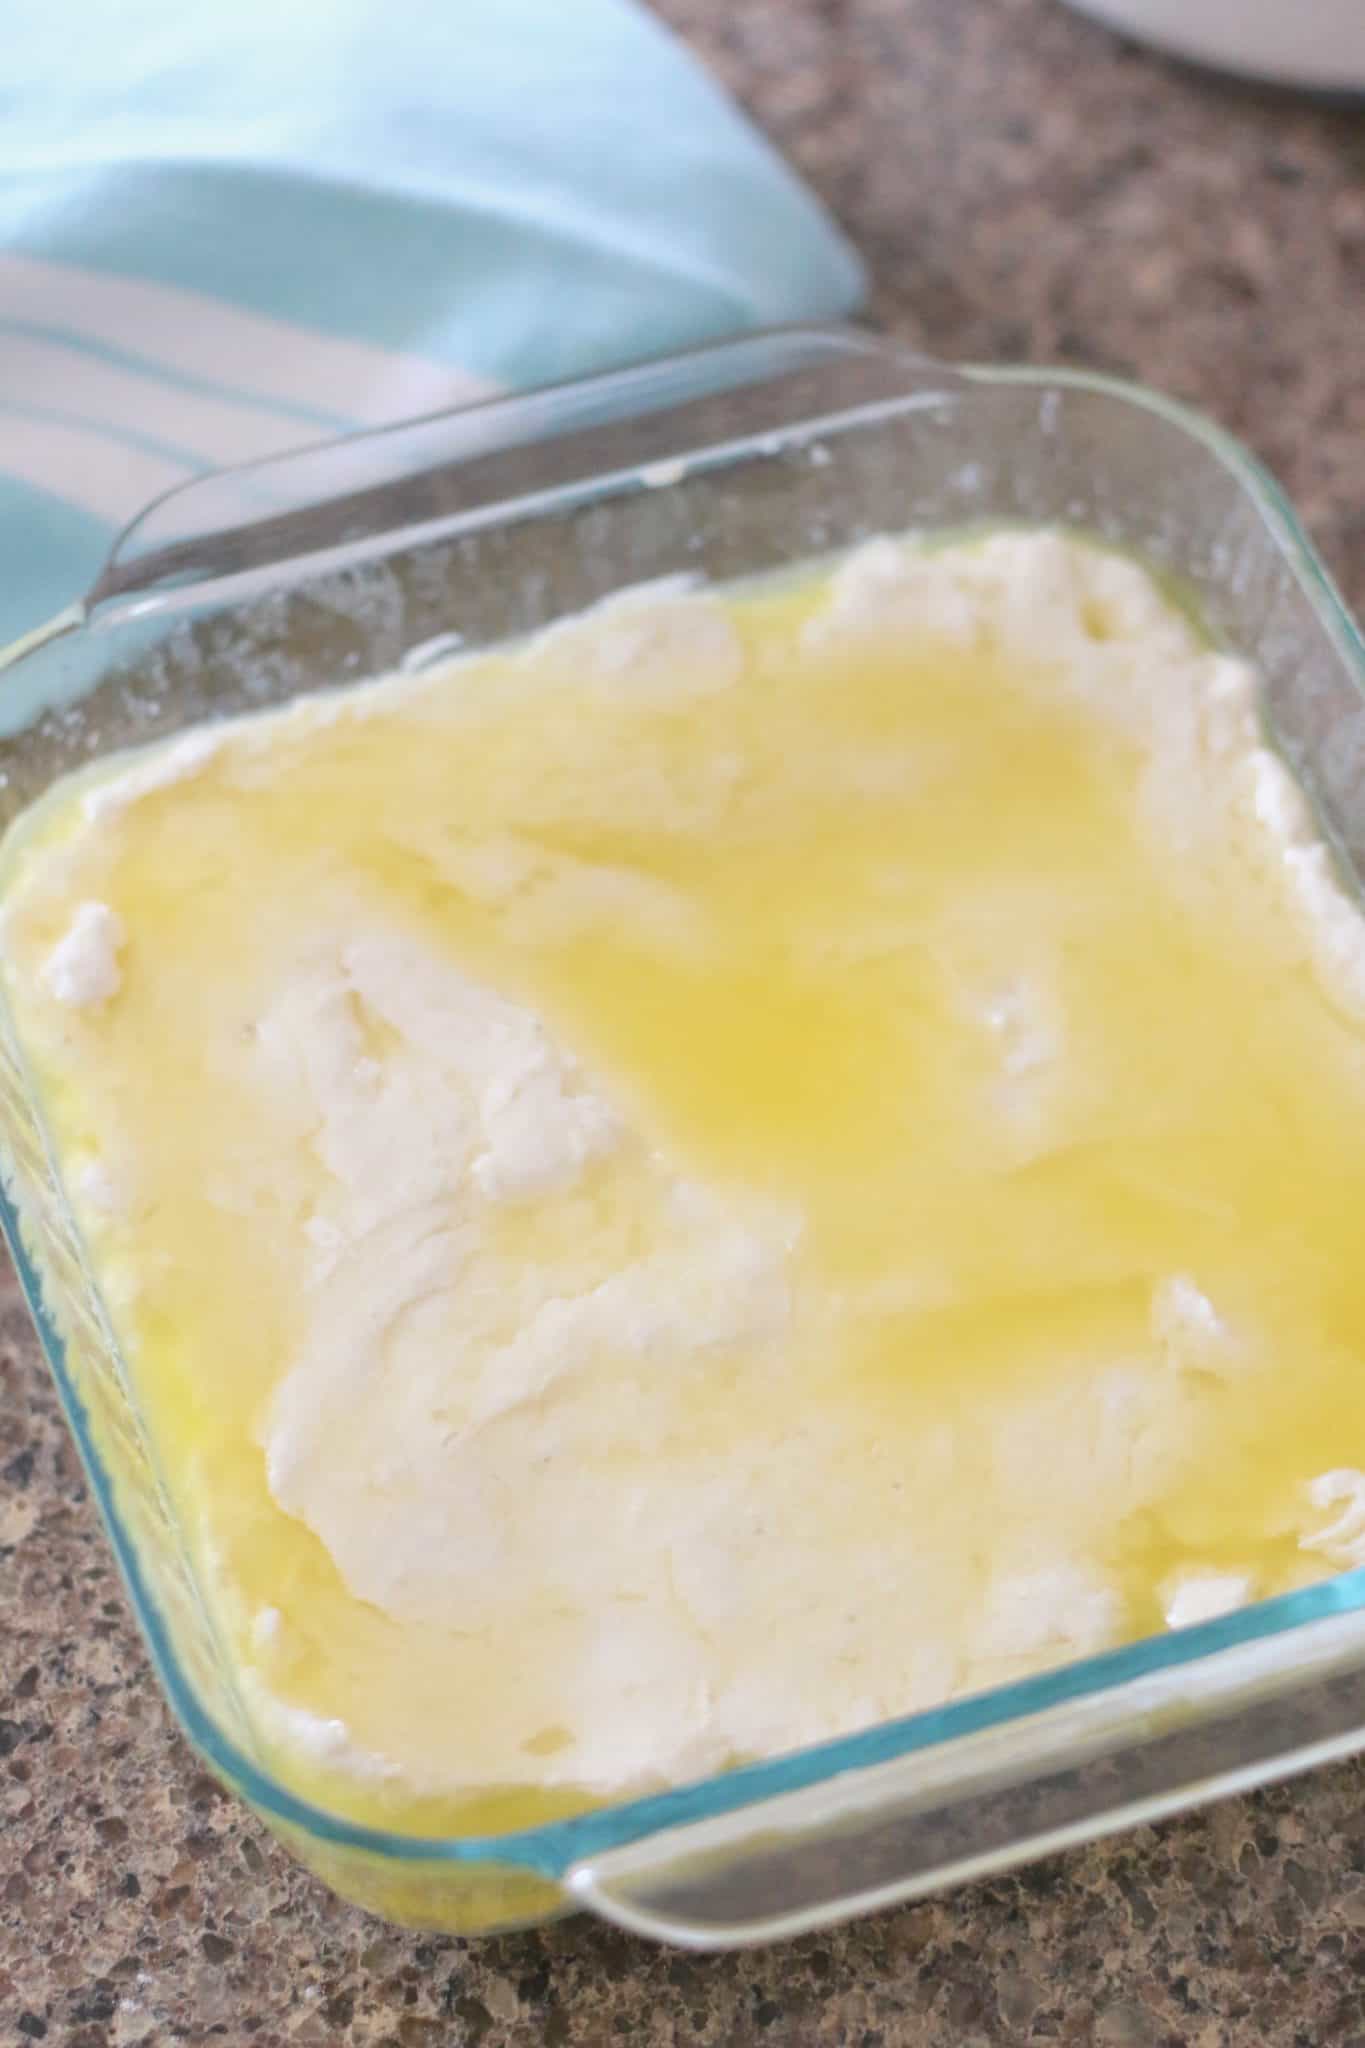
You won’t get it perfectly even, but hey, that’s okay, these are homemade, remember? Some of the butter will run over the top of the dough, that’s perfectly okay. Cut the dough into 9 squares. This will help with cutting later when they are done too.
Bake (on the middle oven rack) for about 25-30 minutes, rotating dish once during baking.
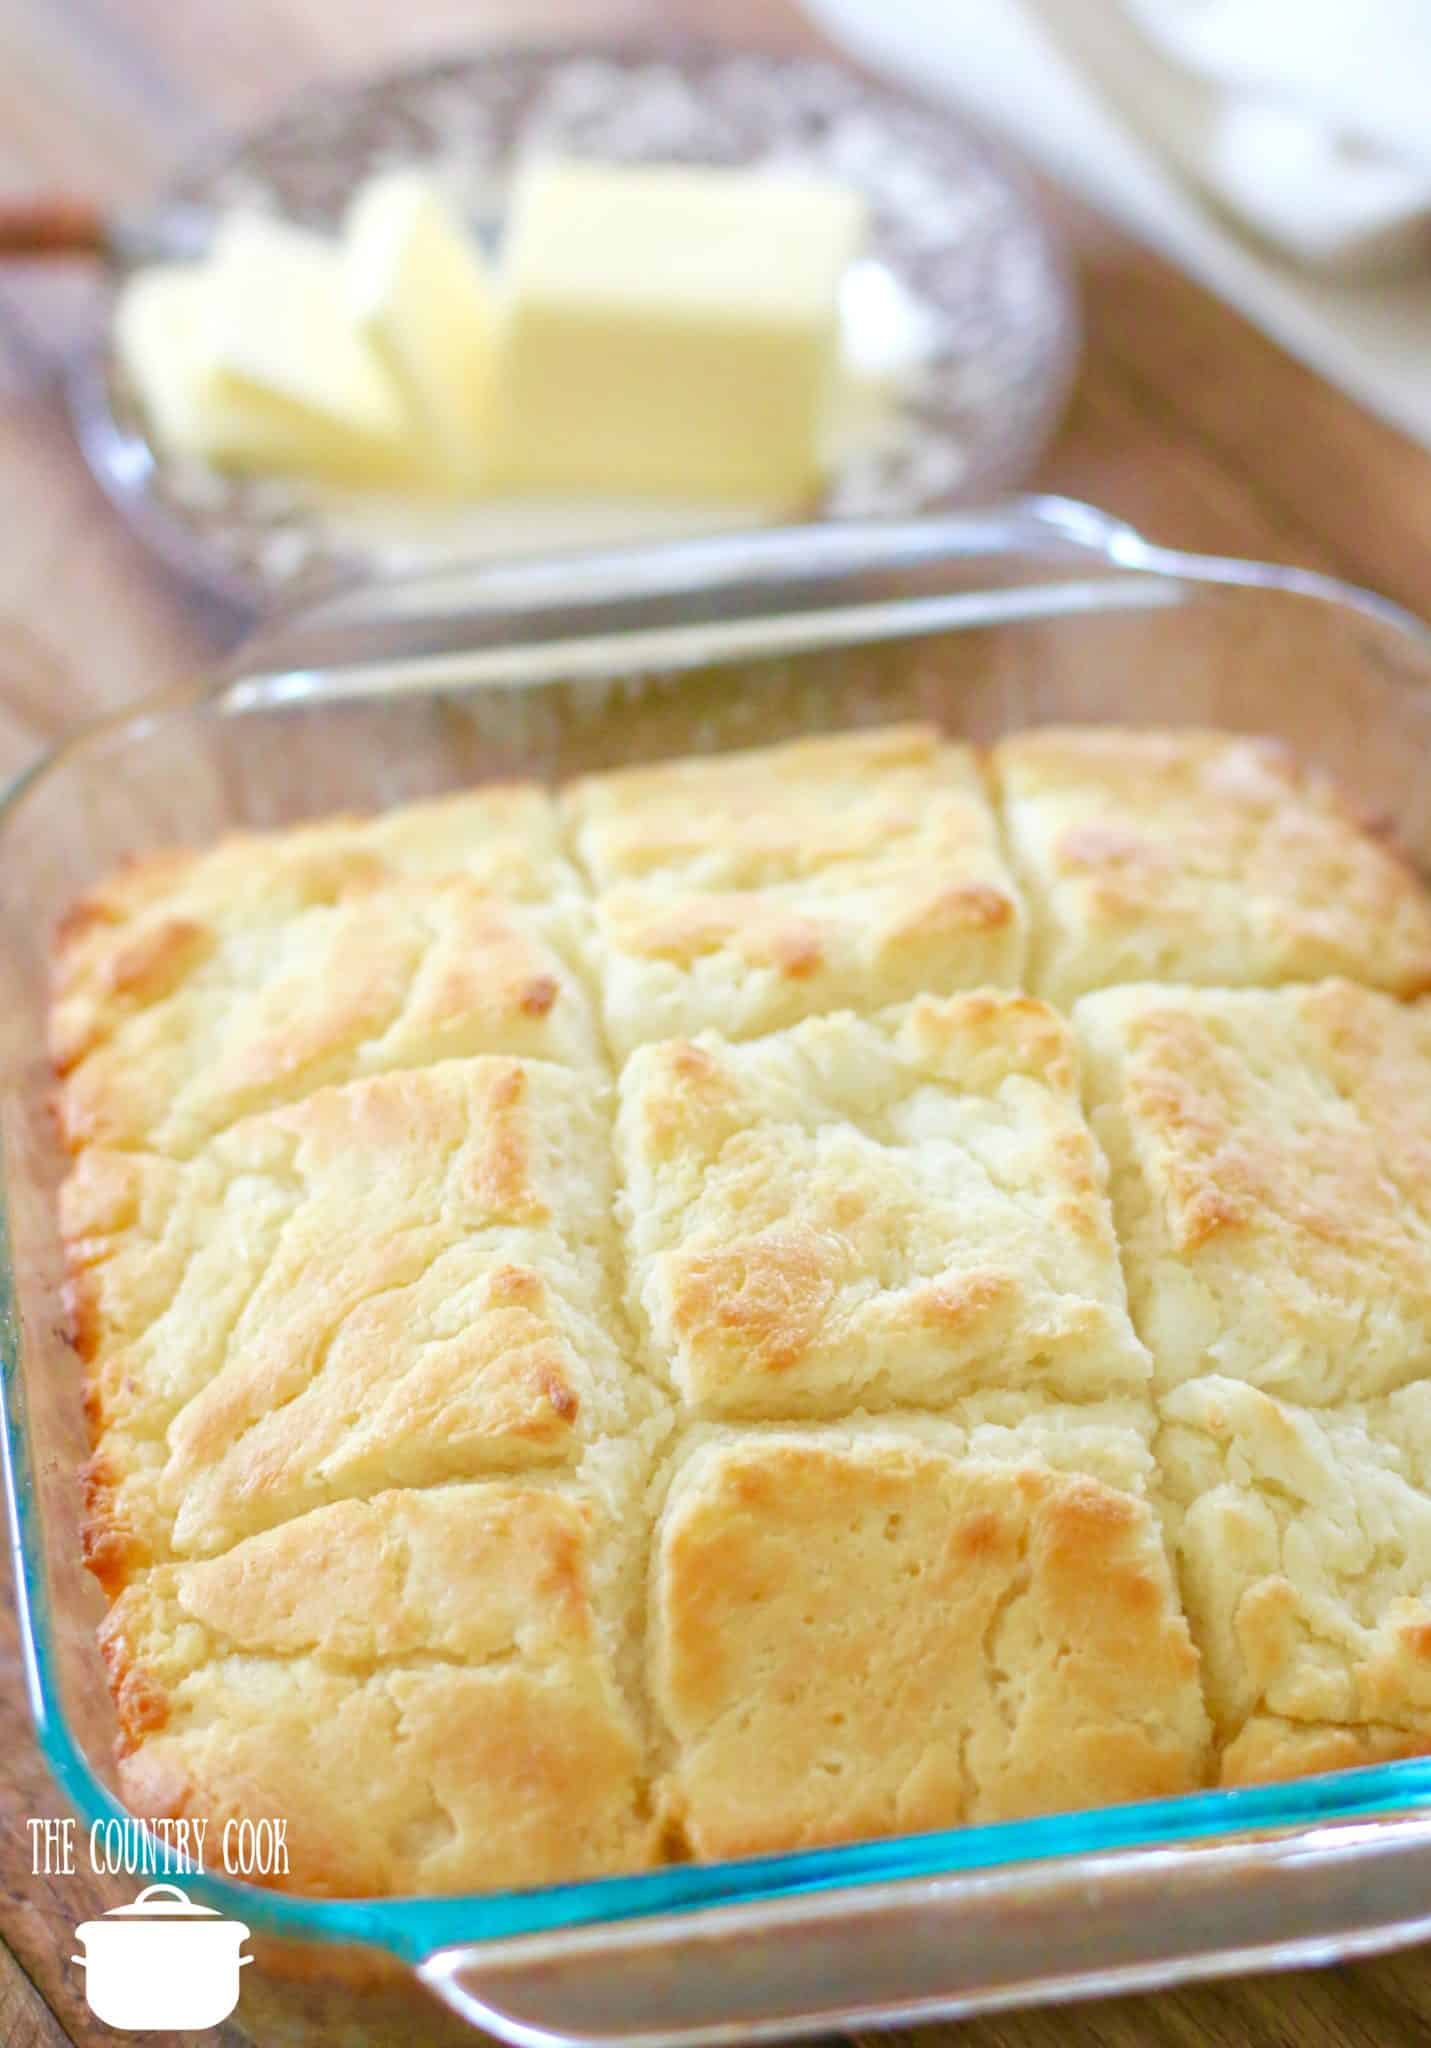
Oven times do vary since different ovens have different hot spots, but basically biscuits should be golden brown on top and spring back to the touch.
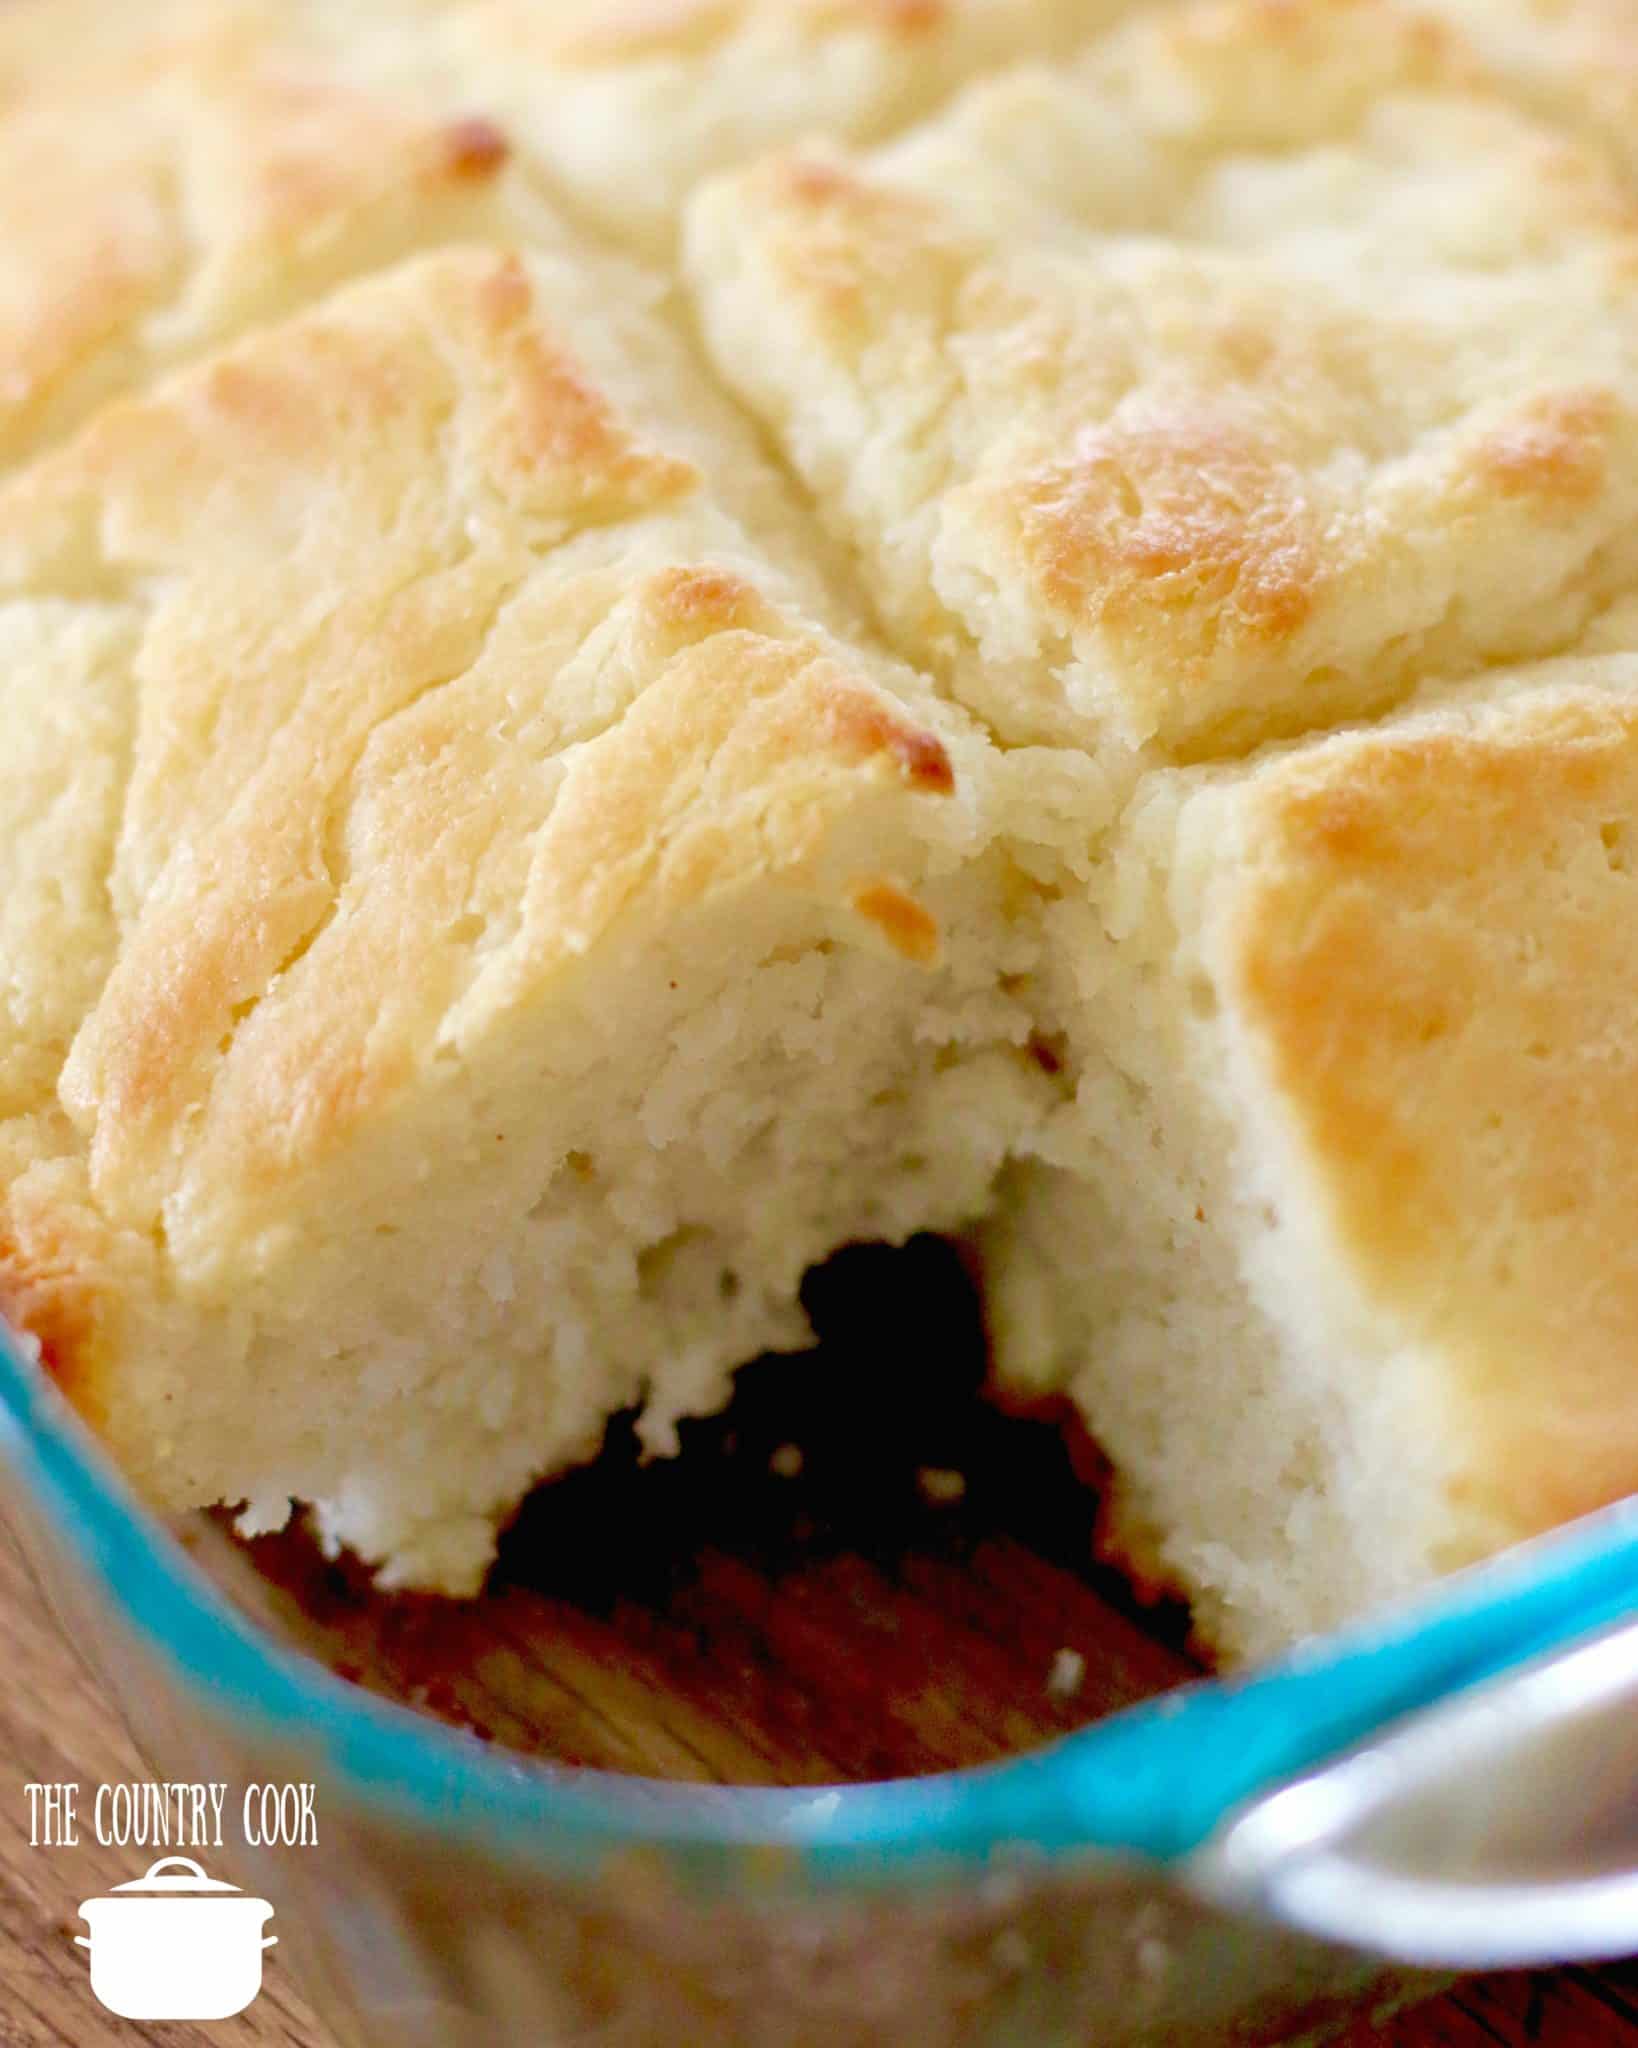
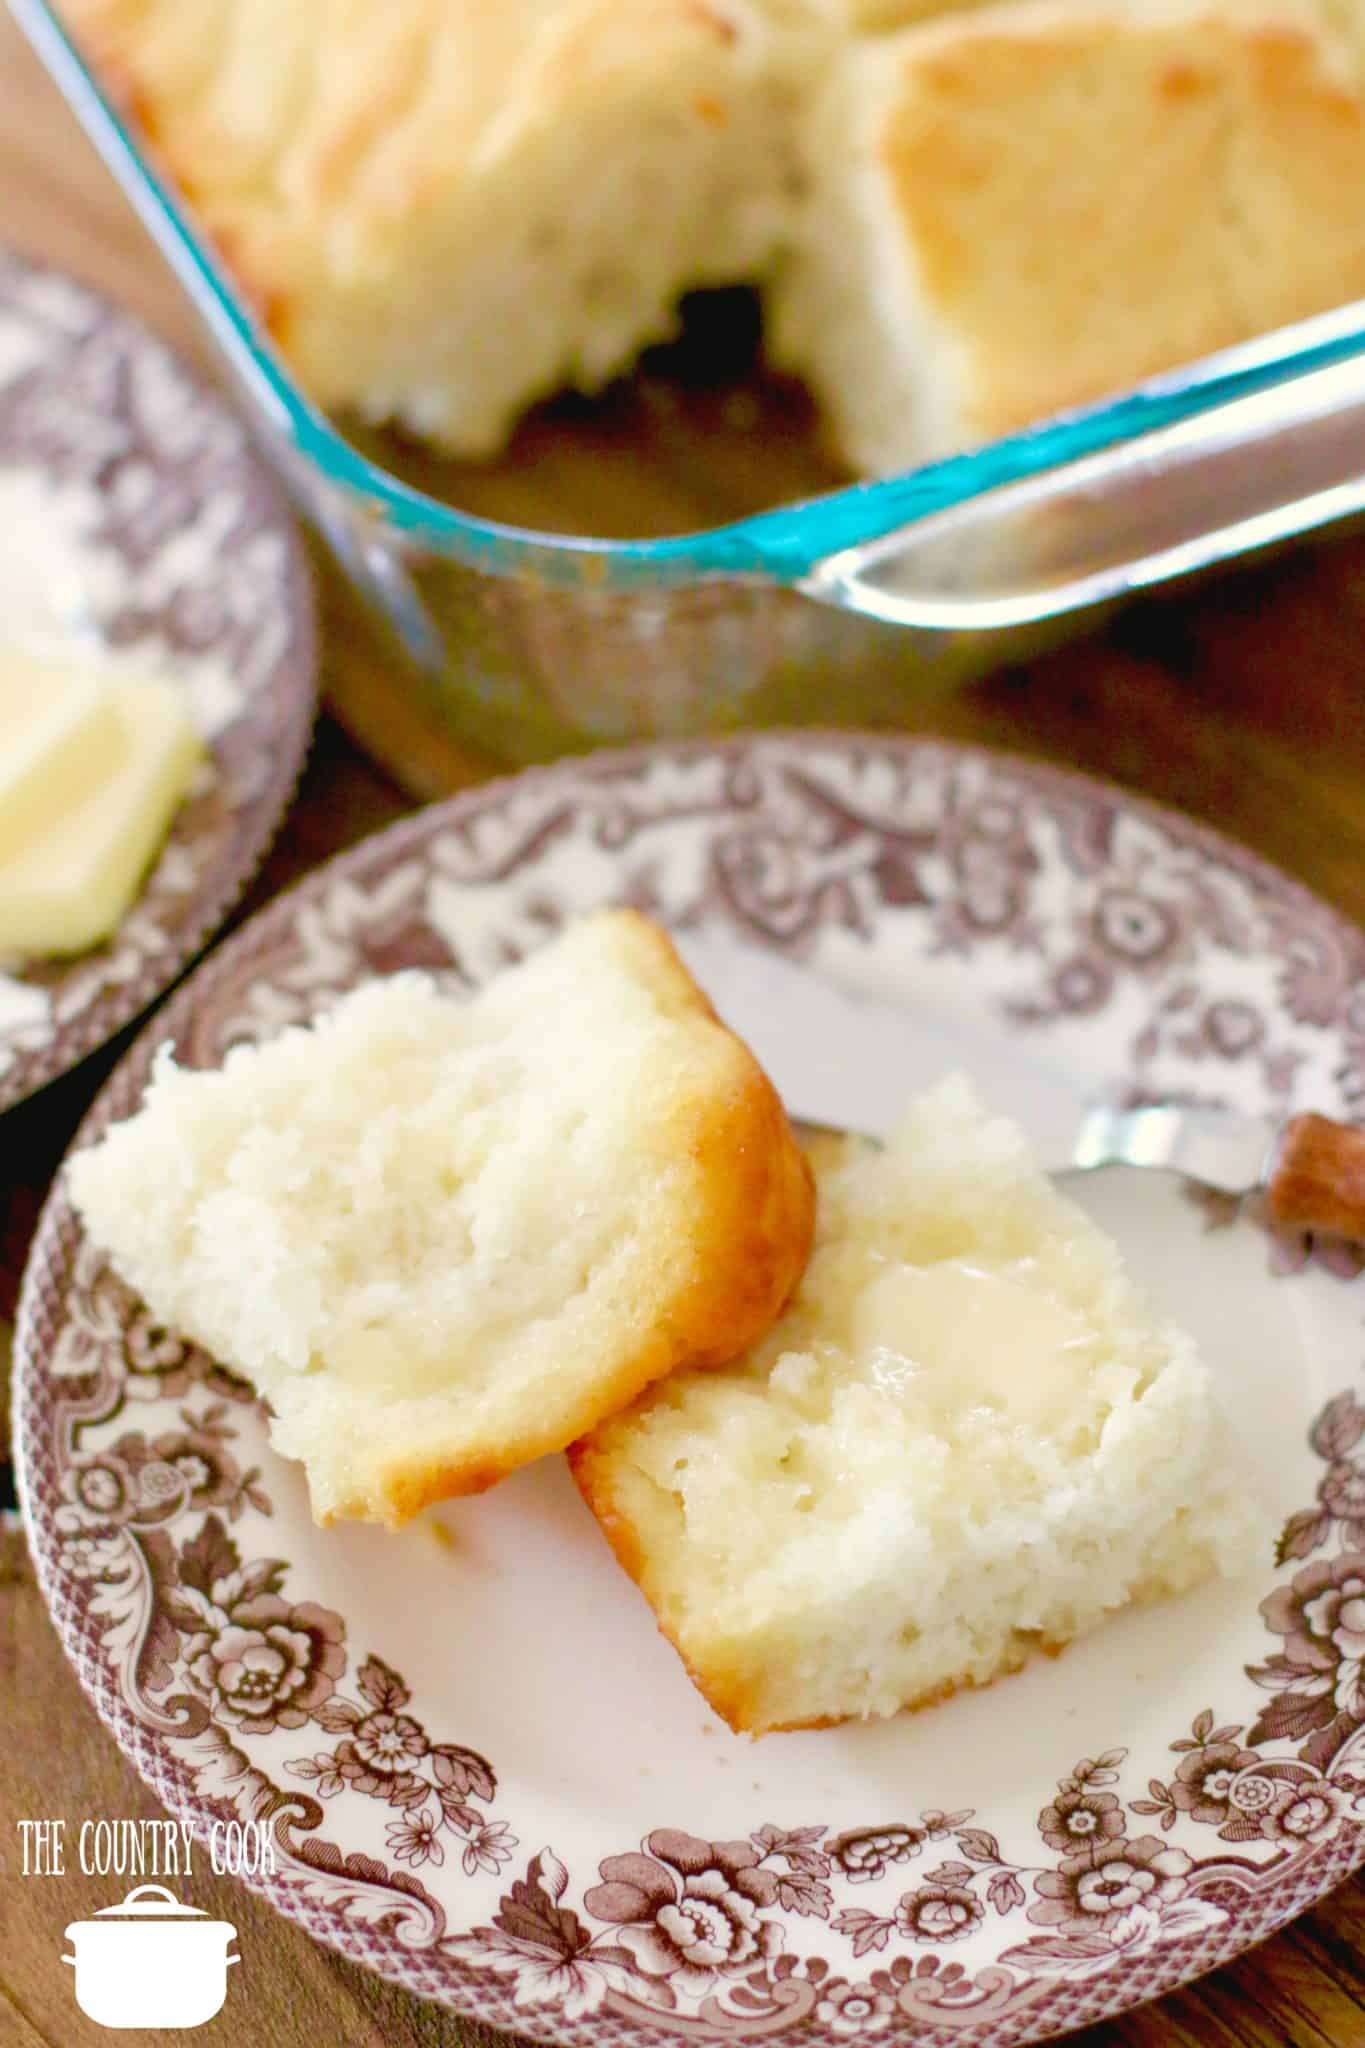
Slice and serve with butter!
Craving More?

Butter Dip Biscuits (a.k.a. Butter Swim Biscuits)
Ingredients
- ½ cup salted butter (1 stick)
- 2 ½ cups all-purpose flour
- 1 ½ Tablespoons granulated sugar
- 1 Tablespoon aluminum-free baking powder
- 1 ½ teaspoons salt
- 1 ¾ cups buttermilk (you may need up to two cups)
Instructions
- Preheat oven to 450F degrees (yes, that is the correct temperature). Spray a glass or ceramic oven safe 9×9-inch baking dish with nonstick cooking spray (I like the kind with flour in it). NOTE: You technically do not have to spray the pan since there is plenty of butter in this but I like to be extra careful.
- In a microwave-safe bowl, melt 1/2 cup salted butter in the microwave. Pour melted butter into prepared baking dish.
- In a medium bowl, mix together 2 1/2 cups all-purpose flour, 1 1/2 Tablespoons granulated sugar, 1 Tablespoon aluminum-free baking powder and 1 1/2 teaspoons salt.
- Pour in 1 3/4 cups buttermilk. Stir until a sticky batter forms. If batter still seems too dry add a tad bit more buttermilk until the batter is thick and sticky.
- Pour biscuit dough into baking dish (right on top of the melted butter.) Some of the butter will run over the top of the dough. Tip: I will spray my hand with some nonstick spray to help spread the dough out evenly in the pan.
- Cut the dough into 9 squares (as best you can). This will help with cutting later when the biscuits are baked.
- Bake (on the middle oven rack) for about 25-30 minutes, rotating dish once during baking.
- Oven times DO VARY since different ovens have different hot spots, but basically biscuits should be golden brown on top and spring back to the touch. Insert a toothpick into the center. If it comes out clean with no batter, they are done!
Video

Notes
- If using unsalted butter, be sure to add 1 teaspoon of salt.
- Eat within two days. Make sure to cover leftovers. If stored in the refrigerator, they will last for a week. These biscuits can also be frozen. Wrap well in freezer-safe plastic wrap and then store in a freezer-safe bag or container. Will freeze for up to 3 months.
- Self-rising flour can replace the all-purpose flour in this recipe. Just do not add the baking powder and salt to the recipe as it is already included in self-rising flour.
- If you only have an 8×8-inch baking dish, I would put a baking pan underneath to catch any possible butter drippings that may happen since it is smaller.
Nutrition
Nutritional Disclaimer
“The Country Cook” is not a dietician or nutritionist, and any nutritional information shared is an estimate. If calorie count and other nutritional values are important to you, we recommend running the ingredients through whichever online nutritional calculator you prefer. Calories and other nutritional values can vary quite a bit depending on which brands were used.
Originally published: February 2012
Updated photos and republished: April 2019


Looks good!
I have been wanting to make some of the swim biscuit recipes but when I click to print it will show the print version but immediately pages back to the recipe. This has happened recently with another recipe from your site. I have been able to make copies of some of your recipes in the past. I’m using the same chromebook. Any idea why?
I’ve been making your recipe for 15 years and it has never failed me Bramdie! I have made many of your other versions and they are all excellent! Thanks so much!
These are FANTASTIC!
Best biscuits ever. Thank you for an easy recipe!
I wonder if I could try this in an iron skillet? Glass works great! I know it would he hard to pre-cut the squares, but Ive always used an iron skillet for my ‘old biscuits’ lol! (I wont be making anymore)
very good, everyone loves them
wow my biscuits are usually dry – these were not -THANK YOU! they were a bit dark & crispy since I melted the butter in the oven as it warmed. Any idea how to keep them fresh?
After reading all the rave comments here, I absolutely have to try this recipe! Biscuits, to me, are such a pain to make, but these look so easy and delish! Thank you for posting such an easy recipe, especially for the ‘biscuit making challenged’ of us!
My friend’s mom used to make something like this, but she would add either garlic powder or garlic salt to the butter. If I was using salted butter, I would just use the garlic powder, but it adds another level of flavor to these biscuits. Thanks for posting the recipe. Her son who I knew used to make them just with the biscuits in a tube, but he would put the butter underneath them.
Hi Julie, I have a garlic butter version of you want to look at that one 🙂
https://www.thecountrycook.net/garlic-butter-swim-biscuits/
I have always been terrible at making biscuits. I am 70 years old and maybe realized I don’t have the patience although my Mom and Granny tried to show me. It just wasn’t my thing. Well, I finally found a recipe that is my thing! Thank you, thank you for this recipe for those of us who struggle with biscuit making. All the flavor without all the work! My husband and grandkids loved them!!
Awww Greta – what a wonderful comment! Thanks so very much for coming back to comment! And yes I agree, this recipe is very much for the biscuit challenged or if you just need something quick to make for dinner. Ha!
Tasted great.
Make sure you use a large enough pan.
I didn’t.
Butter dripped onto the bottom of the oven.
Smoked up the whole house.
Taste great. With a slight smoked flavor.
My husband is gluten free and I struggle to find tasty recipes because of the modifications. I used King Arthur’s gluten free bread flour specifically and it nailed it. Just need to add an additional 7 Tbsp of buttermilk. I am also high altitude so did 425 for 25 min and one less TBSP butter.
I am SO excited to have found a recipe that finally doesn’t make me feel cheated out of soft yummy fresh bread. This is a 20/10 and I can’t recommend enough especially for other gluten free bakers out there! ⭐️ ⭐️⭐️⭐️⭐️
TO…DIE…FOR!! Amazing and so easy!
These were a big hit! I’ve never been able to make a really good biscuit and to be honest, don’t really have the time with being a Mom and working two jobs. But sometimes you just want a yummy biscuit. This fit the bill. Thank you so much for helping me finally make a good but super simple biscuit I can make on a weeknight! I appreciate all you do!
This is my go-to biscuit recipe. I love it! Tonight I used it for a topping in my chicken pot pie casserole instead of the can of crescent rolls I forgot to get at the store . It was awesome! Never using the store bought stuff again. I only made 1 change, I actually put half of the melted butter (4TBSP) into the dough. Delicious
Are you saying you mixed the batter and poured it on top of chicken pot pie mixture? Or did you bake them first and THEN place them on top of the chicken pot pie mixture?
Excellent recipe and easy without all the normal mess! The biscuits keep well for several days! Thank you!!!
I have sneaked these in on my family for a few years now. No rolling for me…ever. I’ve just discovered the other “butter dip recipes because I lost my printed one. Strawberry dip here I come. Also the cinnamon rolls. I sub a cup of almond flour (Costco $) for white. You could do more. I appreciate this recipe.
My family devoured them .
Great!!!
My family loves these. I make them as often as I can for them. My 9×9 is very old & short so I use 7 Tbsp of butter because the butter flowed over the first time, it hasn’t flowed over since. I have doubled the recipe many times & it cooks the same as the regular recipe in a 9×13. I have used a slightly larger cake pan & the cook time is a few minutes less. When there are just 2 of us I have halved the recipe & baked in a loaf pan for approximately the same time, I just watch it closer. We never have any leftovers so I cannot tell you how they keep. Thank you for the quick easy recipe
I was going to ask about doubling it so thank you so much for leaving this comment!
Turned out fabulous – Canadian here – love your site and all your recipes. Thank you for all the work you put in!!
OMG…. I am never making any other biscuit recipe ever again. These were amazing. I accidentally used an 8×8 instead of a 9×9 but it still turned out in the same amount of time. So fluffy and wonderfully buttery crispy bottoms.
I have made these several times and they are delicious. I’m wondering if I can double the recipe and make it in a 9×13 pan without any hiccups?
You just have to be careful with that and keep an eye on them because you don’t want the outer edge ones to get done before the ones on the inside get fully done.
I am always cooking. my husband doesn’t like eating out so, it is me 24/7 in the kitchen. I am always open to something new even though I’m 66 and have been cooking for 50 years. I love cooking and I don’t have a rotation schedule because I make so many cuisines it depends on the feeling of the day.
All this said my husband is a “BREAD” guy. No matter what’s for dinner if their isn’t any I’m asked “didnt you make bread?”.
I made these last night to go with some some very meaty braised beef shins. they are inexpensive and really tender when braised and stewed. I braised then with onions and fresh garlic, added spices, red wine, seasoned beef stock and whole tomatoes w/juice. stewed 1½ hrs, then added potatoes, carrots and celery and cooked another 35 minutes.
i wanted biscuits with it but a little different and less work. I’ve wanted to made these for awhile now, and they were phenomenal. Why did I wait so long! Needless to say these are already printed and in one of my several large recipe notebooks. I keep my recipes printed that I make and use as I’m always being asked for it. They are all scanned into my computer so I can just hit print and they’ve got it.
i wrote all this because I am a very discerning cook, everything has to be just so. For me to have and post 5 stars it has to be awesome. Which they are. my husband snatched the last 2 this morning before I couldn’t even feed him.
Thank you for sharing your love of cooking. it is greatly appreciated as i know the work that goes into it.
I am in need of 2 knee replacements, complete Reconstruction of my L-spine and have 2 ripped biceps and a full thickness tear of one rotator cuff, plus riddled with pain. I don’t take any pain meds as I dont like the way they make you feel.
But I am blessed as I take care of my husband, house, farm, animals and grandsons (I keep them often and they always have their requests for meals before they get here) and I can still cook up a storm. It takes me much longer as I’m in braces to hold myself up.
Let’s all be grateful for the small things we have in our lives, they may seem small but are actually big blessing we take for granted ❤️
I admire your loyalty of cooking for your family. With the pain and medical condition that you’re in, you deserve a presidential wife award. I’m sorry you have this every day and I suppose making your family happy helps. Just know you have an admirer. I’ll try your shin recipe too. Wish you could go on FB with your recipes. I also keep a large box of printed ones. For when we have the big computer blackout. lol.
The best biscuits I have ever made in my life. And I am an expert baker and biscuit maker and these are the perfect biscuits. They taste great and so much easier to make. Ask any of my family members – I am the go-to guy for biscuits so I know what. I’m talking about.
Omg. These biscuits are heaven. I followed the recipe exactly. My cooking time was a little less give or take 5-10 minutes. Made sure to use a toothpick to check that it was cooked through. I thought to myself as I took a bite from a fresh hot biscuit, that these were some of the best damn easy biscuits I’ve ever had. 10/10 WILL be saving this and making again.
Call these heaven biscuits instead seriously.
Yay!! Thanks so much!! I love hearing that!
I’ve been using your recipe for YEARS! It’s the only way I make them thank you!
Made 6 batches for my firehouse. They ate them all. It was requested to now be a regular for our dinners. Thanks Brandie from a bunch of grateful firefighters in Michigan
This is a 10 star recipe. They should be illegal they’re so good. Easy fast & delicious.
I have always been terrible at making biscuits! Made this exactly to your instructions and they were SO FLIPPING GOOD! OMG! My family ate them all! LOL
Best biscuits ever! Tender, flavorful and so easy! Huge hit at the church potluck
Yummy! I don’t have a lot of patience for making biscuits so these were perfect! My husband and sons ate all of them lol.
Honestly, same. Ha! I hardly ever cut out biscuits anymore unless maybe it’s the holidays. This is just too easy. Thank you so much for commenting – it really makes my day to read when a recipe was successful!
What size baking dish do you recommend if I half the recipe? Also, what would the cooking time be?
Hi Caryn, I’ve only ever made it this way. All I can say is do what I do and experiment. I would absolutely hate for anyone to waste ingredients because I wrongly informed them
Thanks for answering my question. I’ve made these many times and they are delicious! My husband says they’re the best biscuits he’s ever eaten. I just wanted to make a smaller batch since it’s just the 2 of us. I’ll take your advice and experiment.
Please let me know how it goes! I am absolutely thrilled you love this one!
I used a 6″ x 5″ for half a recipe and cooked at the same rate