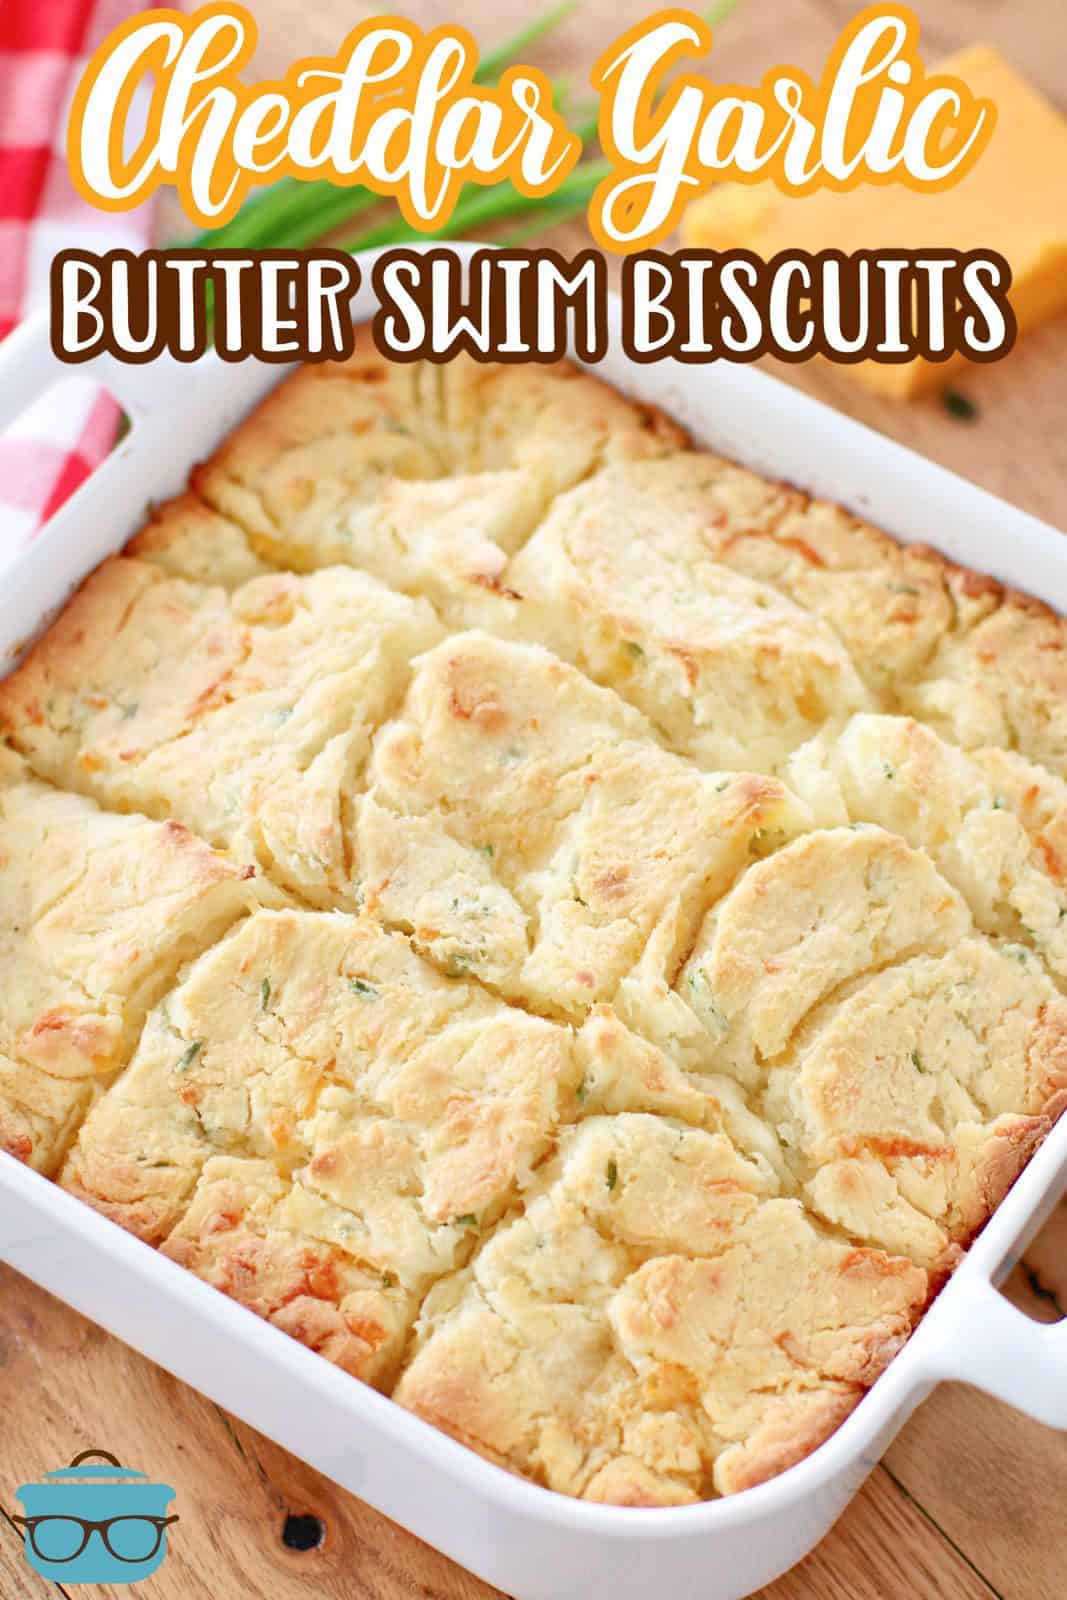
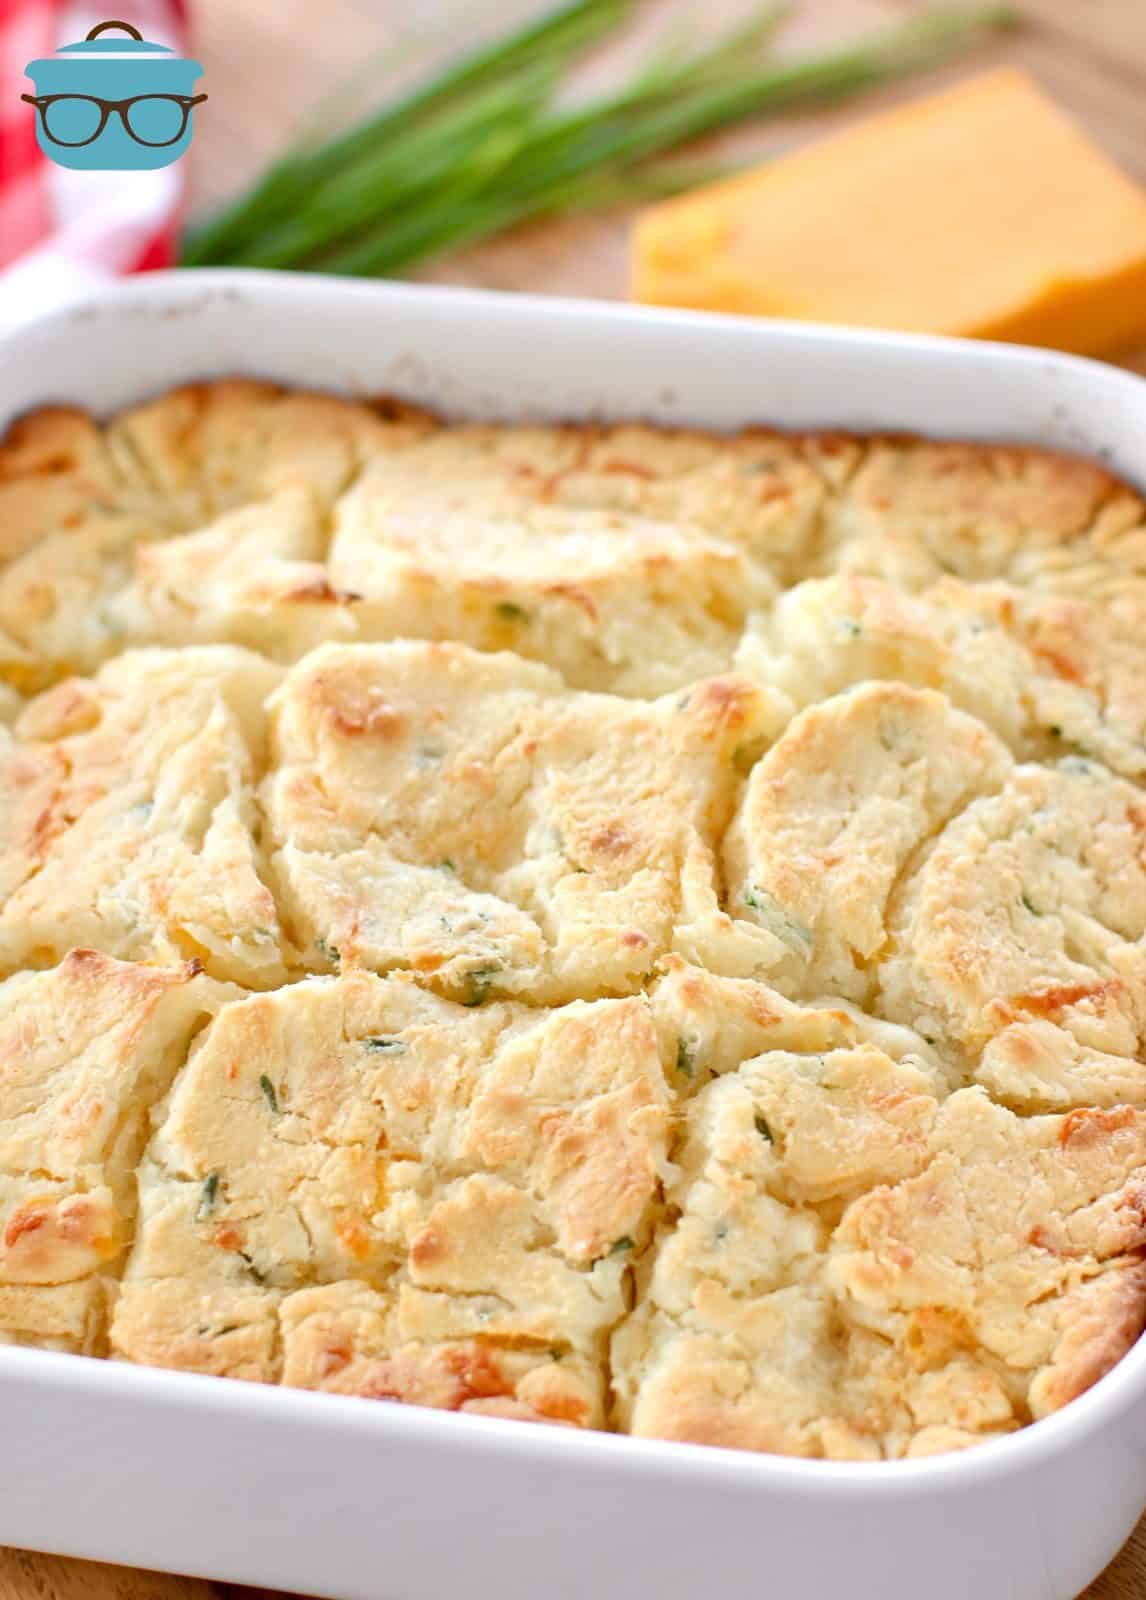
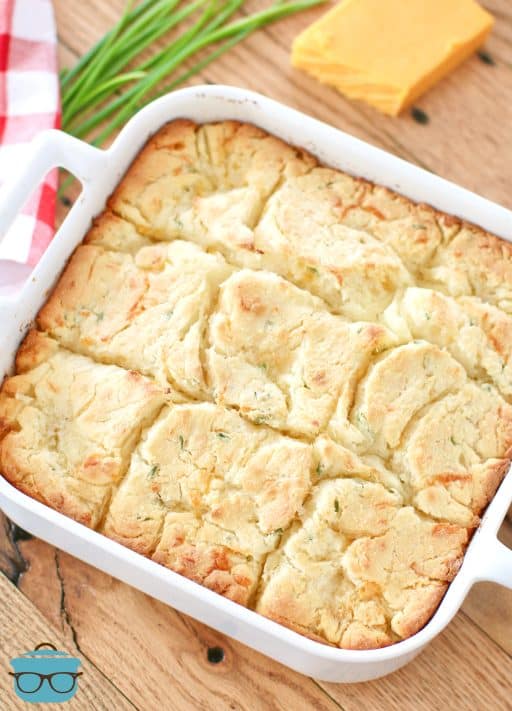
Cheddar Garlic Butter Swim Biscuits
Cheddar Garlic Butter Swim Biscuits (a.k.a. Butter Dip Biscuits) are incredibly fluffy and flavorful but so easy to make since you don’t even need a biscuit cutter!
Cheddar And Garlic Butter Dips
If you are a fan of Red Lobster’s Cheddar Bay Biscuits then you are really going to love this recipe I created! You don’t even need a biscuit cutter. This is a super easy and fast way to make those fluffy cheddar and garlic biscuits. These Cheddar Garlic Butter Swim Biscuits are based off my super popular recipe for Butter Dip Biscuits (a.k.a. Butter Swim Biscuits). For this version, I just added some cheddar cheese, garlic powder and chives!

Frequently Asked Questions:
Yes. You could certainly use an 11×7-inch or 9×13-inch but the biscuits will be thinner. You will have to adjust your baking time as well for that adjustment.
You can substitute with milk. Just make sure it is a higher fat milk (not skim). Or you can make your own buttermilk: the ratio is one tablespoon of vinegar or lemon juice to one cup of milk. Stir well and allow it to sit for 5-10 minutes until thickened.
No. Only real butter works in this recipe. Any margarine or butter substitute (like plant butter) won’t work properly with this recipe. It has to be real butter – no substitutes. Again, there are so few ingredients in this recipe that each one is vital to the success of the recipe.
I don’t recommend metal. Only because metal can get very hot, very quickly and the edges of your biscuits might get burned while you’re still waiting on the inside of your biscuits to get done.
Honestly, I do not drink, cook or bake with anything other than cow’s milk so I honestly cannot say but I personally would not recommend it. However, if you try it, please let me know!
I’ve never tried it so I can’t say. I think you could but you would need to add more buttermilk since whole wheat flour is more dense than traditional winter wheat. If you do, please let me know how it turned out for you!
Technically you do not need to. I just like to make doubly sure that the biscuits will not be sticking anywhere in my baking dish. So don’t worry if you don’t have any nonstick spray. This recipe works without it.
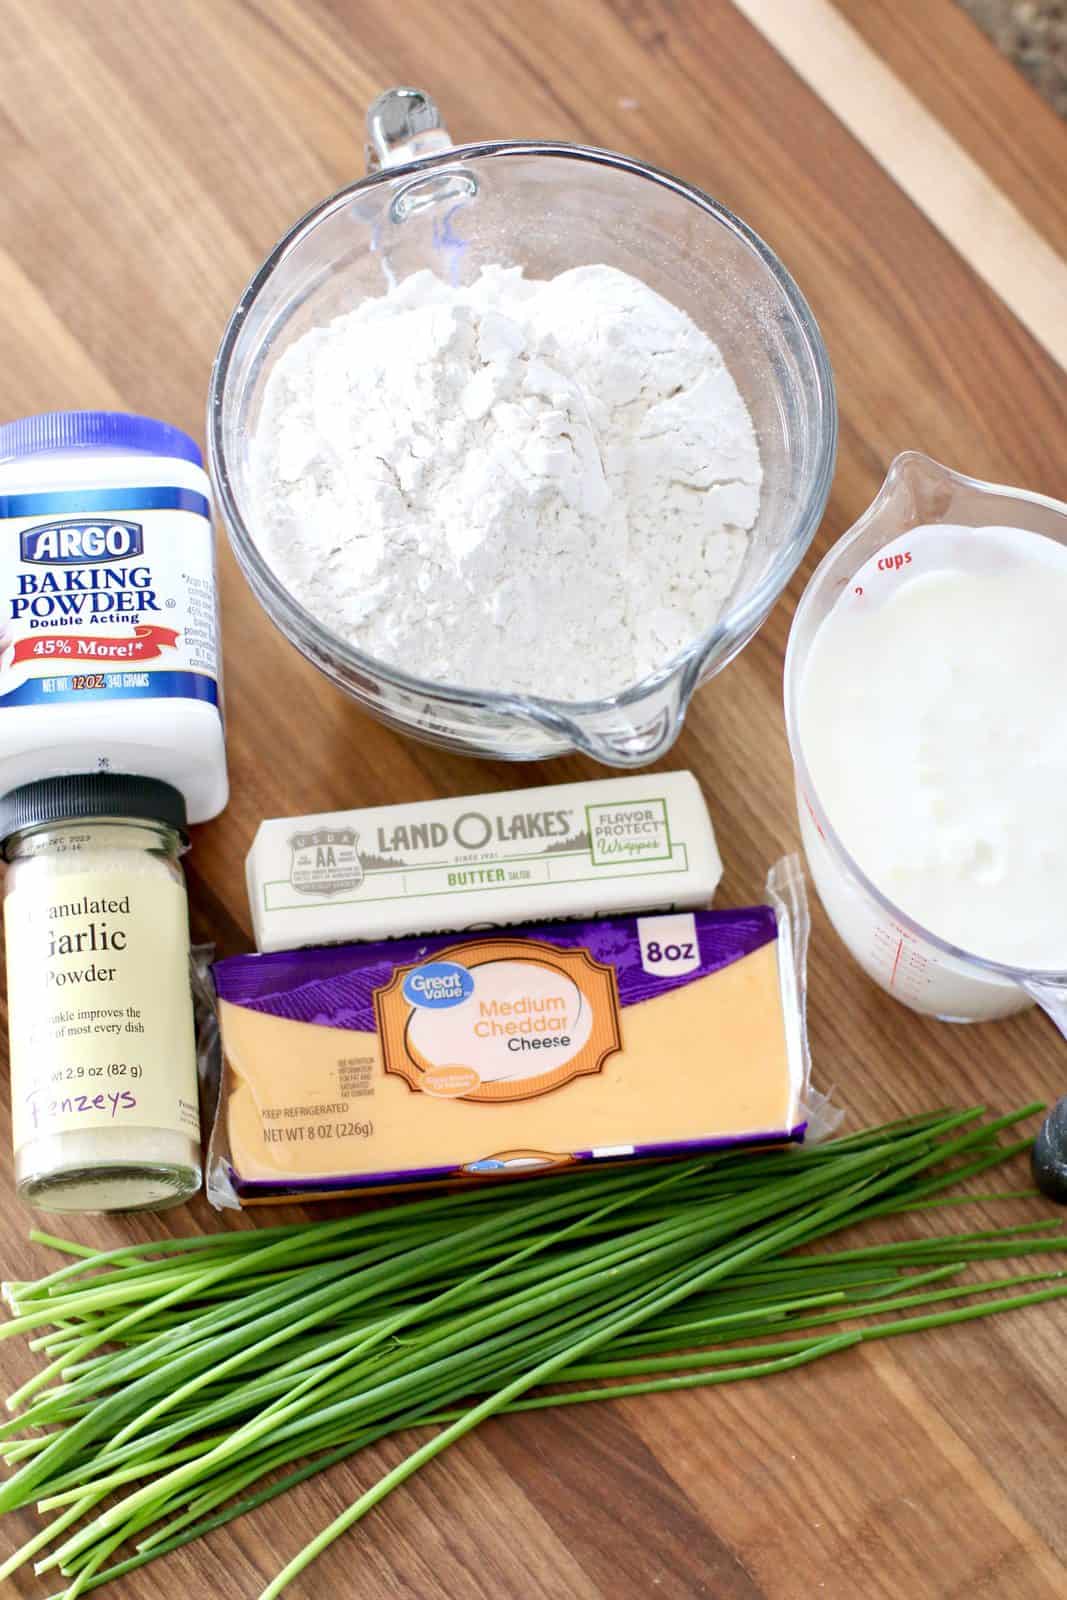
Ingredients Needed: (See Recipe Card Below For The Full Recipe)
- salted butter – if you are sensitive to salt, you could certainly use unsalted butter here.
- all-purpose flour – you do not need to sift the flour first but it is recommended you measure using the dip and scoop method then leveling it off with the flat part of the knife to get an accurate measurement. Don’t cram your measuring cup with flour or you’ll end up with too much flour and the biscuits will end up dry.
- granulated sugar – I have not tried this with sugar substitutes. Also, you don’t taste the sugar in this recipe, it just adds a nice little counterbalance to the salt and buttermilk. You can leave it out if you really want to.
- aluminum-free baking powder -this is a personal preference and you can just use what you’ve (I talk about this in more detail in my FAQ above).
- garlic powder – I have not tried this with fresh or jarred garlic. I think the garlic powder distributes more evenly in the batter so I would stick with it.
- buttermilk – I know it’s tempting to only want to use milk and not go to the store for buttermilk but I need you to trust me on this. Buttermilk just doesn’t add flavor, it adds moistness which makes these biscuits turn out with a wonderful texture. Don’t skimp! The only acceptable substitute would be heavy cream but if you must use milk, just know they won’t turn out exactly the same.
- shredded cheddar cheese – you can use pre shredded or shred it fresh yourself and you can use other cheese flavors that you might like.
- fresh chives – this is optional, you can use dried chives too (about a Tablespoon).
How To Make Cheddar Garlic Butter Swim Biscuits
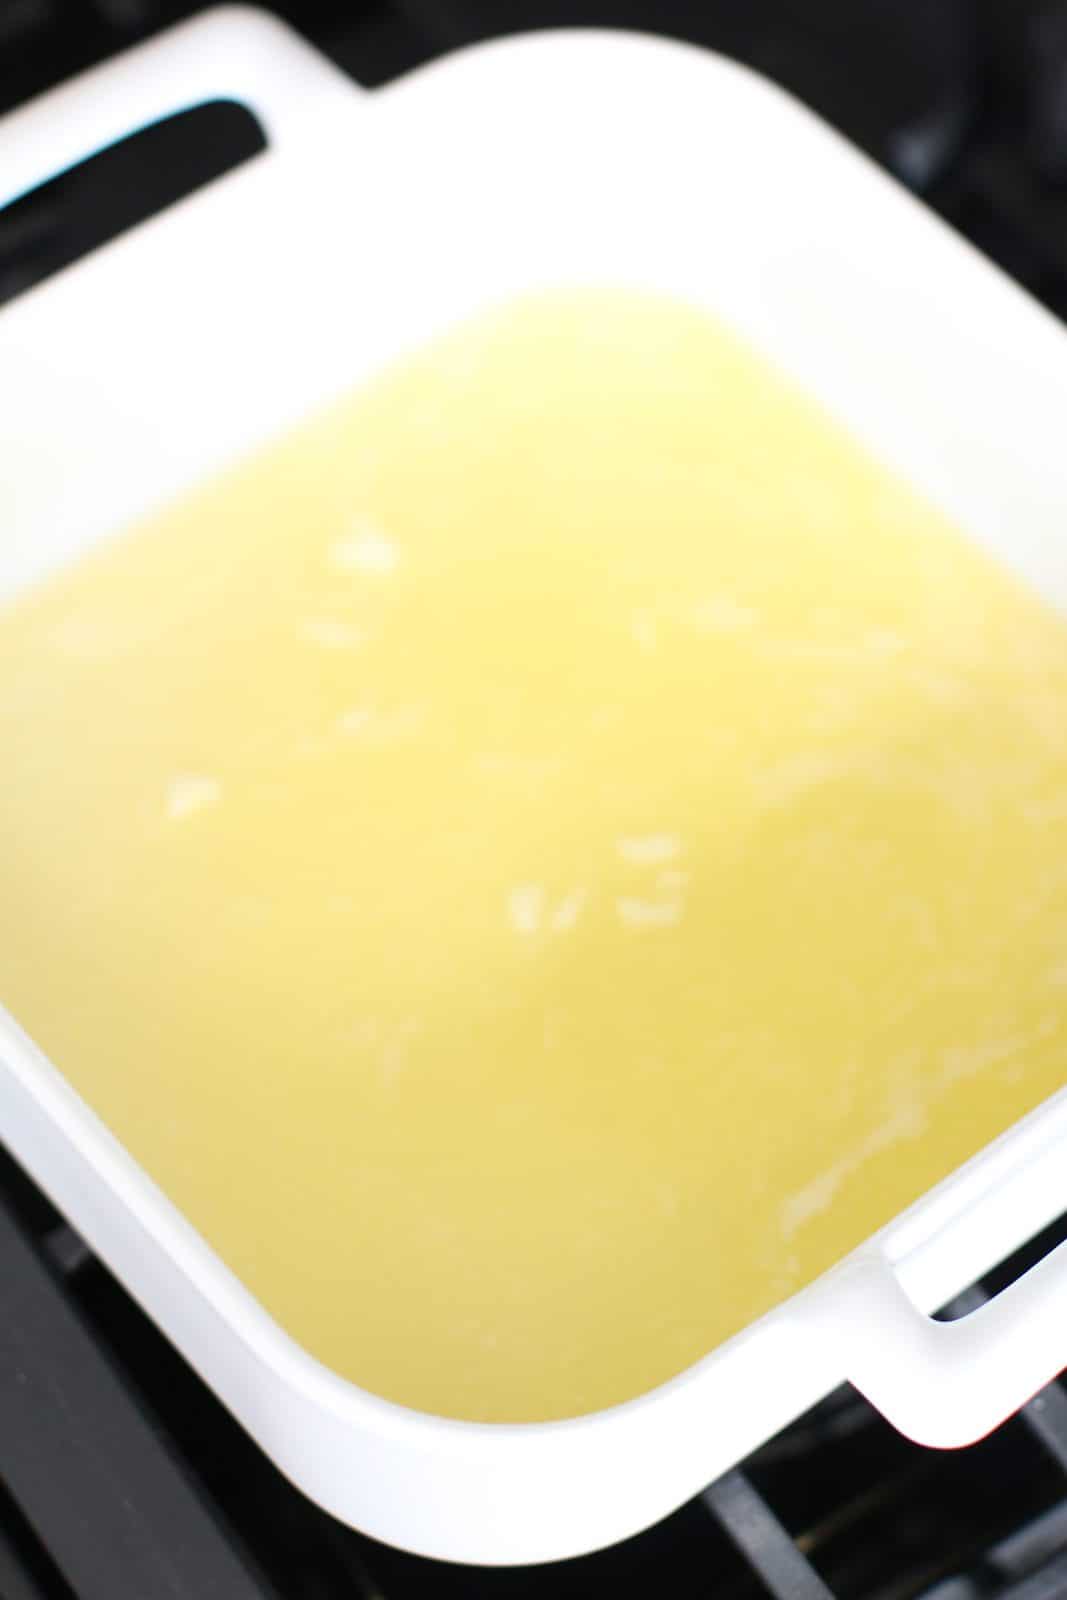
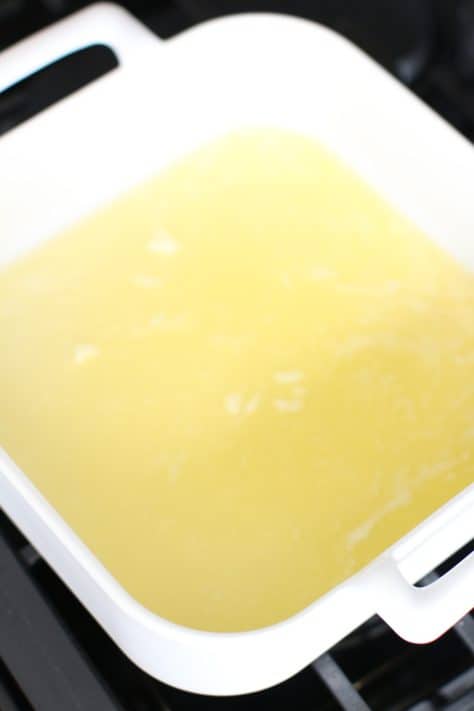
Preheat oven to 450F degrees. Spray a glass or ceramic 8×8-inch or 9×9-inch baking dish with nonstick cooking spray (I like the kind with flour in it). In a microwave-safe bowl, melt stick of butter in the microwave. Pour melted butter into prepared baking dish.
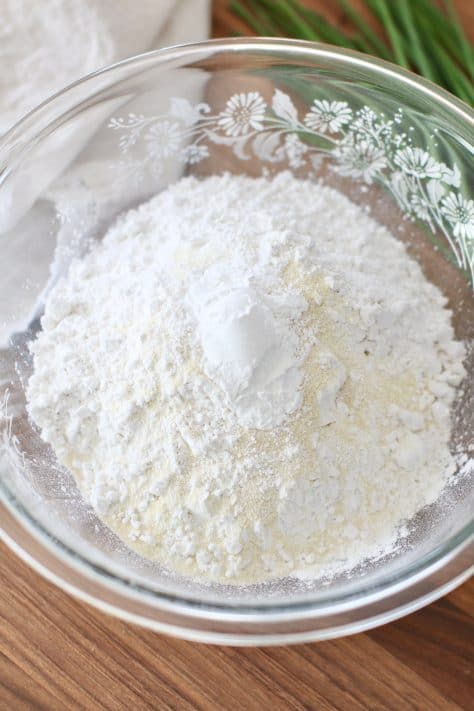
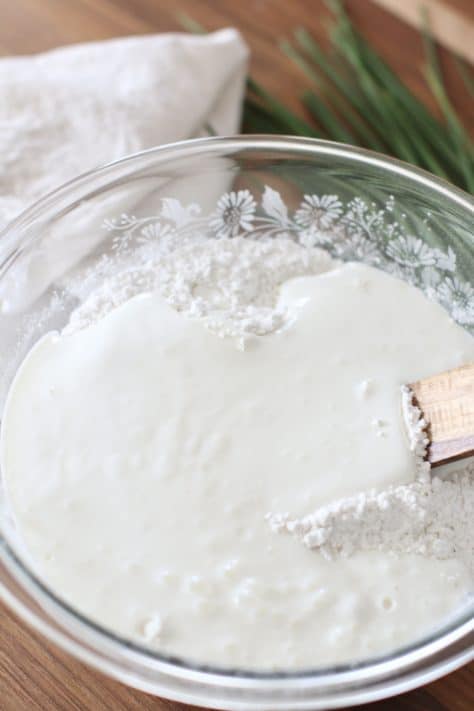
In a medium bowl, mix together the flour, sugar, baking powder, salt and garlic powder.

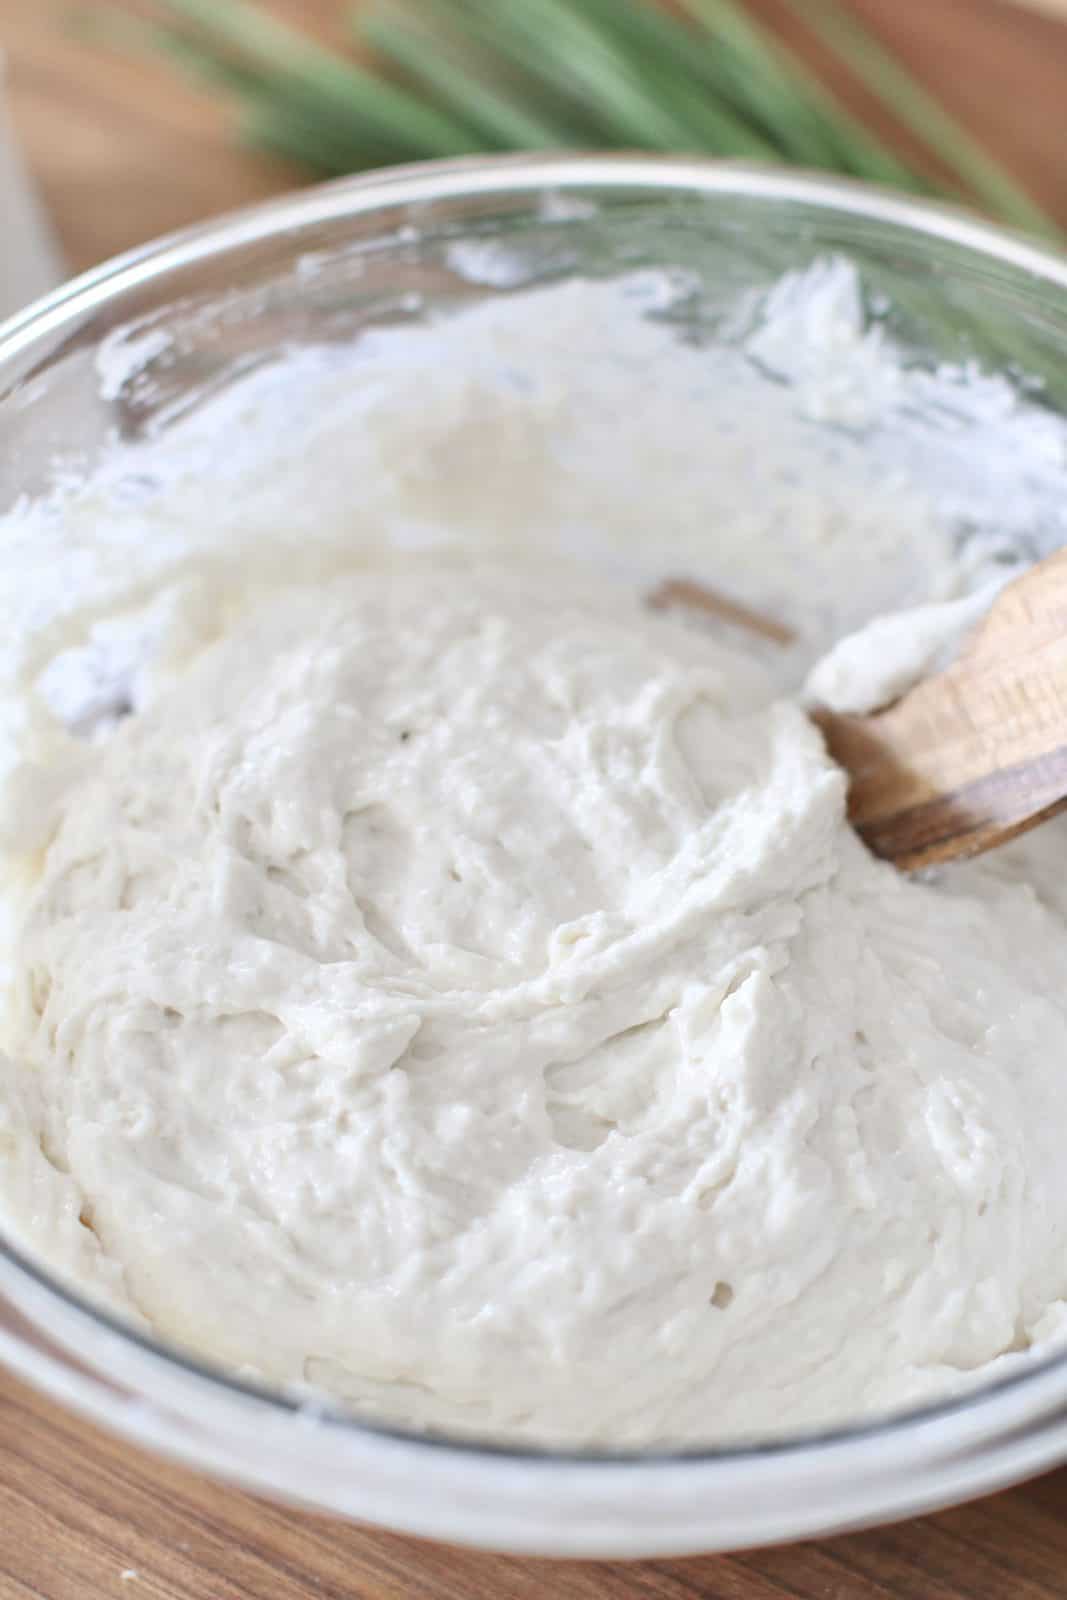
Pour in the buttermilk. Stir until a sticky batter forms.
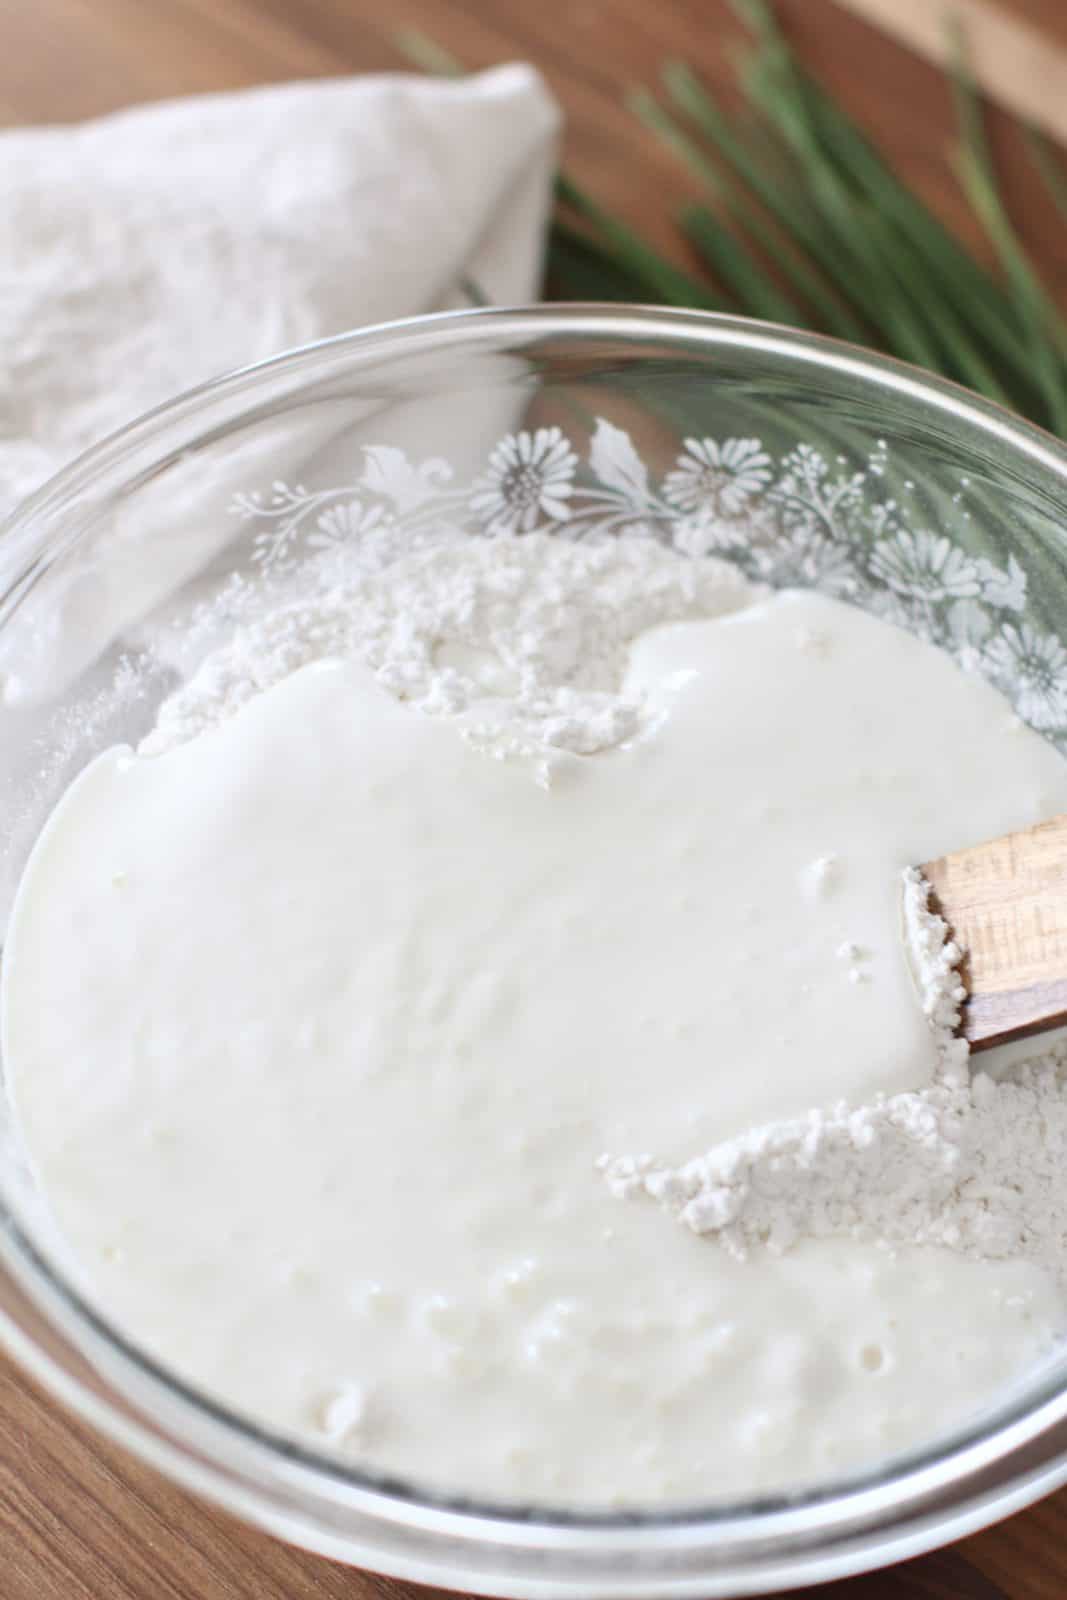
If batter still seems too dry add a tad bit more buttermilk until the batter is thick and sticky.
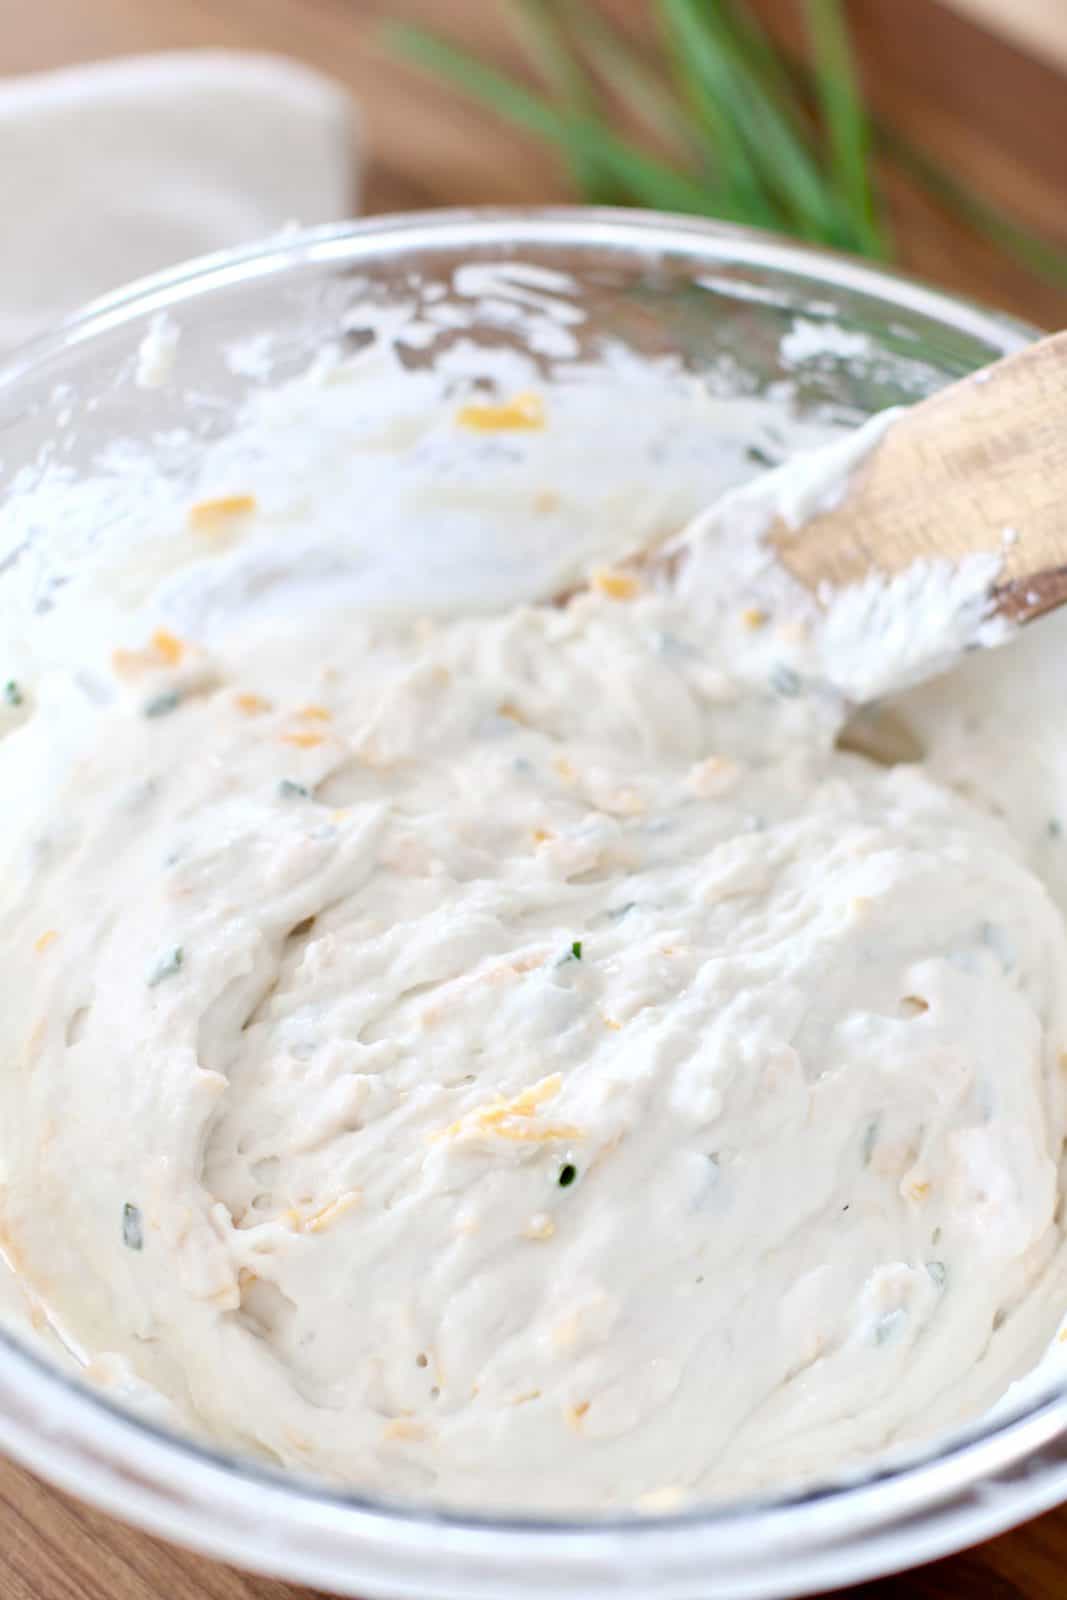
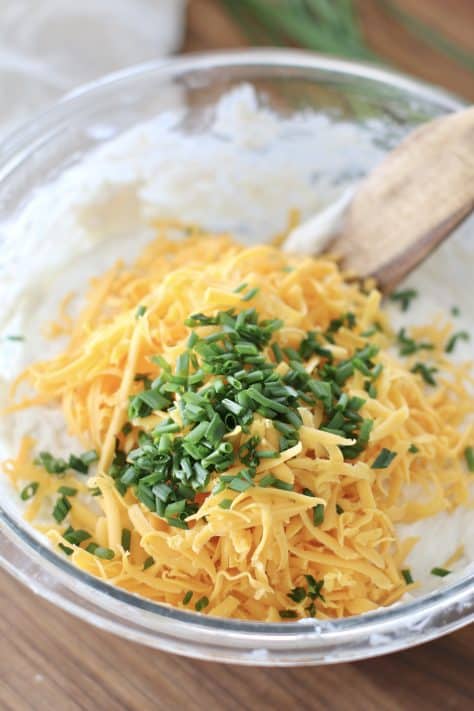
Add in the shredded cheddar and chives.

Stir gently until combined.
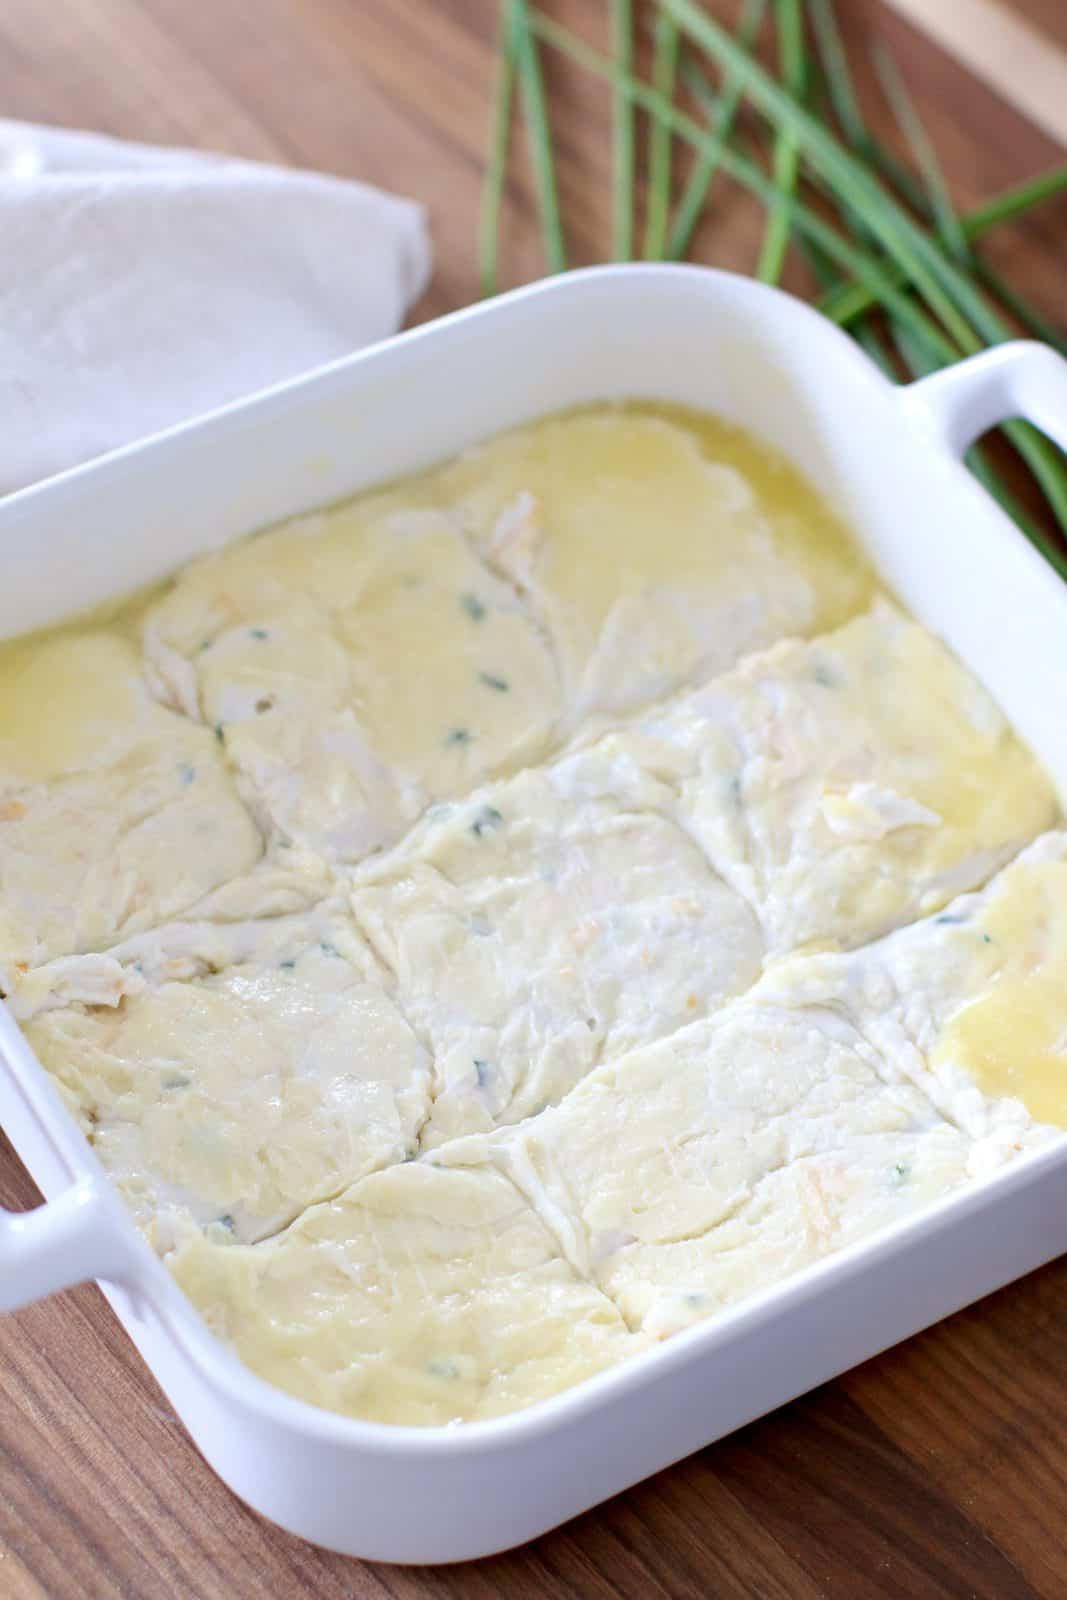
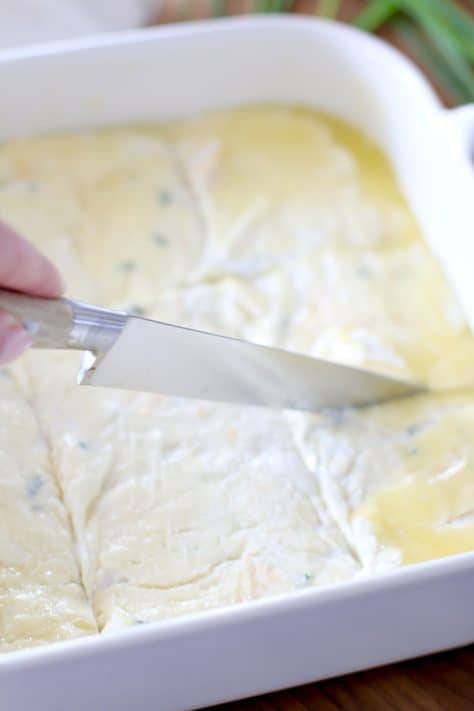
Pour biscuit dough into baking dish (right on top of the melted butter.) Some of the butter will run over the top of the dough. Tip: I will spray my hand with some nonstick spray to help spread the dough out evenly in the pan.
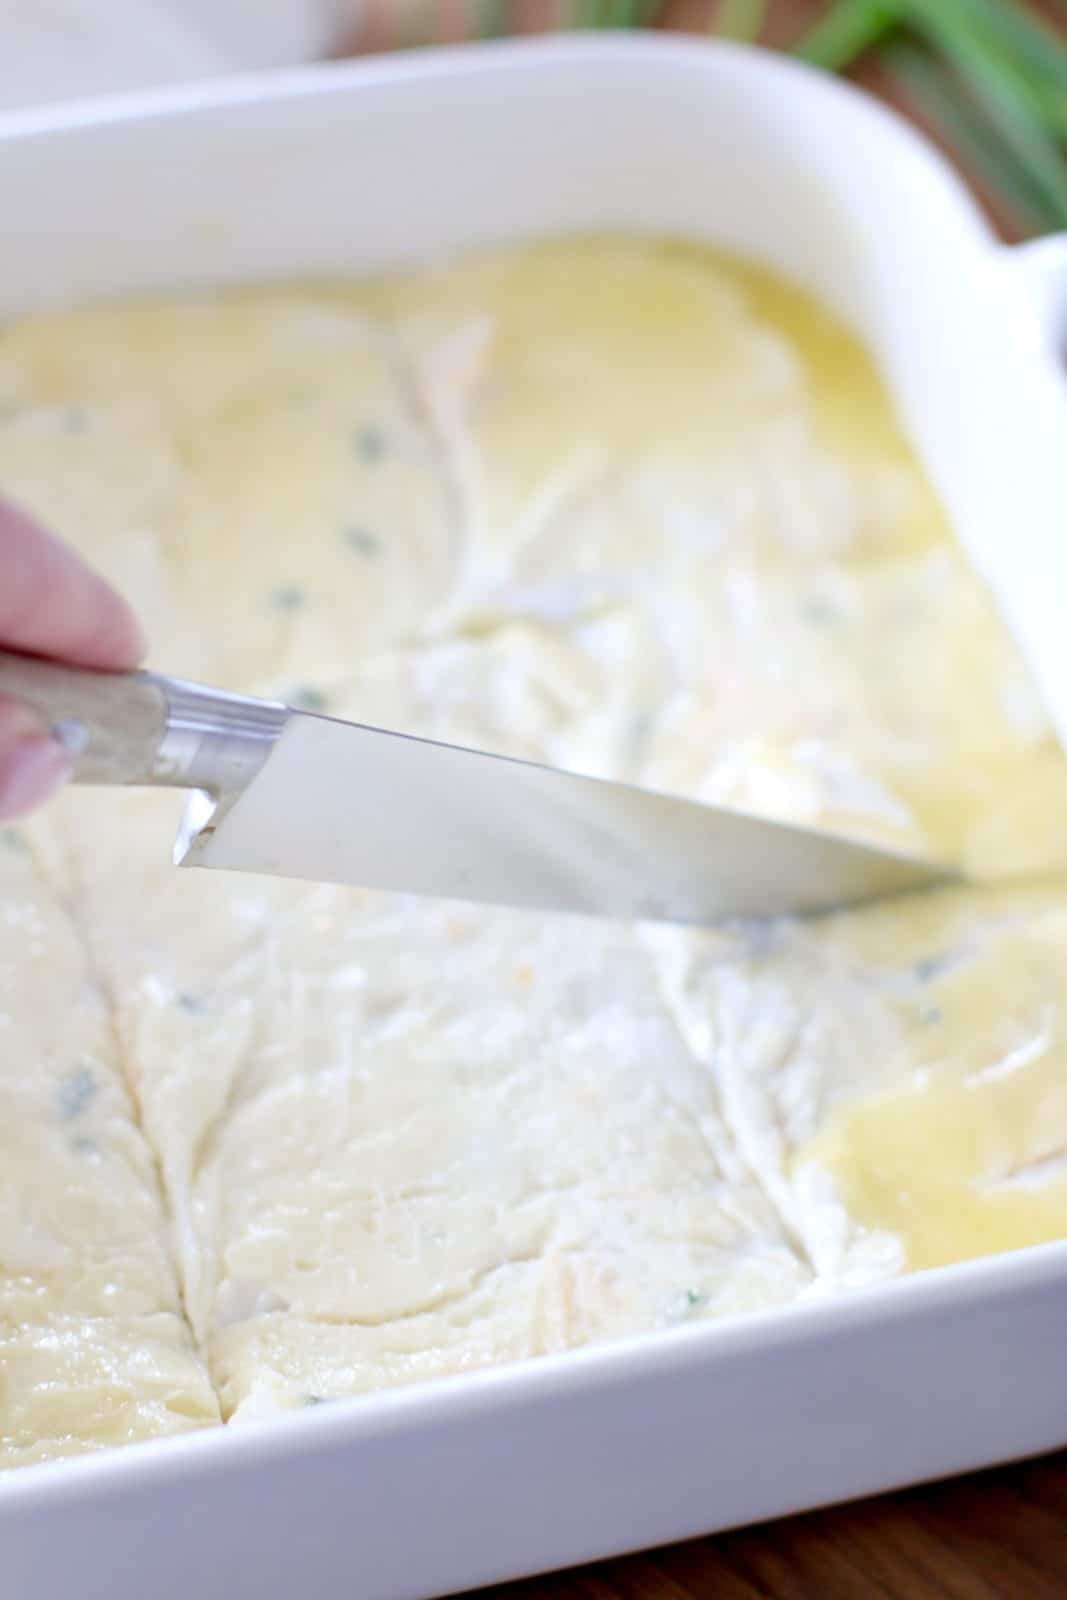
Cut the dough into 9 squares (as best you can). This will help with cutting later when the biscuits are baked.
Bake (on the middle oven rack) for about 25-30 minutes, rotating dish once during baking.
Oven times DO VARY since different ovens have different hot spots, but basically biscuits should be golden brown on top and spring back to the touch. Insert a toothpick into the center. If it comes out clean with no batter, they are done! Also, if you love this recipe, definitely need to try making them sweet like in my Blueberry Butter Swim Biscuits!
Craving More Butter Swim Biscuit Recipes?
- Original Butter Swim Biscuits
- Strawberries and Cream Butter Swim Biscuits
- Peach Butter Swim Biscuits
- Cinnamon Sugar Butter Swim Biscuits
- Bacon Cheddar Ranch Butter Swim Biscuits
- Blueberry Butter Swim Biscuits
- Butter Swim Yeast Rolls
- Beer Bread Butter Swim Biscuits
- Garlic Butter Swim Biscuits
- Sweet Potato Butter Swim Biscuits
- Jalapeno Popper Butter Swim Biscuits
- Cinnamon Roll Butter Swim Biscuits
- Breakfast Butter Swim Biscuits
- 7Up Butter Swim Biscuits
- Air Fryer Butter Swim Biscuits
- Apple Pie Butter Swim Biscuits
- Ham and Cheese Butter Swim Biscuits
- Sausage Gravy Butter Swim Biscuits
- The Best Butter Swim Biscuit Recipes
Cheddar Garlic Butter Swim Biscuits
Ingredients
- 2 ½ cups all-purpose flour
- 1 Tablespoon granulated sugar
- 1 Tablespoon aluminum-free baking powder
- 2 teaspoons salt
- 2 teaspoons garlic powder
- 1 ¾ cups buttermilk (you may need 2 cups)
- 1 cup freshly shredded cheddar cheese
- ¼ cup finely chopped fresh chives (optional)
- ½ cup (1 stick) salted butter
Instructions
- Preheat oven to 450F degree (yes, that is the correct temperature). Spray an oven safe glass or ceramic 9×9-inch baking dish with nonstick cooking spray (I like the kind with flour in it).
- In a medium bowl, mix together 2 1/2 cups all-purpose flour, 1 Tablespoon granulated sugar, 1 Tablespoon aluminum-free baking powder, 2 teaspoons salt and 2 teaspoons garlic powder.

- Pour in 1 3/4 cups buttermilk buttermilk. Stir until a sticky batter forms. If batter still seems too dry add a tad bit more buttermilk until the batter is thick and sticky.
- Finally, gently stir in 1 cup freshly shredded cheddar cheese and 1/4 cup finely chopped fresh chives. Gently stir until combined well.
- In a microwave-safe bowl, melt 1/2 cup (1 stick) salted butter in the microwave. Pour melted butter into prepared baking dish. Note: you can melt the butter directly in the baking dish if you want (as long as it is not a metal dish – I don't recommend using metal for these biscuits anyways).
- Pour biscuit dough into baking dish (right on top of the melted butter.) Some of the butter will run over the top of the dough. Tip: I will spray my hand with some nonstick spray to help spread the dough out evenly in the pan.
- Cut the dough into 9 squares (as best you can). This will help with cutting later when the biscuits are baked.
- Bake (on the middle oven rack) for about 25-30 minutes, rotating dish once during baking.

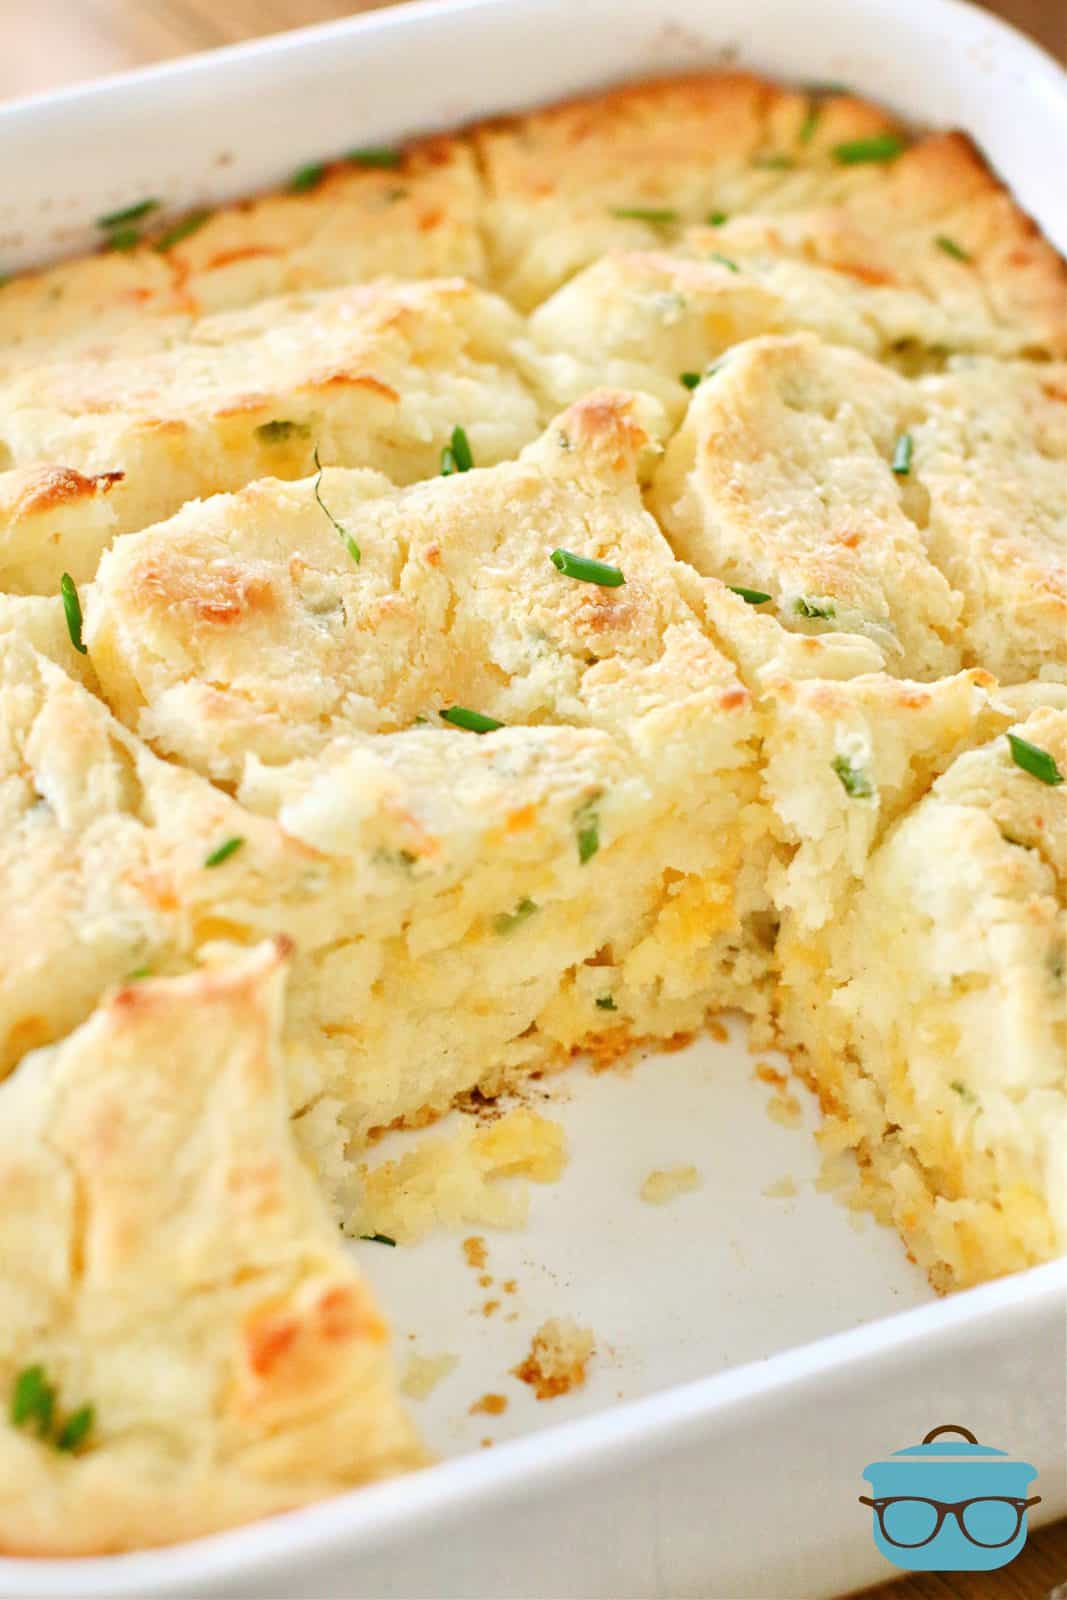
- Oven times DO VARY since different ovens have different hot spots, but basically biscuits should be golden brown on top and spring back to the touch. Insert a toothpick into the center. If it comes out clean with no batter, they are done! Slice and serve!

Video

Notes
- Please refer to my FAQ’s and ingredient list above for other substitutions or for the answers to the most common questions.
- Please note, oven times do vary. The factor depends on many things like if you have an electric, gas or convection oven. It also changes depending if you use a metal pan (not recommended) versus ceramic or Pyrex. It also varies depending on which oven rack you use. A toothpick inserted should not have any wet batter on it. Start with the lowest baking time and go up from there. Use your best judgement based on your own personal knowledge of your particular oven.
- I recommend using a glass (Pyrex) oven safe baking dish.
Nutrition
Nutritional Disclaimer
“The Country Cook” is not a dietician or nutritionist, and any nutritional information shared is an estimate. If calorie count and other nutritional values are important to you, we recommend running the ingredients through whichever online nutritional calculator you prefer. Calories and other nutritional values can vary quite a bit depending on which brands were used.


These were FANTASTIC! Making biscuits has always intimidated me. NOT anymore! Looking forward to trying the blueberry soon!
That makes me so happy Marsha! Thank you!
I do these in a cast iron skillet and it is fabulous
Thanks so much Joe!
OMG these are SO good and ridiculously easy. No rolling out or cutting – absolutely genius!! I am going to make all of your butter biscuits now!
Hi Brandie! Would it be possible to cut back on the amount of salt used in this recipe, say the same amount as in the original recipe for the Butter Swim Biscuits? These sound divine, and I’d love to make them, but I have to follow a low sodium diet for health reasons. Thank you!
Hey Deanne! Of course, please tailor this to your dietary needs. If you need less salt, then please use less salt. It does change the taste of course but your health matters more! 🙂
Thank you so much, Brandie!!! Adding some to my meal plan!!!
I think you are REALLY going to love these Deanne!
why can’t you just drop spoonfuls of the batter side by side across pan,, instead of spreading it in pan, then cutting? just curious if that would work?
Have you ever used Buttermilk powder which is added to the dry ingredients with water added with the wet ingredients? I have success using it in other recipes (e.g. banana bread) that call for buttermilk and always have it on hand when I don’t have liquid buttermilk. Do you think it would work with any of these butter swim recipes? Thank you.
Hey Sue! No I’ve never tried it with this style of biscuits. If you give it a try, I’d love to know how it turns out for you!
These are a favorite at our house. I make 1 and one half the recipe for a 9×13 pan. Thank you for sharing this recipe.
I made these. I like the simple technique. But I have an older relative that can not do that much butter. I don’t always have time to make old fashioned flaky, layered biscuits like grandmother. Would this method work if I only coated the bottom of the pan with 1-2 Tablespoons of butter like making brownies? Thank you
You could certainly try though I’ve never done it. Let me know if you give it a go!
Sorry to bother you again Brandie, but I only have 2 square pans that are not metal. Can this recipe be doubled and baked in a 9×13 and if so, any adjustments to bake time? I am probably going to have to triple or even quadruple this recipe for Easter. Thanks for the help!
This can be doubled for a 9×13 but I couldn’t tell you a cook time since I haven’t tested it myself. It’s obviously A LOT more dough so you’d have to play it by ear really with it. 🙂
Thanks so much Brandie! I’m sorry to take up so much of your time-you’ve been great to answer my questions. I’m going to play it safe and see how many non-metal square pans I can borrow! Maybe sometime when I am not depending on feeding so many people, I will try this in a 9×13 and let you know the outcome.
Ha – totally understand! Always happy to help!
Half a cup sounds like a lot of chives!
Good catch! It’s supposed to be 1/4 cup!
These look amazing! I was thinking of making butter dip biscuits for Easter but this ups the game! I have never made butter dip biscuits but I do have a question-is there a reason why you use aluminum free baking powder? Is it a personal choice or would regular baking powder work?
Thank you Vickie! You certainly don’t have to use aluminum free but my tastebuds are supersensitive to the aluminum in a lot of baking powders so I prefer to use an aluminum free version but if you are not sensitive to that taste then just use what you have 🙂
Thanks Brandie! These are going on the Easter menu!
Hope you really love this one Vickie – it makes your house smell amazing while they bake!