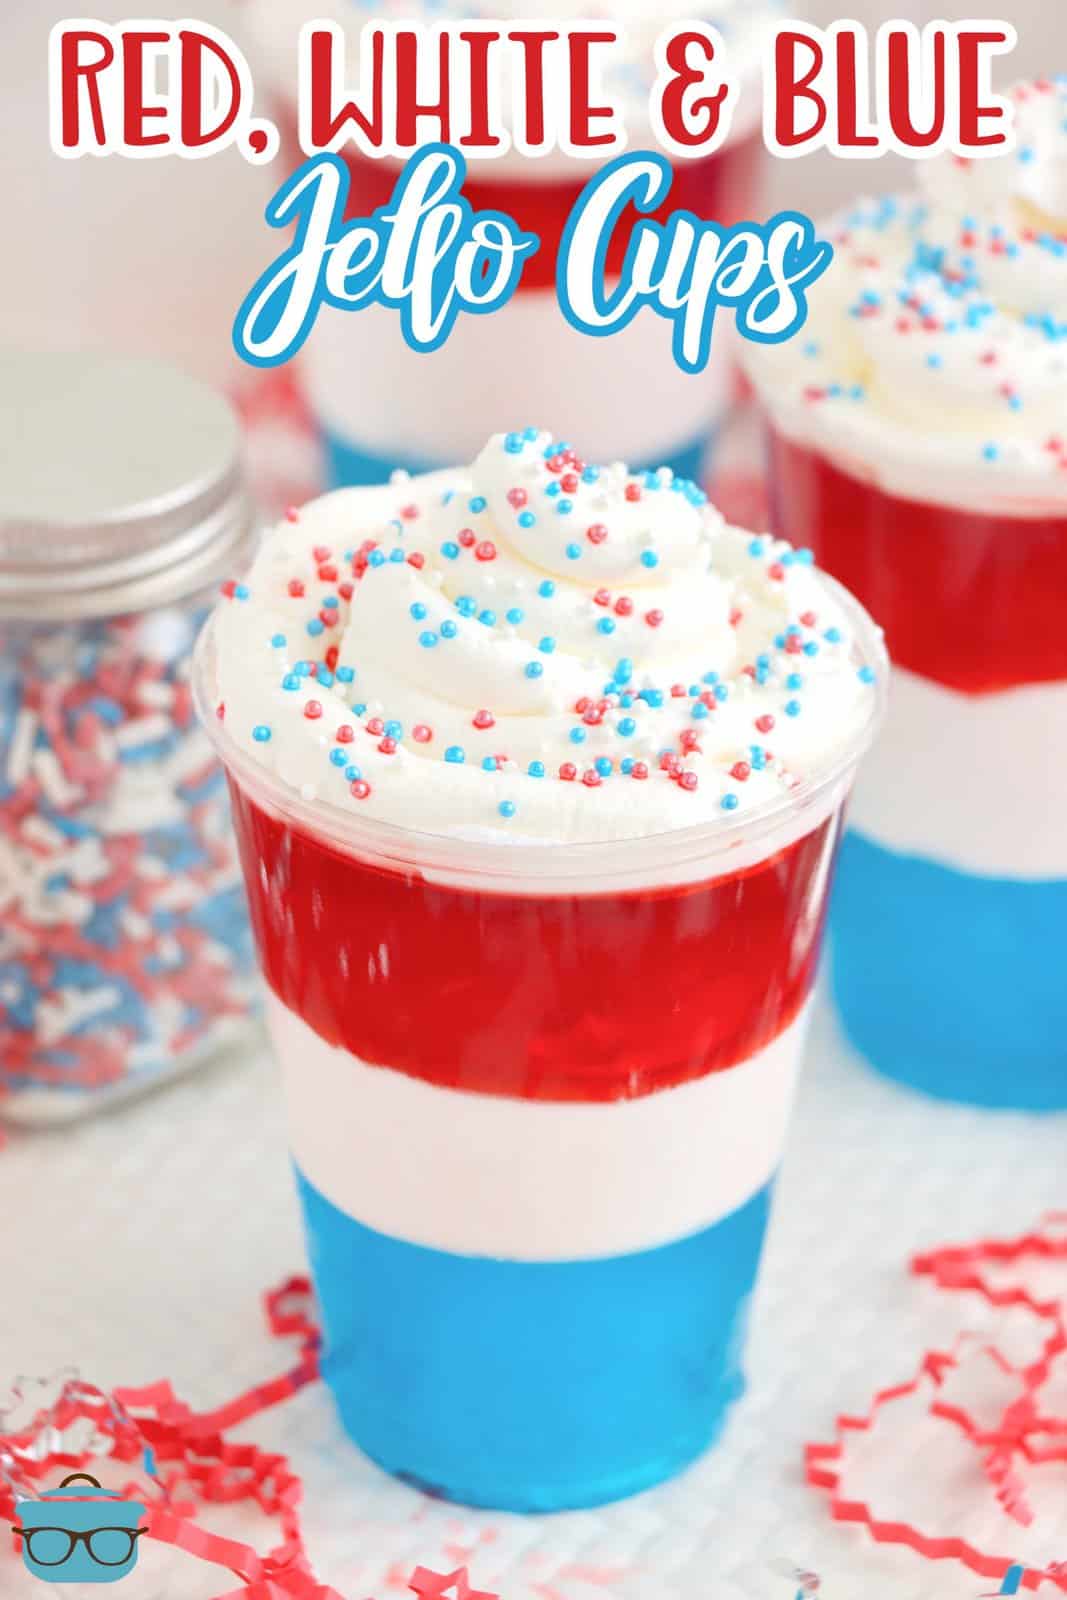
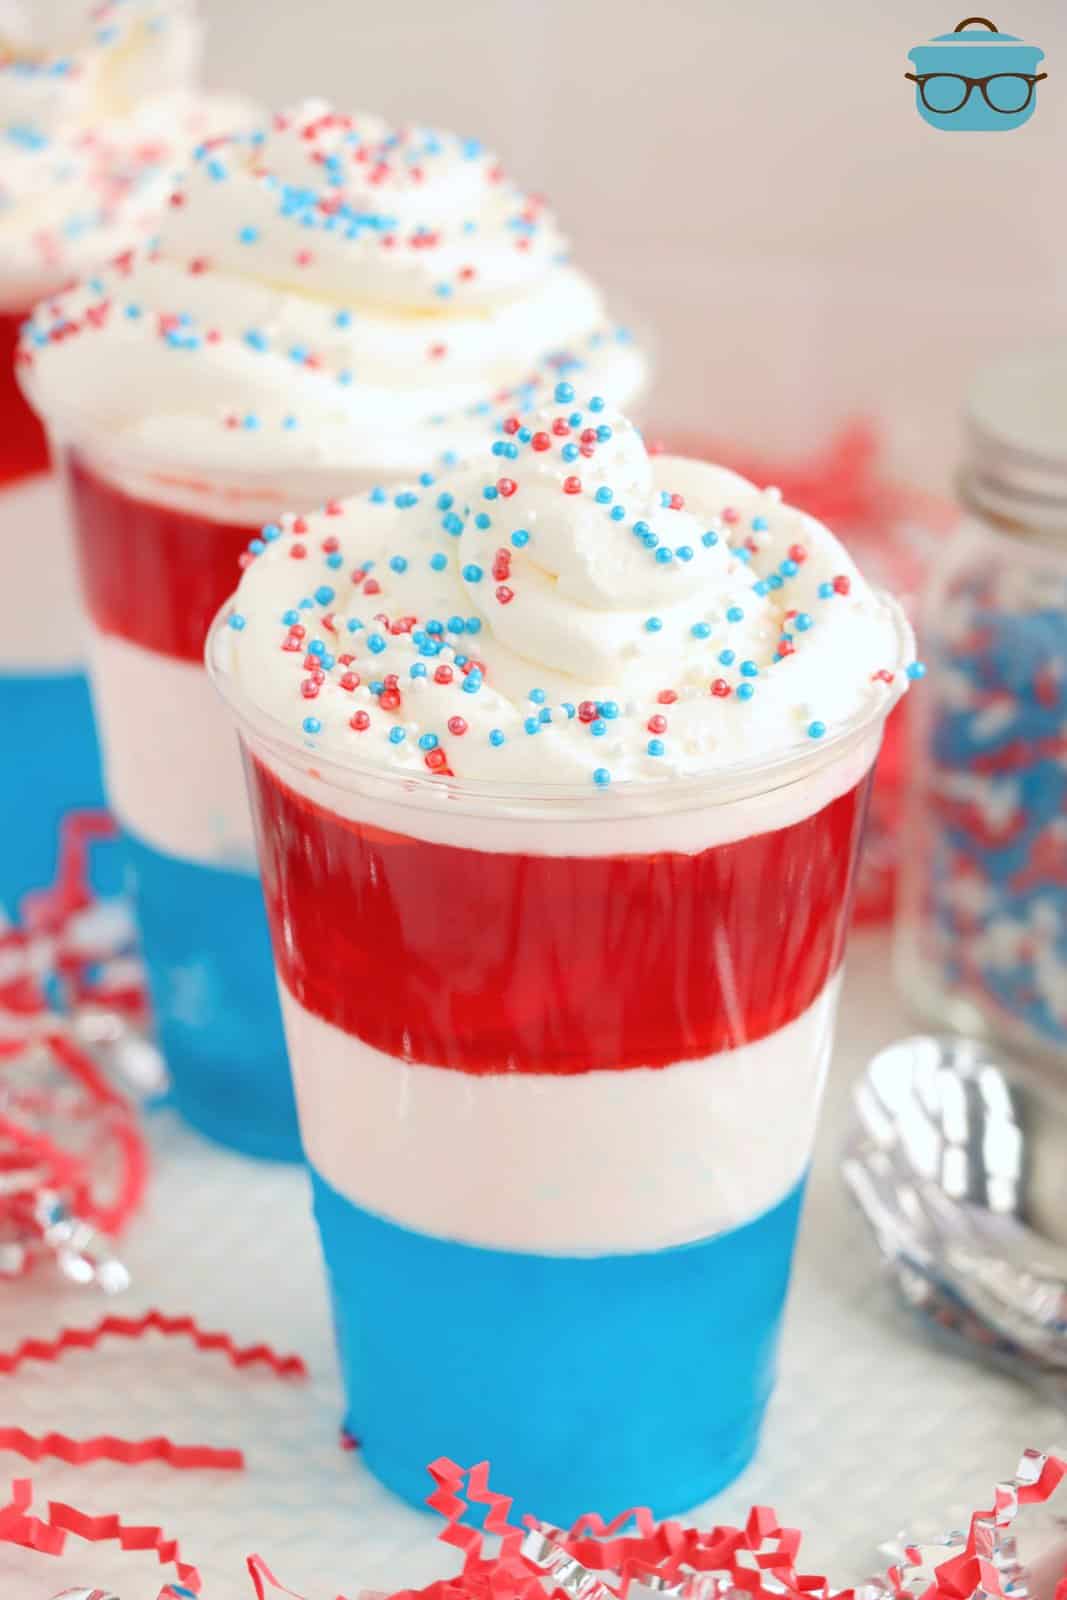
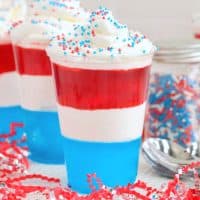
Red, White and Blue Jell-O Cups
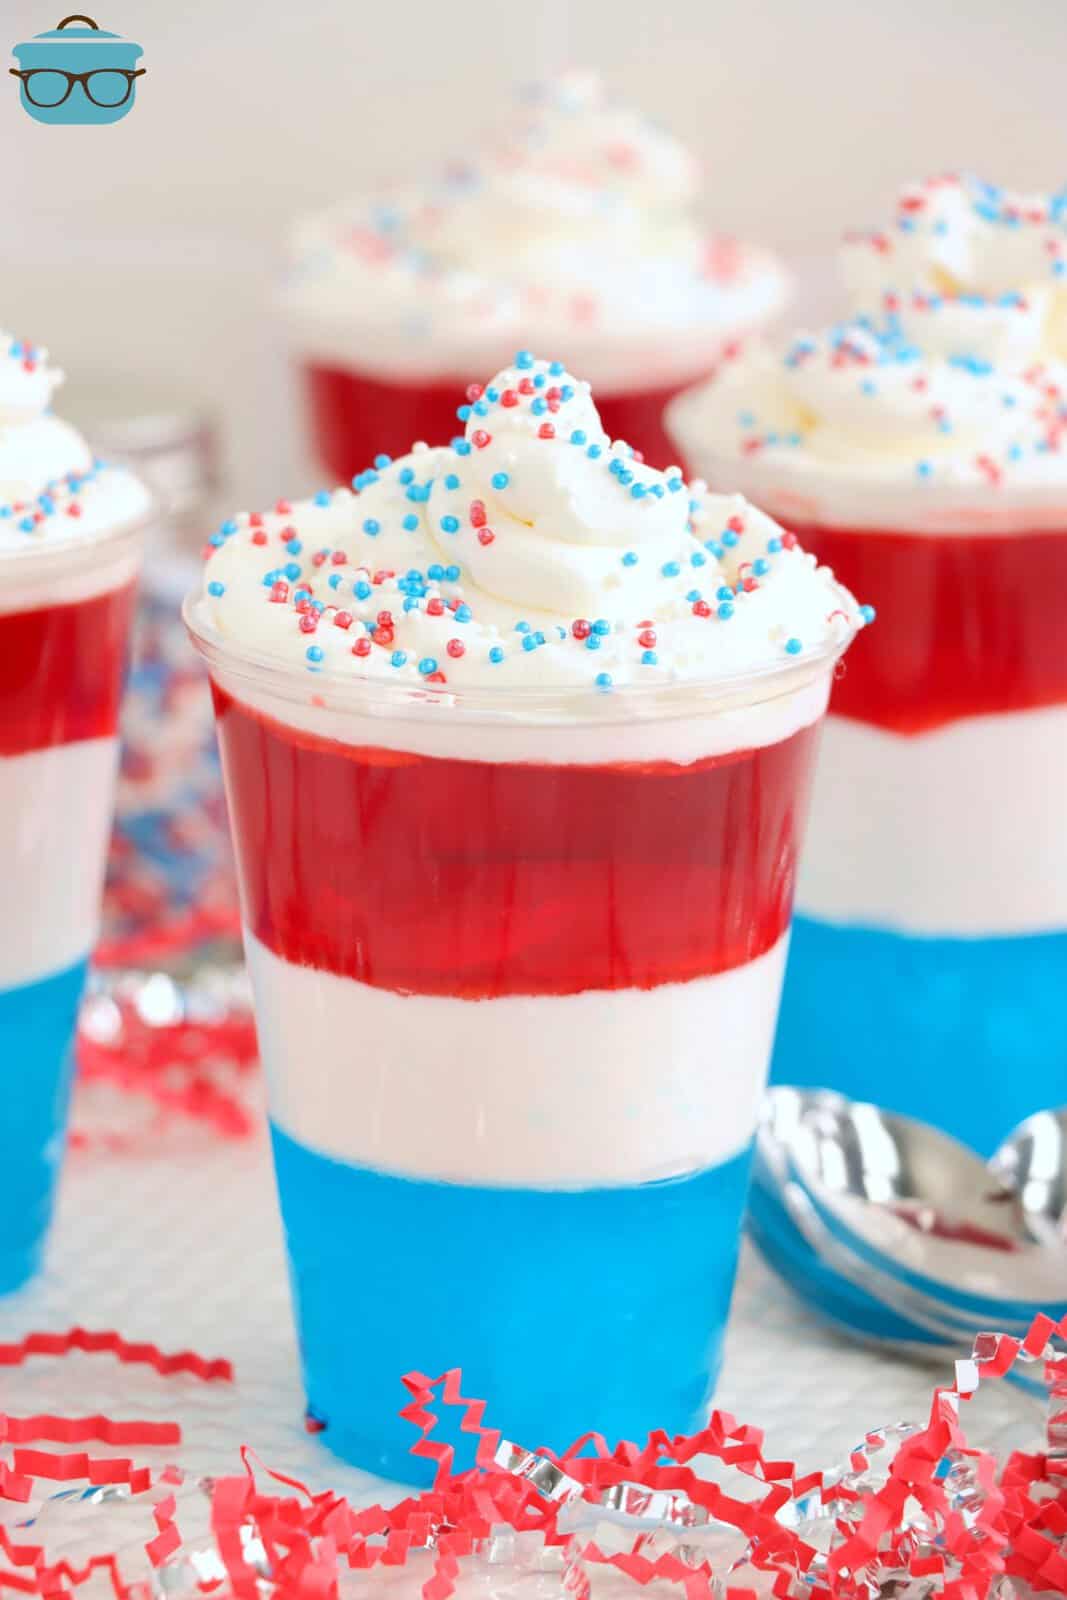
These Red White and Blue Jell-O Cups are perfectly layered and only require just a handful of ingredients. They’re so easy to whip up too and perfect for Independence Day!
A LAYERED 4TH OF JULY DESSERT
These Red, White, and Blue Jell-O Cups are so simple to make and are perfect for any patriotic holiday! Layers of red, white, and blue Jell-O create a beautiful striped cup that is sure to wow at your next 4th of July celebration. Everyone loves some jiggly Jell-O and the flavor combination of these sweet Jell-O combined with the Cool Whip in the middle creates a light and refreshing dessert that you can make together with your kids! And you don’t even need to turn on the oven!
FREQUENTLY ASKED QUESTIONS:
These are 9 ounce cups, but you can use other sizes if needed. These would be fun to make in 4 ounce cup sizes for little ones.
Sure thing! The easiest way to do this is by using a smaller cup. This recipe uses 9 ounce cups, so if you used smaller cups, you’d get twice as many jello cups without having to double the recipe.
You can always double the recipe if needed. Or you can even use 6 ounce cups if you just want a few more than what you’re going to normally get.
Yes, but since this is a red, white, and blue Jell-O cup recipe, I’d try to make sure whatever flavor you choose will still work with the theme.
Absolutely! If you don’t want to use Cool Whip, you can make your own using your favorite recipe.
These are best enjoyed when you make them. If not enjoying right away, you need to refrigerate them (and cover them with a lid or plastic wrap). If you leave these in the fridge for too long, the Cool Whip may start to change the Jell-O texture. So, I’d suggest enjoying these the same day, or waiting to assemble until you’re ready to enjoy them. I don’t recommend freezing them.
INGREDIENTS NEEDED: (SEE RECIPE CARD BELOW FOR THE FULL RECIPE)
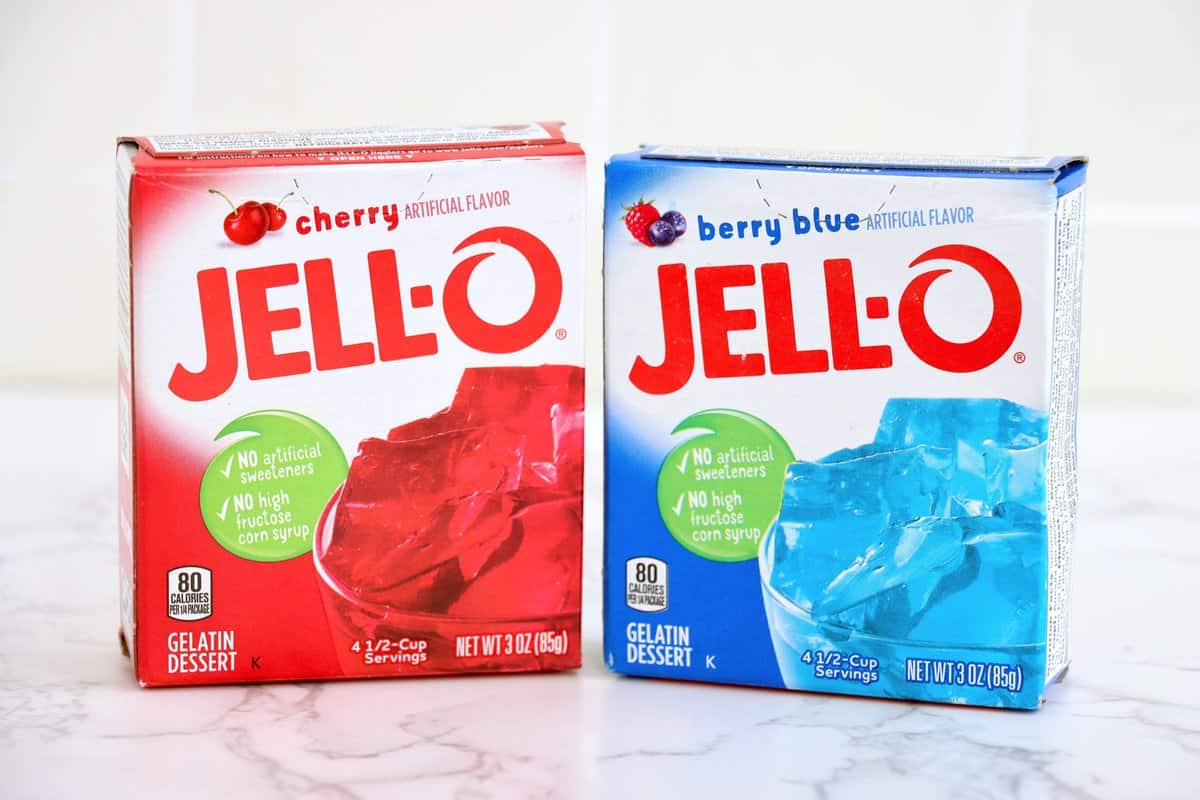
- Berry Blue Jell-O – see my ingredient image below so you know what to look for. It is the only blue colored Jell-O that I am familiar with.
- Cherry Jell-O -you could also use strawberry if you prefer that flavor.
- boiling water – you need boiling water to help activate the Jell-O
- cold water – just like the boiling water, the cold water with the boiling water helps to activate the Jell-O.
- Ice cubes – this is for the “speed set” method (you can see this on the back of the Jell-O box) to help you set up a bit faster.
- whipped topping – if you’ve never purchased whipped topping before (also called Cool Whip), you will find it in the frozen dessert section of the grocery store. You will need to thaw it before using. Don’t thaw it on the counter. Put it into your refrigerator overnight before using.
- sprinkles, for garnishing (optional) – I think the red, white and blue sprinkles really set these off but some folks don’t like the crunchy with the smoothness of the Jell-O so use your judgement here.
HOW TO MAKE RED WHITE AND BLUE JELL-O CUPS
First, make sure you have enough room in the refrigerator to fit all 6 of these Jell-O Cups. I like to put mine on a baking sheet for easy moving. Next, prepare Berry Blue Jell-O according to the package directions. I used the Speed-Set Method (directions are also on the back of the Jell-O Box) with ice cubes to prepare this faster. Dissolve gelatin mix in 1 ½ cups boiling water. Add ice to 1 cup cold water to make 2 ½ cups. Stir into gelatin until thickened then remove any unmelted ice. You can also use the traditional method, although it will make this process just a bit longer.
Transfer Jell-O to a bowl or large measuring cup with a spout or use a turkey baster to distribute Jell-O evenly among each of the 6 clear (9 ounce) plastic cups. Place cups in the refrigerator for 1 hour or until set to the touch.
When ready, spoon whipped topping evenly amongst all 6 cups (on top of the blue Jell-O layer). Be sure to save some of the whipped topping to top your cups with later. Gently shake to level the whipped topping layer.
Place cups in the freezer for 1 hour or until whipped topping is firm to the touch. Prepare Cherry Jell-O as you did the Berry Blue Jell-O using the fast set method. Dissolve gelatin mix in 1 ½ cups boiling water.
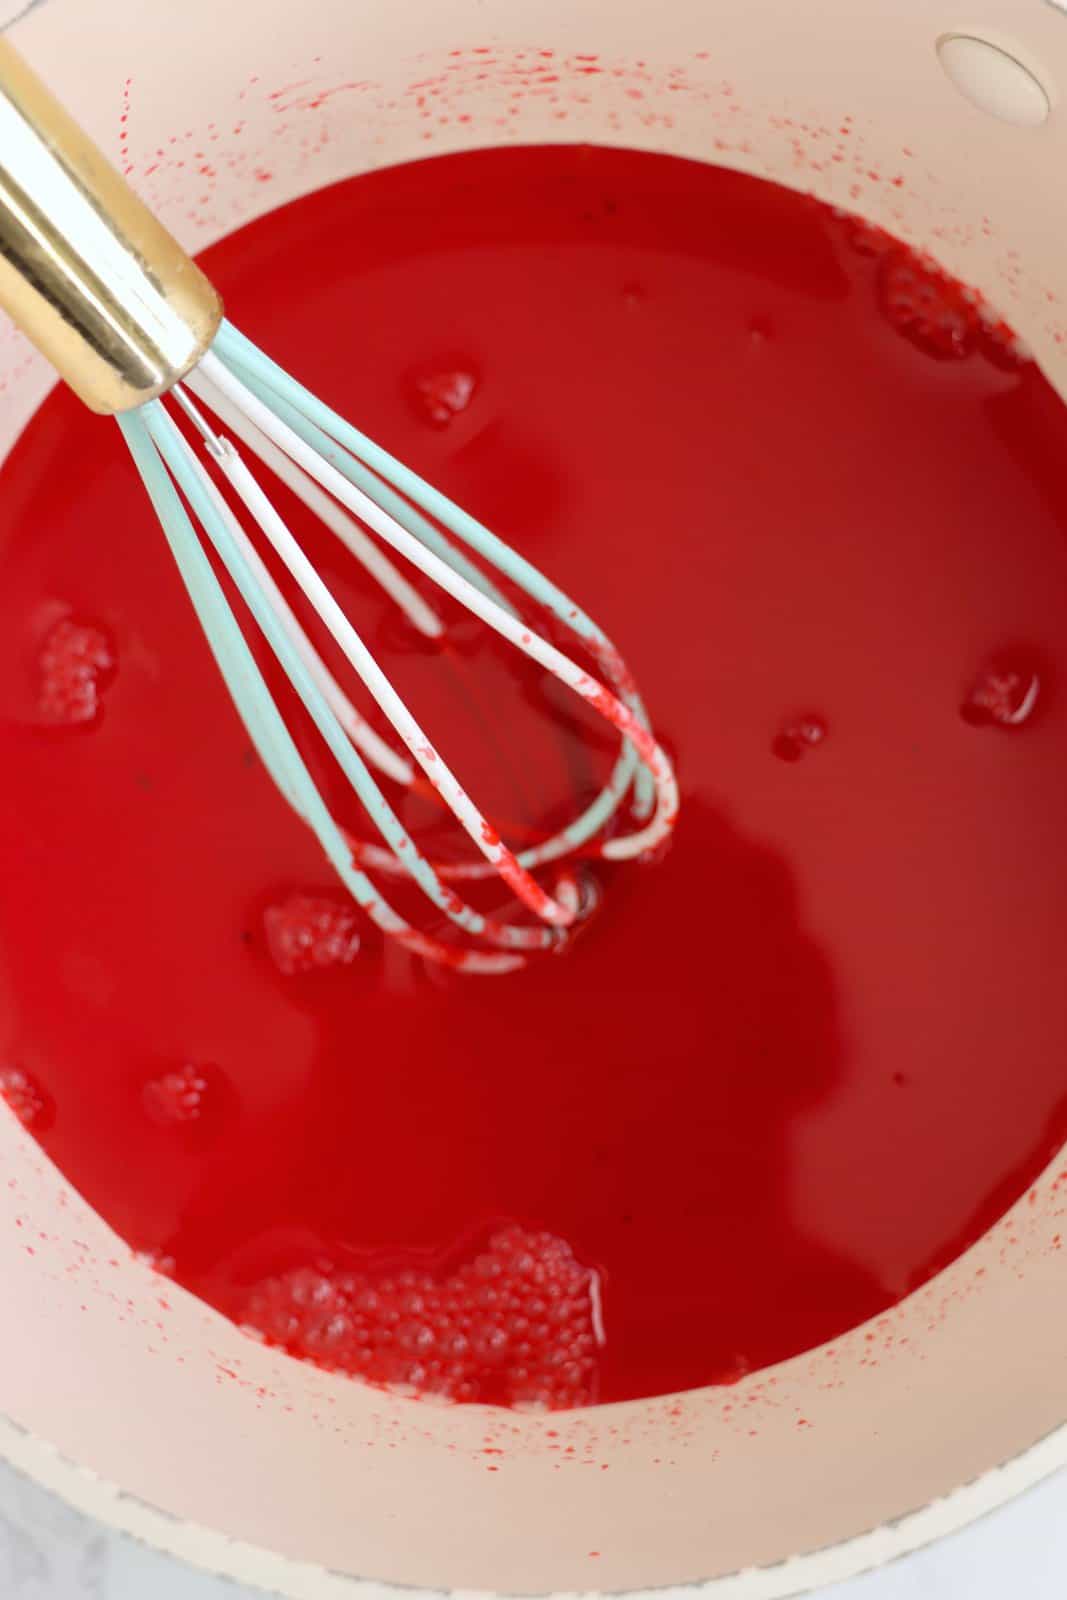
Add ice to 1 cup cold water to make 2 ½ cups.
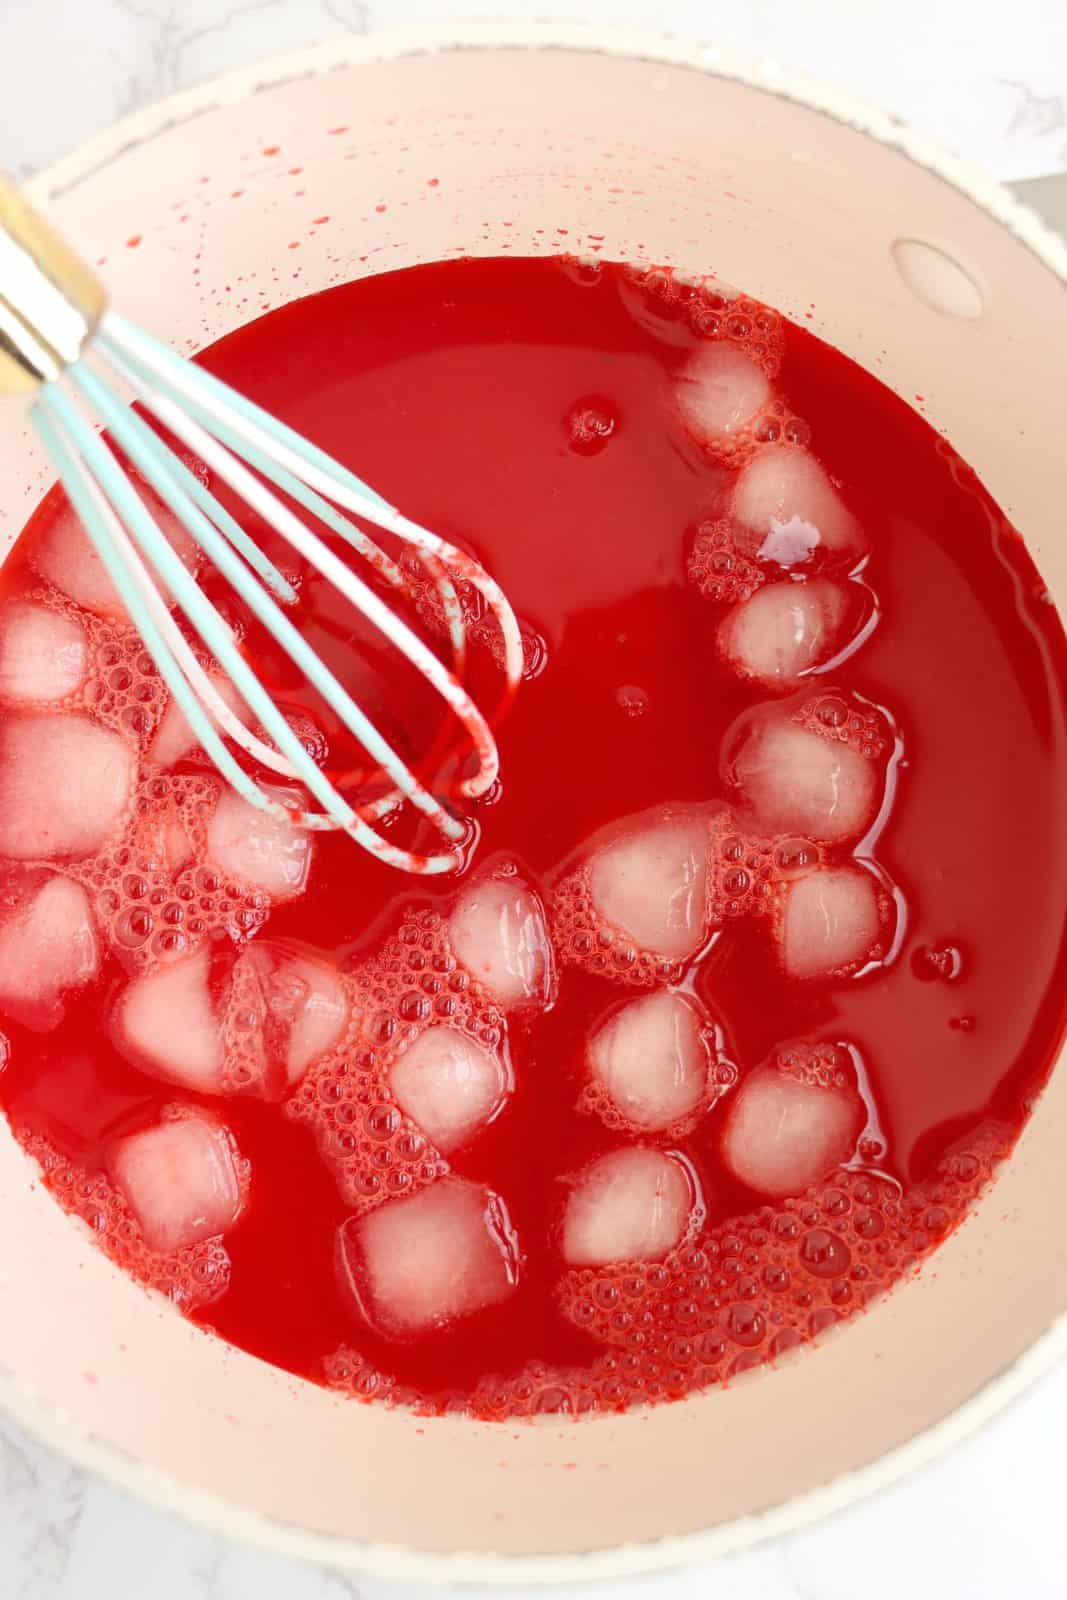
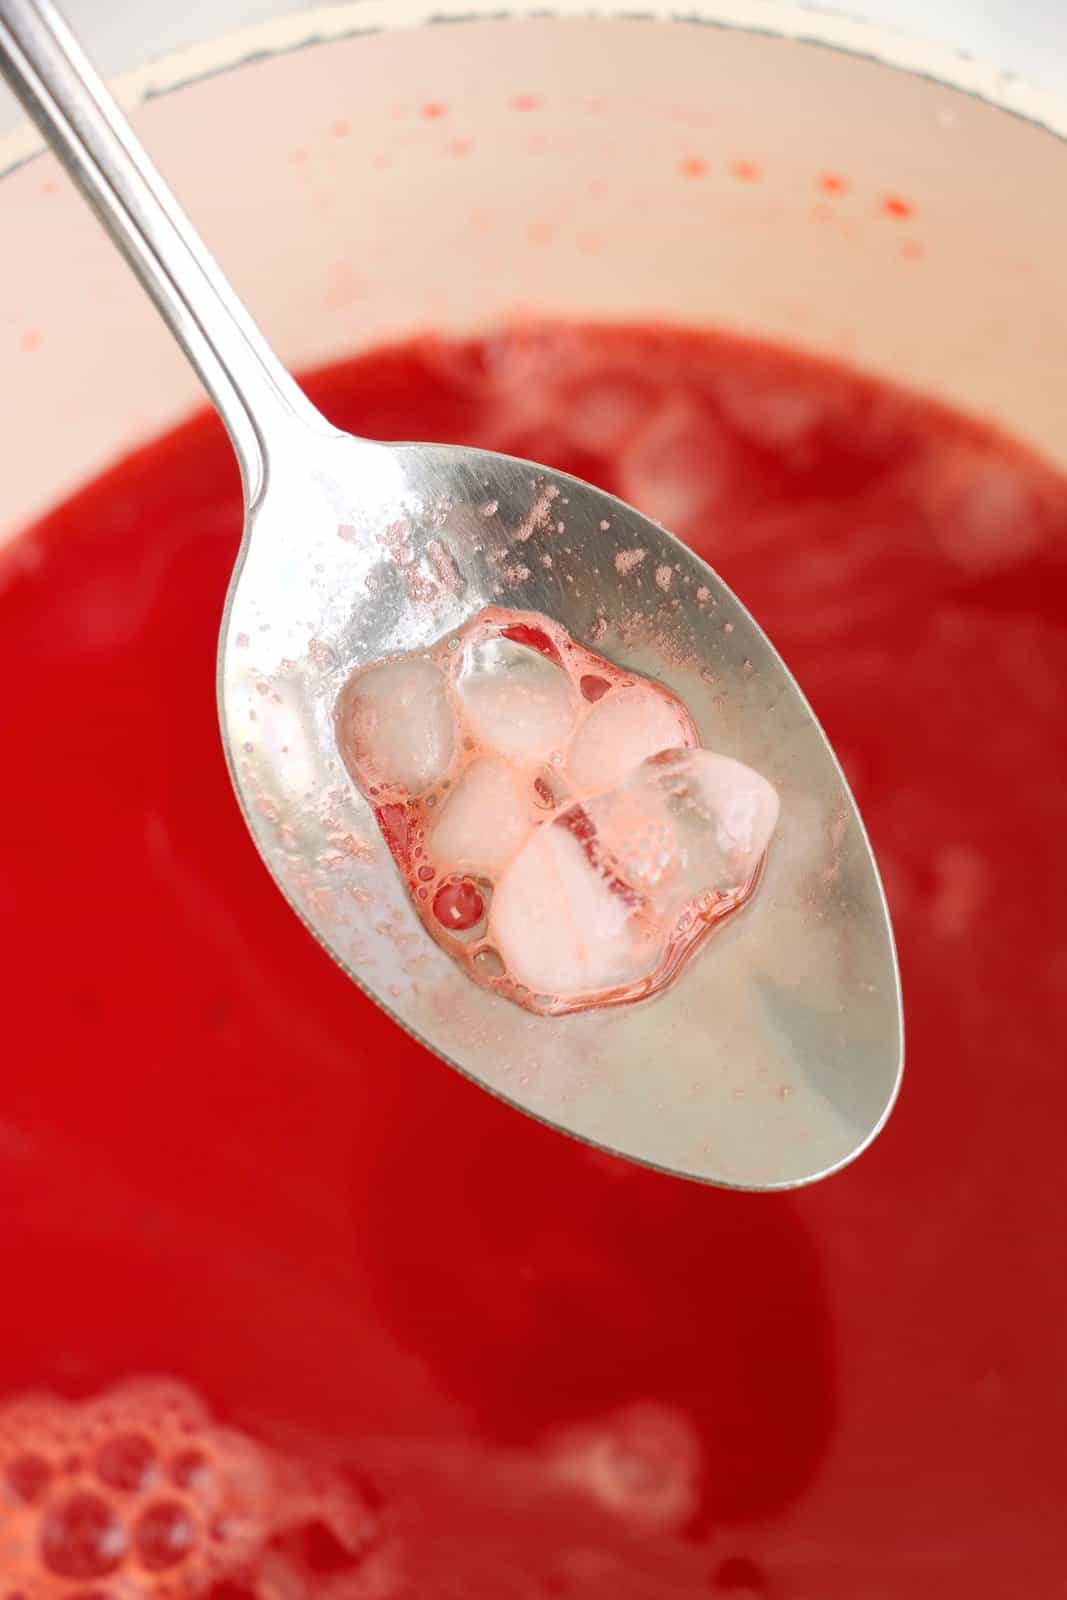
Stir into gelatin until thickened then remove any unmelted ice.
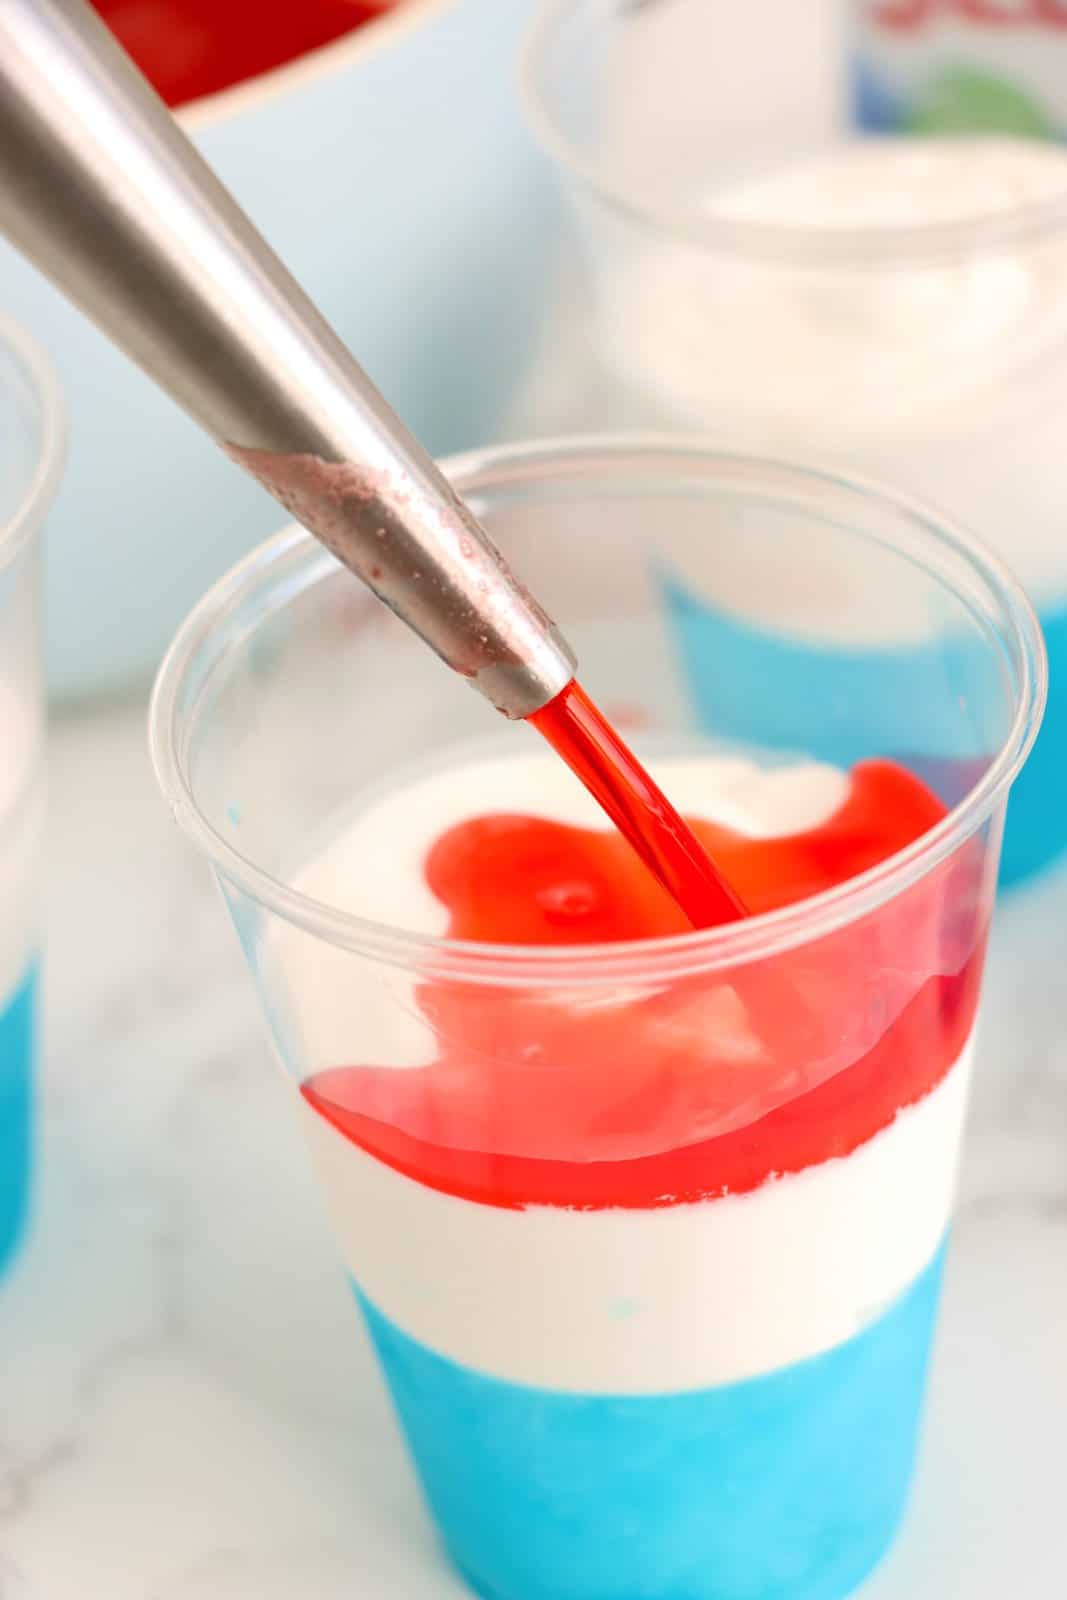
Then add the cherry gelatin mix evenly on top of the whipped topping layer in each of the cups (either pouring it on using a bowl or large measuring cup with a spout or using a turkey baster to add it on).
Place cups in the refrigerator for 1 hour or until set to the touch. Top each cup with remaining whipped topping and add sprinkles (if using).
CRAVING MORE RECIPES?
- 4th of July Party Recipes
- Red, White and Blue Cupcakes
- Red, White and Blue Pinwheel Cookies
- Patriotic Mixed Berry Dessert
- 4th of July Cupcakes
- Red, White & Blue Jell-O Shots
- 4th of July Flag Dip
- Dirt Cups
Red White and Blue Jell-O Cups
Ingredients
- 3 ounce box Berry Blue Jell-O
- 3 ounce box Cherry Jell-O
- 3 cups boiling water, divided use (to prepare the Jell-O)
- 2 cups cold water, divided use (to prepare the Jell-O)
- Ice cubes divided use (to prepare the Jell-O)
- 8 ounce tub whipped topping, divided use (Cool Whip)
- sprinkles, for garnishing (optional)
Instructions
- First, make sure you have enough room in the refrigerator to fit all 6 of these Jell-O Cups. I like to put mine on a baking sheet for easy moving.
- Next, prepare Berry Blue Jell-O according to the package directions. I used the Speed-Set Method (directions are also on the back of the Jell-O Box) with ice cubes to prepare this faster. Dissolve gelatin mix in 1 ½ cups boiling water. Add ice to 1 cup cold water to make 2 ½ cups. Stir into gelatin until thickened then remove any unmelted ice. You can also use the traditional method, although it will make this process just a bit longer.
- Transfer Jell-O to a bowl or large measuring cup with a spout or use a turkey baster to distribute Jell-O evenly among each of the 6 clear plastic cups.
- Place cups in the refrigerator for 1 hour or until set to the touch.
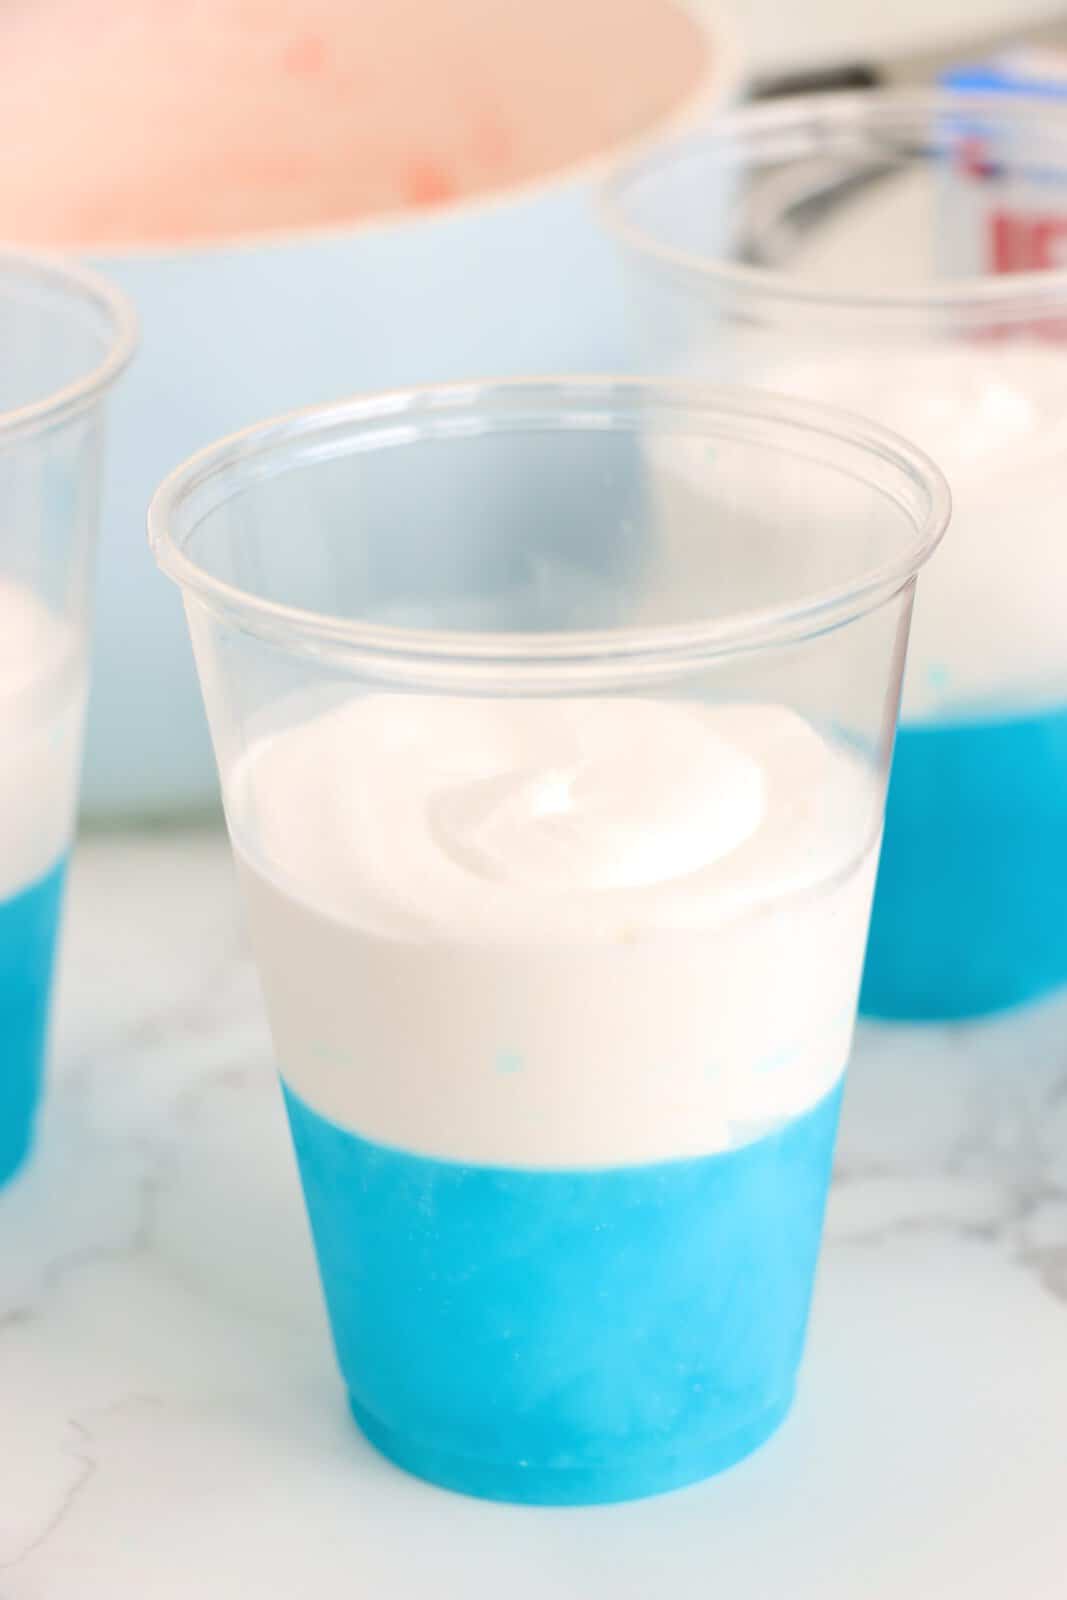
- When ready, spoon whipped topping evenly amongst all 6 cups (on top of the blue Jell-O layer). Be sure to save some of the whipped topping to top your cups with later. Gently shake to level the whipped topping layer.
- Place cups in the freezer for 1 hour or until whipped topping is firm to the touch.
- Prepare Cherry Jell-O as you did the Berry Blue Jell-O using the fast set method. Dissolve gelatin mix in 1 ½ cups boiling water. Add ice to 1 cup cold water to make 2 ½ cups. Stir into gelatin until thickened then remove any unmelted ice.
- Then add the cherry gelatin mix evenly on top of the whipped topping layer in each of the cups (either pouring it on using a bowl or large measuring cup with a spout or using a turkey baster to add it on).
- Place cups in the refrigerator for 1 hour or until set to the touch.
- Top each cup with remaining whipped topping and add sprinkles (if using).
Notes
- Please refer to my FAQ’s and ingredient list above for other substitutions or for the answers to the most common questions.
- This recipe uses 9 ounce cups, but you can use other sizes like 4 ounces or 6 ounce cups. This will change the quantity that you’re making.
- If changing the flavor, think about the theme of the cups and the visual layer you’re making.
- You can use homemade whipped cream in place of Cool Whip.
- Always store in the fridge and try to enjoy the same day that you make them.
Nutrition
Nutritional Disclaimer
“The Country Cook” is not a dietician or nutritionist, and any nutritional information shared is an estimate. If calorie count and other nutritional values are important to you, we recommend running the ingredients through whichever online nutritional calculator you prefer. Calories and other nutritional values can vary quite a bit depending on which brands were used.


How cute! My 12 year old has been asking to make Jello. This recipe will be so fun for her to make for the 4th.
Perfect for kids to make – I hope she really loves this one!!