4th of July Waffle Cones
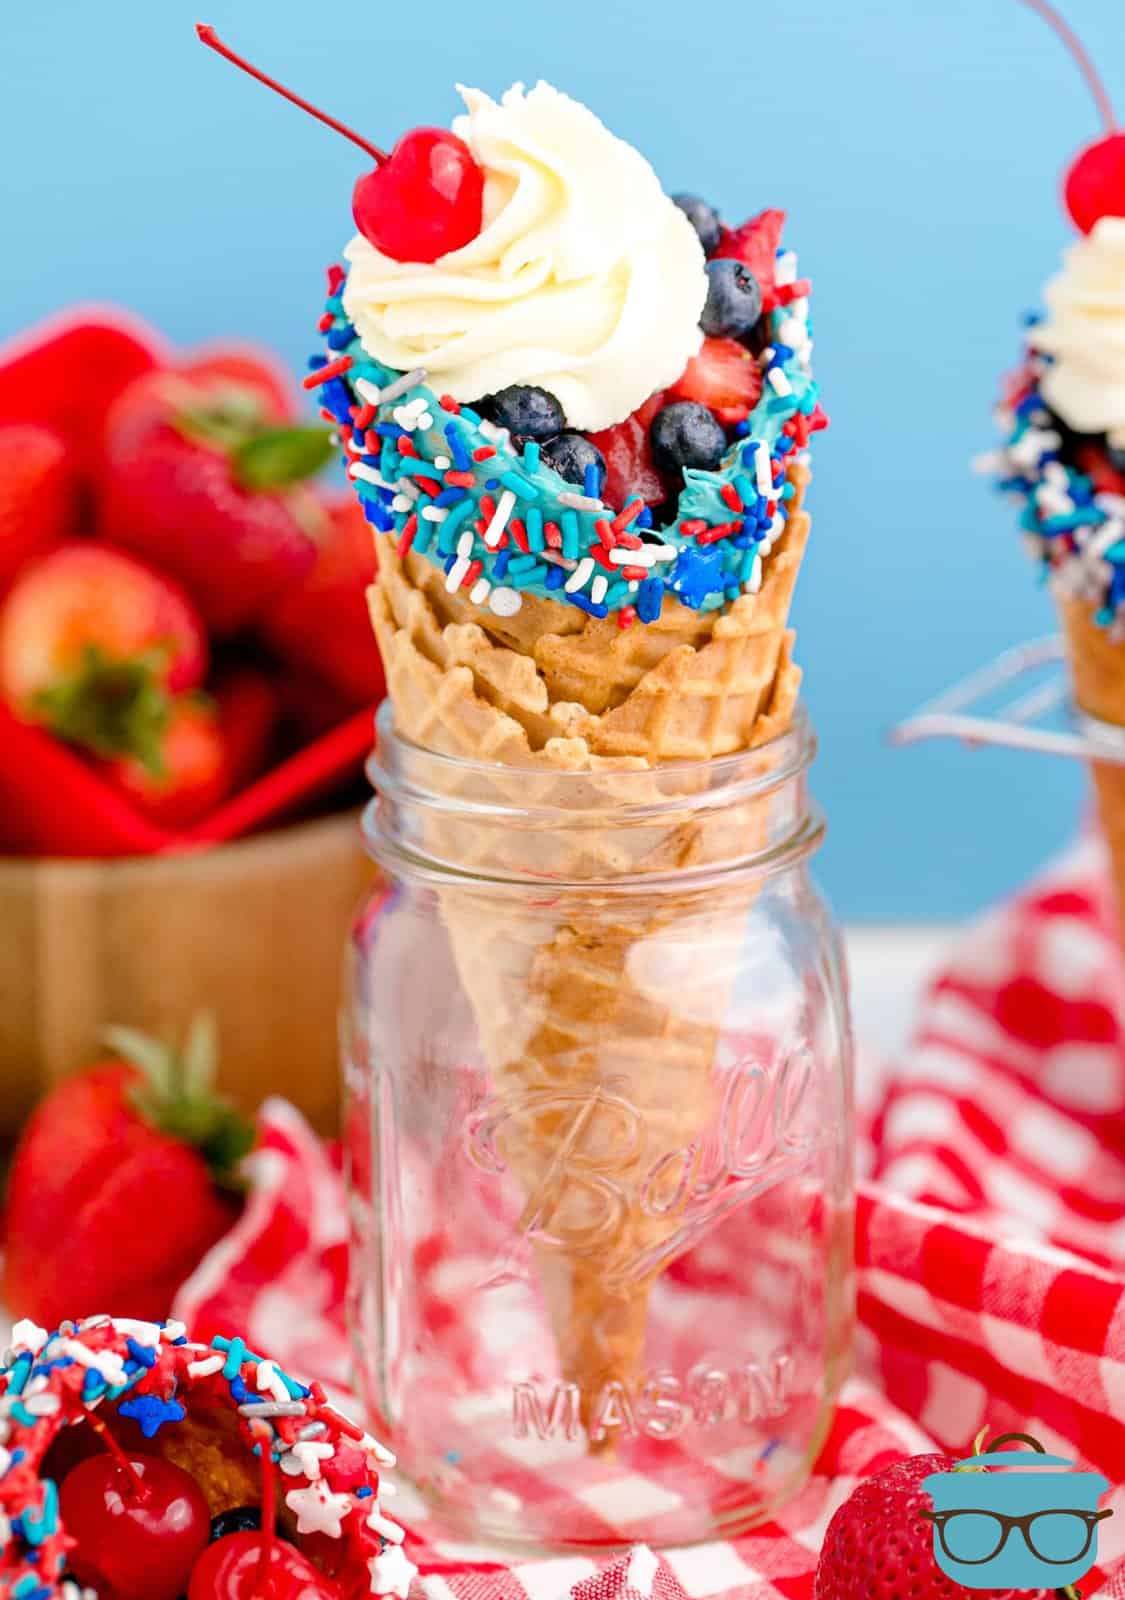
A super easy kid-friendly treat, these 4th of July Waffle Cones are a fun and tasty way to cool off this summer and celebrate Independence Day!
A TASTY 4TH OF JULY RECIPE
Looking for that easy treat that everyone will love? This 4th of July Waffle Cone recipe is perfectly patriotic but also absolutely refreshing and delicious! This isn’t really a recipe but more of a how-to. You can customize these waffle cones in so many ways. Instead of a fruit platter, try serving these instead!
FREQUENTLY ASKED QUESTIONS:
This is completely optional. I like to do this to bring out the sweetness of the berry. But you can add the berries plain without adding the sugar as well.
Since this is for the 4th of July, I chose red and blue berries so I went with strawberries and blueberries. You can use raspberries as well. However, you can certainly use whatever fruits you enjoy!
These are the best for this recipe as they have a higher edge at the back to help hold things in. You could use a waffle bowl for these as well.
If you are not a fan of cheesecake pudding you can use plain vanilla or even white chocolate for these. Make sure that you are using instant pudding. You will be using it dry in the recipe, so do not prepare.
You can easily find these at your the grocery store, like Walmart ,where they are located down the cake decorating aisle. I like to get Wiltons Candy Melts. They are little chocolate wafers that are able to be melted down and come in various colors.
That’s okay! Just use a large ziploc bag. Put all the whipped cream into the bag and push it down into one corner. Cut the tip-off that corner off and squeeze to pipe the whipped cream into the cone. Or you can certainly just scoop the whipped cream into the cone!
These are best when they are first made but you can store them covered in the refrigerator where they will keep for up to 2 days.

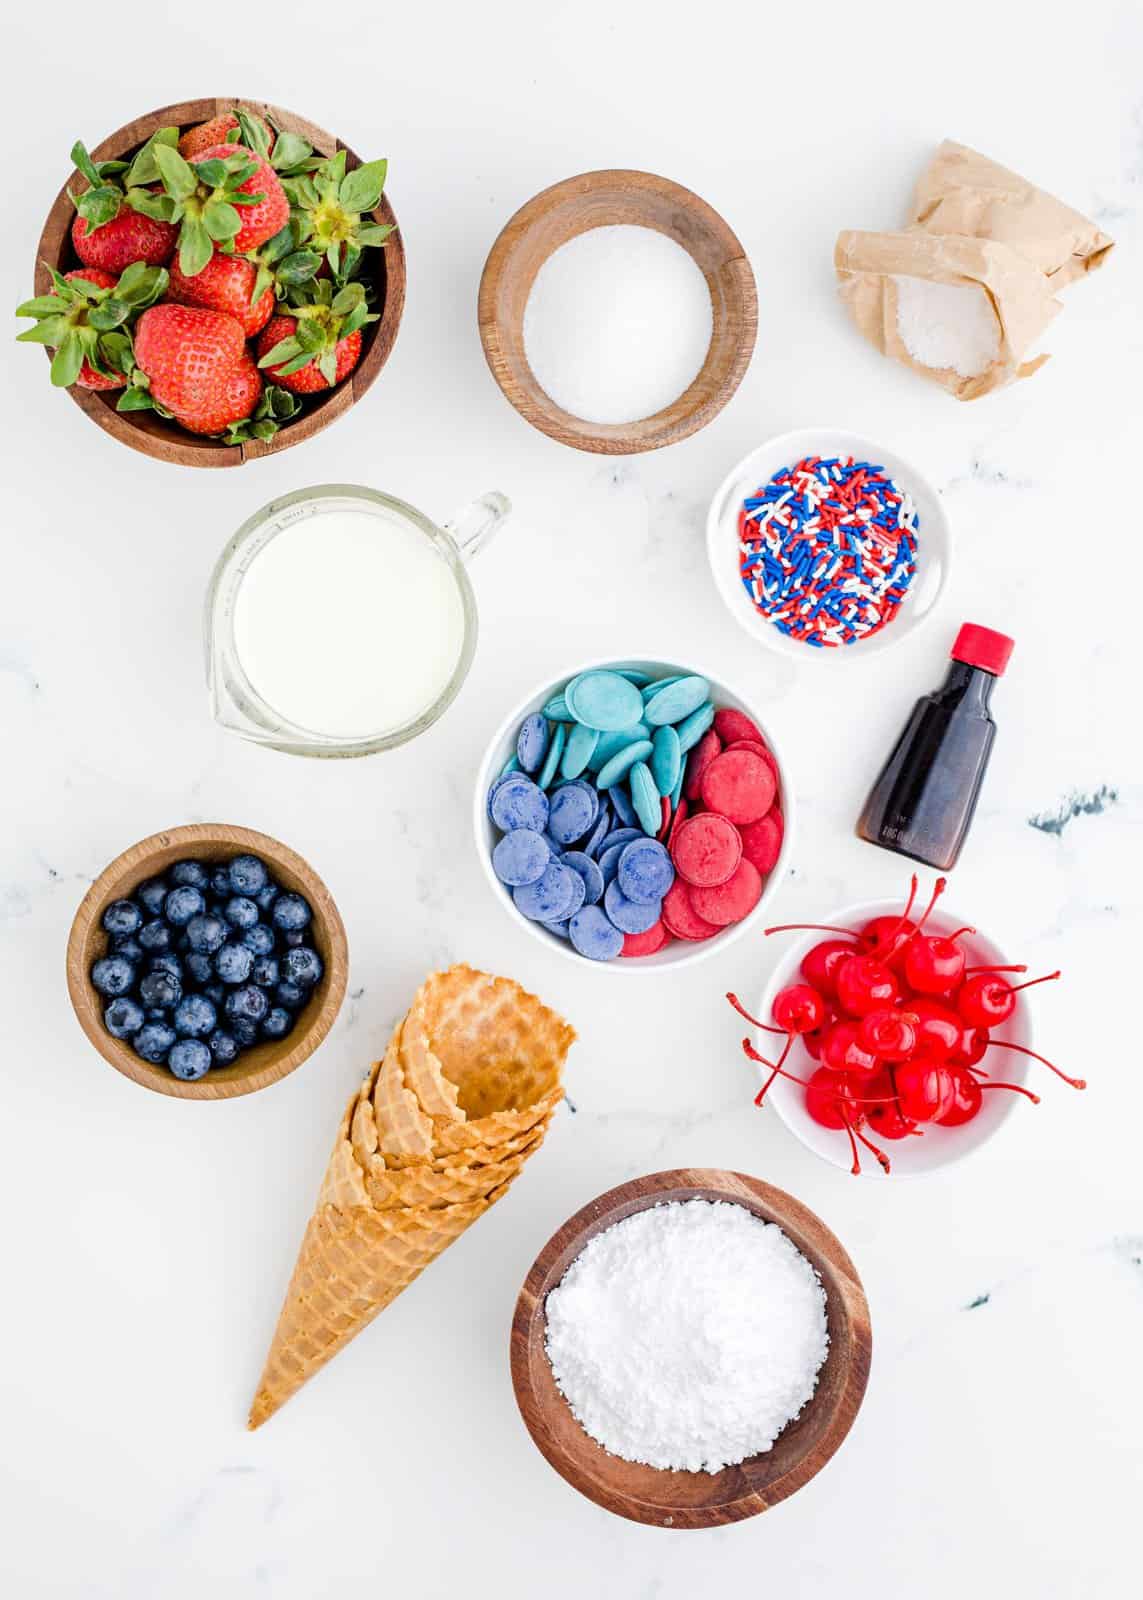
INGREDIENTS NEEDED: (FULL RECIPE AT THE BOTTOM OF THE POST)
- waffle cones
- red melting candies
- blue melting candies
- strawberries
- blueberries
- granulated sugar
- heavy cream
- powdered sugar
- cheesecake pudding mix, dry
- vanilla extract
- maraschino cherries
- red, white and blue sprinkles
HOW TO MAKE 4TH OF JULY WAFFLE CONES:
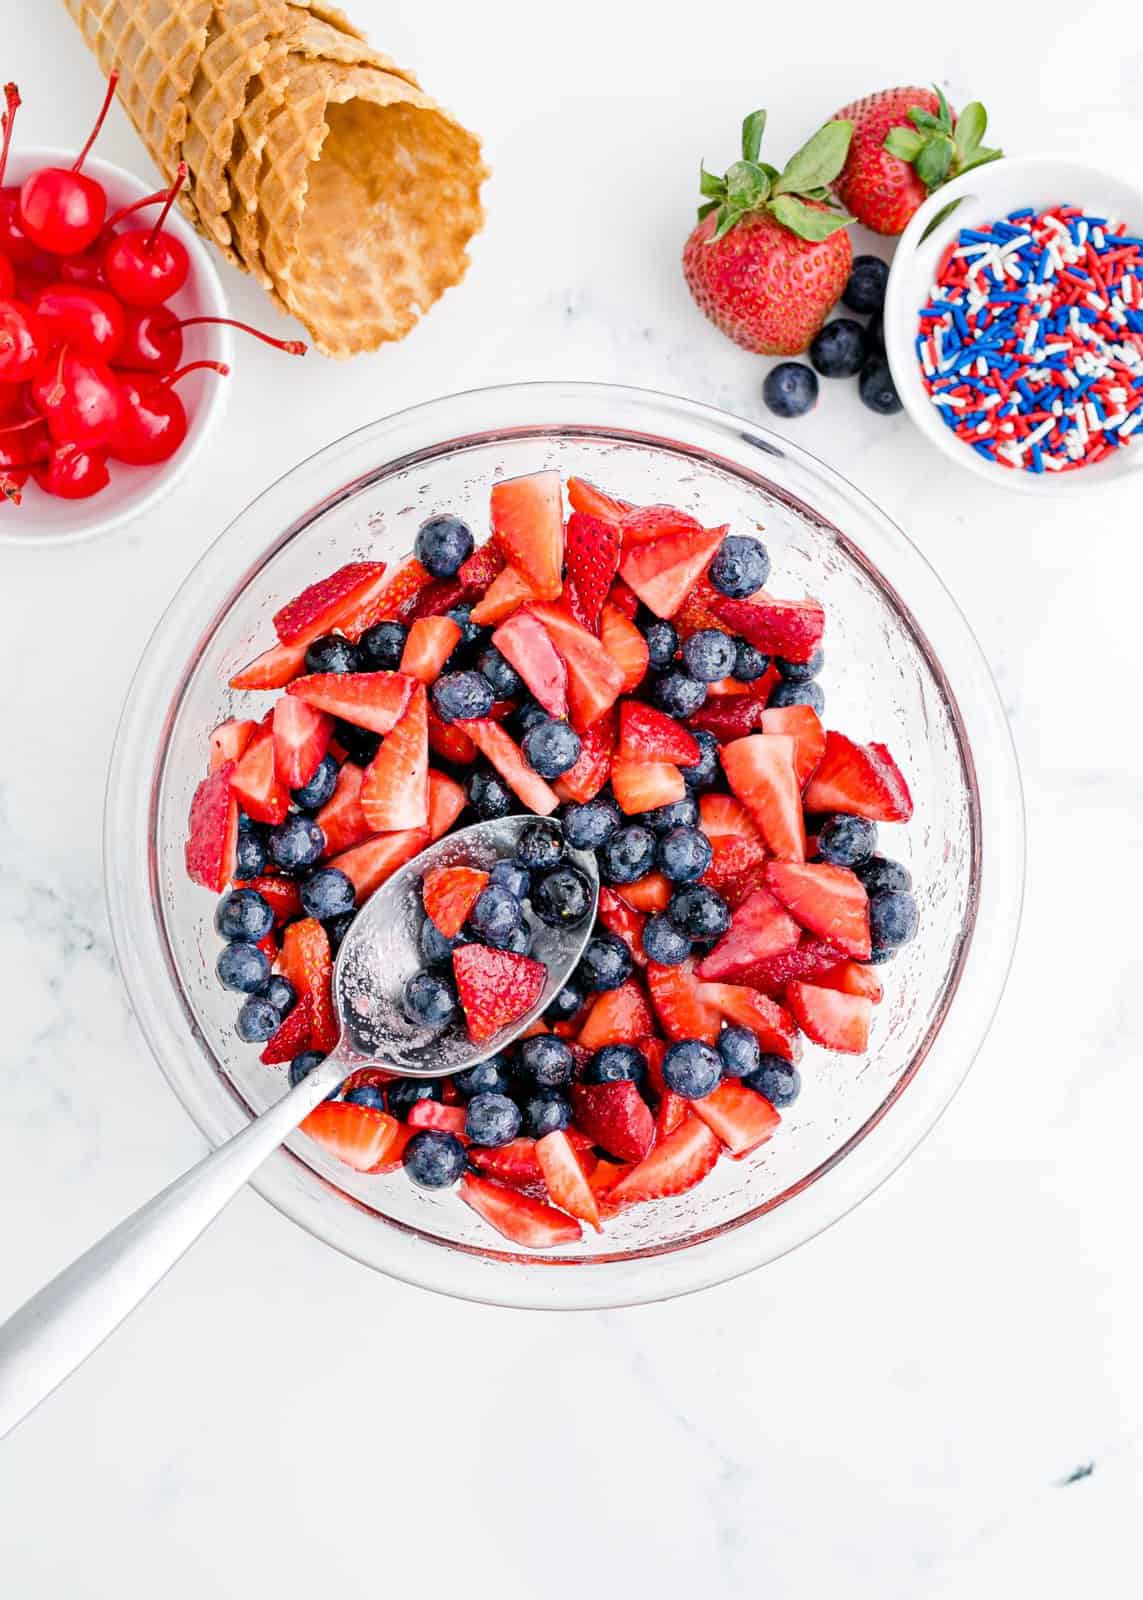
Rinse and pat all the berries dry. Slice the strawberries then add sliced strawberries and blueberries to a bowl, toss with sugar, and refrigerate while preparing the waffle cones.
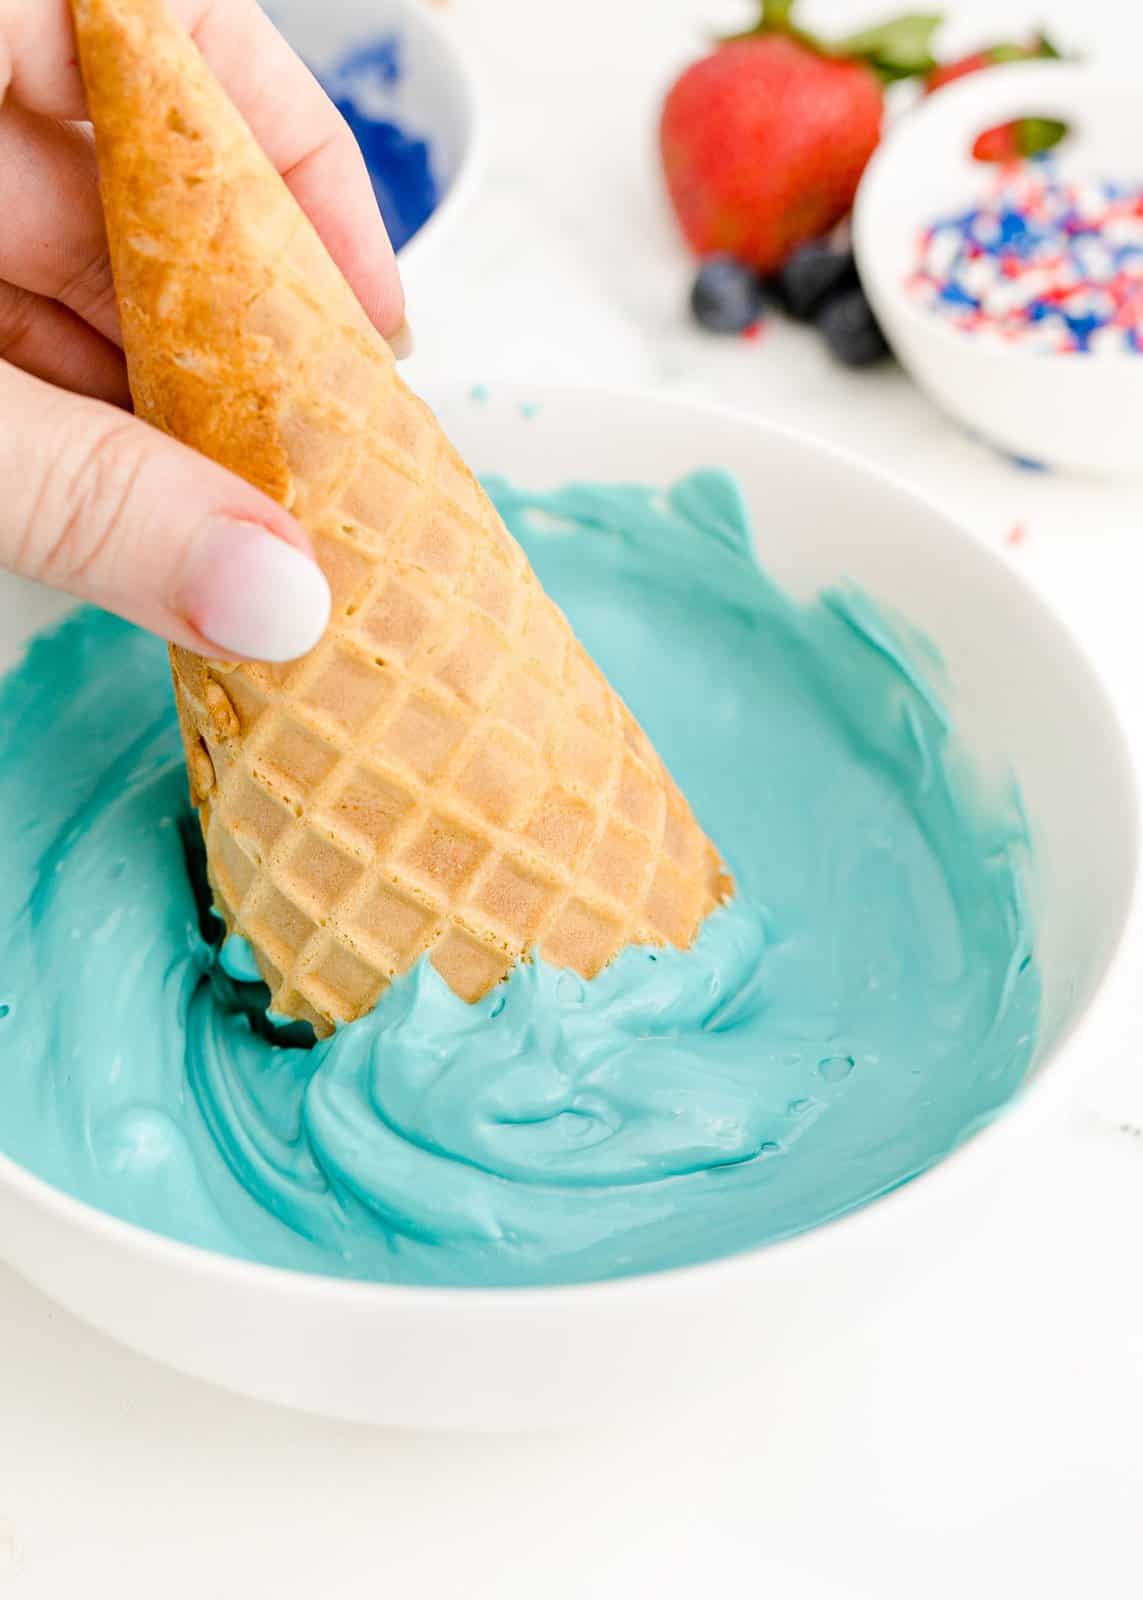
In separate bowls, microwave the red and blue candy melts according to the package instructions.
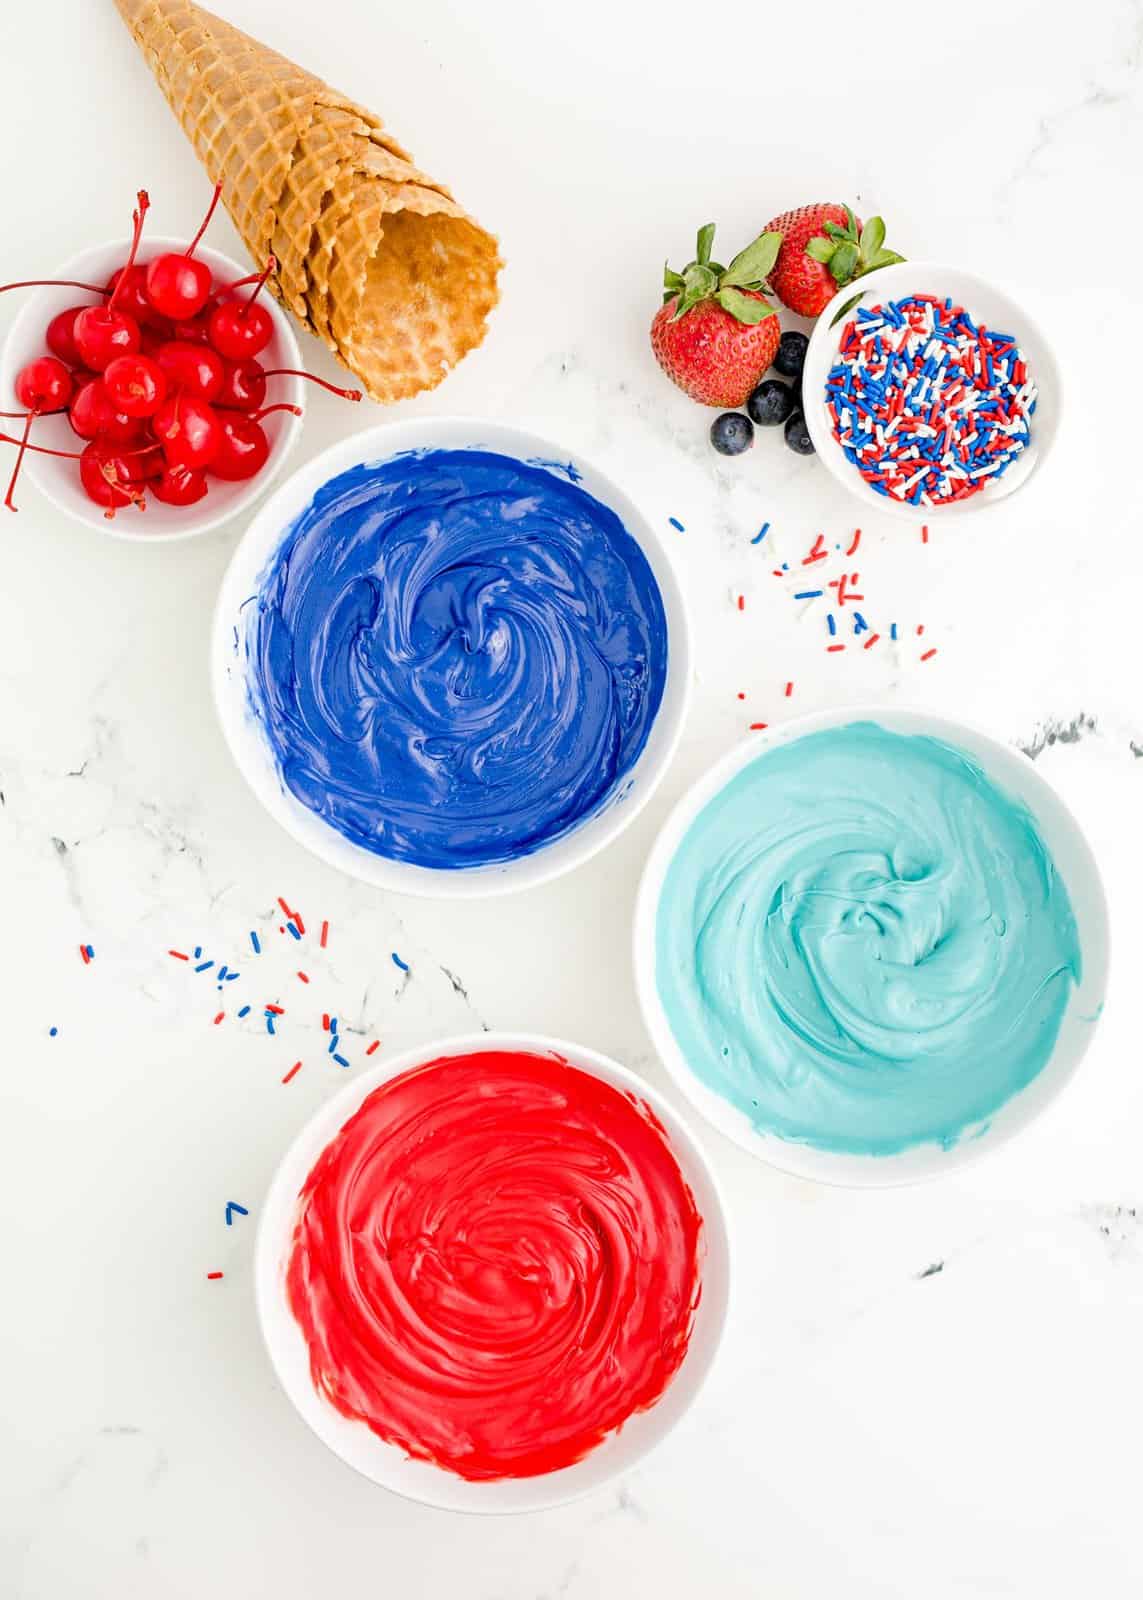
Once the candy melts are ready, dip the rims of each of the waffle cones in red or blue chocolate (about 1 inches down from the top.) You only need a thin layer of chocolate. You want just enough for the sprinkles to stick to.
Now immediately dip the cone into the sprinkles. If you don’t do it immediately, the chocolate will harden and the sprinkles won’t stick.
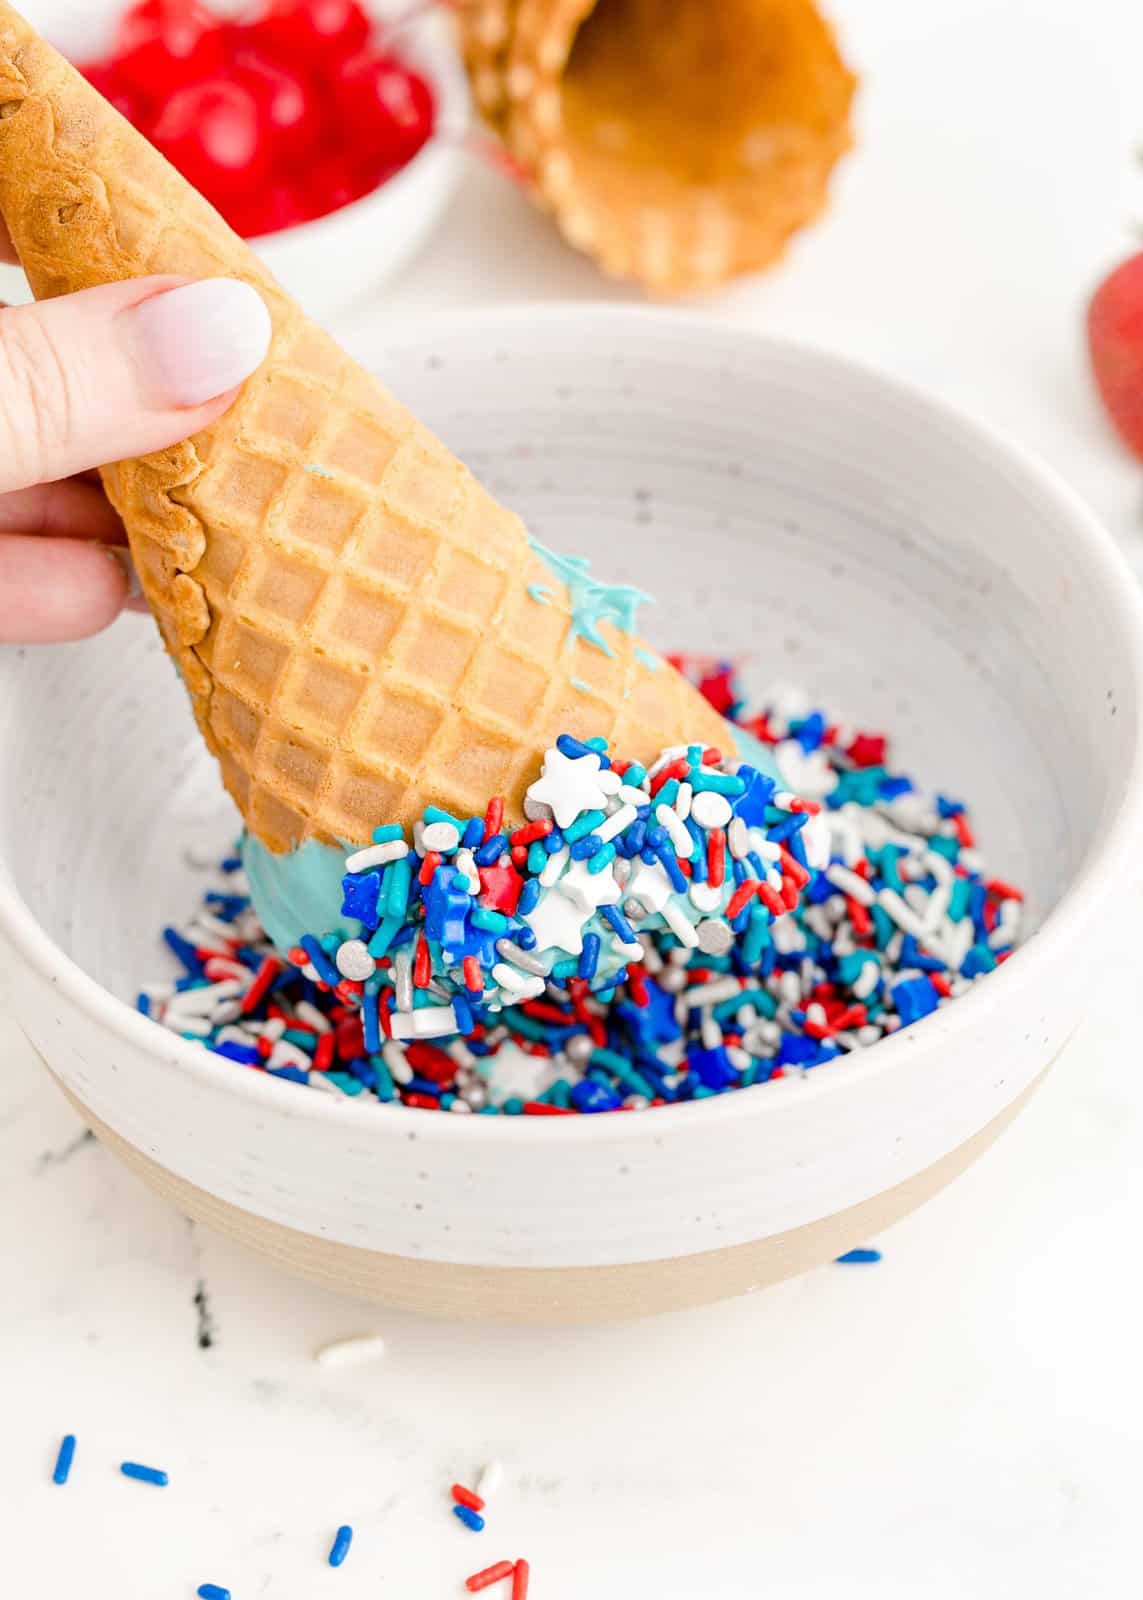
Set the cones upright in several cups (oran ice cream cone holder as shown below) and place in the refrigerator to harden.

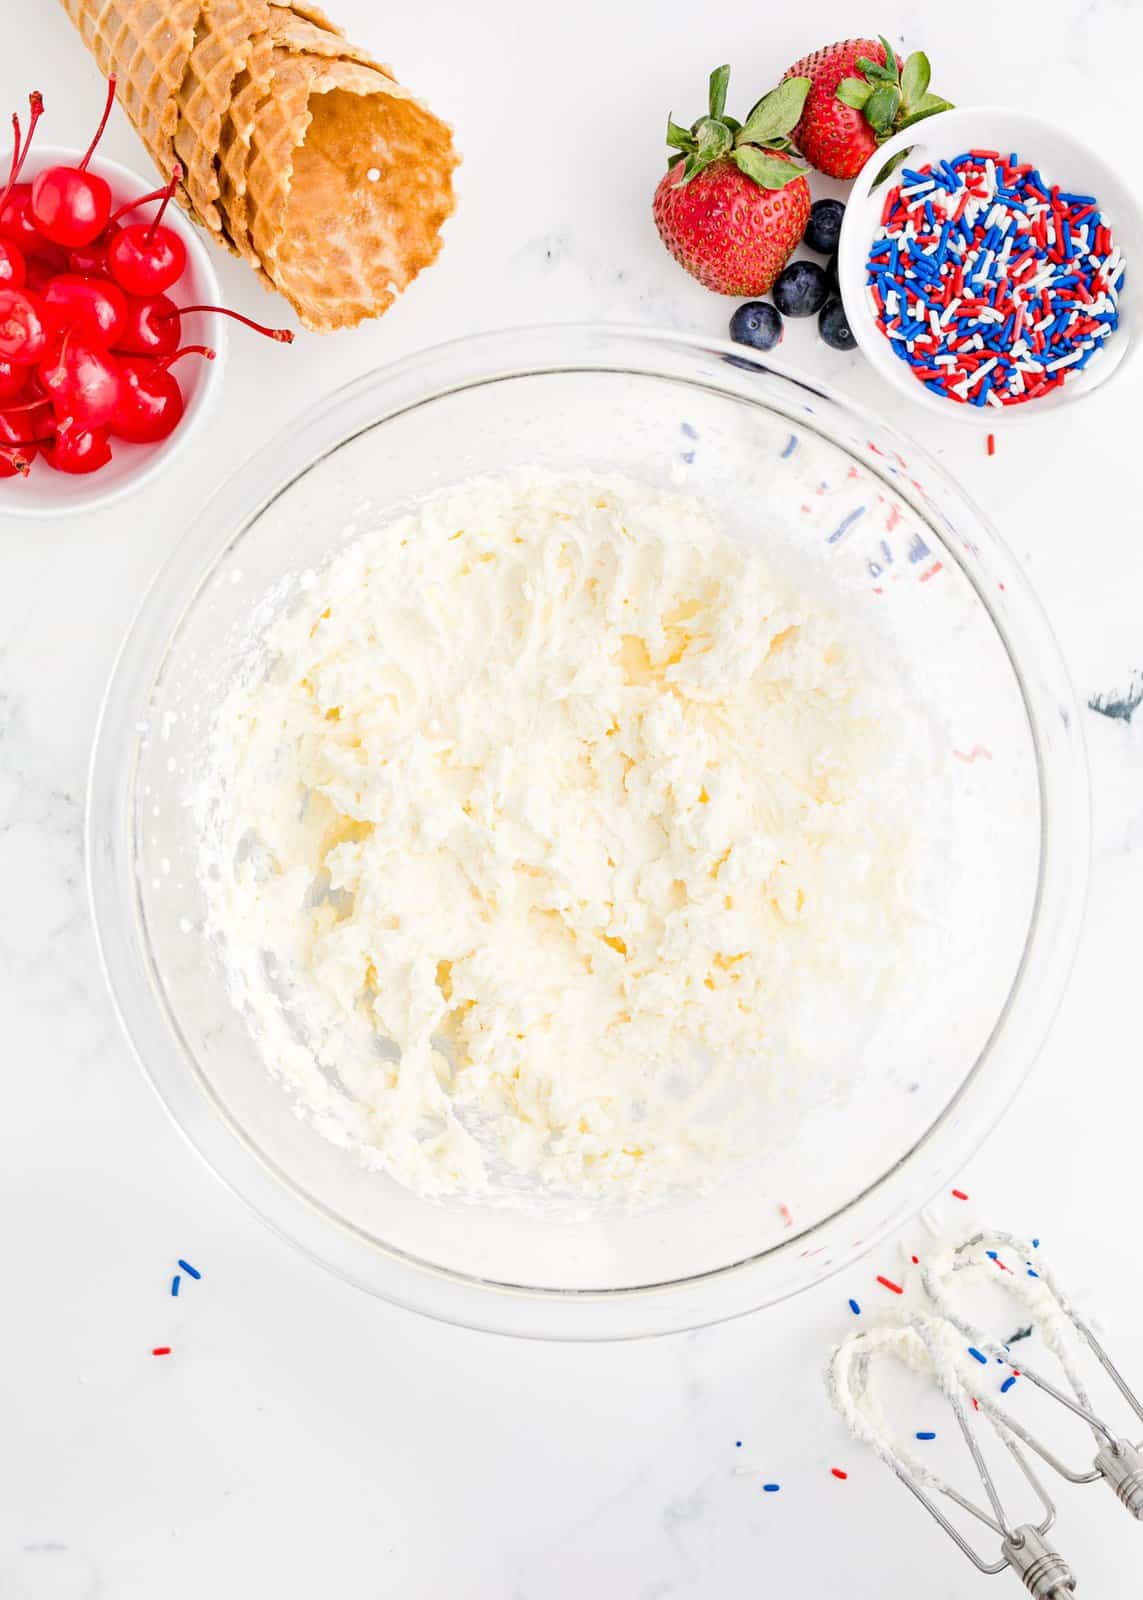
Now to make cheesecake whipped cream. In a bowl, beat the heavy cream high for about 5 minutes or until stiff peaks form. This is easiest with an electric hand mixer or stand mixer.
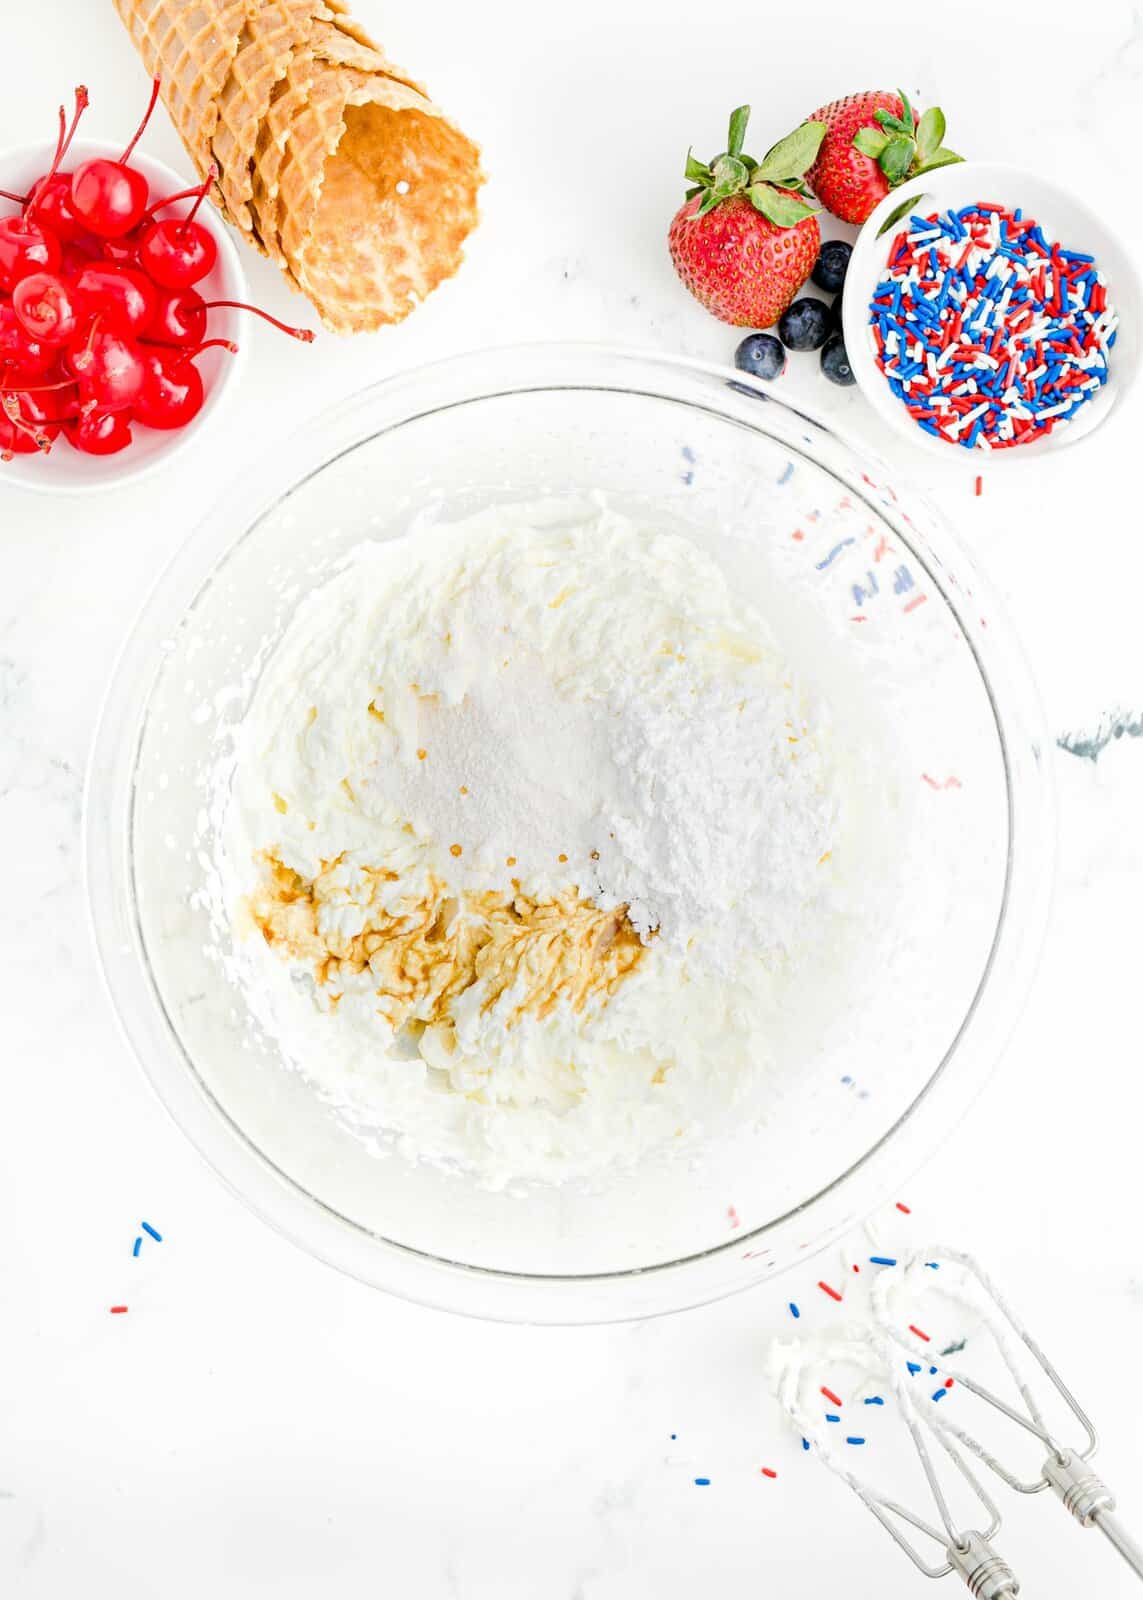
Then add powdered sugar, pudding mix and vanilla extract to the bowl and continue beating until fully combined, fluffy and stiff. Add this whipped cream to a piping bag and cut the tip off or use a large 1A Wilton piping tip.
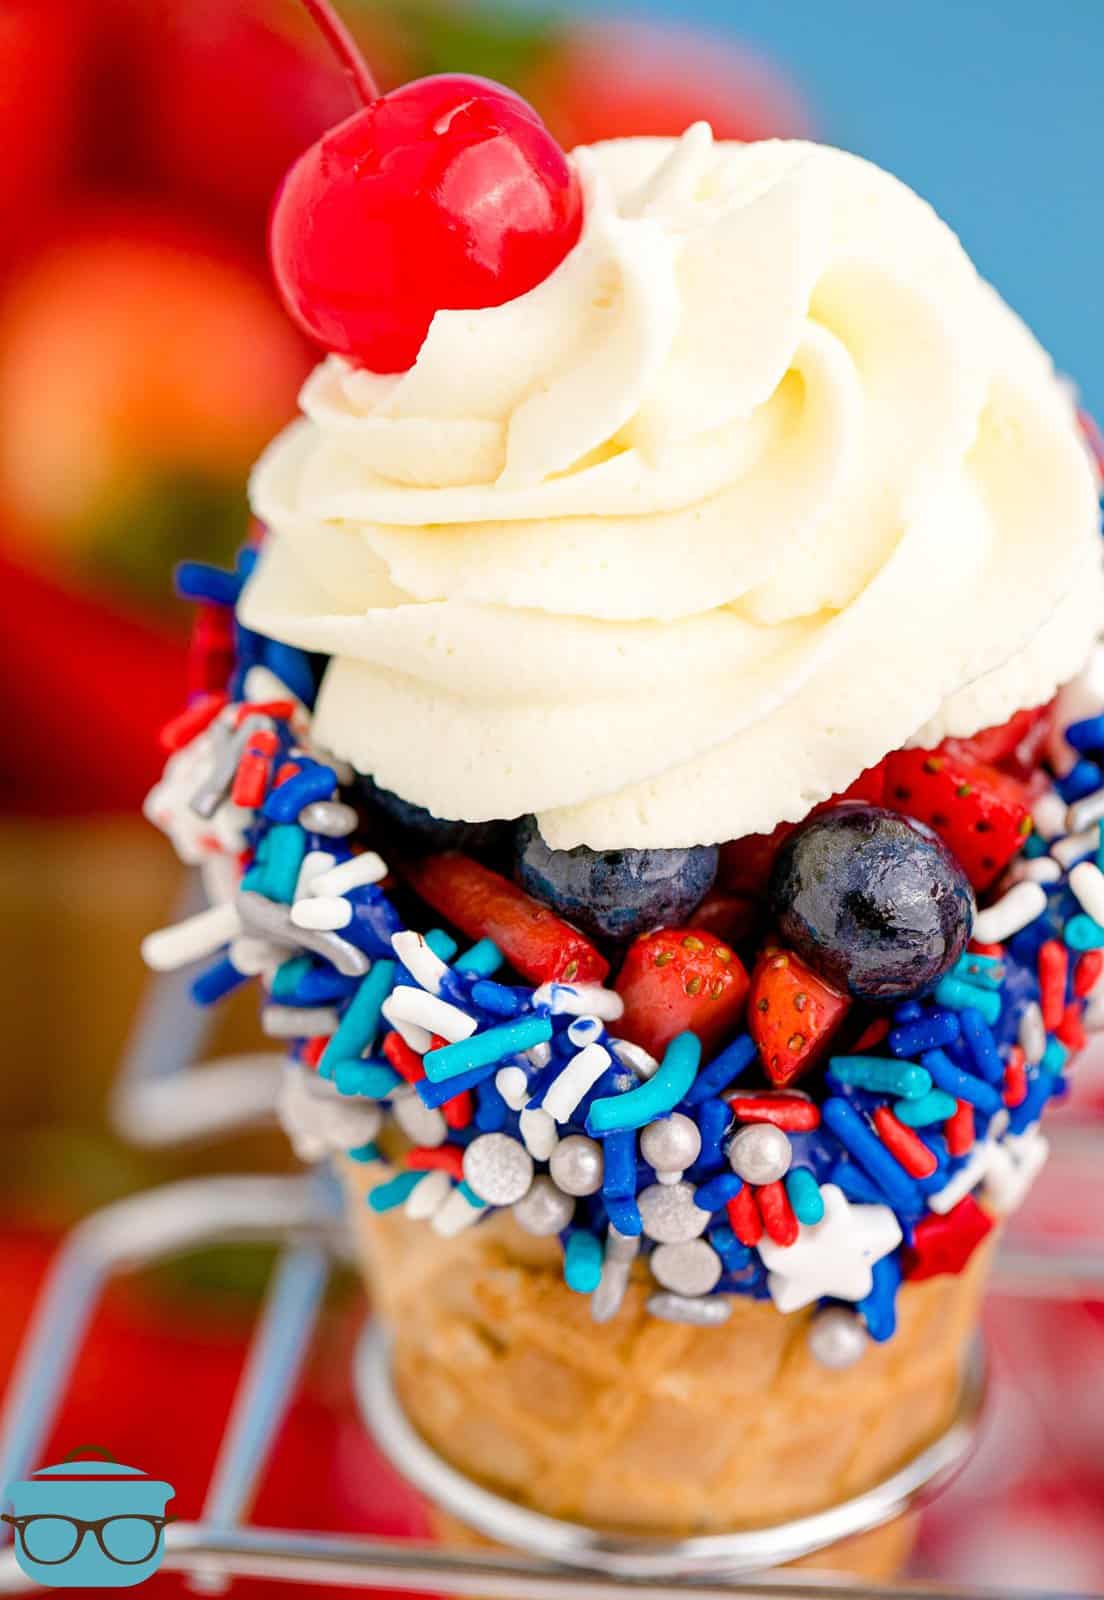
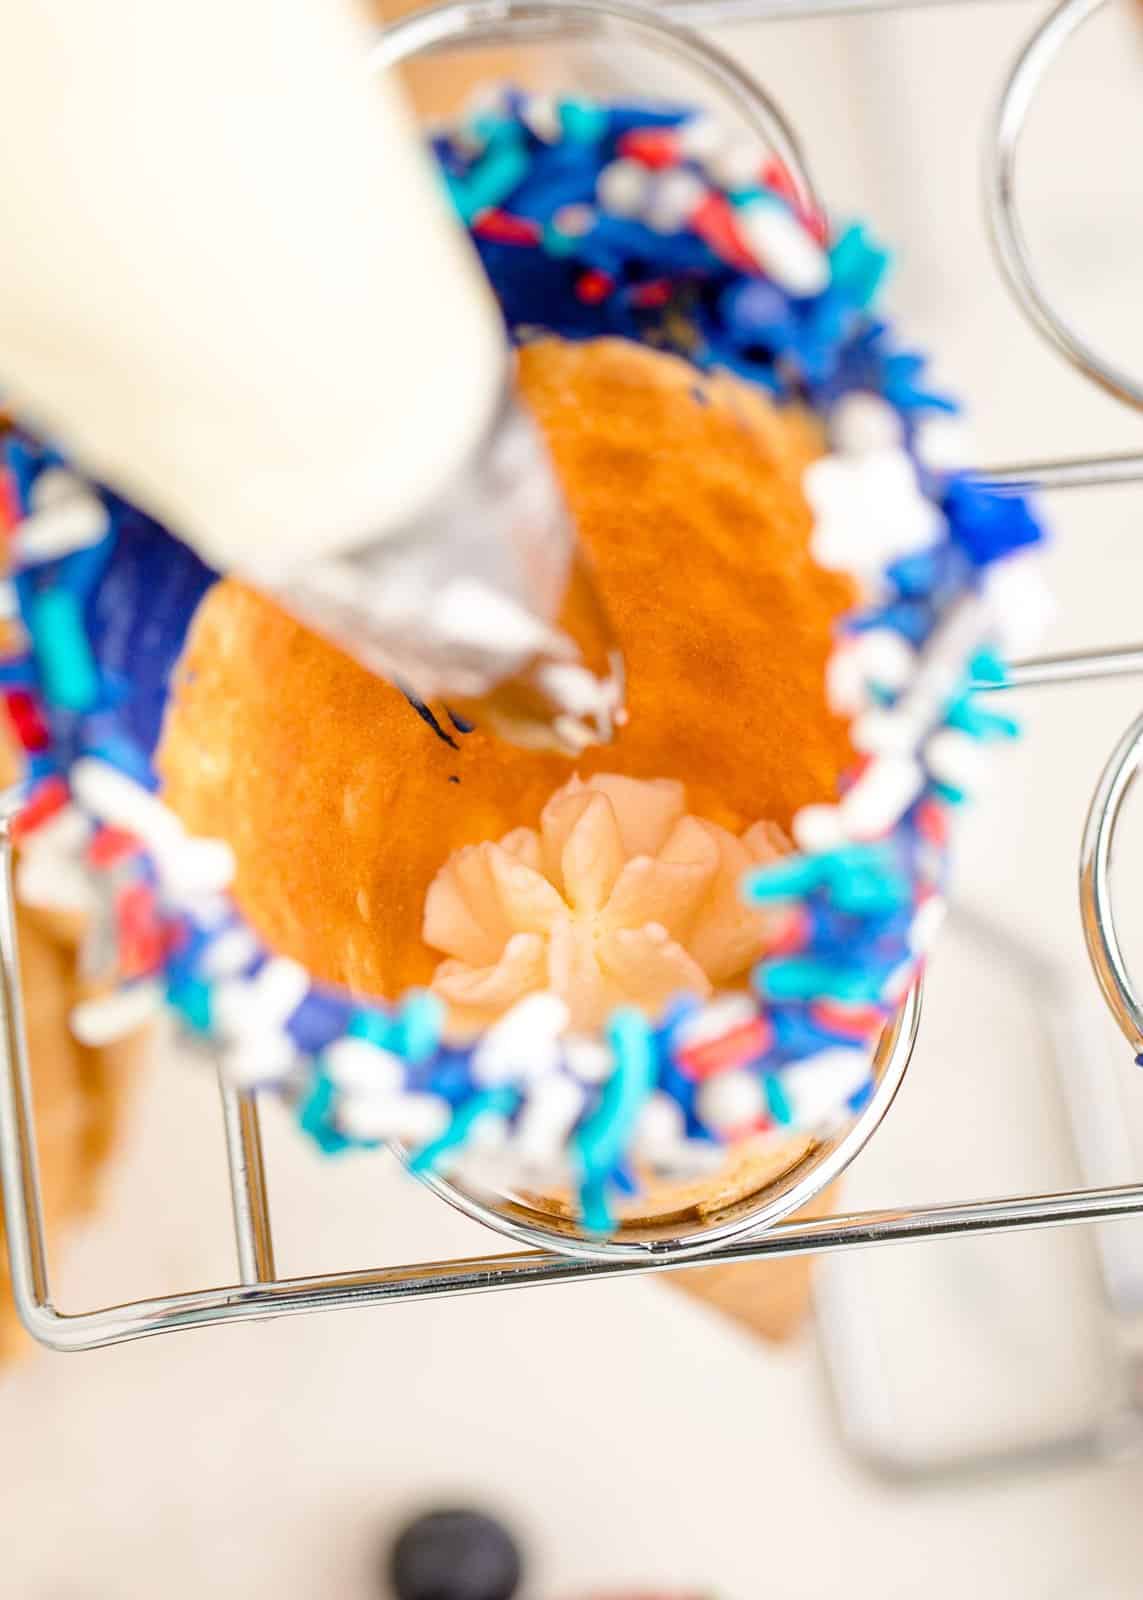
Now assemble the waffle cones. Pipe about a layer of whipped cream into the bottom of each cone.
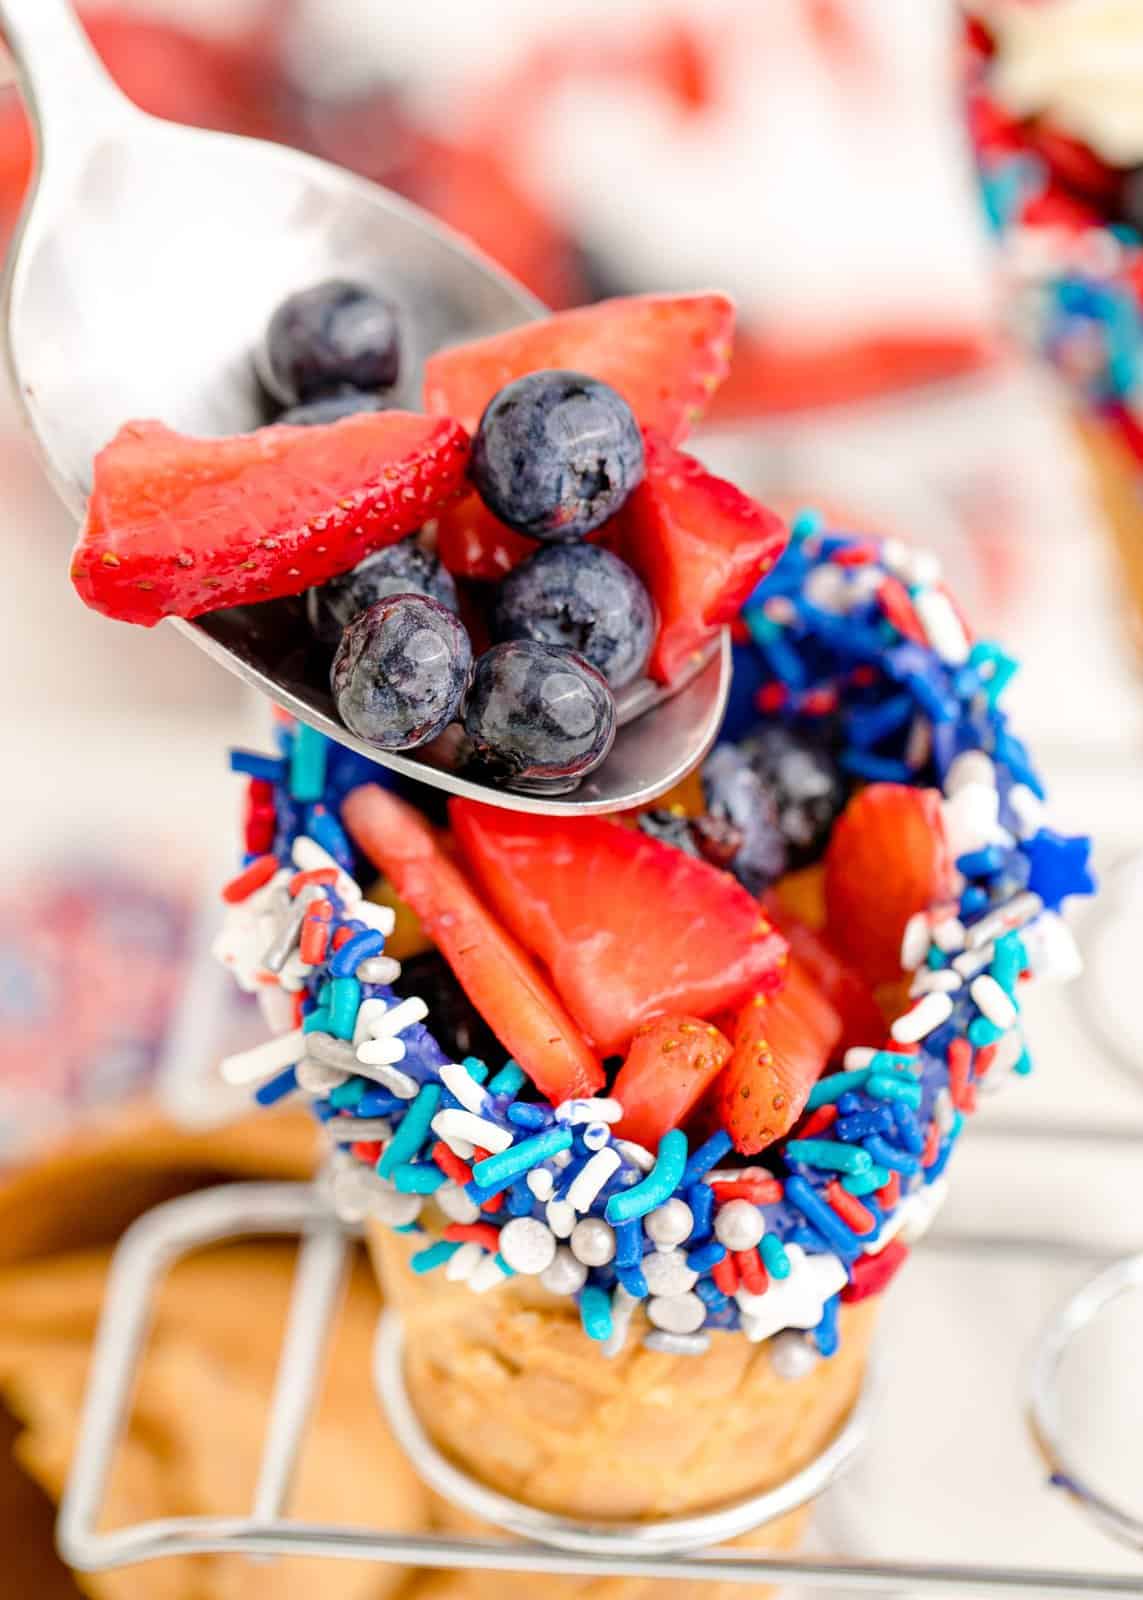
Remove the berries from the refrigerator. Drain them to remove any excess liquid. Using a slotted spoon, scoop about ¼ cup of berries into each cone, filling to the top.
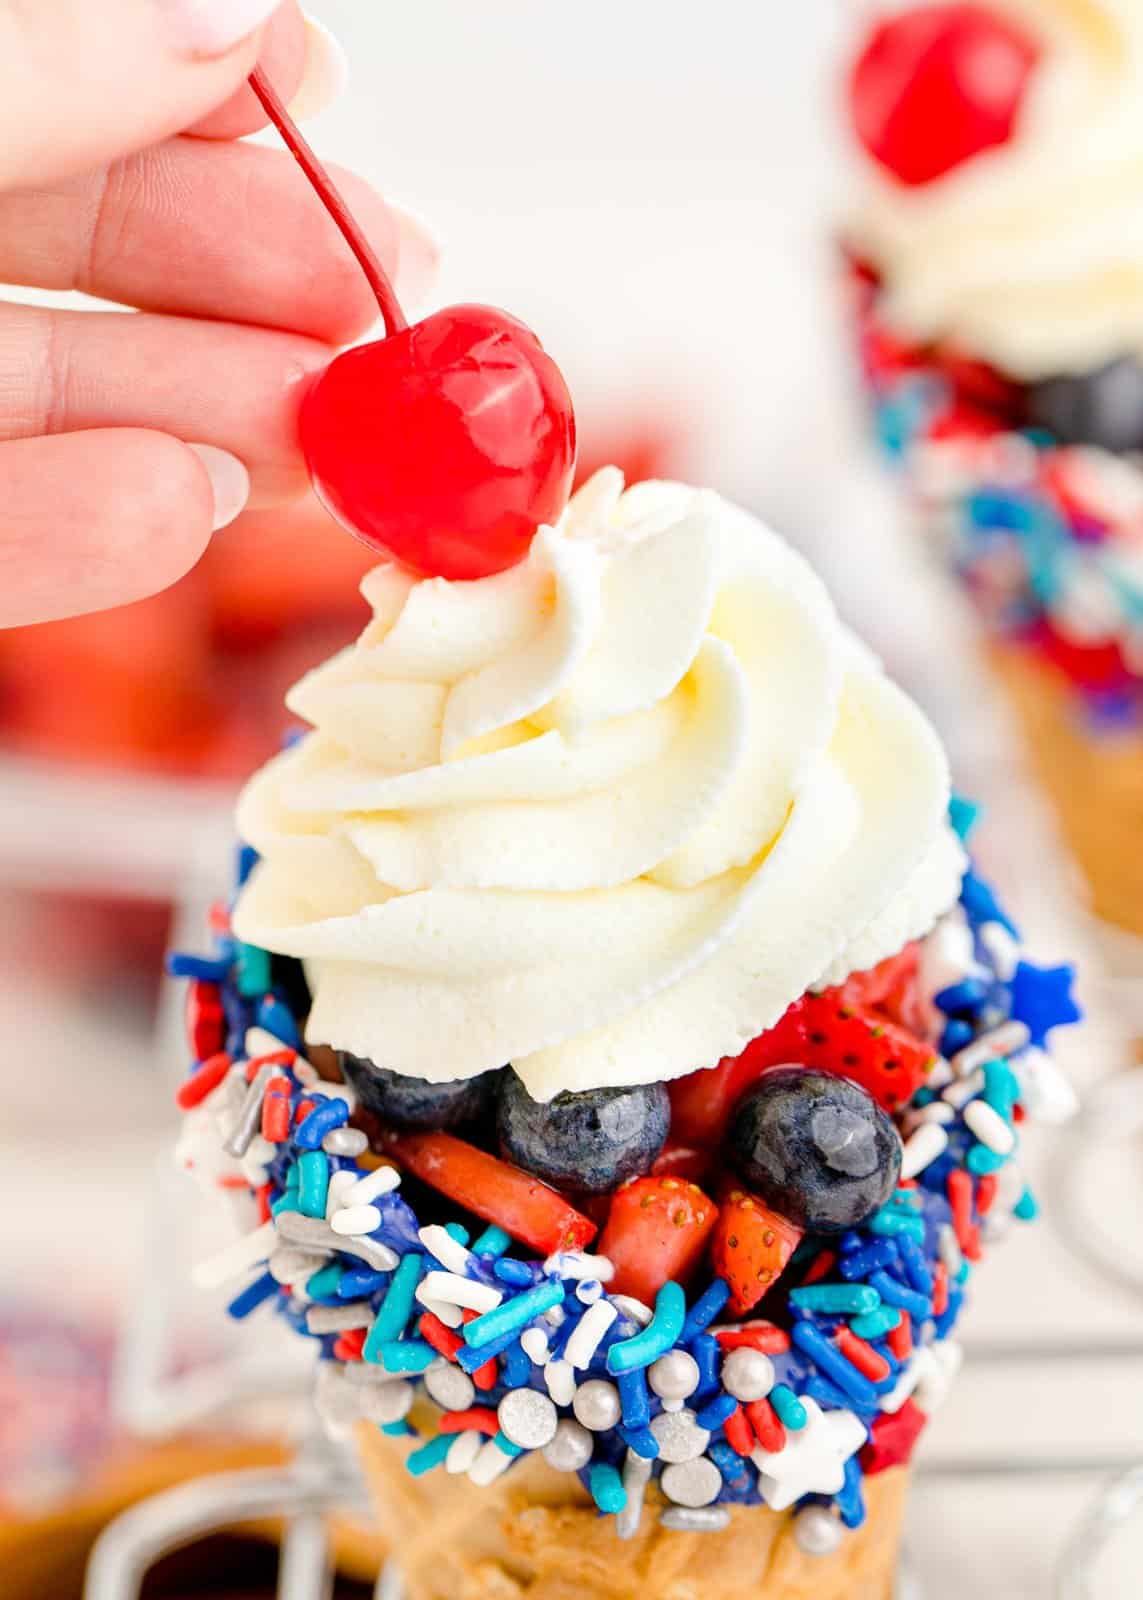
Add a dollop of whipped cream on top and a cherry. Make sure to drain and pat the cherries dry because they tend to have a lot of excess liquid.
Serve these right away or keep in the refrigerator standing upright until ready to eat.
CRAVING MORE DELICIOUS RECIPES?
- 4th of July Party Recipes
- 4th of July Cupcakes
- Patriotic Funfetti Cake
- Patriotic Mixed Berry Dessert
- Red, White and Blue Pinwheel Cookies
- Patriotic Sugar Cookie Bars
- 4th of July Flag Dip

4th of July Waffle Cones
Ingredients
- 6 waffle cones
- red melting candies
- blue melting candies
- 3 cups strawberries, sliced
- 3 cups blueberries
- ¼ cup granulated sugar
- 2 cups cold heavy cream
- ½ cup powdered sugar
- 2 tablespoons cheesecake pudding mix dry (do not prepare)
- ½ teaspoon vanilla extract
- 6 maraschino cherries, for serving
- red, white and blue sprinkles (in a bowl)
Instructions
- Rinse and pat the berries dry. Slice the strawberries then add sliced strawberries and blueberries to a bowl. Toss with 1/4 cup of sugar and refrigerate while preparing the waffle cones.
- In separate bowls, microwave the red and blue candy melts according to the package instructions.
- Once the candy melts are ready, dip the rims of each of the waffle cones in red or blue chocolate about 1 inches down from the top. You only need a thin layer of chocolate – just enough for the sprinkles to stick to.
- Dip the cones immediately into the sprinkles. This needs to be done immediately after the cone has been dipped in the chocolate. If you wait too long, the sprinkles won't stick.
- Set the cones upright in several glasses (cups) or ice cream cone holder and place in the refrigerator to harden.
- To make the cheesecake whipped cream: pour the cold heavy cream into a bowl and beat on high for about 5 minutes or until stiff peaks form. This is easiest with an electric hand mixer or stand mixer.
- Then add powdered sugar, pudding mix and vanilla extract to the bowl and continue beating until fully combined, fluffy and stiff. Add this whipped cream into a piping bag and cut the tip off or use a large 1A Wilton piping tip.
- To assemble the waffle cones: Pipe about an inch layer of whipped cream into the bottom of each cone.
- Then, remove the berries from the refrigerator. Drain any excess juice from the berries. Using a slotted spoon, scoop about ¼ cup of berries into each cone, filling to the top.
- Add a dollop of the whipped cream on top and a cherry. Make sure to drain and pat the cherries dry because they tend to have a lot of excess liquid.
- Serve these right away or keep in the refrigerator (standing upright) until ready to eat.
Notes
- Make sure you are using instant pudding and it is going in dry, do not prepare.
- You can use vanilla or white chocolate pudding as well.
- These can be made for any holidays, so decorate and switch up the fruit as. you wish.
- Use your favorite red, white and blue sprinkles.
- Make sure you use waffle cones, they ensure everything gets held in.
- Just use a ziploc bag with the tip cut off if you don’t have a piping bag.
Nutrition
Nutritional Disclaimer
“The Country Cook” is not a dietician or nutritionist, and any nutritional information shared is an estimate. If calorie count and other nutritional values are important to you, we recommend running the ingredients through whichever online nutritional calculator you prefer. Calories and other nutritional values can vary quite a bit depending on which brands were used.


