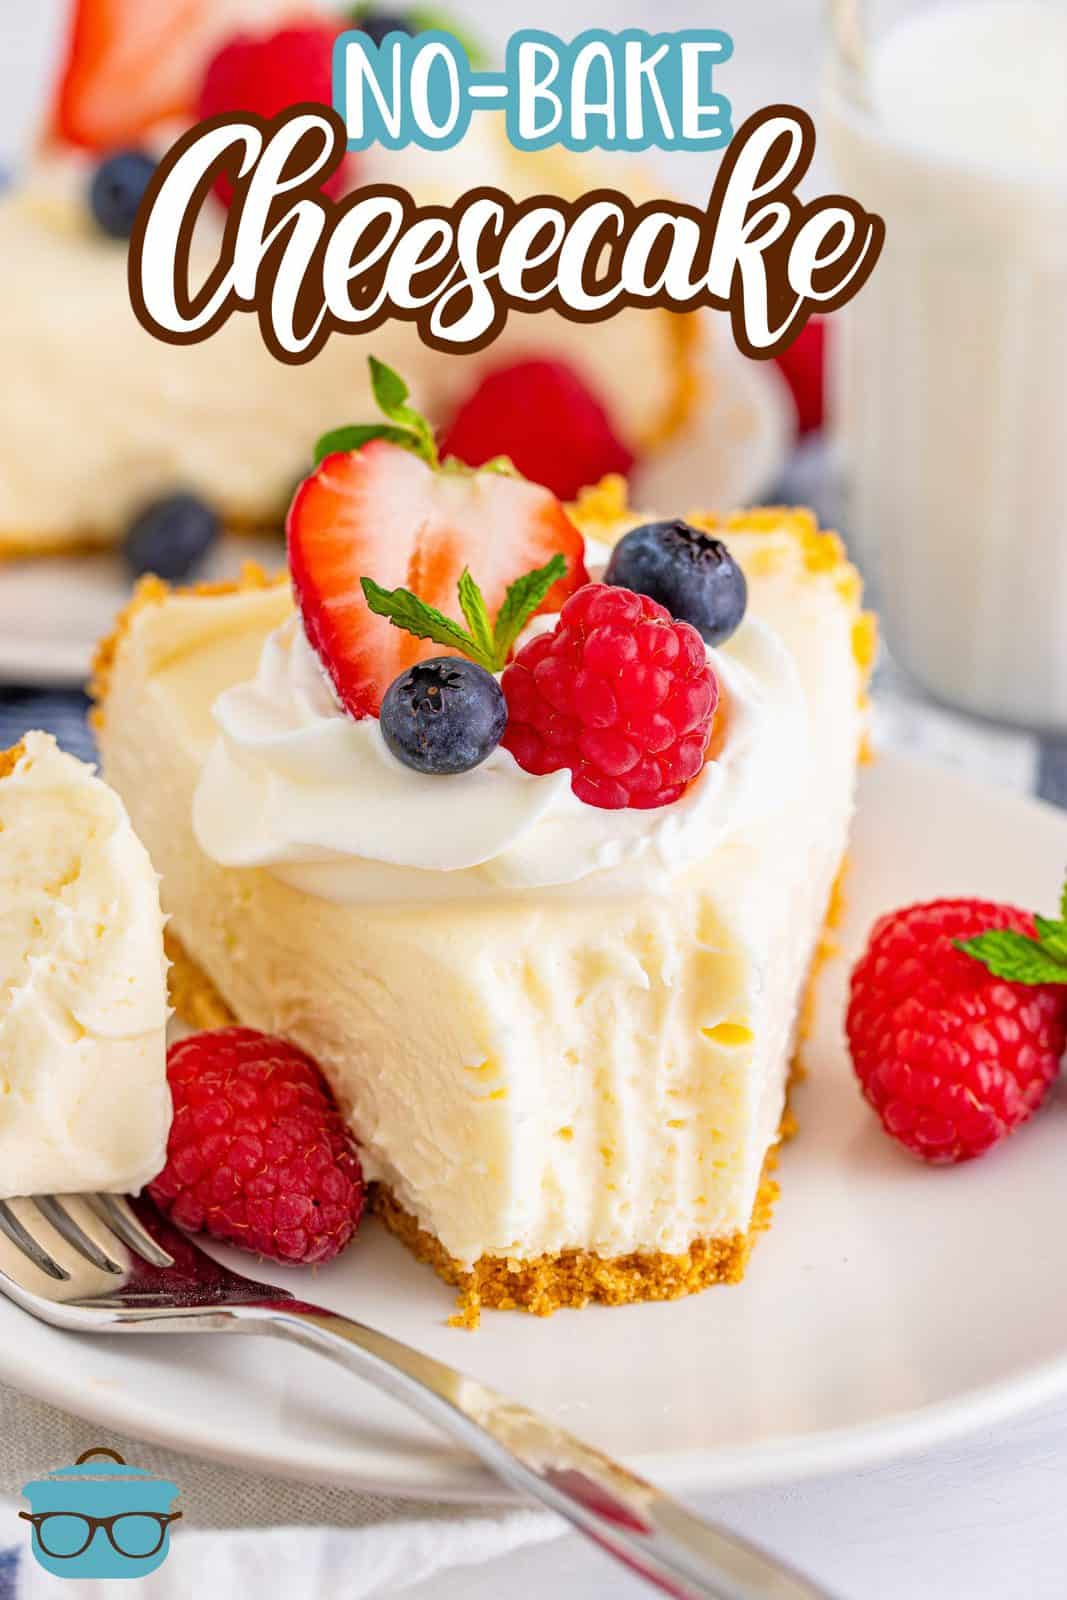
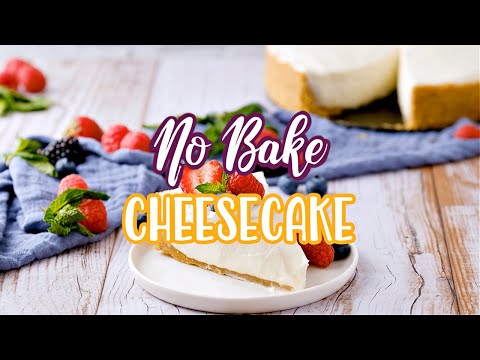
No-Bake Cheesecake
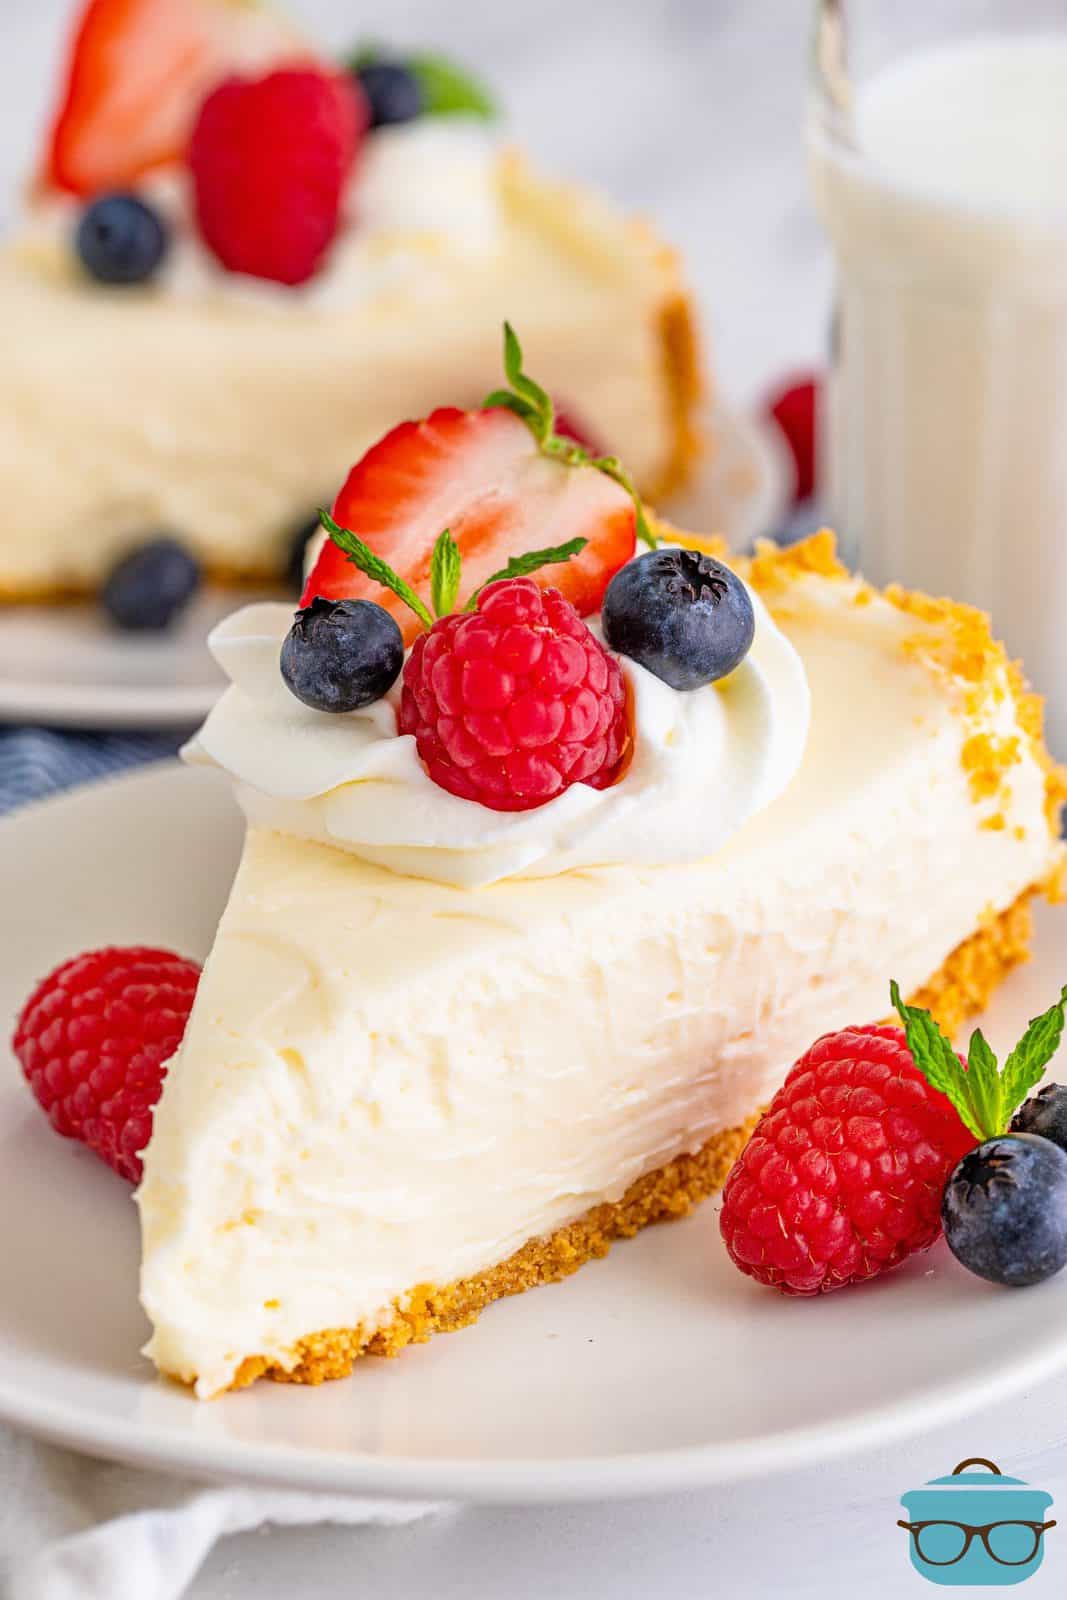
A creamy and easy dessert, this No-Bake Cheesecake is a great year-round dessert that only takes a handful of ingredients and is perfect for any occasion!
A TASTY NO-BAKE TREAT
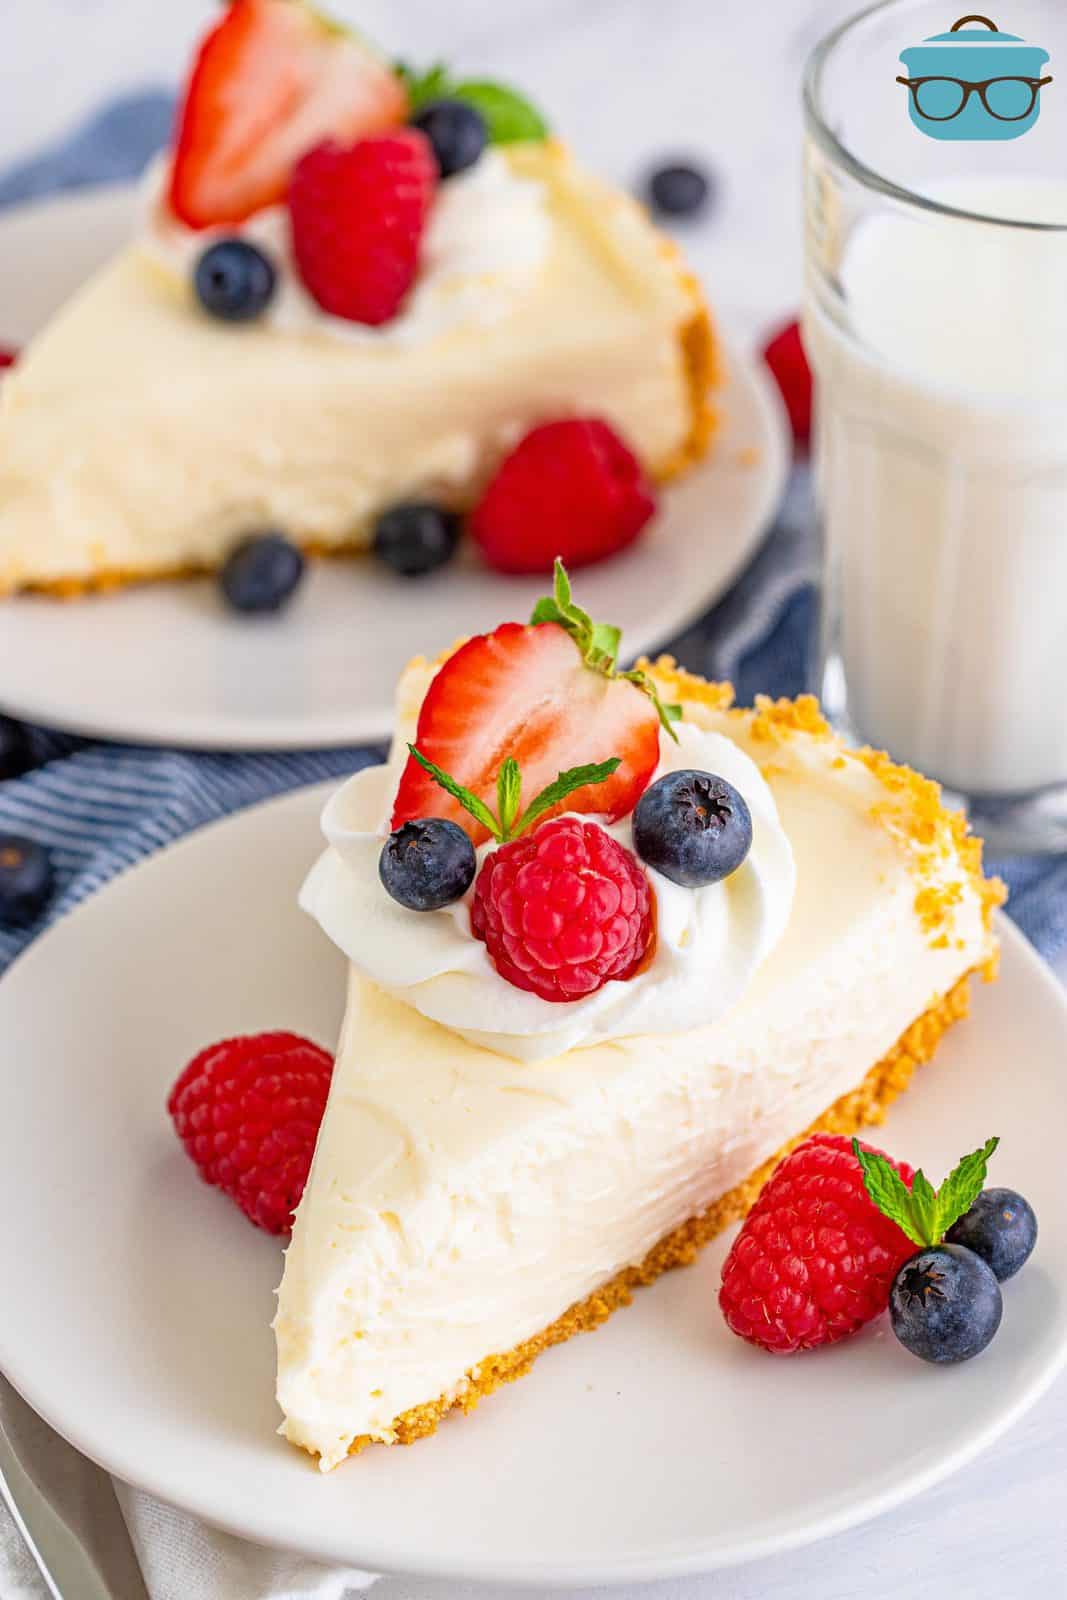
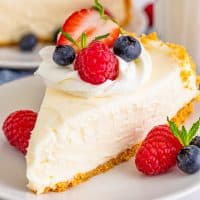
Cheesecakes are a dessert that my family absolutely loves. But as it starts getting warmer outside, if I don’t have to turn on the oven to make a cheesecake, then I’m happy as a clam. This is a nice basic recipe that you can flavor with anything you like and top with all of your favorite toppings. We went with whipped cream and fruit for this version. If you are looking for an amazing no-bake dessert this spring and summer, then you have to make this No-Bake Cheesecake recipe.
FREQUENTLY ASKED QUESTIONS:
Overnight is best for this No-Bake Cheesecake but usually 8 hours is good enough and it should be ready to cut into. This is a perfect make-ahead dessert. Keep in mind, as with most no bake desserts, this pie is soft set. This means the pie is not going to get stiff as if you made a baked cheesecake.
The reason lemon juice is added is because the acid helps the cheesecake keep its texture instead of becoming runny. It also enhances the overall flavor. You are not able to taste the lemon juice as a separate ingredient.
Of course. If you are not a fan of graham crackers or just want to change up the crust flavor you can use chocolate graham crackers, vanilla wafers or other cookies. Or you can purchase a store-bought crust.
You can stir in candy pieces, chocolate chips, swirls of fruit puree, etc.
There are so many things that you can top this with depending on what flavor you are going for. Some ideas include: pureed berries, fresh fruit, cookies, candy, whipped cream, chocolate sauce, strawberry sauce, caramel sauce, etc. I have a gorgeous recipe for a Strawberry Sauce that would go perfect with this cheesecake!
This will keep covered in the refrigerator for up to 4-5 days. This can also be frozen. Cover the pan with plastic wrap and then foil and it will keep for up to 3 months. You can place in the refrigerator overnight to thaw or enjoy from frozen.
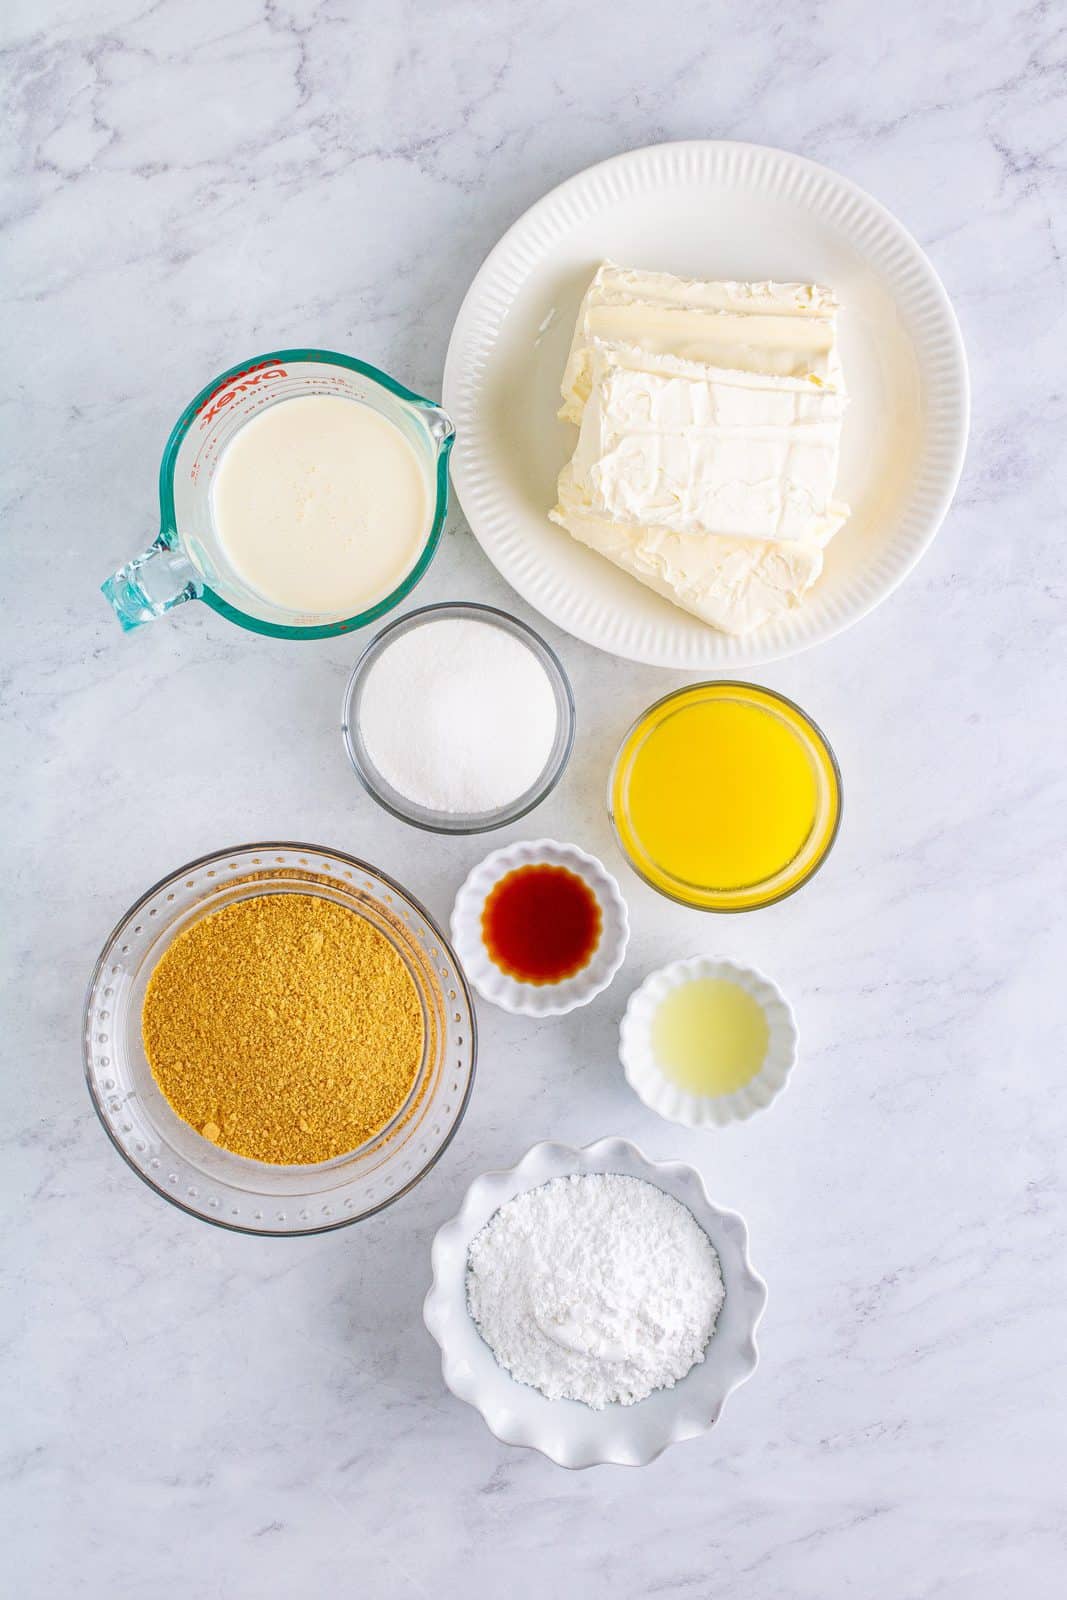
INGREDIENTS NEEDED: (SEE RECIPE CARD BELOW FOR THE FULL RECIPE)
- graham cracker crumbs
- salted butter
- granulated sugar
- cream cheese – see my post on How to Soften Cream Cheese Fast
- powdered sugar
- vanilla extract
- fresh lemon juice
- heavy whipping cream
HOW TO MAKE A NO-BAKE CHEESECAKE:
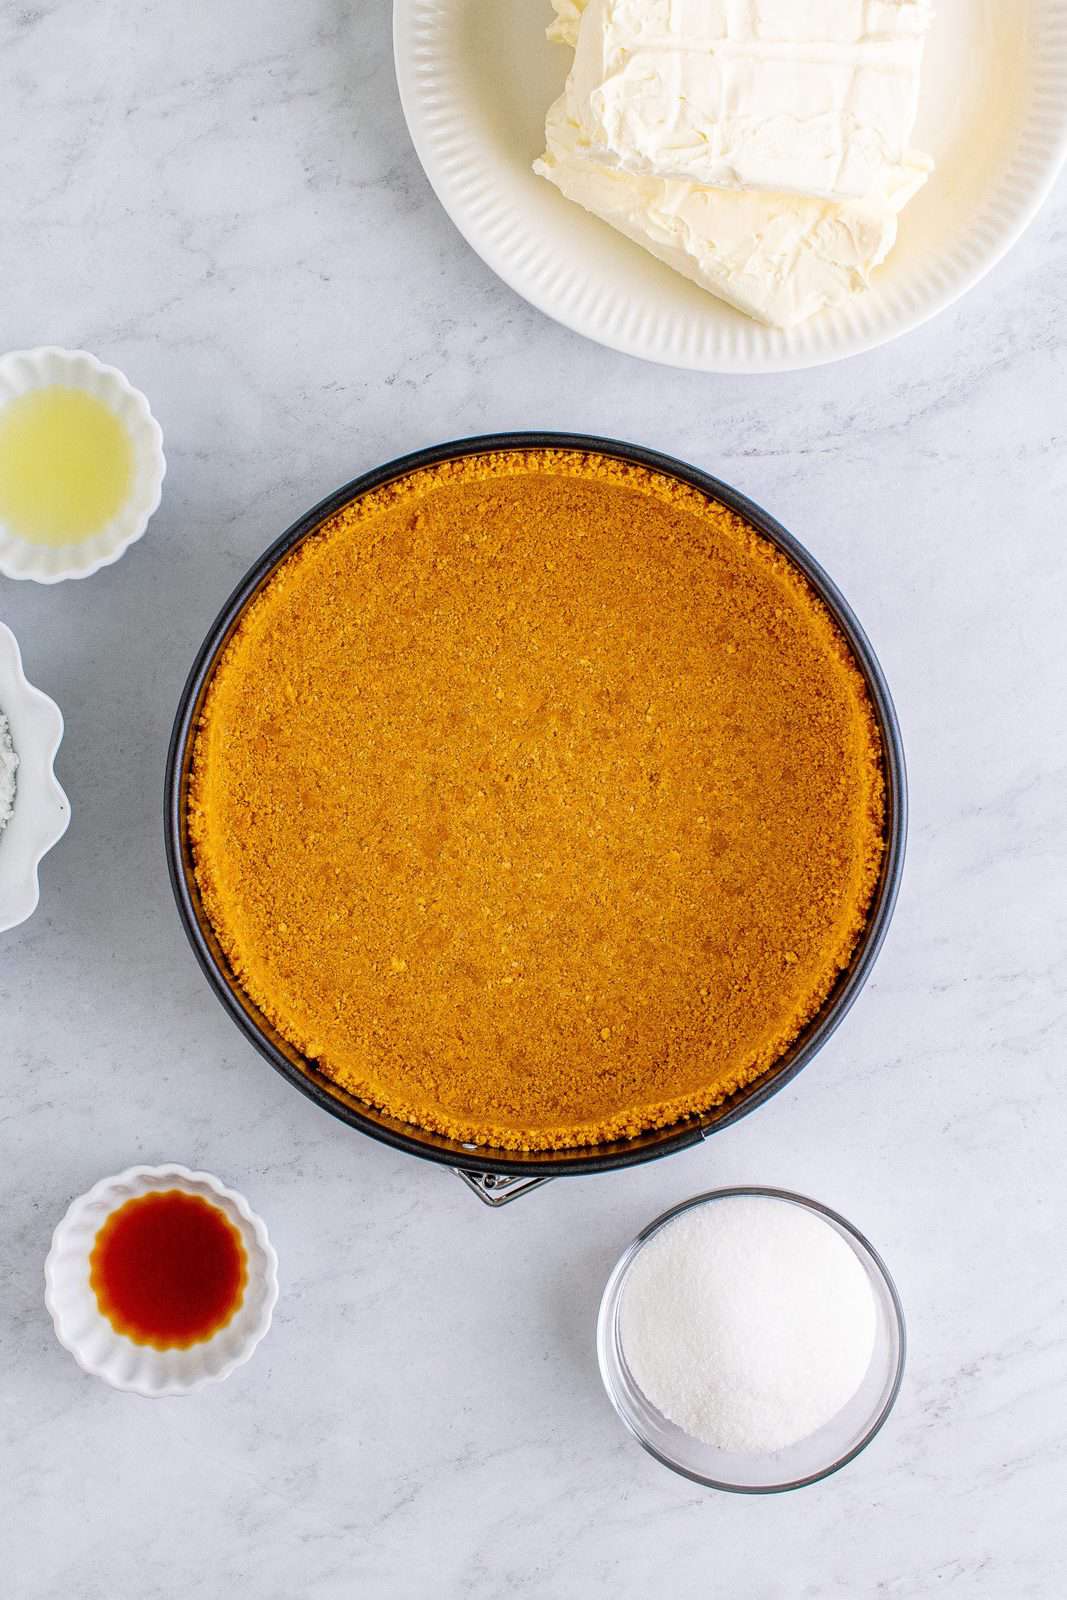
In a medium-sized bowl, stir together the graham cracker crumbs, butter, and sugar until combined. It should look like wet sand.
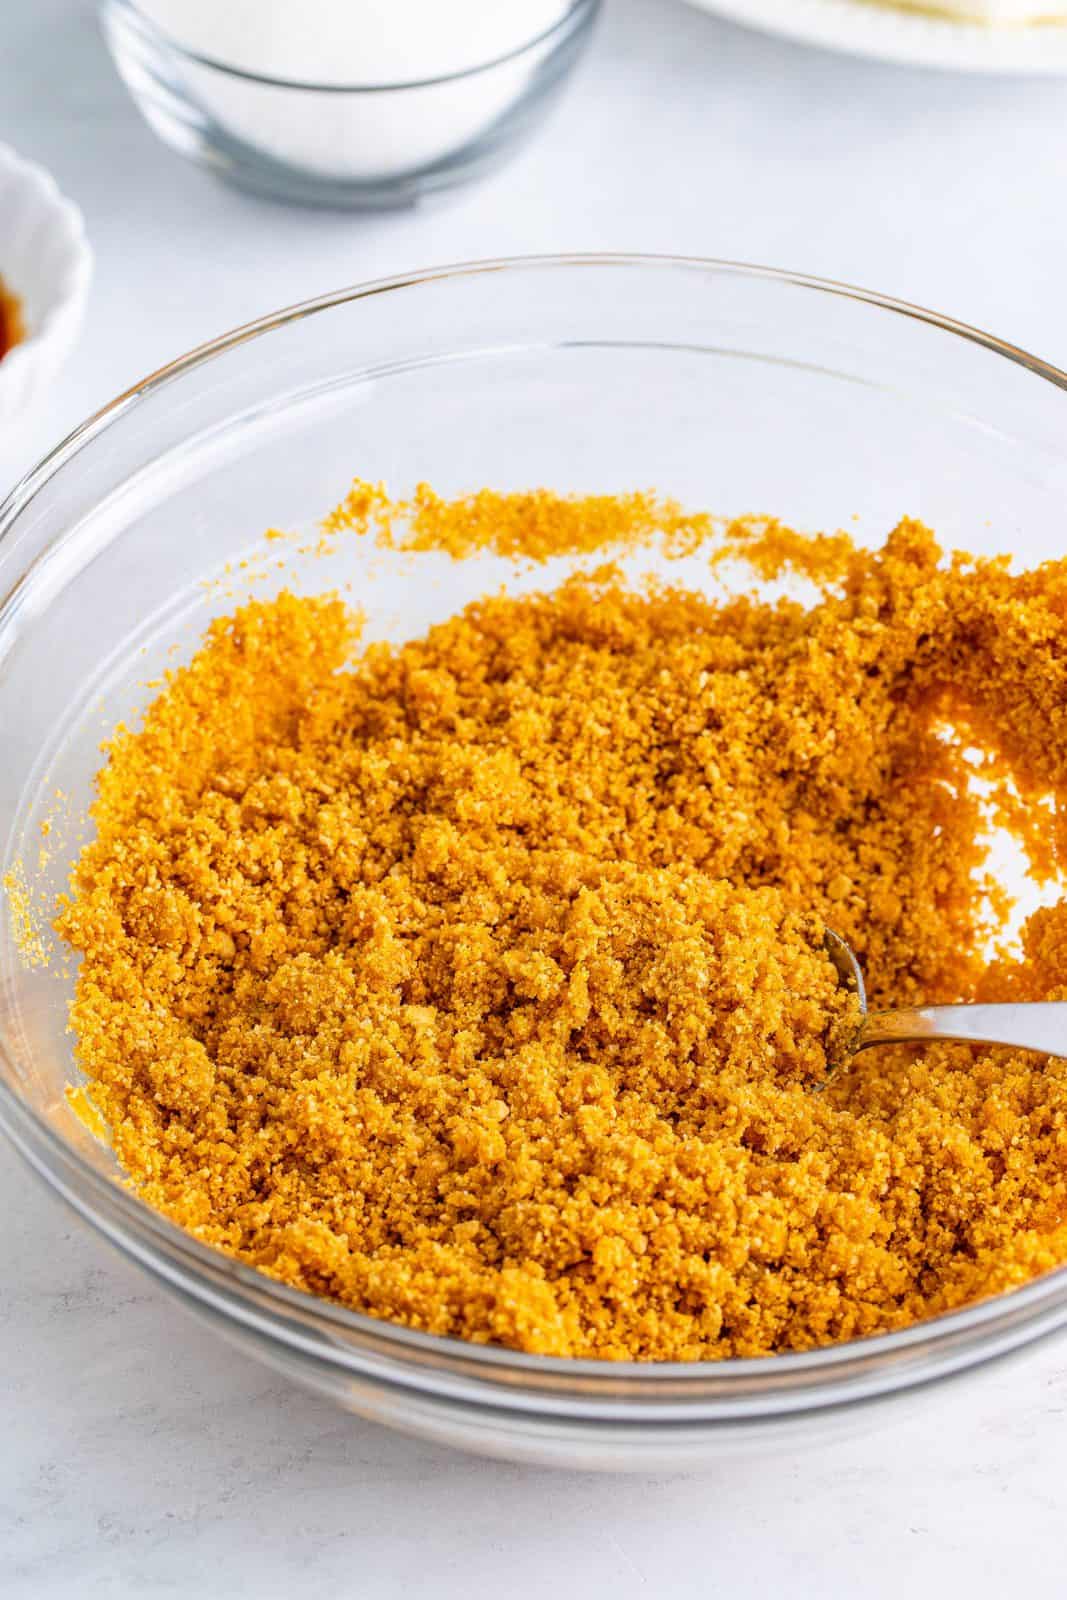
Pack the crust into the bottom and slightly up the sides of a 9-inch springform pan. You can do this by hand or take the flat bottom of a cup and gently press it that way. Place crust in the freezer while you make the filling.
Add the cream cheese to a large bowl. With an electric hand mixer or a stand mixer, whip the cream cheese until smooth.
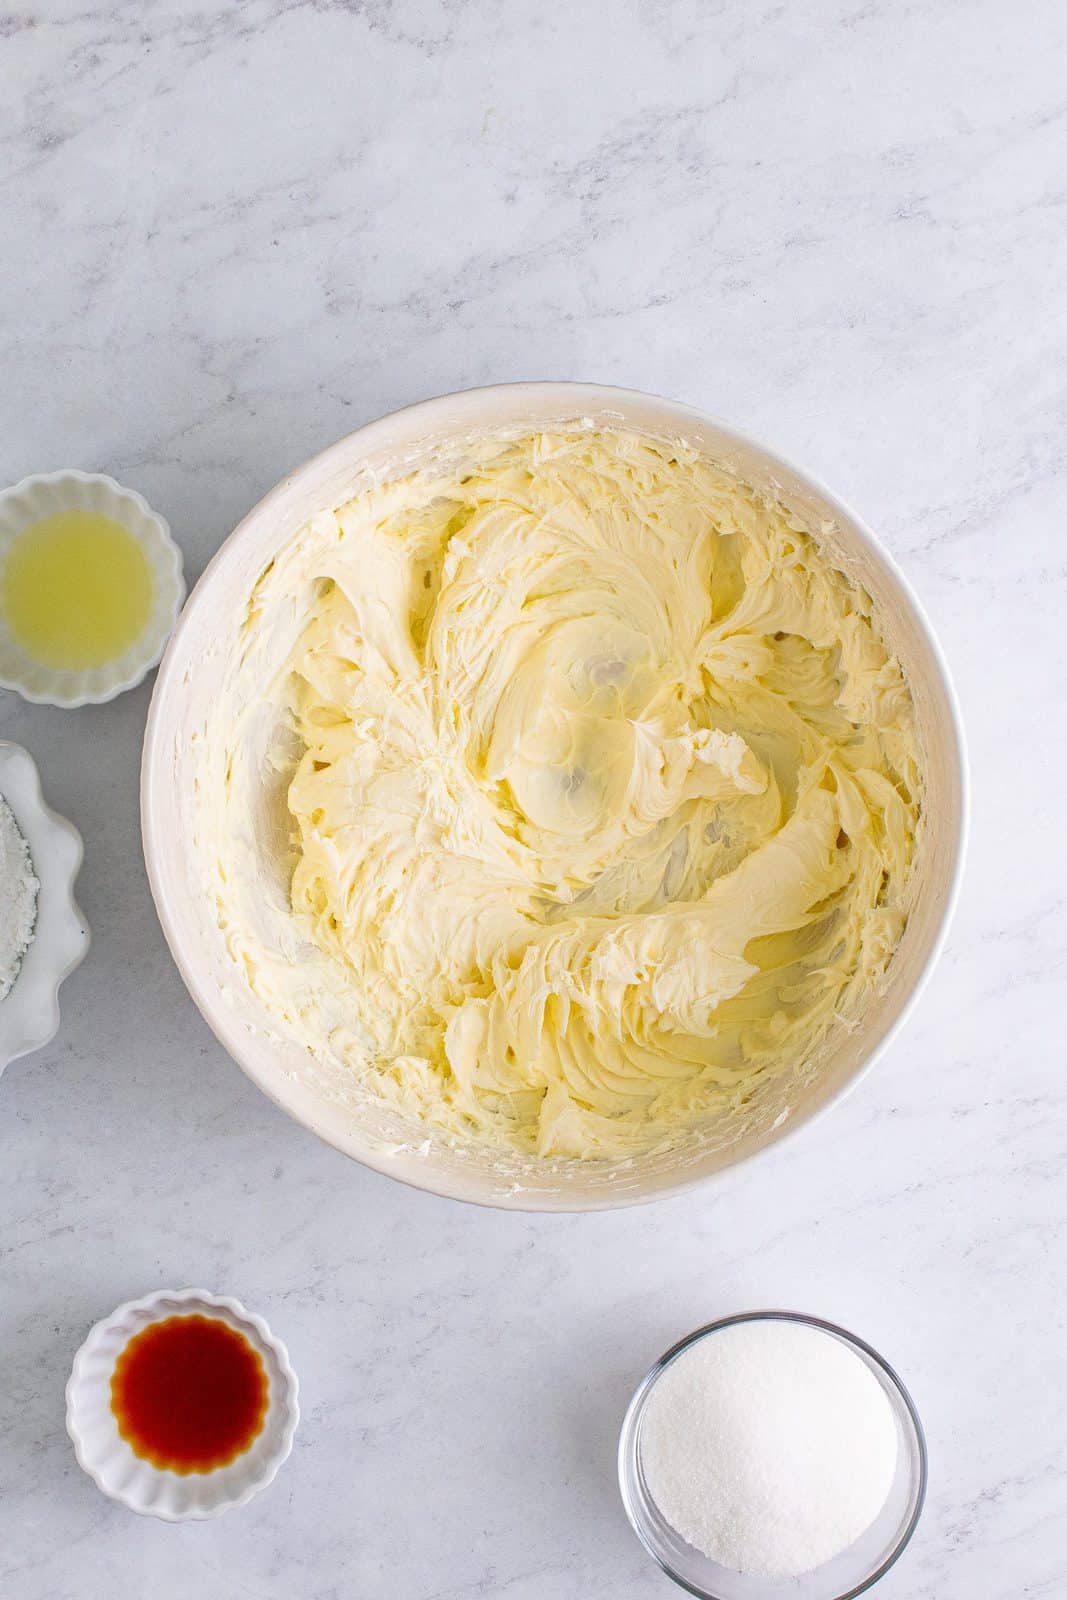
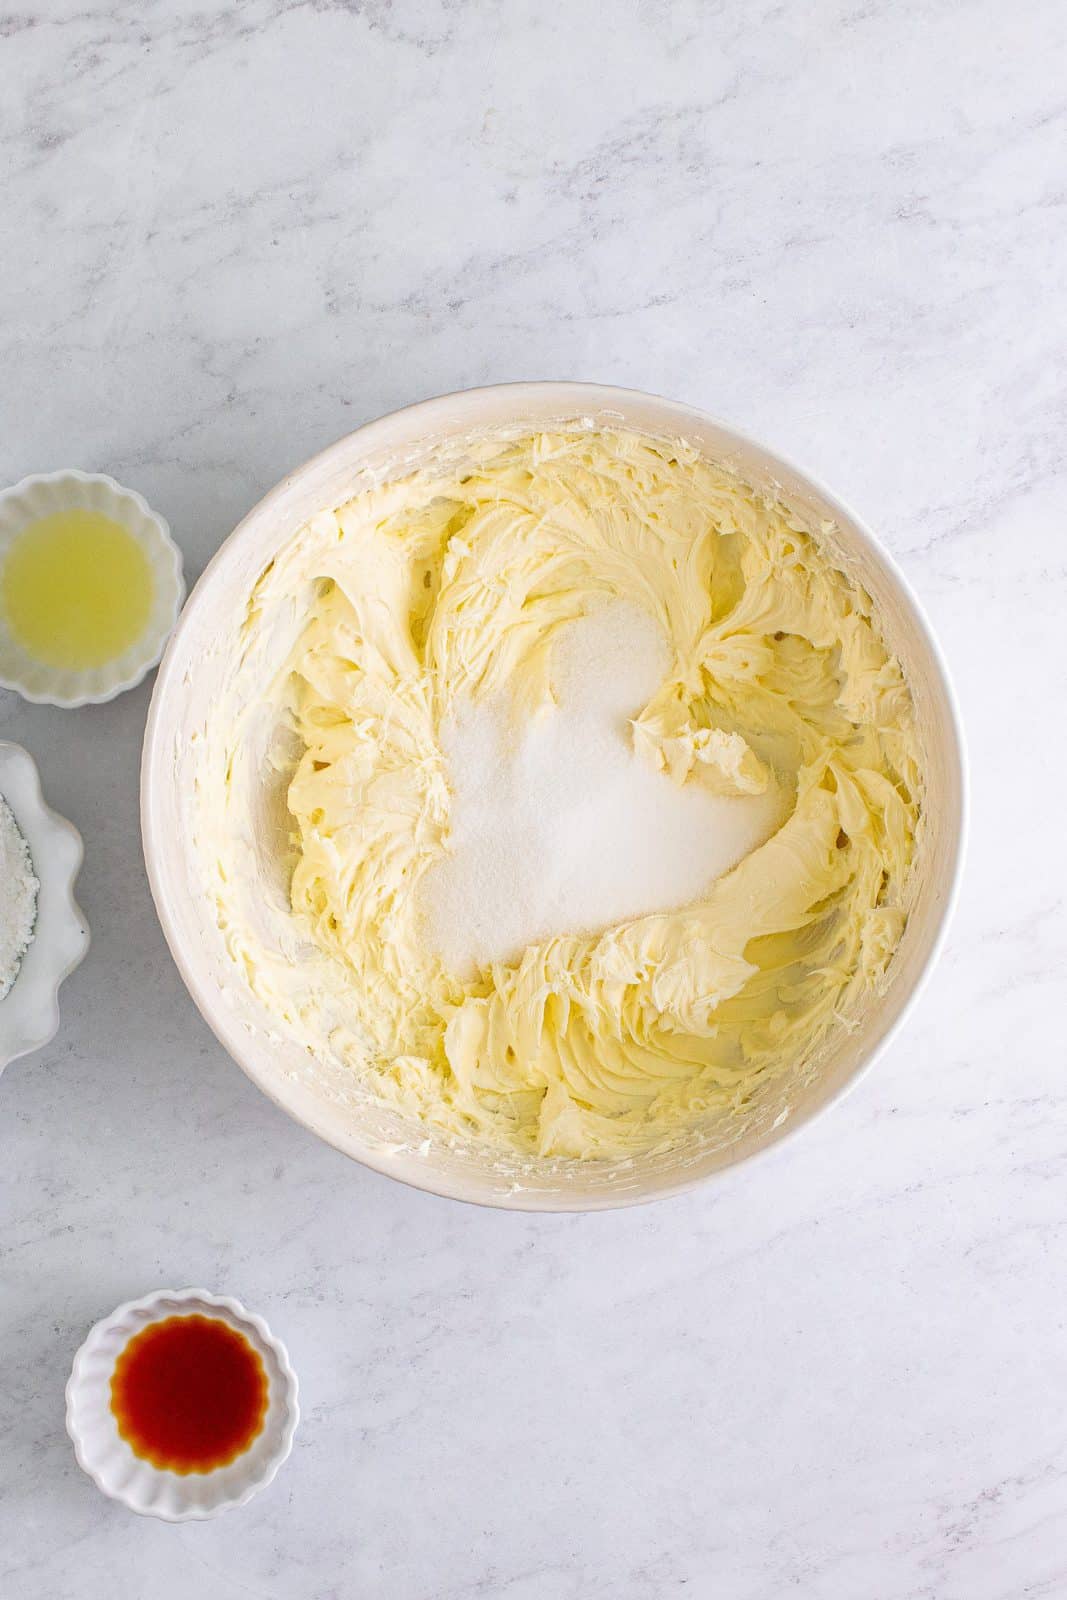
Add the granulated sugar and stir until combined.
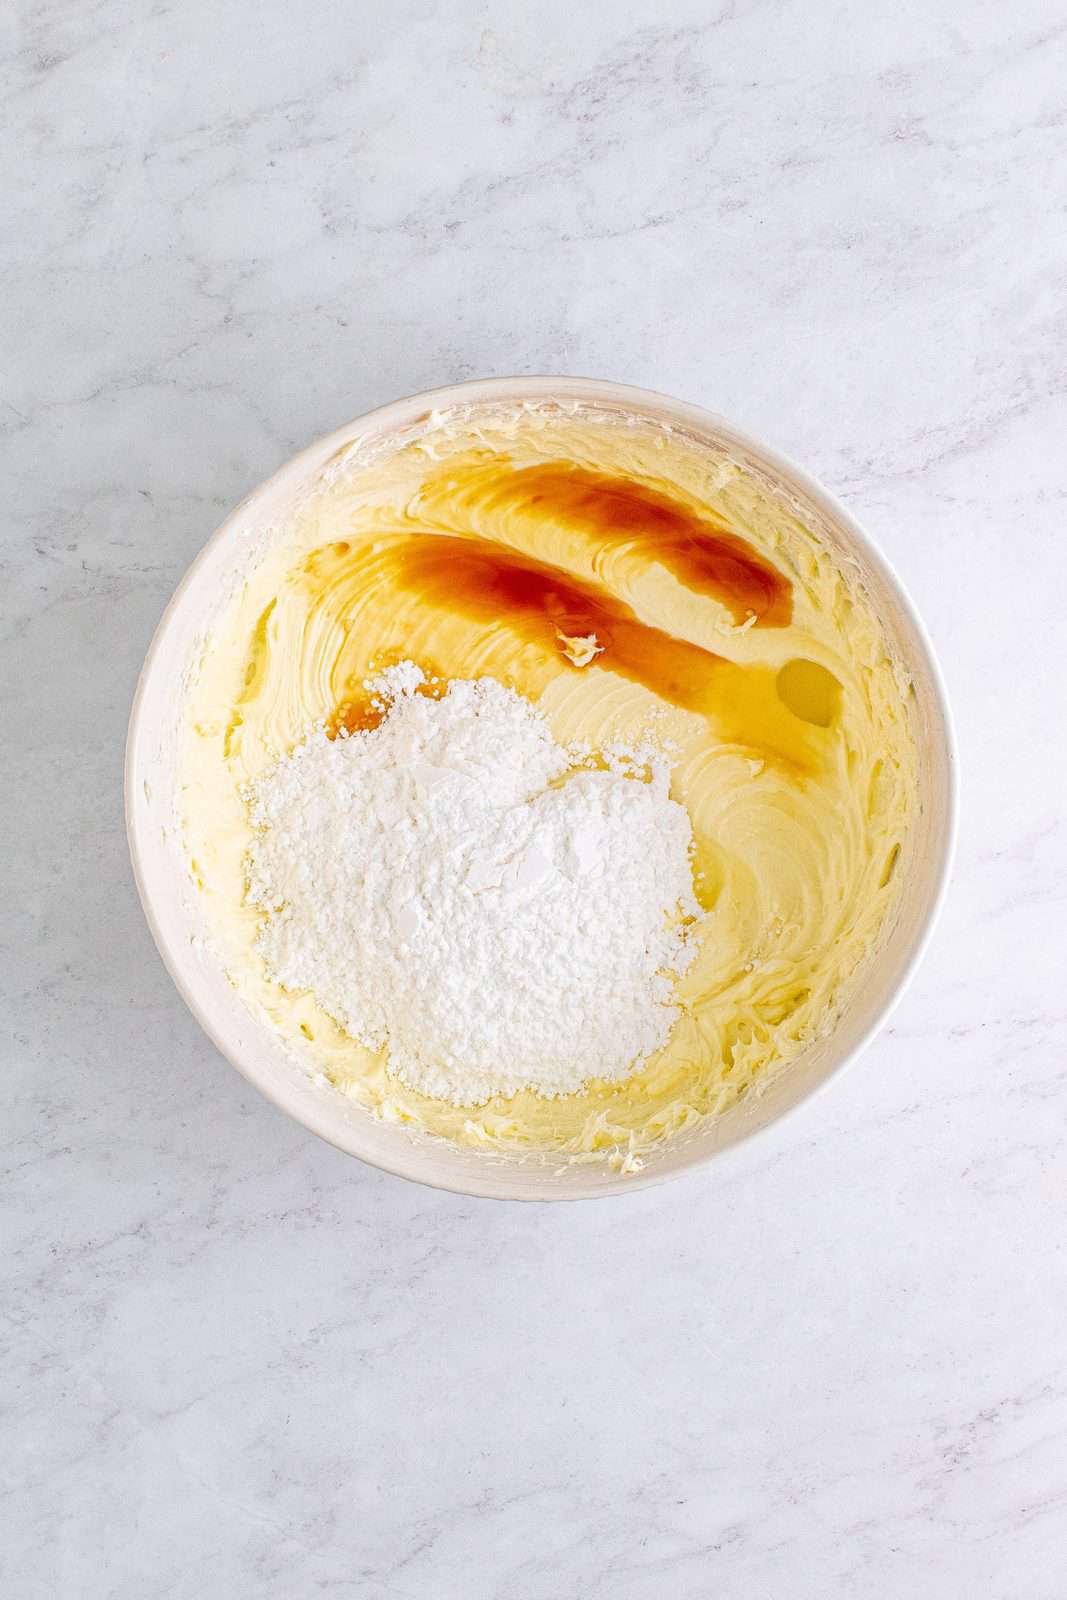
Next, add the powdered sugar, vanilla extract, and lemon juice, stir to combine until smooth. Scrape down the sides as needed.
In a separate bowl, whip the heavy whipping cream to stiff peaks. It should hold its shape without being runny.
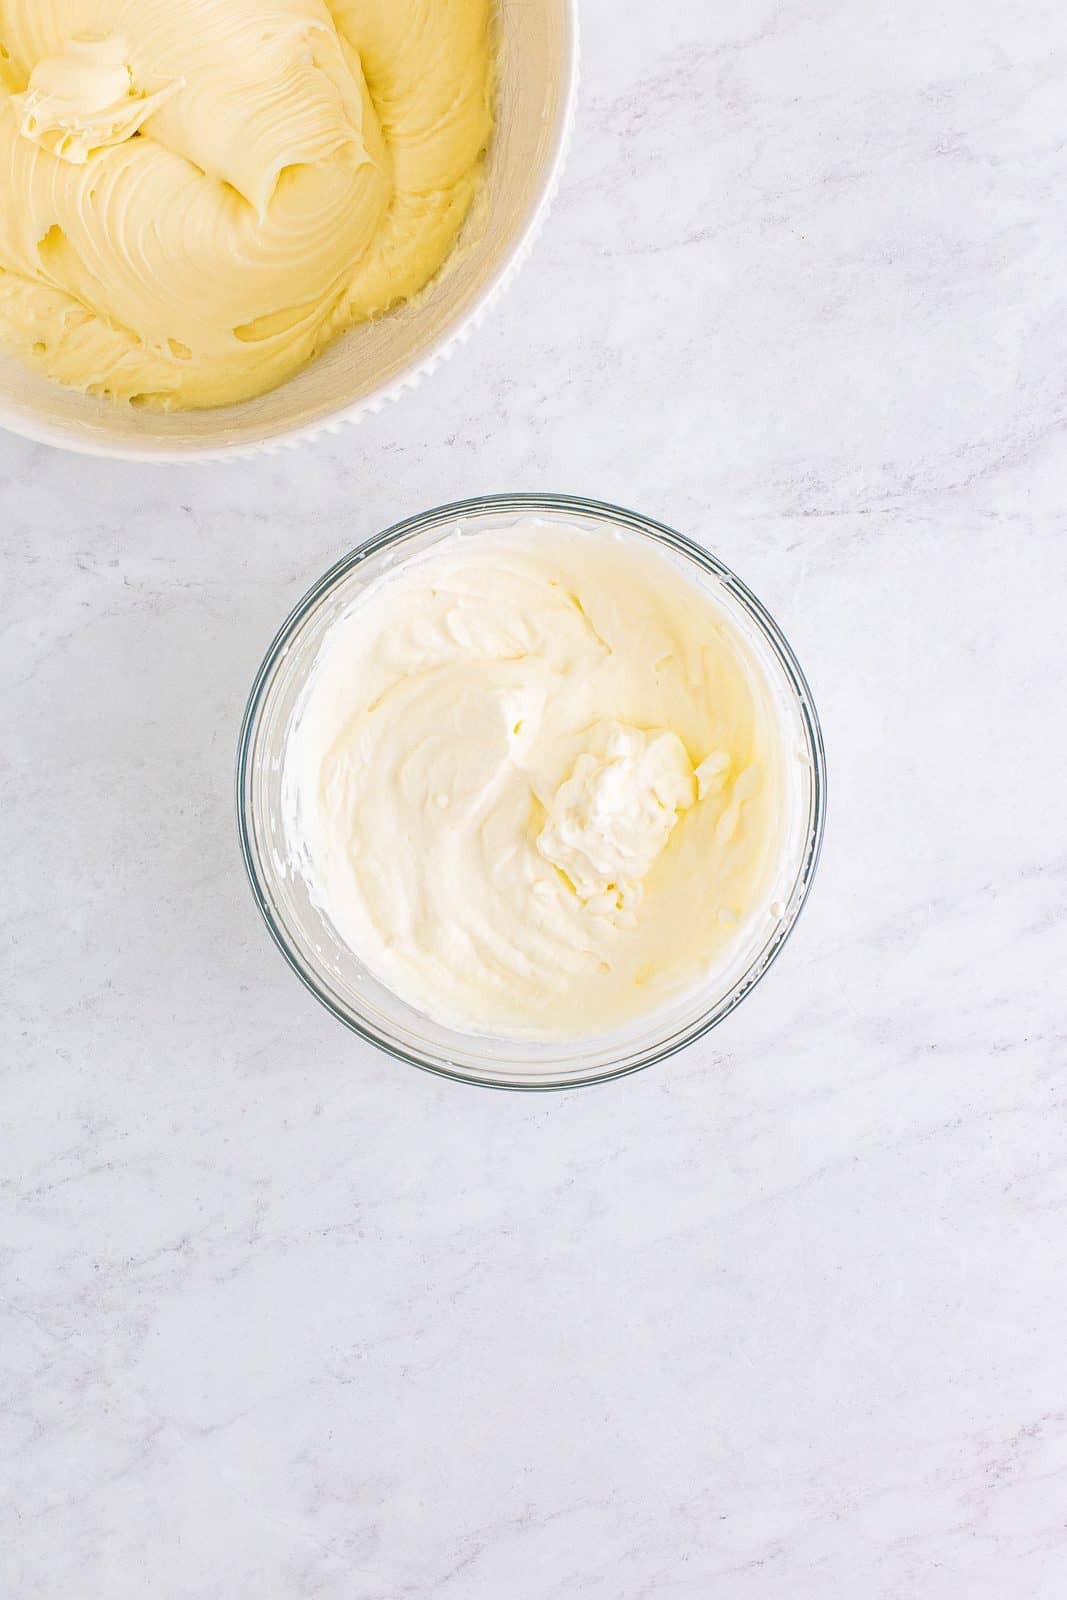
Add whipped cream into to the cream cheese mixture and gently stir it in until there are no white streaks.
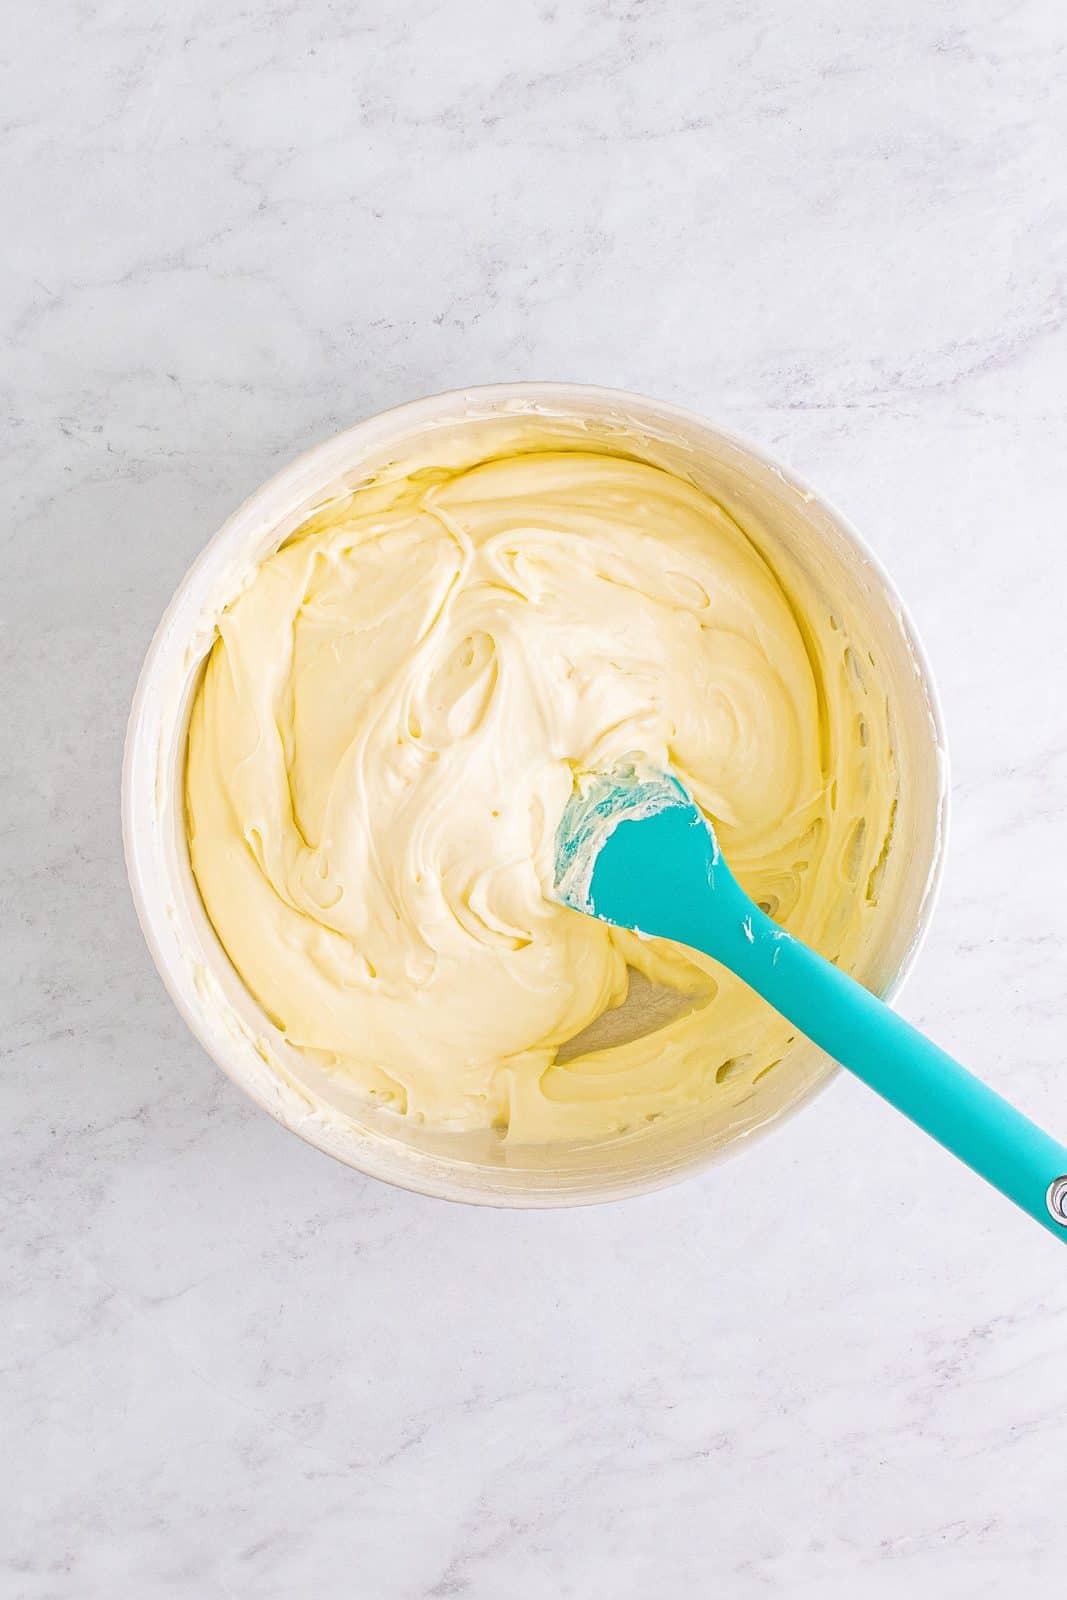
Pour the filling to the crust and smooth out the top. Cover with plastic wrap and place in the fridge overnight (or at least 8 hours) to set properly.

When ready to serve, take a butter knife and run it along the inside edge of the cheesecake in the pan. Take off the outer ring.
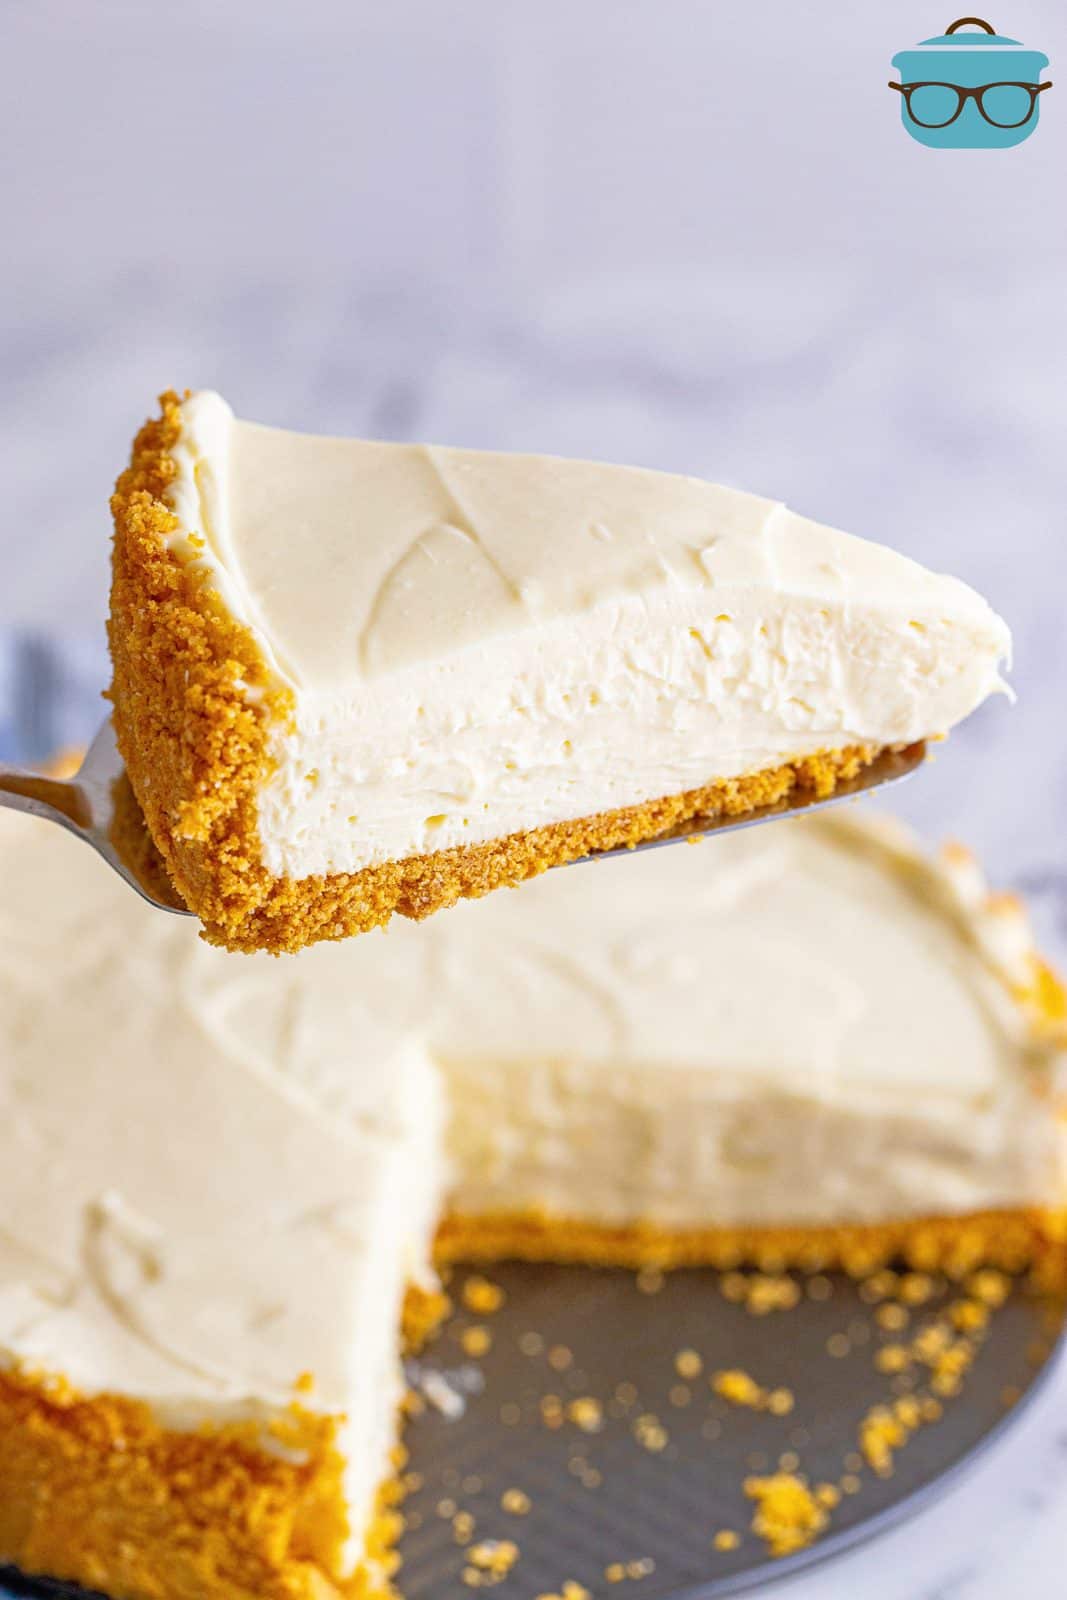
Slice and serve with whipped cream and fresh berries for topping, optional.
WANT MORE DELICIOUS RECIPES?
- No-Bake Chocolate Chip Cheesecake
- Cherry Cheesecake Dip
- Cherry Cheesecake Bars
- Funfetti Cheesecake (No Bake)
- Instant Pot Cheesecake
- No-Bake White Chocolate Lemon Cheesecake
- Millionaire Pie
- Lemonade Pie
- Orange Creamsicle Pie
No-Bake Cheesecake
Ingredients
For the crust:
- 1 ½ cups graham cracker crumbs
- 7 Tablespoons salted butter, melted
- 2 tablespoons granulated sugar
For the filling:
- 24 ounces cream cheese (3 blocks) softened to room temperature
- ½ cup granulated sugar
- 1 cup powdered sugar
- 2 teaspoons vanilla extract
- 2 teaspoons lemon juice, fresh squeezed (optional)
- 1 ¼ cups heavy whipping cream
Instructions
- In a medium-sized bowl, stir together the graham cracker crumbs, butter, and sugar until combined. It should look like wet sand.
- Pack the crust into the bottom and slightly up the sides of a 9-inch springform pan. You can do this by hand or take the flat bottom of a cup and gently press it that way. Place crust in the freezer while you make the filling
- Add the cream cheese to a large bowl. Using an electric hand mixer or a stand mixer, whip the cream cheese until smooth.
- Add the granulated sugar and stir until combined.
- Next, add the powdered sugar, vanilla, and lemon juice, stir to combine until smooth, scrape down the sides as needed.
- In a separate bowl, whip the heavy whipping cream with an electric mixer to stiff peaks. It should be able to hold its shape without being runny.
- Add the whipped cream to the cream cheese mixture and gently stir it in until there are no white streaks.
- Pour the filling into the crust and smooth out the top. Cover with plastic wrap and place in the refrigerator overnight (or at least 8 hours) to set.
- When ready to serve, take off the outer ring of the springform pan. Note: If you find it sticking at all you can take a butter knife and run it along the inside edge of the cheesecake in the pan.
- Slice and serve with whipped cream and fresh berries for topping, optional.
Video
Notes
- You can change the flavor of the cheesecake by adding things to the cheesecake, see suggestions above.
- As with most no-bake pies, this is a soft set dessert. This means that it will not have the same texture or stiffness as a baked cheesecake.
- This needs to chill for at least 8 hours if not overnight.
- This is a great make ahead dessert.
- Top this with various different toppings, see above for ideas.
- This can be frozen, see above on how you can do that.
Nutrition
Nutritional Disclaimer
“The Country Cook” is not a dietician or nutritionist, and any nutritional information shared is an estimate. If calorie count and other nutritional values are important to you, we recommend running the ingredients through whichever online nutritional calculator you prefer. Calories and other nutritional values can vary quite a bit depending on which brands were used.


I don’t have a springform pan, can I use a regular pie dish with this recipe?
You can, it’s just a bit harder to get out a slice (especially the first one) but it can be done. Also a regular pie dish has slanted sides so just bear that in mind, you won’t have the traditional cheesecake straight sides. 🙂
Thank you Brandie, I do have a round cake pan. Would that be better than a pie pan?
This recipe is one that I will try BUT I think some directions are missing. “Step 2. pan. You can do this…” whatever directions are before the word ‘pan’ are missing.
Hi Carol, sorry about that. It was complete and correct within the post but for some reason it didn’t all get transferred to the recipe card. It’s fixed now!
I love the way the filling makes a heart shape in the photo, before you’d added the powdered sugar! It’s a sure sign that you cook/bake with love, Brandie!
Thank you for sharing all the YUMMY recipes you continue to bring us!
Oh my goodness – I didn’t even notice that until you pointed it out! Thanks so much!