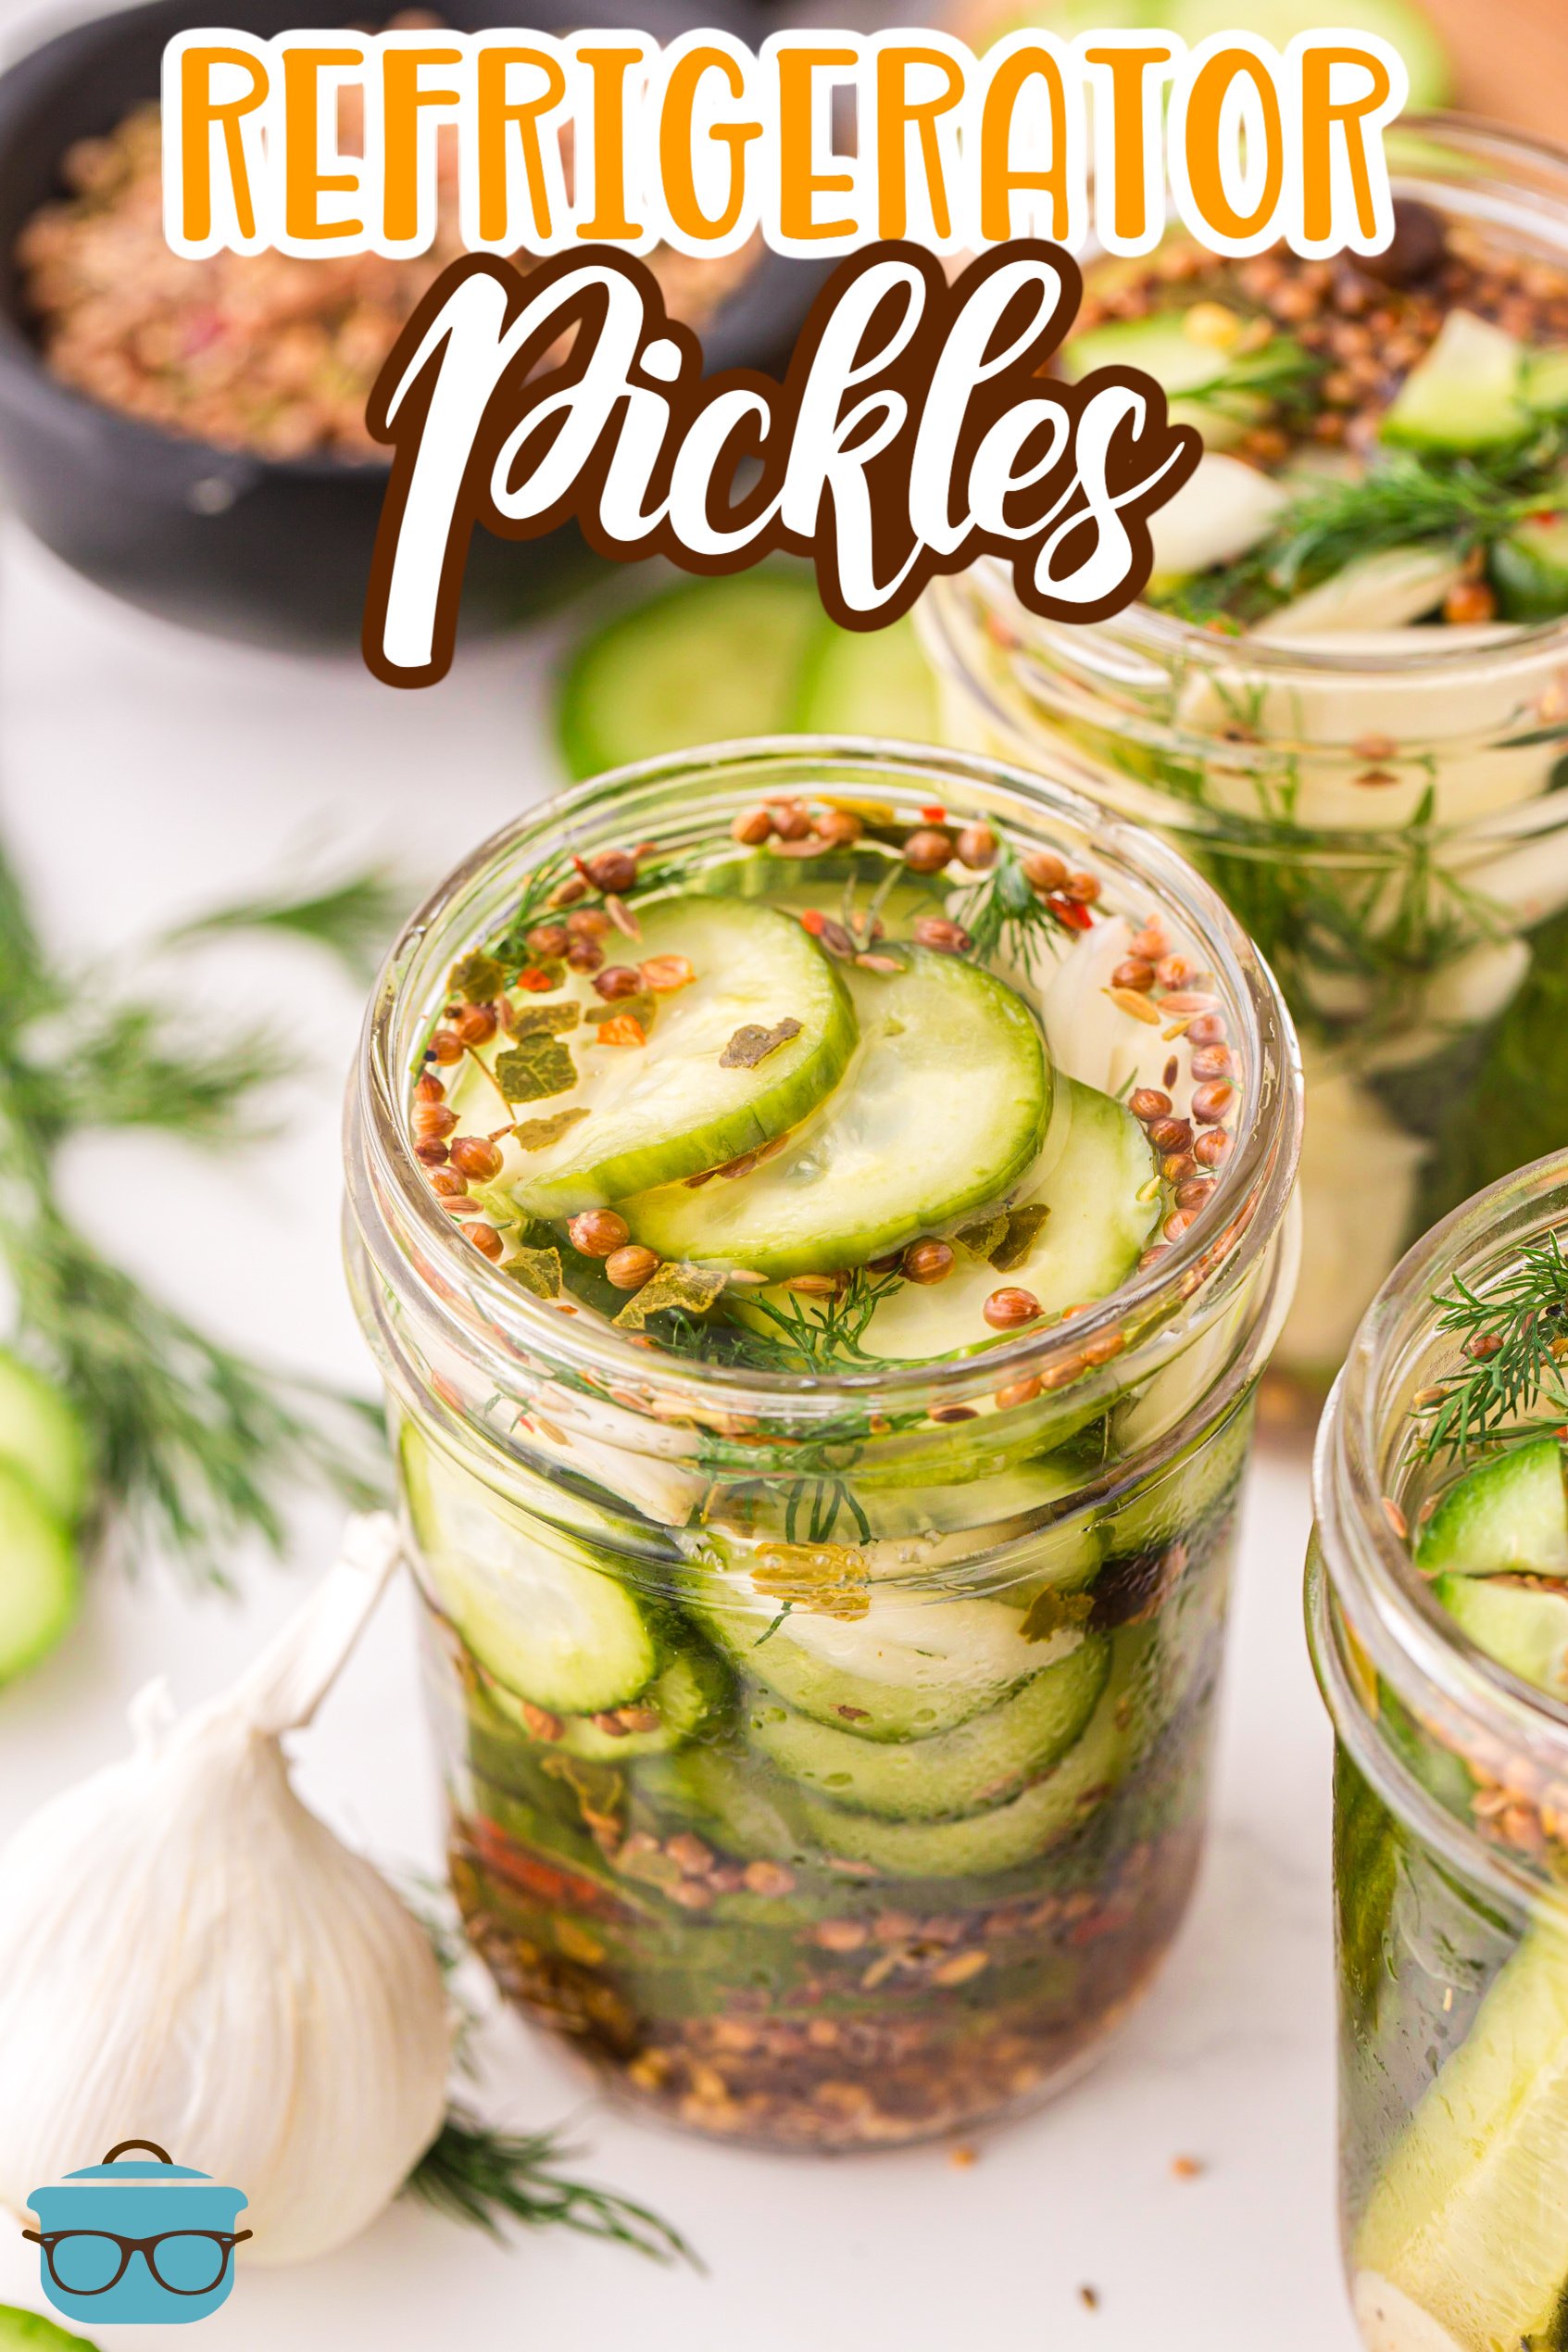
Refrigerator Pickles
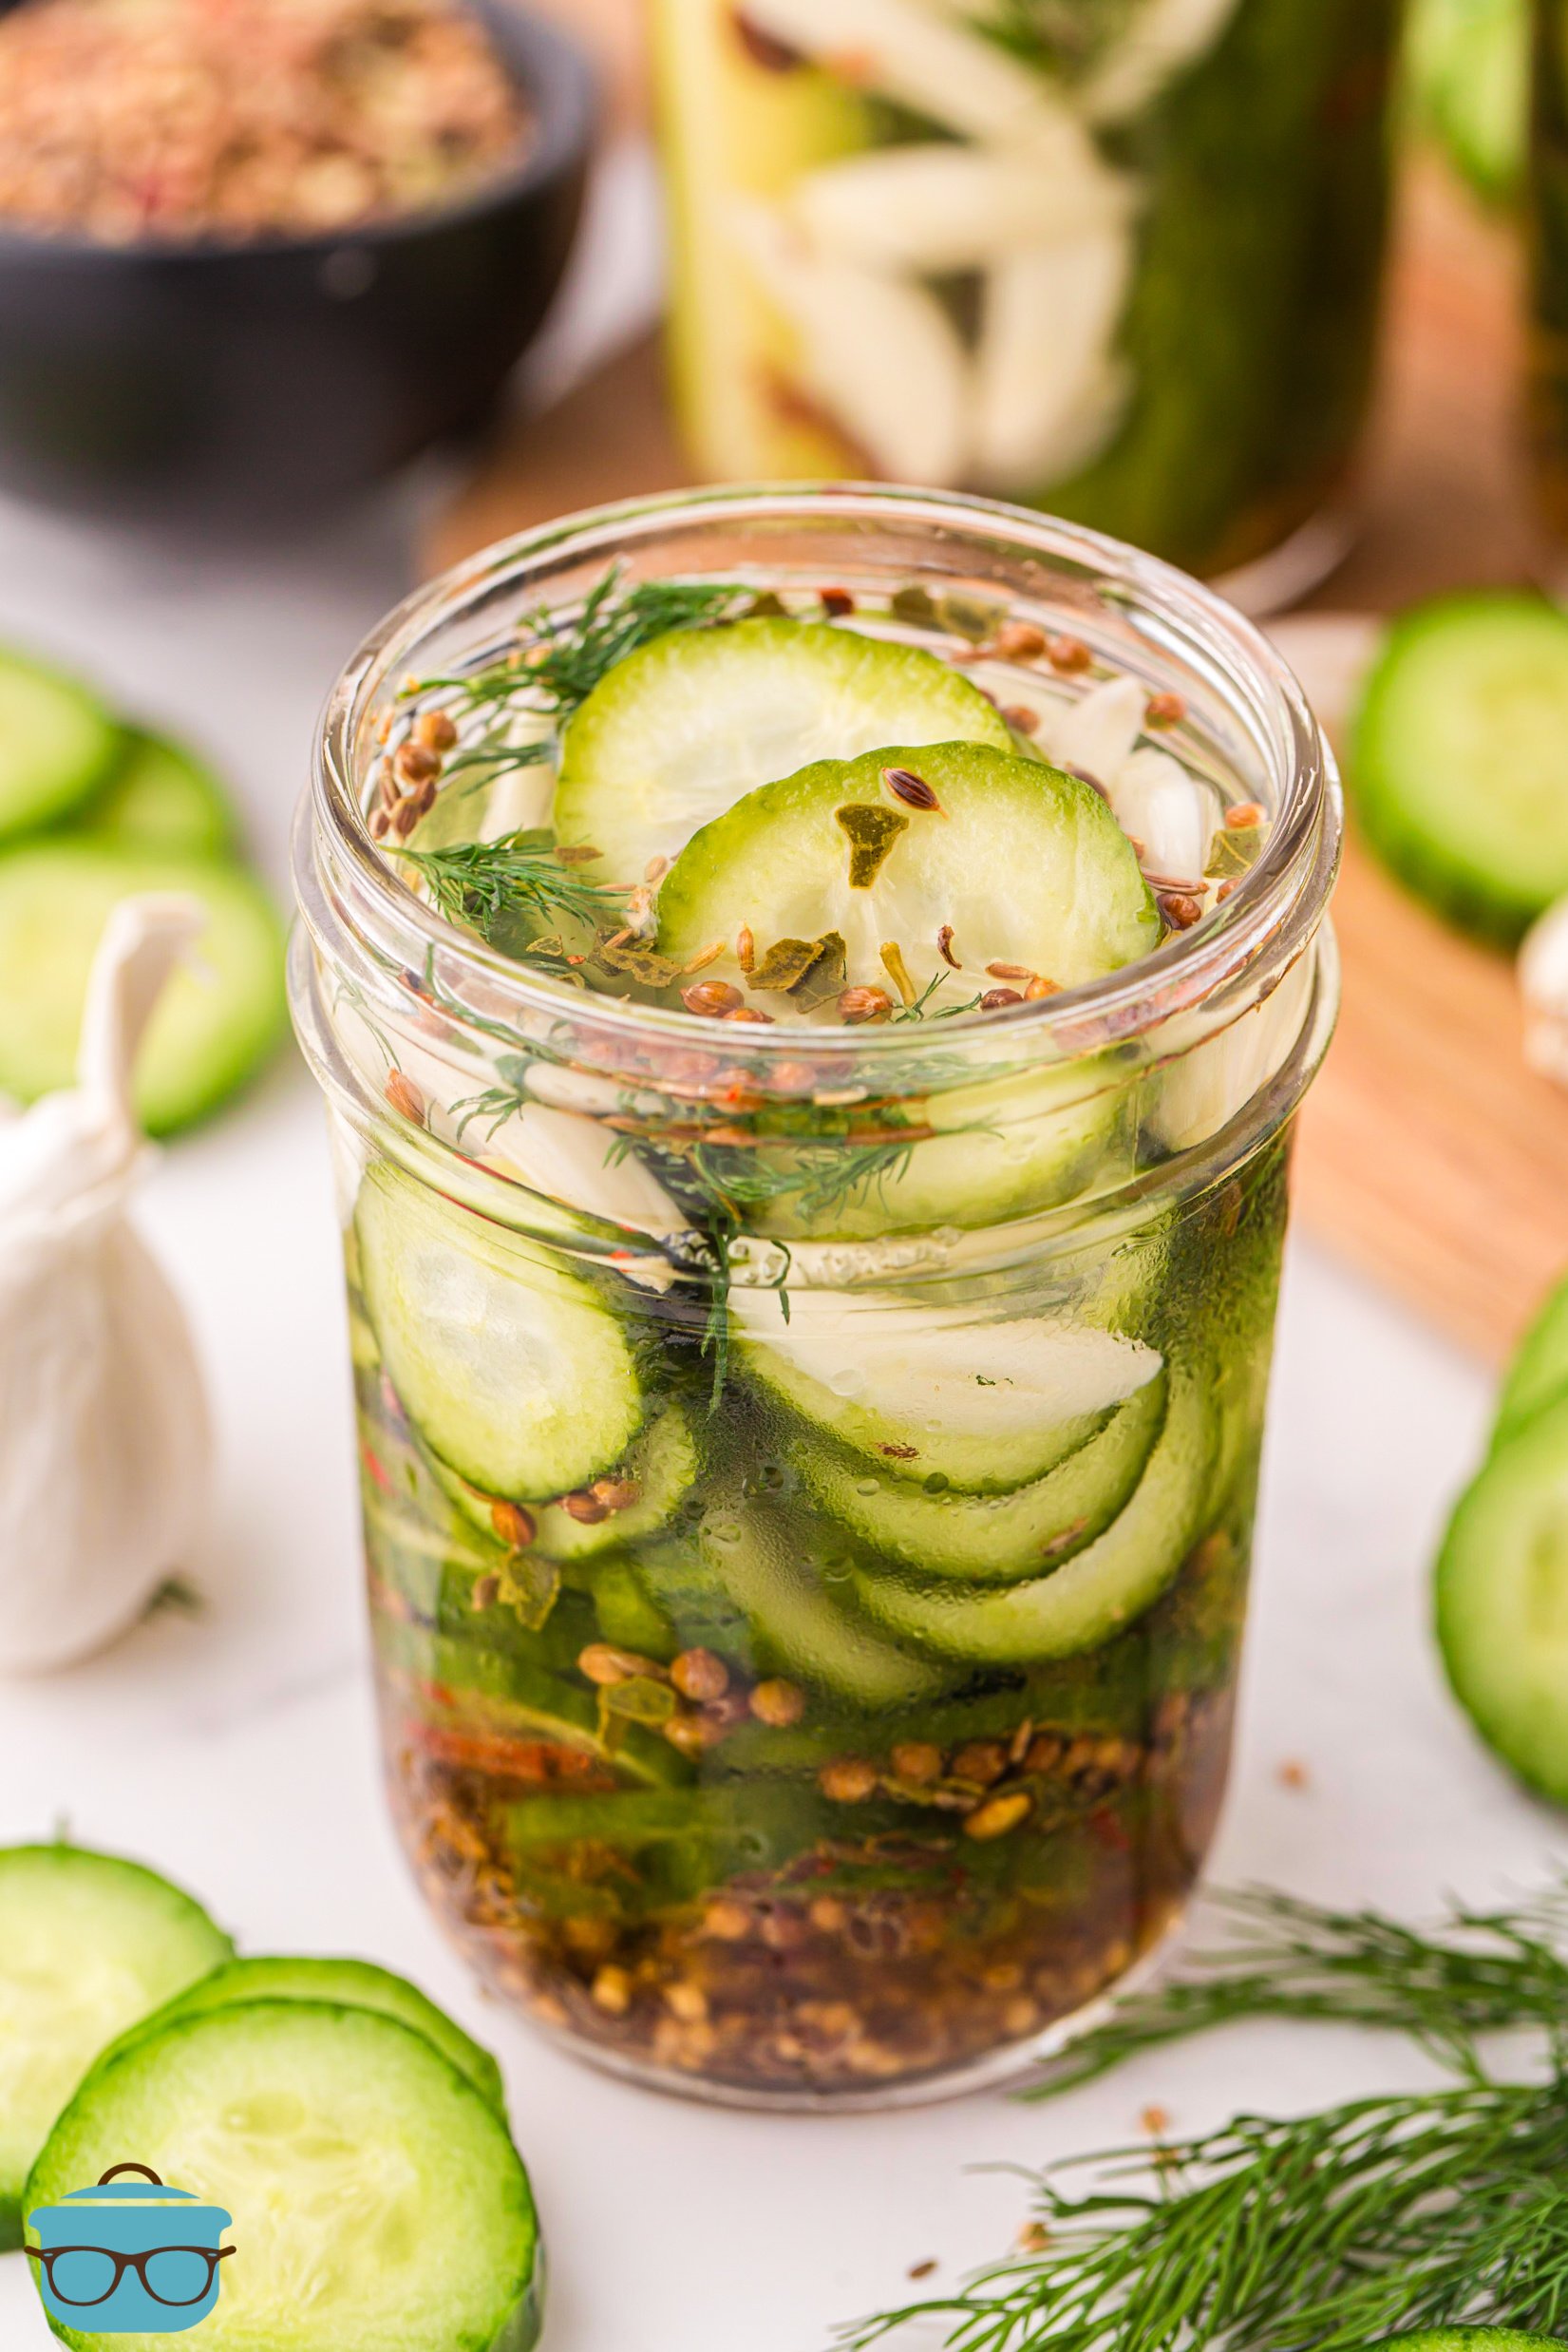
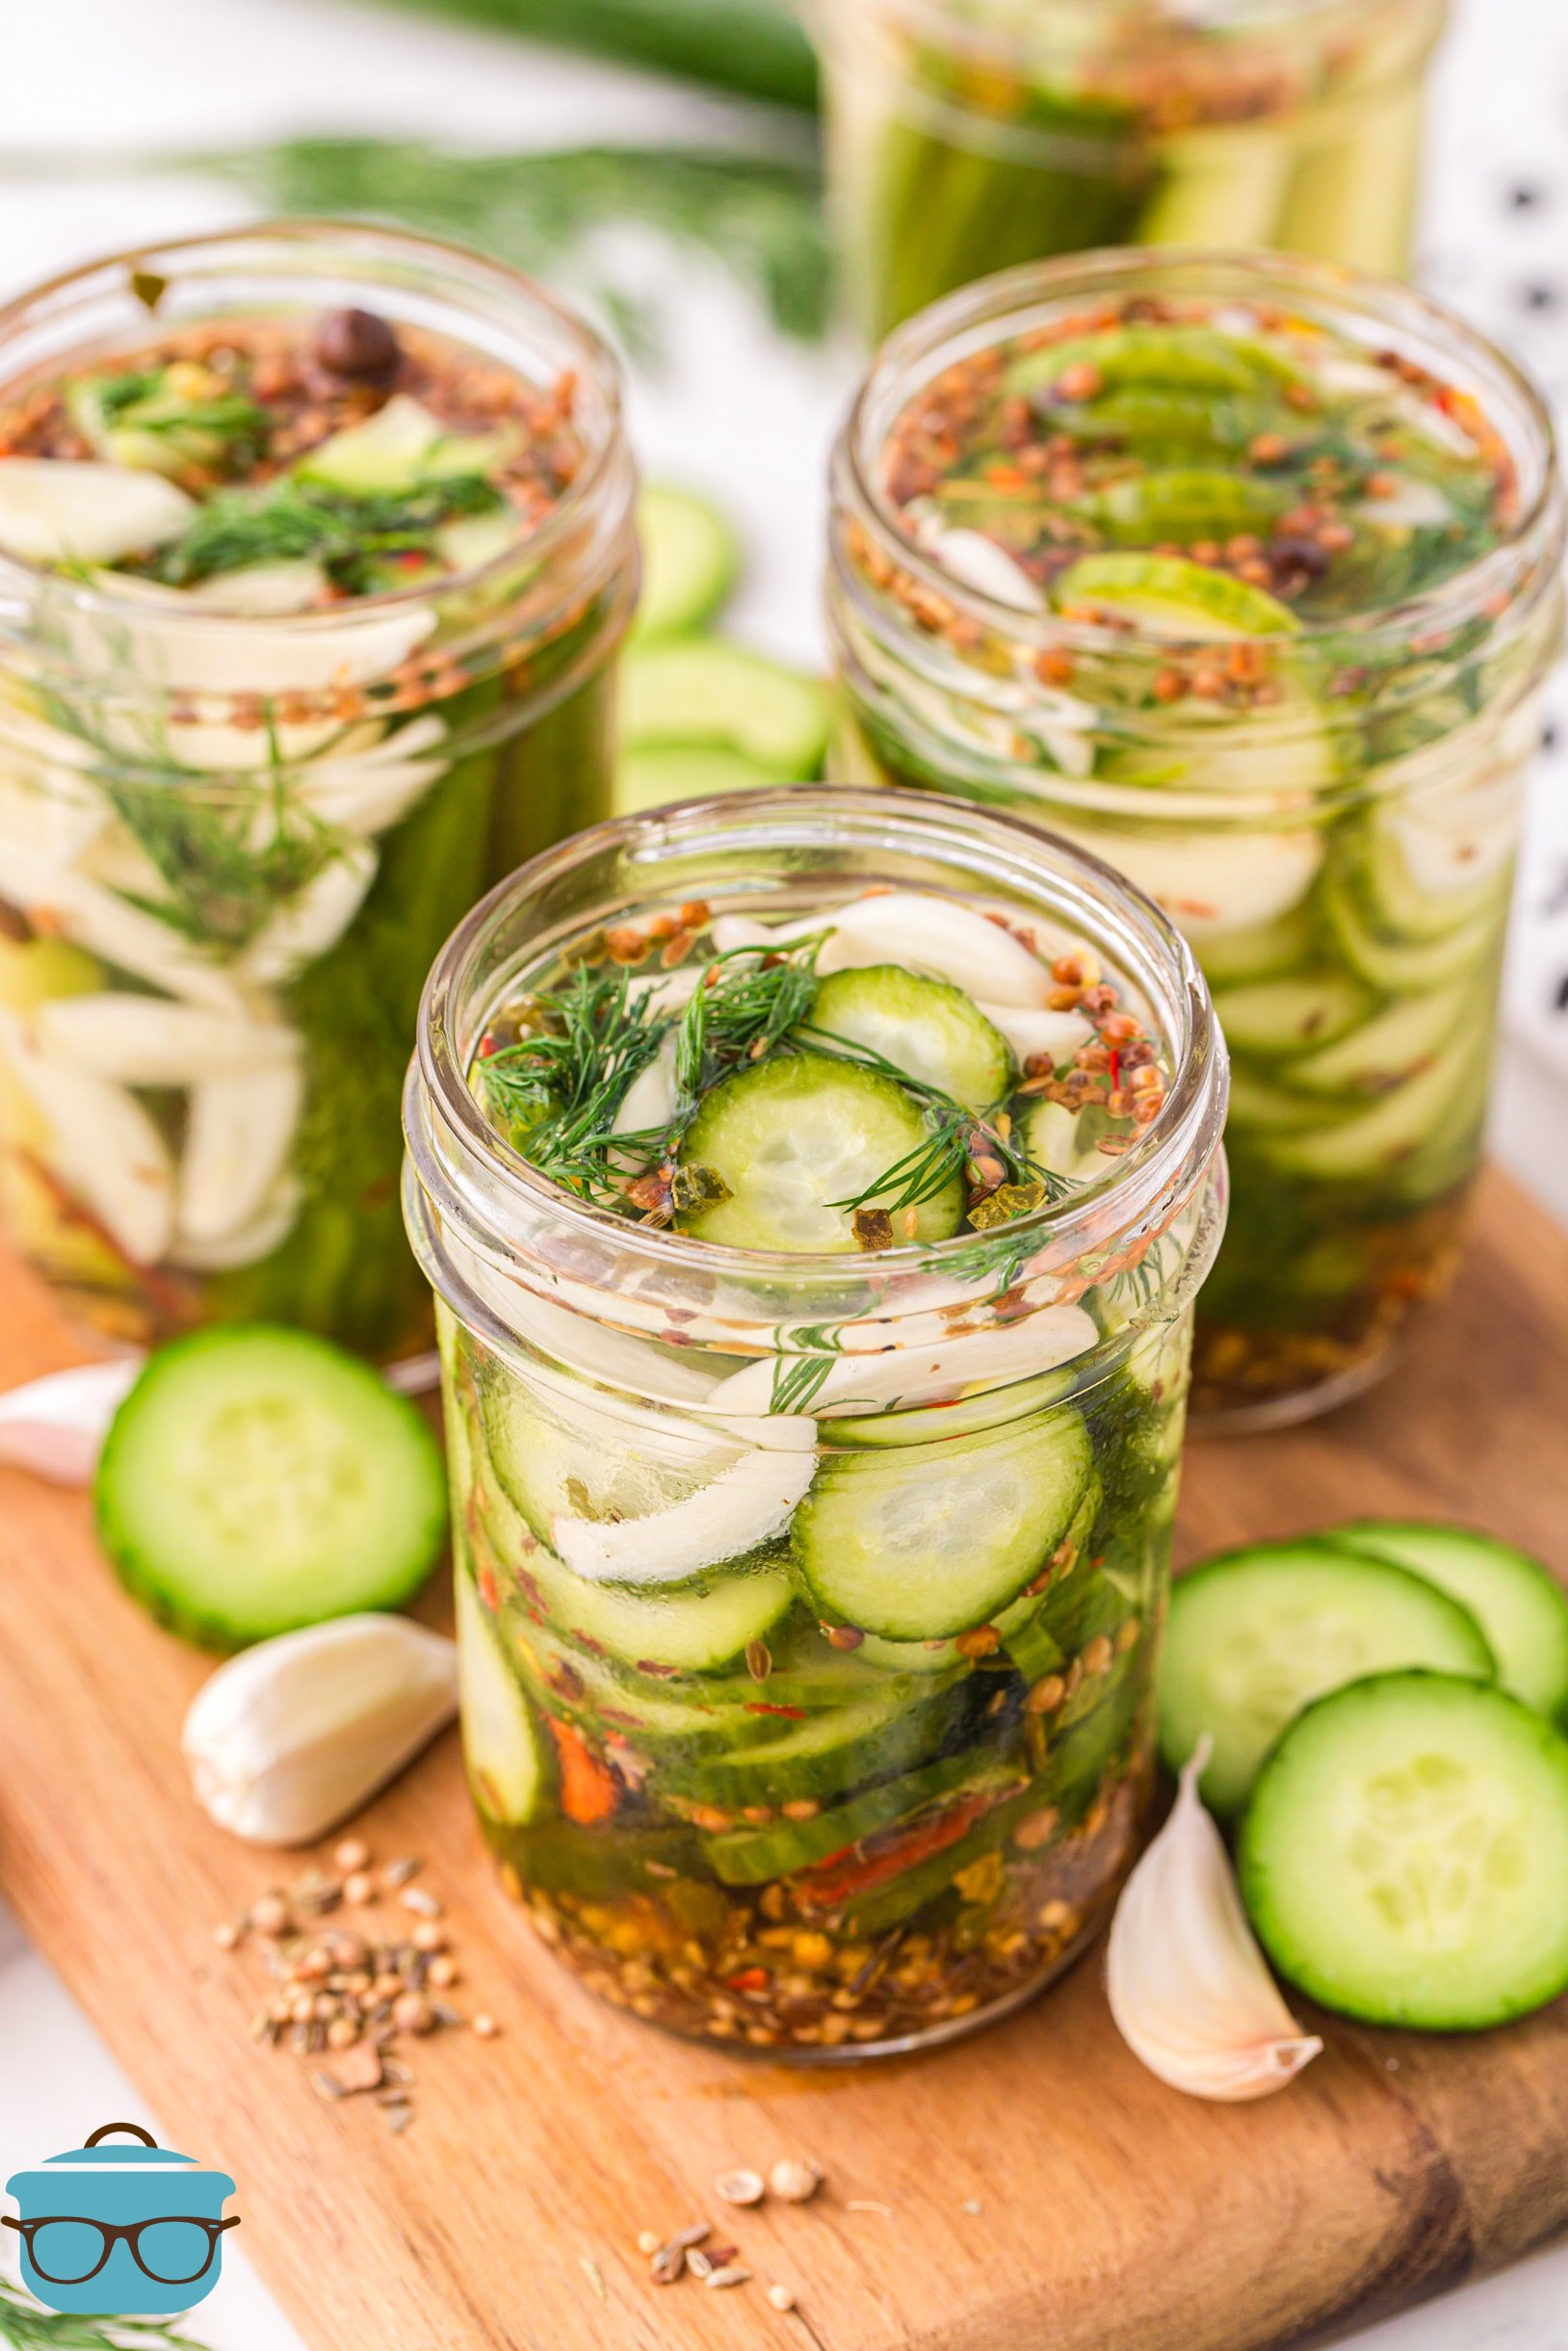
These Refrigerator Pickles are crunchy, tangy, and fresh and only take 10 minutes of prep! No special equipment needed!
A Super Simple Dill Pickle Recipe
Ever wanted to make your own pickles but hesitate at the idea of all the work required to preserve them? With this easy Refrigerator Pickles recipe, you can easily make your own fresh pickles without a lot of fuss. No canning, no special equipment but all the flavor! My favorite part about these is they taste so fresh and crunchy!

These were very good. I think they might even be better than my Grandma’s (don’t tell ANYONE I said that lol)
– Jean
Frequently Asked Questions
So, “regular pickles” are canned and are shelf stable. These Refrigerator Pickles are not canned, not shelf stable, and have a shorter life span but taste more crispy and fresh.
I would say Pickling, Persian or English cucumbers work well with this recipe.
This is personal preference really. I used small pickling cucumbers and they don’t require peeling to be pickled. I rarely peel cucumbers anymore but if you want to, go for it. Just know that in general, English cucumbers and pickling cucumbers don’t need to be peeled.
Go for the fresh and firm cukes. Even better if they’re smaller with fewer seeds so you’ll have a better texture.
Well, these are refrigerator pickles and they’re called that for a reason, they should be kept in the fridge. Canning recipes (as opposed to refrigerated recipes) are specially proportioned to inhibit bacteria growth so the food will be shelf stable. If you would like to can pickles, you should use one of my other recipes, like my Bread and Butter Pickles or go with a recipe specifically designed for canning.
If stored properly, these pickles should last up to a month. Be sure you seal your jars tightly so air can’t get in. When tossing them in the fridge, pick the coldest part. Before eating the pickles from the fridge, always check for quality and safety. Look for any discoloration, cloudiness or other signs of spoilage and toss them if you have any doubts.
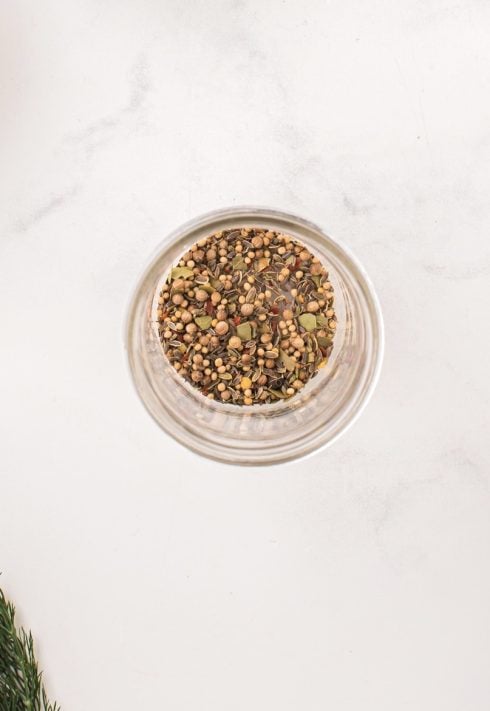
Yes! I mention below that I usually just grab a bottle of pickling spice from Walmart. But if you can’t find it, below is a simple recipe for homemade pickling mix. I know a lot of people have never heard of allspice berries. I have better luck finding them where the Mexican spices are located in the grocery store. If you can’t find them, just leave it out. I have attached paid affiliate links below so you know what to look for (or where you can purchase them online.) Also, I prefer mustard seed to mustard powder. You can use mustard powder, it just makes the brine a bit more yellow and cloudier.
Homemade Pickling Spice (links are paid affiliate links)
2 Tablespoons black peppercorns
2 Tablespoons mustard seeds
2 Tablespoons coriander seeds
2 Tablespoons dill seeds (I still add these when also using fresh dill)
1 Tablespoon allspice berries
2 bay leaves, crumbled
Combine all the ingredients. You will use about 3 1/2 Tablespoons for this recipe.
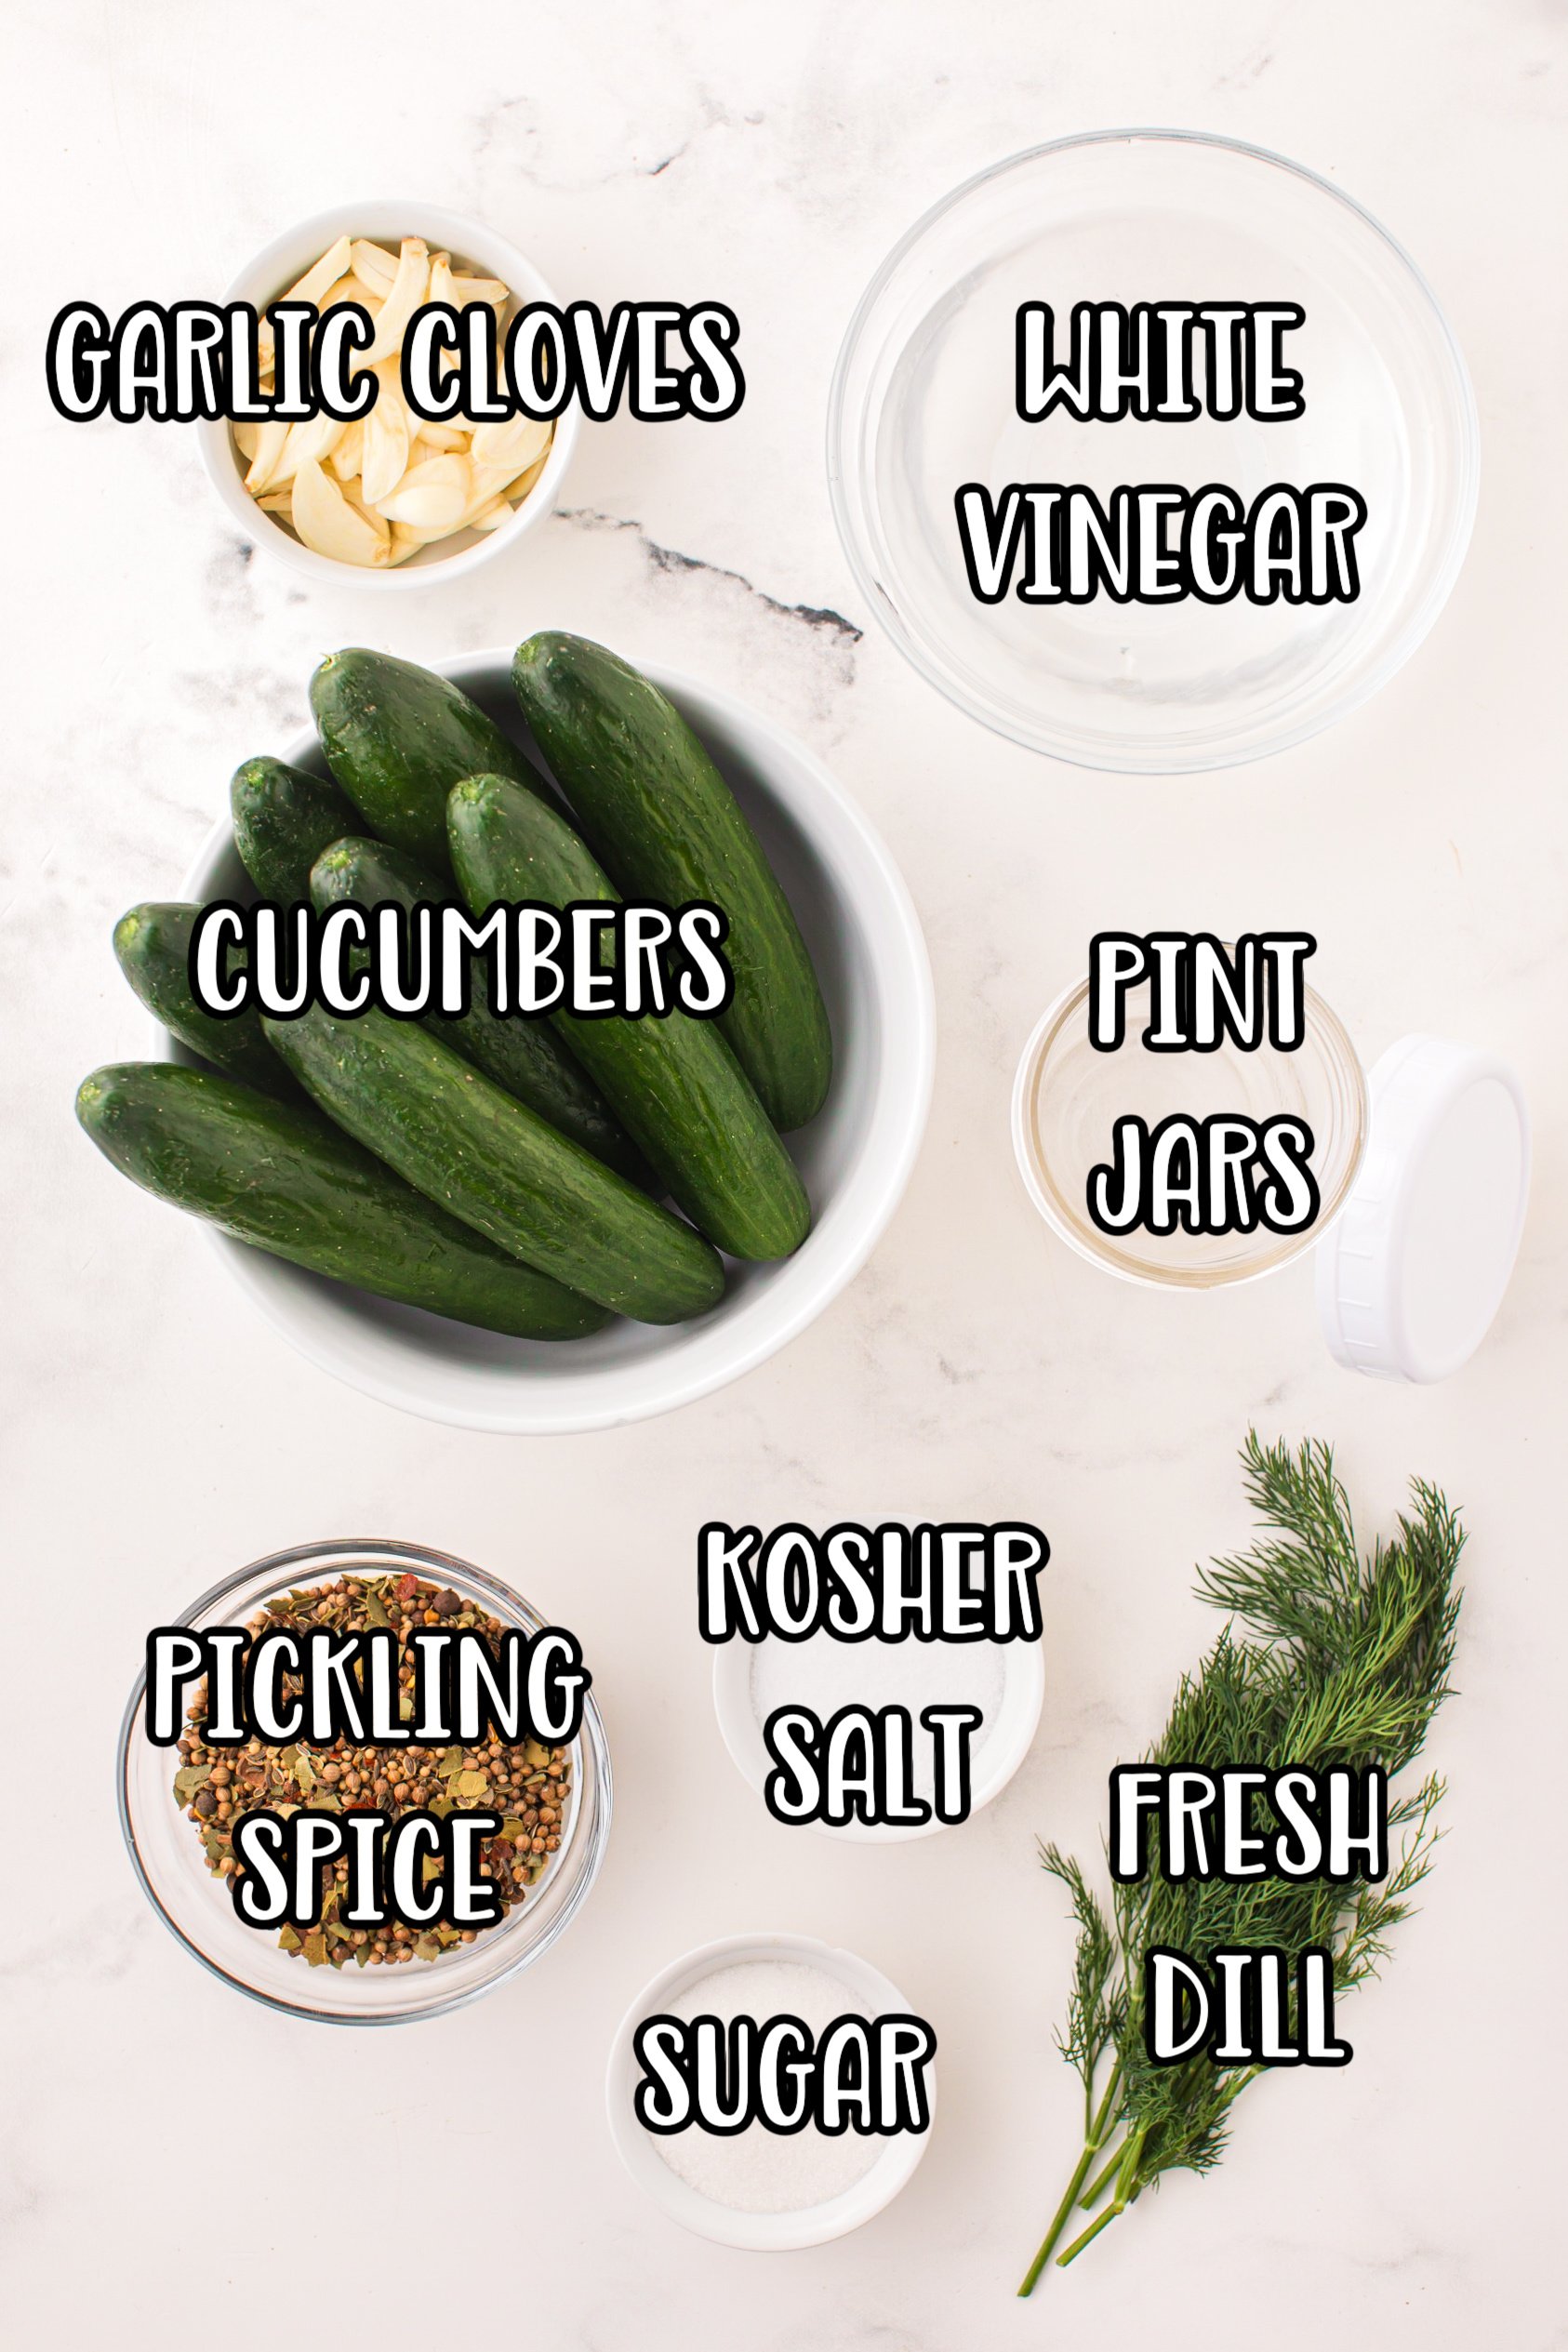
Ingredients Needed: (See Recipe Card Below For The Full Recipe)
- wide mouth pint jars– with lids and rings. Note: use what you have here. Any jar with a lid can be used for these since we aren’t canning the,.
- white distilled vinegar– change the flavor profile a bit by swapping this out for apple cider vinegar
- kosher salt– you could also use coarse sea salt. Table salt is actually saltier than kosher salt so keep that in mind when substituting. You may want to cut back on it (please note: I have never made these with table salt so could not give you an exact amount to use.)
- sugar – I make these with white granulated sugar. I cannot recommend specific substitutions.
- cucumbers– small to medium in size. See my FAQ’s above about keeping the skin on or removing.
- large bunch fresh dill – Fresh dill will work best. Most pickling mixes also have dill seeds in them and it is okay to use both with this recipe.
- pickling spice – You can buy it, or make your own. I usually just use the Walmart Great Value Pickling Spice (not a paid affiliate link.) You will usually find it where the other spices are located.
- garlic cloves– fresh garlic is where it’s at. You don’t want to use the jarred garlic for these pickles. If your cloves are super large, go ahead and slice them in half.
- red pepper flakes– optional. If you like heat, feel free to add more, or add some sliced jalapeños or leave it out altogether.
How To Make Refrigerator Pickles
Wash and dry all jars, lids and rings in the dishwasher or hand wash in hot water to sterilize them. Set aside. In a large saucepan, combine water, vinegar, Kosher salt and sugar together and simmer on medium heat until the salt and sugar have dissolved, about 5 minutes. Set it aside to cool.
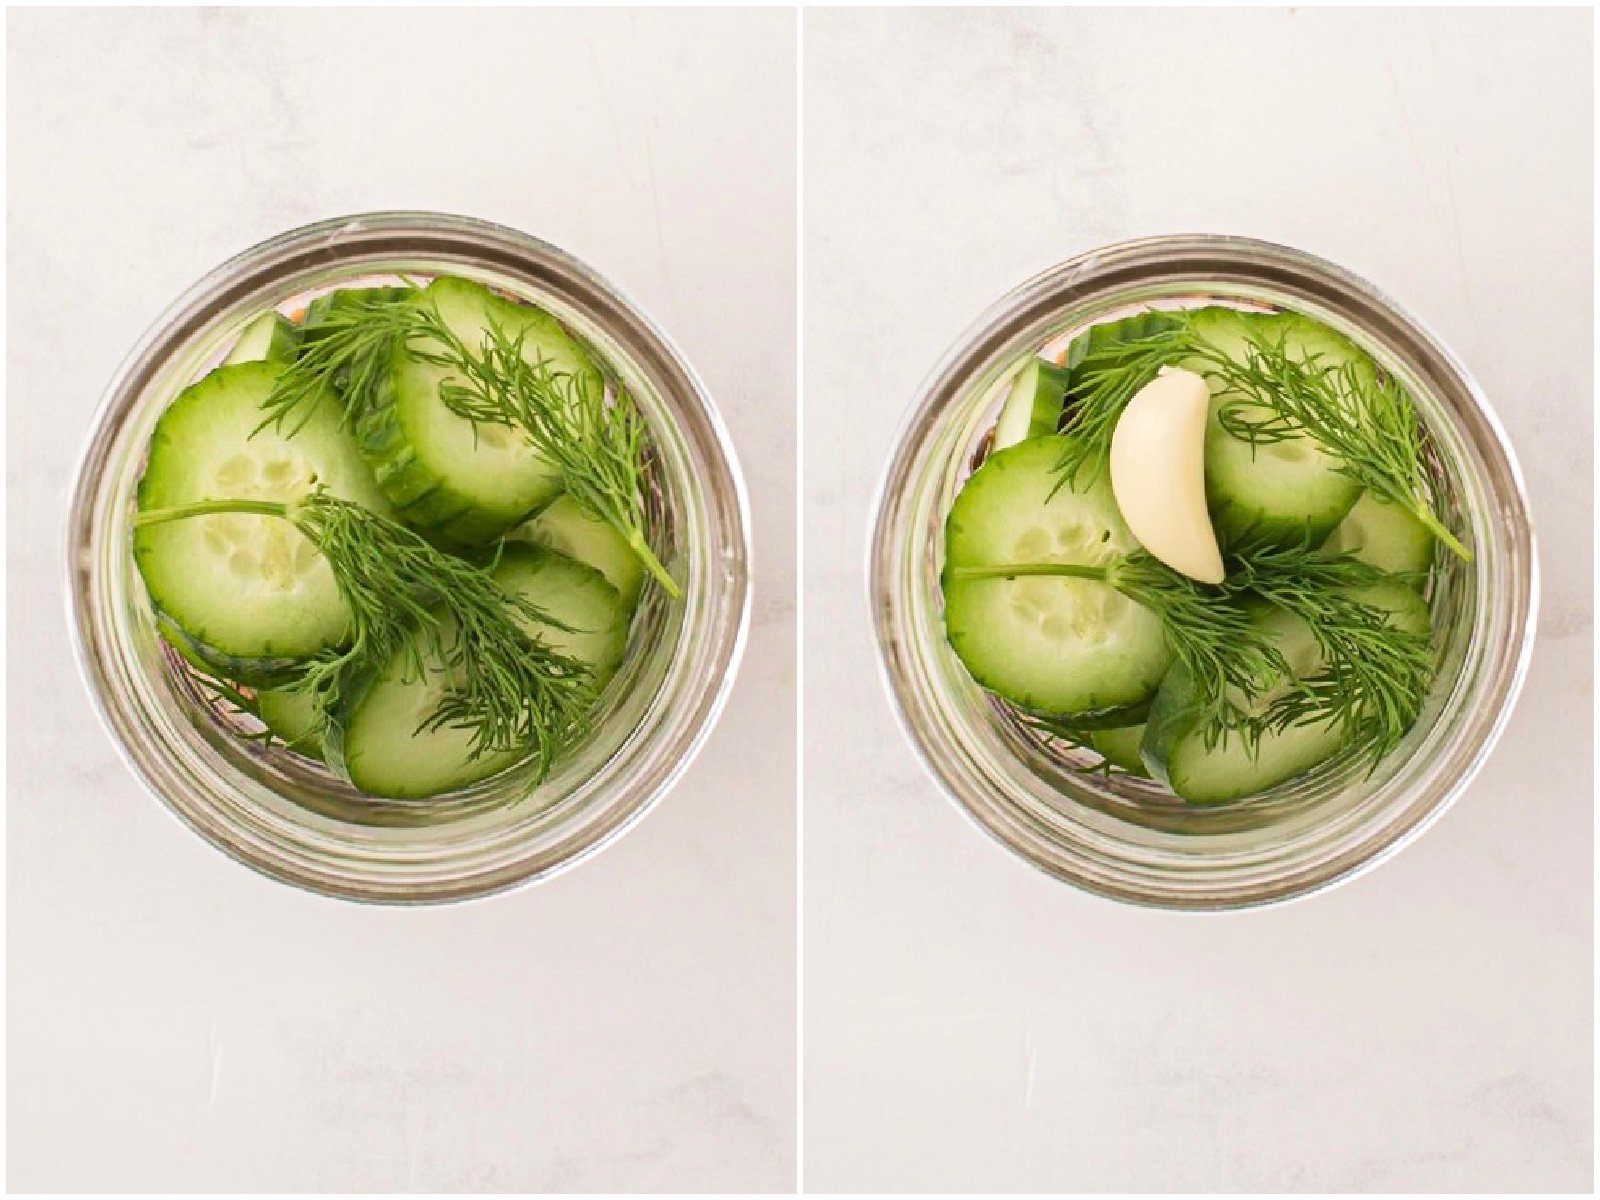
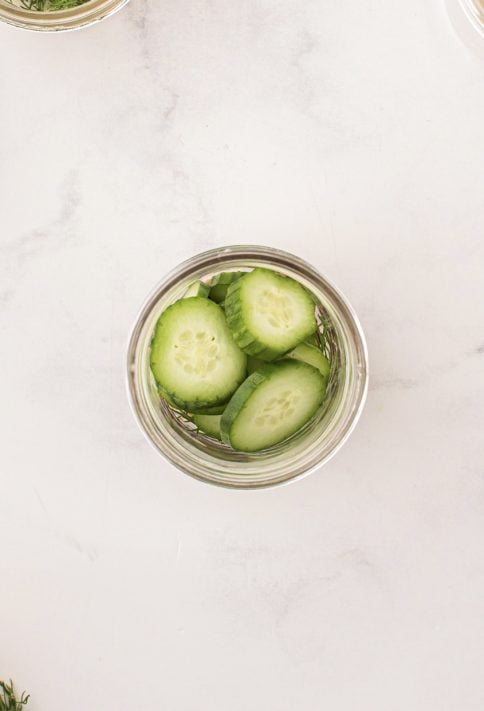
Rinse cucumbers and place on a large cutting board. Remove ends and cut cucumbers in ½ inch slices (or spears). Remove the dill from the stem. Try to keep them in their little bunches. Add 1 ½ teaspoons of the pickling spice in the bottom of each jar. Add a small sprig of dill.
Followed by a layer of cucumbers into each jar (do your best to evenly distribute the cucumbers into each jar.)
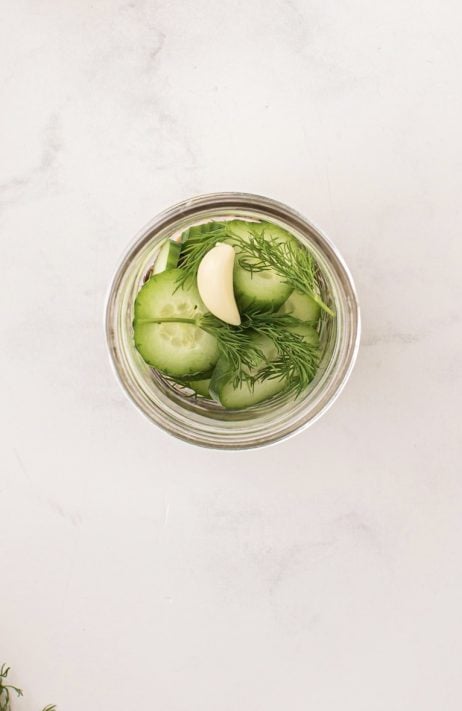
Next add another small sprig of dill to each jar. Then add a clove of garlic to each jar.
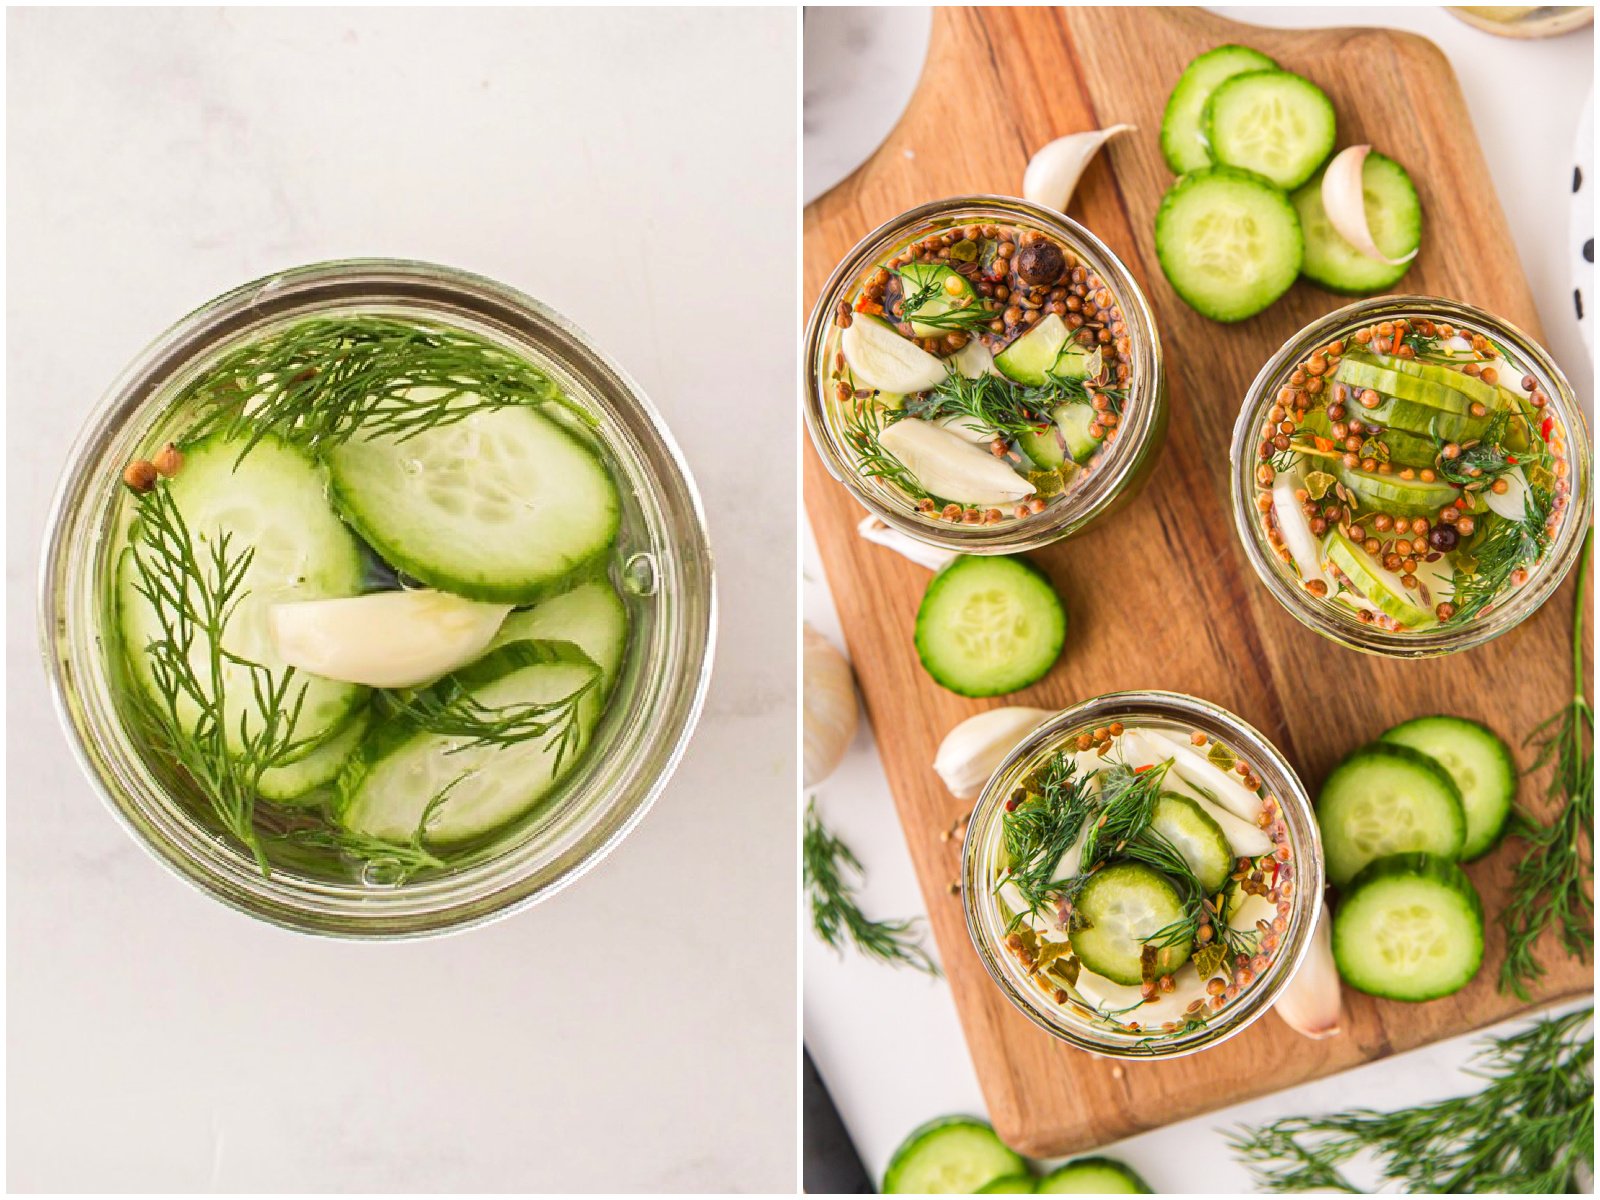
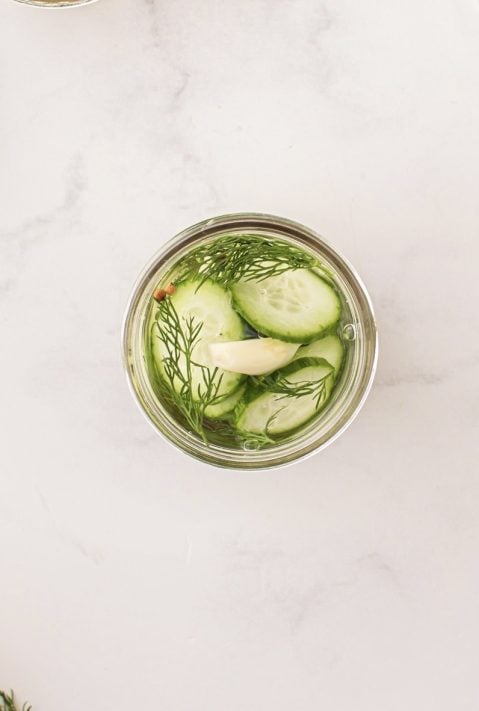
Repeat this layering process until you have used all the sliced cucumbers, all the dill and three cloves of garlic in each jar. Finish the layering with optional red pepper flakes on top. Very carefully, pour cooled vinegar mixture on top of the pickles. Make sure you are covering all the pickles.
Seal the jar with the lid and ring. When the jars are cool to the touch, then they can be put into the refrigerator. The pickles will be ready to eat in about 24 hours.
Craving More Recipes?
- Sweet Pickle Relish
- Dill Pickle Relish
- Bread and Butter Pickles
- Pickles in a Blanket
- Fried Pickle Dip
- Pickled Banana Peppers
- Quick Sauerkraut
- Homemade Sauerkraut (Fermented)
- Pickled Red Onions
- Fried Pickles
- Chow Chow
- Creamy Cucumber Salad
- Vinegar Cucumber Salad
- Dill Pickle Pasta Salad
Easy Refrigerator Pickles
Ingredients
- 4 wide mouth pint jars (with lids and rings)
- 4 cups water
- 2 cups white distilled vinegar
- 3 Tablespoons kosher salt
- 3 Tablespoons sugar
- 2 pounds small to medium sized cucumbers (they can be peeled if you prefer)
- 1 large bunch fresh dill
- 1.5 ounce jar pickling spice (divided use)
- 12 cloves peeled garlic (divided use)
- red pepper flakes (optional)
Instructions
- Wash and dry 4 wide mouth pint jars (with lids and rings) in the dishwasher or hand wash in hot water. Set aside.
- In a large saucepan, combine 4 cups water, 2 cups white distilled vinegar, 3 Tablespoons kosher salt and 3 Tablespoons sugar together and simmer on medium heat until the salt and sugar have dissolved, about 5 minutes.
- Set it aside to cool.
- Rinse 2 pounds small to medium sized cucumbers and place on a large cutting board. Cut off the ends and then cut cucumbers in ½ inch slices (or spears).
- Remove the dill from the stem. Try to keep them in their little bunches. Set aside.
- Assembling the jars: We’re going to be creating layers within each jar to make sure the cucumber slices are all evenly seasoned. You do not have to do this. You can just add everything into the jars then cover with the vinegar mixture and give it a good shake, whatever is easiest for you.
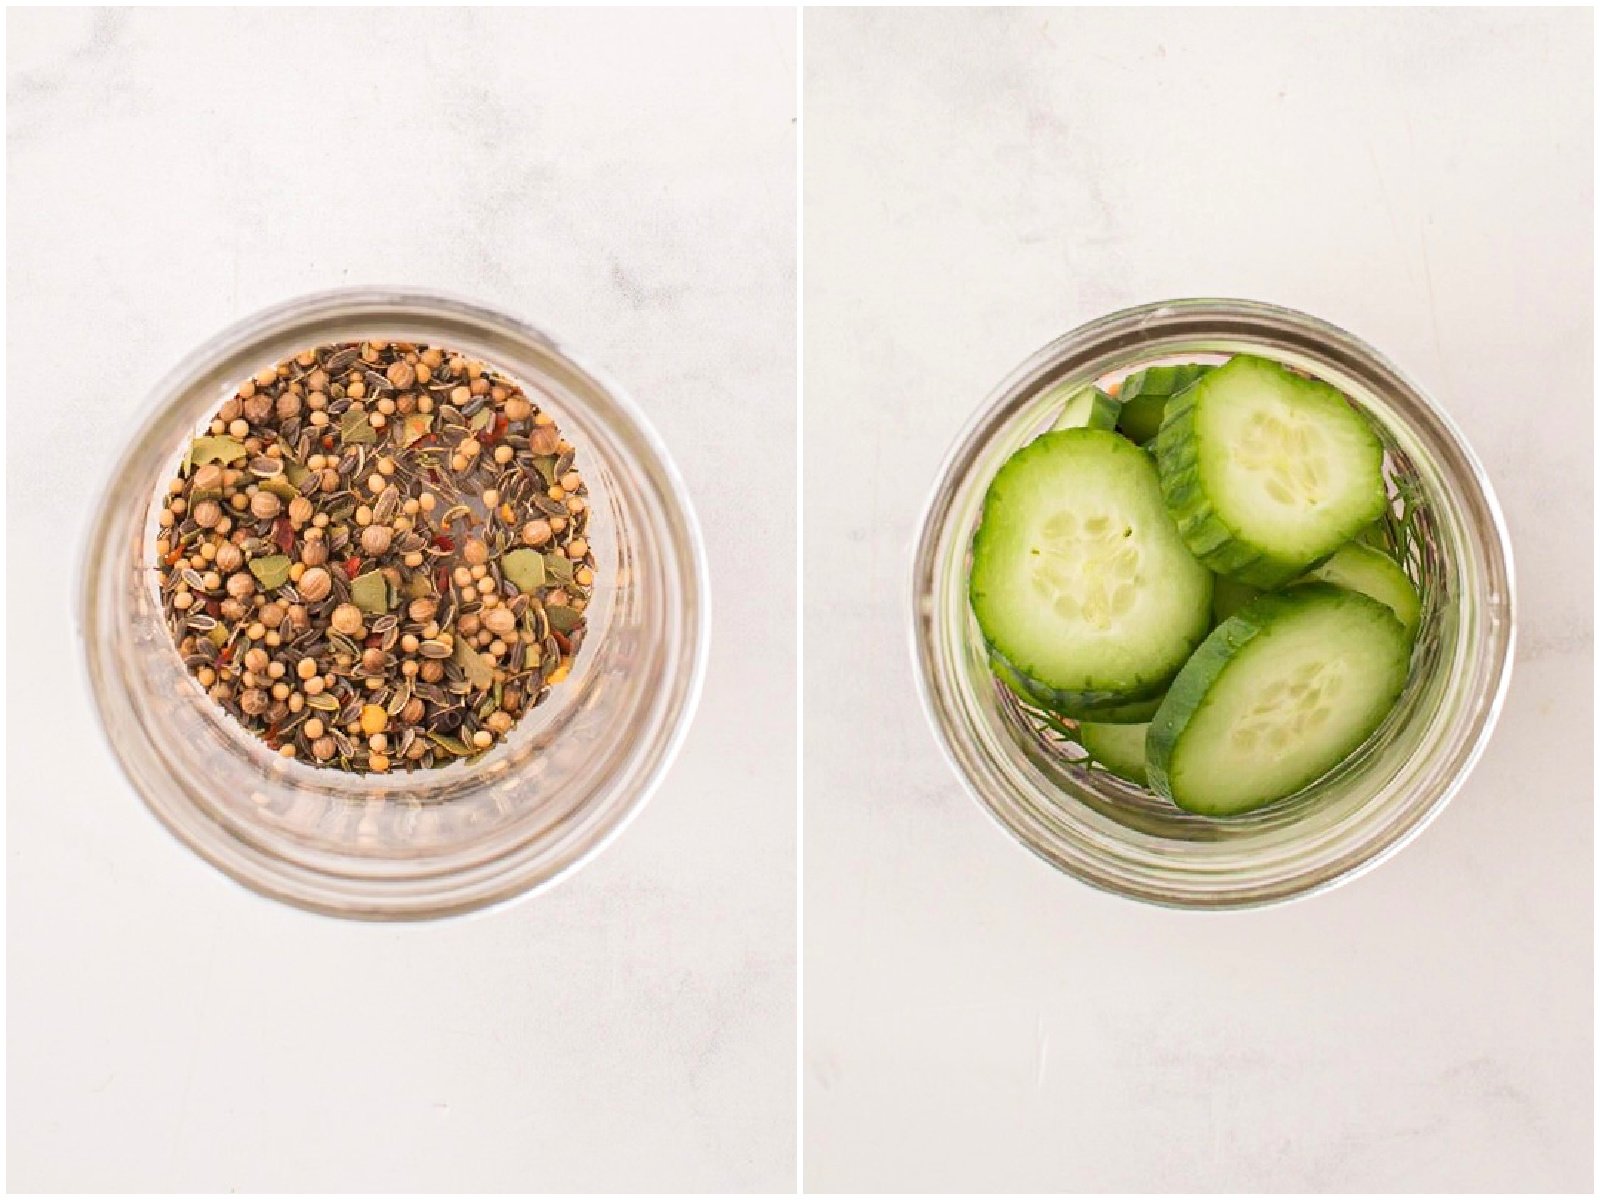
- Carefully pour 1 ½ teaspoons of the pickling spice in the bottom of each jar.

- Followed by a layer of cucumbers into each jar (do your best to evenly distribute the cucumbers into each jar.)

- Next add ¼ of the dill to each jar.

- Finally add a clove of garlic to each jar.

- Repeat this layering process until you have used all the sliced cucumbers, all the dill and have three cloves of garlic in each jar.
- Finish the layering with red pepper flakes (optional) on top.
- Very carefully, pour cooled vinegar mixture on top of the pickles. Make sure you are covering all the pickles.

- Seal the jar with the lid and ring.
- When the jars are cool to the touch, then they can be put into the refrigerator. The pickles will be ready to eat in about 24 hours.


Notes
- Please refer to my FAQ’s (Frequently Asked Questions) and ingredient list above for other substitutions or for the answers to the most common questions.
- This recipe makes about 4 pint sized jars of pickles and each jar has about 5-6 servings, so this recipe makes 20-24 servings of pickles.
Nutrition
Nutritional Disclaimer
“The Country Cook” is not a dietician or nutritionist, and any nutritional information shared is an estimate. If calorie count and other nutritional values are important to you, we recommend running the ingredients through whichever online nutritional calculator you prefer. Calories and other nutritional values can vary quite a bit depending on which brands were used.
Originally Published: April 2024
Republished: May 2026


Fantastic recipe. Don’t tell my Meemaw but these were even better than her recipe. Ha! We loved all the flavors. Definitely a new favorite!
These were very good. I think they might even be better than my Grandma’s (don’t tell ANYONE I said that lol)