Wham Bam Pie Crust
Wham Bam Pie Crust is the easiest pie crust ever! No rolling pins, no cold butter and no fuss but you still get a tender and flaky pie crust!
Only 4 Ingredients
I like frozen pie crusts. Many of them are really good these days since many companies have really stepped up the quality of ingredients. But sometimes I want to use my own pie pans instead of the one that comes with the frozen crusts. And sometimes, that rustic look of a totally homemade pie just does something to me. I love the look of an imperfect, golden, flaky crust that has been crimped by my fingers
Nn Rolling Pin, No Cold Butter, No Tricks
But I need that crust to be easy to make. This crust is perfect for any one-crust pie. Like my Brown Sugar Pumpkin Pie, Southern Pecan Pie or Strawberry Pie. Or even for savory pies like Country Tomato Bacon Pie. It’s called Wham Bam because you don’t have to worry about cutting in cold butter or shortening like you do normal pie crusts or add in super cold ice water.
Tips For Making The Easiest Pie Crust
There is no rolling out of the dough (unless you really want to.) You stir it together and push it around with your fingers into the pie pan. It takes just a bit of time to spread it all around. But keep in mind, it’s the bottom part of your pie crust, it doesn’t have to be showcase beautiful. It’s very forgiving. But it’s also tender and flaky and bakes up to a beautiful golden color. Also, if you can find it, use White Lily brand flour. It is amazing in baked goods!

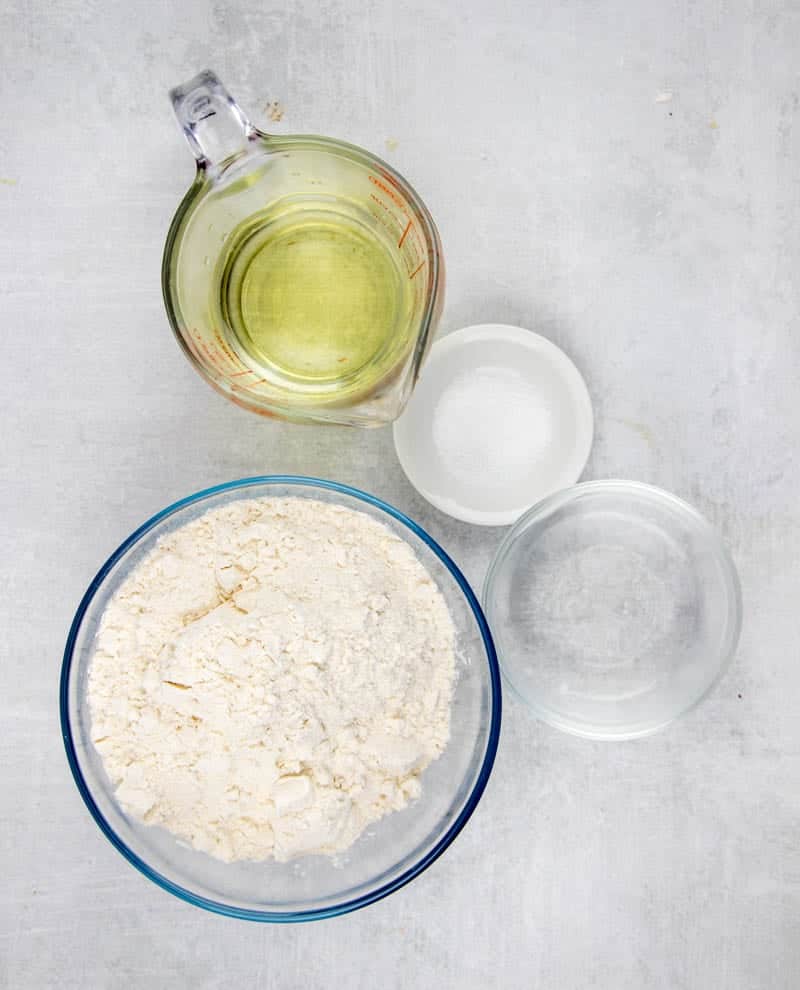
Ingredients Needed: (See Recipe Card Below For The Full Recipe)
- all-purpose flour – You cannot use self-rising flour for this recipe.
- salt – this gives it a bit of flavor without tasting salty and works well with sweet pies
- vegetable oil – it seems like a strange ingredient in pie crust, you’d expect butter or shortening right? But trust me, it absolutely works! I have not used other oils but you want to use an oil with a neutral flavor because you don’t want to taste the oil in the pie crust. You could probably also use melted and cooled butter.
How To Make Wham Bam Pie Crust
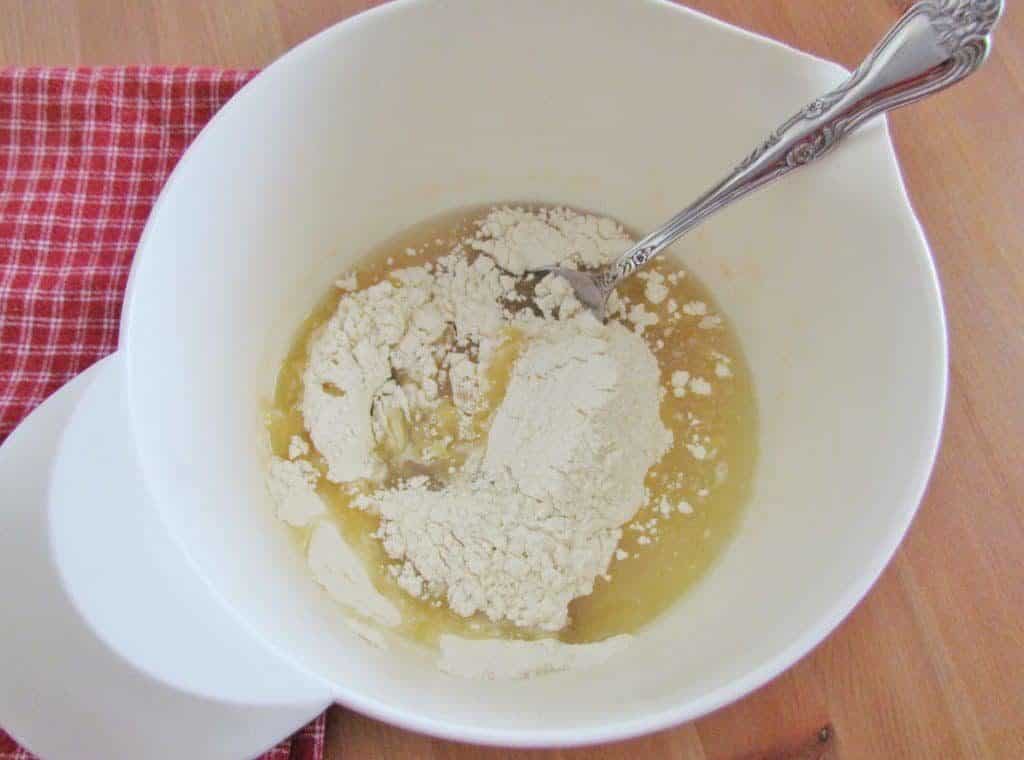
In a medium bowl, combine flour and salt. Stir in oil and water.
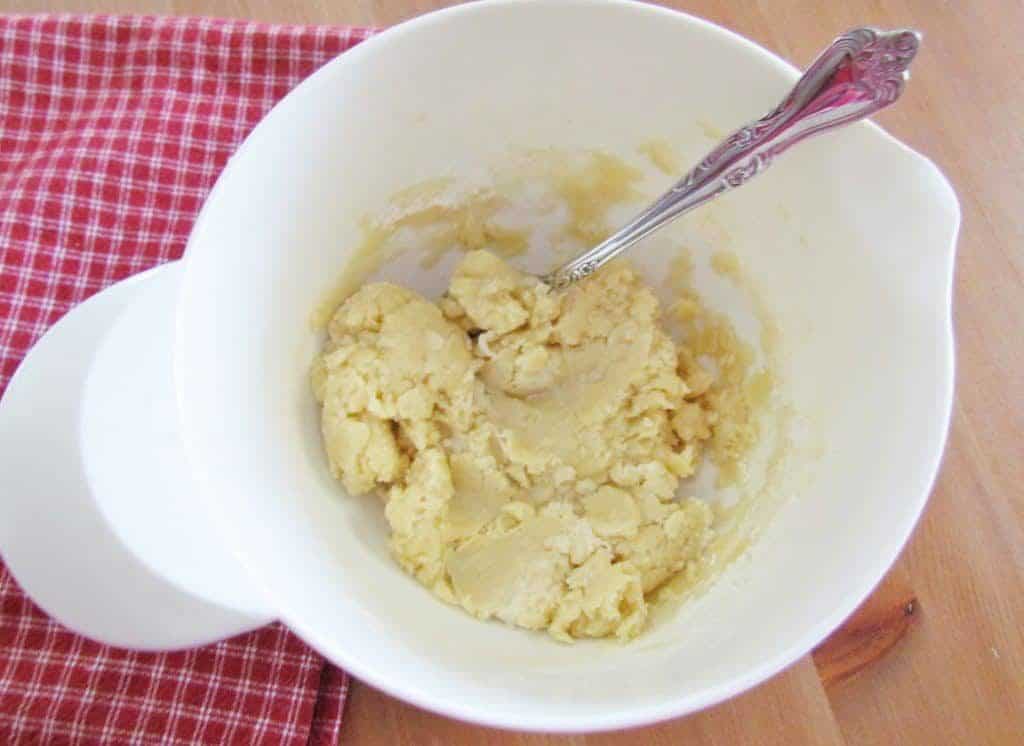
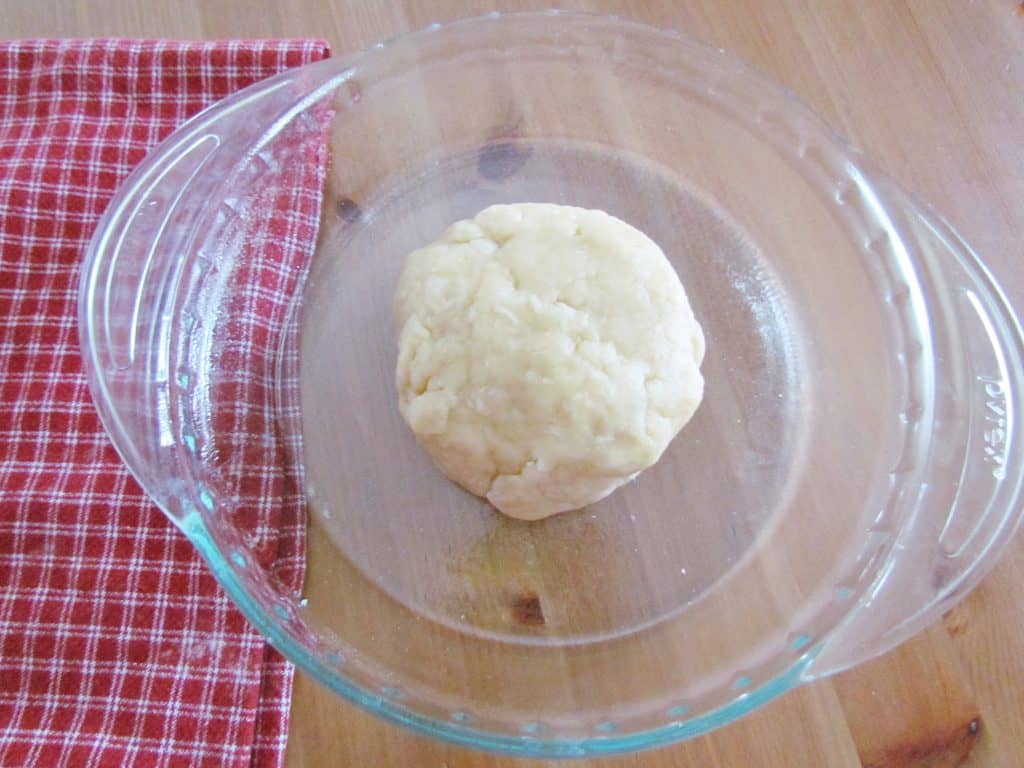
Mix until combined. Then form it into a ball.
Spray your pie pan with nonstick cooking spray. It’s not really necessary but I just want to doubly make sure there is no sticking and it makes this dough just a bit easier to spread in the dish.
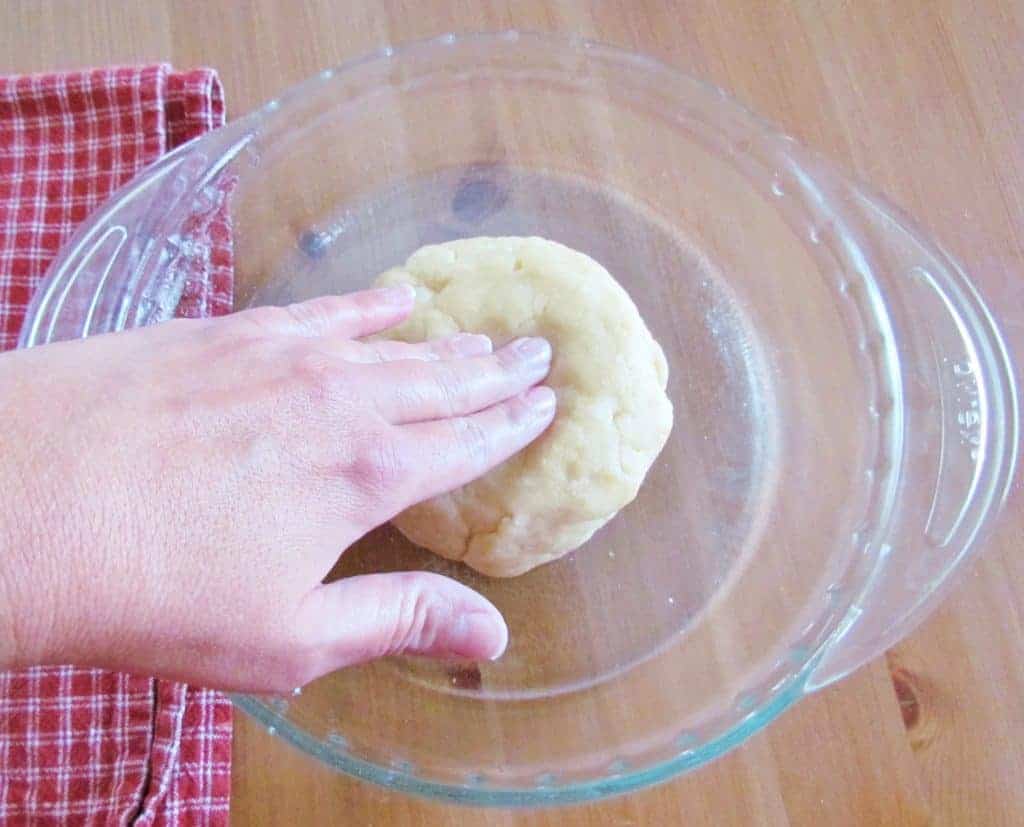
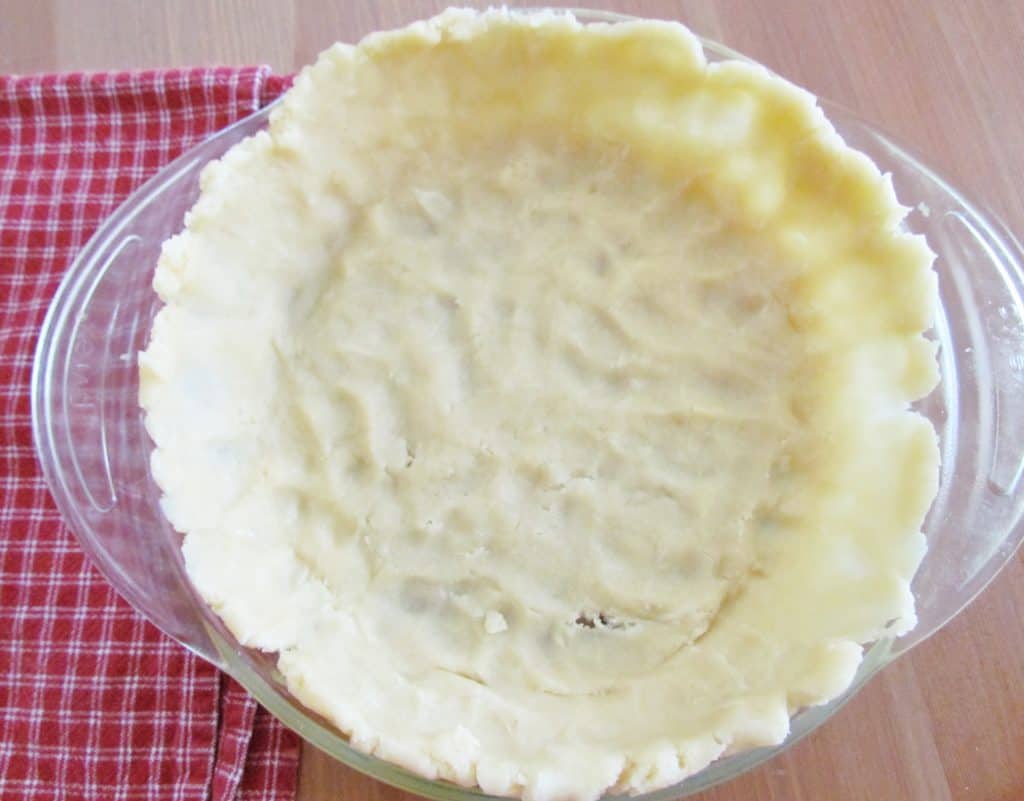
Now, start pushing down on your ball of dough and begin spreading it towards the sides.
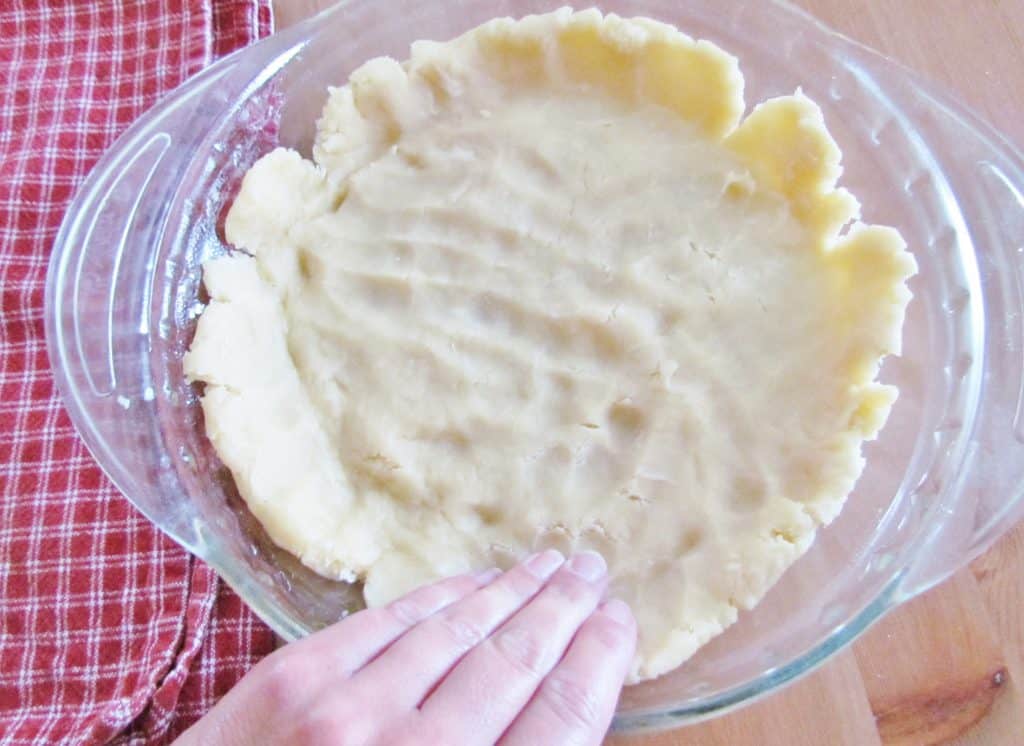
Do as best as you can to evenly pull it up the sides. You’ll want plenty of dough up the sides too so you can crimp it at the top edge.
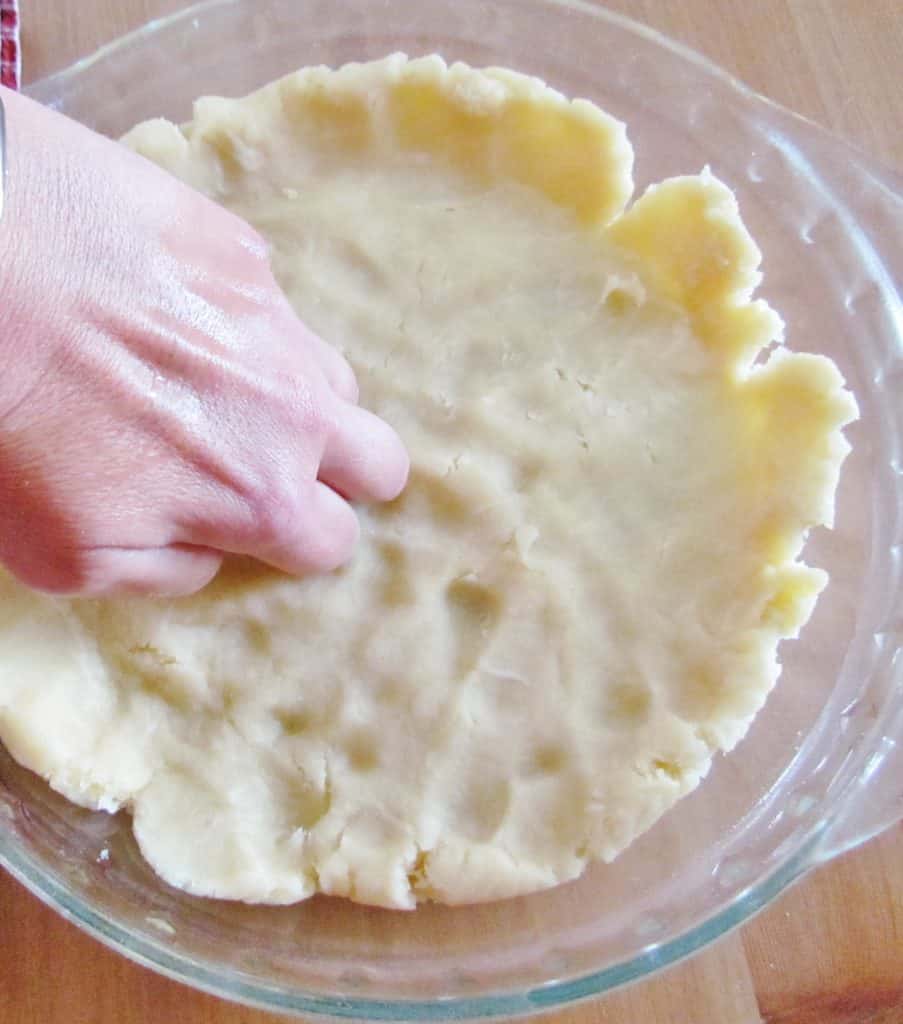
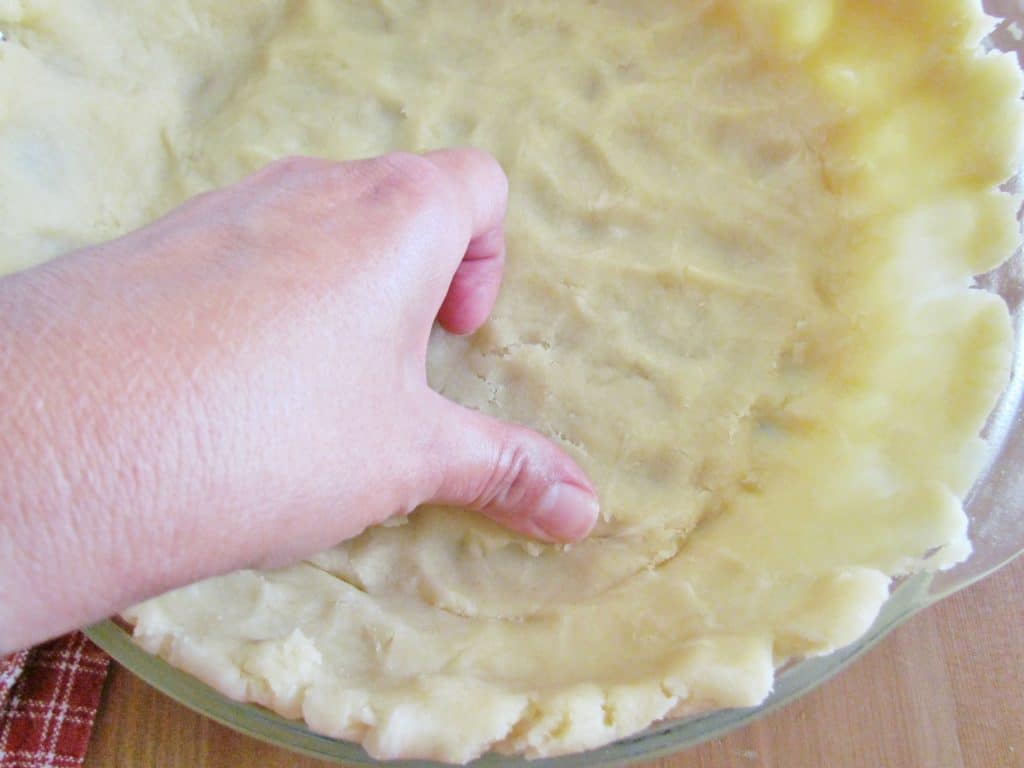
You can even get in there with your knuckles if you need to.
This is very forgiving dough. See that little tear there where I pulled the dough a little too hard?
Just smush around the dough with your thumb or fingers. It’ll seal right back up.
Make sure you also press down into the bottom rim of the pan too to spread out the dough and so it’s not too thick.
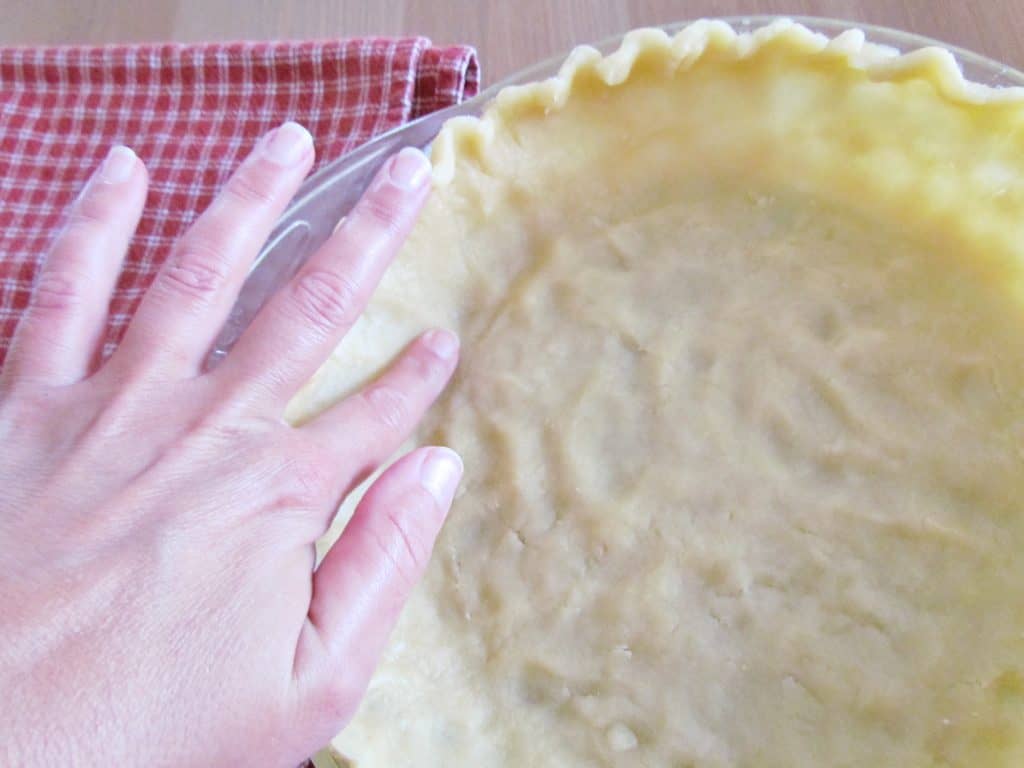
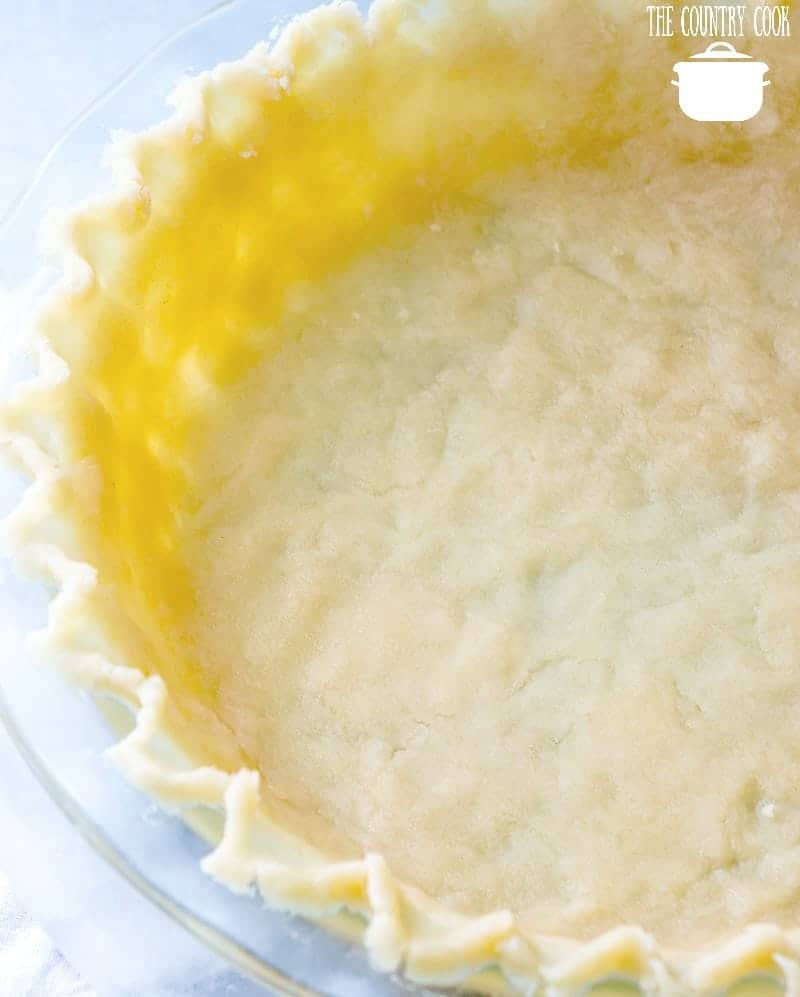
And then you can start to go around and crimp the top edges of the crust.

Now, this does not have to be perfect. I don’t know about you, but I like those little imperfections in baking.
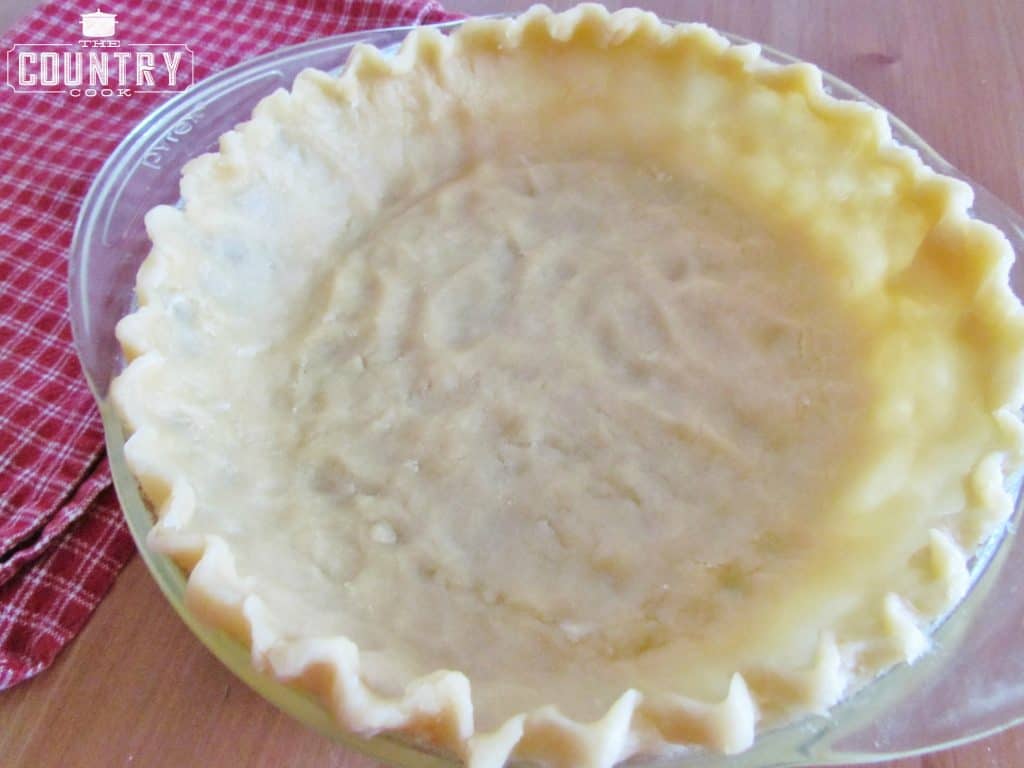
It lets folks know you made this all yourself. It’s rustic and it’s homemade. It should look that way. It bakes up beautifully golden and tender and flaky. It makes the perfect base for any of your one crust pies. And even the least-experienced of bakers can manage this easy and forgiving crust.
TO PAR-BAKE: Poke crust with a fork, all over the inside of the crust (so it doesn’t puff up too much while baking). Or if you have beans, you can line your crust on top with foil and then put beans inside to weigh it down to keep it from puffing up or prick it all over with a fork. Then bake at 400F degrees for about 10-15 minutes (maybe a tad longer). It should be golden in color.
Craving More Recipes?

Wham Bam Pie Crust
Ingredients
- 1 ¾ cups all-purpose flour
- ½ teaspoon salt
- ½ cup vegetable oil
- 2 Tablespoons water
Instructions
- In a medium bowl, combine 1 3/4 cups all-purpose flour and 1/2 teaspoon salt.
- Stir in 1/2 cup vegetable oil and 2 Tablespoons water. Mix until combined.
- Then form it into a ball. It will be thick.
- Spray a standard 9-inch pie pan with nonstick cooking spray. Put the ball of dough in the middle of your pie dish.
- Start pushing down on the dough ball and begin spreading it towards the sides. Do as best as you can to evenly pull it up the sides. This will take a few minutes
- You'll want plenty of dough up the sides too so you can crimp it at the top edge. You can even get in there with your knuckles if you need to.
- Make sure you also press down into the bottom rim of the pan too to spread out the dough and so it’s not too thick.
- Then you can start to go around and crimp the top edges of the crust.
- Once it’s ready, fill with your favorite filling and bake according to your pie recipe directions.
Video

Notes
- Poke crust with a fork, all over the inside of the crust (so it doesn’t puff up too much while baking). Or if you have beans, you can line your crust on top with foil and then put beans inside to weigh it down to keep it from puffing up or prick it all over with a fork. Then bake at 400F degrees for about 10-15 minutes (maybe a tad longer). It should be golden in color.
- Remember, this does not have to be perfect. It’s a bottom-only pie crust. It’s rustic and it’s homemade. It should look that way.
Nutrition
Nutritional Disclaimer
“The Country Cook” is not a dietician or nutritionist, and any nutritional information shared is an estimate. If calorie count and other nutritional values are important to you, we recommend running the ingredients through whichever online nutritional calculator you prefer. Calories and other nutritional values can vary quite a bit depending on which brands were used.
Originally published: September 2012
Updated & republished: October 2019


Can I use gluten free flour?
I haven’t tested it with gluten free flour. I’m sorry! If you decide to test it out, I’d love to know how it goes for you!
I’ve been wanting to make homemade pie crust for along time. all the ones I’ve found are complicated. this one sounds perfect. could it be used to make lattice crust?
It’s probably not the best crust to use for a lattice crust. I’m sorry :/
Thank you Brandie. I’m still going to try this recipe. Rebecca left a comment and said she also used it for the top crust so ill try that instead of the lattice
Love this
Want to try for Thanksgiving. Do you know if canola oil will work ?
I personally have not tried it with canola oil. You could certainly try though, I don’t see any reason why it wouldn’t work. Always a good idea to experiment anyways before debuting on such a big holiday
I DON’T KNOW WHAT HAPPENED, BUT I COULD NOT FOM A BALL WITH THIS DOUGH. I FOLLOWED THE INSTRUCTIONS TO A TEE, BUT THE DOUGH LOOKED LIKE STREUSEL, TOTALLY DRY. I ADDED ANOTHER 2 TBL. SPOON OF WATER AND OIL, AND IT STILL WAS TOO DRY. I USED IT ANYWAY, TOTALLY CRUMBLY with the lemon meringue pie, and the pie was delicious.
I USED King Arthur all purpose flour, maybe that’s the problem.
I am not a baker at all and have always struggled to make homemade pies. Thank you SO much for this recipe! I used it to make apple pie and it was perfectly flaky. You would never know how easy it was to make – so good! I really felt like a proper baker LOL
Our family has used this recipe for some time now. We even use it for the top crust. You need to use wax paper for the top and bottom and roll it out.Take the top paper off and position on the top of the pie. Crimp and cut the steam holes and bake.
My cousin, who worked as a caterer, gave me this recipe about forty years ago known as “pat-in-the-pan crust”. It is the best crust recipe I’ve ever had and is the only one I use. Always flakey and delicious!
thanks for the update. I’ve never been able to fix a pie crust. this recipe seems to be a good one for me to get started.I want to make fried pies you think this recipe will work for me. I do!
I’ve been making this for a few years and it’s the only crust I make! I’ve always made it the day I need it, but I’m wondering how far ahead I can make it? Can you freeze them?
So happy to hear that Sarah! That’s a good question. To be honest, I’ve only ever made it fresh but I don’t see why you couldn’t freeze it. I’ve just never tried it myself. If you give it a try, I’d love to know how it turns out for you!
Can I substitute melted butter instead of oil?
Good question – I honestly have not tried it. If you do, I’d love to know how it works out for you!
Hi! Can I use vodka in place of the water? Just chkg since I hear it’s great in crusts…thank u…
I wouldn’t advise it in this recipe. Vodka is usually used to “dry” out the crust a bit to make it more crumbly & that’s not needed here.
This was easy so I liked that! It looked great out of the oven…used it as the crust for a lemon meninge pie…But it was very crumbly after it was baked….going to give it a try again…
Made it today and so far it looks and baked great.
Love hearing that! Thanks so much!
Easiest pie crust ever, will definitely make again. Extremely tender/flaky!
Question- could this be used for an 8×8 or 9×13 bottom only crust? If yes, any change to the directions?
Very easy and good.
I haven’t mastered squishing the ball of flour. For uniform consistency I roll my ball. It will stick to your rolling pin and counter unless you use plastic wrap.
I made it and loved it. Thanks so much. I have never been good at the messy homemade versions, and won’t eat the story bought junk…sooooo I am happy now!
This makes me so happy to read!!! Yay Kari!
The easiest and best pie crust I have ever had and ever made in my life I put a little bit of butter to grease the pie pan I use this to make a fresh strawberry pie and it’s excellent!!!
Brandie, thank you so much for this recipe! I’m a pretty good home cook and baker, but a classic pastry pie crust is something I have never been able to master. I’m not even good with the ready-made pastry crusts that you unroll and drop in the pie plate–even those fall apart! I decided to give Wham Bam a try–it was so easy and it turned out great! I think I will try swapping some melted butter for some of the oil to get that great buttery flavor next time. Love love love it!
Love this recipe and have had great results. I substitute 1/4 cup of melted butter and 1/4 of oil. Just to get a little bit of butter flavor.
Always make my crusts now.