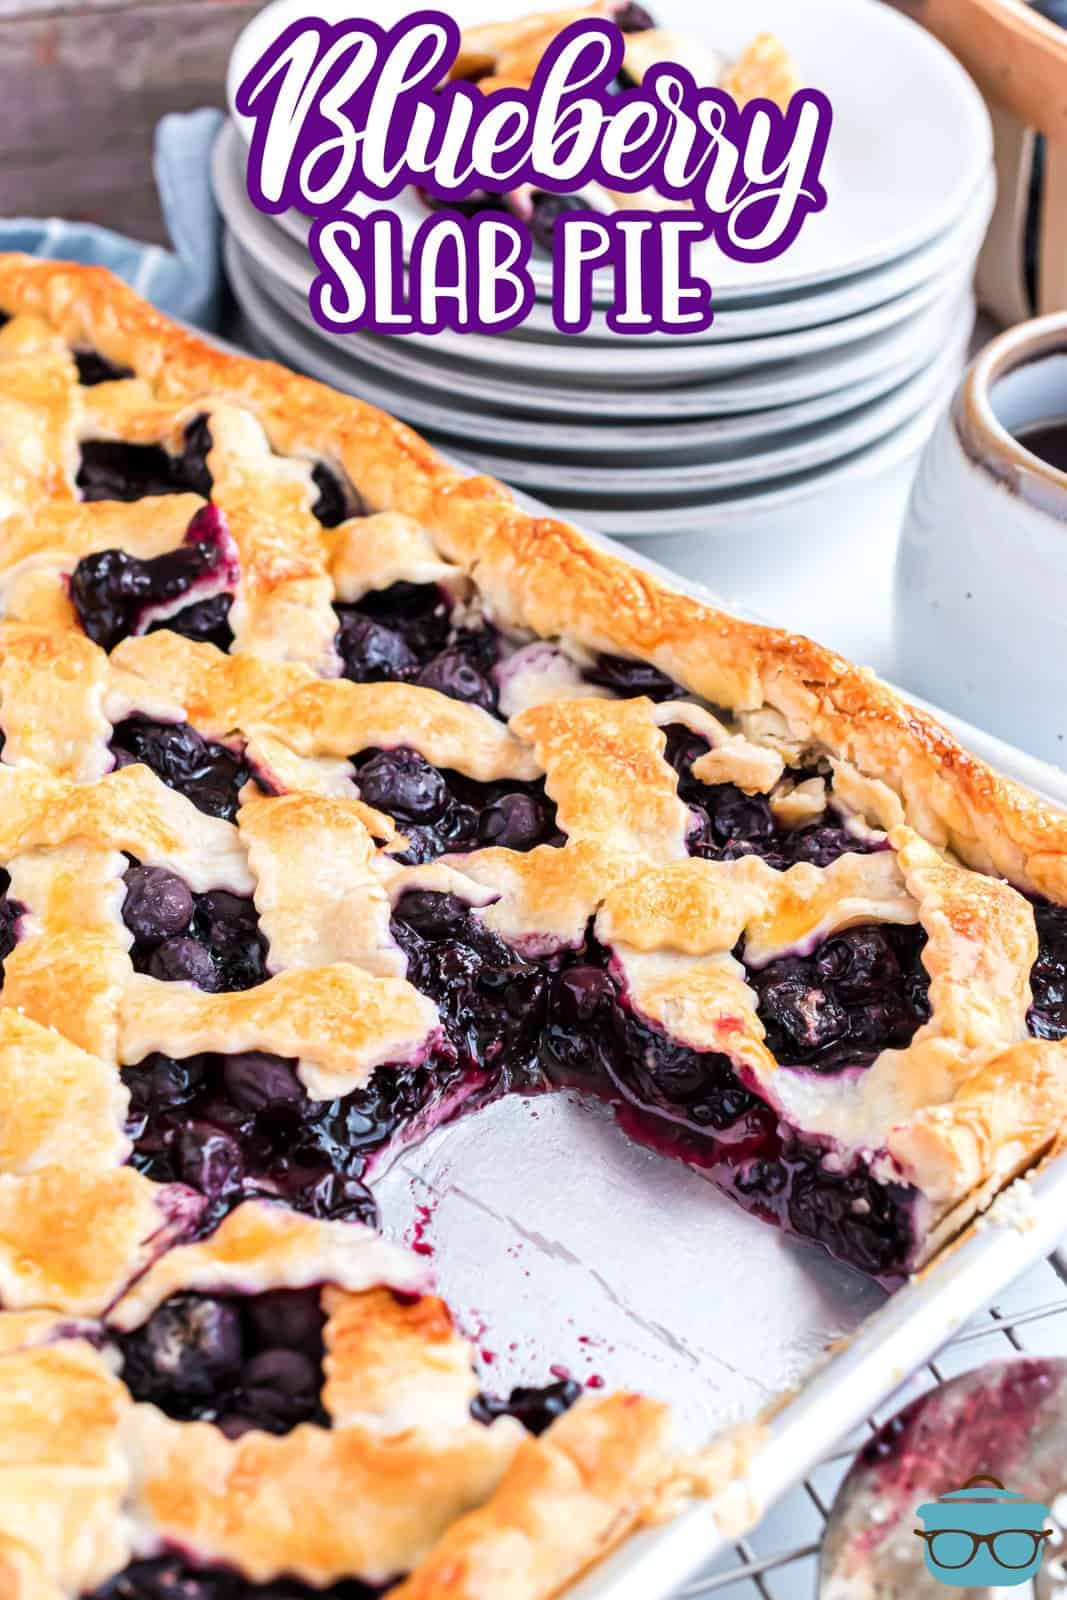
Blueberry Slab Pie
Satisfy your sweet tooth with this delectable blueberry slab pie recipe, made with a convenient store-bought crust and a luscious homemade filling bursting with juicy blueberries!
A BEAUTIFUL BLUEBERRY PIE WITH A TWIST
This Blueberry Slab Pie is an easy and delicious summer treat that the whole family will love! Made with a buttery, flaky pie crust, sweet blueberries and a hint of ground cinnamon, this dessert is sure to be a hit. Perfect for picnics or potlucks, this slab pie can easily feed up to 12 people. Make sure you have plenty of ice cream on hand – it goes perfectly with this fruity treat!

FREQUENTLY ASKED QUESTIONS (FAQ’S)
To help keep the bottom of your pie from getting soggy, there are a few different things you can do. The first thing I do is move the oven rack to the lower third of the oven. I also brush the unbaked pastry surface with an egg wash before putting in the filling. The egg wash will create a barrier between the pastry and filling, keeping them separate while they get cooked together in the oven.
To make blueberry pie filling less runny, you can try adding a bit more all-purpose flour or cornstarch. You can also reduce the amount of liquid in the recipe by reducing the amount of lemon juice and/or water. Lastly, you can cook the pie filling on low heat for a longer period of time to allow it to thicken, if needed.
Yes, most blueberry pies will thicken as they cool. As the pie cools down and the filling sets up, it will create a thickener that can help hold the berries together in a solidified form. Additionally, if you make a cornstarch or flour-based filling for your blueberry pie, these ingredients have natural thickening properties that will be activated once heated.
Blueberries are typically in season from late May to mid-August, depending on where you live. However, frozen blueberries can be enjoyed year round! Blueberries are frozen at the peak of freshness so you now you’ll always get a good batch!
You bet! In fact, we love making this as an Apple Slab Pie. You can use our recipe and add the lattice top for a really gorgeous dessert.
Yes. Sometimes it’s easier to just grab a pint of blueberries instead of a pint plus a cup (as I use in this recipe) but your slab pie won’t be as fruit filled as the traditional recipe would be.
I think it’s worth it. I love the rolled edges because it gives the pieces some structure and creates a nice flaky but substantial bite of crust. Alternatively, the edges can be fluted or pressed together with a fork.
A lattice-like crust (minus the weaving work) can be done for the top of the pie by laying the strips of crust in the opposite direction directly on top of the first layer of strips. Then roll up the edges of the crust as directed.
I tested a version of the recipe with canned pie filling. I did not like how it came together. The taste-testers (my family – ha!) liked the homemade filling SO MUCH BETTER than the canned. I didn’t re-test with the canned filling since it’s not something I recommend using. The homemade filling is totally worth the extra time and effort!
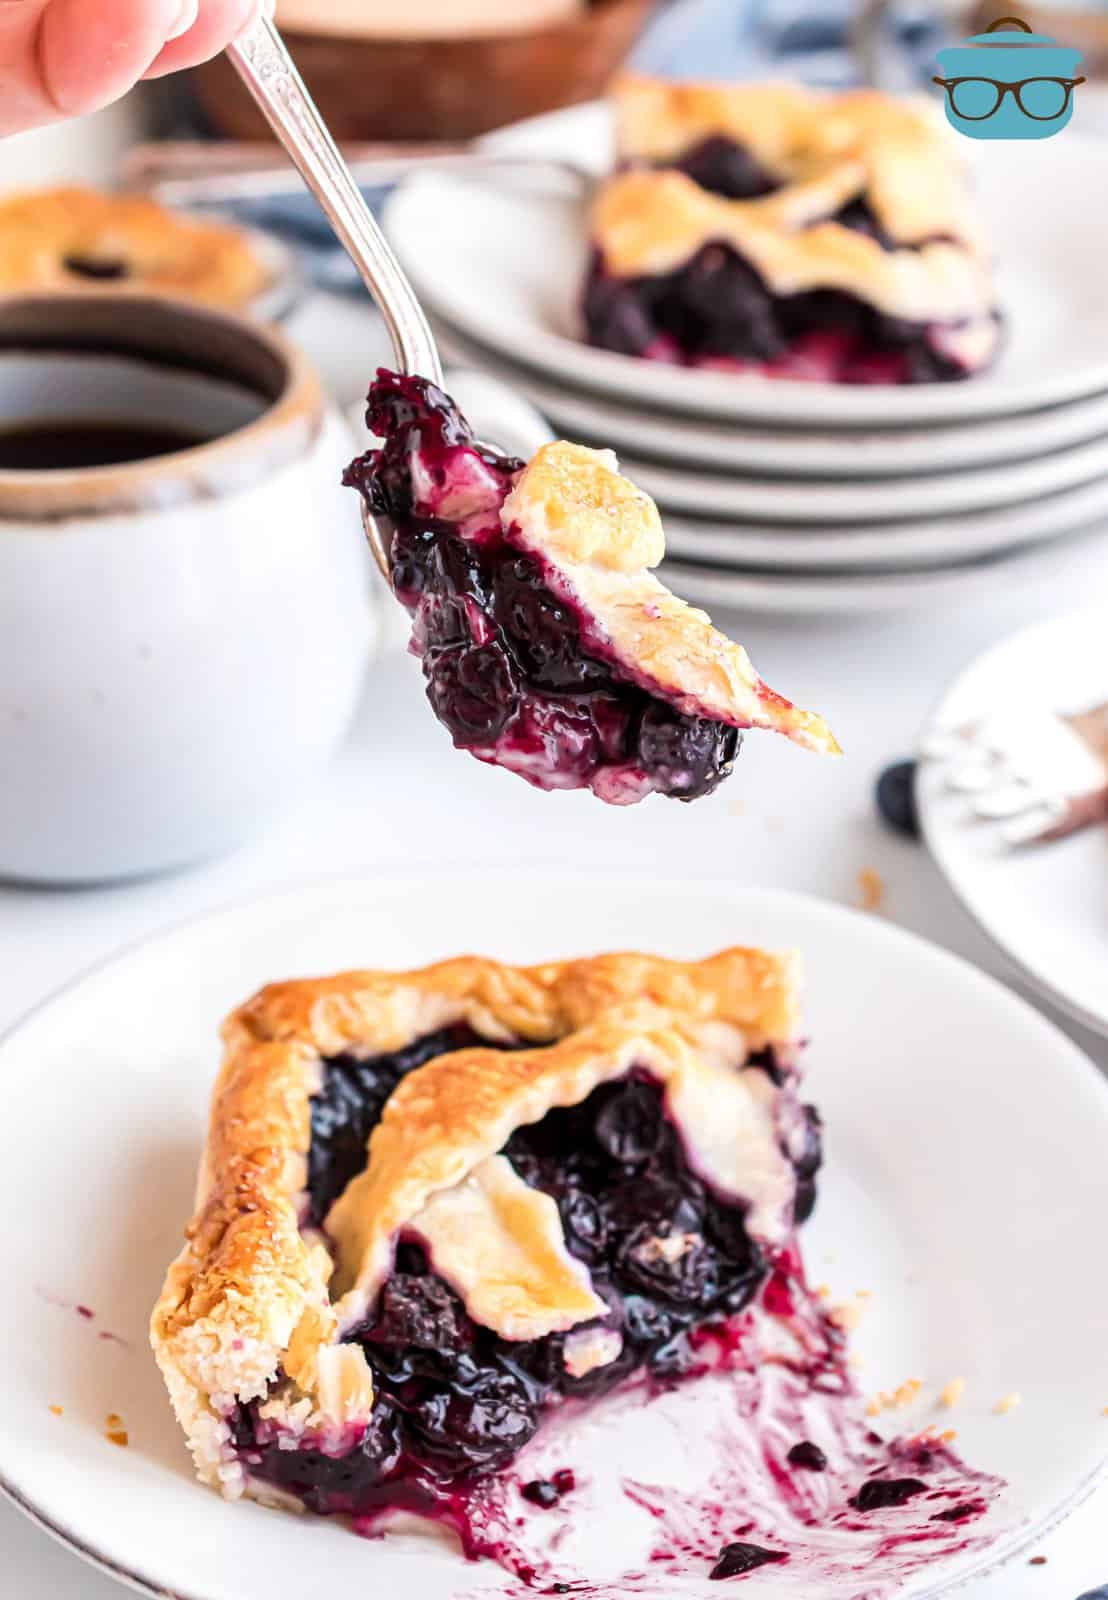
Try serving a slice of this pie with a dollop of whipped cream or a heavy scoop of ice cream.
The size pan that we used for this pie is a baker’s quarter sheet (about 9”x13”). I chose this size because it is a little deeper than a traditional jelly roll pan. As a result, the crust is a little thicker on both the bottom and sides. If you to use a 10×15-inch jelly roll pan, the baking time would be reduced slightly as the crust would be thinner and bake more quickly (I can’t give exact timing since I haven’t tested it.)
Loosely cover the leftover pie with plastic wrap or aluminum foil and store it at room temperature for up to 2 days or in the refrigerator for up to 5 days.
Additionally, you can freeze leftovers for up to 3 months by tightly wrapping the pie in plastic wrap or foil before storing it. You can store as a whole pie or in slices. Thaw in the fridge overnight before reheating and enjoying.
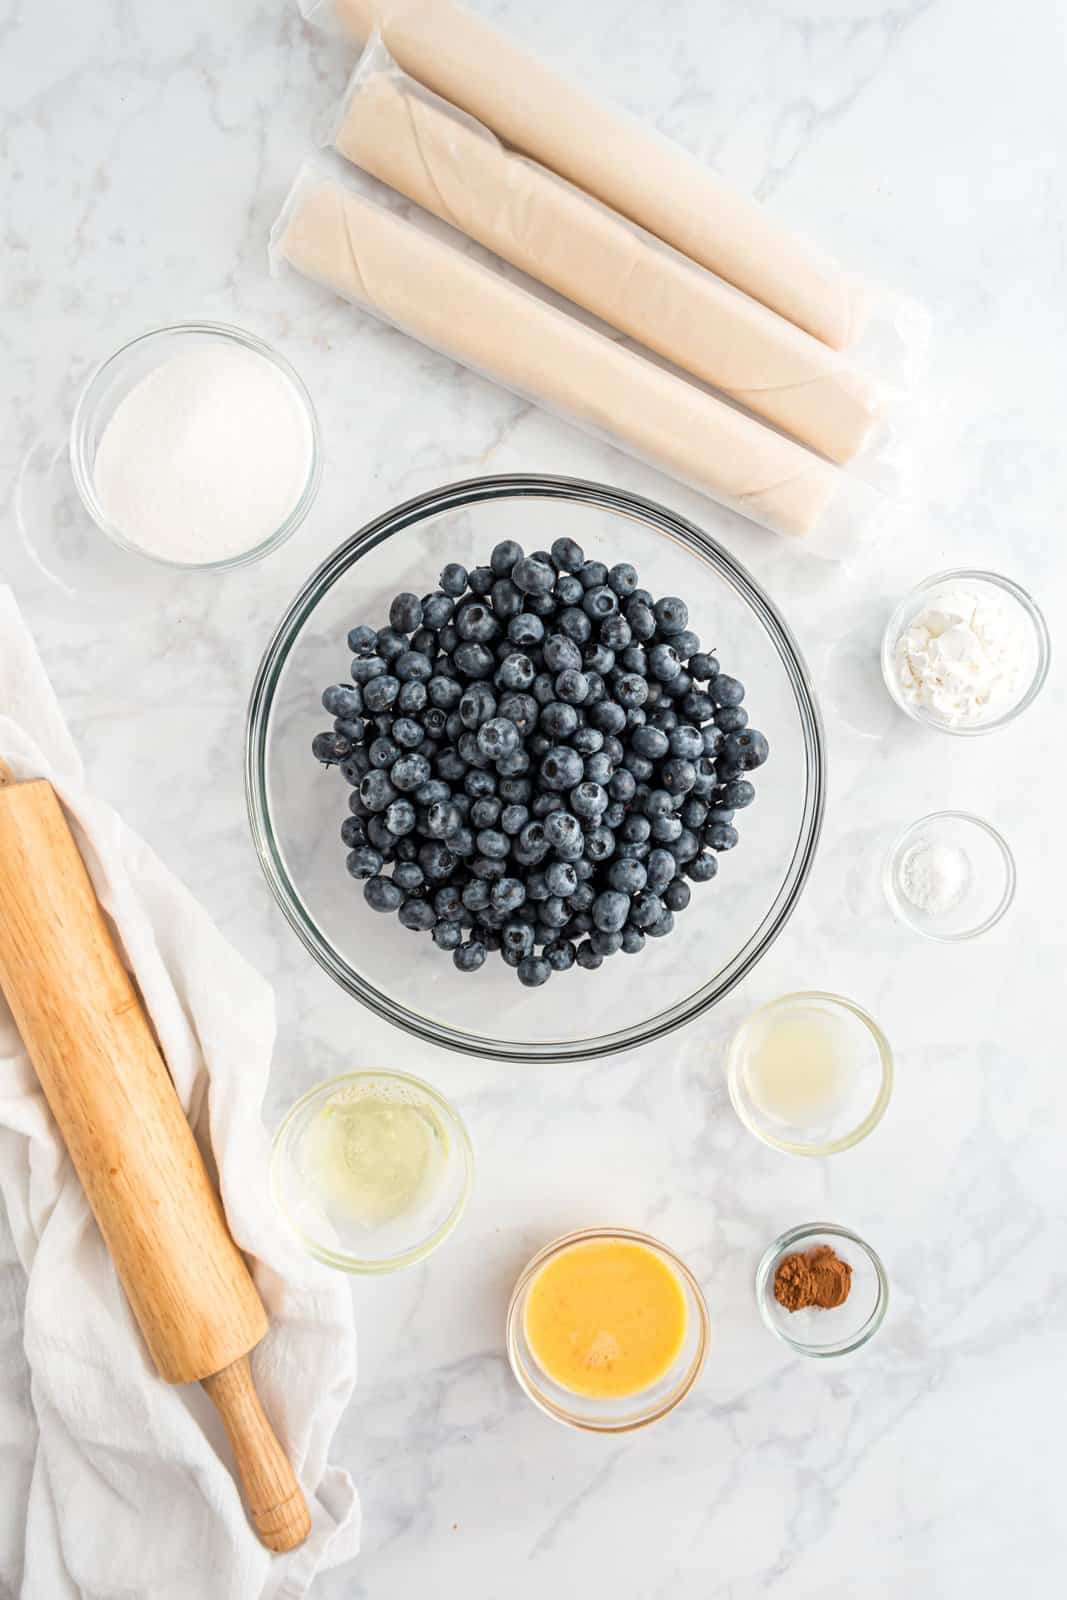
INGREDIENTS NEEDED: (SEE RECIPE CARD BELOW FOR THE FULL RECIPE)
- refrigerated ready-made pie crusts
- fresh blueberries
- granulated sugar
- cornstarch
- ground cinnamon
- kosher salt
- fresh lemon juice
- large egg white
- large egg
- coarse sanding sugar (optional)
HOW TO MAKE BLUEBERRY SLAB PIE
Move the oven rack to the lower third of the oven. Preheat the oven to 425℉. Take the refrigerated pie crusts out of the refrigerator, but keep them in the plastic sleeve.
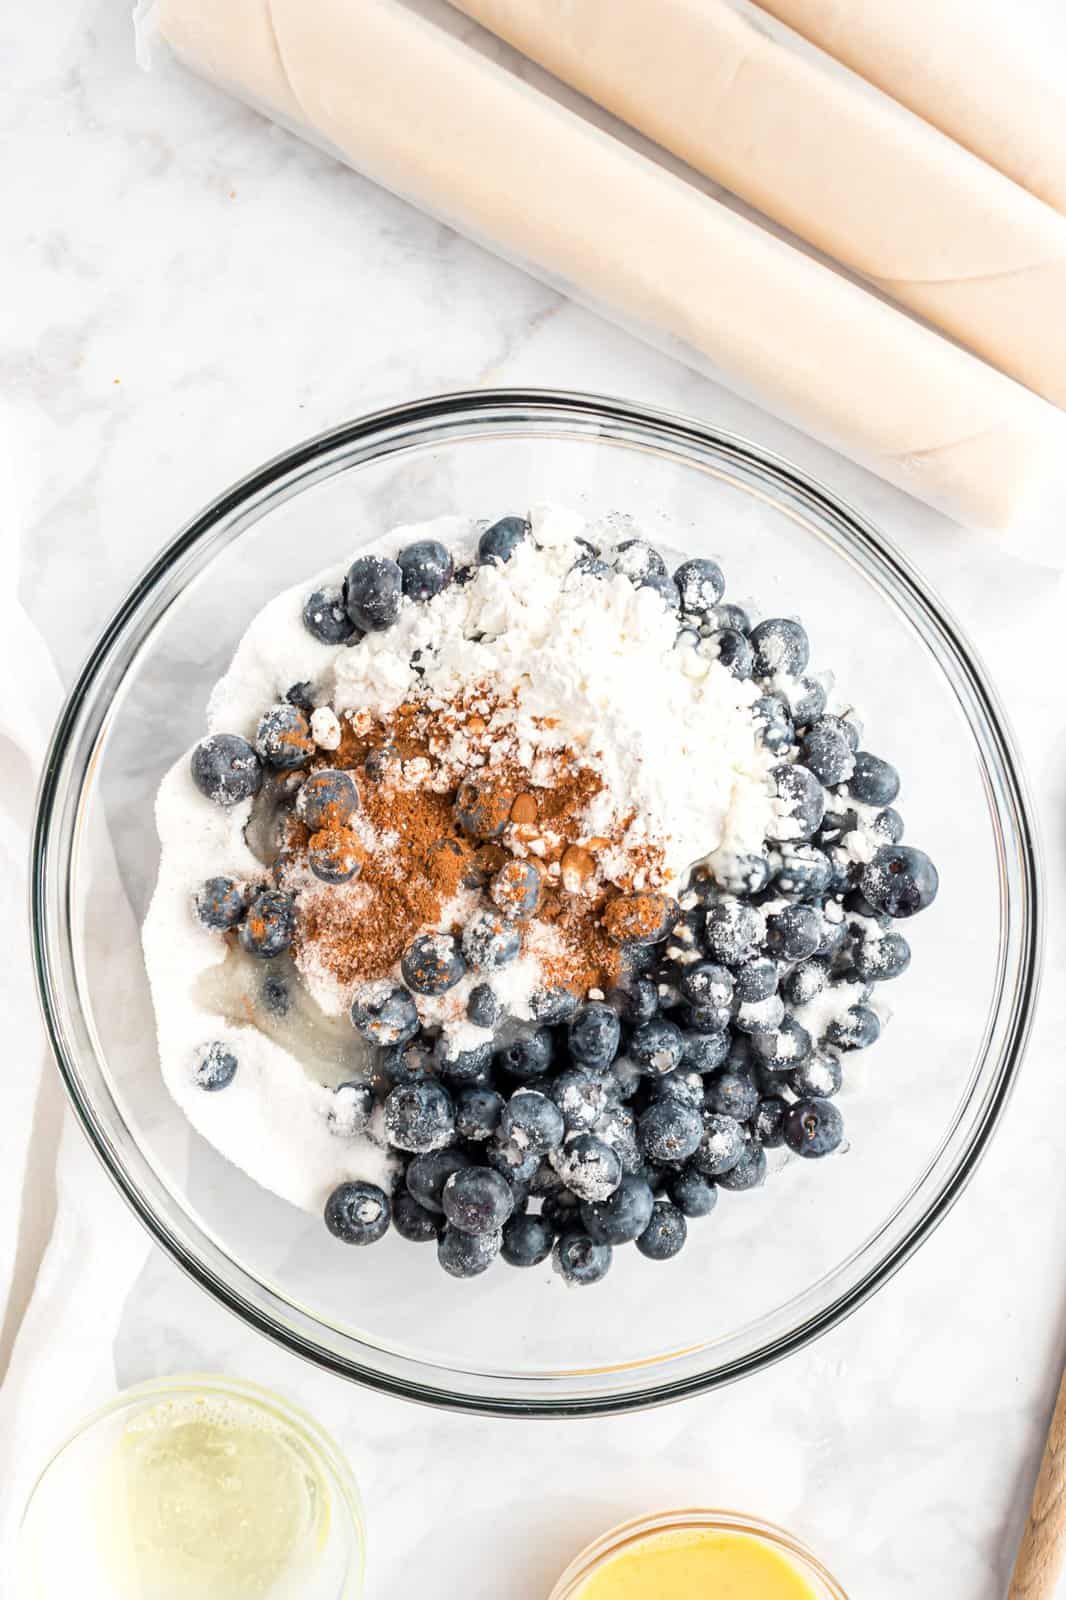
Add blueberries, sugar, cornstarch, cinnamon, salt, and lemon juice to a large mixing bowl. Fold the ingredients together carefully to not crush the blueberries. Set aside.
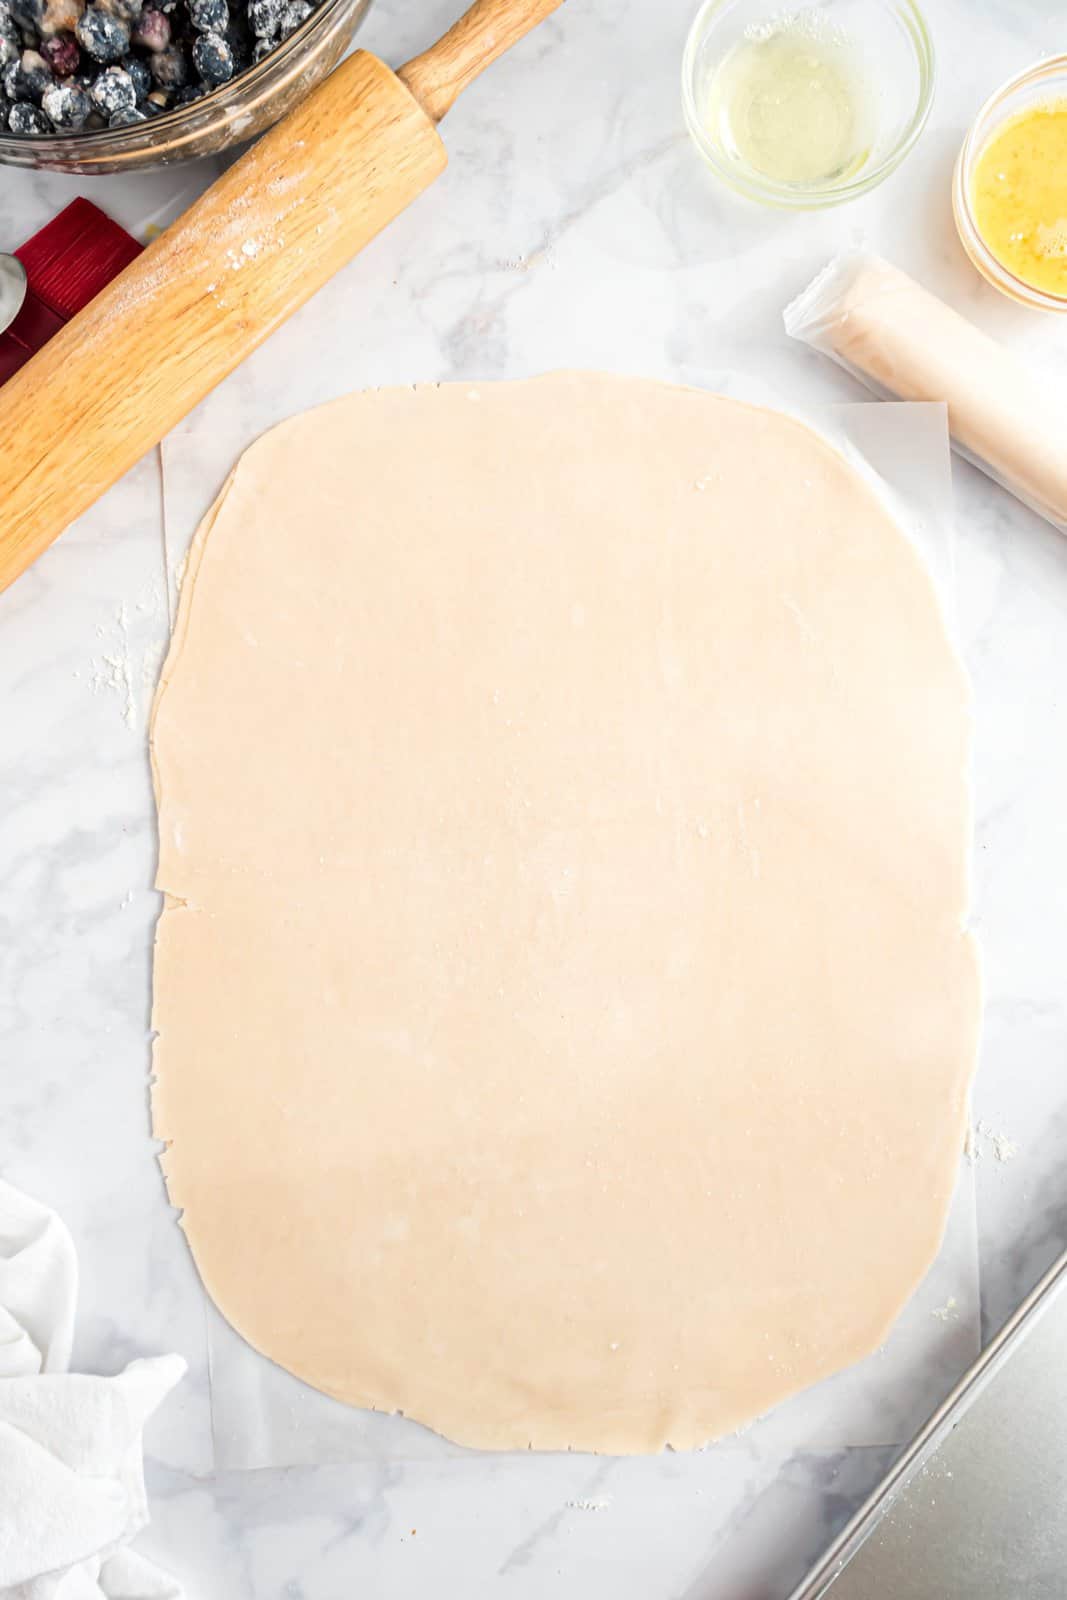
Lightly flour a work surface. Unroll two thawed pie crusts and stack them on top of each other.
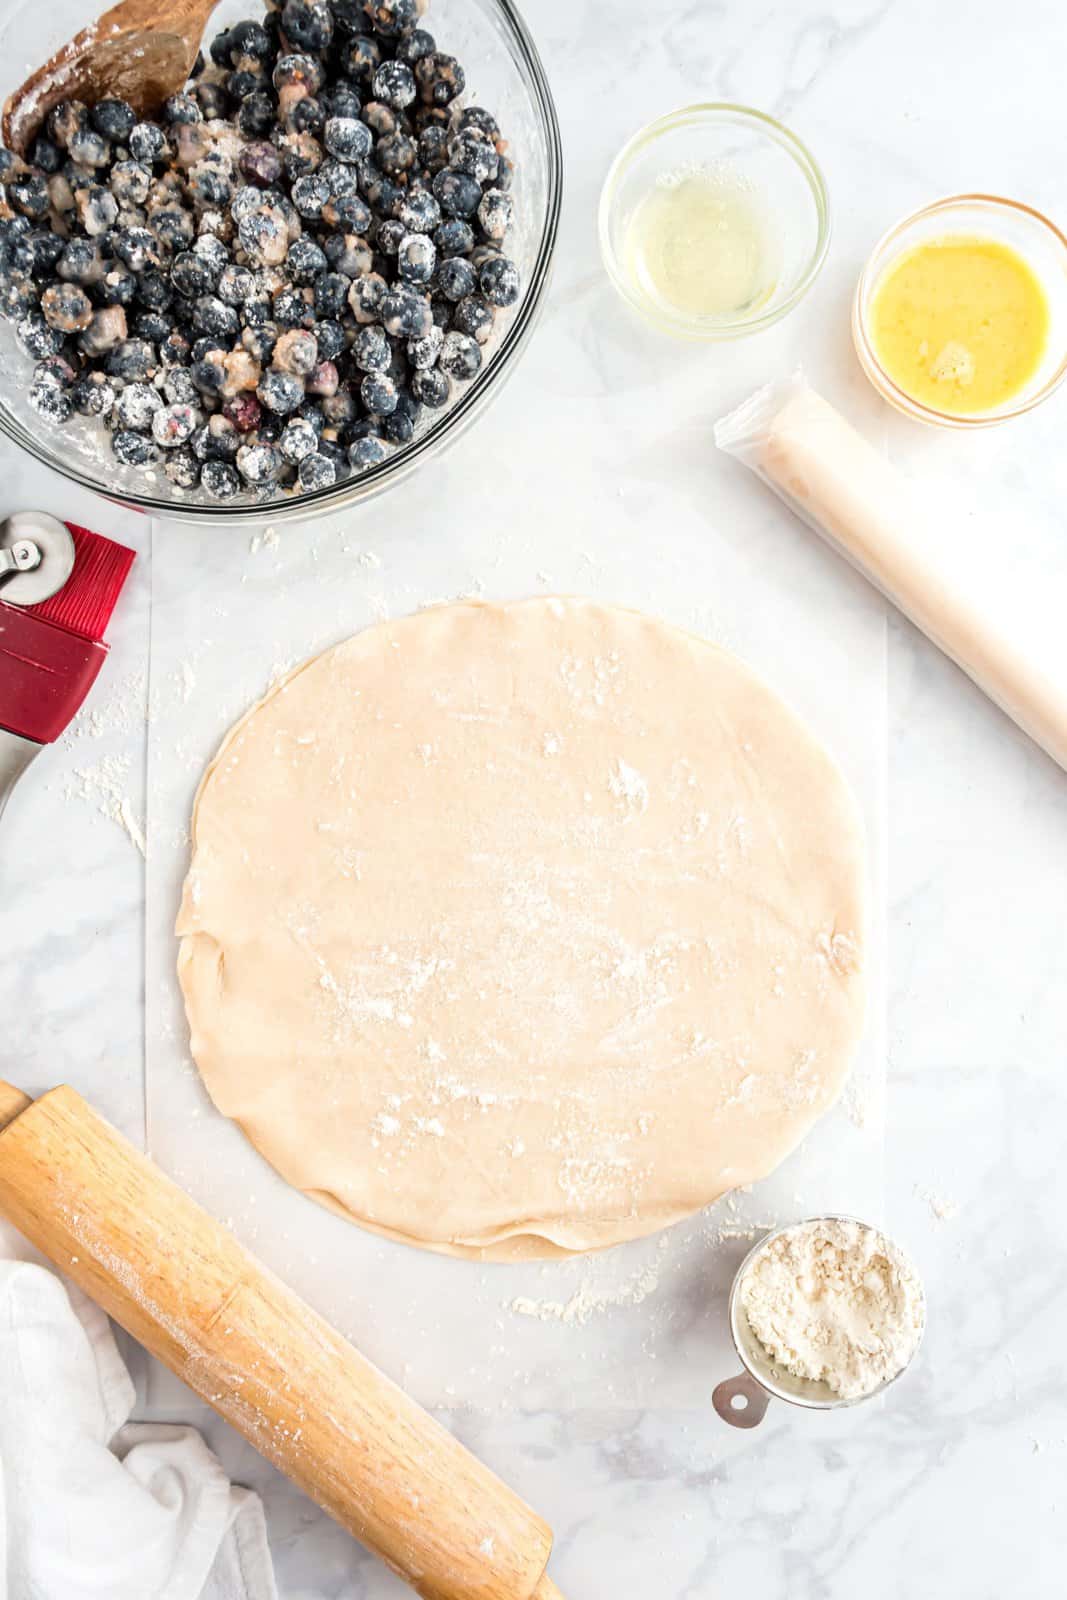
Roll the dough to about a 17”x14” rectangle using a large rolling pin.
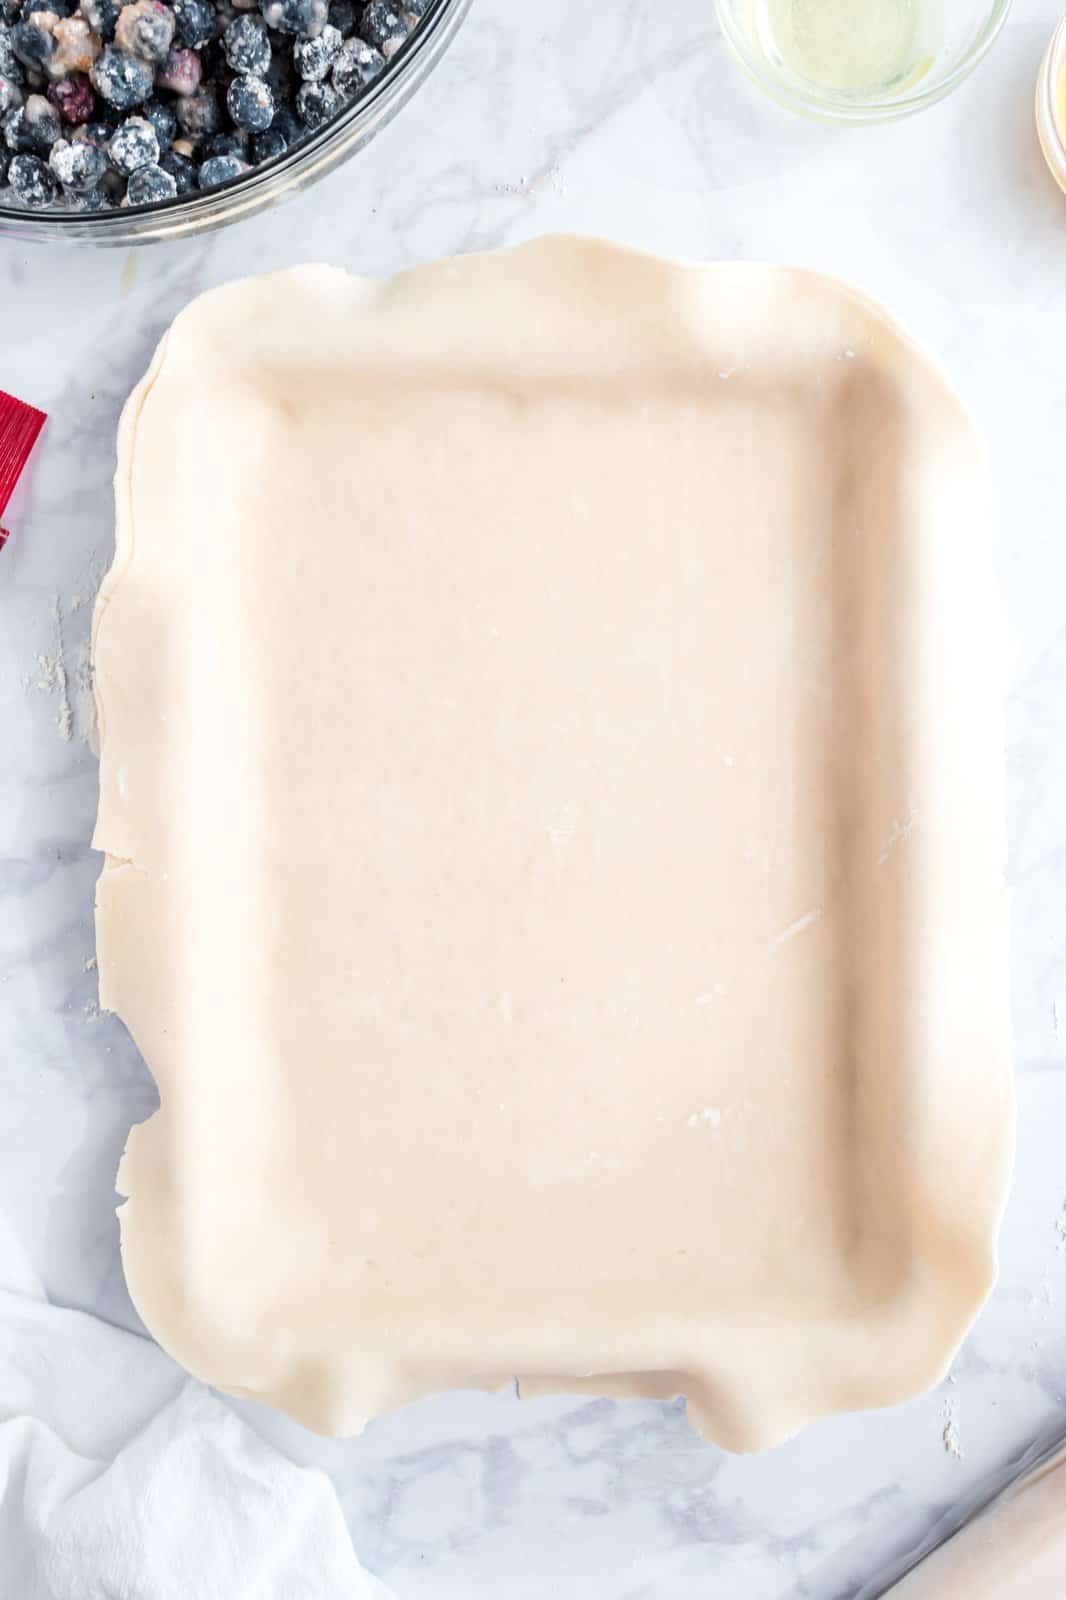
Transfer the dough to a quarter sheet pan and press the crust into the corners of the pan, allowing the excess dough to hang over the edges.
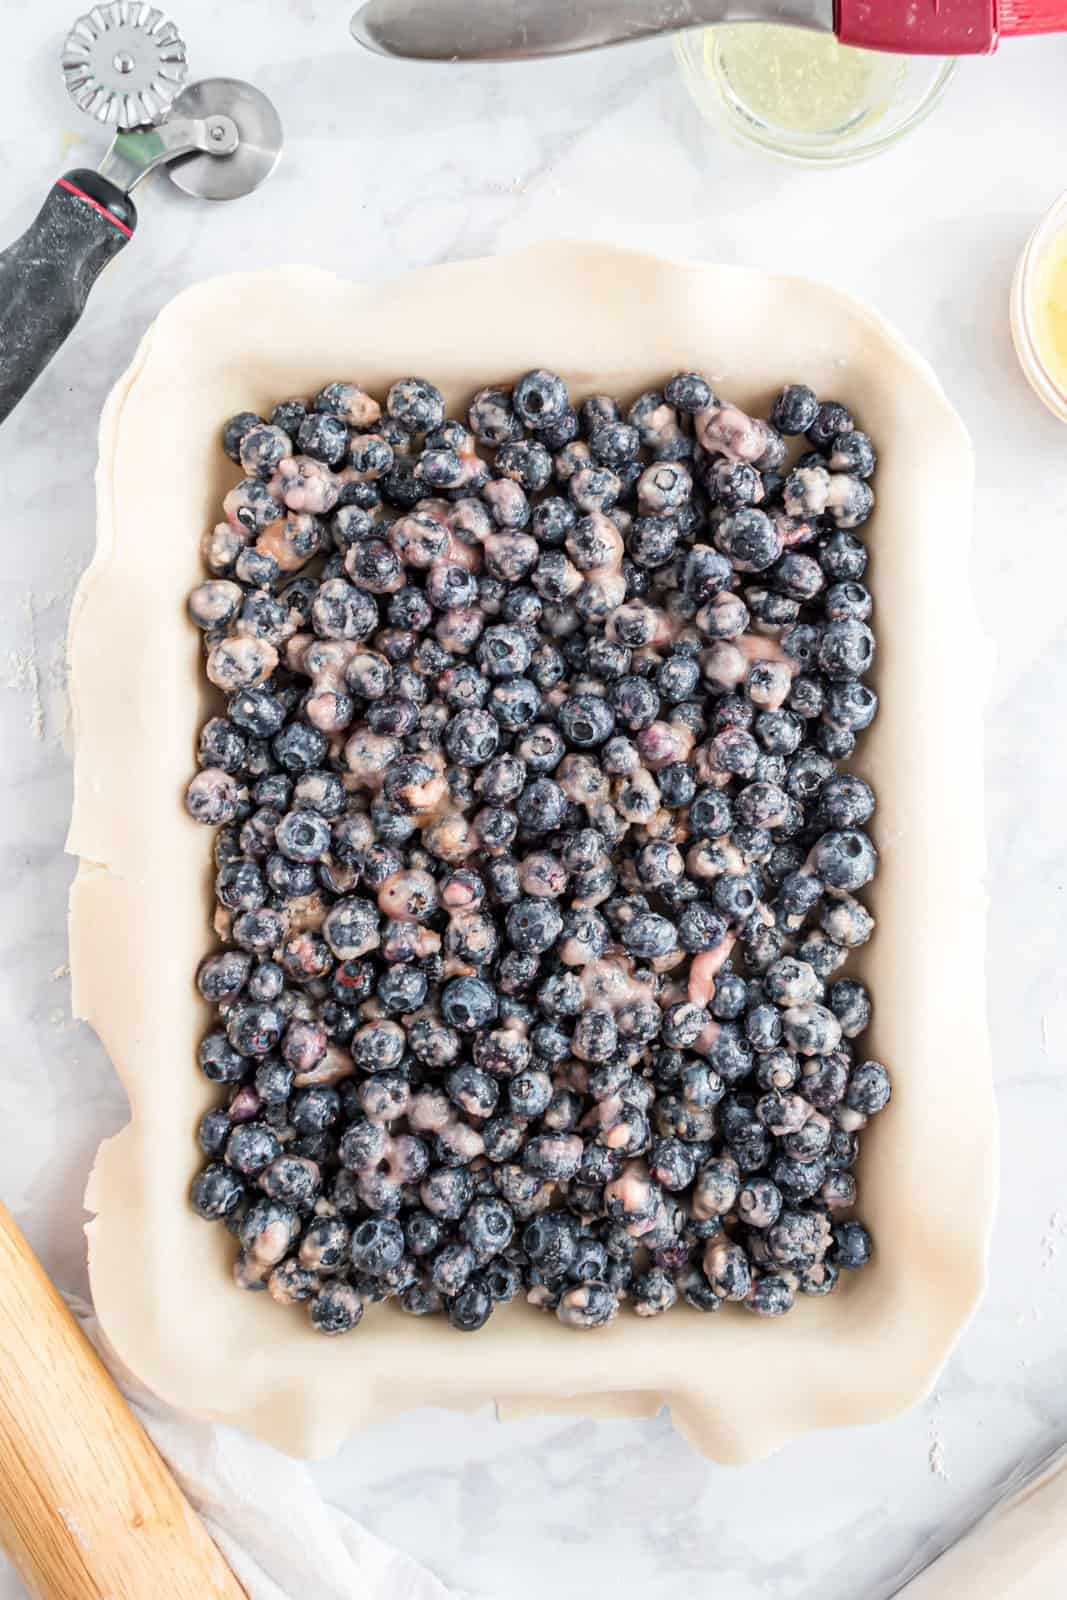
Brush the flat part of the crust with egg white. Pour the blueberry filling into the prepared pan and spread it out in an even layer. Set aside.
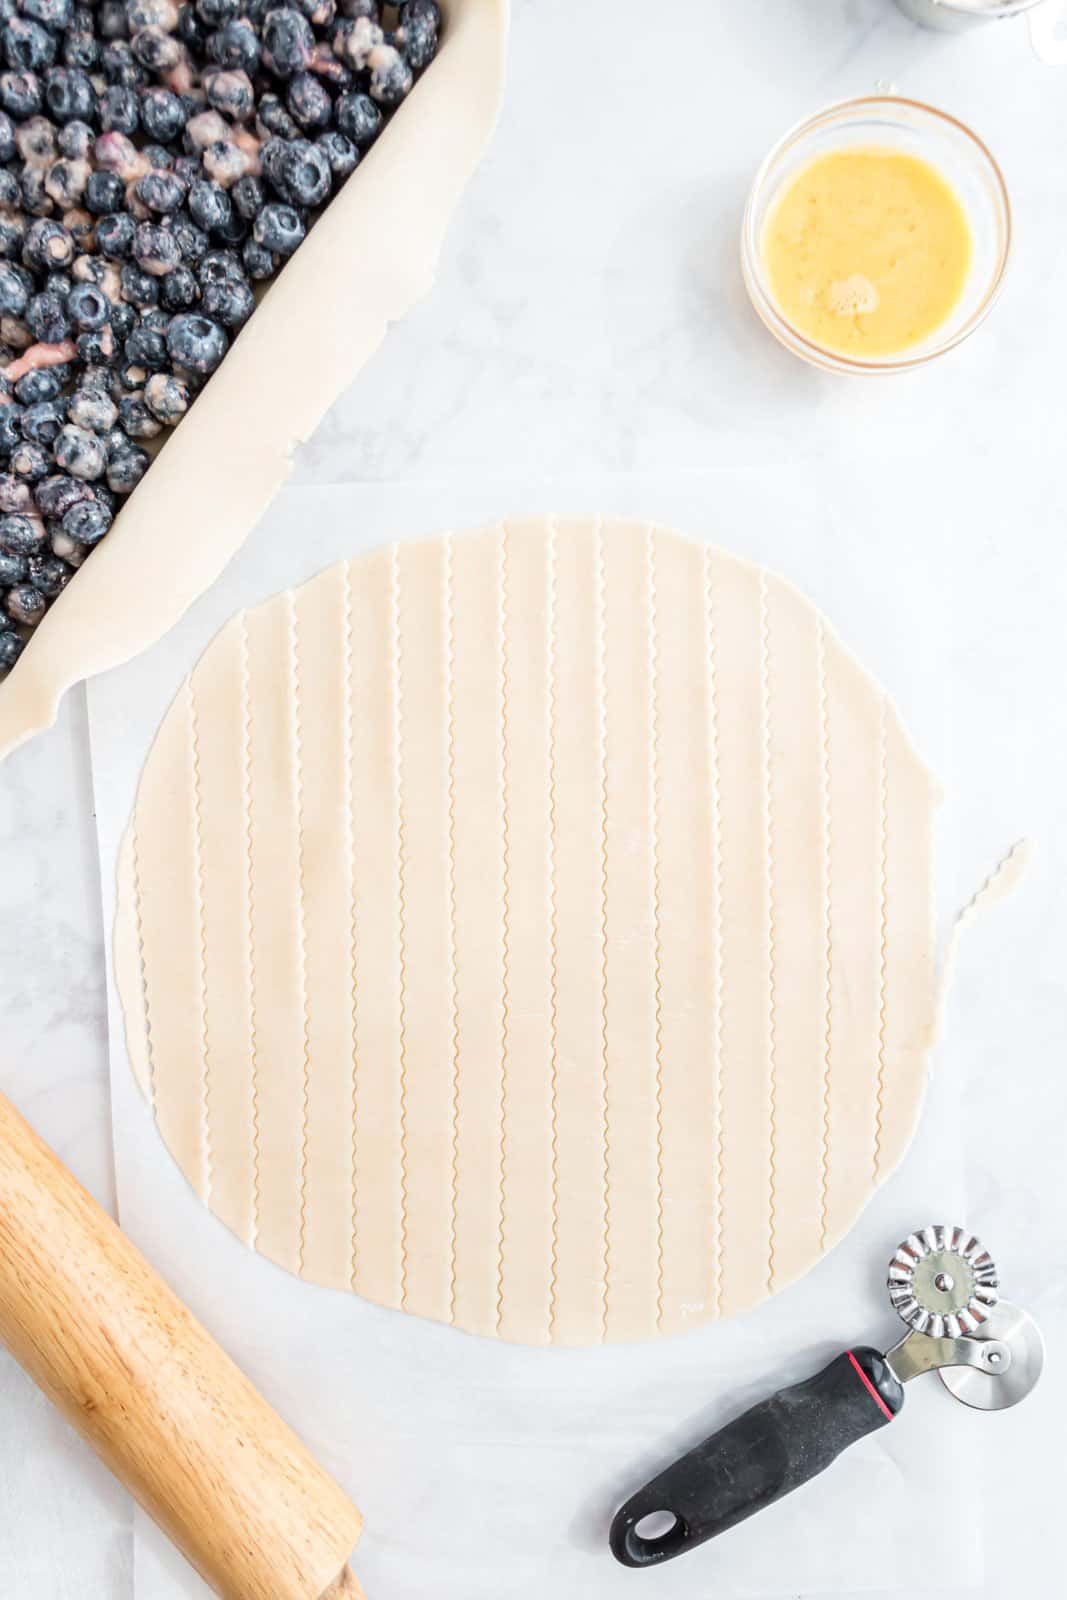
Roll out the third crust until it is about 12-inches in diameter. Using a pastry cutter, pizza wheel, or knife, cut 14 strips about ½-inch wide.
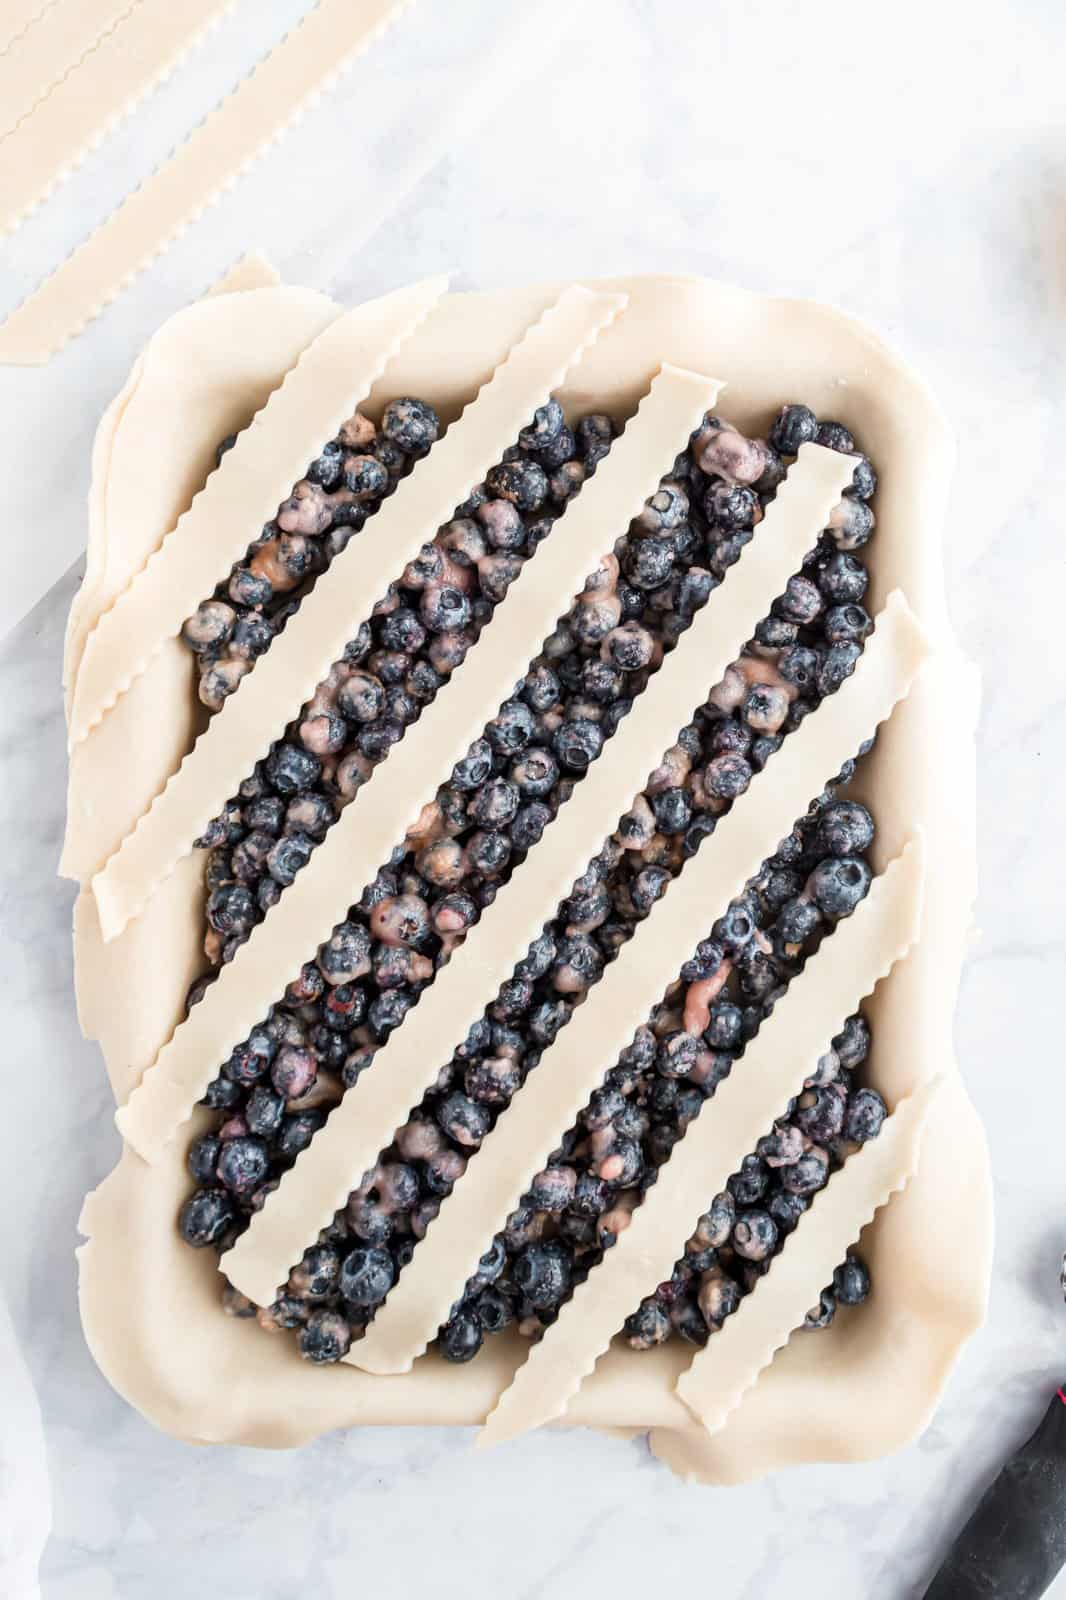
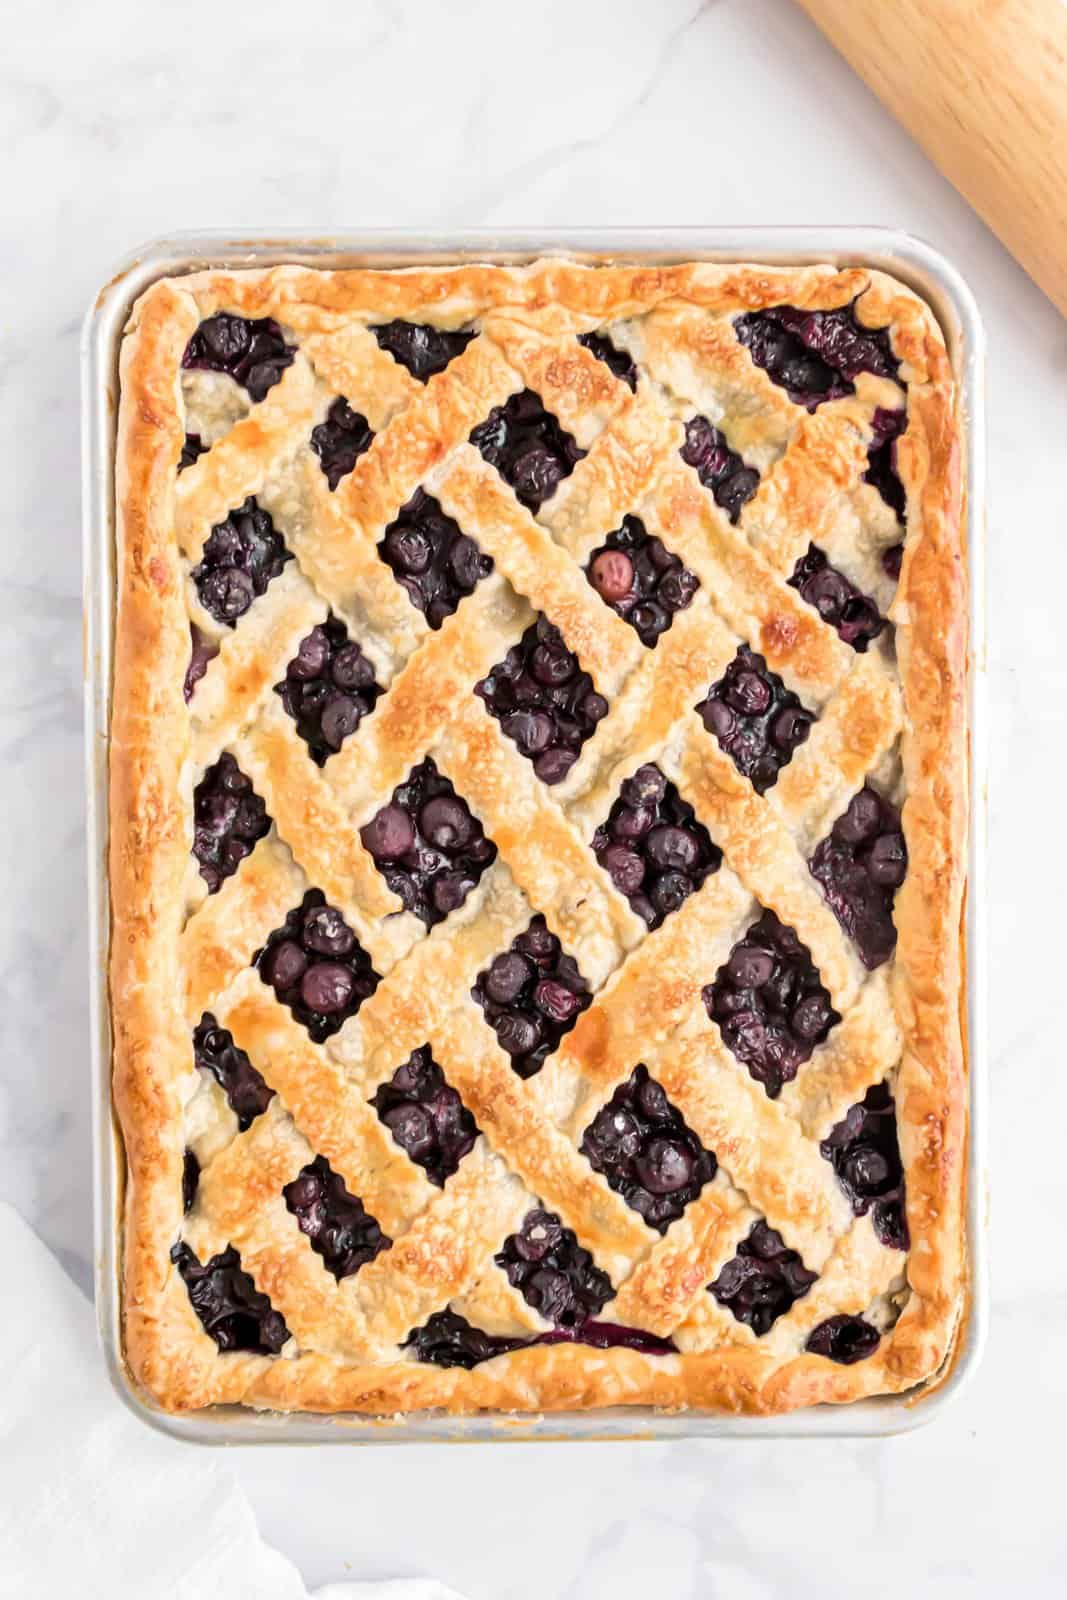
Begin laying seven strips of pie crust across the pan, starting with the longest strip of dough and placing it diagonally, from corner to corner. The strips should be overlapping or almost touching the edges of the pan.
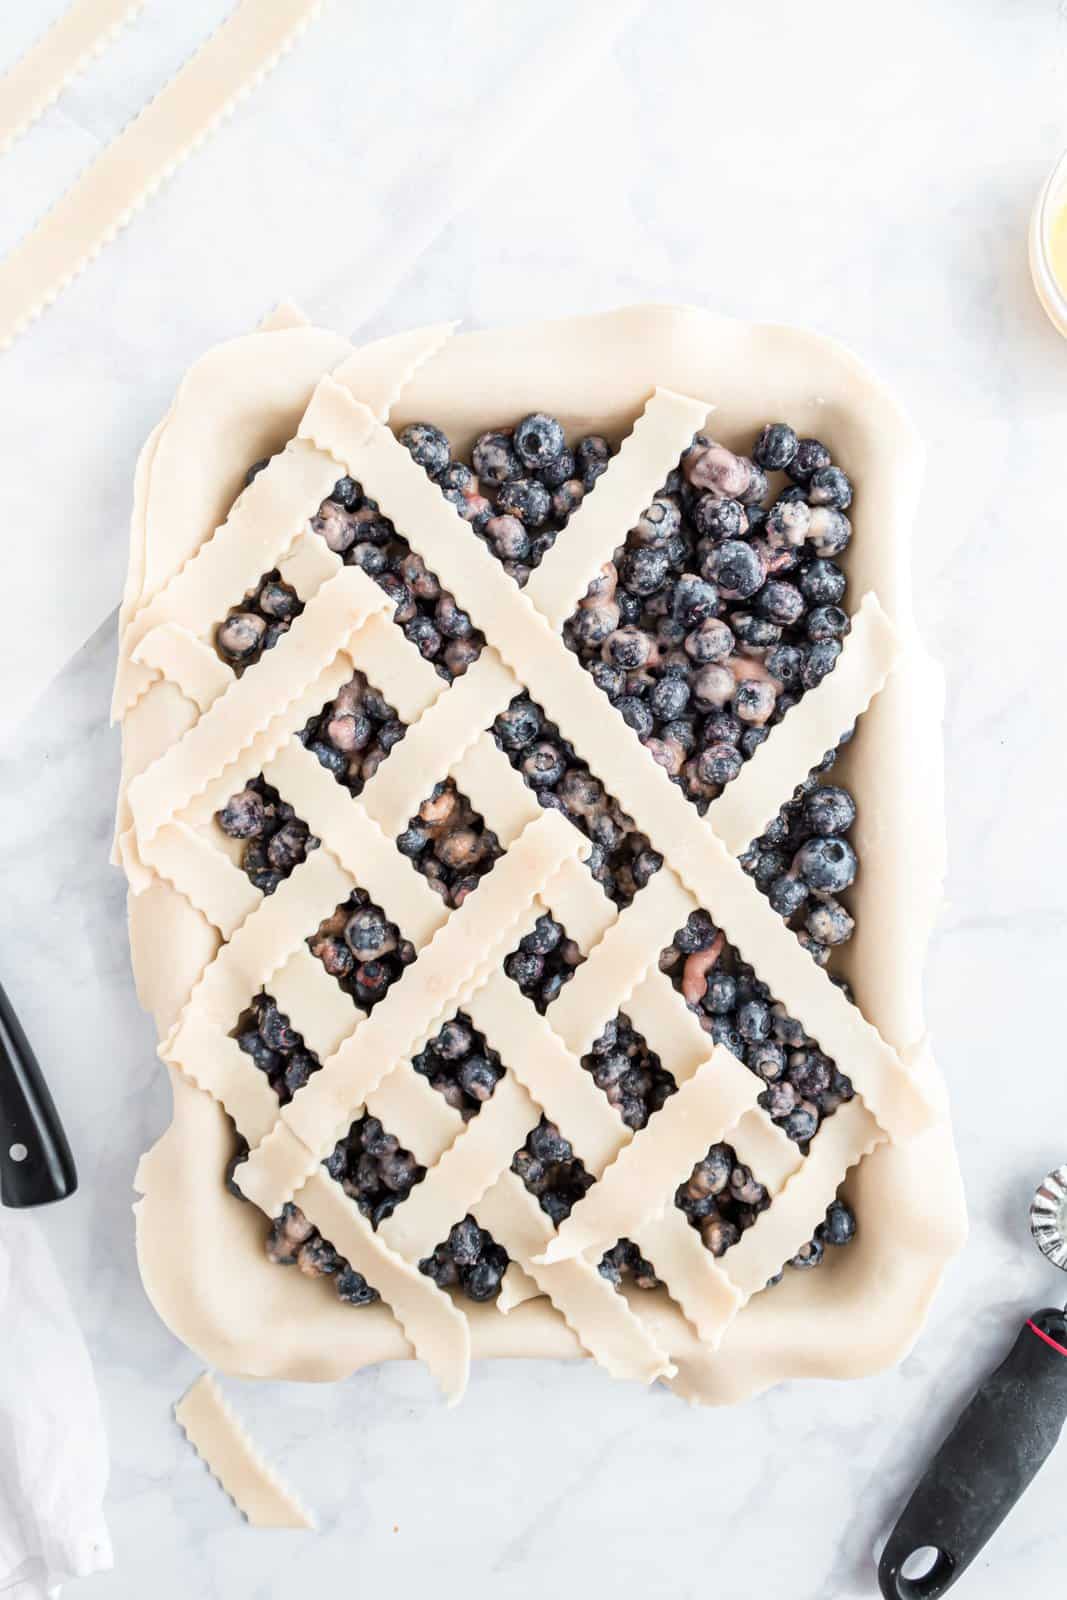
Fold back every other strip of dough and begin laying the other pieces diagonally across the pan in the other direction, from corner to corner. Repeat this with all the strips to form the lattice design.
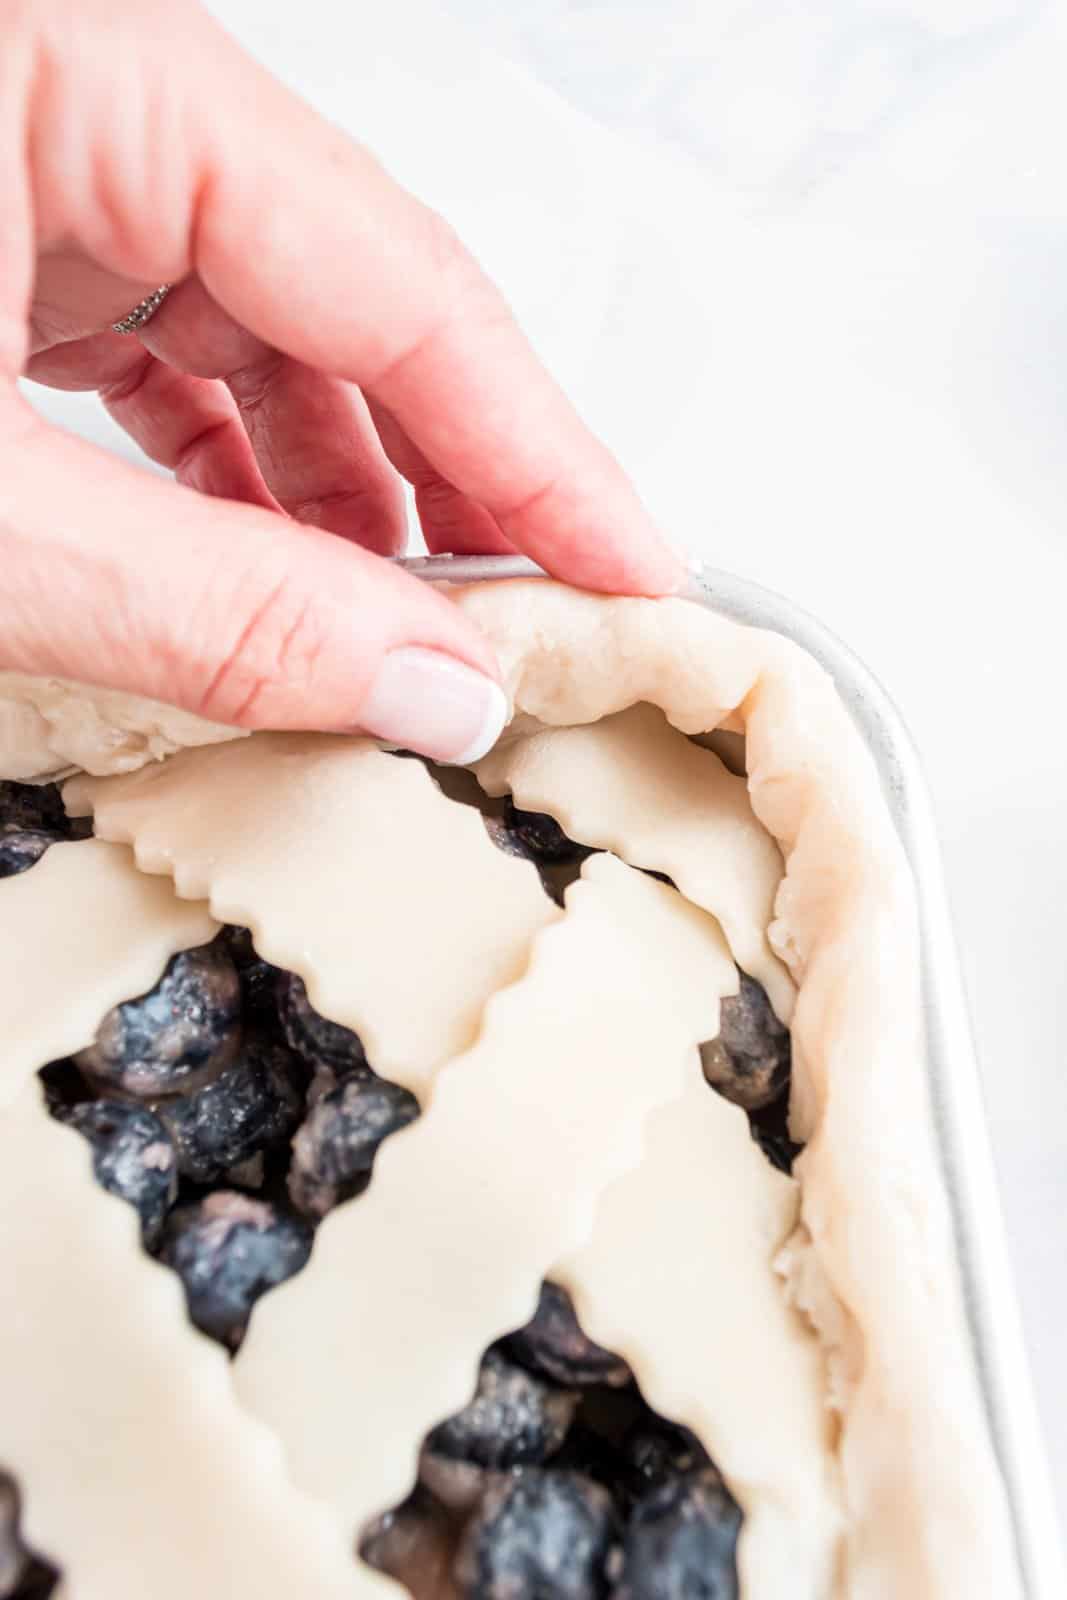
Roll the crust edges toward the center of the pan, forming an even edge and concealing all the ends of the pie crust strips.
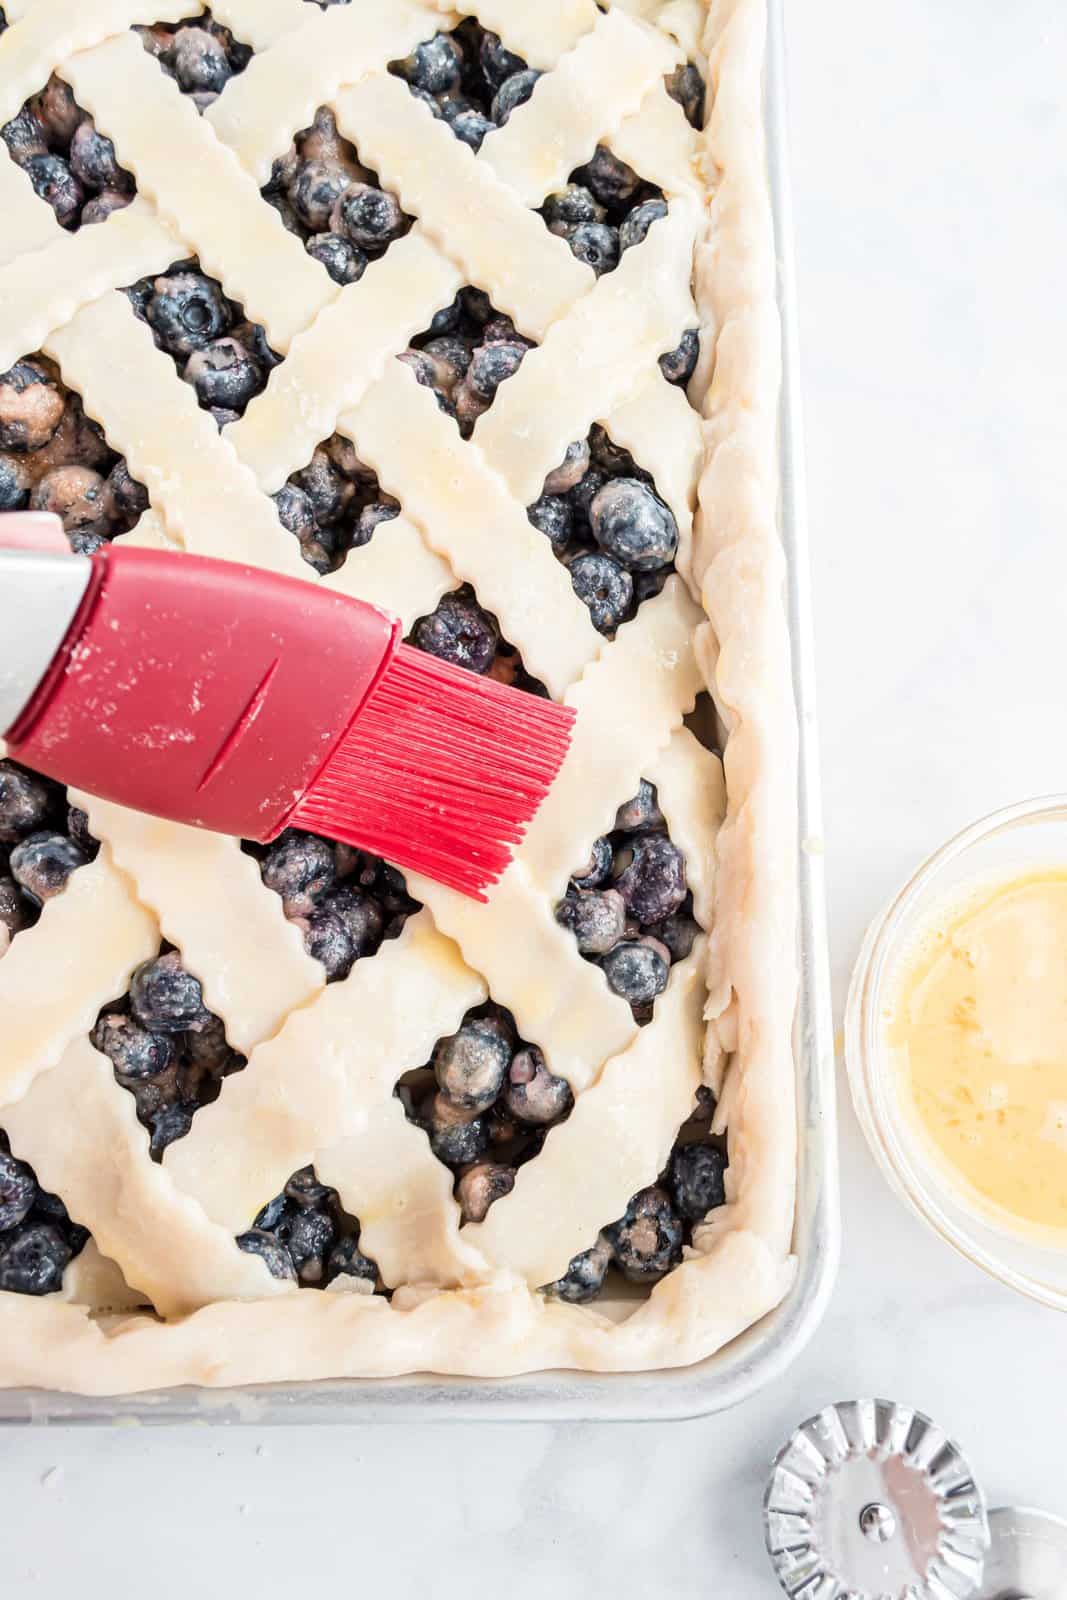
Brush the crust with beaten egg and sprinkle with sanding sugar.
Bake for about 30 minutes. Then, loosely place a piece of foil on the pie to prevent the crust from over-browning, and bake for an additional 20 minutes or until the crust is browned and the blueberry filling is bubbly.
Serve warm or at room temperature.
CRAVING MORE RECIPES?
- Blueberry Cobbler
- Blueberry Bubble Up
- Blueberry Yum Yum
- Blueberry Jell-O Pie
- Blueberry Dump Cake
- Blueberry Pie Filling
- Blueberry Cookies
- Blueberry Muffin Cake
- Sweet Potato Slab Pie
- Pumpkin Slab Pie
- Lemon Meringue Slab Pie

Blueberry Slab Pie
Ingredients
- 3 refrigerated ready-made pie crusts
- 5 cups fresh blueberries
- ¾ cup granulated sugar
- 4 Tablespoons cornstarch
- ½ teaspoon ground cinnamon
- ¼ teaspoon kosher salt
- 1 Tablespoon fresh lemon juice
- 1 large egg white, beaten
- 1 large large whole egg, beaten
- coarse sanding sugar (optional)
Instructions
- Move the oven rack to the lower third of the oven. Preheat the oven to 425℉.
- Take 3 refrigerated ready-made pie crusts out of the refrigerator but keep them in the plastic sleeve.
- Add 5 cups fresh blueberries, ¾ cup granulated sugar, 4 Tablespoons cornstarch, ½ teaspoon ground cinnamon, ¼ teaspoon kosher salt and 1 Tablespoon fresh lemon juice to a large mixing bowl. Fold the ingredients together carefully so as not to crush the blueberries. Set aside.
- Lightly flour a work surface. Unroll two thawed pie crusts and stack them on top of each other.
- Roll the dough to about a 17×14-inch rectangle using a large rolling pin.
- Transfer the dough to a quarter sheet pan (9×13-inch) and press the crust into the corners of the pan, allowing the excess dough to hang over the edges.
- Brush the flat part of the crust with1 large egg white, beaten.
- Pour the blueberry filling into the prepared pan and spread it out in an even layer. Set aside.
- Roll out the third crust until it is about 12-inches in diameter. Using a pastry cutter, pizza wheel, or knife, cut 14 strips about ½-inch wide.
- Begin laying seven strips of pie crust across the pan, starting with the longest strip of dough and placing it diagonally, from corner to corner. The strips should be overlapping or almost touching the edges of the pan.
- Fold back every other strip of dough and begin laying the other pieces diagonally across the pan in the other direction, from corner to corner. Repeat this with all the strips to form the lattice design.
- Roll the crust edges toward the center of the pan, forming an even edge and concealing all the ends of the pie crust strips.
- Brush the crust with 1 large large whole egg, beaten and sprinkle with coarse sanding sugar.
- Bake for about 30 minutes. Then, loosely place a piece of foil on the pie to prevent the crust from over-browning, and bake for an additional 20 minutes or until the crust is browned and the blueberry filling is bubbly.
- Serve warm or at room temperature.
Notes
- I used a baker’s quarter sheet pan.
- Follow the directions on the pie crust package for thawing.
- Most boxes of pie crusts have two crusts each. For this recipe, you only need three crusts.
- Keep the crusts sealed until you are ready to roll them to prevent them from drying out.
- To make transferring the rolled-out crust to the pan easier, roll the crust around the rolling pin, and secure it with your hand to ensure it doesn’t unroll. Then place the rolling pin at one end of the pan and carefully unroll the crust.
- All-purpose flour can be used as a thickener instead of cornstarch for the filling.
- The recipe still works if you would like to make this pie with just 2 pints of berries (4 cups) instead of 5 cups. However, the pieces will not be as thick and full of berries.
- To help prevent a soggy bottom crust typical in many fruit-filled pies, we’ve moved the rack to the lower third of the oven and brushed the bottom crust with egg white to create a seal between the crust and the filling.
- The rolled edge gives the slab pie pieces some structure and creates a nice flaky bite of crust. Instead you can flute or press the edges together if preferred.
- I shared an easier way to lay out the lattice design in the post if you need help.
- The egg wash helps to brown the crust and helps the coarse sugar adhere to the pastry so don’t skip out on it.
- I sprinkled additional coarse sugar on the pie after it had cooled, and it made a beautiful presentation. This is optional and can be skipped if you don’t want to do it.
- The pie could be cut into 16 pieces instead of 12 and still be a nice-sized serving.
- This is excellent topped with a scoop of vanilla ice cream or a dollop of whipped cream.
- Skip the canned pie filling, trust me, it’s worth it to just make your own.
Nutrition
Nutritional Disclaimer
“The Country Cook” is not a dietician or nutritionist, and any nutritional information shared is an estimate. If calorie count and other nutritional values are important to you, we recommend running the ingredients through whichever online nutritional calculator you prefer. Calories and other nutritional values can vary quite a bit depending on which brands were used.


