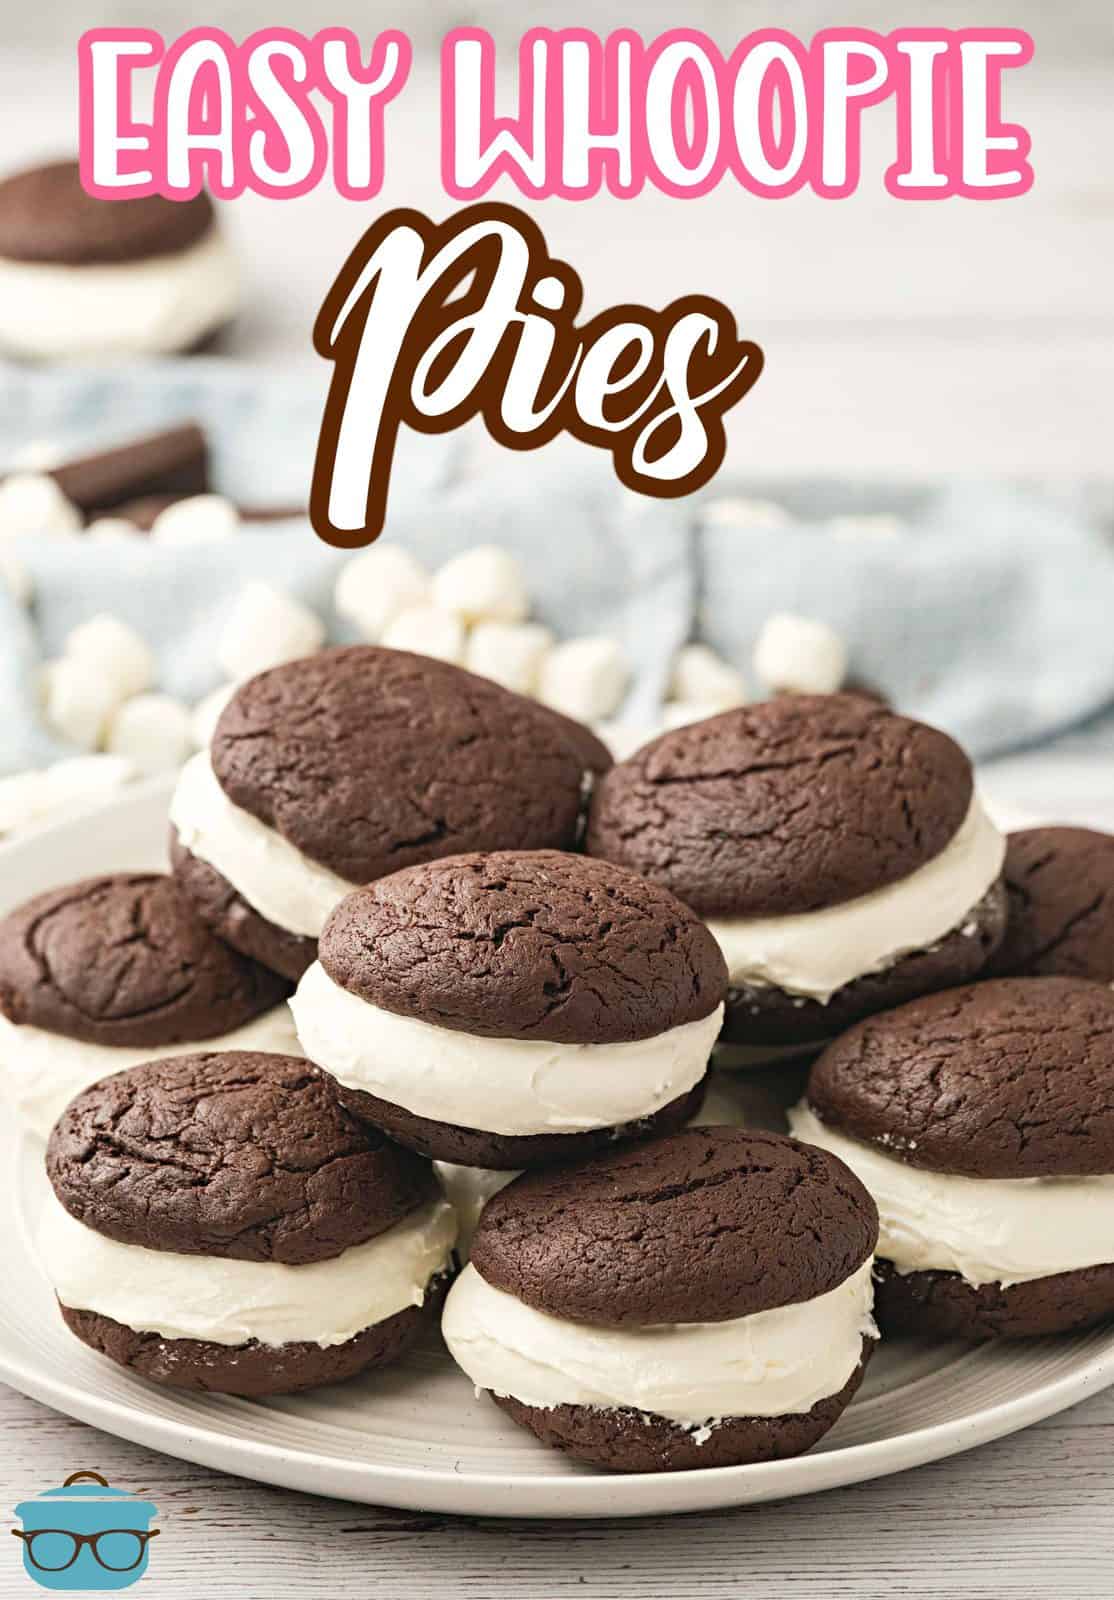
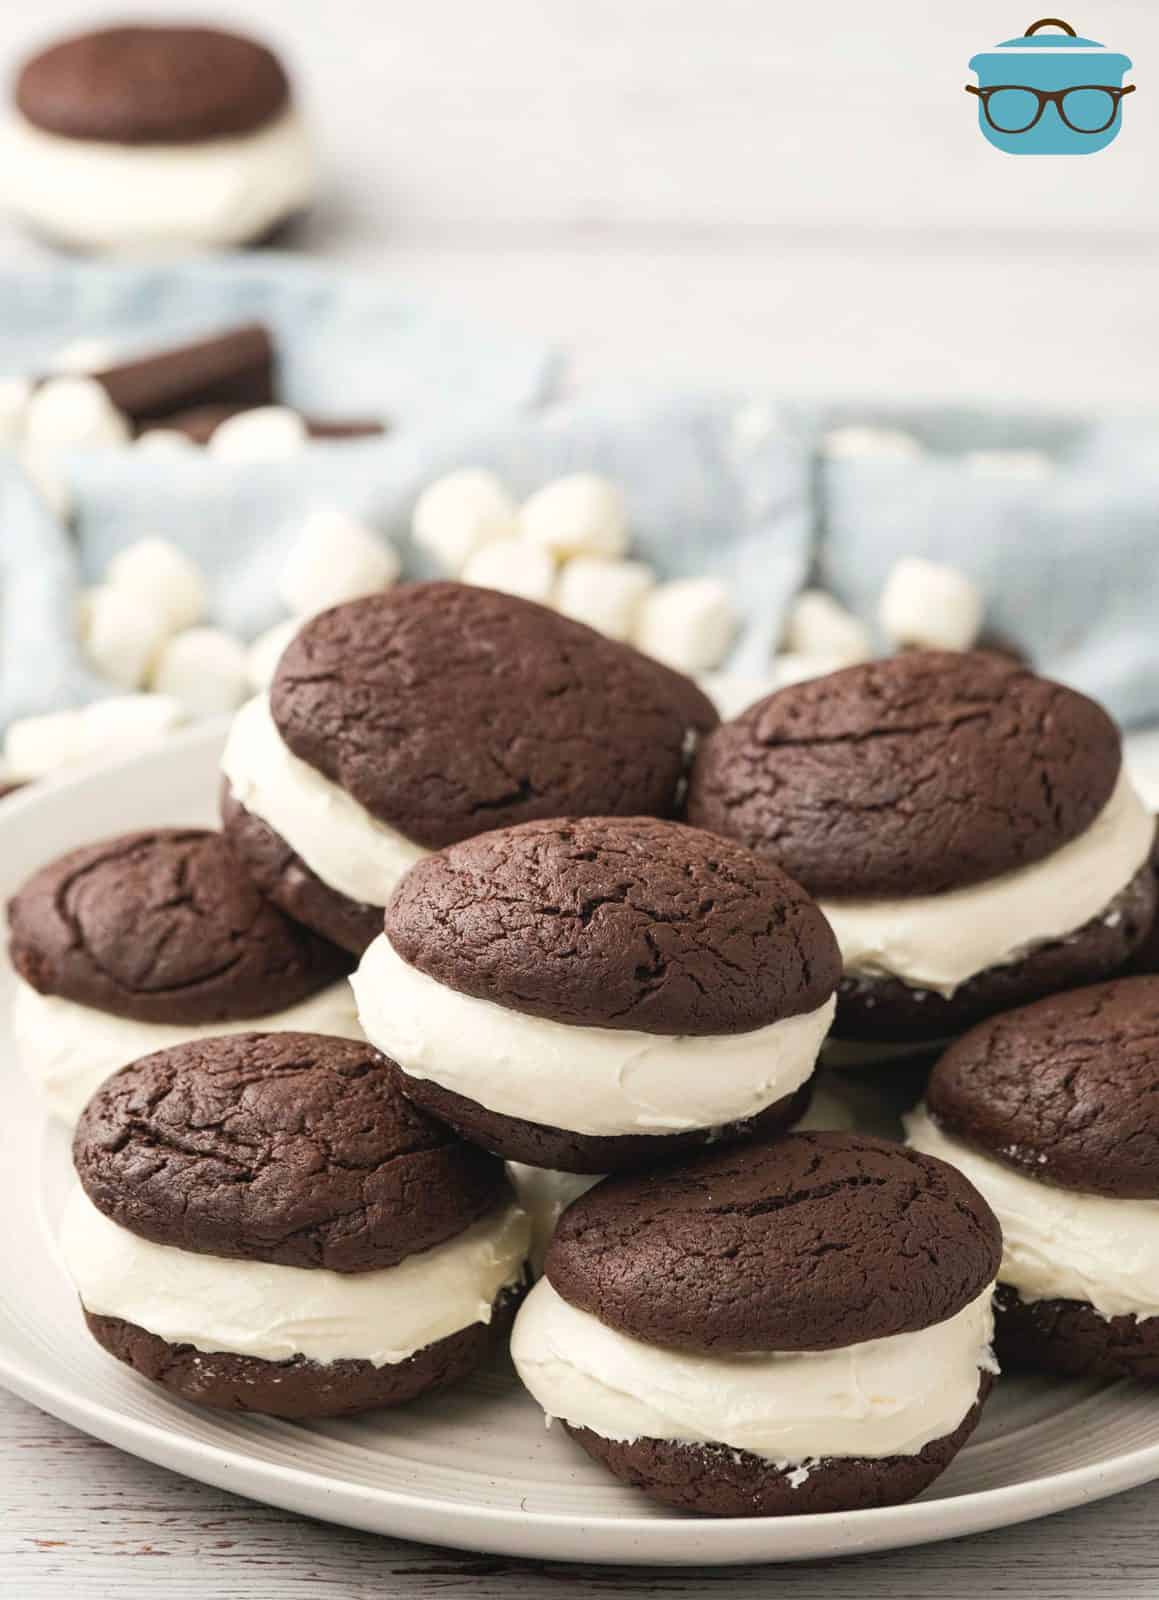
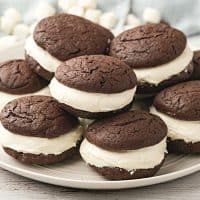
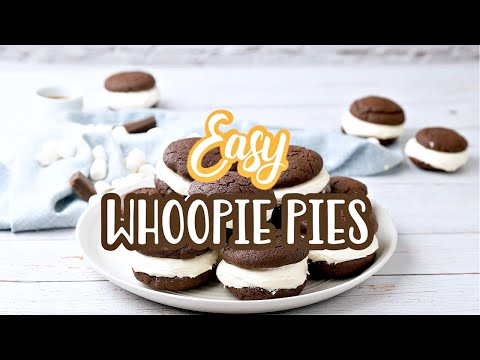
Easy Whoopie Pies
These super simple chocolate whoopie pies start with a boxed cake mix and are filled with a delicious homemade marshmallow fluff filling!
A DELICIOUSLY EASY HANDHELD DESSERT
I’m going to give y’all the cheaters version to making whoopie pies (if you don’t already make them this way yourself). Making baked goods totally from scratch is always wonderful if you have time, but honestly, making whoopie pies can be a bit tedious!. So I’ve tried to make this recipe easy to follow and to use tips to create perfect whoopie pies!
FREQUENTLY ASKED QUESTIONS:
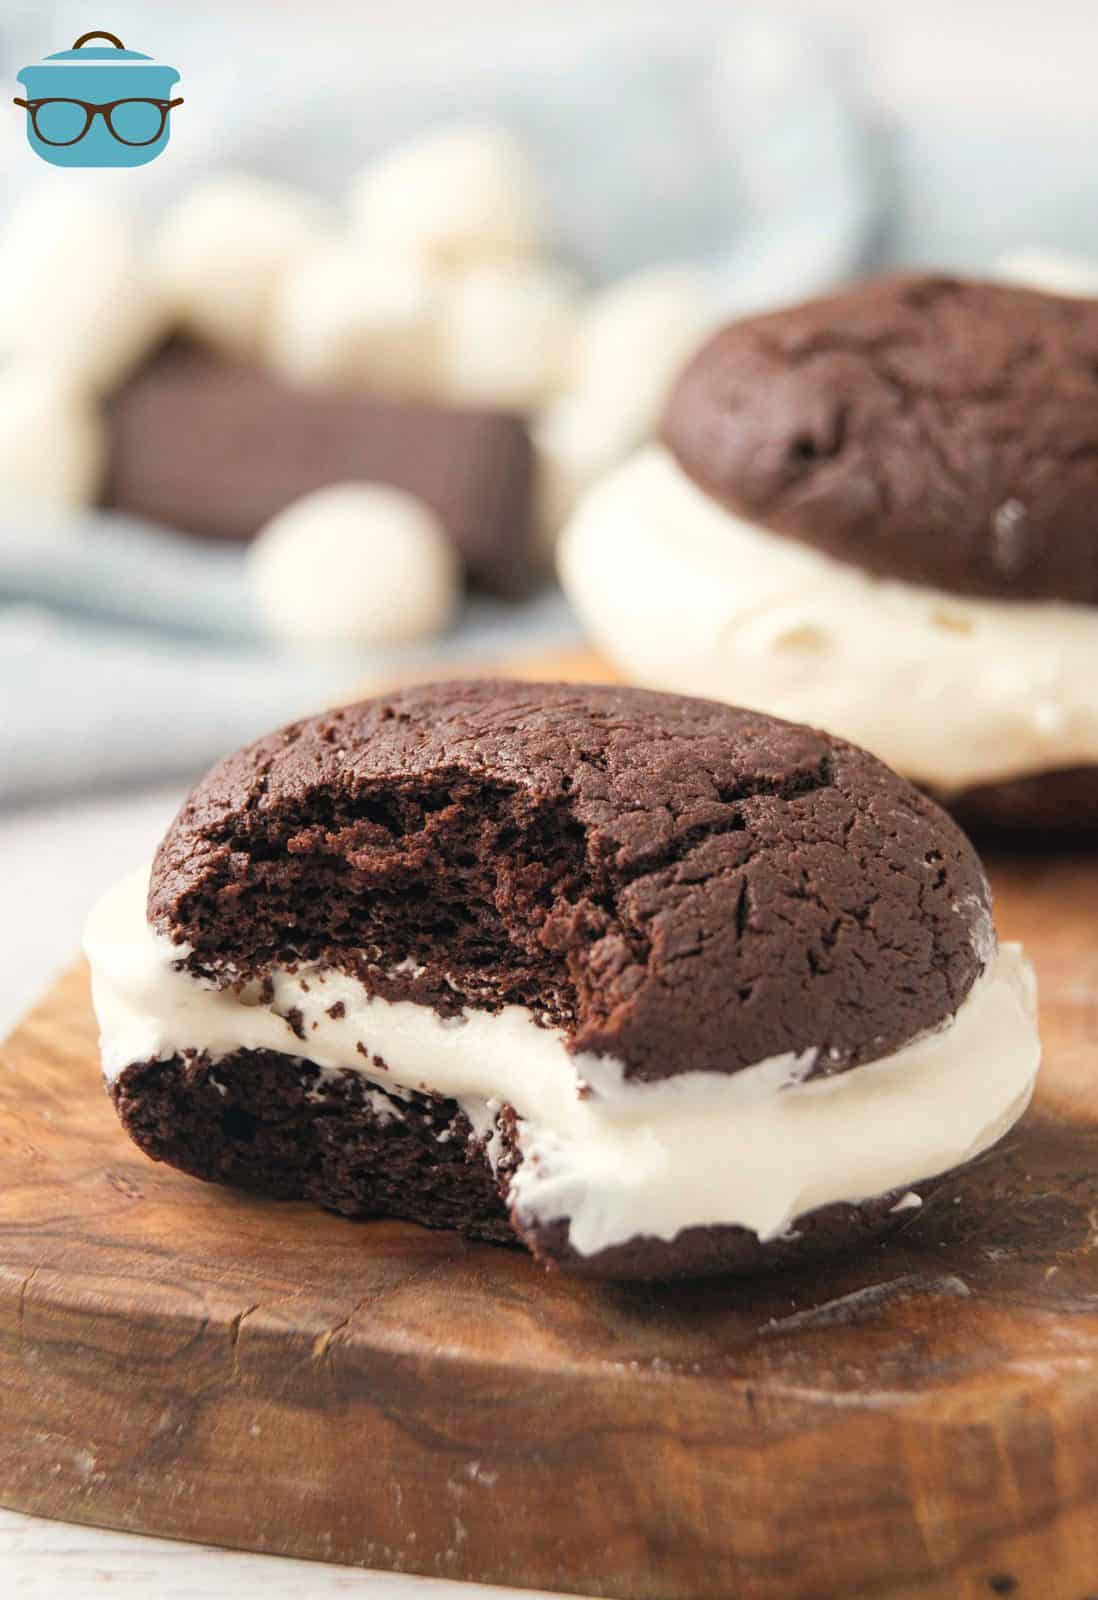
They are basically individual handheld cake sandwiches with a cream filling. They are usually chocolate but you can find them in other flavors.
There are several ways to make the filling. Some use a shortening base filling which is the more traditional way. Others use a marshmallow based filling (like the one I am sharing here).
I don’t see why not. I have only ever made these using the chocolate so I can’t tell you the tastes, etc. of other cake mix flavors and pudding combinations but this is a fairly simple recipe to customize. It will have to be something you experiment with. If you try other flavors, please let me know how it turns out for you!
Leftover whoopie pies should be individually wrapped in plastic wrap and stored in the refrigerator for up to 3 days. They can also be frozen. Individually wrap each whoopie pie in plastic wrap. Then wrap again in aluminum foil (to prevent freezer burn). They can be stored in the freezer for up to 3 months.
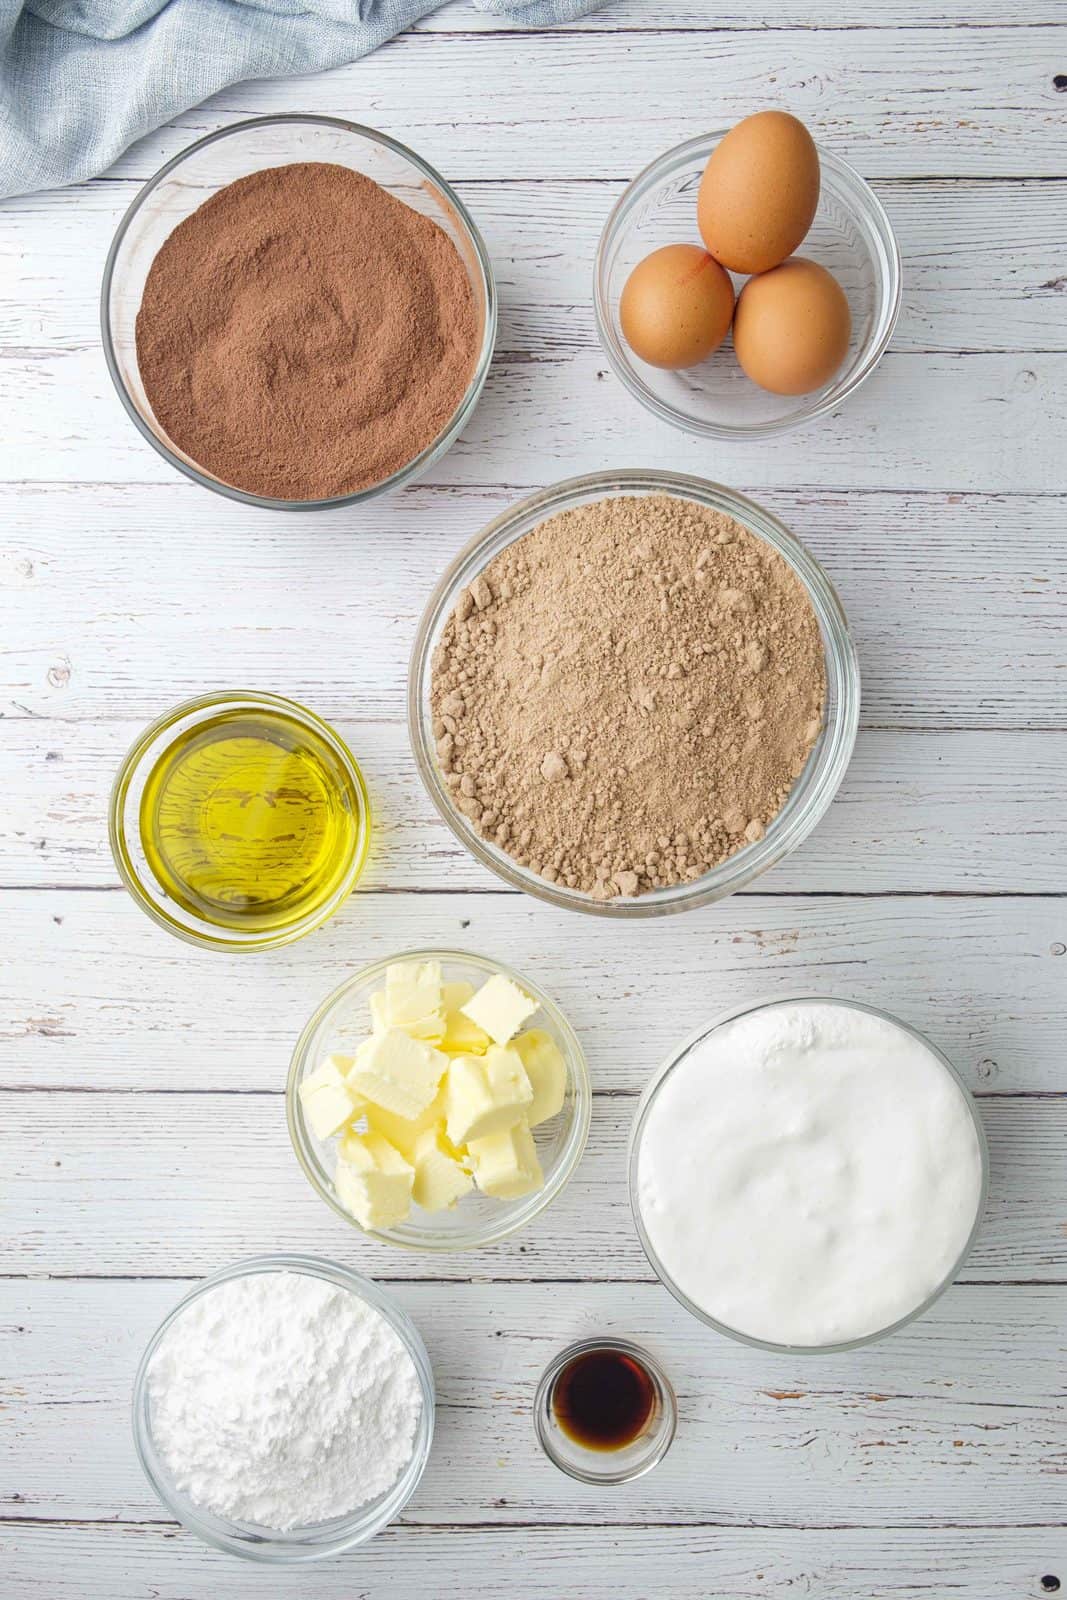
INGREDIENTS NEEDED: (SEE RECIPE CARD BELOW FOR THE FULL RECIPE)
- chocolate cake mix – use your favorite cake mix brand. I love Duncan Hines but any cake mix will work here.
- instant chocolate pudding – this actually helps to “stiffen up” the cake mix to make it a bit more thick and easier to hold together.
- eggs, oil and water – you are not using the amounts on the back of the box. You will use the amounts I give instead of(in the recipe card at the end of the post).
- salted butter – it needs to be real butter and not margarine. Margarine is mostly oil and it doesn’t hold up well in this filling.
- confectioner’s (powdered) sugar
- vanilla extract
- marshmallow fluff – you could also use marshmallow creme (whichever one you can find).
HOW TO MAKE EASY CHOCOLATE WHOOPIE PIES:
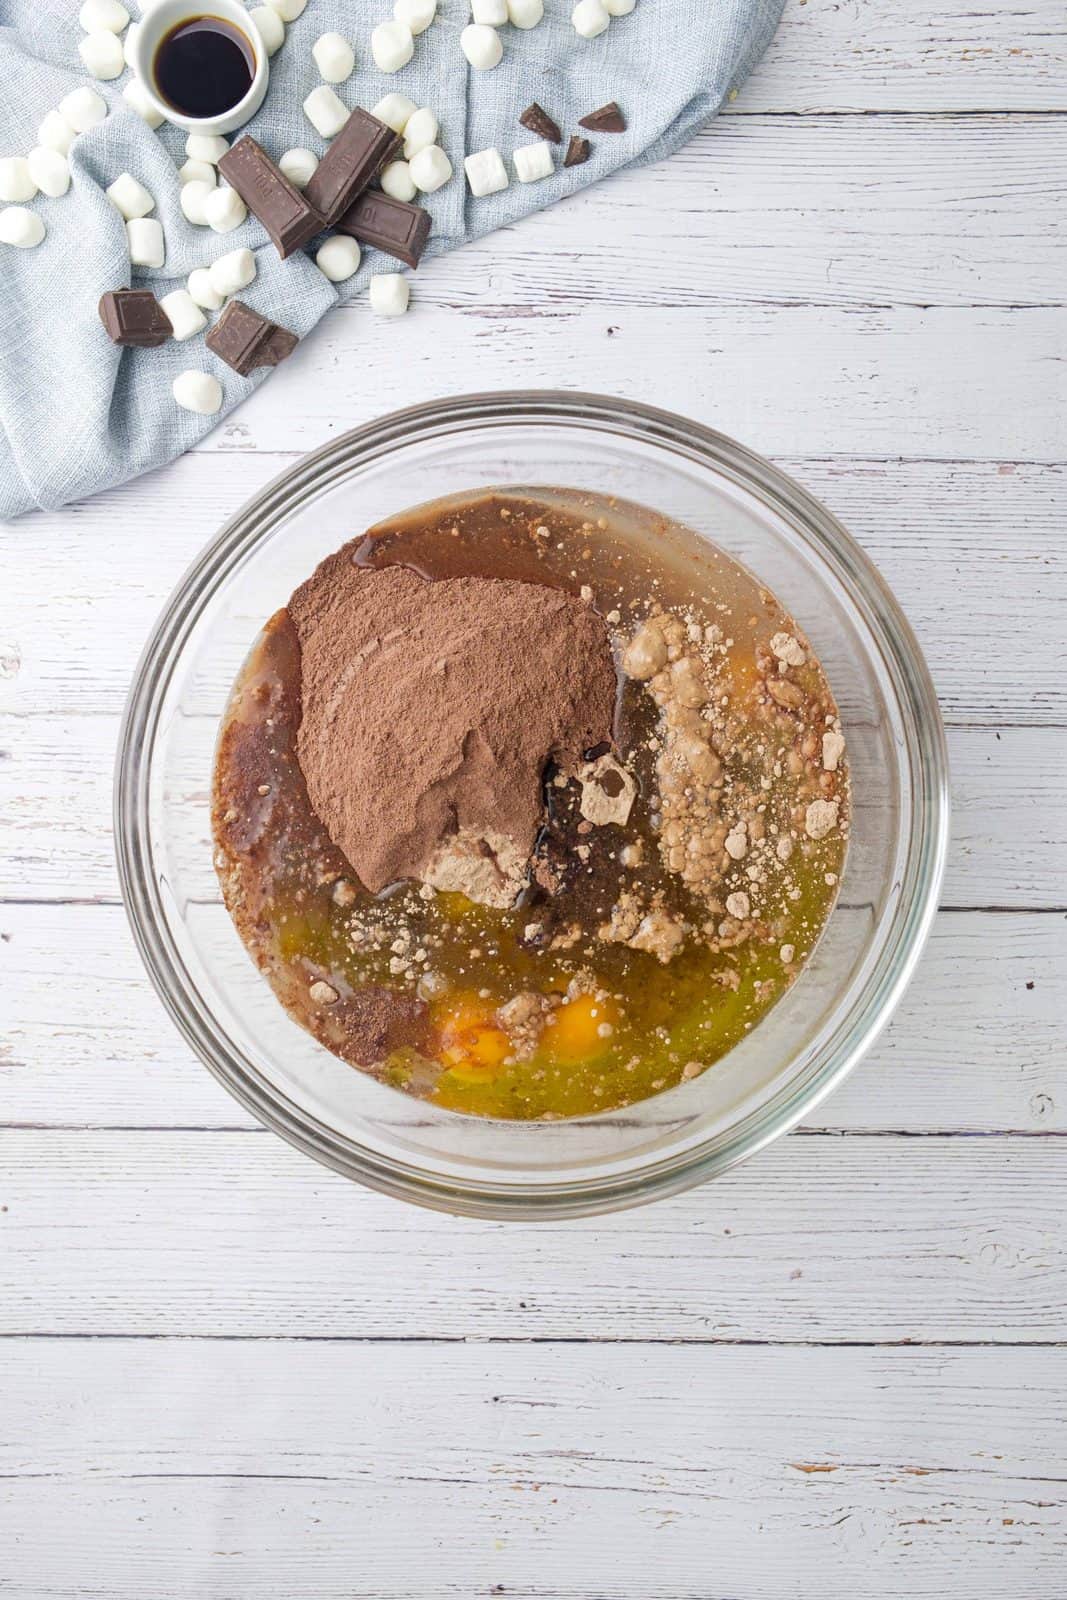
Heat oven to 350°F. Line two large cookie sheets with parchment paper a silpat, or lightly spray with nonstick cooking spray. In a large bowl, beat together chocolate cake mix, instant chocolate pudding mix, eggs, water and vegetable oil until thoroughly combined.
Pour batter into a 1 gallon ziploc bag and seal. Cut a small hole off of one of the bottom corners.
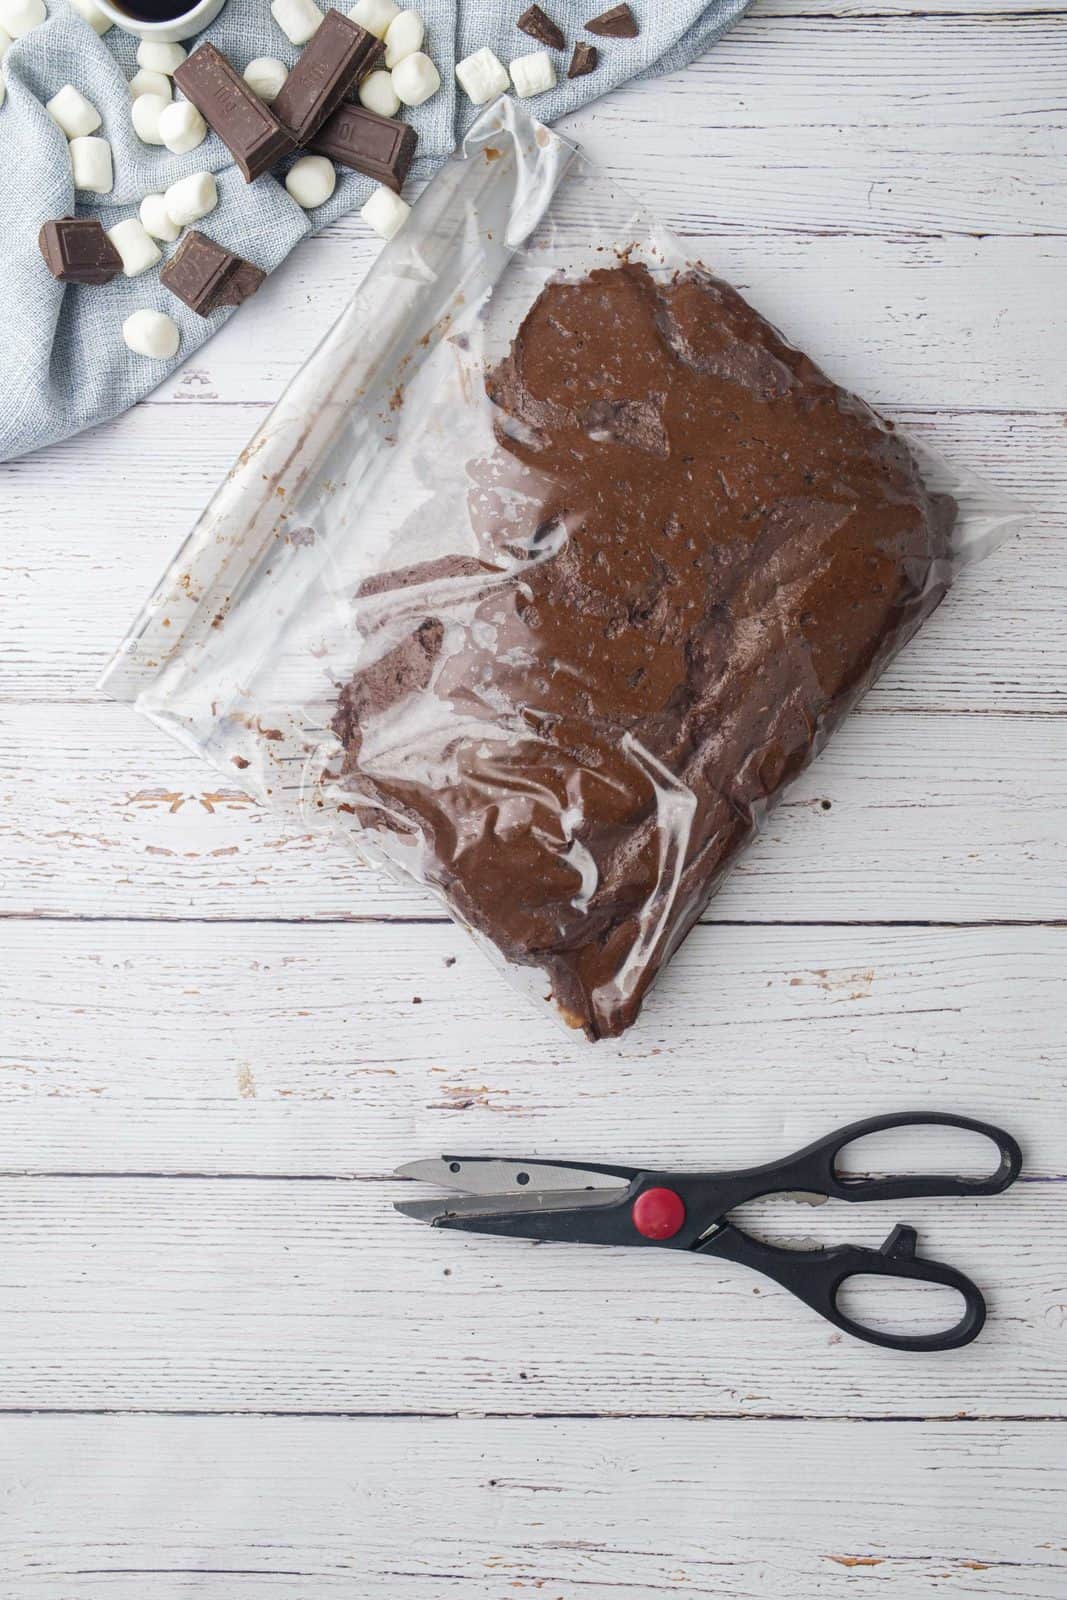
Pipe batter into 36 small circles onto cookie sheets about 1-inch apart (this will allow for spreading).
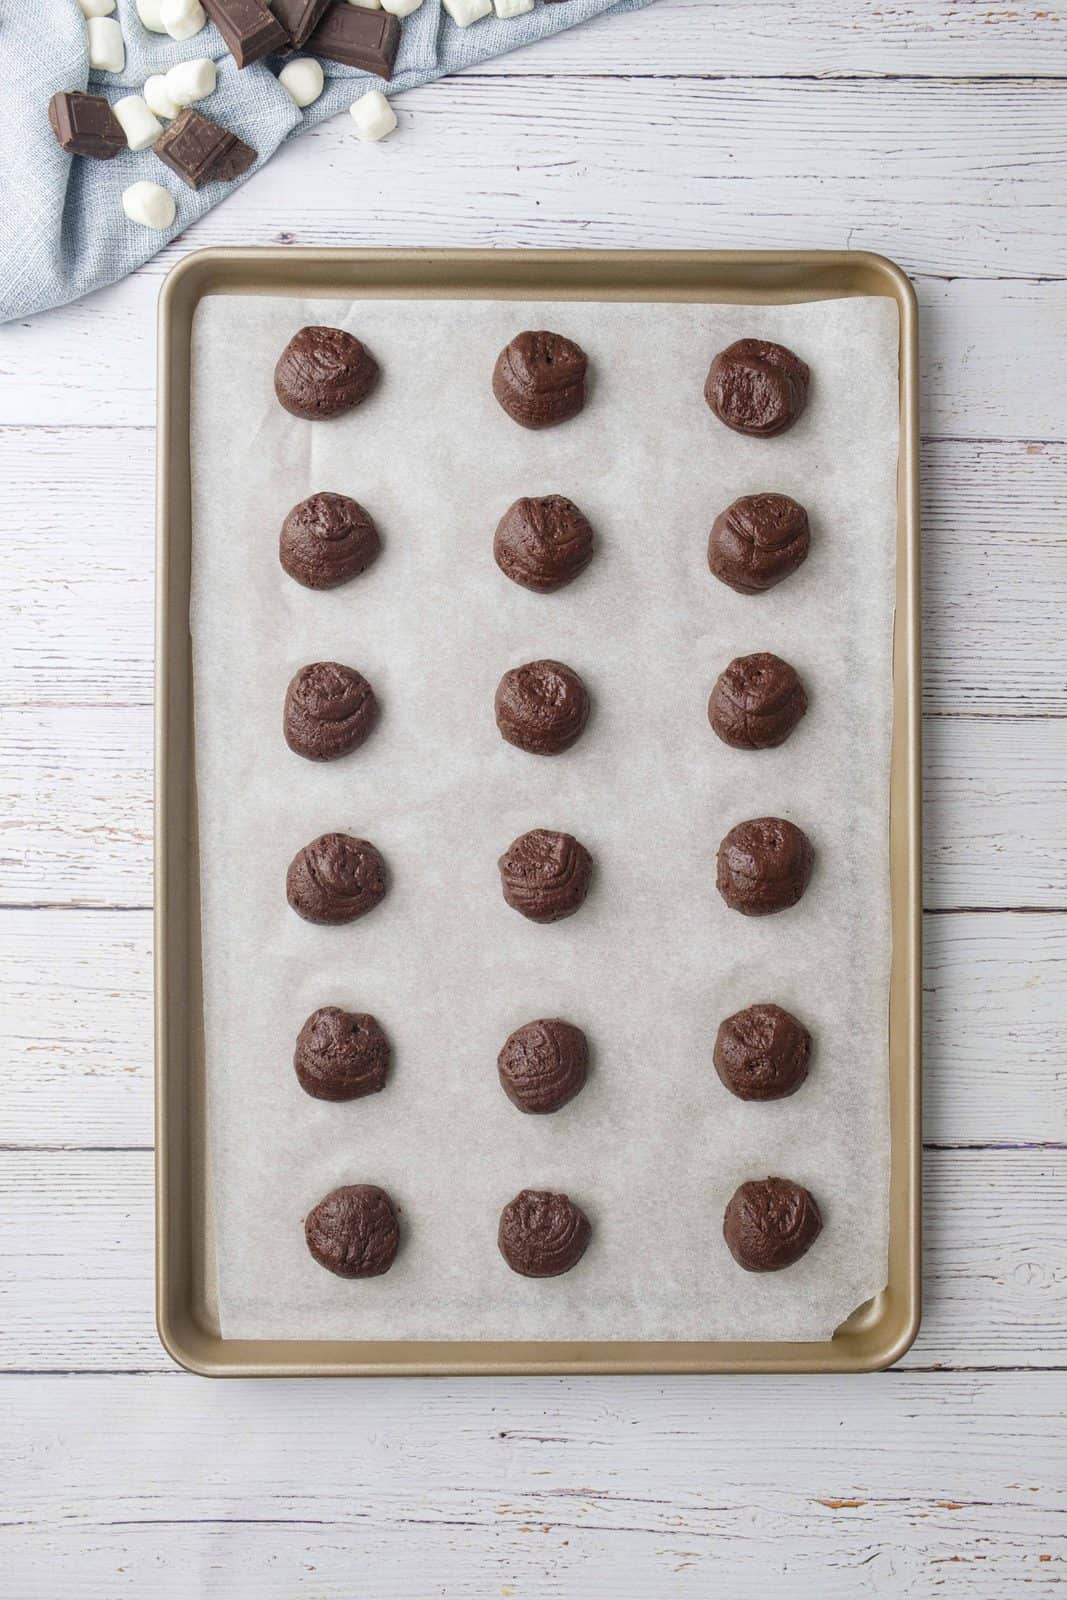
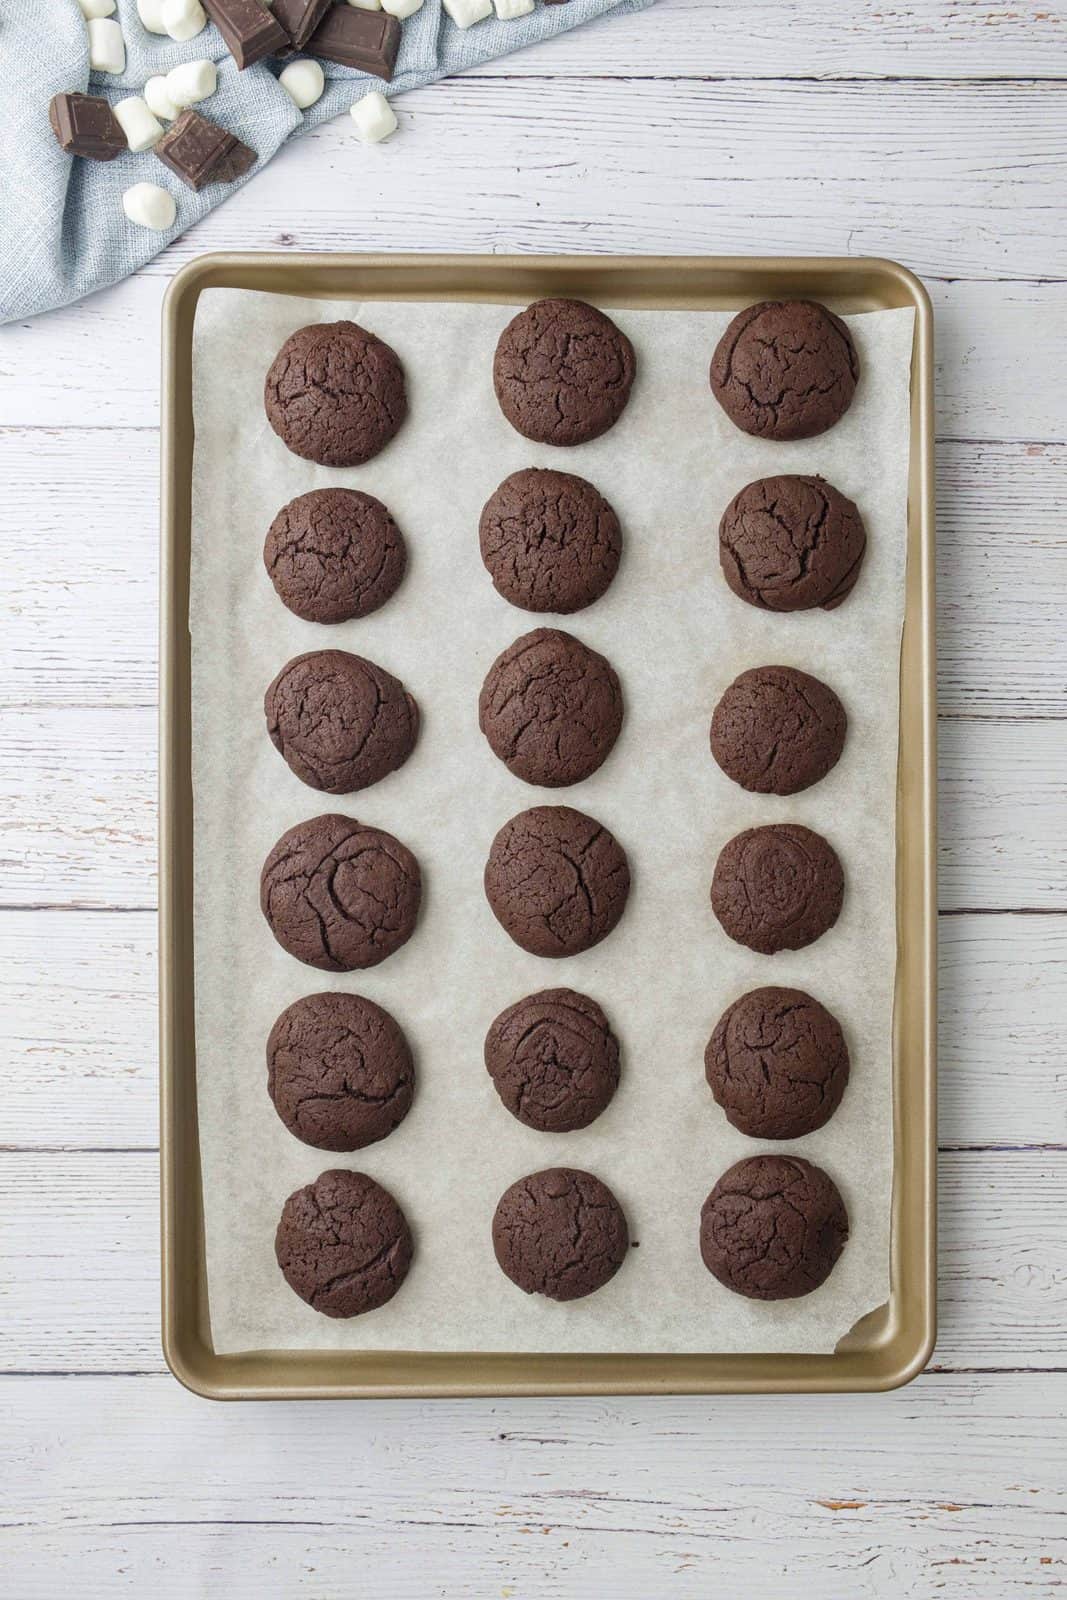
Bake 10 to 12 minutes until set. Cool 2 minutes; remove from cookie sheets and place on cooling rack. Cool completely before filling.
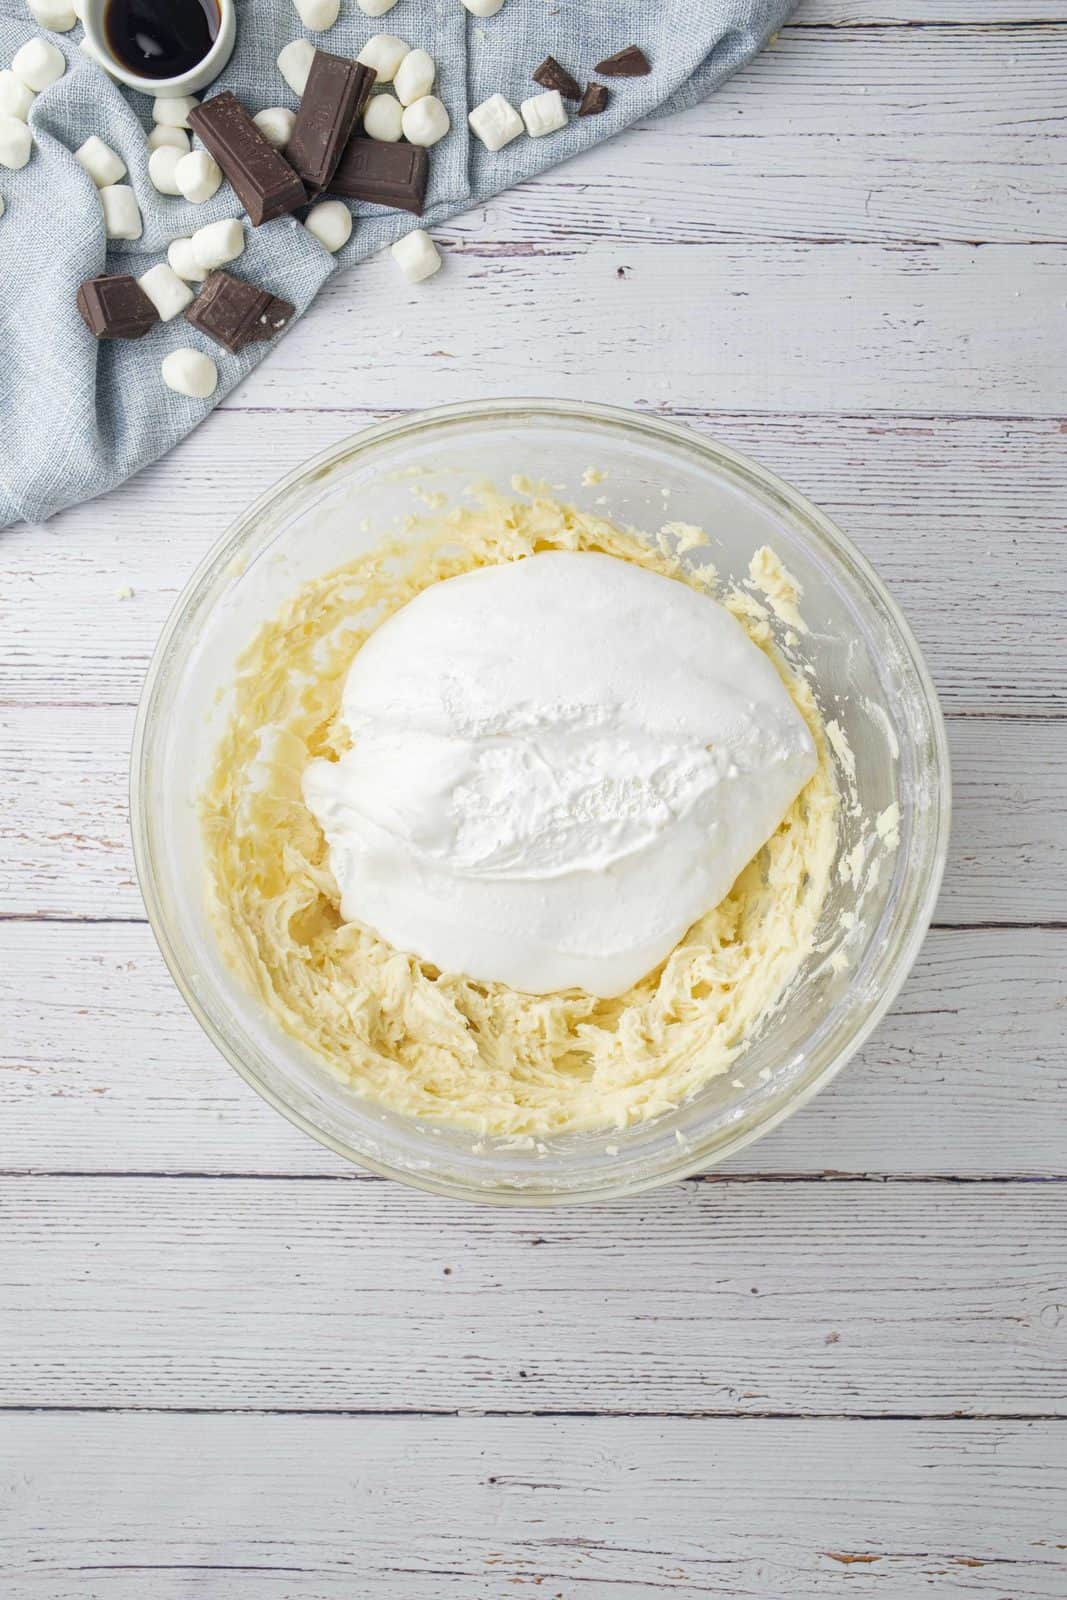
To make the filling: With electric mixer on medium speed, beat butter and sugar together until fluffy, about 2 minutes then beat in vanilla extract. Beat in marshmallow fluff until incorporated. Refrigerate filling until slightly firm, about 30 minutes.
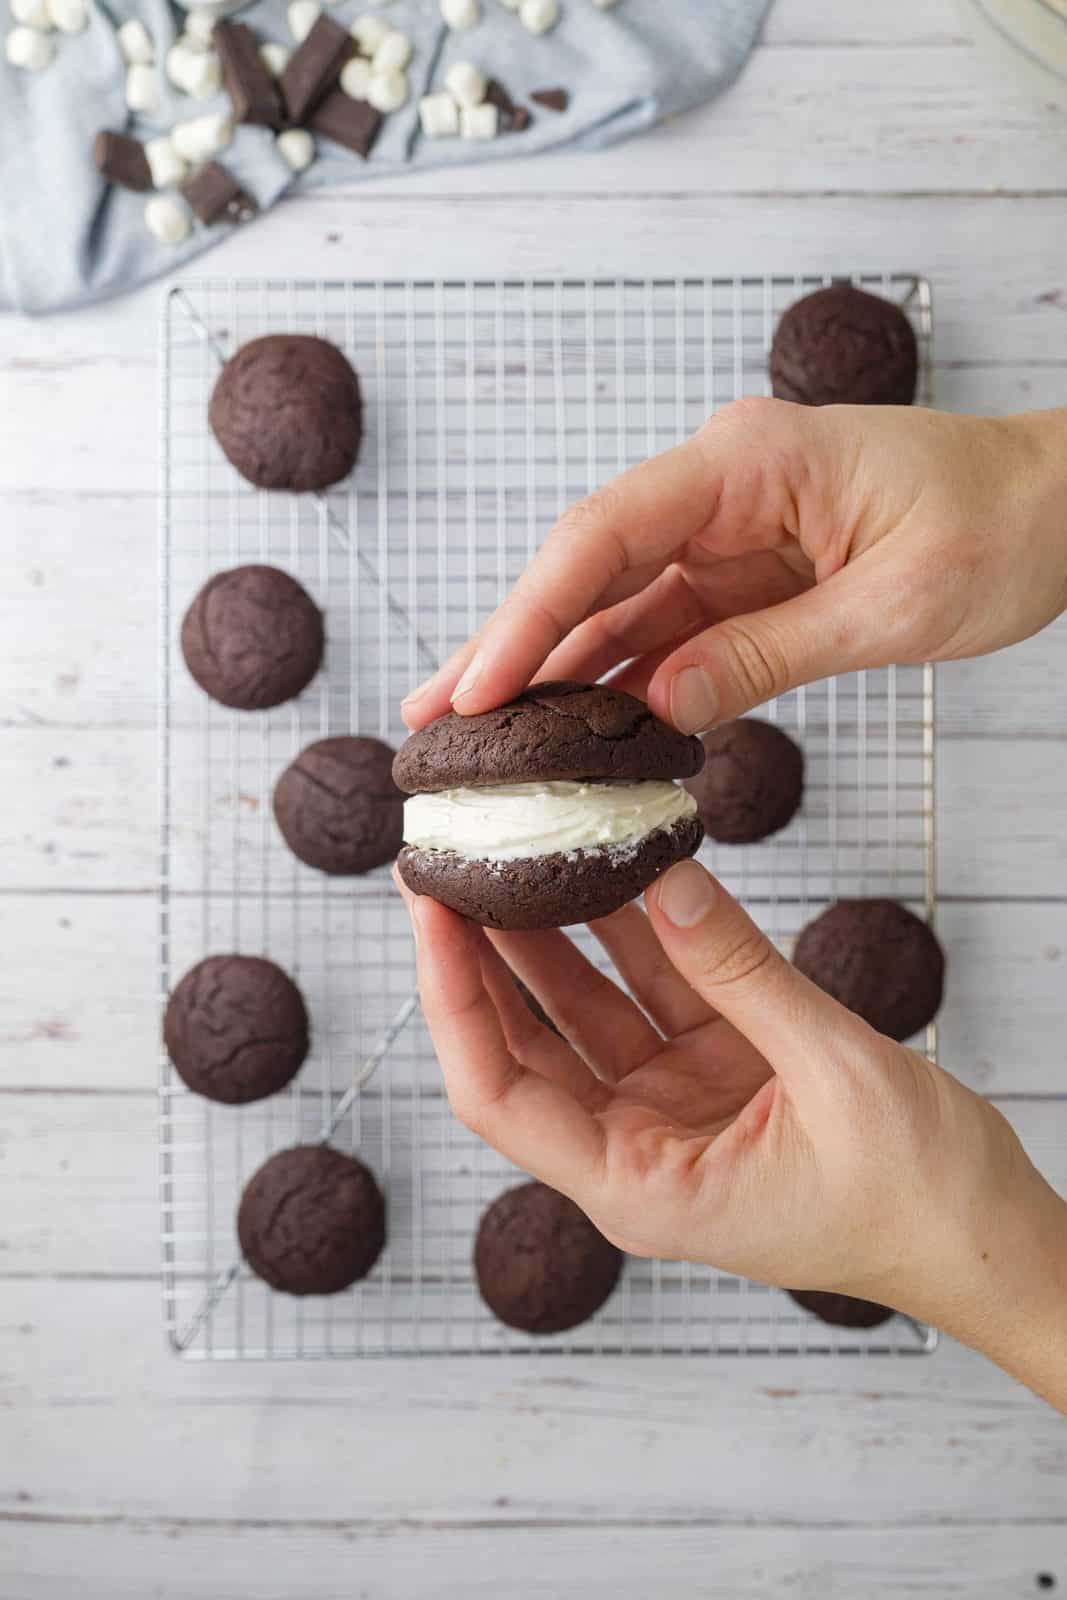
Once cookies are cooled, spread filling (about 2 tablespoons – you want a thick filling) on flat side of one cookie.
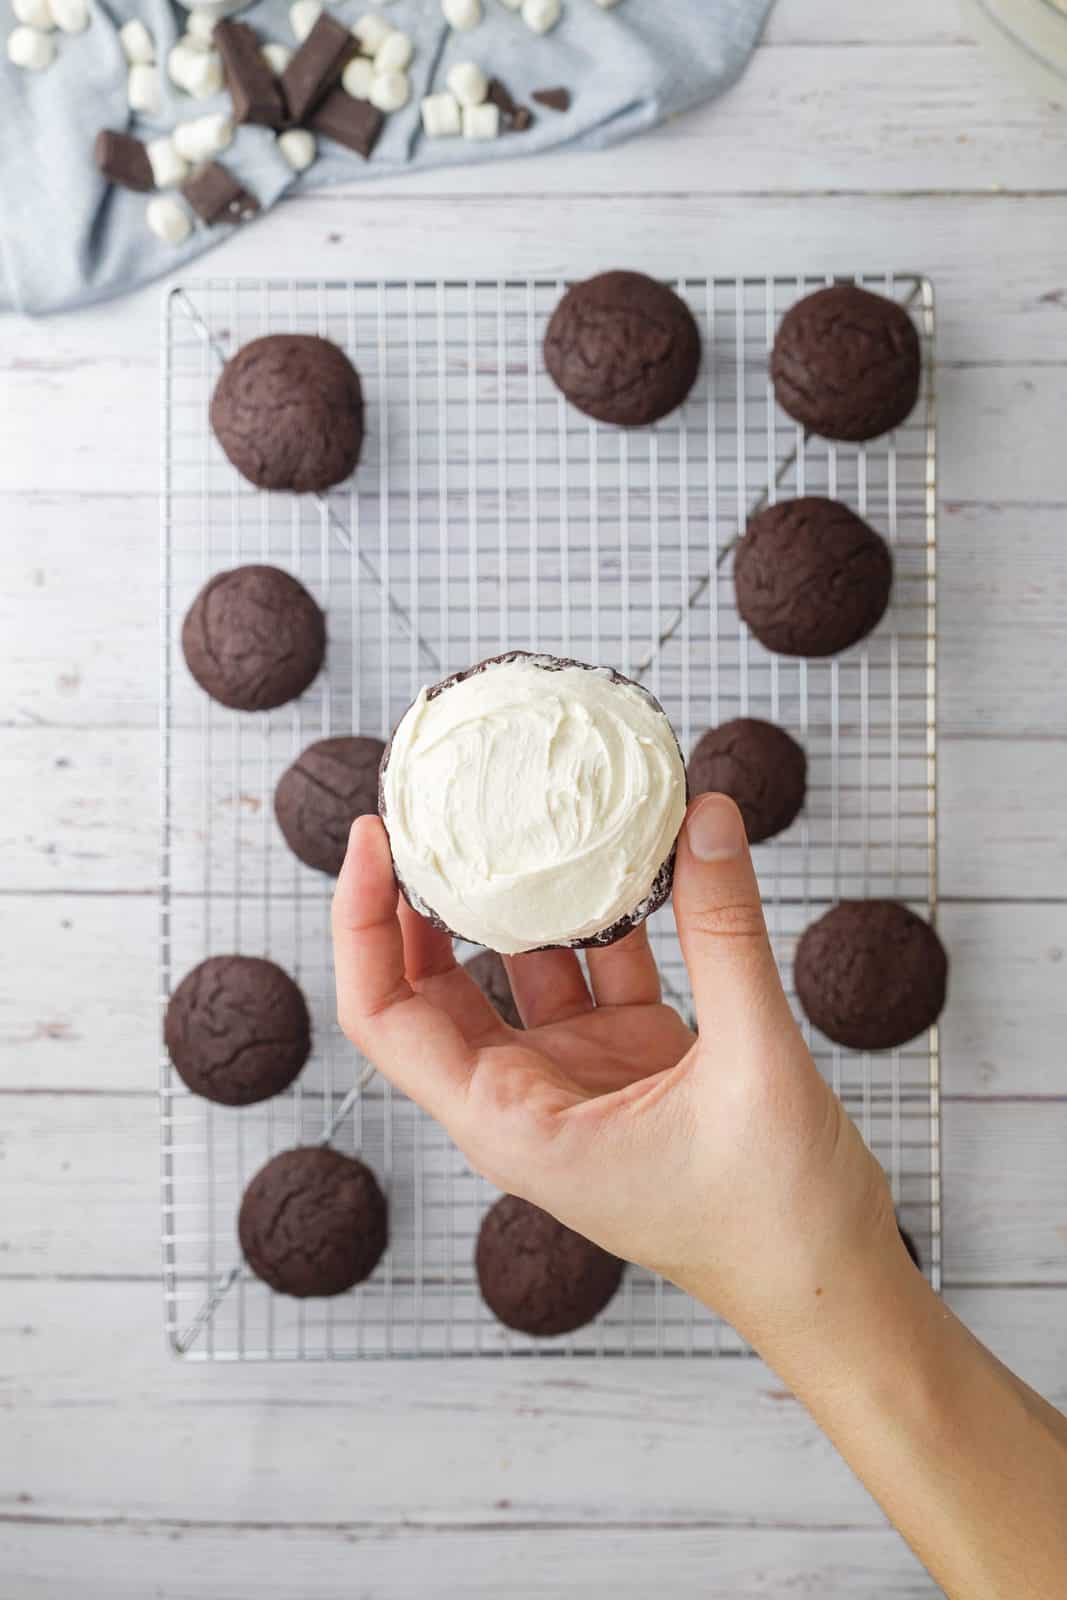
Top with the second cookie, flat side down to make a sandwich. Whoopie pies can be refrigerated in airtight container for up to 3 days.
Cook’s Tip: Marshmallow fluff can be a bit sticky to work with. Spray your measuring cups with nonstick spray to help it come out easier. Also, when you are spooning the filling onto the cakes, do the same thing. Just spray your spoon with nonstick spray and it will slide right out.
CRAVING MORE?
Easy Whoopie Pies
Ingredients
For the cakes:
- 1 box devil's food cake mix (see notes below)
- 3.9 ounce box instant chocolate pudding mix
- 3 large eggs
- ¾ cup water
- ½ cup vegetable oil
For the filling:
- 12 Tablespoons (1 1/2 sticks) salted butter, room temperature
- 1¼ cup powdered sugar
- 1½ teaspoons vanilla extract
- 2½ cups marshmallow fluff
Instructions
- Heat oven to 350°F. Line two large cookie sheets with either parchment paper, Silpat, or lightly spray with nonstick cooking spray.
- In large bowl, beat together 1 box devil's food cake mix, 3.9 ounce box instant chocolate pudding mix, 3 large eggs, 3/4 cup water and 1/2 cup vegetable oil until thoroughly combined (batter will be thick).

- Pour batter into a 1 gallon ziploc bag and seal. Cut a hole off of one of the bottom corners.
- Pipe batter into 36 small circles onto cookie sheets about 1-inch apart (this will allow for spreading).
- Bake 10 to 12 minutes until set. Cool 2 minutes; remove from cookie sheets and place on cooling rack. Cool completely before filling.


For the filling:
- With electric mixer on medium speed, in a medium-sized bowl, beat 12 Tablespoons (1 1/2 sticks) salted butter, room temperature and 1¼ cup powdered sugar until fluffy then beat in 1½ teaspoons vanilla extract.
- Beat in 2½ cups marshmallow fluff until incorporated. Cover bowl with plastic wrap and refrigerate filling until slightly firm, about 30 minutes.


To assemble:
- Once cookies are cooled, spread filling (about 2 Tablespoons – you want a thick filling so use your best judgement) on flat side of one cookie. Top with the second cookie, flat side down to make a sandwich.
- Then enjoy! If not eating immediately, I suggest wrapping each one individually in plastic wrap and storing in the refrigerator for up to 3 days.


Video
Notes
- Marshmallow fluff can be a bit sticky to work with. Spray your measuring cups with nonstick spray to help it come out easier. Also, when you are spooning the filling onto the cakes, do the same thing. Just spray your spoon with nonstick spray and it will slide right out.
- I recommend going with a brand that has the largest ounces. As of the time of writing this, Duncan Hines and Pillsbury are 15.25 ounce boxes and Betty Crocker is only 13.25 ounces. The larger size boxes are recommended for this recipe.
Nutrition
Nutritional Disclaimer
“The Country Cook” is not a dietician or nutritionist, and any nutritional information shared is an estimate. If calorie count and other nutritional values are important to you, we recommend running the ingredients through whichever online nutritional calculator you prefer. Calories and other nutritional values can vary quite a bit depending on which brands were used.
Originally published: March 2011
Updated and republished: April 2022


what can I use for filling besides fluff??
You could make a buttercream frosting 🙂