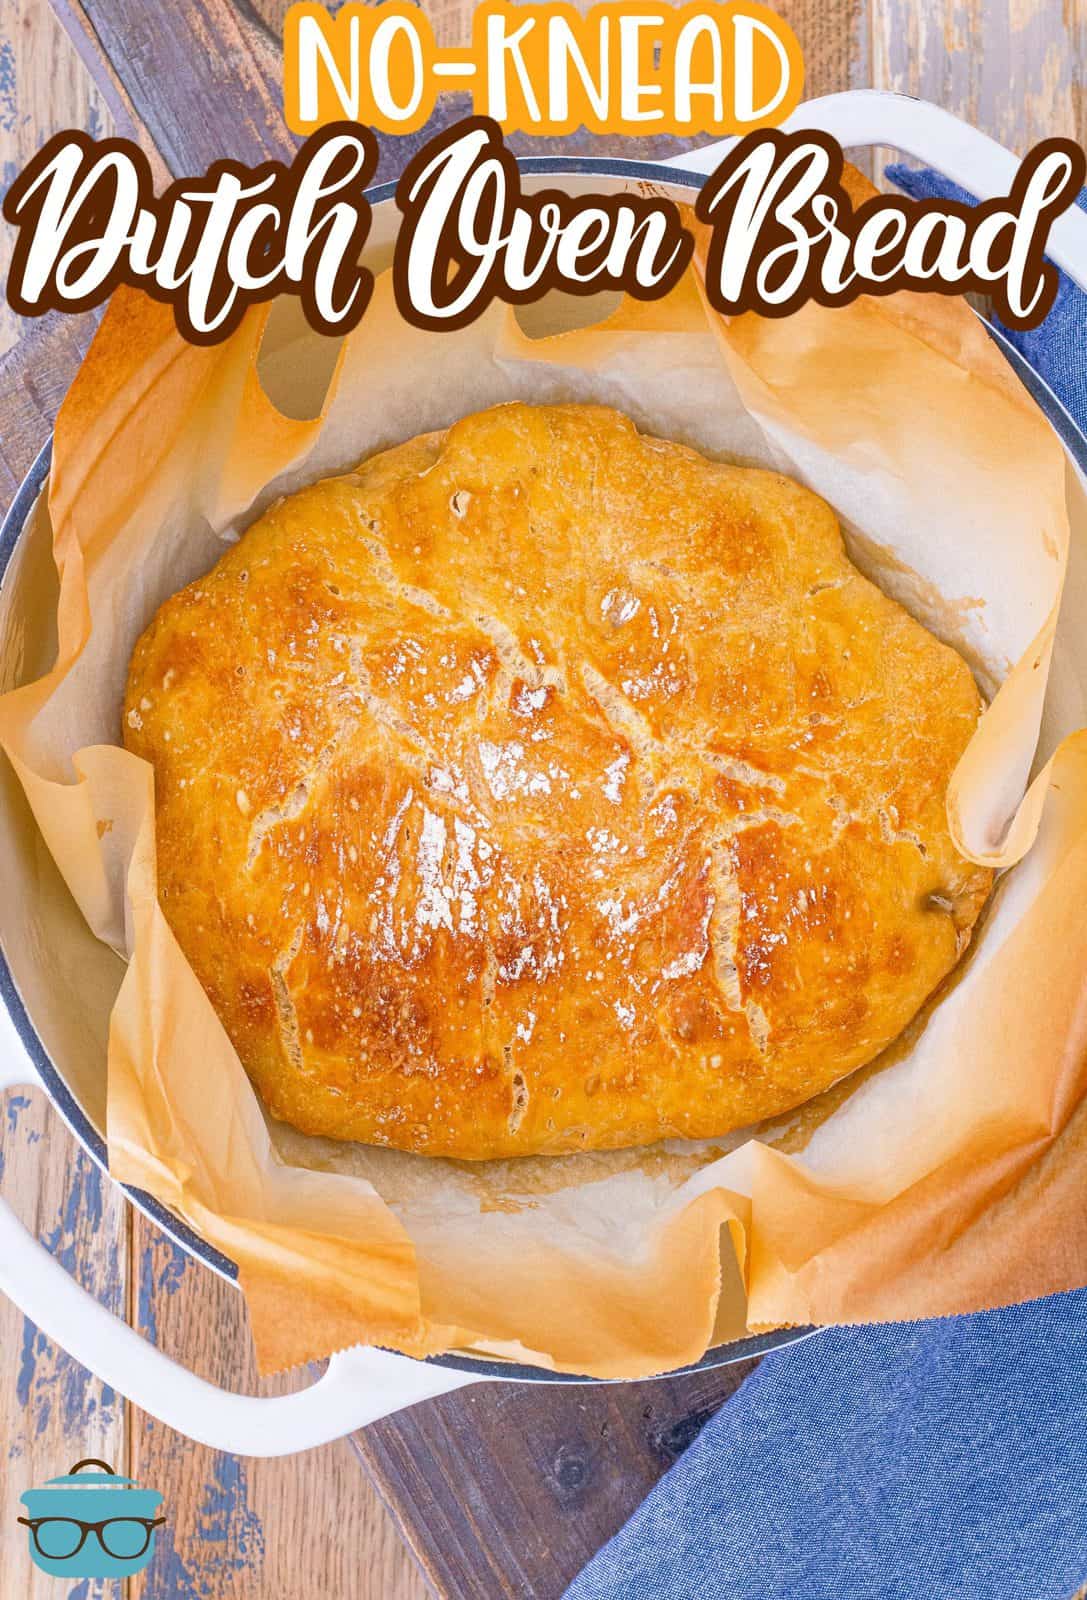
No-Knead Dutch Oven Bread
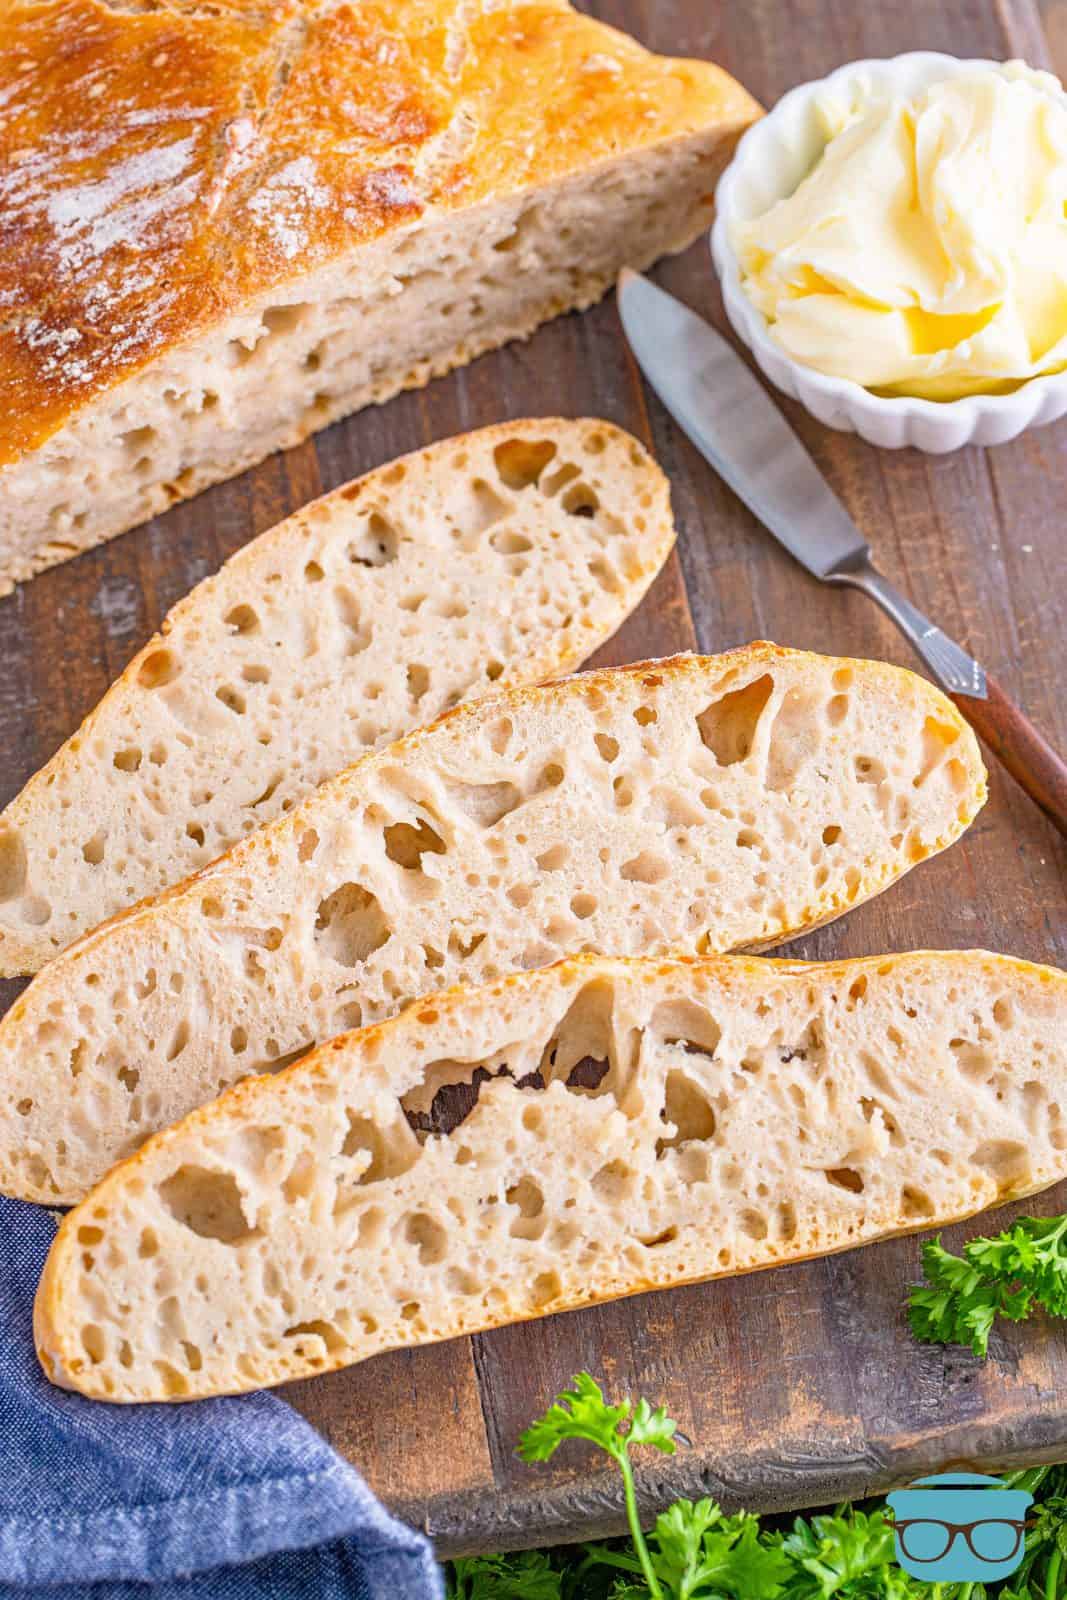
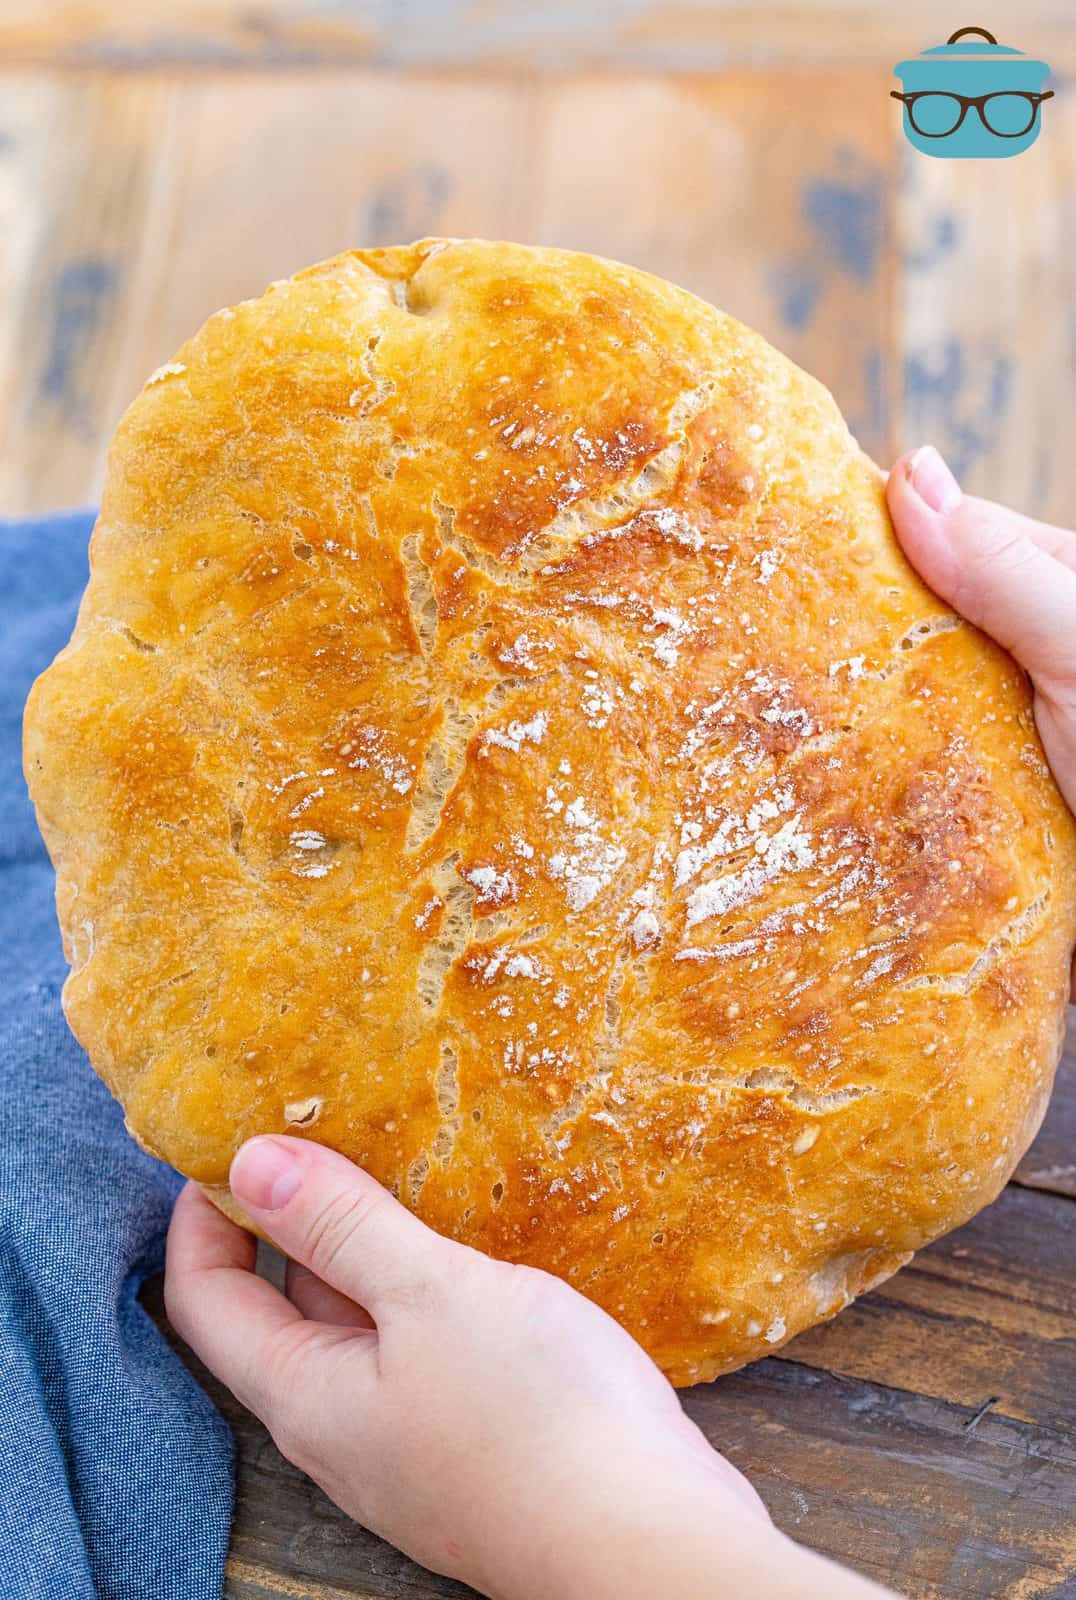
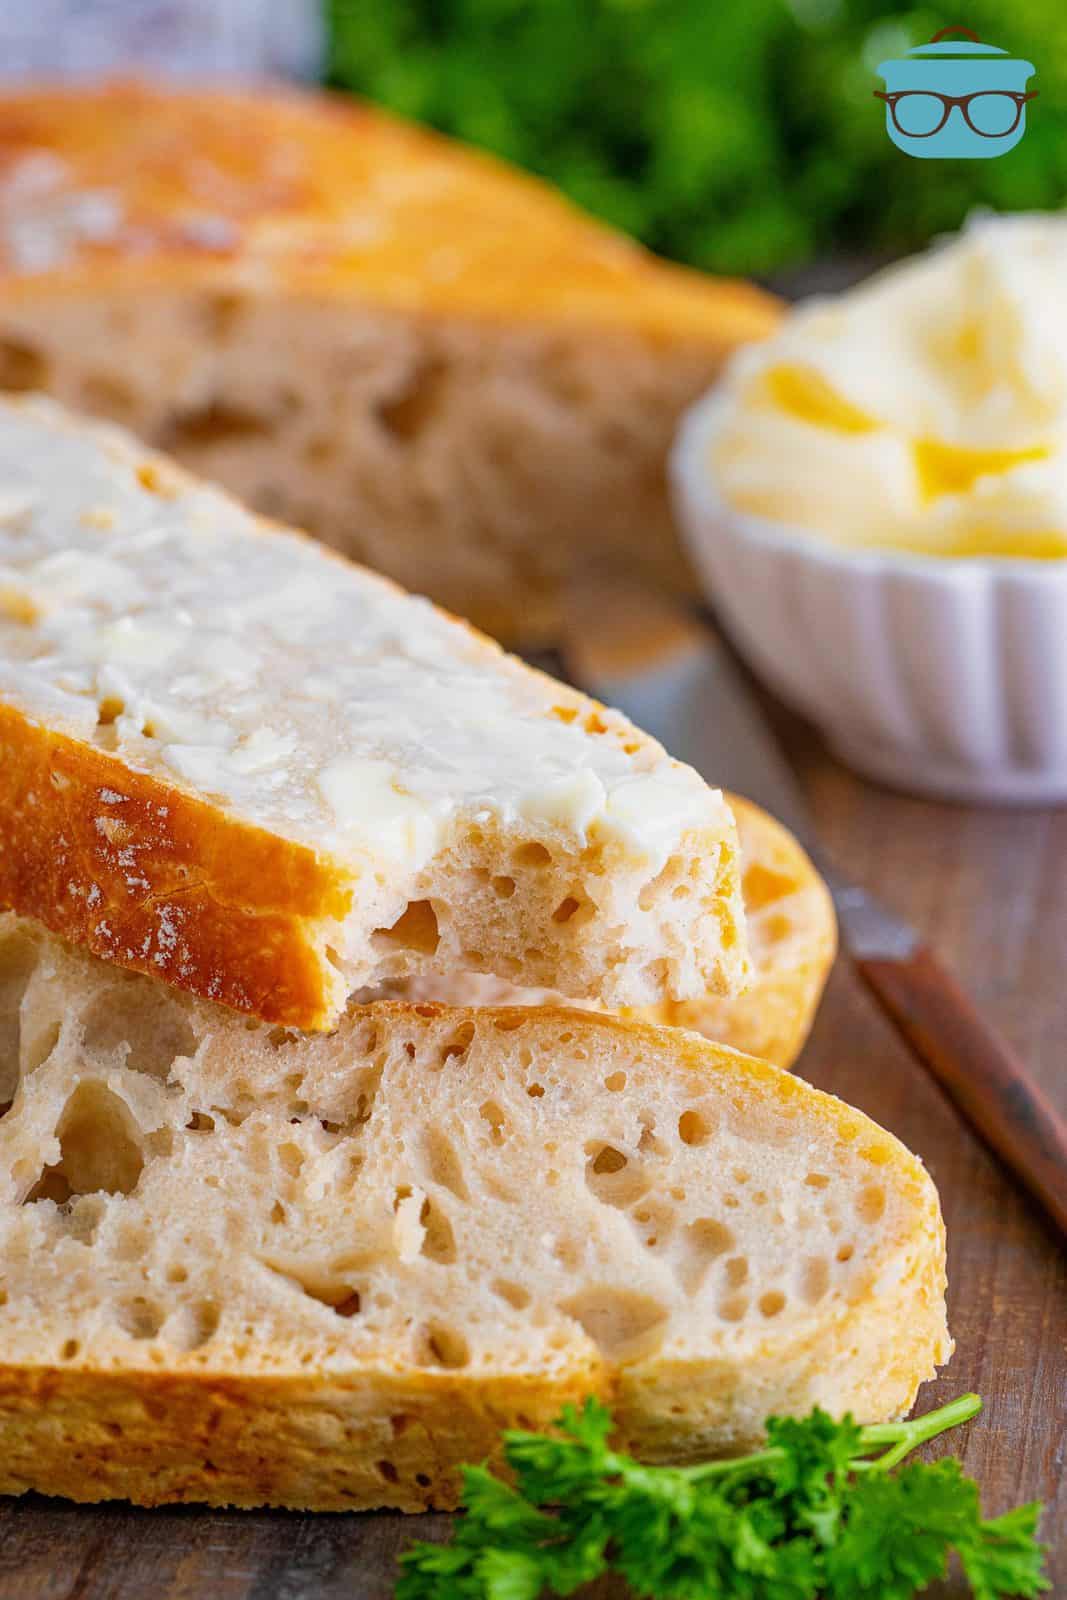
Crunchy on the outside and soft on the inside, this No-Knead Dutch Oven Bread is a perfectly easy bread for any occasion.
A SIMPLE BREAD RECIPE
Who doesn’t love homemade bread? With only 4 ingredients, you absolutely cannot go wrong with this recipe. It is pretty much foolproof. Serve with your favorite soup, chili, stew and more. I love just slathering it with butter and eating slice by slice. If you want to try your hand at bread making, this No-Knead Dutch Oven Bread recipe is a great starter bread!
FREQUENTLY ASKED QUESTIONS:
Dutch ovens are made from cast iron which are great at retaining heat and distributing heat evenly. When you put the lid on the dutch oven pot, this creates steam within the pot (from the water in the dough) so that when the dough is added, it creates a crispy crust while keeping the interior soft and tender.
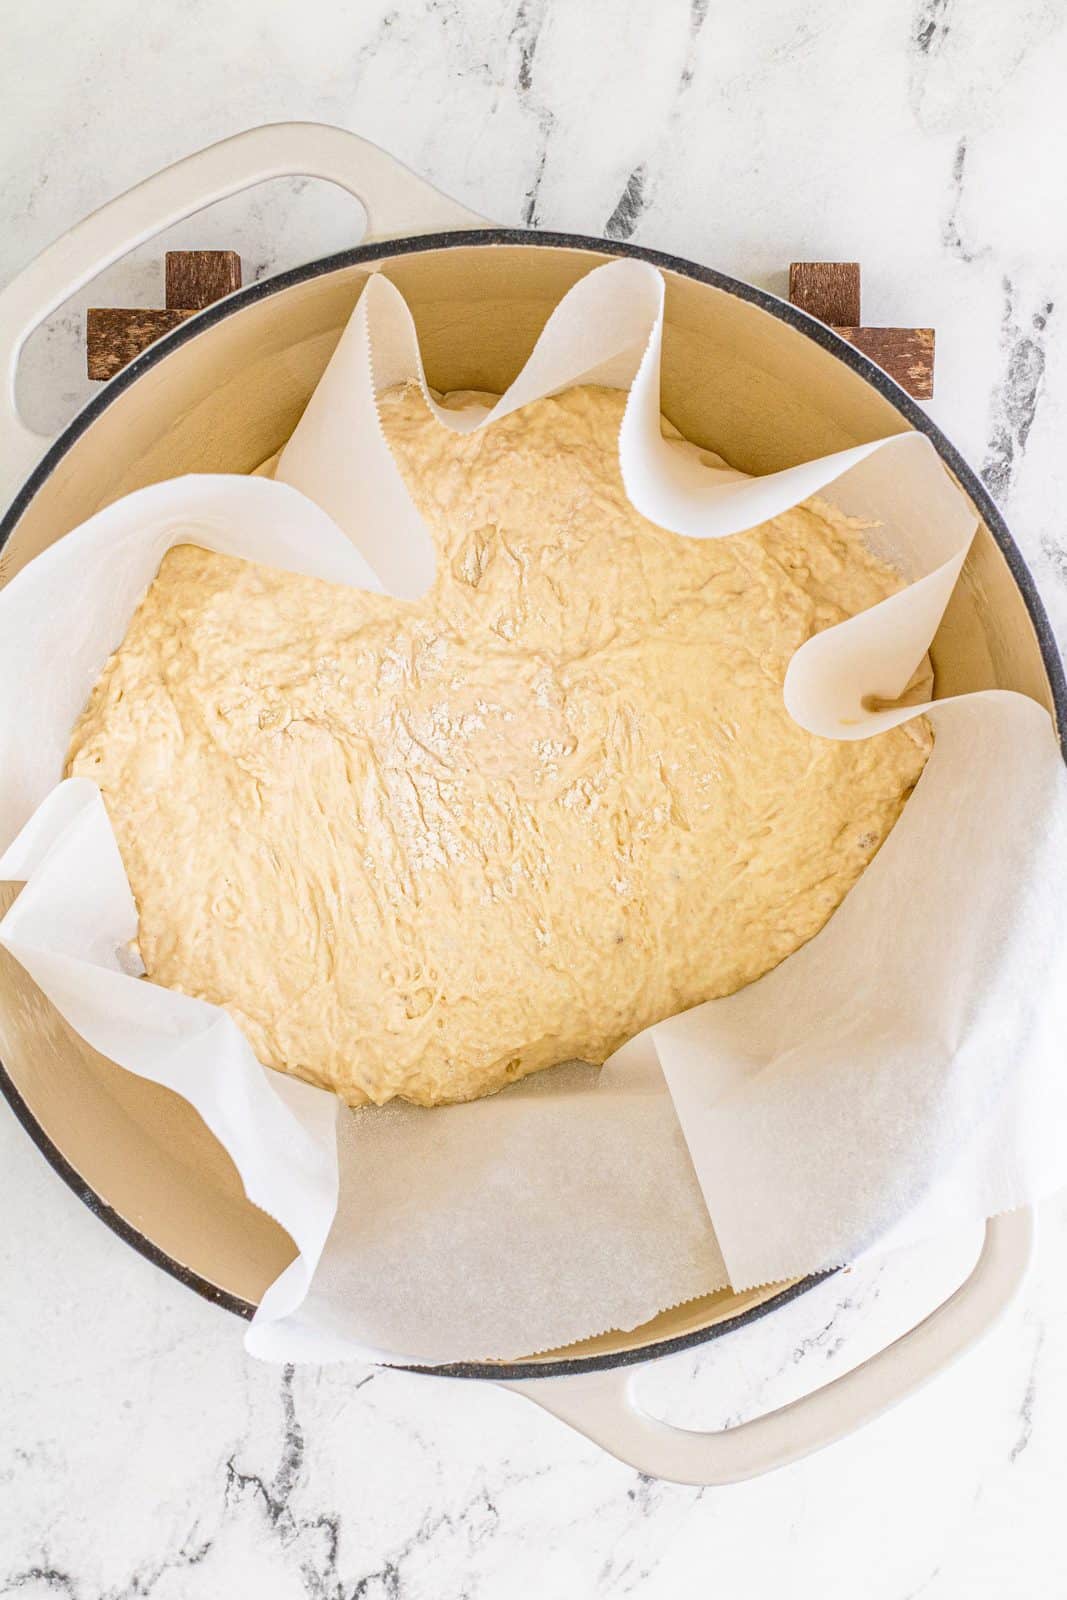
It is highly recommended. Transferring your wet bread dough into the pot is much easier if you have it on parchment paper. Parchment paper is oven safe as well. You could use aluminum foil but it would need to be nonstick or sprayed with nonstick cooking spray. I do find that aluminum foil can cause the crust to brown too quickly so it’s best to go with parchment paper for the best success.
When adding water to yeast you want the water to be between 100-110 degrees F. This will ensure that the yeast won’t die from being too hot and is also warm enough that it will activate the yeast as well.
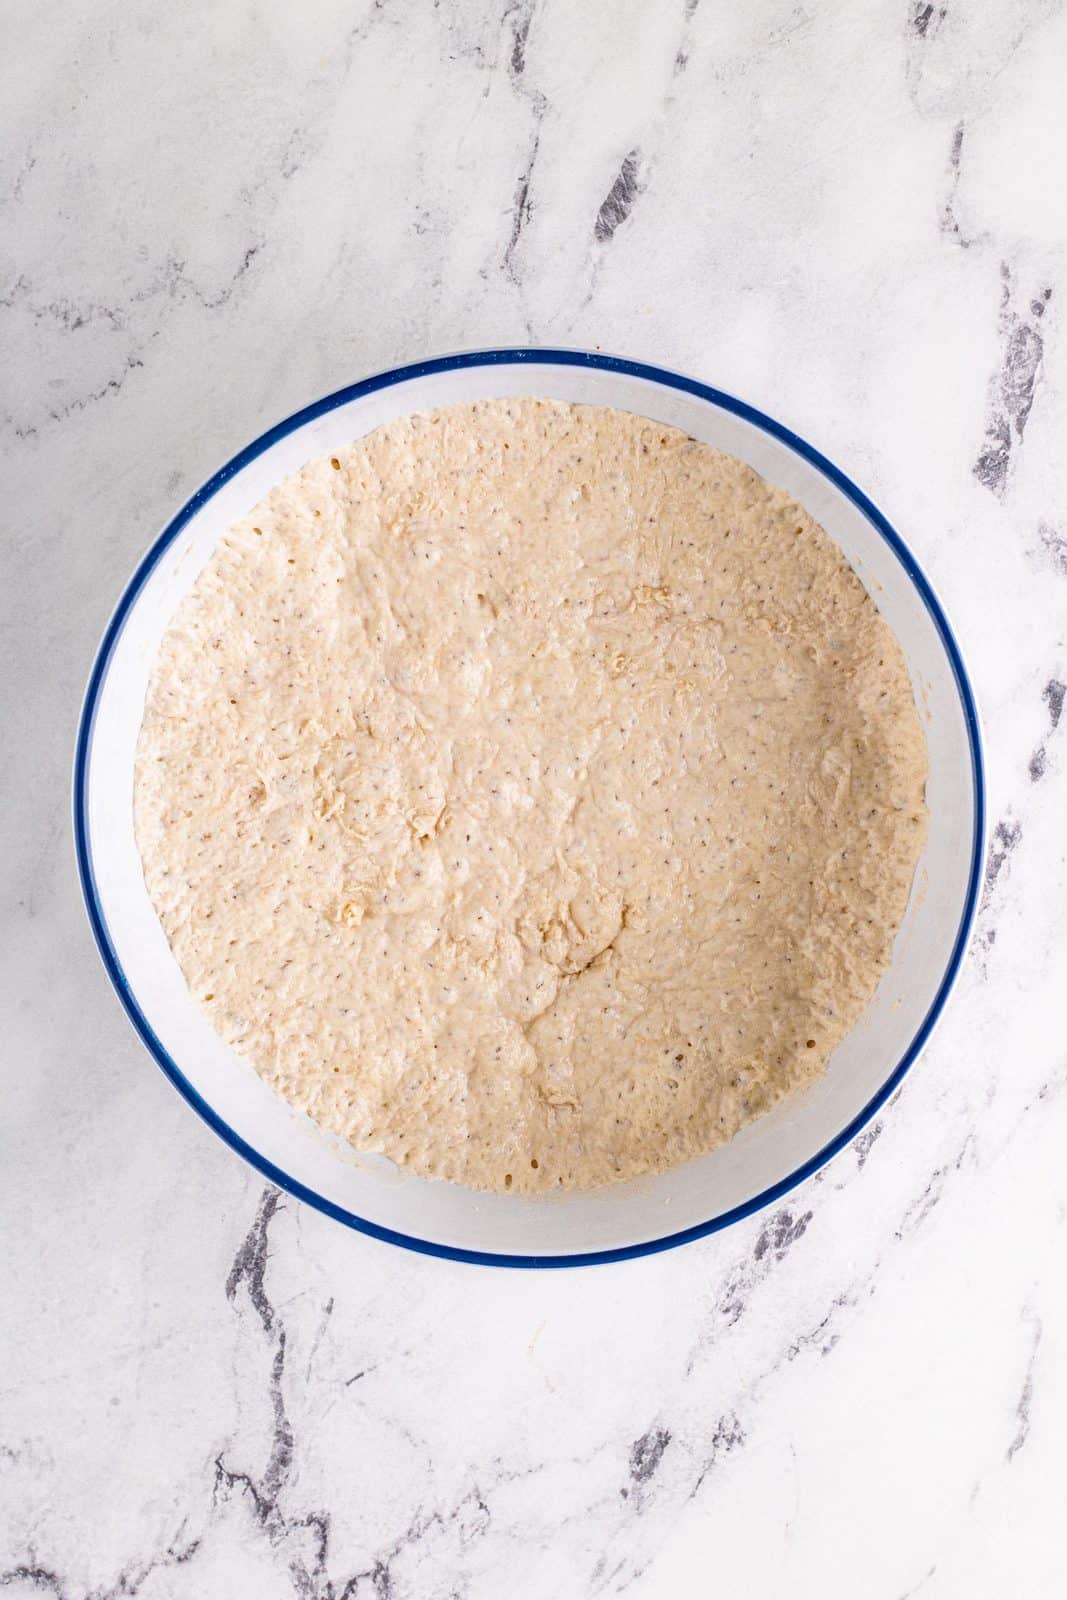
This dough needs to rise in a warm environment for 12-18 hours. Since we are not kneading this dough, it needs to rise for a longer time to create the bread that we are looking for.
Dutch ovens come in many sizes but the go-to size for most people is a 5 1/2 quart. So that will do for this recipe.
This is best eaten the same day but you can store it in an airtight container where it will keep for up to 2 days. This can also be frozen, cool your bread then wrap in plastic wrap and place in a large freezer bag. This should keep for up to 3 months. Let defrost at room temperature.
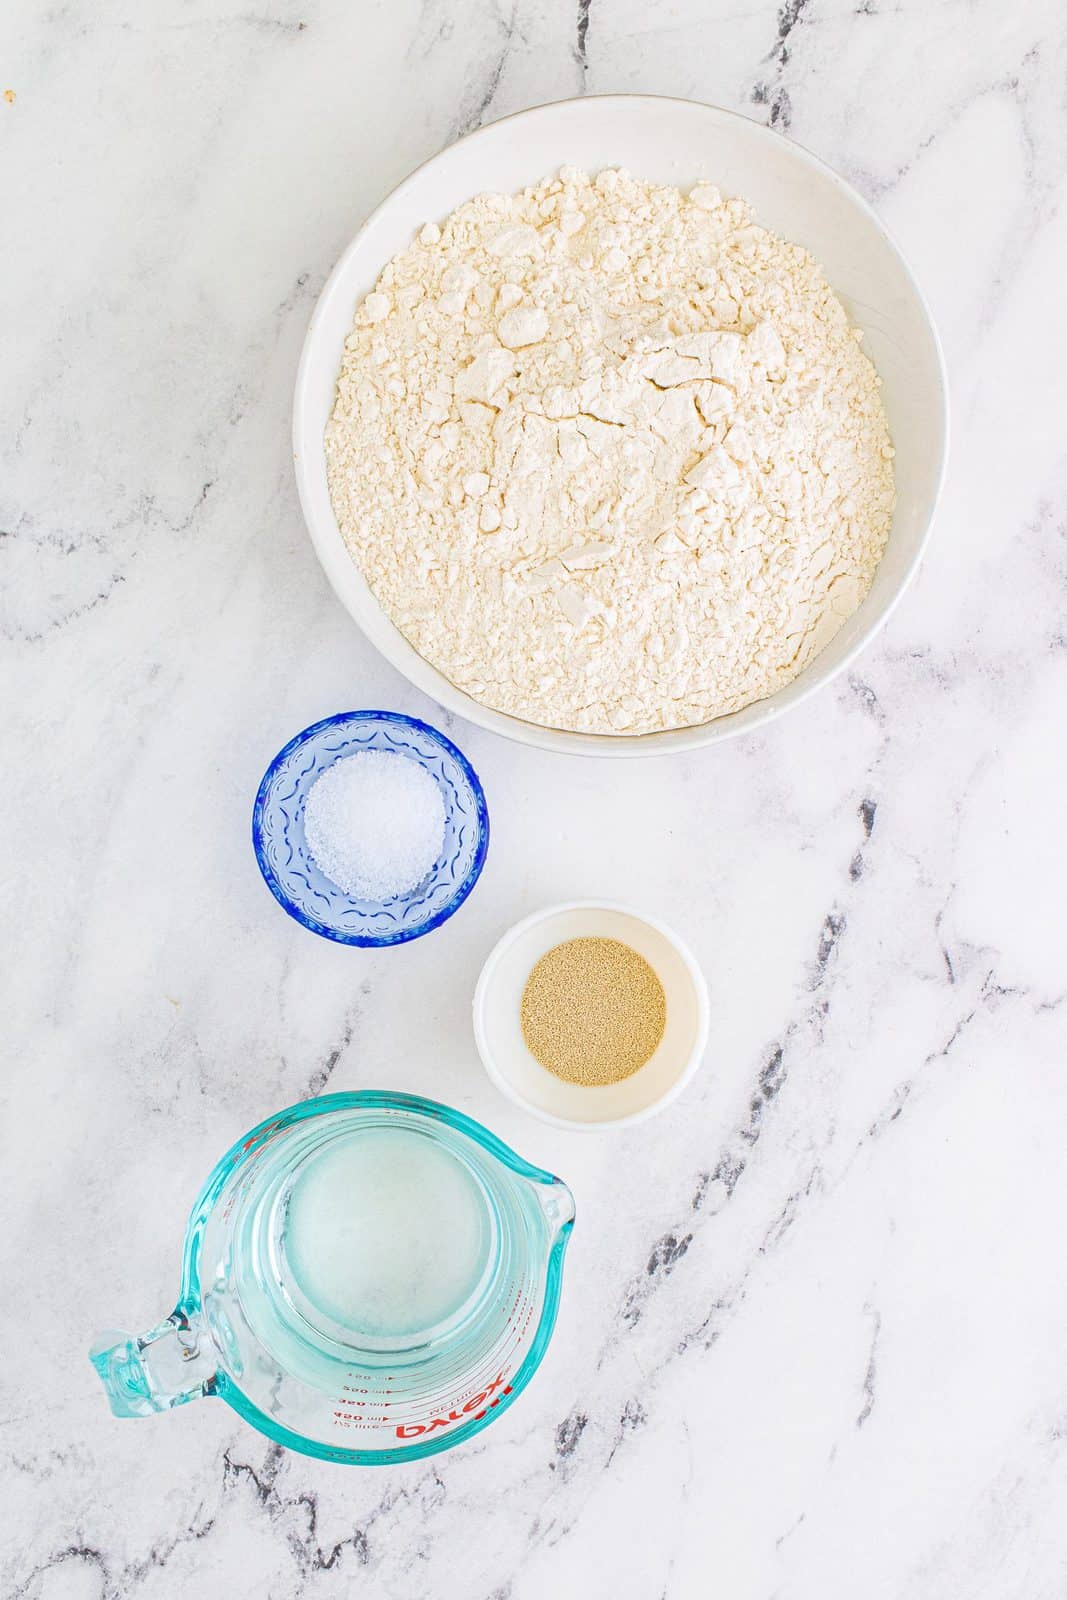
INGREDIENTS NEEDED: (FULL RECIPE AT THE BOTTOM OF THE POST)
- all-purpose flour
- kosher salt
- yeast
- water
HOW TO MAKE NO-KNEAD DUTCH OVEN BREAD:
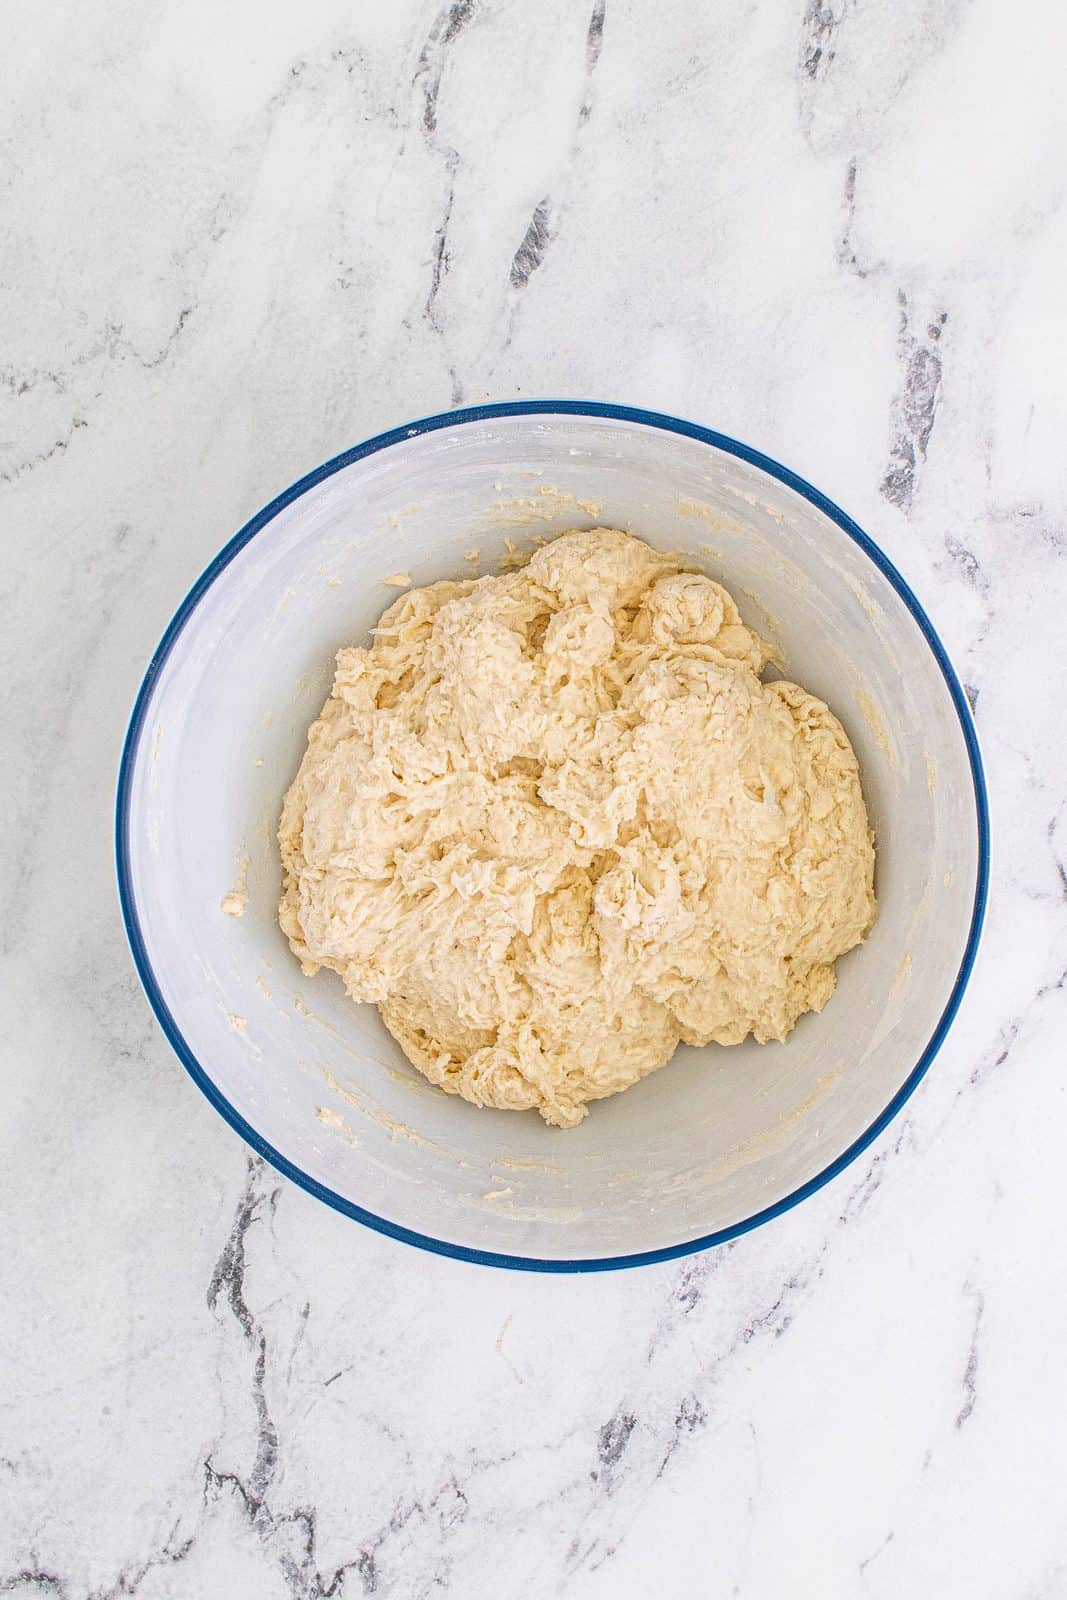
In a large bowl stir together the flour, salt, and yeast.
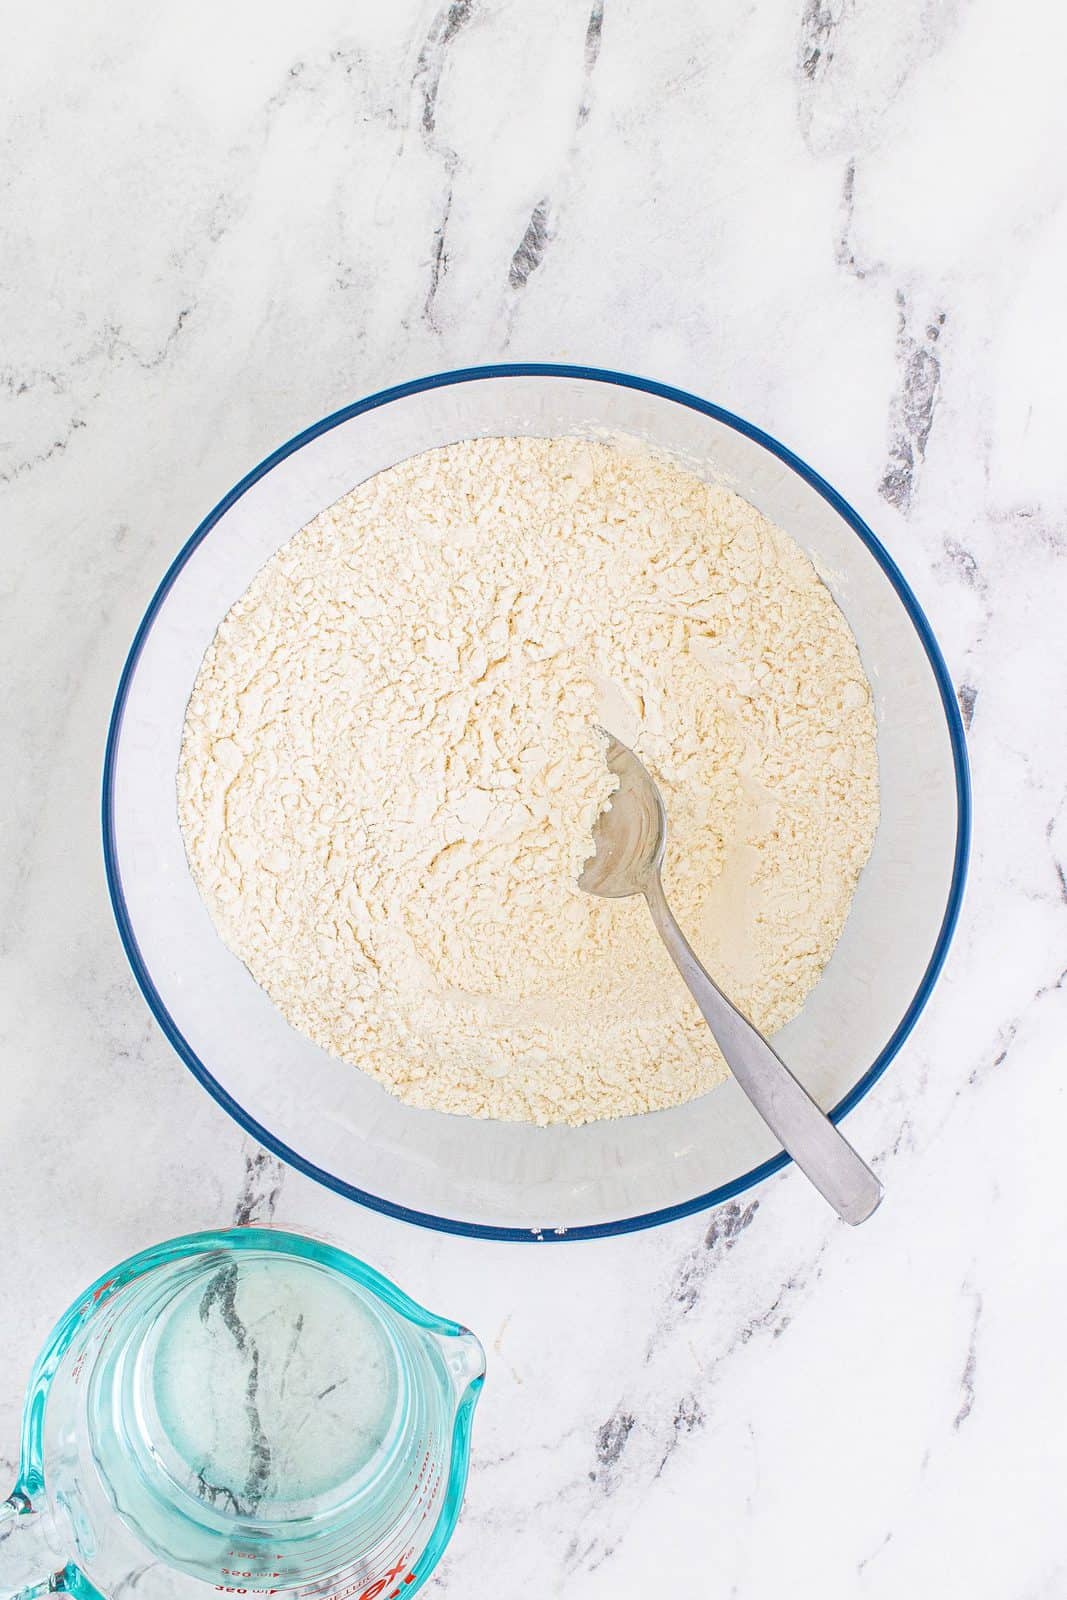
Add the water and stir to combine to form a shaggy, wet dough. Make sure you mix it in well, there is no leftover flour on the bottom of the bowl.
Cover with plastic wrap and let sit for 12-18 hours.
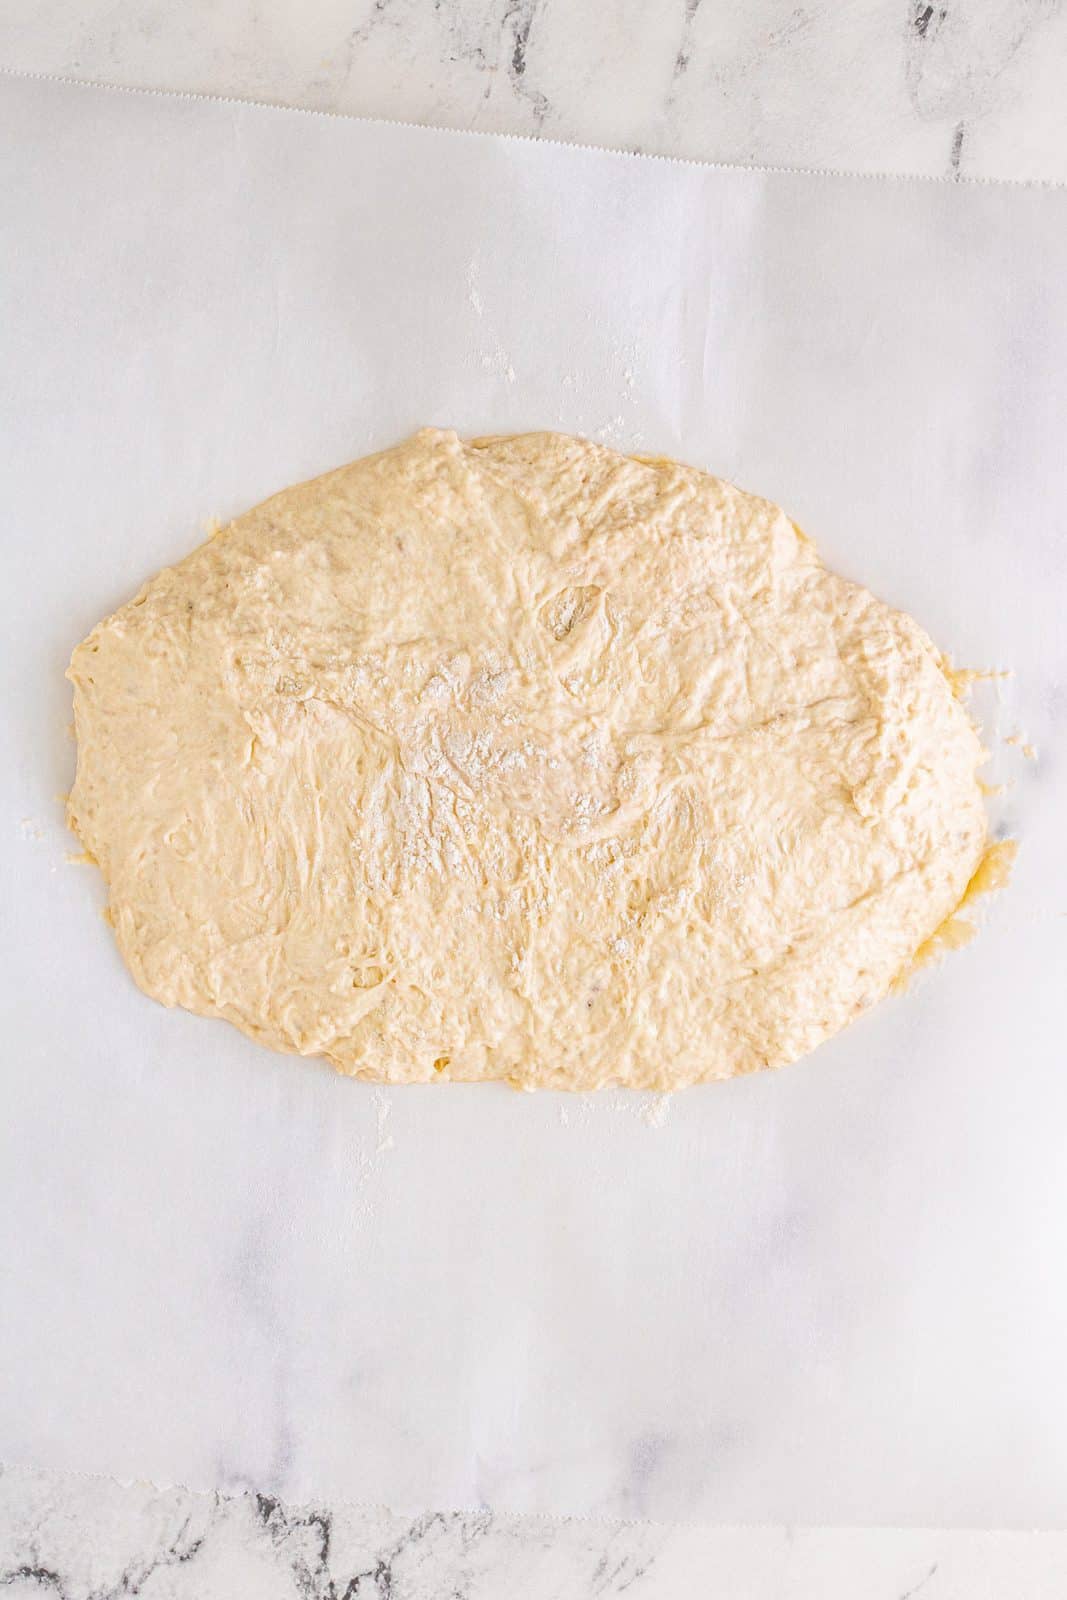
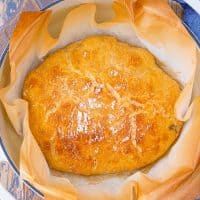
Preheat the oven to 450°F. Place a dutch oven with the top on into the oven and let it heat up for 30 minutes. Once hot, lightly dust a large piece of parchment paper with flour. Place the dough in the center of the paper and lightly dust the top with more flour. As best you can, form it into a ball or at least a round formation.
Carefully lower the dough using the parchment paper to help into the body of the dutch oven. Cover with the top and bake for 30 minutes. Uncover and bake for an additional 10-15 minutes until golden brown. The bread should sound hollow when tapped.
Take the bread out of the dutch oven and take off the paper. Place on a wire rack to cool completely before cutting.
Slice and enjoy!
WANT MORE DELICIOUS RECIPES?
No-Knead Dutch Oven Bread
Ingredients
- 3 cups all-purpose flour plus more for dusting
- 1 ½ teaspoons kosher salt
- 2 ¼ teaspoons active dry yeast
- 1 ½ cups water heated to 100-110°F
Instructions
- In a large bowl stir together the flour, salt, and yeast.
- Add the water and stir to combine to form a shaggy, wet dough. Make sure you mix it in well so there is no leftover flour on the bottom of the bowl.
- Cover with plastic wrap and let sit for 12-18 hours.
- Preheat the oven to 450°F. Place a dutch oven with the top on into the oven and let it heat up for 20-30 minutes (it should be very hot) so be careful!
- Lightly dust a large piece of parchment paper with flour. Place the dough in the center of the paper and lightly dust the top with more flour. As best you can, form it into a ball or at least a round formation.
- Carefully lower the dough using the parchment paper to help into the body of the dutch oven. Cover with the top and bake for 30 minutes.
- Uncover and bake for an additional 10-15 minutes until golden brown. The bread should sound hollow when tapped.
- Take the bread out of the dutch oven and take off the paper. Place on a wire rack to cool completely before cutting.
Video

Notes
- This can be frozen, see my tips above.
- Make sure you let this rise in a warmer spot and for at least 12 hours if not longer. Usually I will make it before going to bed so its ready to bake the next day.
- This needs to rise for a long time as it is not kneaded.
- I used a 5 1/2 quart dutch oven for this recipe. Any similar size will work.
Nutrition
Nutritional Disclaimer
“The Country Cook” is not a dietician or nutritionist, and any nutritional information shared is an estimate. If calorie count and other nutritional values are important to you, we recommend running the ingredients through whichever online nutritional calculator you prefer. Calories and other nutritional values can vary quite a bit depending on which brands were used.


Fool proof recipe. I have made this several times and different variations. I have added salami a few times, jalapeno cheddar version, but my favorite is adding 1/4 cup each of parmesan,pecerino romano, and asiago to the dough and on top.
can you leave it out on the counter when you let it rise? or does it need to go in fridge?
Delicious and easy to make but don’t forget right before you put it in the oven make a quarter inch deep slit across the top.
This looks Amazing.
Nothing better than smelling homemade bread baking in the oven on a cold day.
Thank You
Agreed! Thank you Colleen!