Fried Panko Shrimp
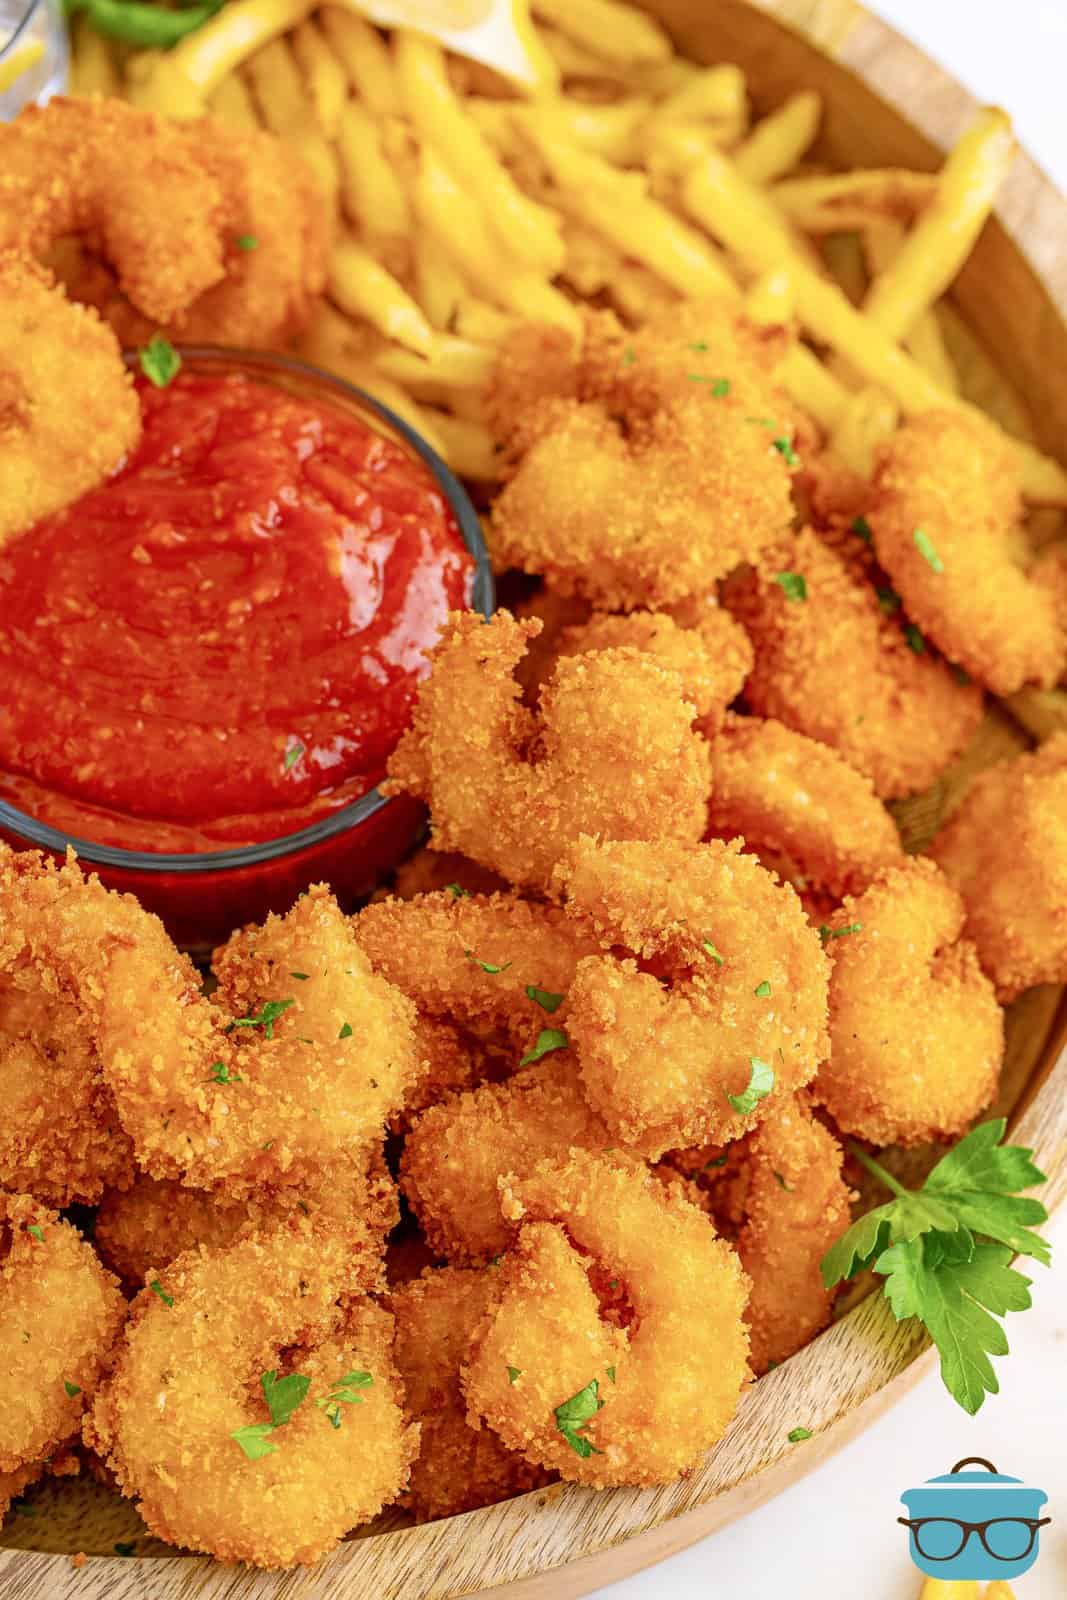
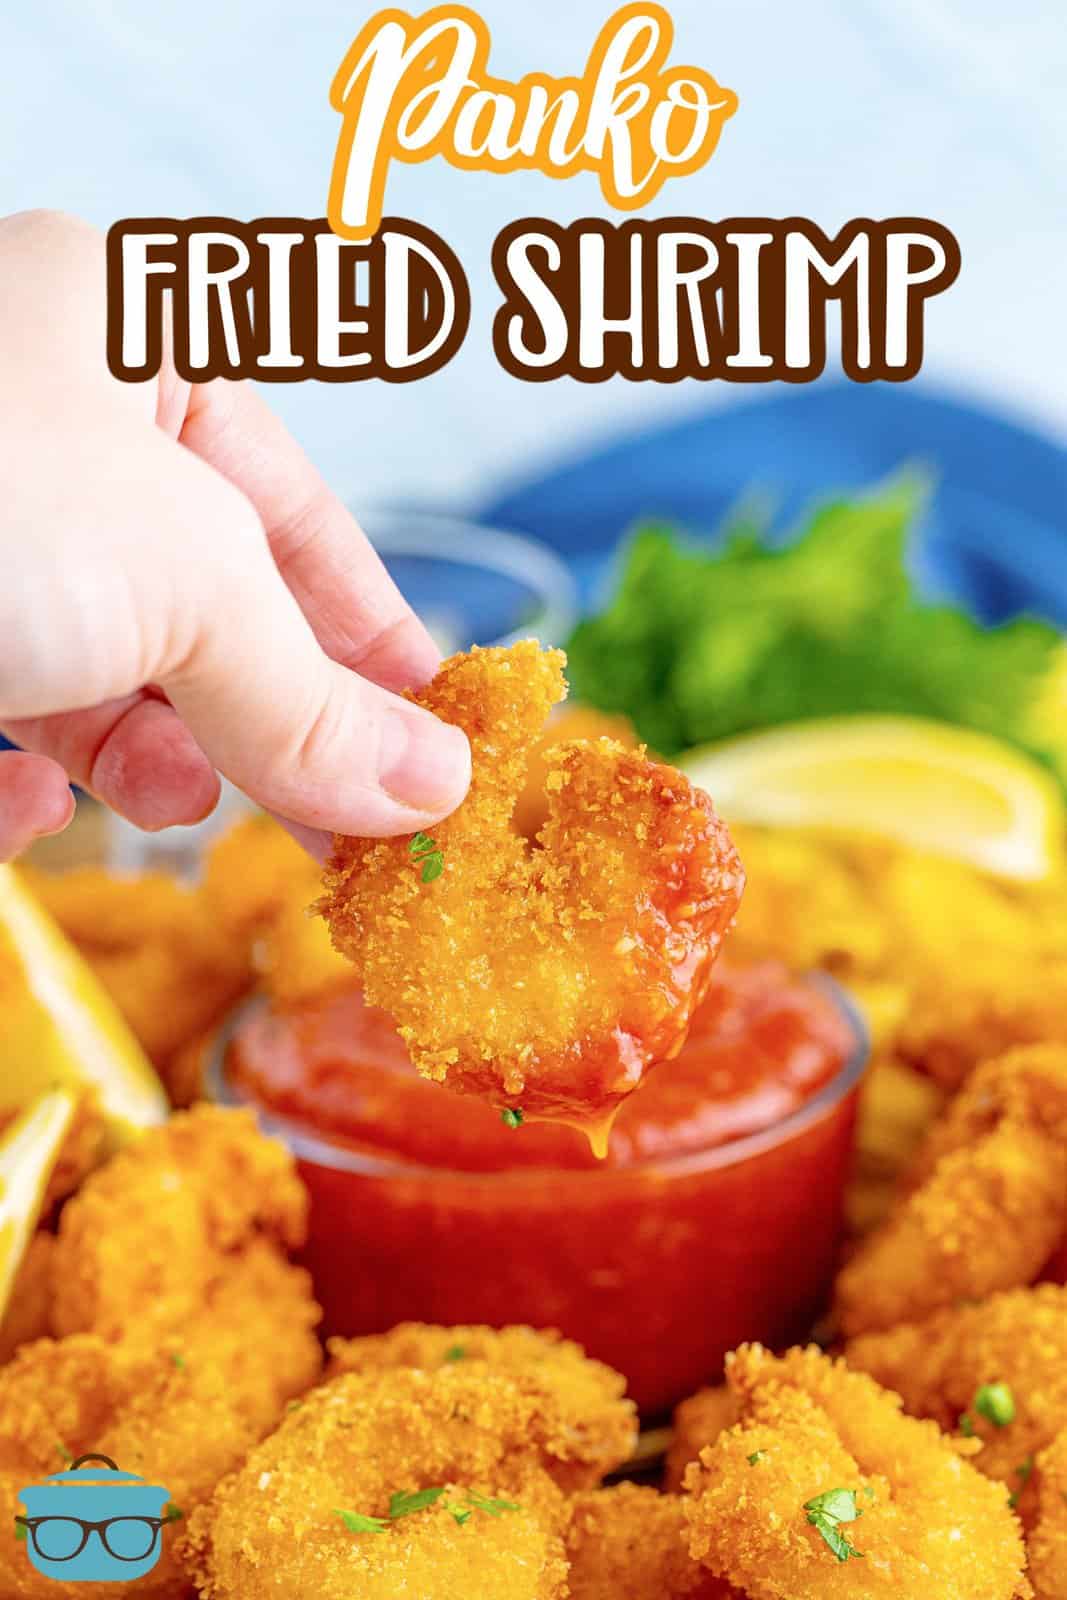
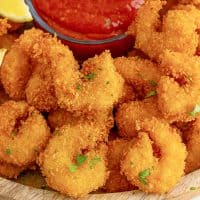
Fried Panko Shrimp are crunchy, flavorful and can be made in minutes! They make a great appetizer, side dish or dinnertime meal!
A CRISPY SHRIMP RECIPE
This recipe for fried shrimp is my go-to. Appetizer, side dish or main meal – it’s up to you! I know a lot of people shy away from frying things these days but the crispiness and gorgeous golden brown color can’t be beat. Dip them in some cocktail or tartar sauce and you are ready to go! If you want to switch up your shrimp routine, I highly recommend this Fried Panko Shrimp recipe.
FREQUENTLY ASKED QUESTIONS:
Yes! It can be made in the air fryer. You don’t get the exact crispiness and color like you would frying it in oil, but if you need a healthier option, that is the way to go. Preheat air fryer at 400°F for 8 minutes. After coating, you will need to liberally spray the shrimp (and the basket) with some olive oil cooking spray. Halfway through cooking, flip them over and spray the other side liberally again to help form the crust. Cook for about 7 to 8 minutes (you’ll have to cook in batches so you don’t overcrowd the air fryer.)
I like to use large shrimp for this recipe. You can use any size that you like, but you will want it to be 2 pounds and the cooking times will vary.
Yes, if you would rather use a seasoning blend rather than making your own, you can do that. Some options include: Old Bay, creole, lemon pepper or blackening seasoning. If you are using a seasoning blend no salt needs to be added to the recipe.
You can serve with pasta, steak, chicken, etc. or with a simple side salad or steamed broccoli.
These can be stored in an airtight container in the refrigerator where they will keep for up to 3 days. They can also be frozen. Place cooled shrimp in a freezer container and they will keep for up to 3 months. To defrost, remove to the refrigerator overnight and you can reheat in a heated fryer or in an air fryer until heated through and crunchy again.
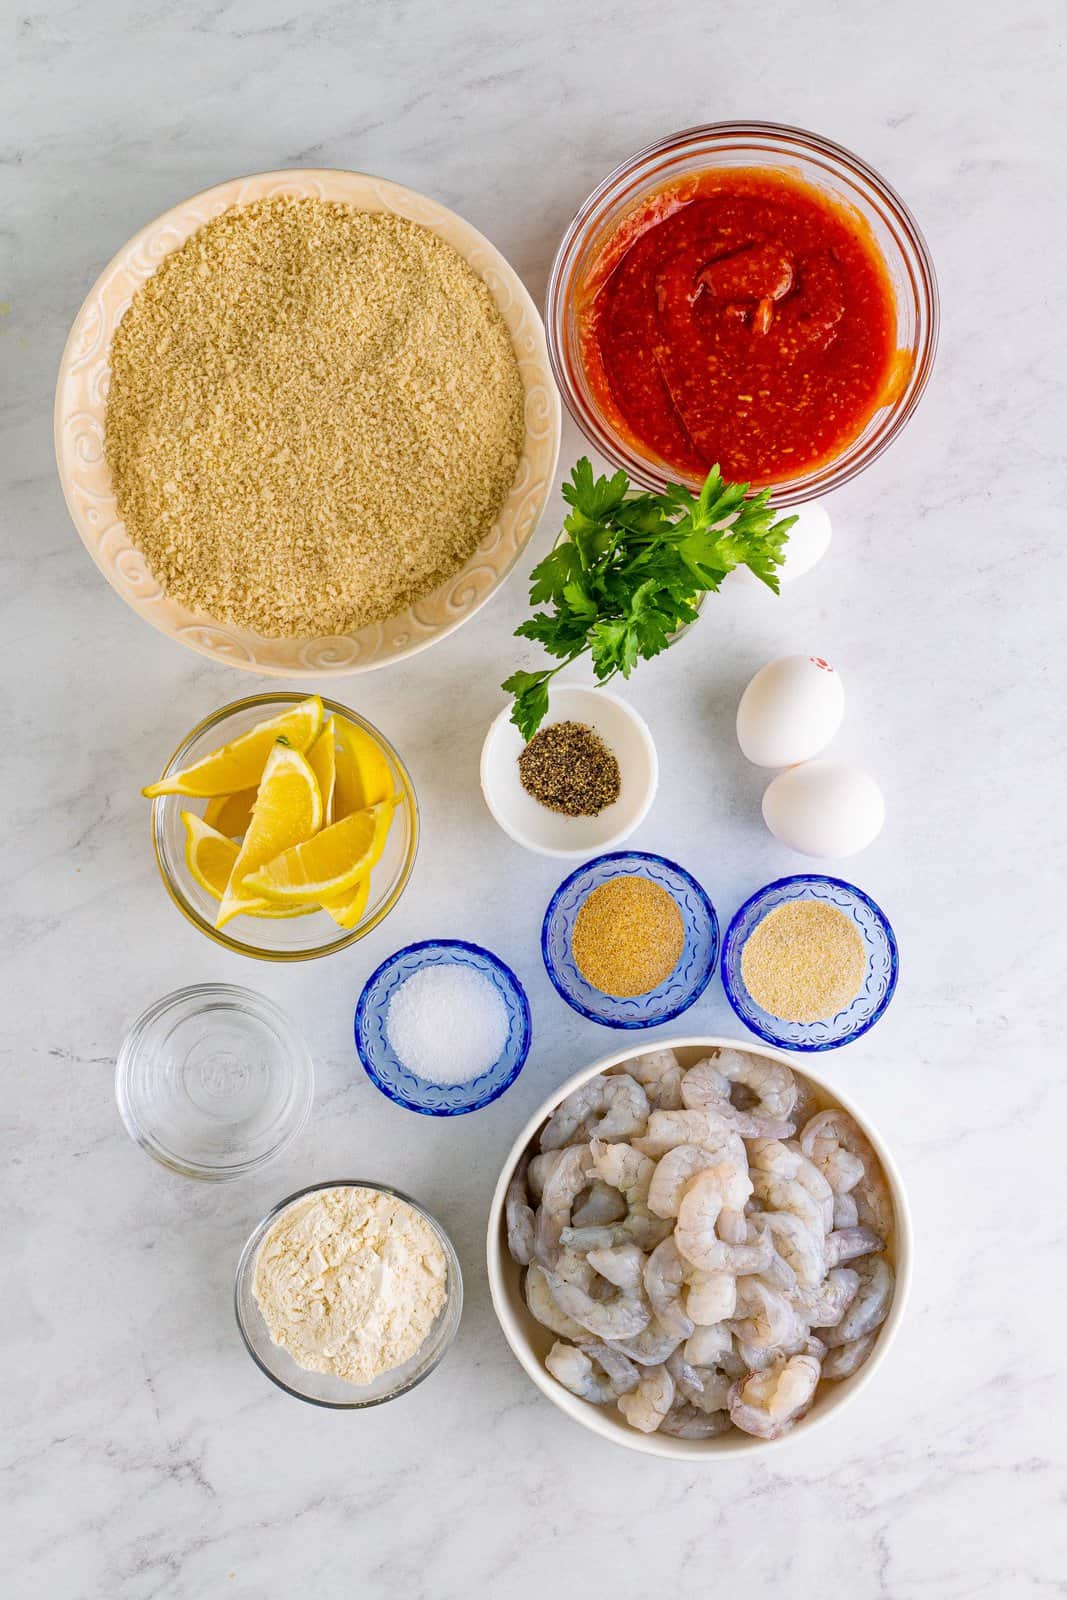
INGREDIENTS NEEDED: (FULL RECIPE AT THE BOTTOM OF THE POST)
- large shrimp
- all-purpose flour
- garlic powder
- onion powder
- kosher salt
- pepper
- eggs
- water
- plain panko breadcrumbs
HOW TO MAKE FRIED PANKO SHRIMP:
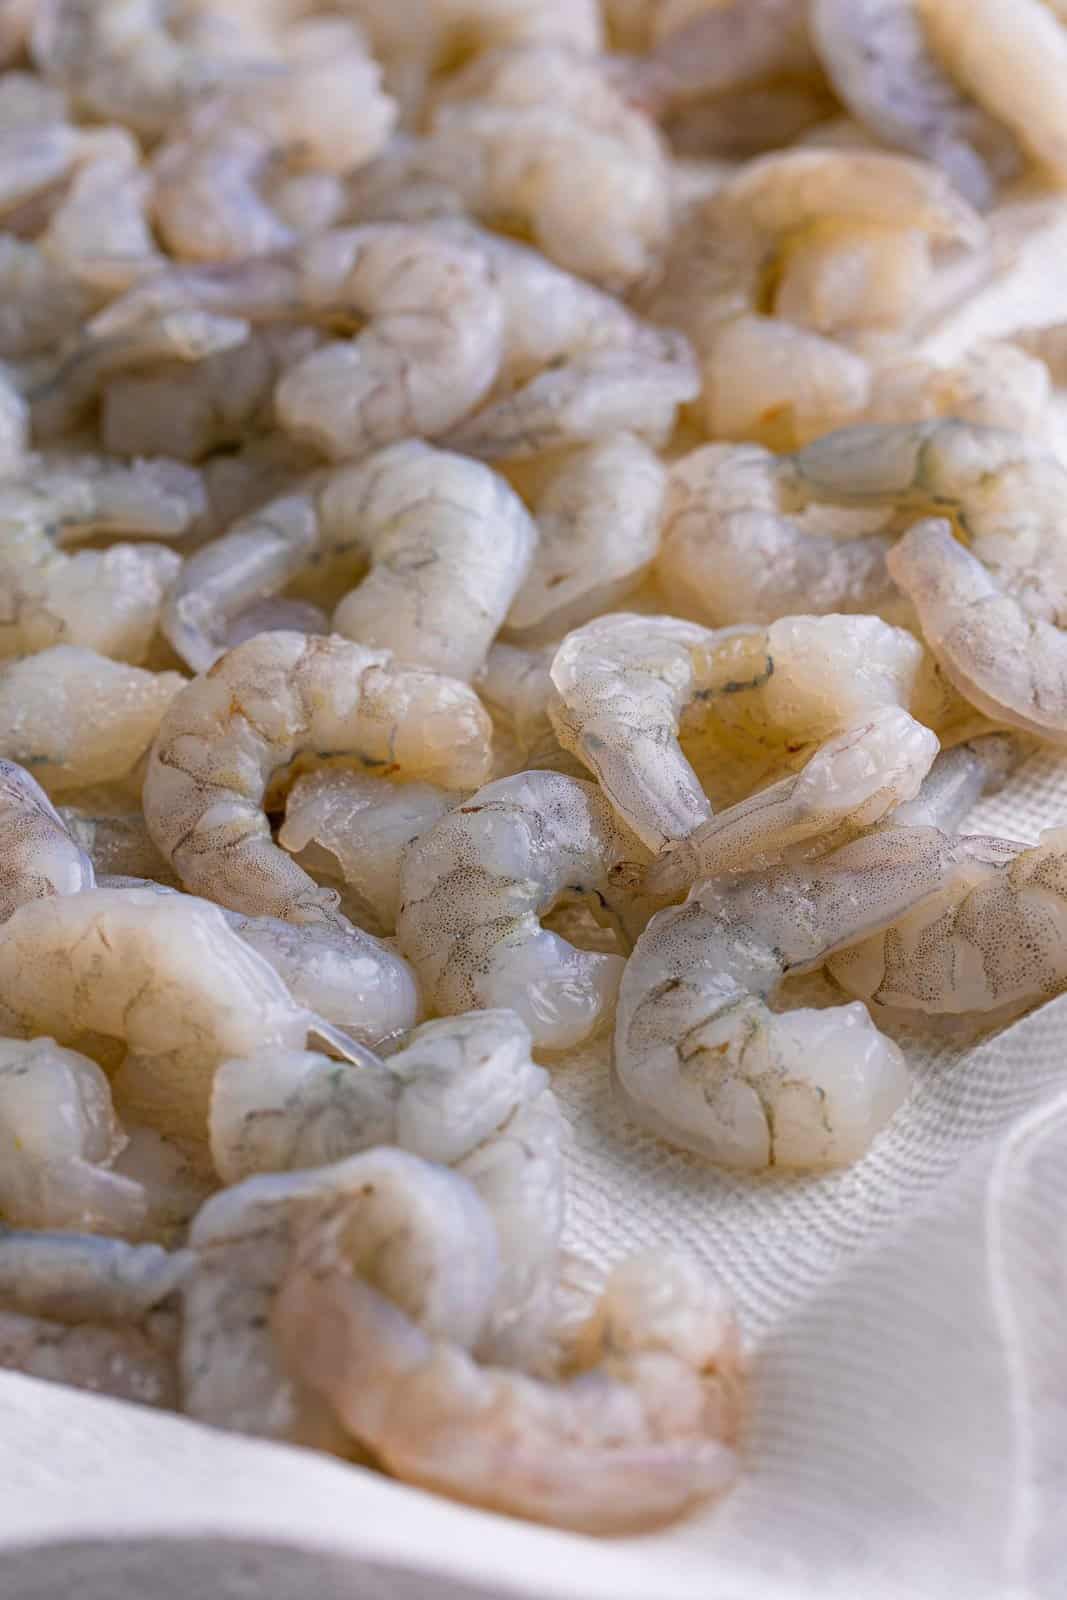
Preheat peanut oil in a deep fryer or dutch oven with oil (3 inches up the sides) to 350°F. While the oil is heating, prepare the shrimp. Dry the shrimp well with paper towels.
In a gallon-sized plastic ziptop bag add the flour, garlic powder, onion powder, salt, and pepper. Toss to combine the seasoning with the flour.
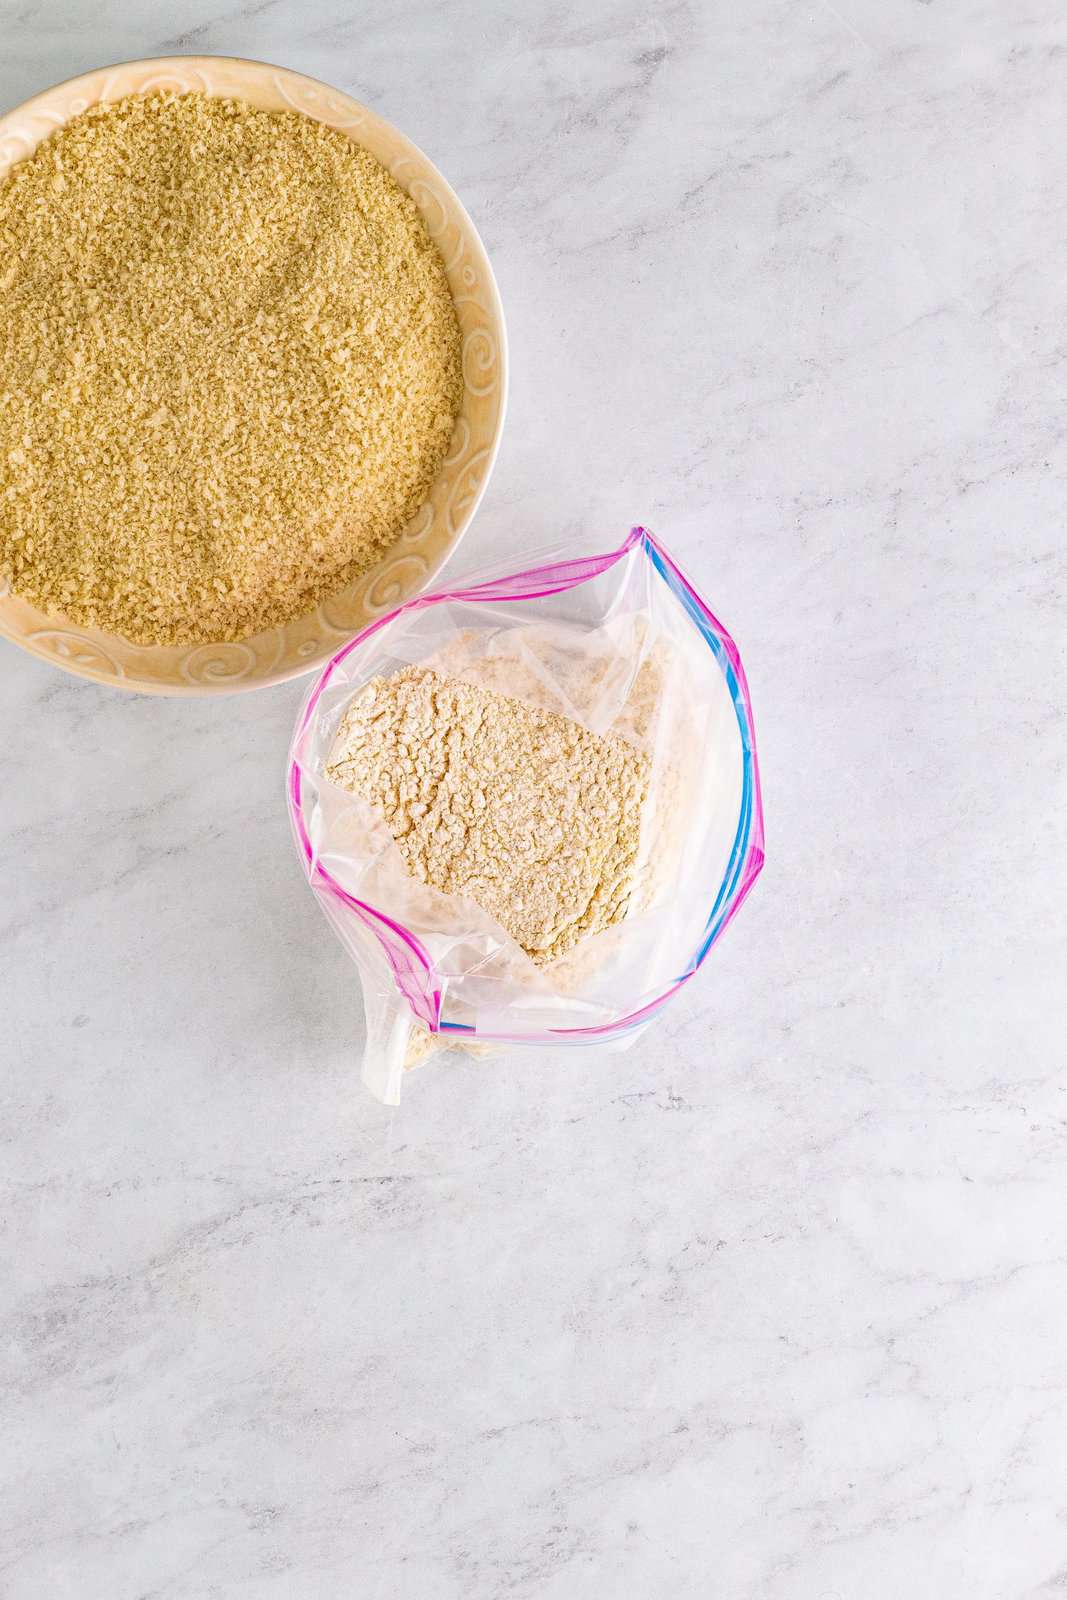
Add the shrimp to the bag. Close the top and shake the bag so the shrimp gets coated well in the flour mixture, set aside.
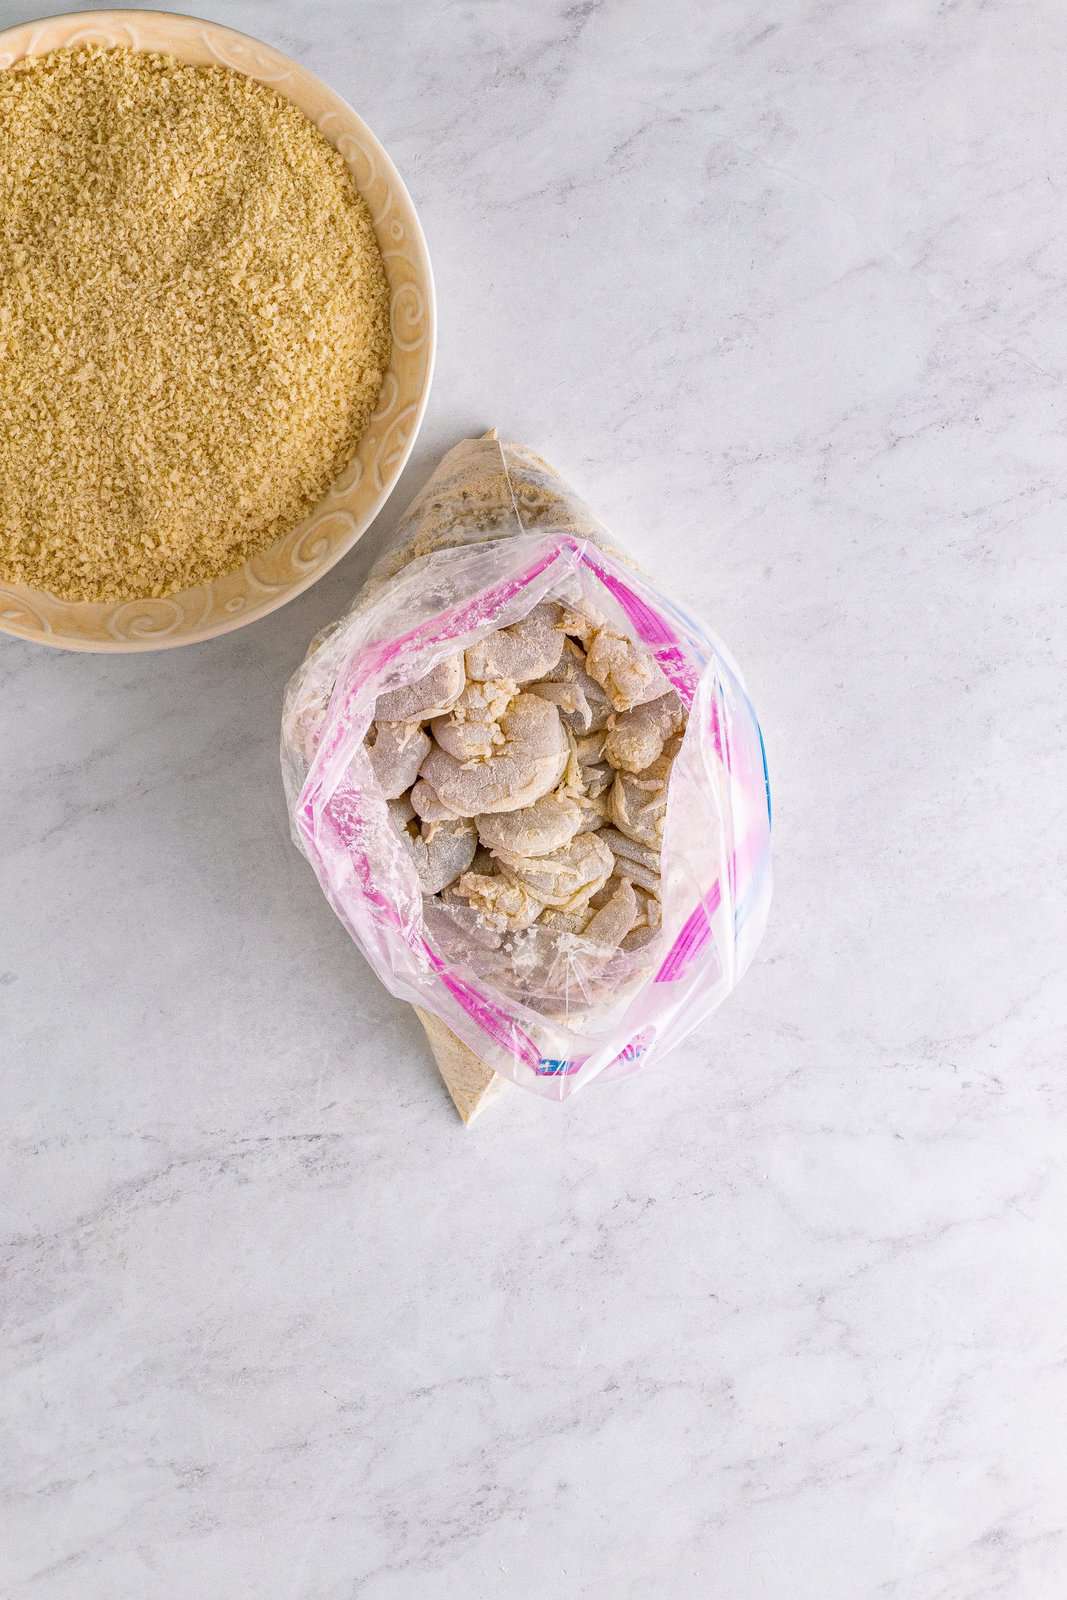
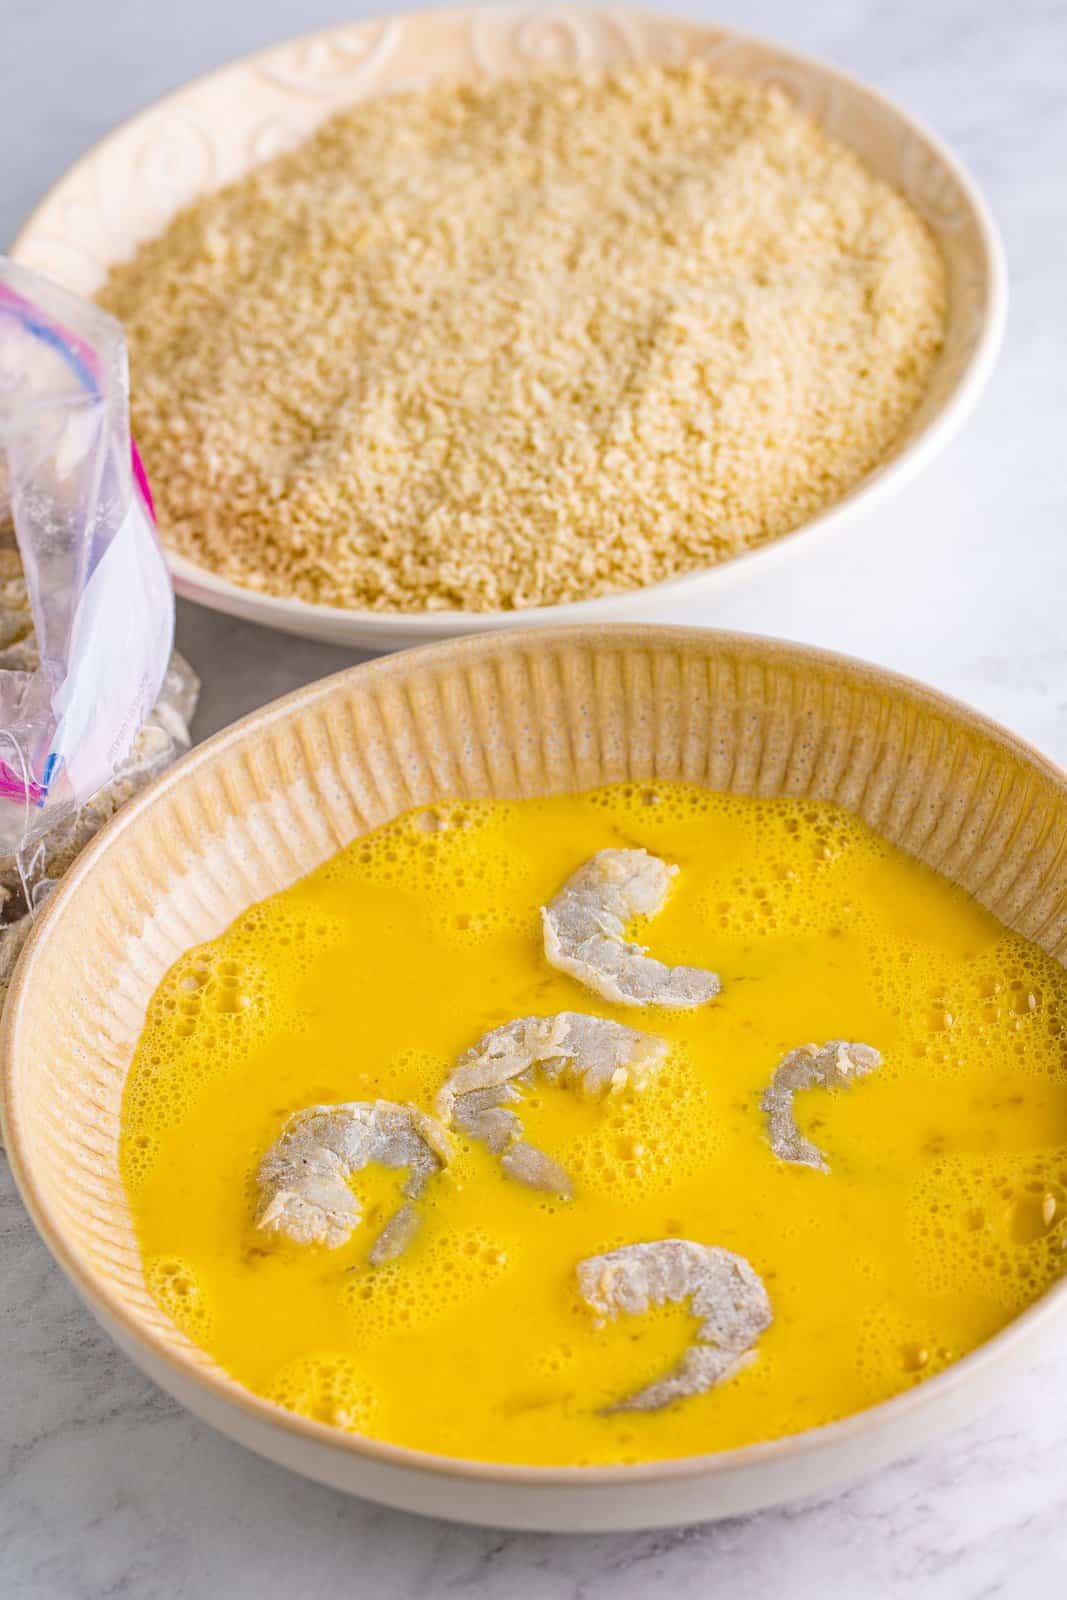
In a shallow bowl whisk the eggs with the water until combined. In another shallow bowl add the breadcrumbs. Working with a few shrimp at a time, take them out of the bag and place them into the egg, move them around so they are coated.
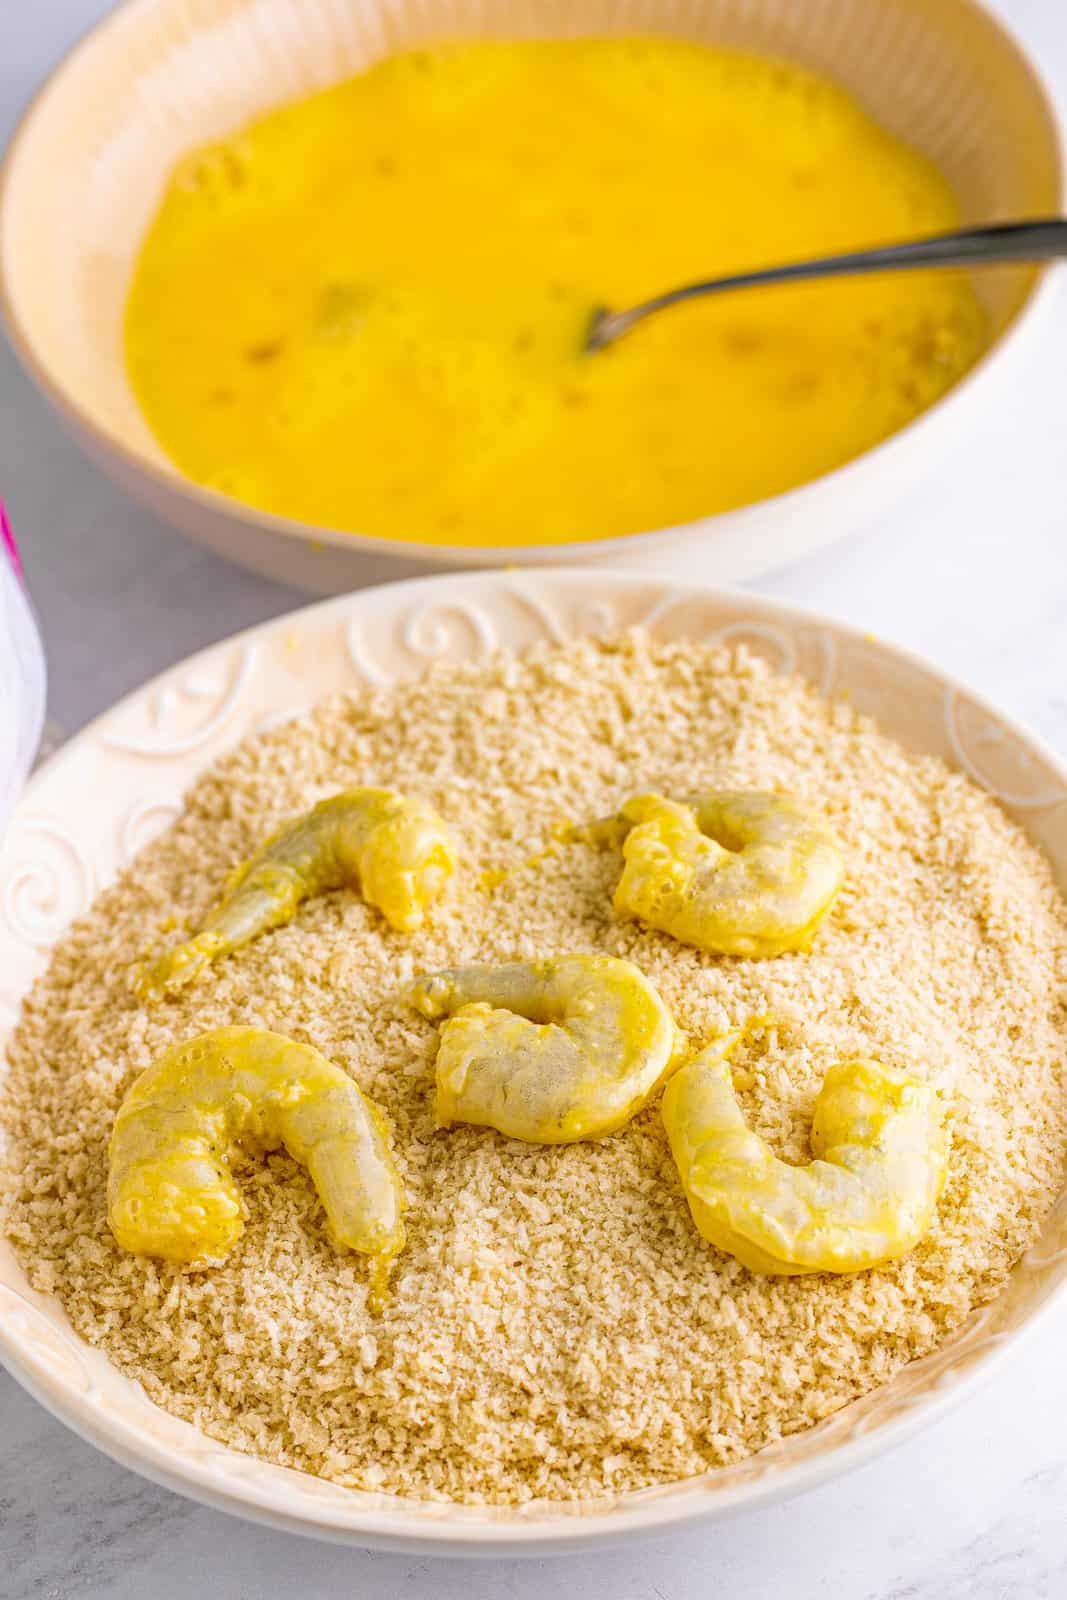
Let any excess egg drip off and place them into the breadcrumbs. Cover them with the breadcrumbs and gently press them in so they stick.
Place the breaded shrimp onto a sheet tray lined with parchment paper, repeat with the other shrimp.
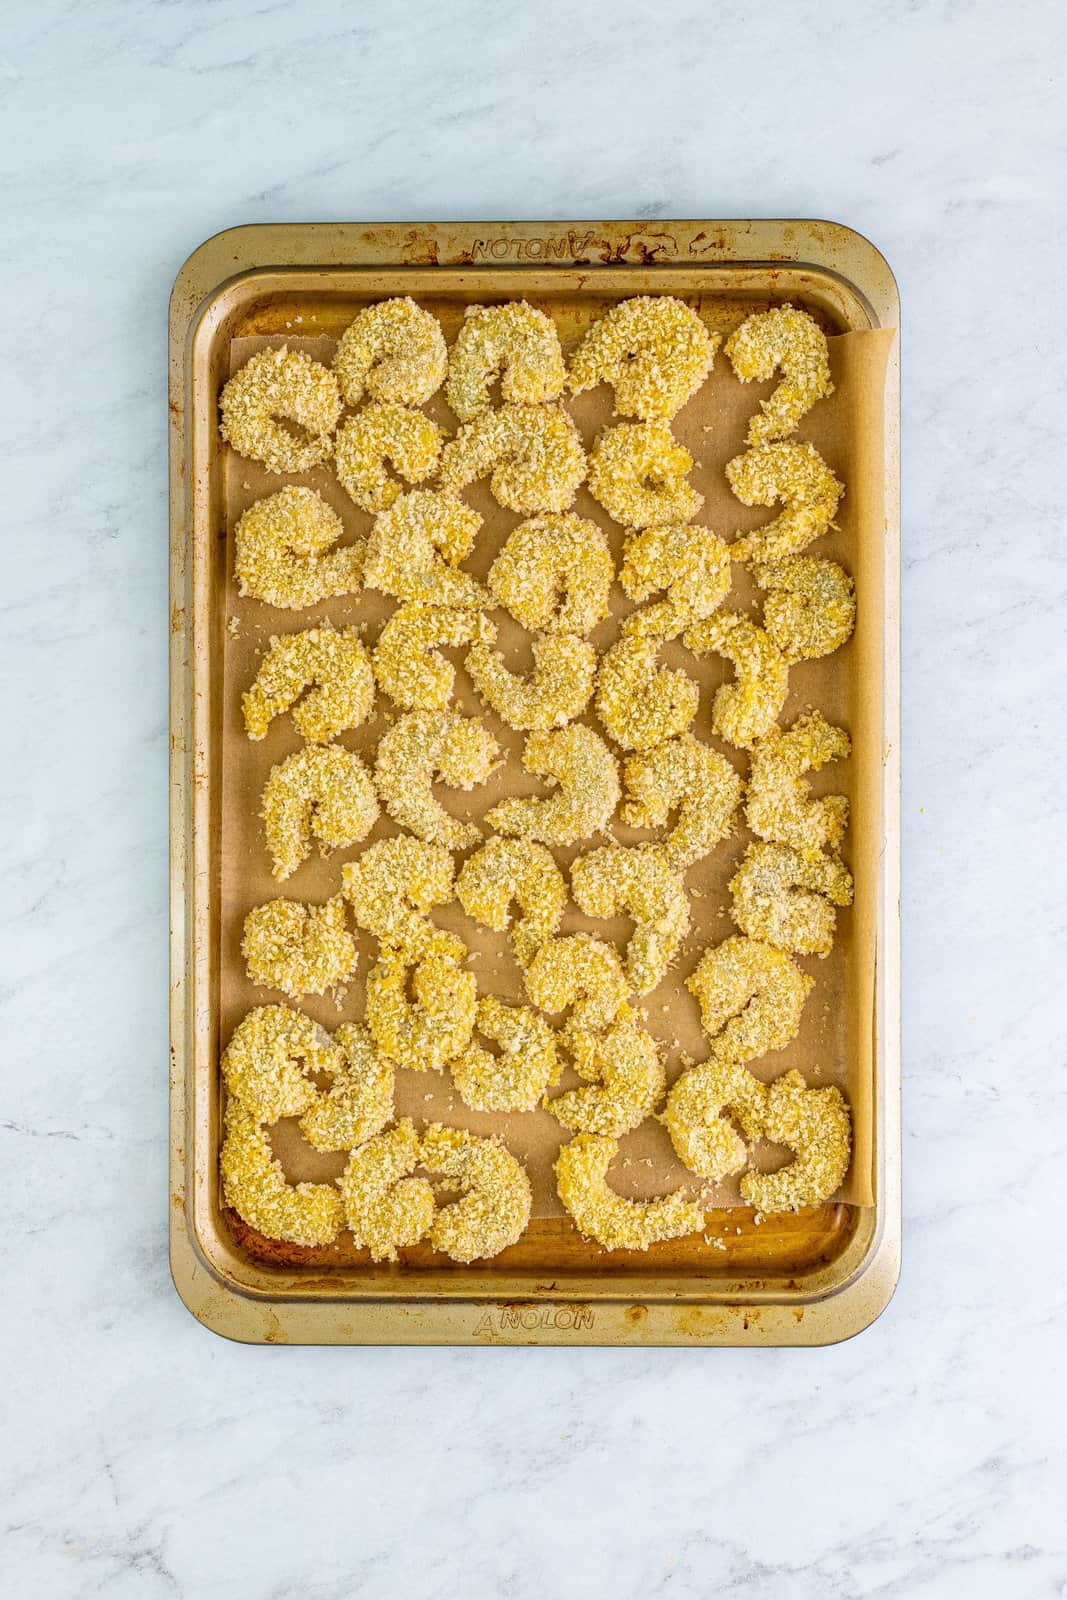
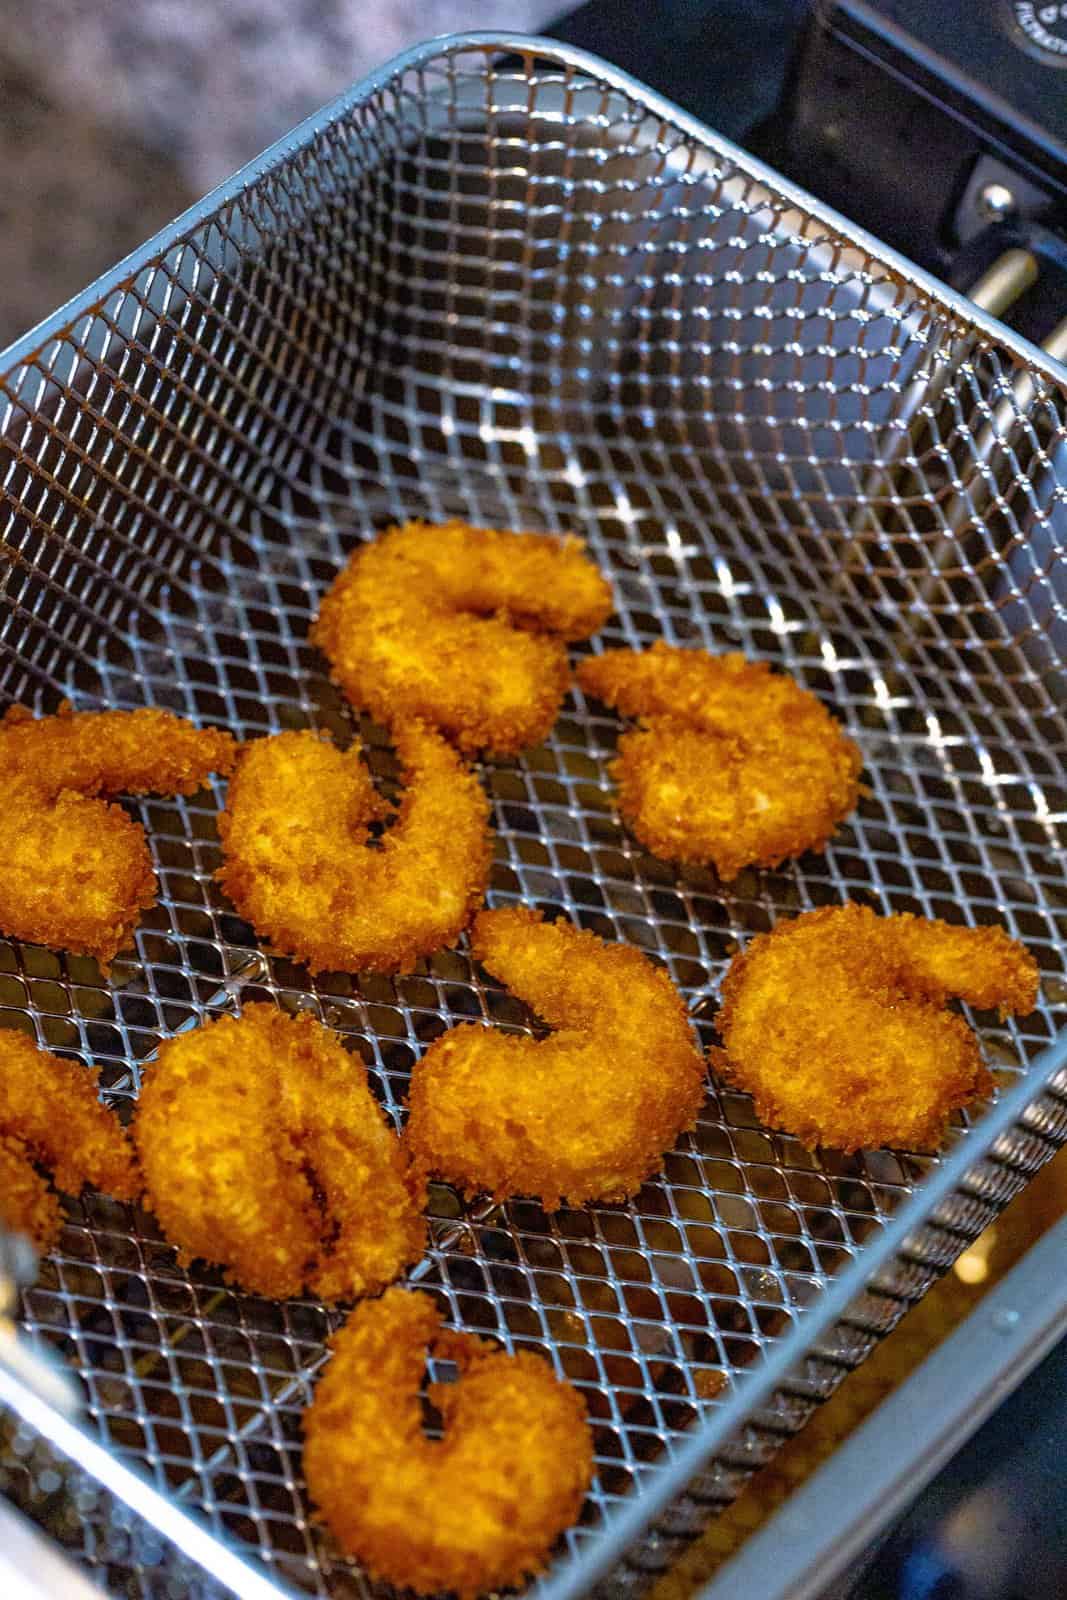
Once the oil is hot, add shrimp to the oil in batches, do not overcrowd. Cook for 2-3 minutes until golden brown and an internal temperature reaches 165°F.
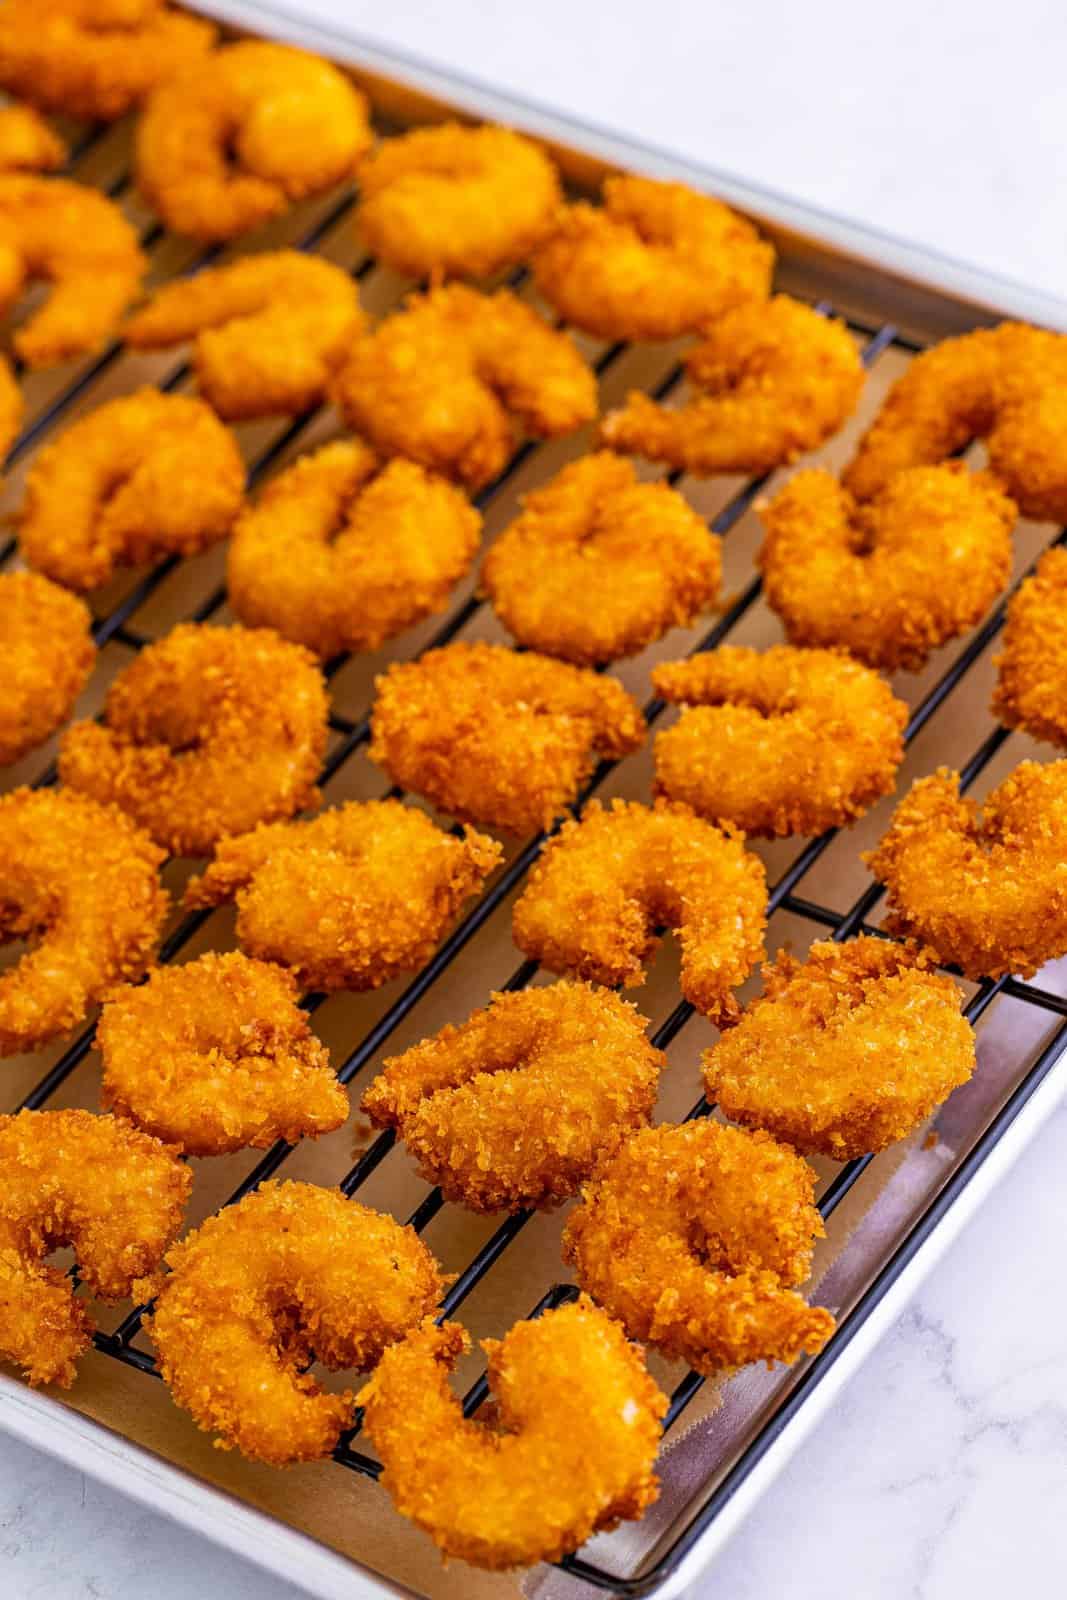
Place the shrimp onto a paper towel-lined sheet pan to absorb any excess oil. Optional: you can then Immediately transfer to a wire rack that is set on top of a sheet tray to catch any drips. This will ensure the shrimp stay crispy. Repeat with the remaining shrimp.
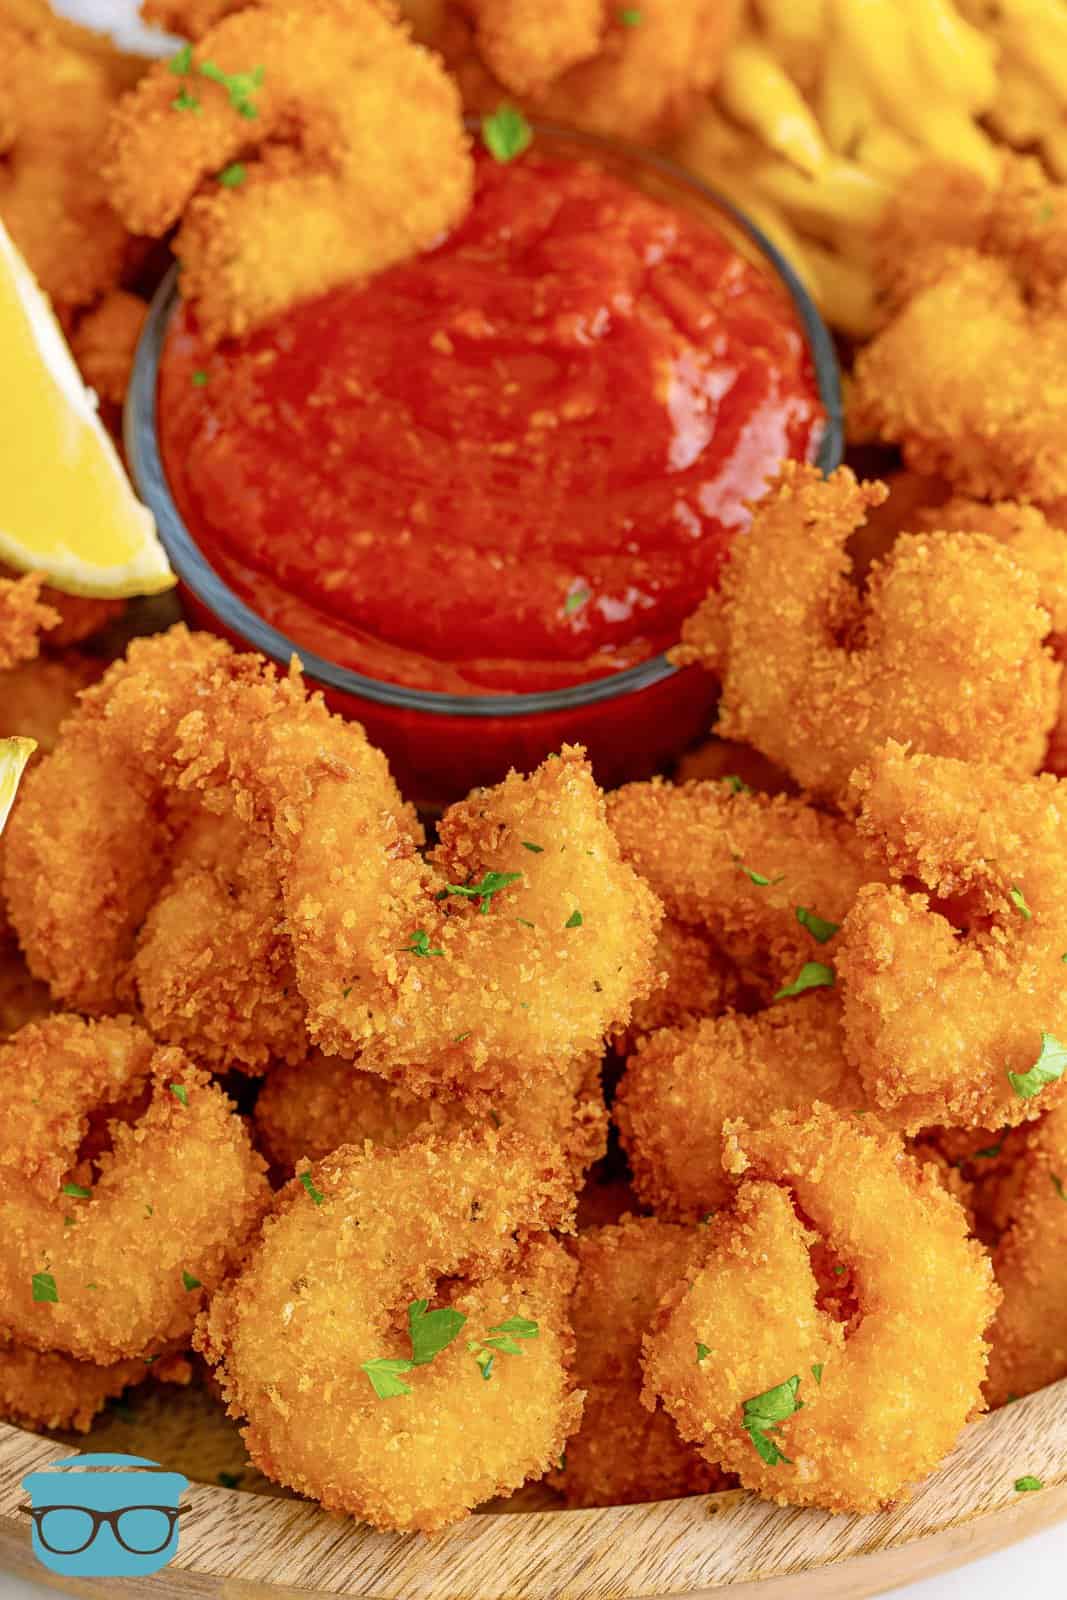
Serve with fresh chopped parsley for garnish, lemon wedges, and cocktail sauce.
WANT MORE DELICIOUS RECIPES?
Fried Panko Shrimp
Ingredients
- 2 pounds large shrimp, peeled and deveined
- ½ cup all-purpose flour
- 1 tablespoon garlic powder
- 1 tablespoon onion powder
- 2 teaspoons kosher salt
- ½ teaspoon black pepper
- 3 large eggs
- splash of water
- 3 cups plain panko breadcrumbs
- chopped parsley, lemon wedges and cocktail sauce, for serving
Instructions
- Preheat peanut oil in a deep fryer or dutch oven with oil (3 inches up the sides) to 350°F.
- While the oil is heating, prepare the shrimp. Dry the shrimp well with paper towels.
- In a gallon-sized ziptop bag add the flour, garlic powder, onion powder, salt, and pepper. Seal the top then toss to combine the seasoning with the flour.
- Add the shrimp to the bag. Close the top and shake the bag so the shrimp get coated in the flour mixture, set aside.
- In a shallow bowl whisk the eggs with the water until combined.
- In another shallow bowl add the breadcrumbs.
- Working with a few shrimp at a time, take them out of the bag and place them into the egg. Flip them around so they are coated.
- Let any excess egg drip off and place them into the breadcrumbs. Cover shrimp with the breadcrumbs and gently press them in so the breadcrumbs stick to the shrimp.
- Place the breaded shrimp onto a sheet tray lined with parchment paper, repeat with the other shrimp.
- Once the oil is hot, add shrimp to the oil in batches, do not overcrowd. Cook for 2-3 minutes until golden brown and an internal temperature reaches 165°F.
- Place the shrimp onto a paper-towel-lined plate to absorb any excess oil. Optional: Immediately transfer to a wire rack that is set on top of a sheet tray to catch any drips. This will ensure the shrimp stay crispy.
- Repeat with the remaining shrimp. Serve with fresh chopped parsley for garnish, lemon wedges, and cocktail sauce.
Notes
- Use any size shrimp you like, if you go smaller you might need another egg and more breading.
- Peanut oil is best for frying.
- They can be frozen, see above on how to do that.
- Other seasoning blends can be used, see my suggestions above.
- Dip in your favorite sauces like cocktail, tartar, honey mustard, garlic aioli or hot sauce.
Nutrition
Nutritional Disclaimer
“The Country Cook” is not a dietician or nutritionist, and any nutritional information shared is an estimate. If calorie count and other nutritional values are important to you, we recommend running the ingredients through whichever online nutritional calculator you prefer. Calories and other nutritional values can vary quite a bit depending on which brands were used.
The shrimp turned out Delicious!
Easy to follow RECIPE.
TYVM
Yay! Thanks so much for taking the time to come back and comment! I’m so happy you enjoyed this one!