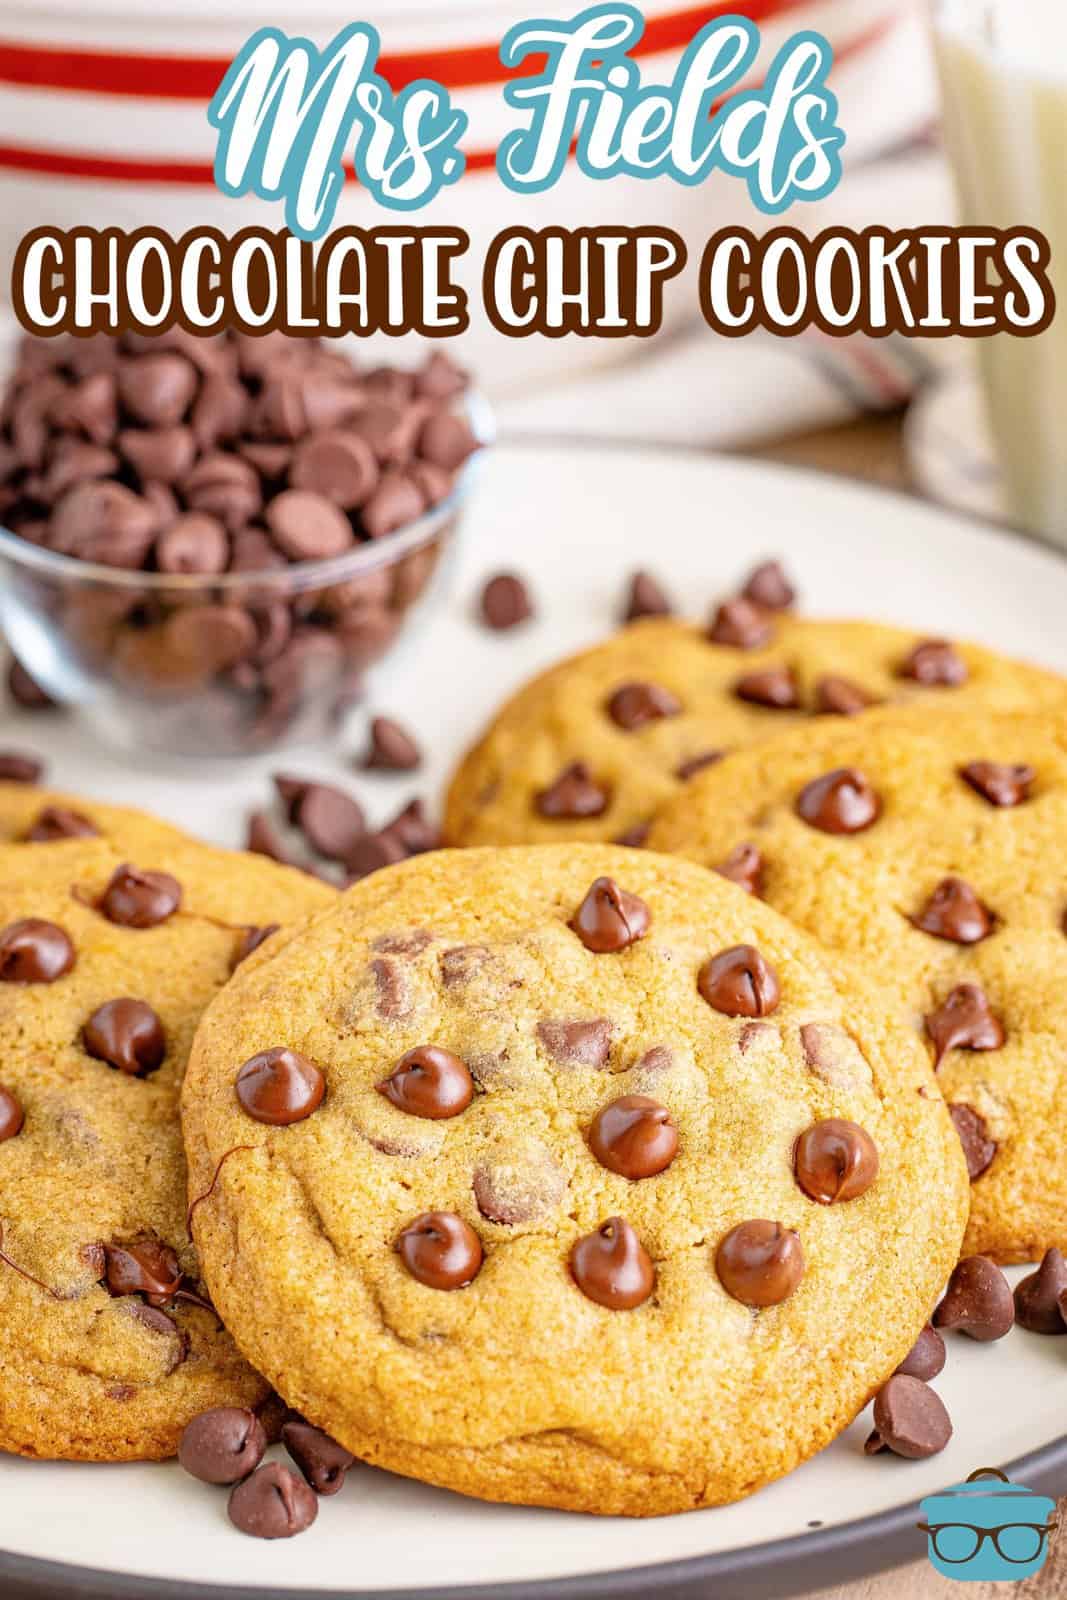
Mrs. Fields Chocolate Chip Cookies
Make your own ooey gooey, chewy, yummy Mrs. Fields Chocolate Chip Cookies at home and enjoy every single chocolatey bite! So soft and delicious!
A DELICIOUS COPYCAT CHOCOLATE CHIP COOKIE RECIPE
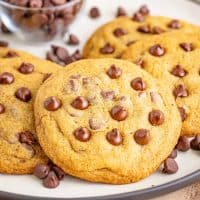
Who doesn’t love a warm and gooey chocolate chip cookie straight out of the oven? Is there anything better? This Mrs. Fields Chocolate Chip Cookies recipe is a near-perfect rendition of the beloved cookie we’ve all come to know and love (maybe even better!) It has a chewy center with slightly crunchy edges. Not only do they taste amazing, but they also look beautiful – the perfect treat to bring along for your next party or potluck. So if you’re as big a fan of Mrs. Fields Chocolate Chip Cookies like I am, then you simply must give this copycat version a try!

FREQUENTLY ASKED QUESTIONS:
Typically this happens if you didn’t use cold enough butter. It really is helpful because it helps keep the dough chilled and then helps the cookies rise. It also creates nice and tender chocolate chip cookies. Also, perhaps real butter wasn’t used. I know it sounds unusual but you would be surprised how many people don’t know the difference between margarine and butter. Make sure your packaging says butter.
Other ideas might be white chocolate chips, dark chocolate chips, butterscotch chips, sprinkles, chocolate chunks, or chopped chocolate candy bars. For an extra touch of fun, consider drizzling an additional layer of chocolate on top.
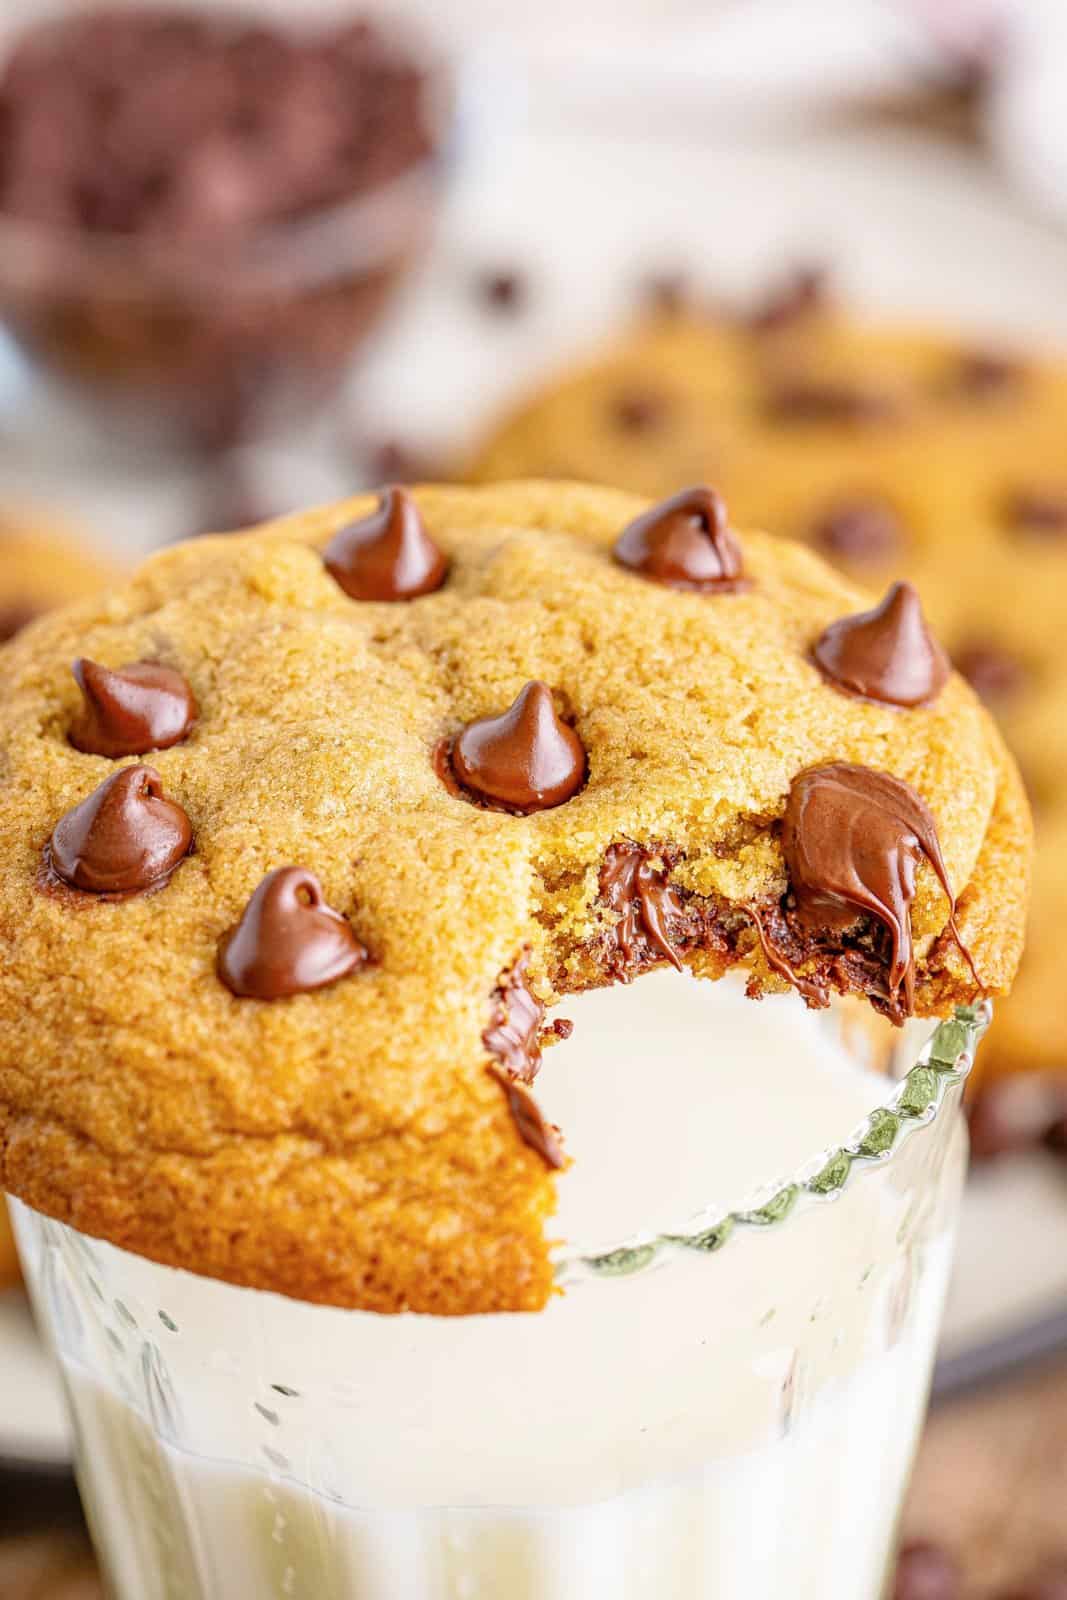
These cookies are going to taste great no matter what! But if you want to add a special touch then put some chocolate chips on top of the cookies as soon as they come out of the oven. Just pop them evenly around the top of the cookie. You don’t need to press them in. The heat of the cookie will warm it up and as it cools, it will stay in place.
When you want to store these, you may want to store them with a layer of parchment paper in between so you don’t mess up the chocolate chips since these cookies stay ooey gooey for quite a while. I suggest popping them in the fridge for about 15-30 minutes after they have cooled completely too before stacking the,
They’ll keep in an airtight container for up to 5 days. You can also freeze these cookies in a freezer safe container or bag (with wax paper or parchment paper in between the cookies) for up to 3 months.
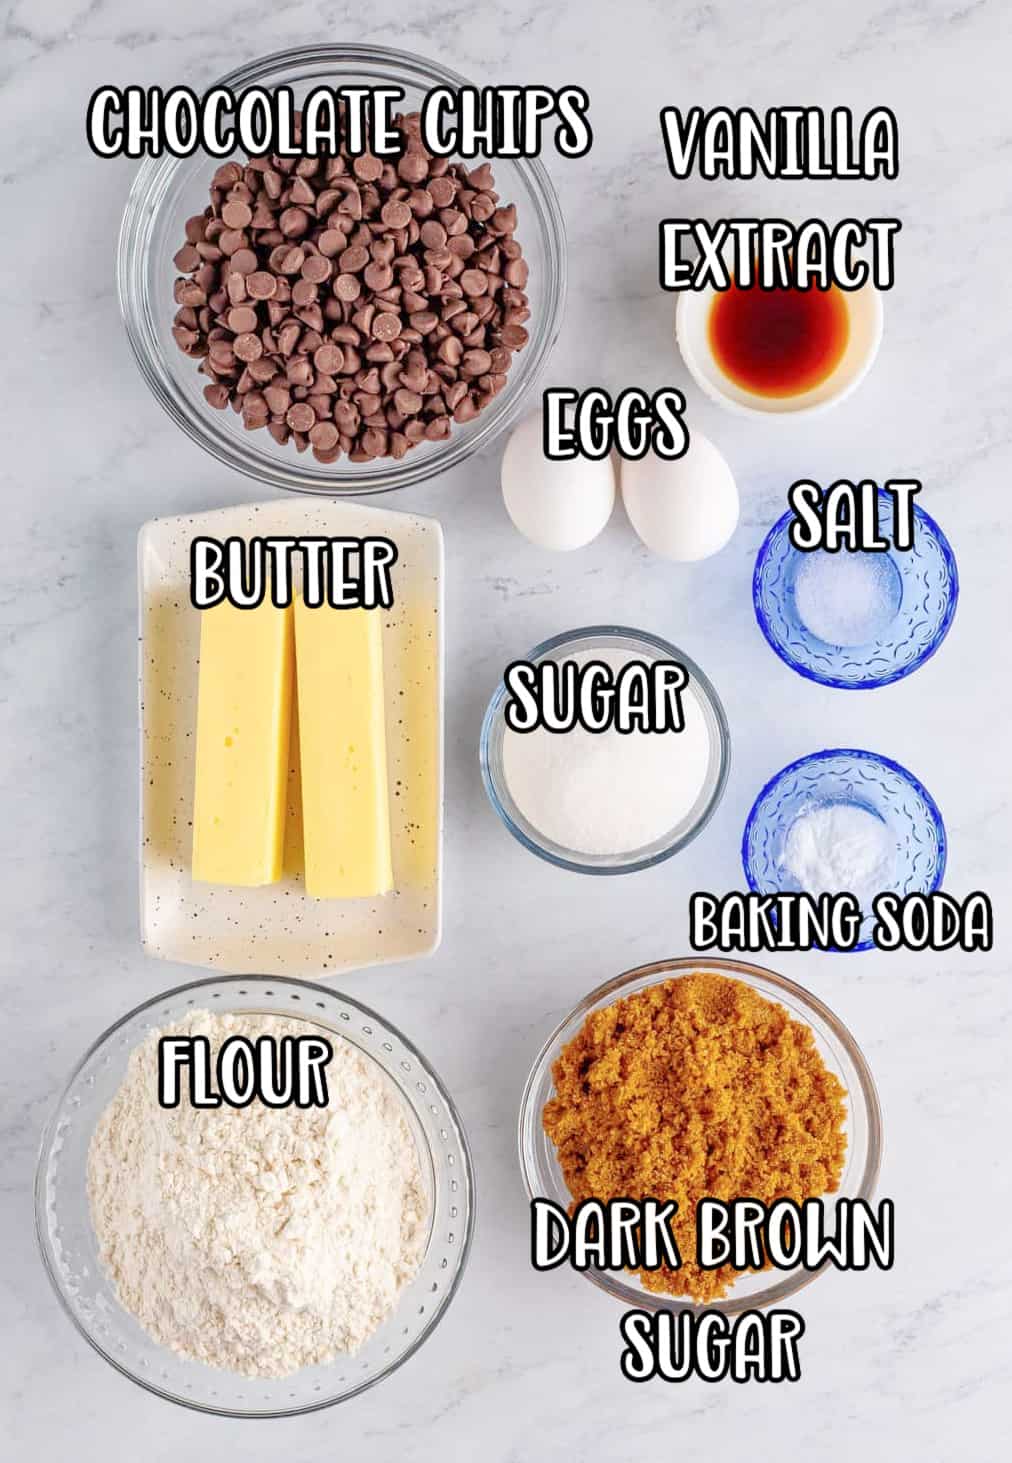
INGREDIENTS NEEDED: (SEE RECIPE CARD BELOW FOR THE FULL RECIPE)
- all-purpose flour – you can use self-rising flour just remember to not add baking soda to the recipe as it is already included in the self-rising flour.
- baking soda – the reason why many baked goods do not turn out properly is because old or expired baking soda is used. Double check your baking soda to make sure it is fresh and active.
- dark brown sugar – light brown sugar can be used but I found the dark brown sugar made these taste more like the Mrs. Fields cookies.
- granulated sugar – I have not tried this with a sugar substitute but I’m sure it could be used.
- salted butter – it needs to be cold and it needs to be real butter. The coldness of the butter really matters in this recipe.
- large eggs – you can bake this recipe with cold eggs. I know most baked goods call for room temperature eggs but in this case, the cold eggs are fine because as soon as they mix with the cold butter, they will get cool again anyways.
- semi-sweet chocolate chips – you could use any flavor of chocolate chips you enjoy. I know a lot of people love dark chocolate so you can definitely use that in this recipe or a combination of a few.
HOW TO MAKE MRS. FIELDS CHOCOLATE CHIP COOKIES
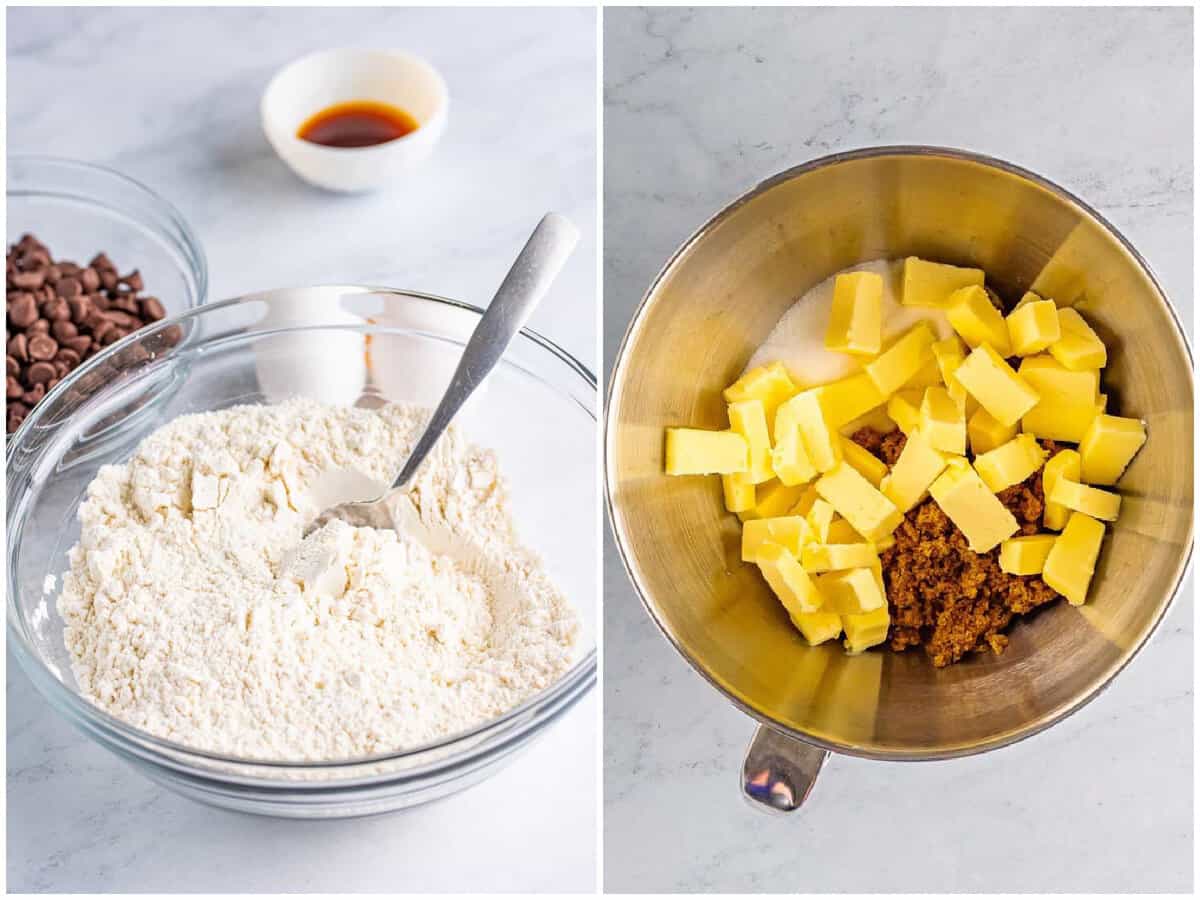
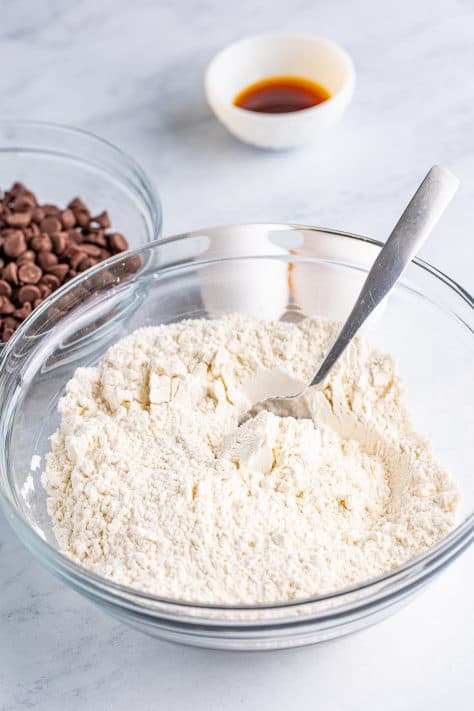
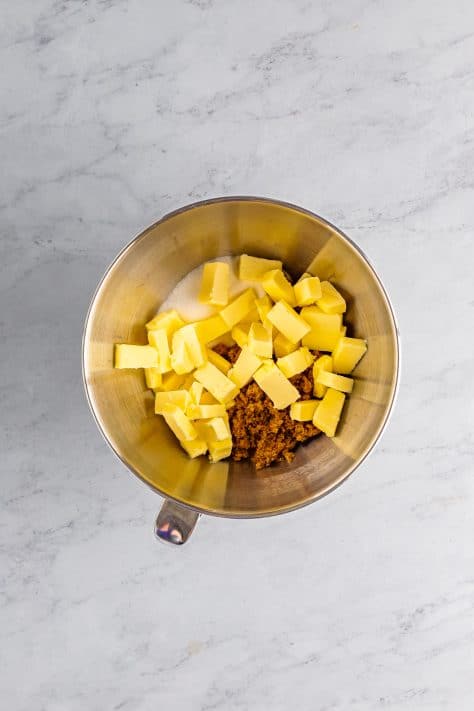
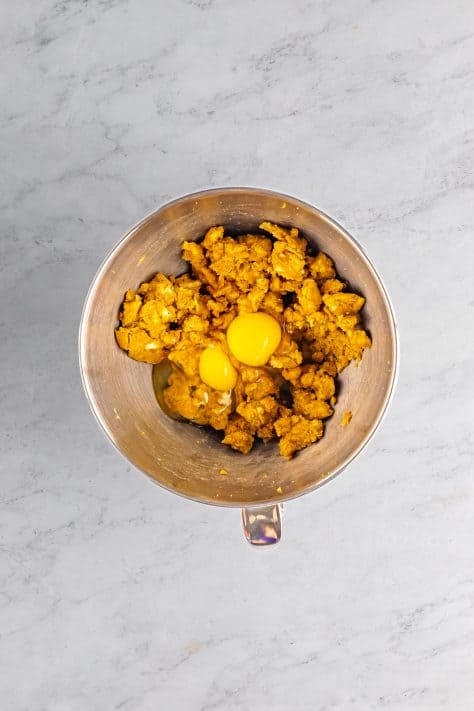
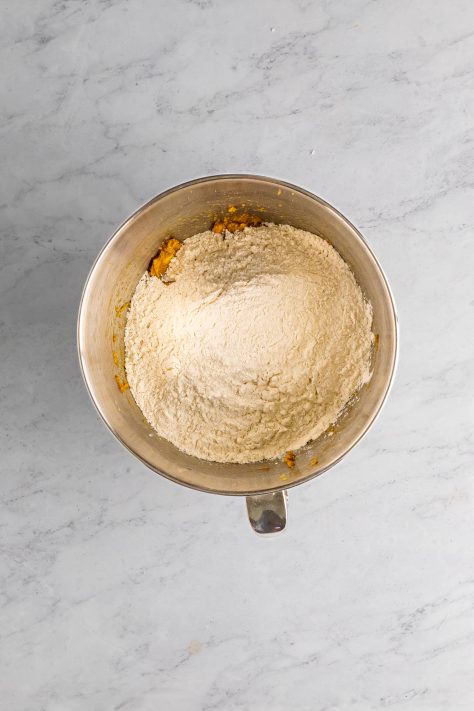
Prepare two baking sheets by lining them with parchment paper, then set them aside. In a bowl, combine the flour, baking soda, and salt. Set this aside. In the bowl of a stand mixer with the paddle attachment or in a large bowl with an electric hand mixer, add the brown sugar, white sugar, and cubed butter. Mix until the ingredients are just combined (it should be almost like a sandy consistency with lumps).
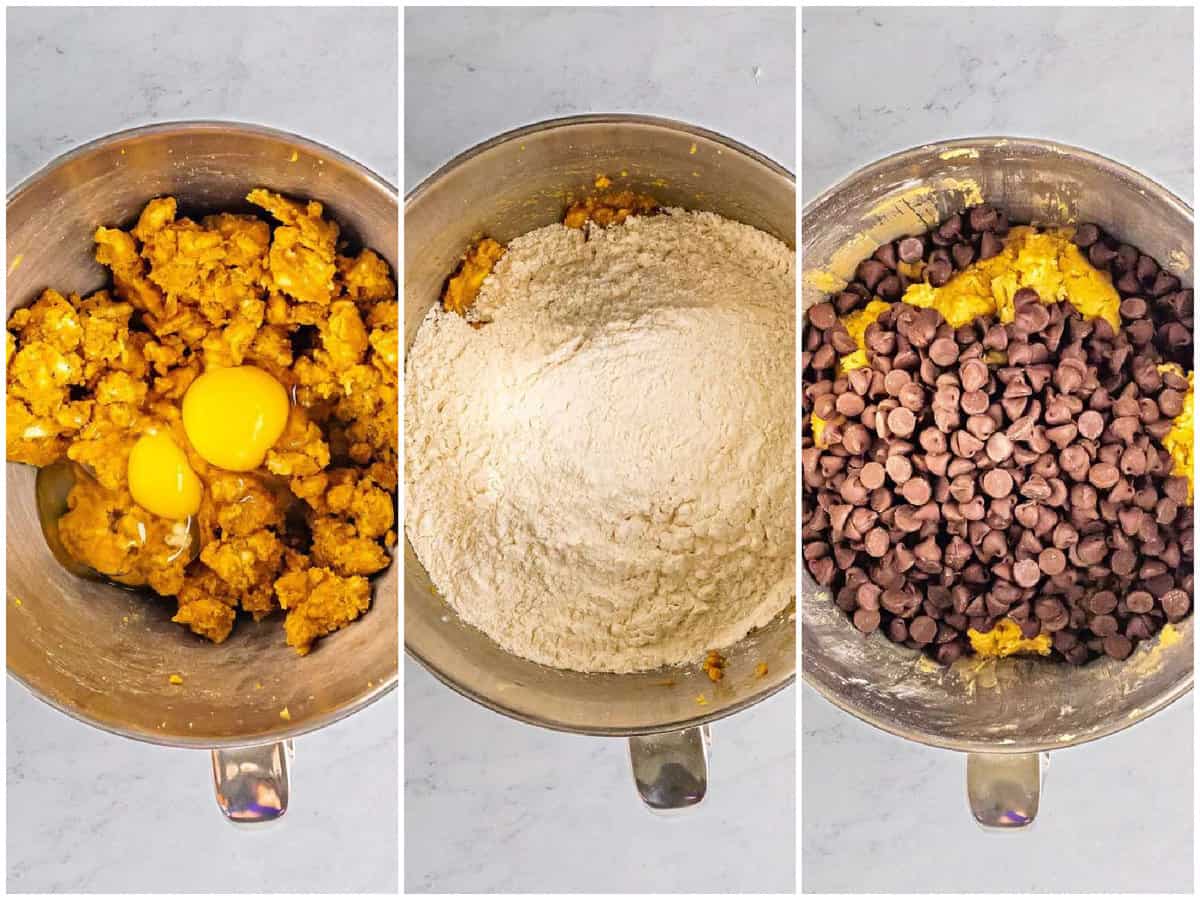
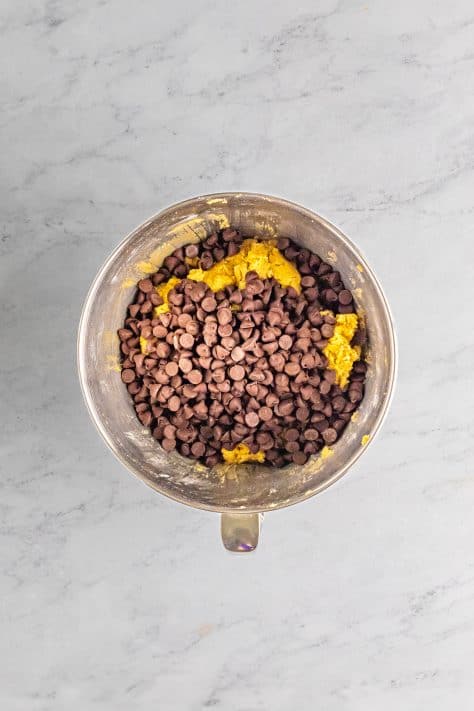
Next, add the eggs and vanilla extract to the mixture, and mix until everything is well combined. Add the flour mixture to the bowl and mix until there are no streaks of flour remaining. Mix on low or else the flour will fly everywhere. Be careful not to over-mix, and remember to scrape the sides of the bowl if needed. Gently stir in the chocolate chips until they are evenly distributed throughout the dough.
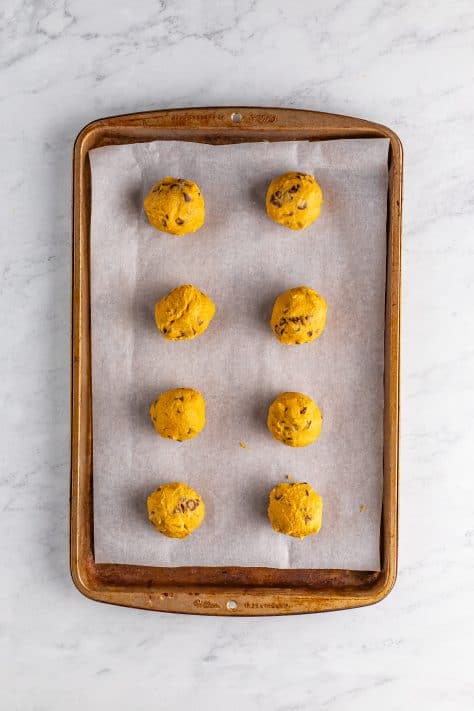
Take about ¼ cup portions of the dough (I use a spring loaded cookie scoop to help with this) and roll them between your hands to form balls. Place the dough balls about 3 inches apart on the prepared baking sheets. Note: if you don’t have enough room in your refrigerator for a couple of sheet trays, just put all the cookie dough balls on one baking sheet and then once they’ve chilled, distribute them evenly on your other prepared baking sheets.
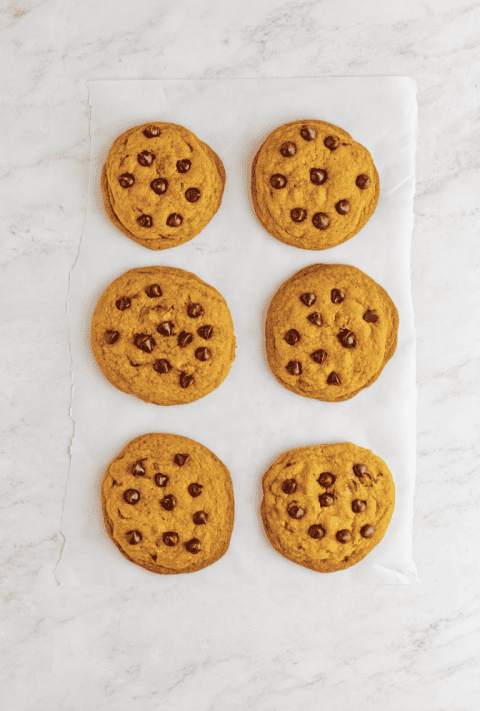
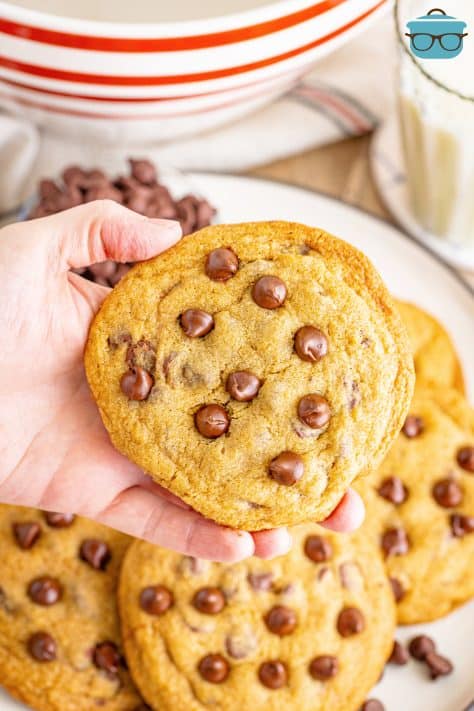
Put the cookie dough balls into the refrigerator and let them chill for 30 minutes. While the dough is chilling, preheat the oven to 300°F. Once the dough has chilled, take the sheet trays out of the refrigerator and bake for 22-25 minutes until the cookies are puffed and the edges start to turn golden brown. As soon as the cookies are done baking, transfer them from the sheet trays to the countertop. You can use the parchment paper to help slide them off the tray. This next step is optional. If you want to really “fancy up” your cookies (as shown in the pictures) you can press additional chocolate chips on top of each one while they are still warm.

Allow the cookies to cool slightly before serving. They are definitely wonderful served slightly warm but let them cool completely before storing.
CRAVING MORE RECIPES?
Mrs. Fields Chocolate Chip Cookies
Ingredients
- 2 ½ cups all-purpose flour
- ½ teaspoon baking soda
- ¼ teaspoon salt
- 1 cup dark brown sugar packed
- ½ cup granulated sugar
- 1 cup salted butter cold and small cubed
- 2 large eggs
- 2 teaspoons vanilla extract
- 2 cups semi-sweet chocolate chips plus more for garnish
Instructions
- Prepare two baking sheets by lining them with parchment paper, then set them aside.
- In a bowl, combine the flour, baking soda, and salt. Set this aside.

- In the bowl of a stand mixer with the paddle attachment or in a large bowl with an electric hand mixer, add the brown sugar, white sugar, and cubed butter. Mix until the ingredients are just combined (it should be almost like a sandy consistency with lumps).
- Next, add the eggs and vanilla extract to the mixture, and mix until everything is well combined.
- Add the flour mixture to the bowl and mix until there are no streaks of flour remaining. Mix on low or else the flour will fly everywhere. Be careful not to overmix, and remember to scrape the sides of the bowl if needed.
- Gently stir in the chocolate chips until they are evenly distributed throughout the dough.
- Take about ¼ cup portions of the dough (I use a spring loaded cookie scoop to help with this) and roll them between your hands to form balls. Place the dough balls about 3 inches apart on the prepared baking sheets. Note: if you don’t have enough room in your refrigerator for a couple of sheet trays, just put all the cookie dough balls on one baking sheet and then once they’ve chilled, distribute them evenly on your other prepared baking sheets.
- Put the cookie dough balls into the refrigerator and let them chill for 30 minutes. While the dough is chilling, preheat the oven to 300°F.
- Once the dough has chilled, take the sheet trays out of the refrigerator and bake for 22-25 minutes until the cookies are puffed and the edges start to turn golden brown.
- As soon as the cookies are done baking, transfer them from the sheet trays to the countertop. You can use the parchment paper to help slide them off the tray.
- This next step is optional. If you want to really “fancy up” your cookies (as shown in the pictures) you can press additional chocolate chips on top of each one while they are still warm.

- Allow the cookies to cool slightly before serving. They are definitely wonderful served slightly warm but let them cool completely before storing.
Notes
- Please refer to my FAQ’s (Frequently Asked Questions) and ingredient list above for other substitutions or for the answers to the most common questions.
- To cool the cookies faster, immediately transferring them to a cool countertop.
- The cold butter really helps the cookies rise so make sure it stays cold if you can.
- If planning to store these, I suggest popping them in the fridge for about 15-30 minutes after they have cooled completely so the chocolate chips don’t get squished on top. I also suggest storing with parchment paper in between layers.
- Keep leftover cookies at room temp in an airtight container for up to 5 days or you can freeze in a freezer-safe container with layers of parchment or wax paper for up to 3 months.
Nutrition
Nutritional Disclaimer
“The Country Cook” is not a dietician or nutritionist, and any nutritional information shared is an estimate. If calorie count and other nutritional values are important to you, we recommend running the ingredients through whichever online nutritional calculator you prefer. Calories and other nutritional values can vary quite a bit depending on which brands were used.


