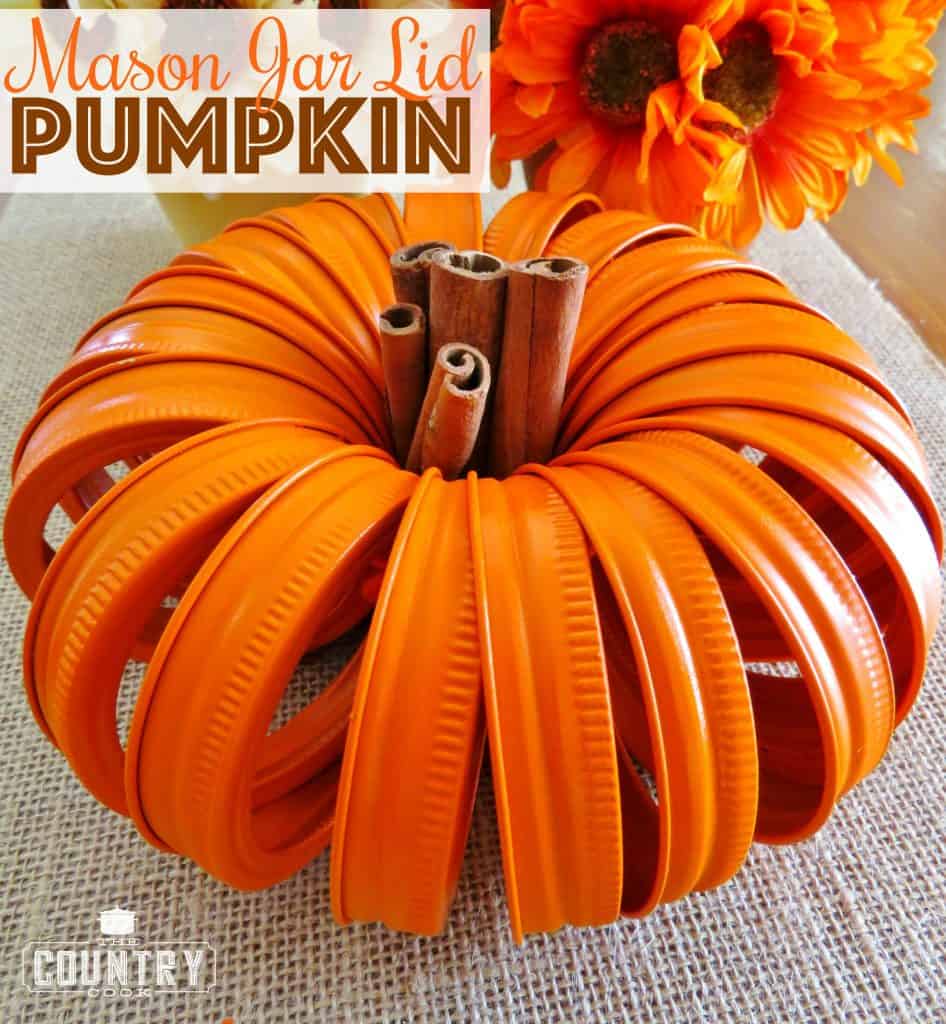
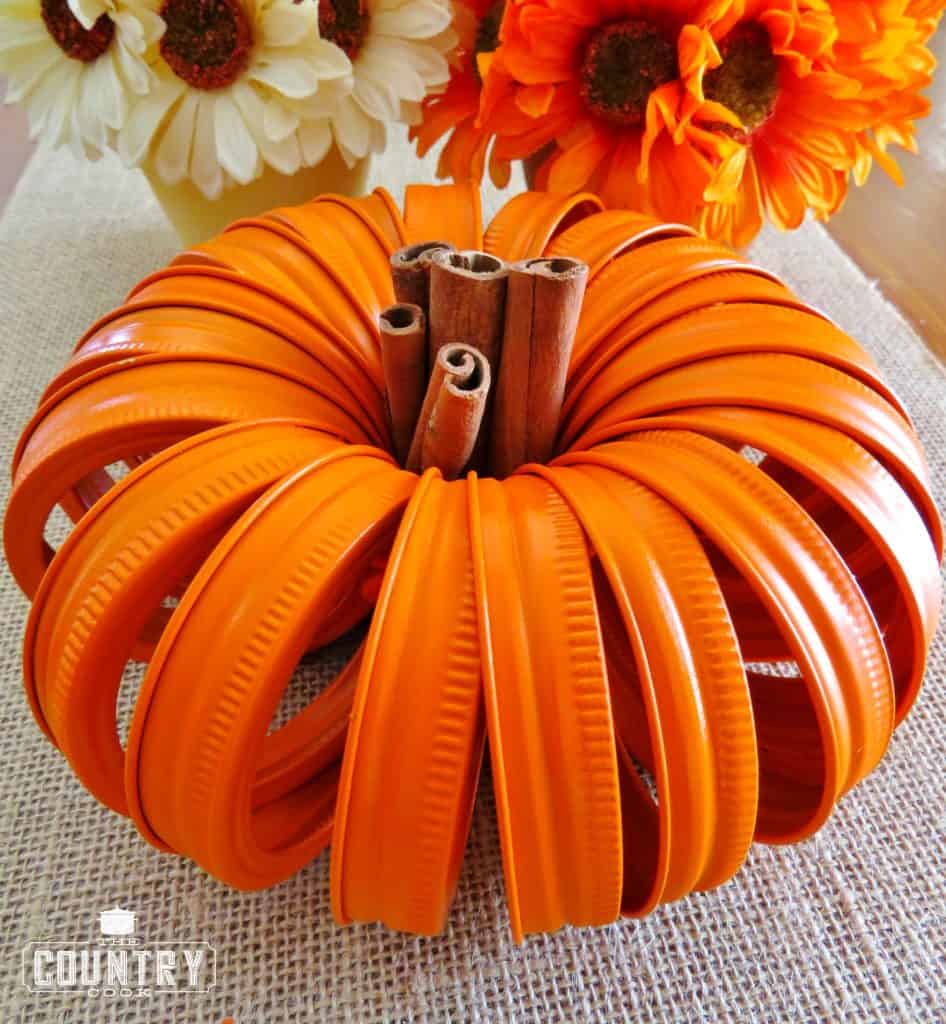
Mason Jar Lid Pumpkins
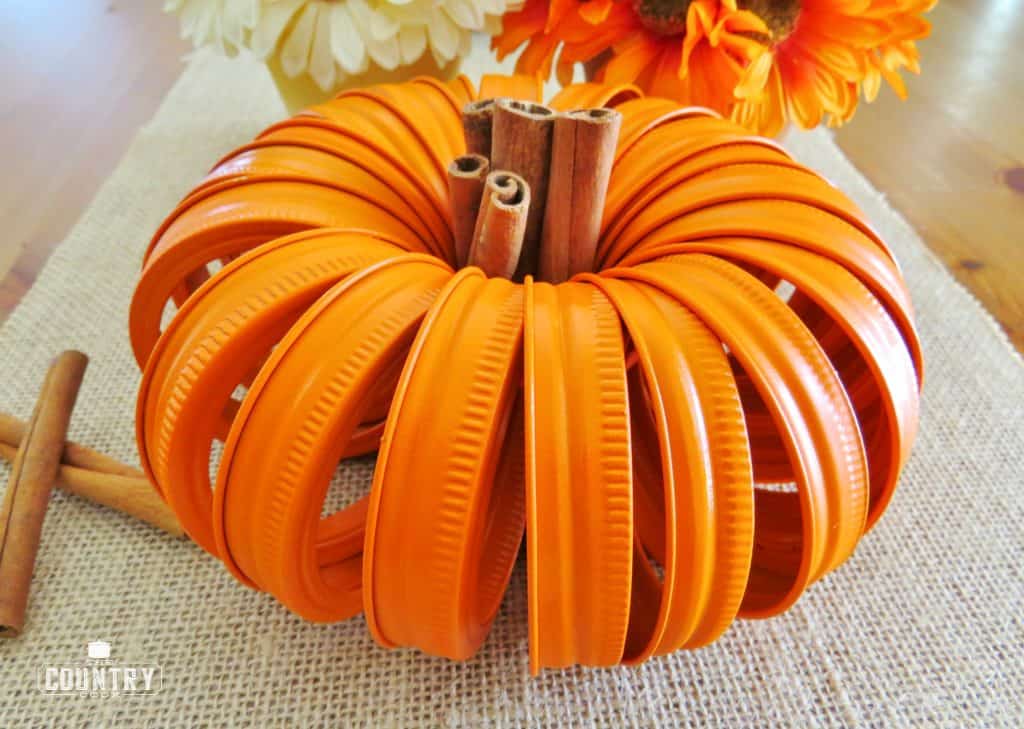
Mason Jar Lid Pumpkins with Cinnamon Stick stem makes the cutest fall centerpiece. It is easy to make and you only need lids and spray paint!
MASON JAR LID PUMPKINS TUTORIAL
This craft is probably one of my favorites. I have made many of these over the years and each year, as I decorate for fall, I love bringing them out and freshening them up with new cinnamon sticks.
A FUN FALL CRAFT
Mason jar lids are inexpensive so this is an affordable craft. Or, if you can find some old lids that you already having laying around – even better. You can sometimes pick them up in bulk at thrift stores.
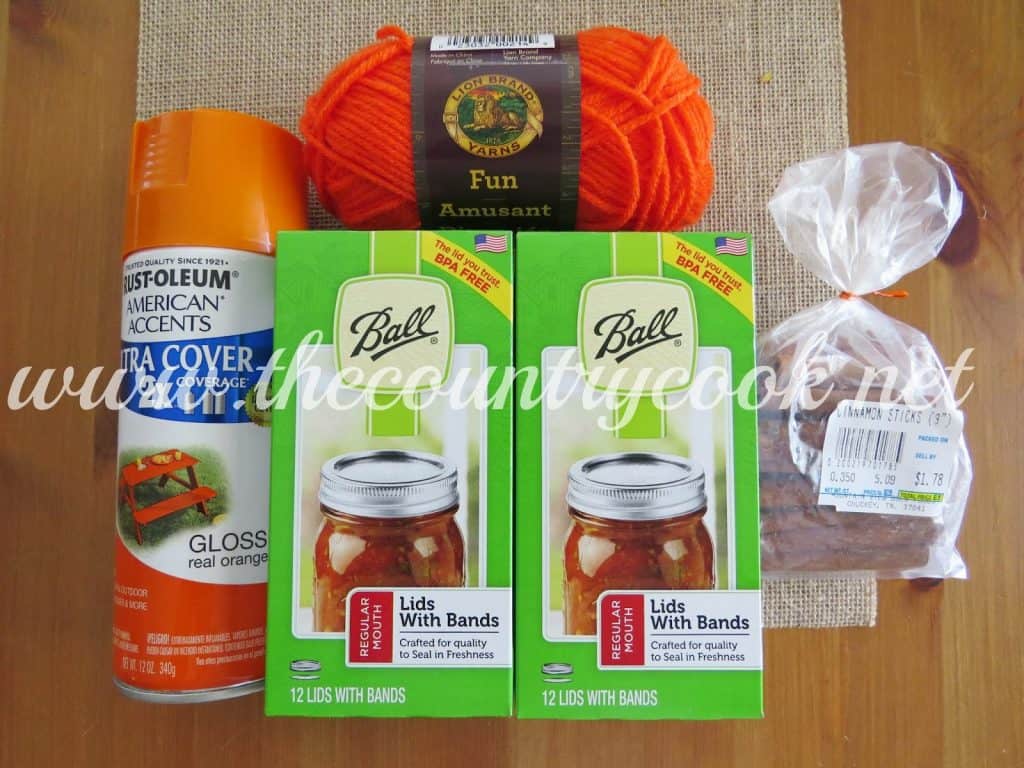
ITEMS NEEDED:
- mason jar lid bands
- orange spray paint
- orange yarn
- cinnamon sticks
HOW TO MAKE MASON JAR LID PUMPKINS:
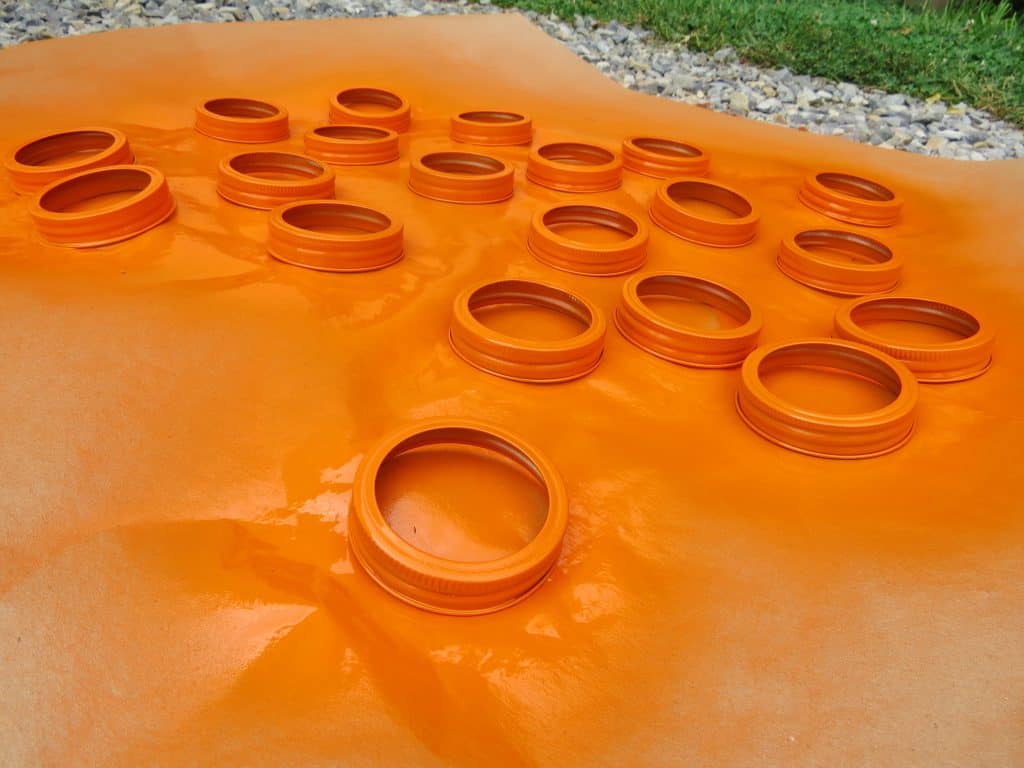
Lay out some newspaper or craft paper in a well-ventilated area. I did this outside, which really offers the best ventilation, and on a day that is not windy or rainy (obviously). Lay out all your mason jar bands onto the paper, making sure several inches separate them. Note: if you are sensitive or have respiratory issues, I also recommend wearing a protective mask while spray painting.
Spray paint the bands well with orange spray paint. I spray painted one side first, allowed to dry for a few hours, then I flipped them over and sprayed the other side. Make sure you are spraying the sides well too. Allow lids to dry completely overnight.
Once lids are completely dry, it’s time to tie them all together. First, make sure all your mason jar bands are facing the same direction. In the picture below, you’ll see the groove part of the bands are all facing one way. *This really is important to get this pumpkin to fan out nicely.*
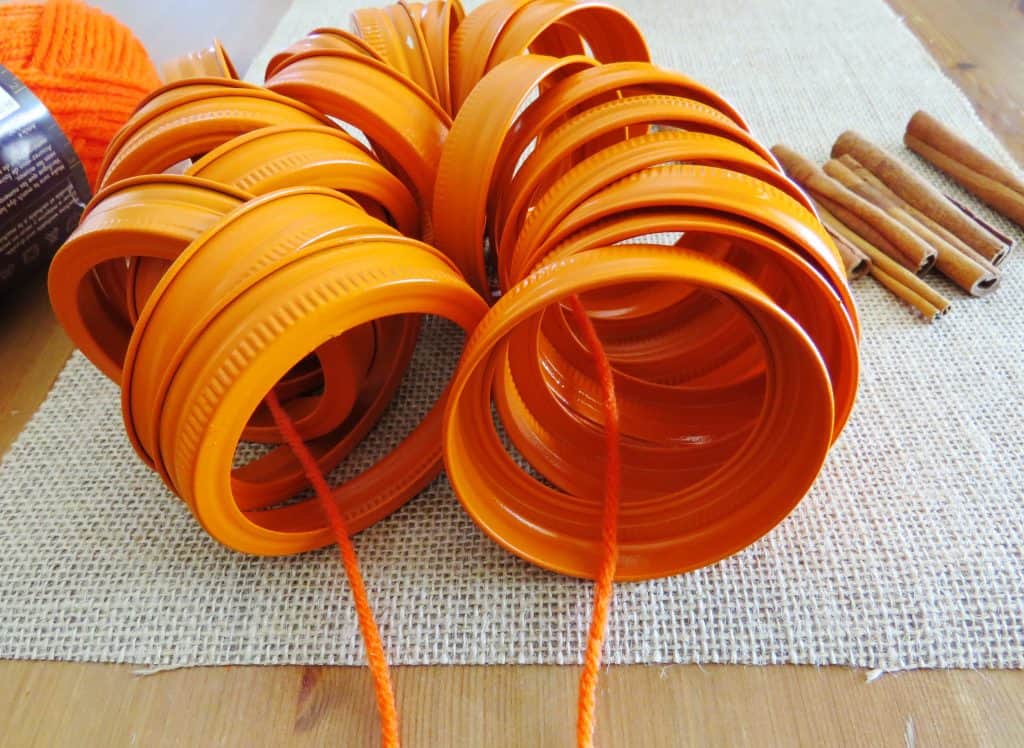
Wrap a piece of orange yarn through the bands. Then pull as tight as you can. You want a really nice, taught string. It may help if you have someone helping you on this part. My son put his finger on the string to keep it in place so I could tie a tight knot. *This is another important detail to ensure this pumpkin shapes up properly when fanning out the lids. *Cut off any excess string.

Once you have it tied, it should just be a matter of gently separating the lids so they are spaced evenly.
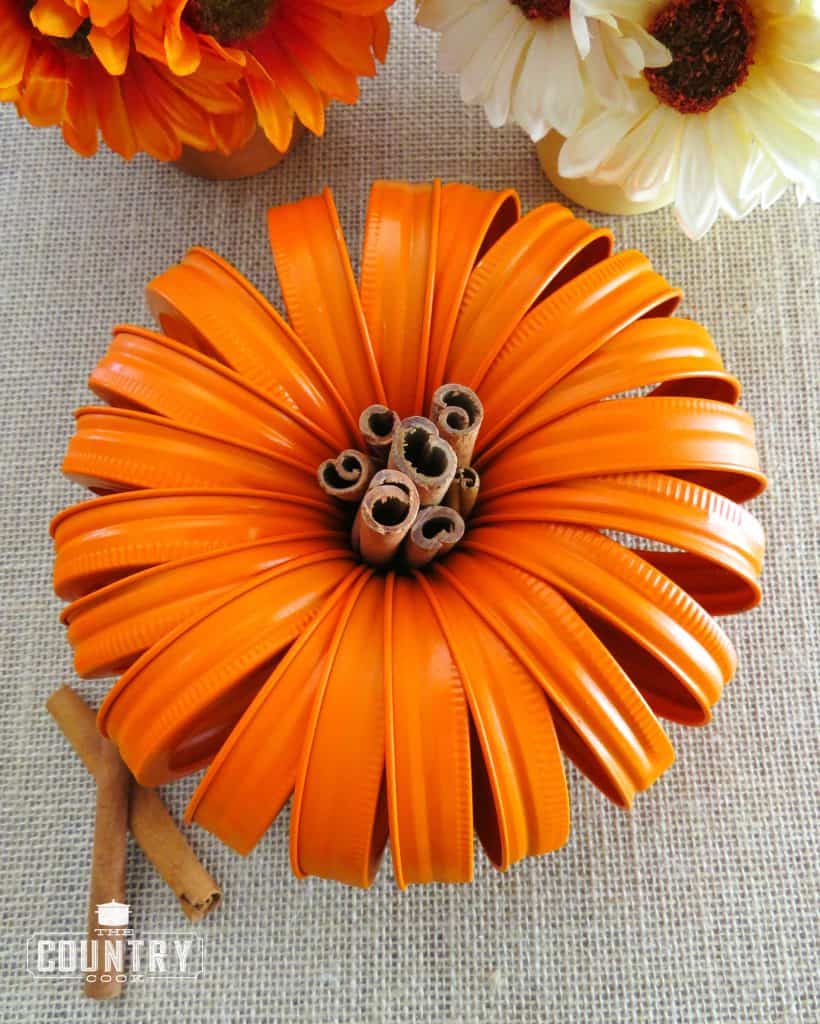
Pop a few cinnamon sticks in the middle to be the pumpkin stem and you are done! It may take 5 or 6 cinnamon sticks per pumpkin you make. It just depends on how wide the sticks are.
Mason Jar Lid Pumpkins
Ingredients
- 20 mason jar bands
- 1 can orange spray paint
- orange yarn
- 4-5 (4-inch) cinnamon sticks
Instructions
- Lay out some newspaper or craft paper in a well-ventilated area.
- I did this outside, which really offers the best ventilation, and on a day that is not windy or rainy (obviously).
- Lay out all your mason jar bands onto the paper, making sure several inches separate them.
- Note: if you are sensitive or have respiratory issues, I also recommend wearing a protective mask before spray painting.
- Spray paint the bands well with orange spray paint.
- I spray painted one side first, allowed to dry for a few hours, then I flipped them over and sprayed the other side. Make sure you are spraying the sides well too.
- Allow lids to dry completely overnight.
- Once lids are completely dry, it's time to tie them all together. First, make sure all your mason jar bands are facing the same direction.
- Wrap a piece of orange yarn through the bands then pull tight and tie a double knot.
- Cut off any excess string.
- Once you have it tied, it should just be a matter of gently separating the lids so they are spaced evenly.
- Pop a few cinnamon sticks in the middle to be the pumpkin stem and you are done!


What size lid did you use
It’s in the supply picture above if it helps you to see the exact kind I used 🙂
love these, tho i really have trouble tying it together.. my hands aren’t strong enough…
Aww Noni, I am so sorry to hear you have trouble tying things together. Do you think pipe cleaners might be easier for you or is that still a bit too much?
A zip tie might work too!
Très joli et pas cher du tout.