Easy Yeast Roll Biscuits
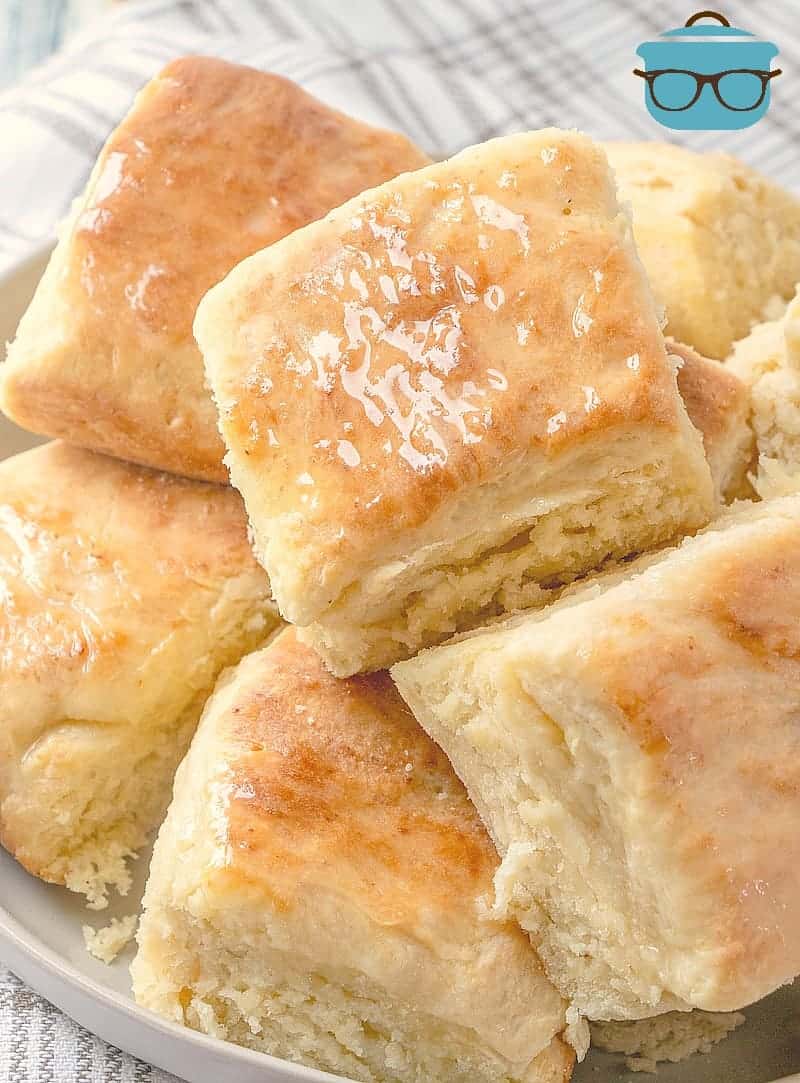
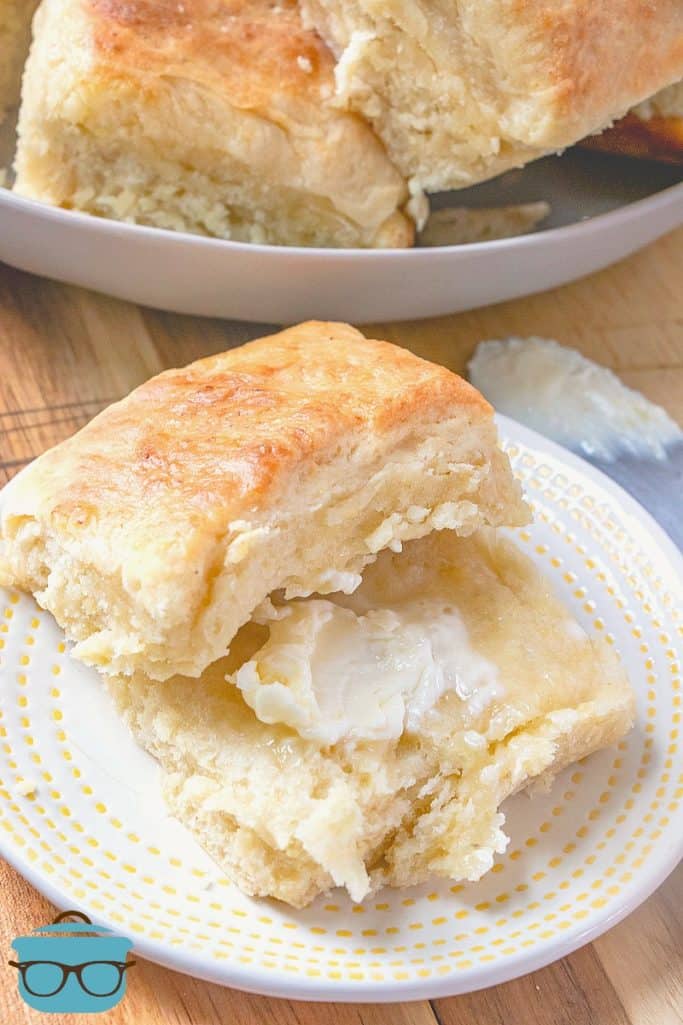
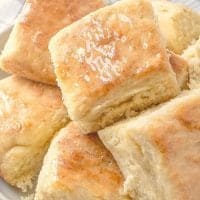
These homemade Yeast Roll Biscuits are so easy and are a combination of a roll and a biscuit. So simple to make and they come out so tender!
A COMBINATION OF A ROLL AND A BISCUIT
I just need a moment to describe these rolls I’m about to share with you. They really are one of the easiest homemade rolls I have to made and they taste amazing. If you are scared of yeast, if you’ve never tried to make rolls or maybe you had a disastrous experience in the past, then you need to try to make these.
TIPS FOR MAKING HOMEMADE BISCUIT YEAST ROLLS:
- The main tip when working with any kind of yeast is to make sure it is fresh. Most fast acting yeast is sold in little packets to help keep it fresh. Take a look at the expiration date on the packet and make sure it is still good.
- When measuring flour – don’t pack it into the measuring cup. Dip the measuring cup into the flour and shake. Then, with the flat end of a knife, scoop off excess. This will help ensure that you aren’t packing in too much flour.
- In this recipe, I am using salted butter along with a pinch of salt. It’s not a typo – it’s needed for this particular recipe. However, for this recipe, I have made it with margarine instead of butter and it still came out wonderful. Margarine tends to have more salt then salted butter so leave out the additional salt if you use margarine.
- This particular recipe is actually very forgiving. I only like easy recipes when it comes to bread making. Your natural urge will be to keep mixing and mixing to make it all blend. But trust me, it’s not needed here. Just follow my directions exactly, and they will turn out great!
- Try serving these with some Texas Roadhouse Cinnamon Honey Butter. You won’t be disappointed!

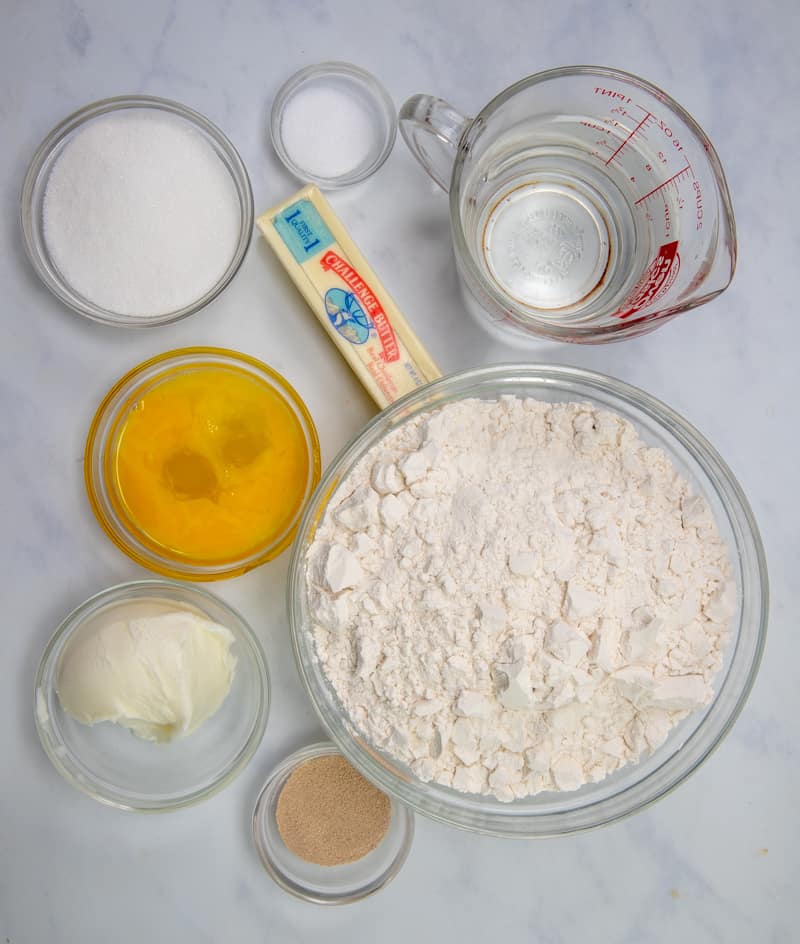
INGREDIENTS NEEDED: (SEE RECIPE CARD BELOW FOR THE FULL RECIPE)
- vegetable shortening (Crisco)
- sugar
- salt
- fast acting yeast (sometimes called instant yeast)
- all-purpose flour
- eggs
- salted butter or margarine
- warm water
HOW TO MAKE EASY HOMEMADE YEAST ROLLS:
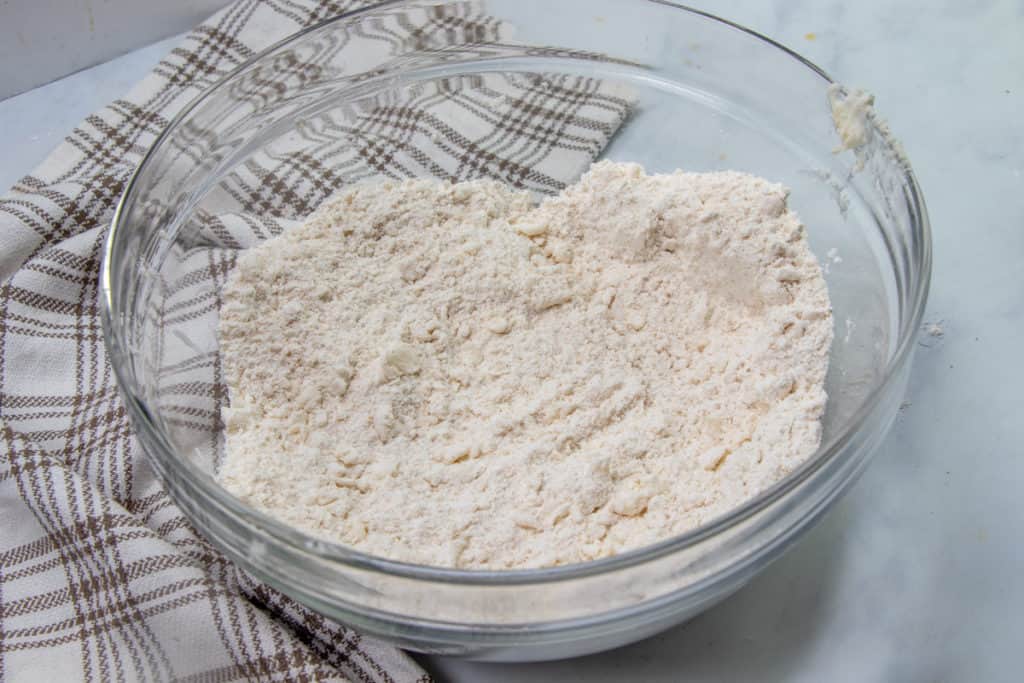
Place sugar, salt, 2 cups of flour, and yeast in a large mixing bowl. Cut in shortening with a long tined fork or pastry cutter.
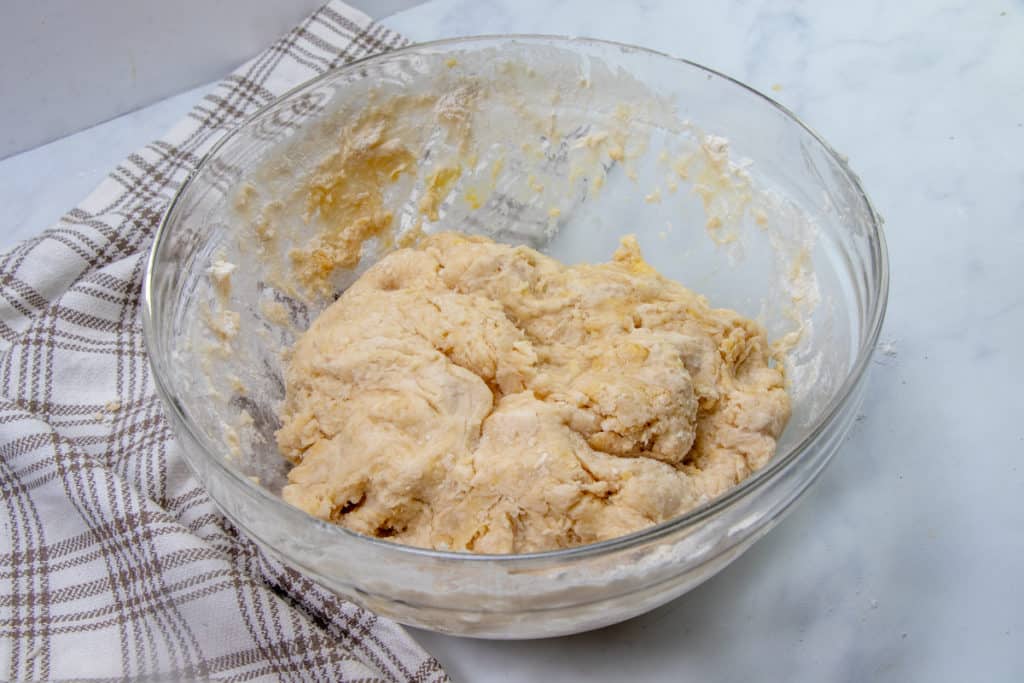
Add eggs, beating lightly with fork before stirring them in. Add remaining flour, melted butter, and water. Stir together well.

Mixture will look like a big old lumpy blob. And when I say lumpy blob, I really mean lumpy blob. Cover with a dish towel and let sit in a warm place for twenty minutes. To help with rising, I will heat my oven to 125F degrees. Once it reaches that temperature, I turn it off and then put the covered bowl (oven proof, of course) into the oven to let it rise.
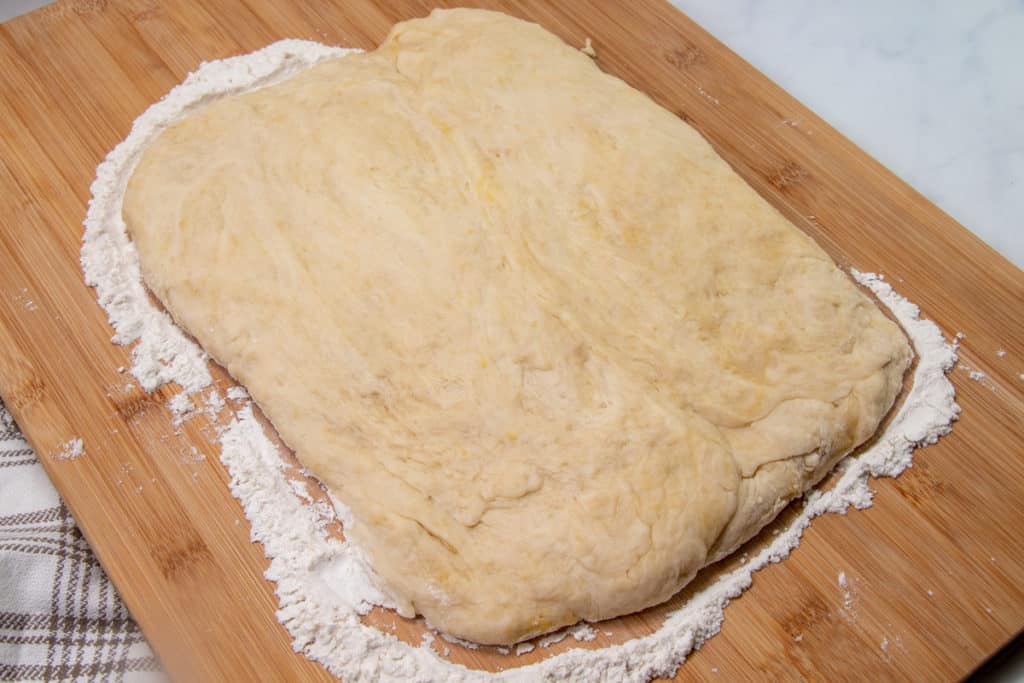
After twenty minutes, turn out onto a floured surface. Sprinkle flour over the top and knead three or four times. Pat out into a square that is about 3/4 inch thick. .
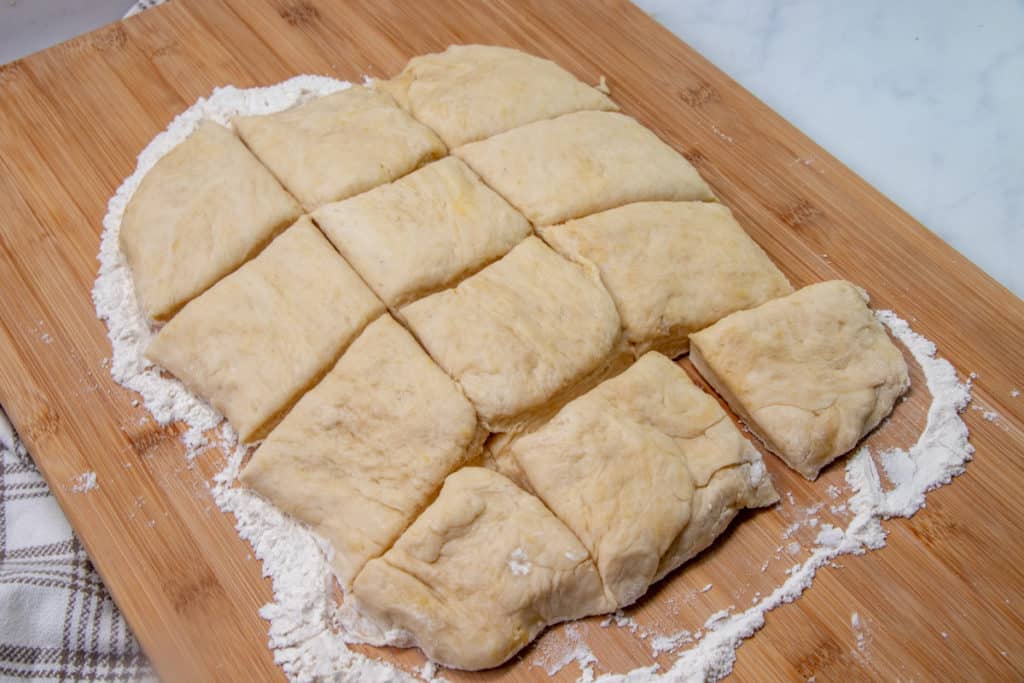
Cut into squares with a pizza cutter
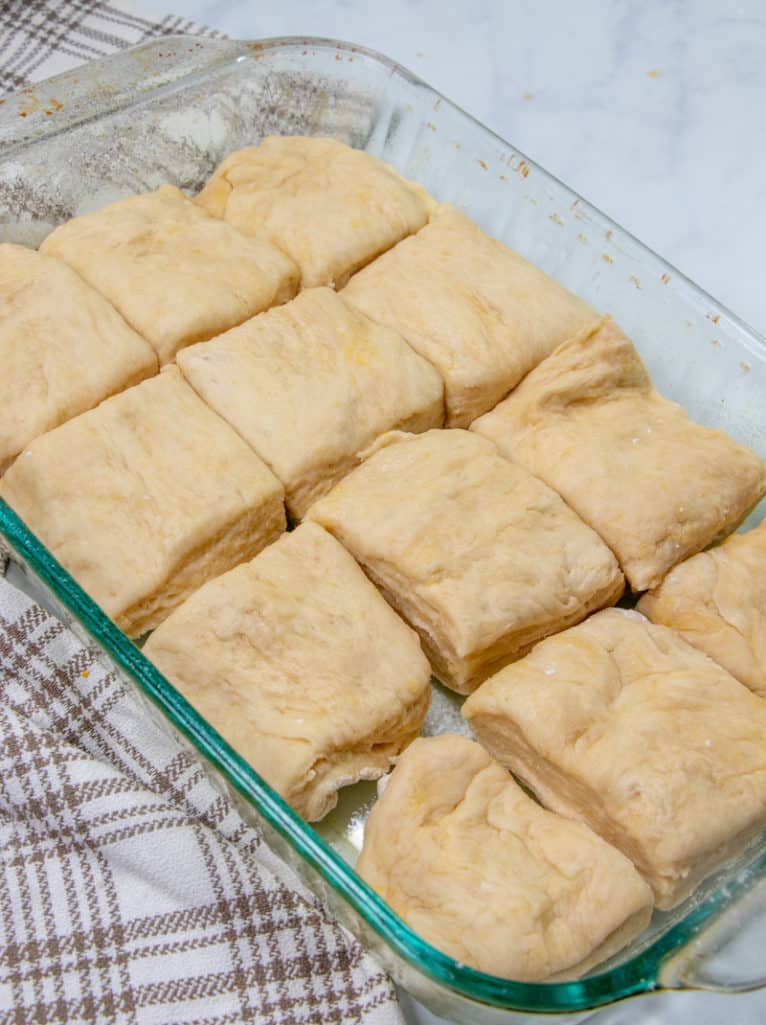
Place in greased 9″×13″ pan and cover with towel. Let rise another twenty minutes. Once again, like the first rising, I pop it back in the oven to rise.
Take the pan out of the oven after it has risen and then preheat the oven to 350F degrees. Bake at 350F for about 25 minutes, or until tops are golden. Brush hot rolls with additional melted butter.
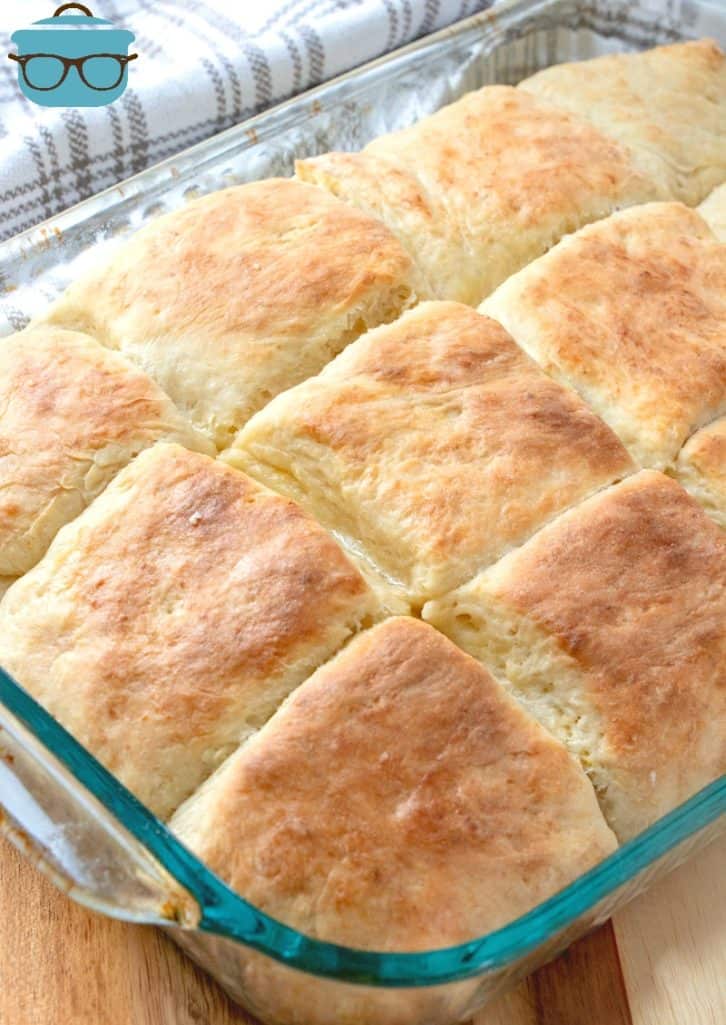
Just look at the inside of these rolls! So soft and fluffy. And they are so good warm, right out of the oven! Serve with butter, honey and some jam!
CRAVING MORE RECIPES?
- Dinner Rolls
- Potato Rolls
- Homemade White Bread
- Butter Swim Yeast Rolls
- Homemade Crescent Rolls
- Southern Buttermilk Biscuits
- Honey Wheat Rolls
- Hot Cross Buns
- Homemade Whipped Butter
Originally published: February 2011
Updated photos & republished: March 2020
Easy Yeast Roll Biscuits
Ingredients
- ½ cup solid vegetable shortening (Crisco)
- ½ cup sugar
- 1 ½ teaspoons salt
- 2 packets fast acting yeast
- 5 cups all purpose flour, divided use
- 2 large eggs
- ½ cup salted butter (1 stick), melted (plus more for brushing baked rolls with)
- 1 ½ cups very warm water
Instructions
- Place sugar, salt, 2 cups of flour, and yeast in a large mixing bowl.
- Cut in shortening with a long tined fork or pastry cutter.
- Add eggs, beating lightly with fork before stirring them in.
- Add remaining flour, melted butter, and water.
- Stir together well. Mixture will look like a lumpy blob.
- Cover with a dish towel and let sit in a warm place for twenty minutes.
- After twenty minutes, turn dough out onto a floured surface.
- Sprinkle flour over the top and knead three or four times.
- Pat out into a square that is about 3/4 inch thick.
- Cut into squares with a pizza cutter.
- Place squares into a greased 9"×13" pan and cover with clean kitchen towel.
- Let rise in a warm place for another twenty minutes.
- Take the pan out of the oven (if you are using the oven to let the bread rise) after it has risen and then preheat the oven to 350F degrees.
- Bake at 350F for about 25 minutes, or until tops are golden. Brush rolls with melted butter.
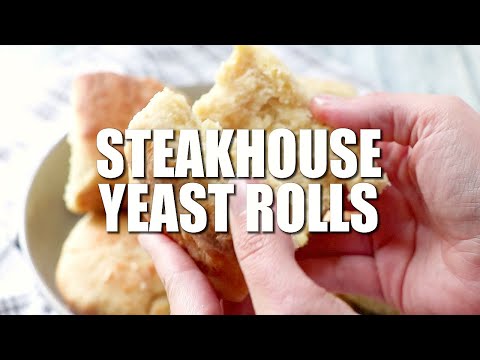
Video
Notes
- To help with rising, I will heat my oven to 125F degrees. Once it reaches that temperature, I turn it off and then put the covered bowl (oven safe, of course) into the oven to let it rise.
Nutrition
Nutritional Disclaimer
“The Country Cook” is not a dietician or nutritionist, and any nutritional information shared is an estimate. If calorie count and other nutritional values are important to you, we recommend running the ingredients through whichever online nutritional calculator you prefer. Calories and other nutritional values can vary quite a bit depending on which brands were used.


Can this recipe be doubled?
Yes. It’s recommended to make a separate pan and bake them separately as different areas of the oven run hot & it’s recommended to bake these on the middle rack
Turned out perfect! Made sandwiches with them the next day with some leftover ham we had. Hubby scarfed them down so I would say they are a winner!!
This is my go to recipe! I make the best cinnamon rolls with it!!
I made that exact thing cinnamon rolls and oh my goodness they rose up higher than the pan the dough was so easy to work with and I took your advice and I’m hooked on this recipe maybe someday I’ll make biscuits thanks for the recommendation
Very good and ridiculously easy.
can I use the yellow box crisco butter flavour or does it have to be the blue box thanks…guess which one I have but really want to make these now. lol
I always use the yellow butter flavored,
Made this recipe yesterday morning to have with sausage gravy. I am impressed, these biscuits turned out light and fluffy. I thought the dough was too wet when following the recipe exactly. I added 1.5 to 2 cups addition flour (6.5 to 7 cups total). I used active dry yeast instead of fast acting yeast so I had to make adjustments on rising times. We (wifey and I) had ham and cheese sandwiches for dinner using these biscuits as our bread…yum. And we still have enough for two more meals!
Bottom line is give this recipe a go if you are looking for good tasting light fluffy biscuit.
I had to add flour too!AND used dry yeast? What adjustments did you make to rising times? Im new to yeast! And baking!
I find it really helpful to boil a pot of water and put that in the cold oven. Gives breads the moisture and heat they need to rise. Works for all my recipes.
Nice tip!
Hello mam I was wondering if I could use Unsalted butter instead of crisco shortening for the easy yeast roll biscuits and if so have you tried it and how does it differ from the usage of shortening. also could I use whole milk instead of water for a richer tast?
Hi Mike, this is the only way I’ve ever made them so I can’t tell you how it would differ. You could certainly use butter but I’ve personally never done it since this recipe works great for me as it is. The whole milk is not necessary and doesn’t provide any more of a richer taste but you could use it. I think it’s always a good idea to make a recipe as it is stated the first time around so you get an idea of how it is supposed to taste, then fiddle around with it to see what works for you. 🙂
I substituted the Crisco with 1/2 butter & half canola oil. Tasted great!
This is my forever biscuit recipe. I made them today and they turned out just like your picture above. Thank you so much. They are delicious
So wonderful to hear Irene! Thank you so much for taking the time to come back and leave a comment!
Wow! Anytime you must work dough with your hands and turn out onto floured surface there is a certain amount of mess but I must say this is by far the easiest yeast recipe I’ve ever worked with. My biscuits turned out EXACTLY like her picture. And DELICIOUS. I mean really DELICIOUS.
Must say though… hate you for making me fatter! but loved getting there
4-8-2010
Not a Baker!! No problem with closing oven door at 175 degrees with bowl inside? Ovenproof it says.
As long as your bowl is oven proof – it should be fine. 🙂
During this trying time of self-quarantine, I decided to try this luscious sounding recipe. I can’t find any regular yeast, only the rapid rising type….why are people buying so much yeast??? Anyway, how does one adjust the recipe using the rapid-rise type? Thank you so much!
Yummo !!!! I use a heating pad for making the rolls rise. Works great.
Thanks for the recipe.
Have you tried freezing these rolls, either after baking or just prior to baking?
These look quite easy, and no need to dirty a Kitchen Aid bowl. paddle, and dough hook.
When I need to proof something, I put it in the oven with the oven light on. It keeps the rising dough out of a draft, and is also warm.
Hi,
I was wondering if you can use different flour? whole wheat ect. is all purpose the best for these 🙂
thank you!
This recipe looks like you put the dry yeast in the mixture first, and the warm water later. I've never worked with yeast except when you have to dissolve it in the warm water first. Am I understanding this recipe correctly?
Thanks, Brandie!
Sue, one stick of butter is 1/2 cup or 8 tbsp. 🙂
These rolls look yummy…. I just have one question — how much is a 'stick' of butter? 1/4 cup? 1/2 cup? I live in Canada and we don't buy our butter in 'sticks' (at least, not that I'm aware of). Thanks.
This is the same recipe I use for my cinnamon rolls… I mix cinnamon, brown sugar and margarine or butter and cover the rolled out dough with the mixture, then roll up the dough and slice into 1 inch rolls. Cover the bottom of a large cake pan with more margarine brown sugar and cinnamon then place those rolls on top of that and let rise for 1 hour.. pop em oven on 350 till browned.. remove immediately scooping as much sugar mix from bottom of pan onto the finished buns… these are delicious cinnamon buns mmmm.
Made these today to go along with some homemade turkey potato soup. Oh my word…these are wonderful. I'm glad I had to use to packets of yeast because I don't have enough to make another batch until I go to the grocery store. Thanks for the great recipe.
Awesome recipe. Thank you!
How many rolls does this recipe make? A dozen?
I have been following and making your recipes for a very long time, and I just wanted to tell you my family says thank you!
I have been following you for a very long time. And I am terribly scared of yeast my hubby bought me a bread maker, am I able to use this recipe in my bread maker?
Delicious! I’ve made these more times than I can count!
It depends on how big you cut the rolls. You can cut them smaller than I did. I usually make about 12 with this recipe. I don't sift the flour in this recipe. I have a large container that holds my flour, I just give it a good stir before measuring. But f you like to sift – then sift away. For the second rising, as long as your oven is still a bit warm, I wouldn't reheat it again. You just want it lightly warmed – not hot. The oven is good because it is draft free. If it's summer time and my house is already warm, I don't even bother heating up the oven at all. Just put your oven on a low, warm setting to heat it up gently, then turn it off. My oven's lowest setting is 175 so that's what I use. Hope that helps!
These are amazing! This is my second time making this recipe and my rolls are in the oven for the second rising right now. I cannot wait until they are done! If you are thinking about making these rolls, do it! Trust me, they are delicious! Thanks for sharing this recipe 🙂
Btw, I have tried several of your recipes and they have been hits in my home. Thank you!
Hi from Yuk Lan
would I be able to substitute at least 1 or 2 c of white flour with
King arthur white whole wheat flour; to add more nutrition without affecting the texture? Thank you
These look friggin yummy! Do you think these could be done in a breadmaker??
MommaBear, I haven't tried this one in a bread maker. I have one but I've always just made thee by hand. The dough is fairly loose and a bit sticky so I'm not sure how well it would hold up in the breadmaker. It's not your typical, stiff dough that needs a lot of kneading (if that makes sense).
These were delicious!!!! They were sweet, buttery and almost had a biscuit type flavor a little. Everyone loved them and I wasn't allowed to take the leftovers home! LOL! Now I wish I took a few because I wanted some so bad the next day. This will definitely be my go to recipe for rolls. They came out so huge I didn't know if I could fit them in the 9×13 pan, but it did and what was so funny, I didn't get to take a picture of them when they were done because I ran out the door and forgot to take a picture before everyone took them. So they were a huge hit and since I made them for an accompaniment to my daughter's birthday dinner at my mom's, it was extra special and my daughter who is 8 was just groaning at how good they are! So thank you!!!!
Have a great weekend!
Annamaria
PS: I will post my process and link back to you when I get it posted.