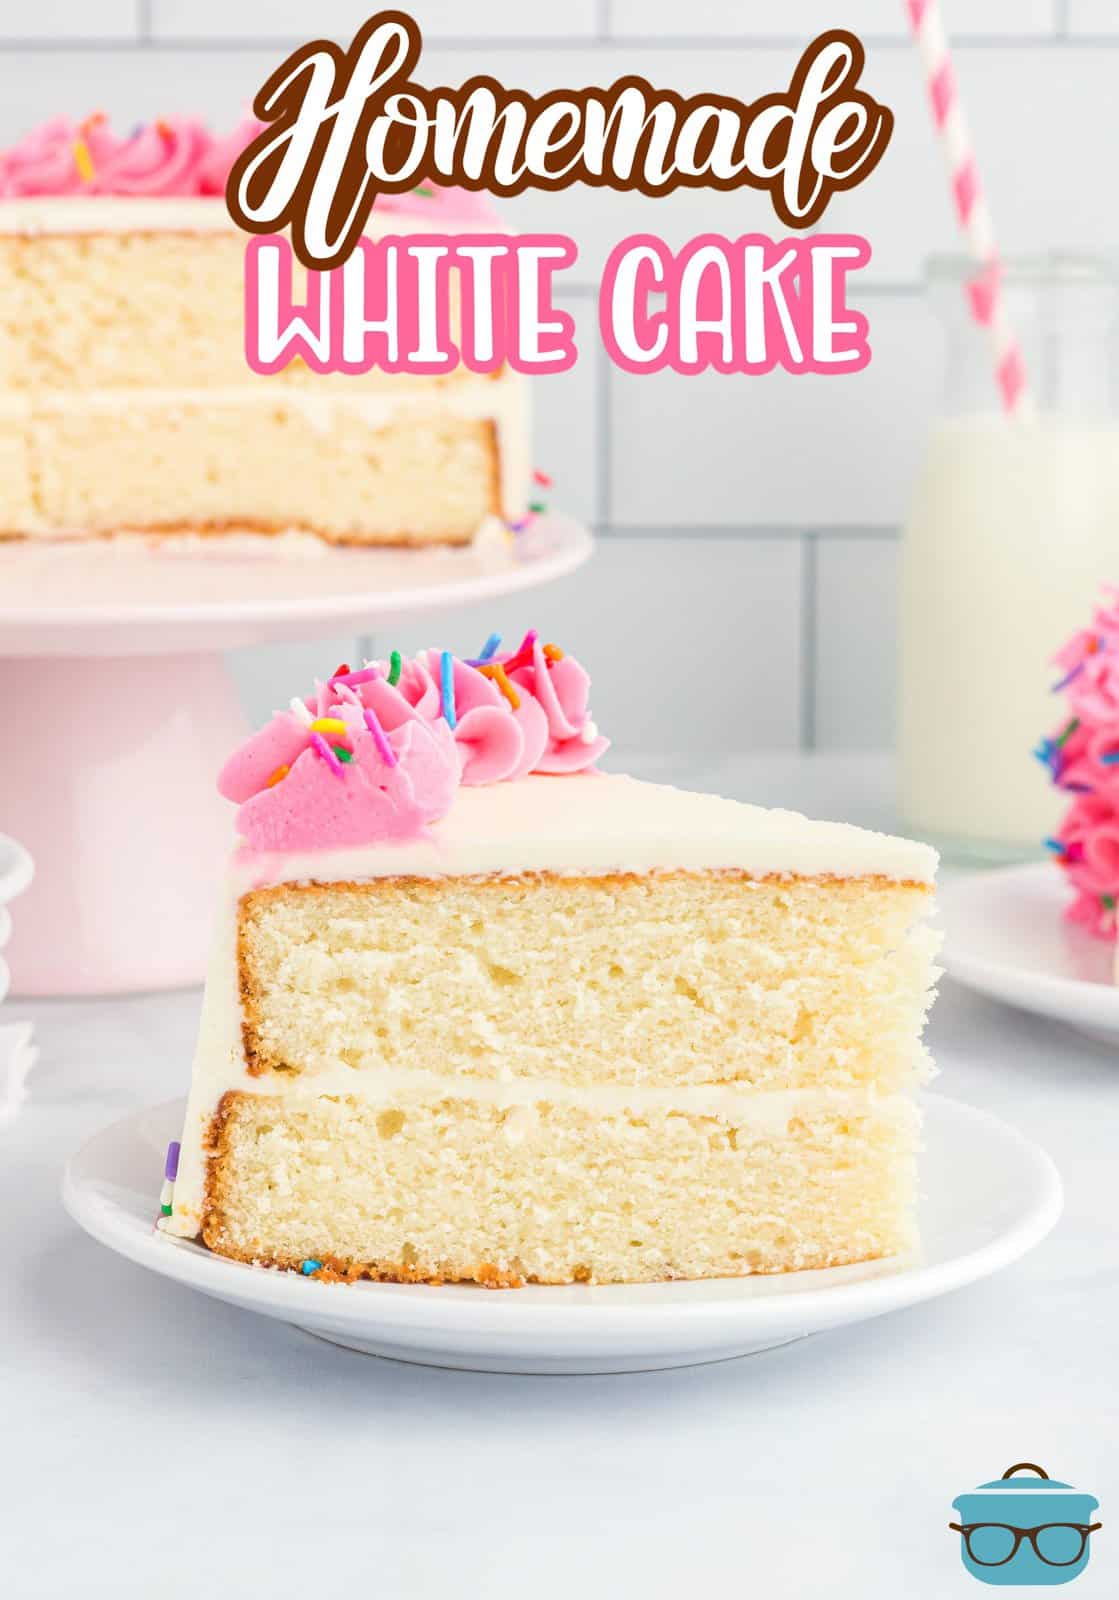
Homemade White Cake
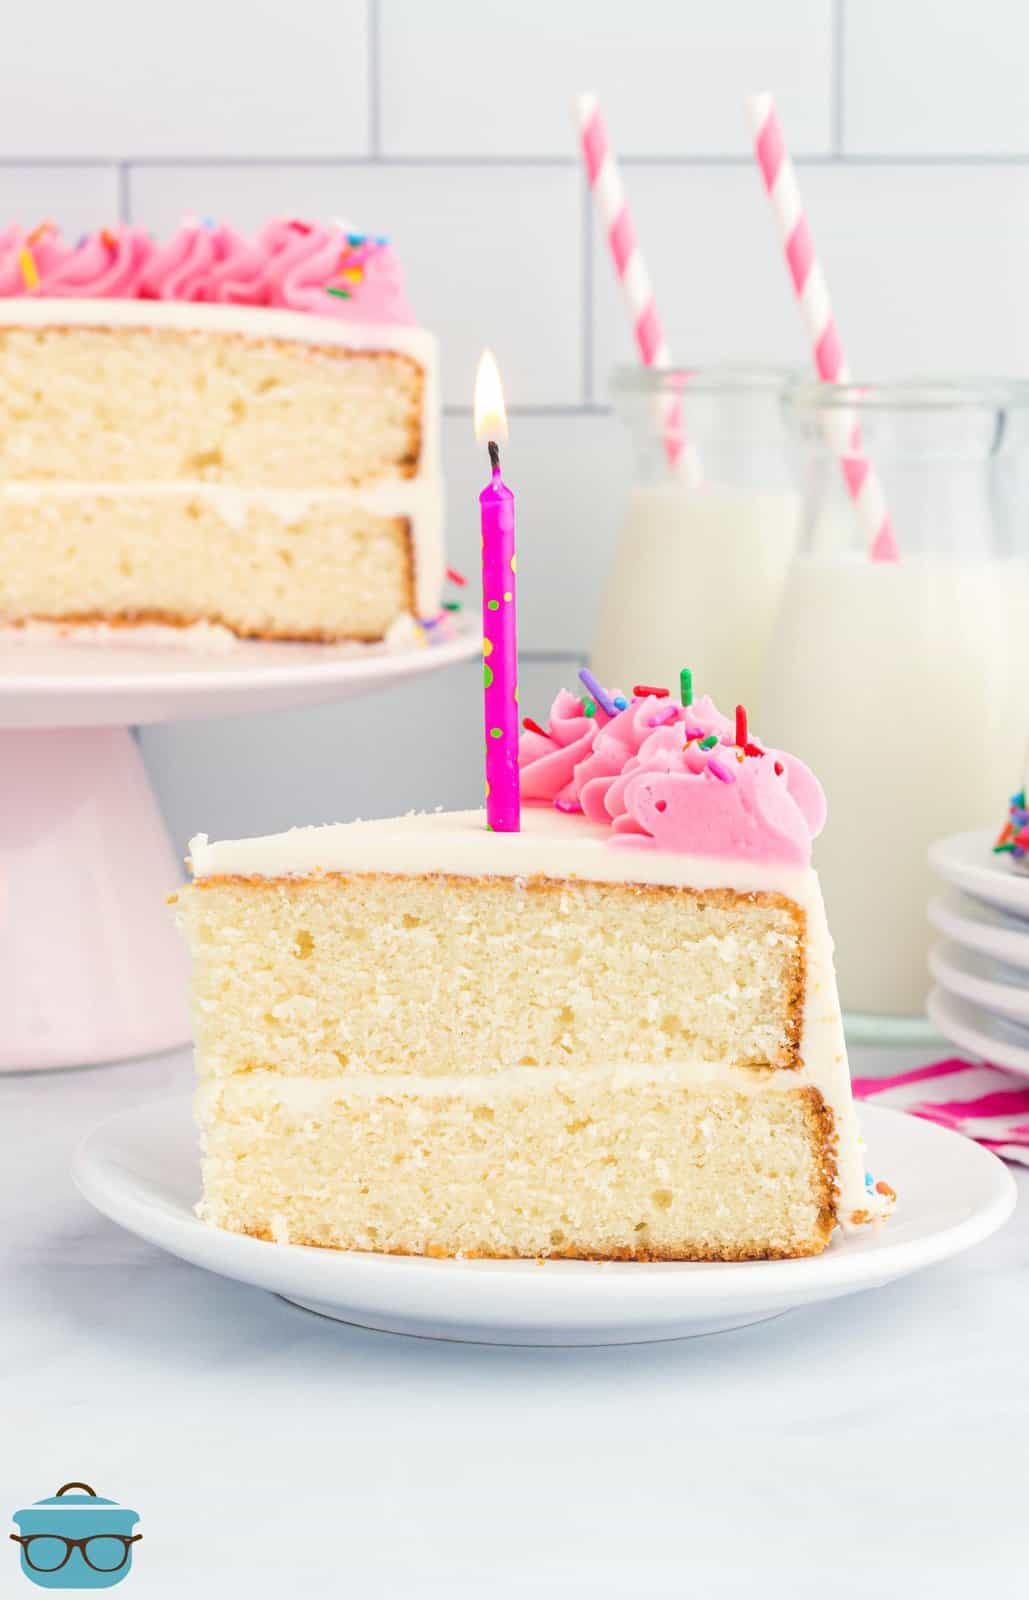
Who wants to dive in fork first into this Homemade White Cake with frosting from scratch? This moist, layered cake is full of flavor and so much easier to make than you might think!
HOMEMADE WHITE CAKE FROM SCRATCH WITH HOMEMADE FROSTING
Nothing says home-baked goodness like a homemade white cake. This simple yet delicious recipe is sure to be a hit with everyone in your family. Whether it’s for a special occasion or just because, this classic recipe is the perfect way to celebrate any event. The best part is that it only requires basic ingredients and you can whip up this tasty treat in your kitchen with ease. So, gather all the ingredients and let’s get baking!
FREQUENTLY ASKED QUESTIONS:
To get the layers of frosting super smooth on your white cake, use a tool like a cake scraper (paid affiliate link) to smooth the icing out.
The cake should be refrigerated for two hours before you start frosting (be sure to wrap it well in food-safe plastic wrap so it doesn’t dry out). This helps the cake become firmer so it doesn’t crumble as easily. Also check that your frosting is an easily spreadable consistency. If the frosting is too thick, beat in a tablespoon or two of heavy cream.
Too much flour and your cake has an overly crumbly texture, too little flour and it’s not going to bake well. Properly measuring your flour is crucial for your cake to turn out properly.
If you have a food scale, use that to properly measure out the flour. If you don’t have a food scale, use the scoop and spoon method: use a spoon to scoop flour from the bag into the measuring cup. Then level it off with the flat end of a butter knife.
Packing down flour into a measuring cup will likely give you 25% more flour than you actually need for a recipe.
It may not seem like a big deal but using room temperature ingredients makes it so much easier to mix the cake batter together. It also helps the batter rise more easily since you’re not baking everything from a cold start temperature.
If you forgot to pull your butter out of the fridge in time, no worries! I have you covered. To soften your butter fast, boil some water and place the hot water in a glass cup. Once the glass is nice and hot, dump the water and place the cup overtop of the stick of butter standing on the end. The heat from the glass will help soften the butter.
Homemade frosting, in my opinion, tastes so much better than the canned stuff (when pairing with a homemade cake.) So, I say this is best with the homemade frosting. But if you’re in a pinch (no judgement – ha!) you can use store-bought. I like to whip it with a handheld mixer in a bowl first though. It fluffs it up and makes it much easier to spread on your homemade cake.
Homemade cakes do not have any preservatives so they are always going to be freshest the day they are made. However, you can use a baker’s trick to keep it moist for longer. Make a simple syrup (which is just sugar water). In a medium sauce pan add one cup of water and one cup of sugar. Bring to a boil until all the sugar is dissolved. Allow the syrup to cool completely then put it into a plastic squeeze bottle (paid affiliate link). When you begin to assemble the cakes, you want to squeeze a little bit of this simple syrup onto each cake once you have cut the dome tops off. This will ensure it soaks into the cake. Then continue with the rest of the recipe.
This vanilla cake can remain at room temperature (in a sealed food safe container) for up to 3 days. After 3 days, refrigerate or freeze the leftovers (wrapped tightly in food-safe plastic wrap then placed into a sealed food safe container). The cake should be served at room temperature.
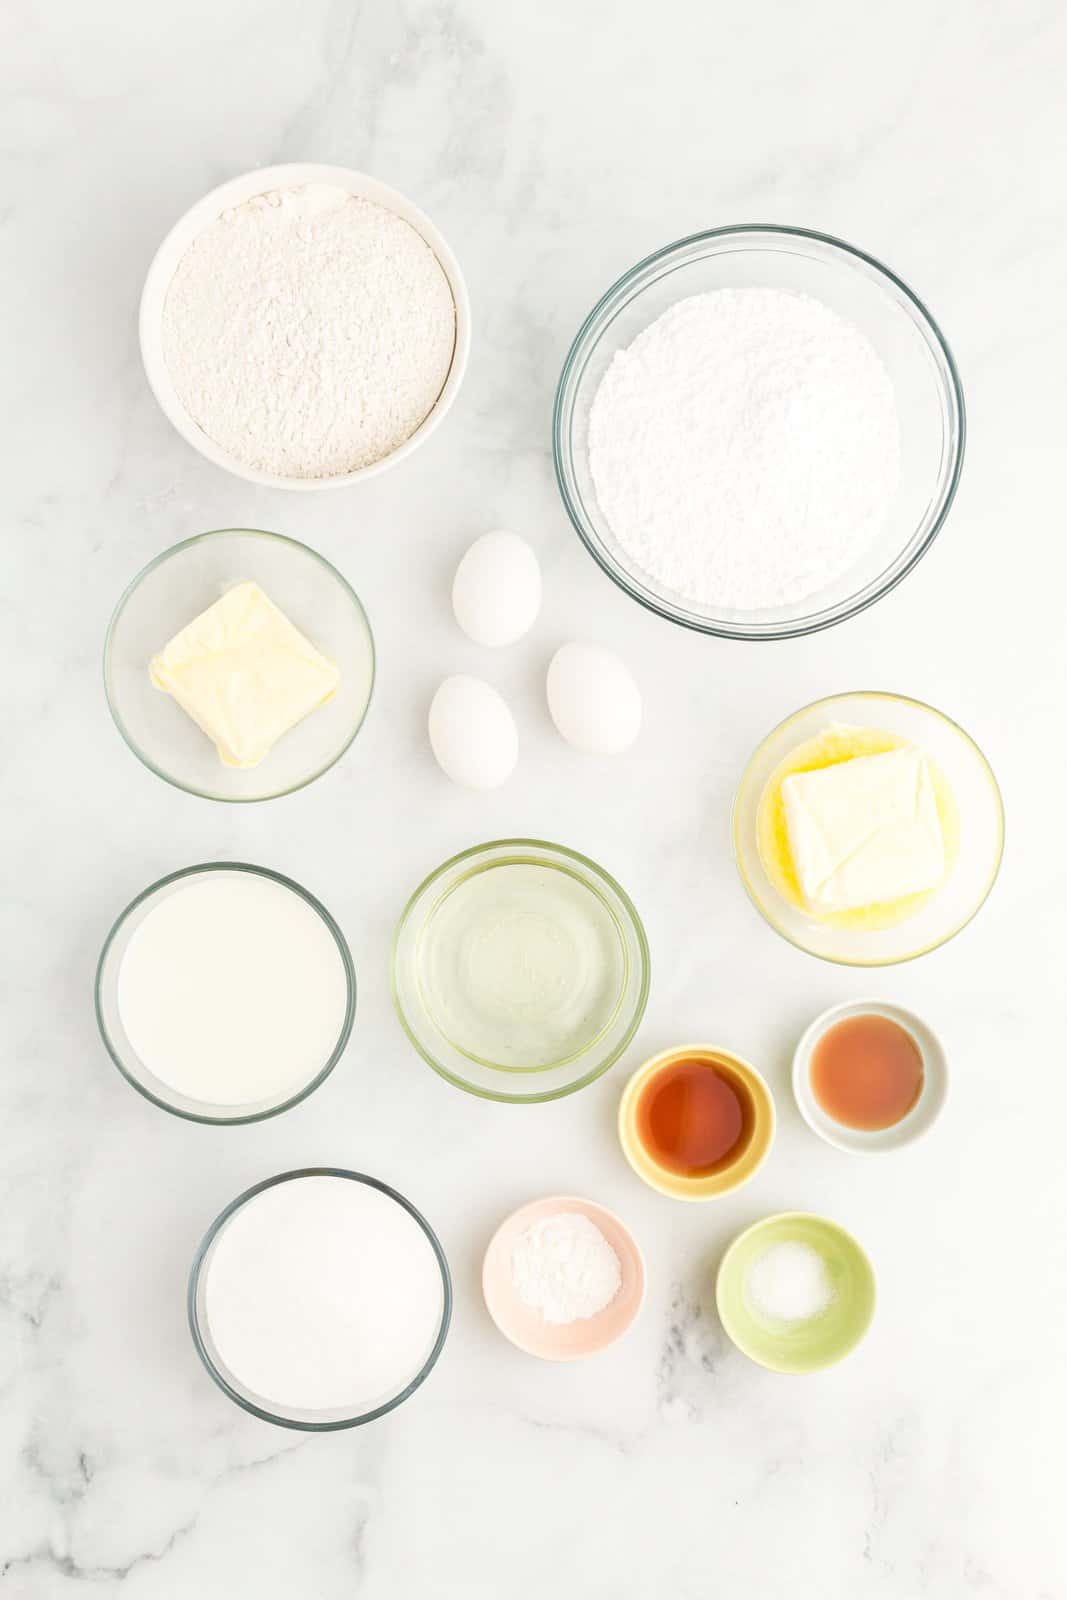
INGREDIENTS NEEDED: (SEE RECIPE CARD BELOW FOR THE FULL RECIPE)
- all-purpose flour – you could use self-rising flour just do not add baking soda or salt since those are already included in self-rising flour.
- baking powder – it’s super important that you make sure your baking powder is fresh – most recipes do not turn out properly because the baking powder was not fresh or it has expired.
- salt – just regular table salt.
- unsalted butter – you’ll be using butter in different parts of this recipe. For the cake part, you can use salted butter if that is what you have, just remove the additional salt that is added to the recipe. Also, it’s super important that it is room temperature (not melted) or it won’t turn out right. In the frosting, you will use more unsalted butter and that butter will need to be slightly melted and cooled. You can use salted for that as well and it will still turn out fine.
- granulated sugar – I have not tried this with sugar substitutes so can’t say how that would turn out.
- vegetable oil – this is going to add moistness to the cake.
- large eggs – again, it’s important these be room temperature – it’s what helps produce a light and airy cake texture.
- vanilla extract – you can switch this up with other extracts (almond would taste wonderful).
- milk – I only use 2% milk fat or higher – you need fat in cakes to keep the moist and tender.
- powdered sugar – sometimes you’ll see it called confectioners sugar
- heavy cream – this is optional for the frosting and it will add a bit of richness but you could use milk if necessary (if frosting is too thick).
HOW TO MAKE A HOMEMADE WHITE CAKE
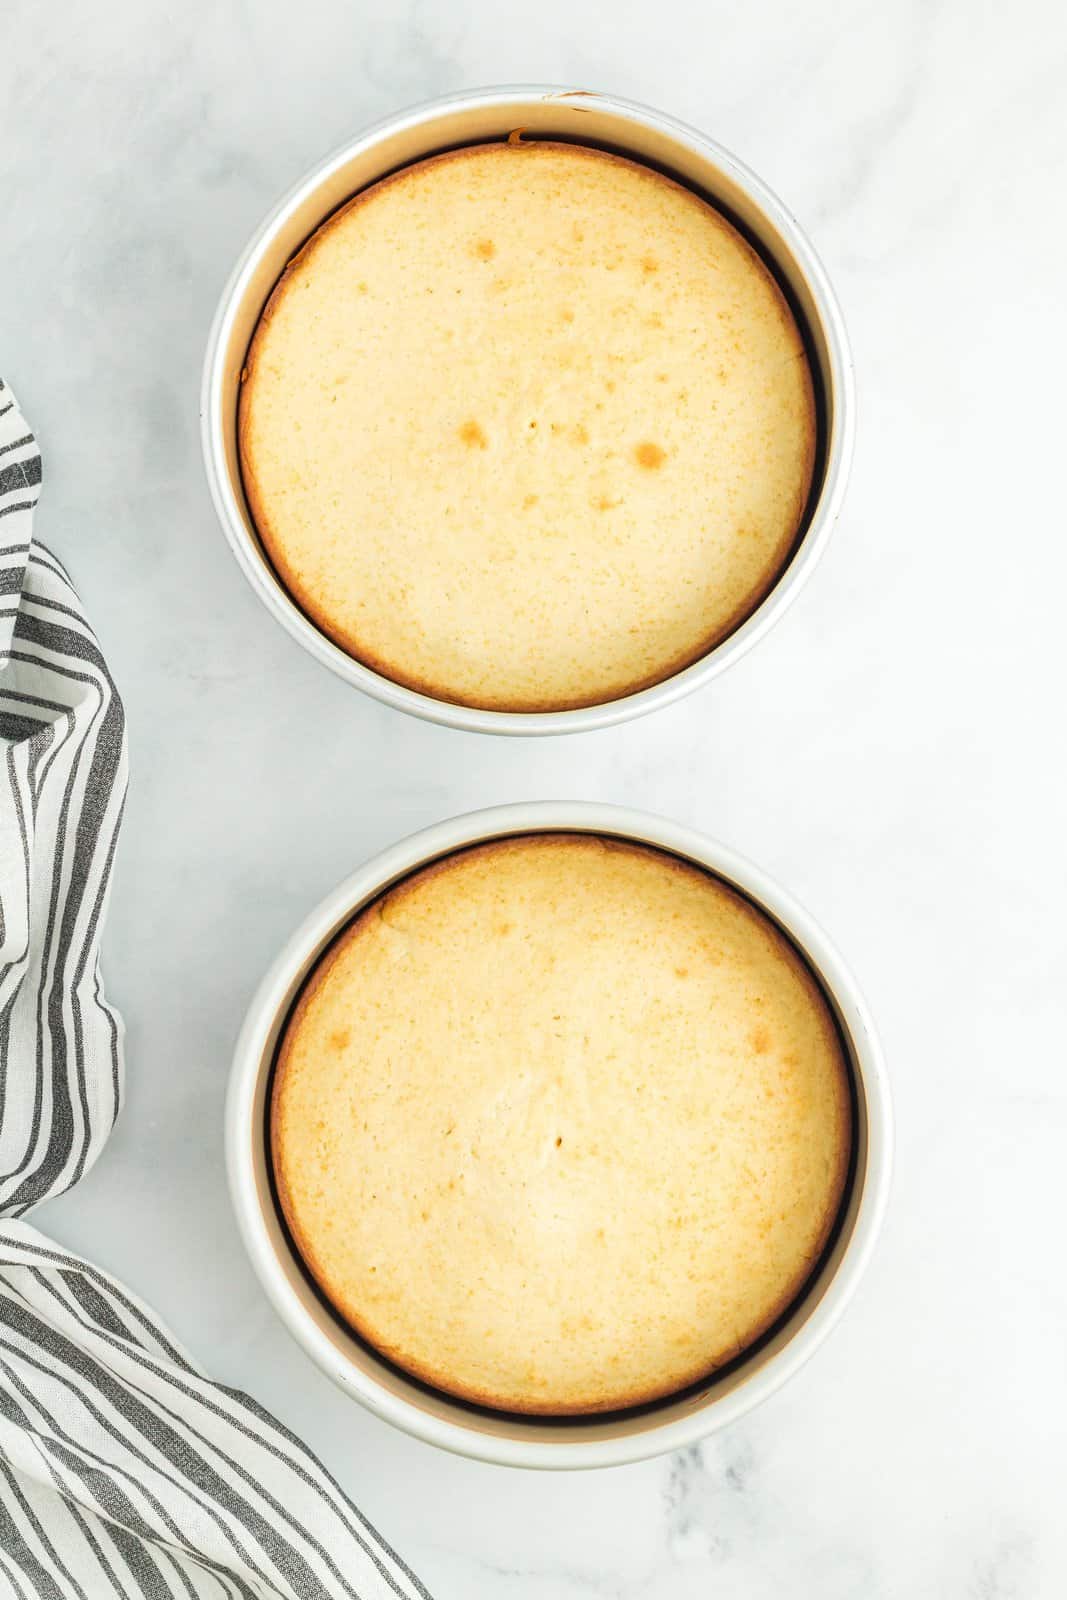
Preheat oven to 350F degrees. Spray two 8” round cake pans with non-stick cooking spray (I like the kind that has flour in it) and line the inside bottom of each pan with parchment paper. Set aside. In a medium bowl, whisk together flour, baking powder and salt. Set aside. In a separate large bowl, beat together butter, granulated sugar and vegetable oil together on high speed with an electric hand mixer (or in a stand mixer) until combined well.
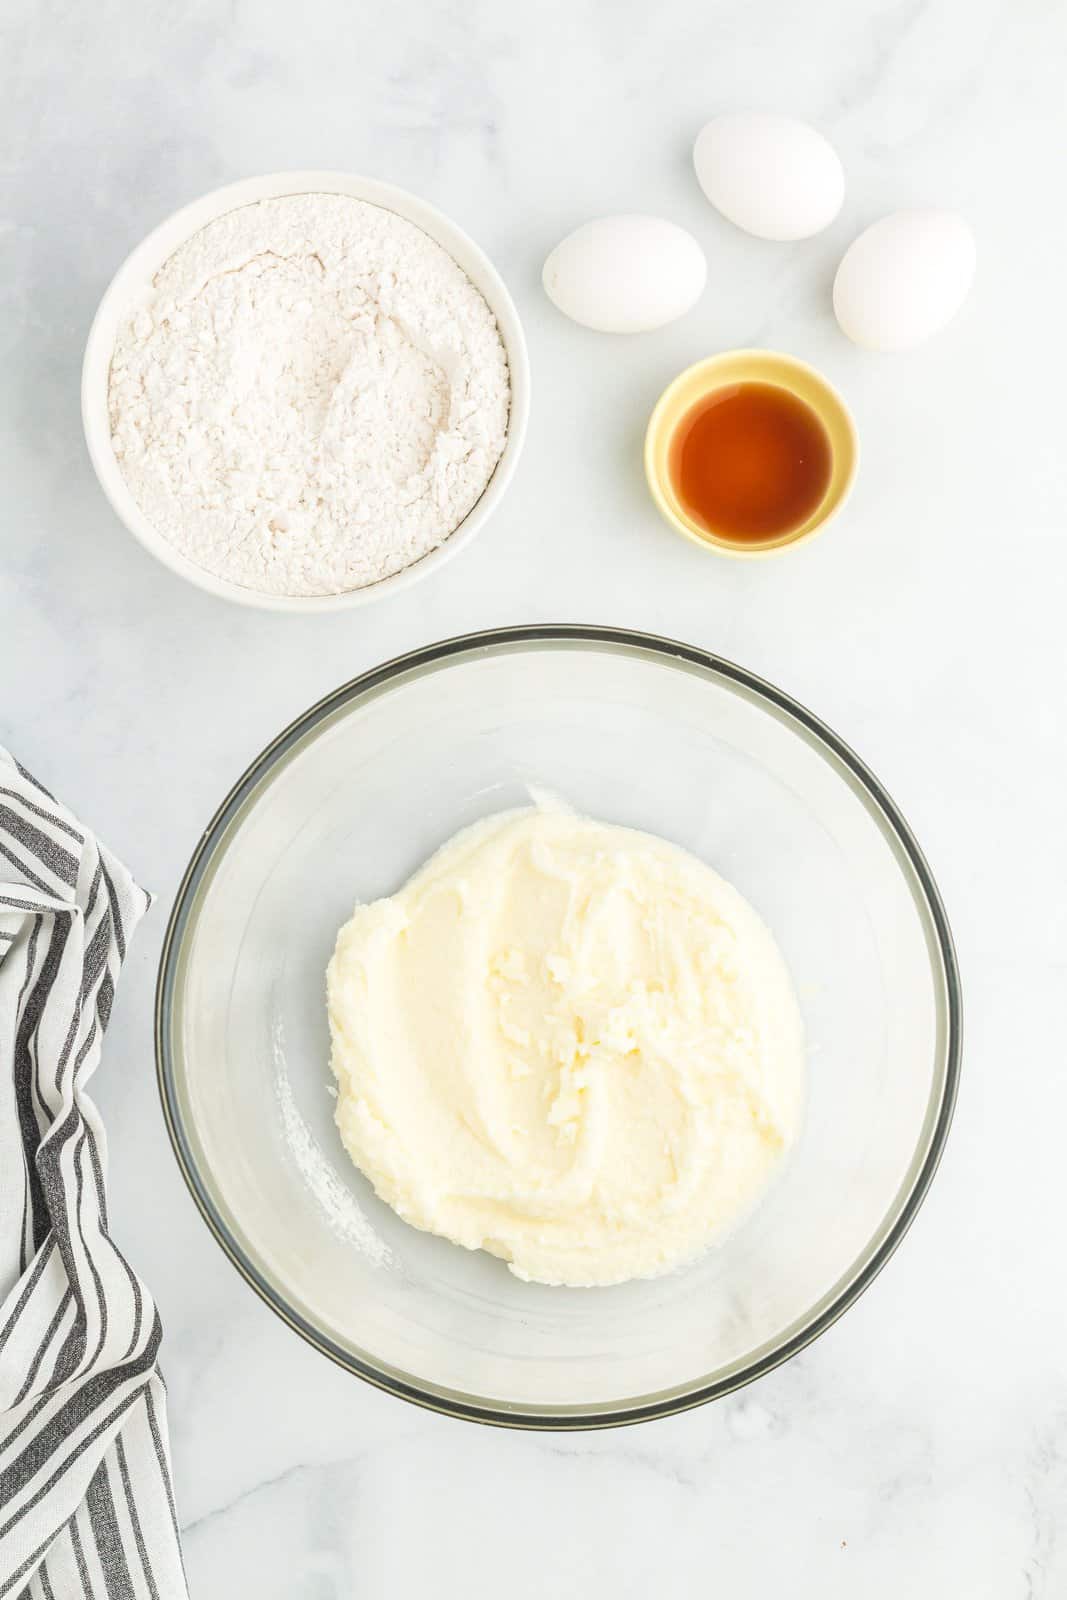
Beat eggs and vanilla extract into the mixture until combined.
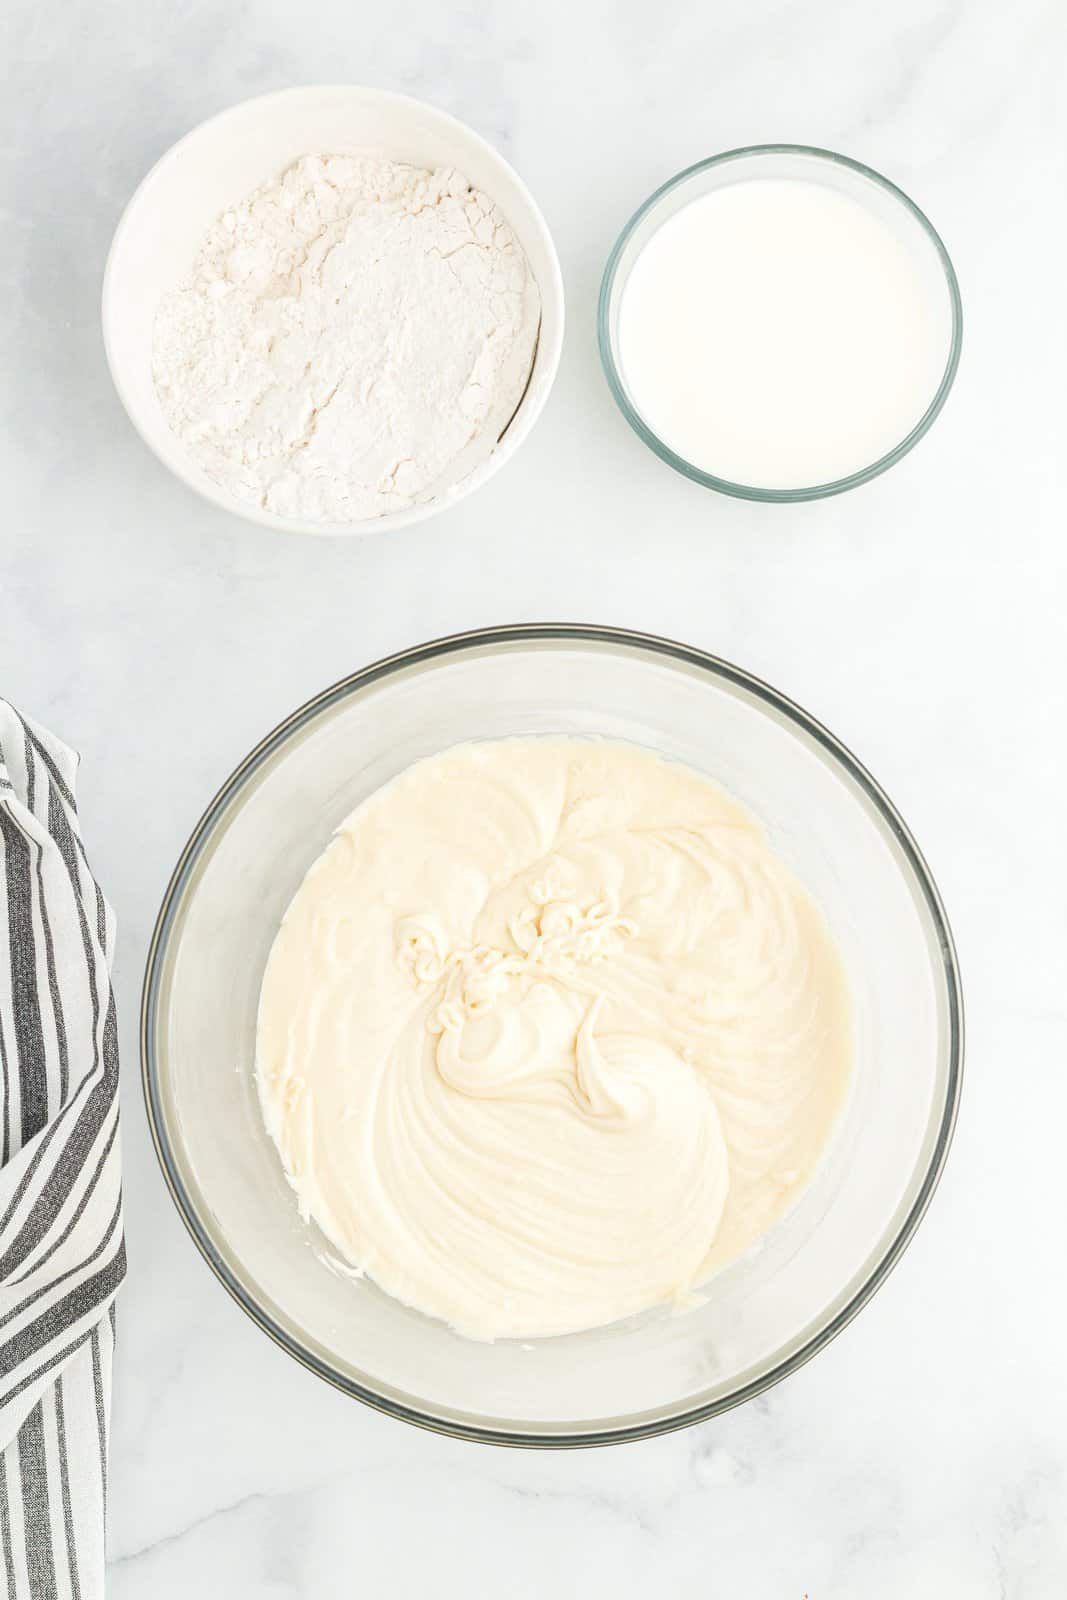
On low speed, beat half of the dry ingredients into the wet mixture. Do not overmix – mix just until you no longer see streaks of white flour in the batter.
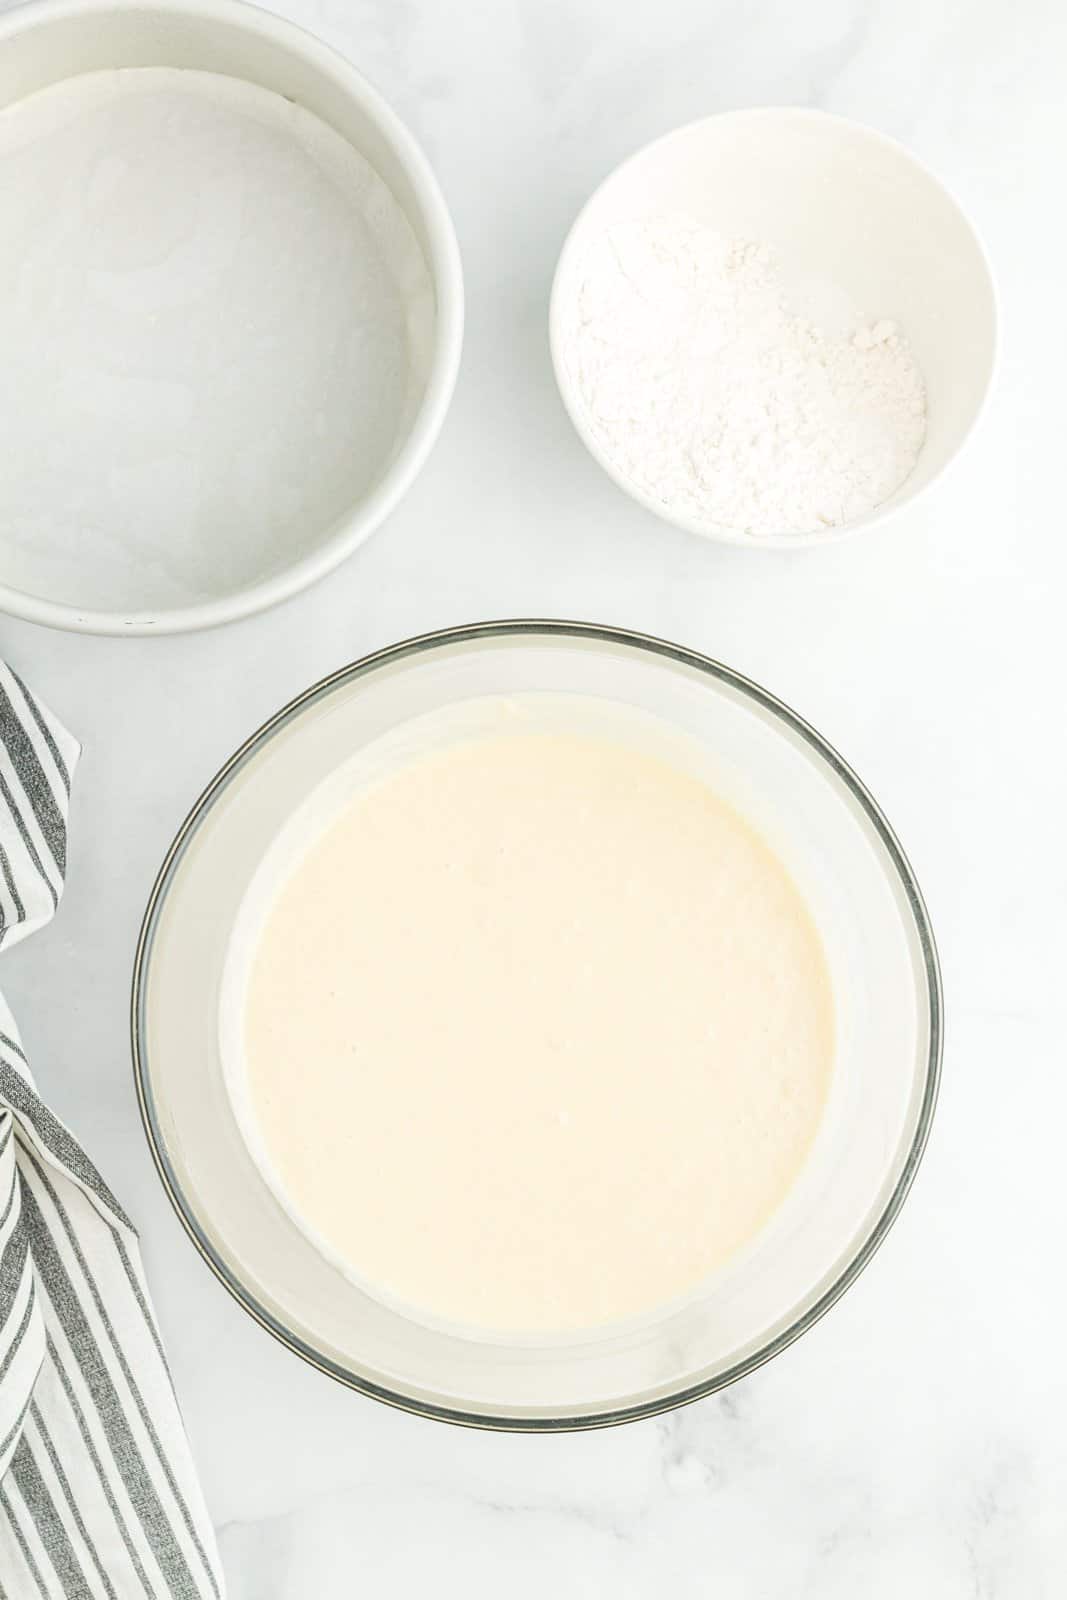
Mix in (on low speed) all of the milk just until combined. Mix in the remaining dry ingredients. Again, do not overmix.
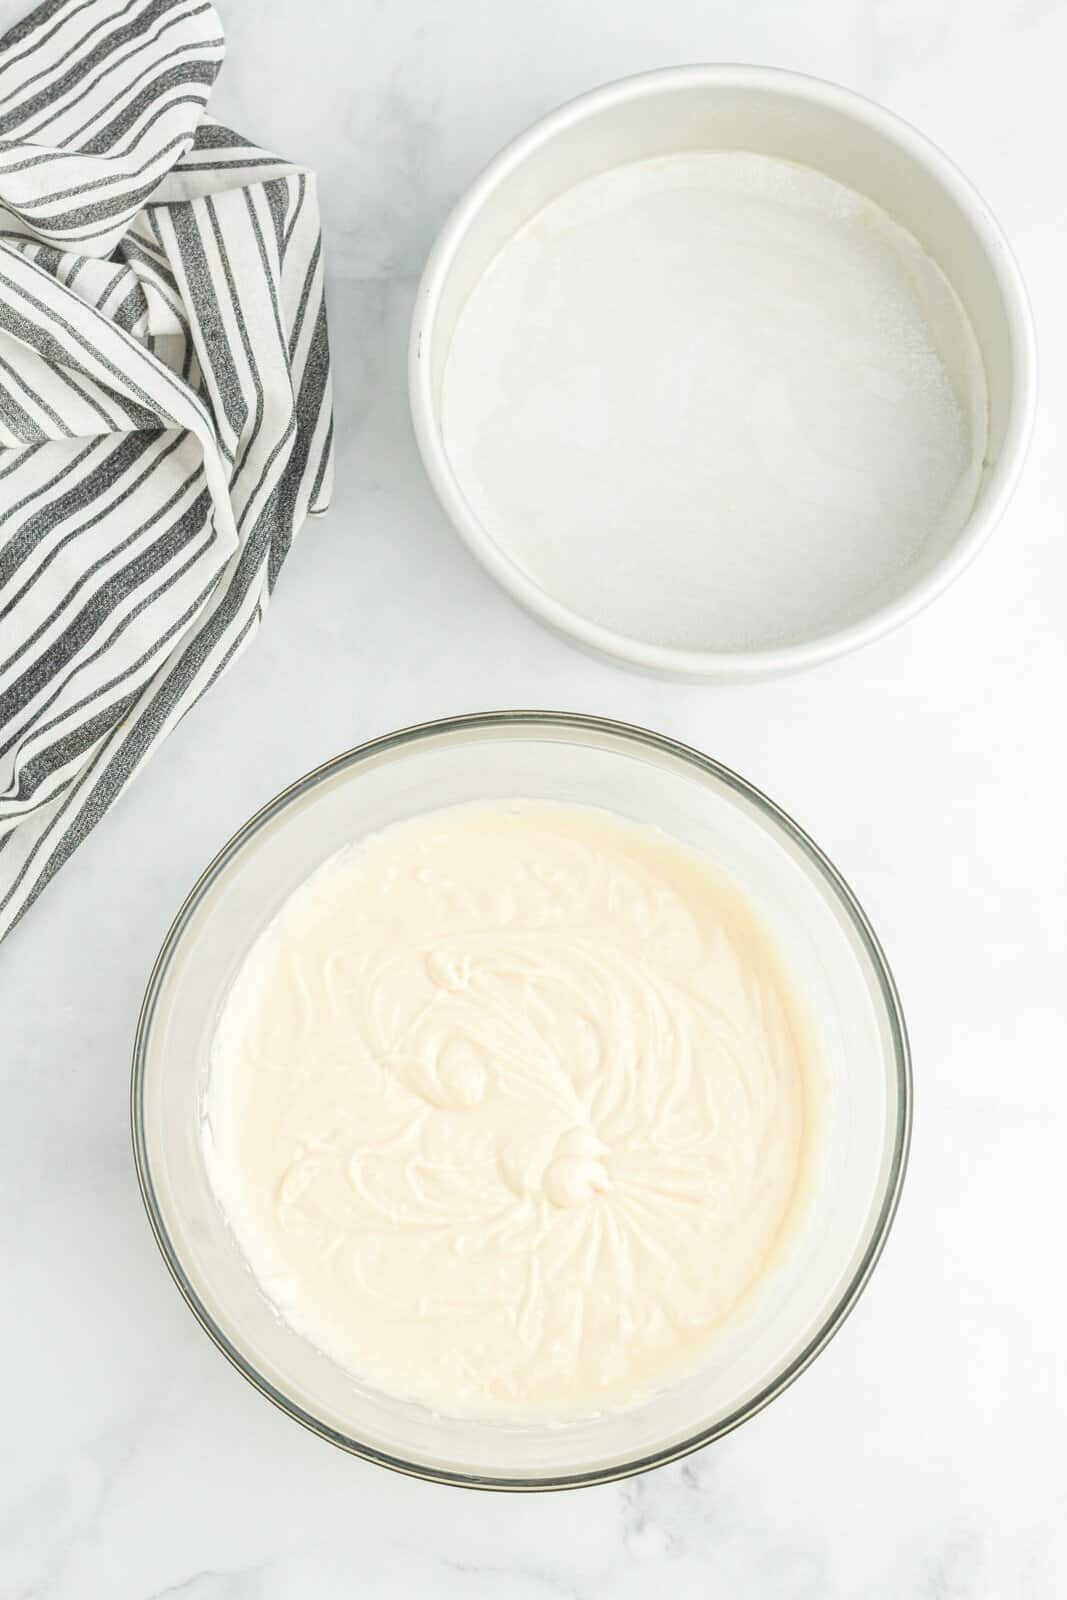
Pour cake batter evenly between both prepared cake pans.
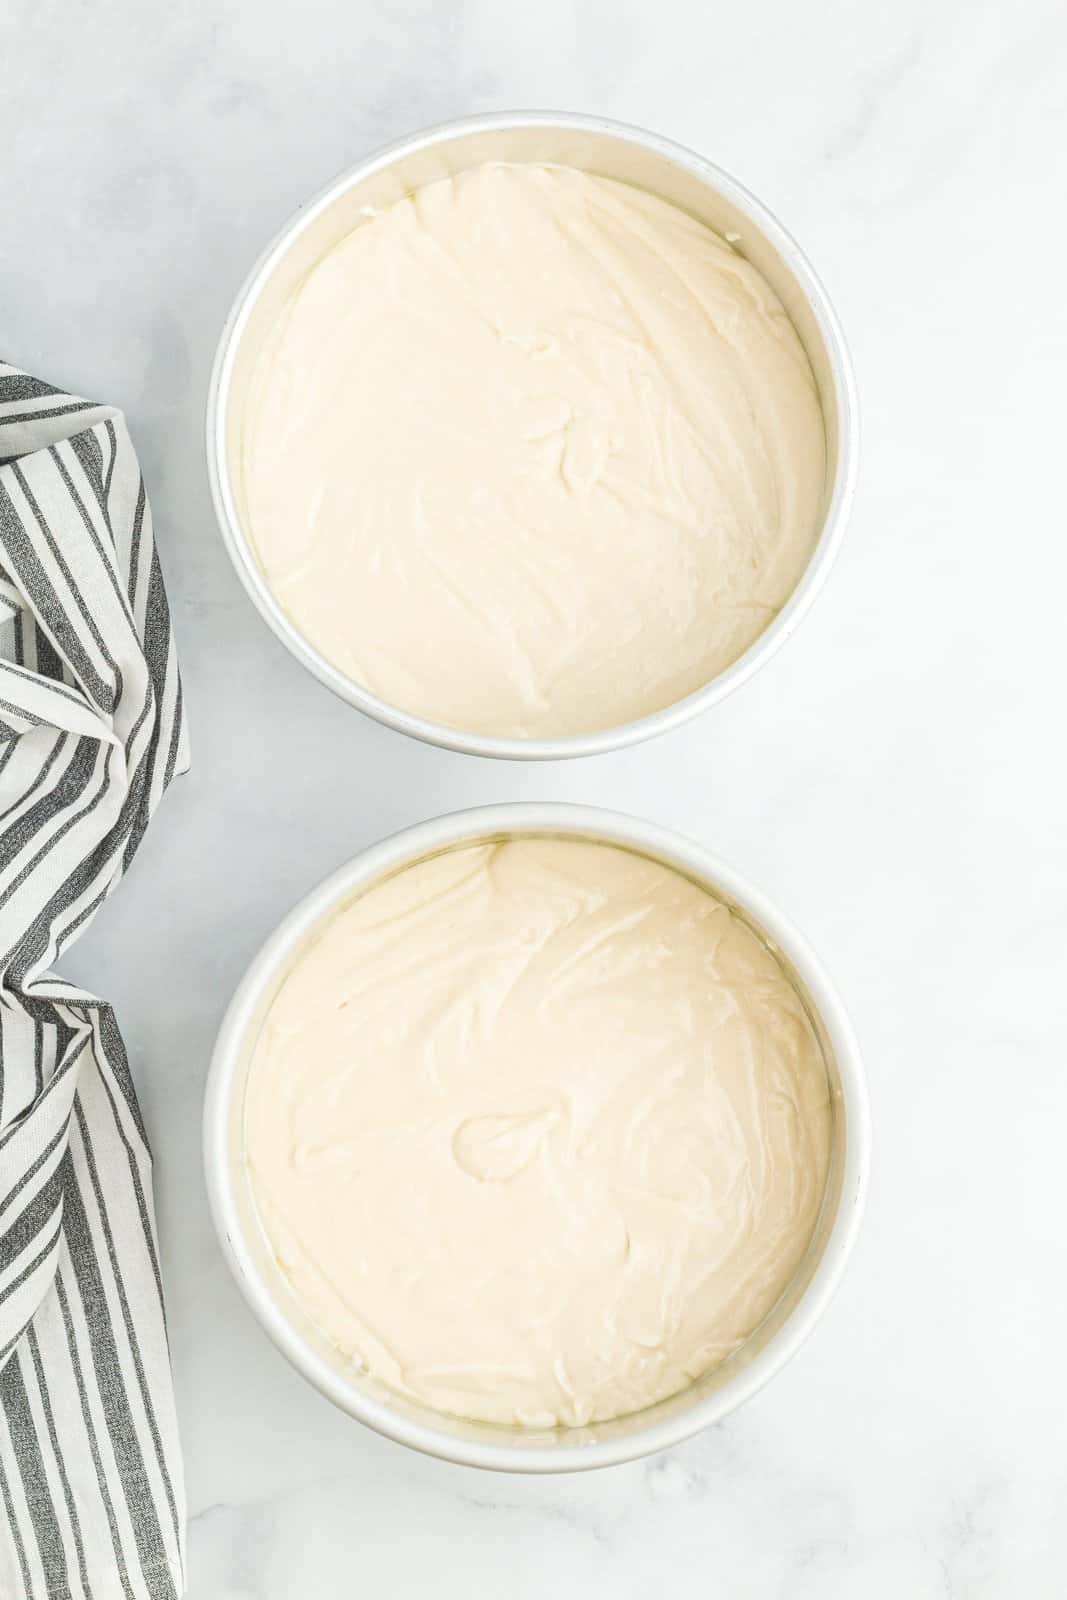
Bake for 32 to 35 minutes or until toothpick inserted in middle comes out clean.
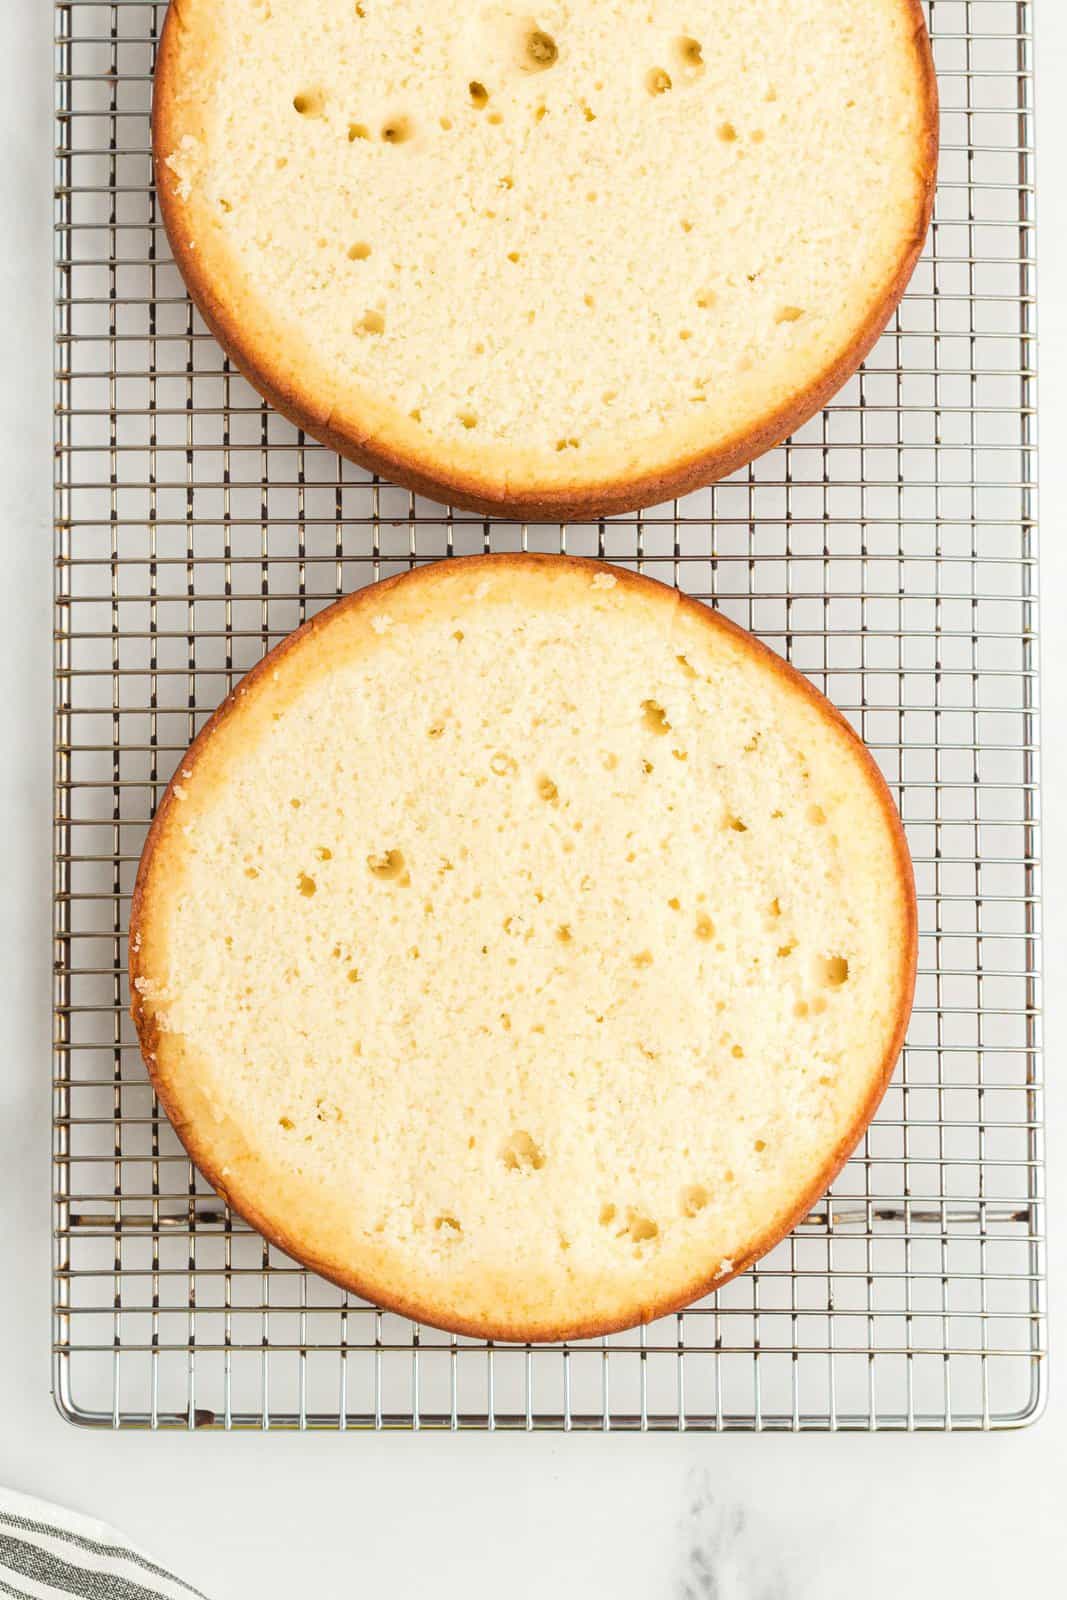
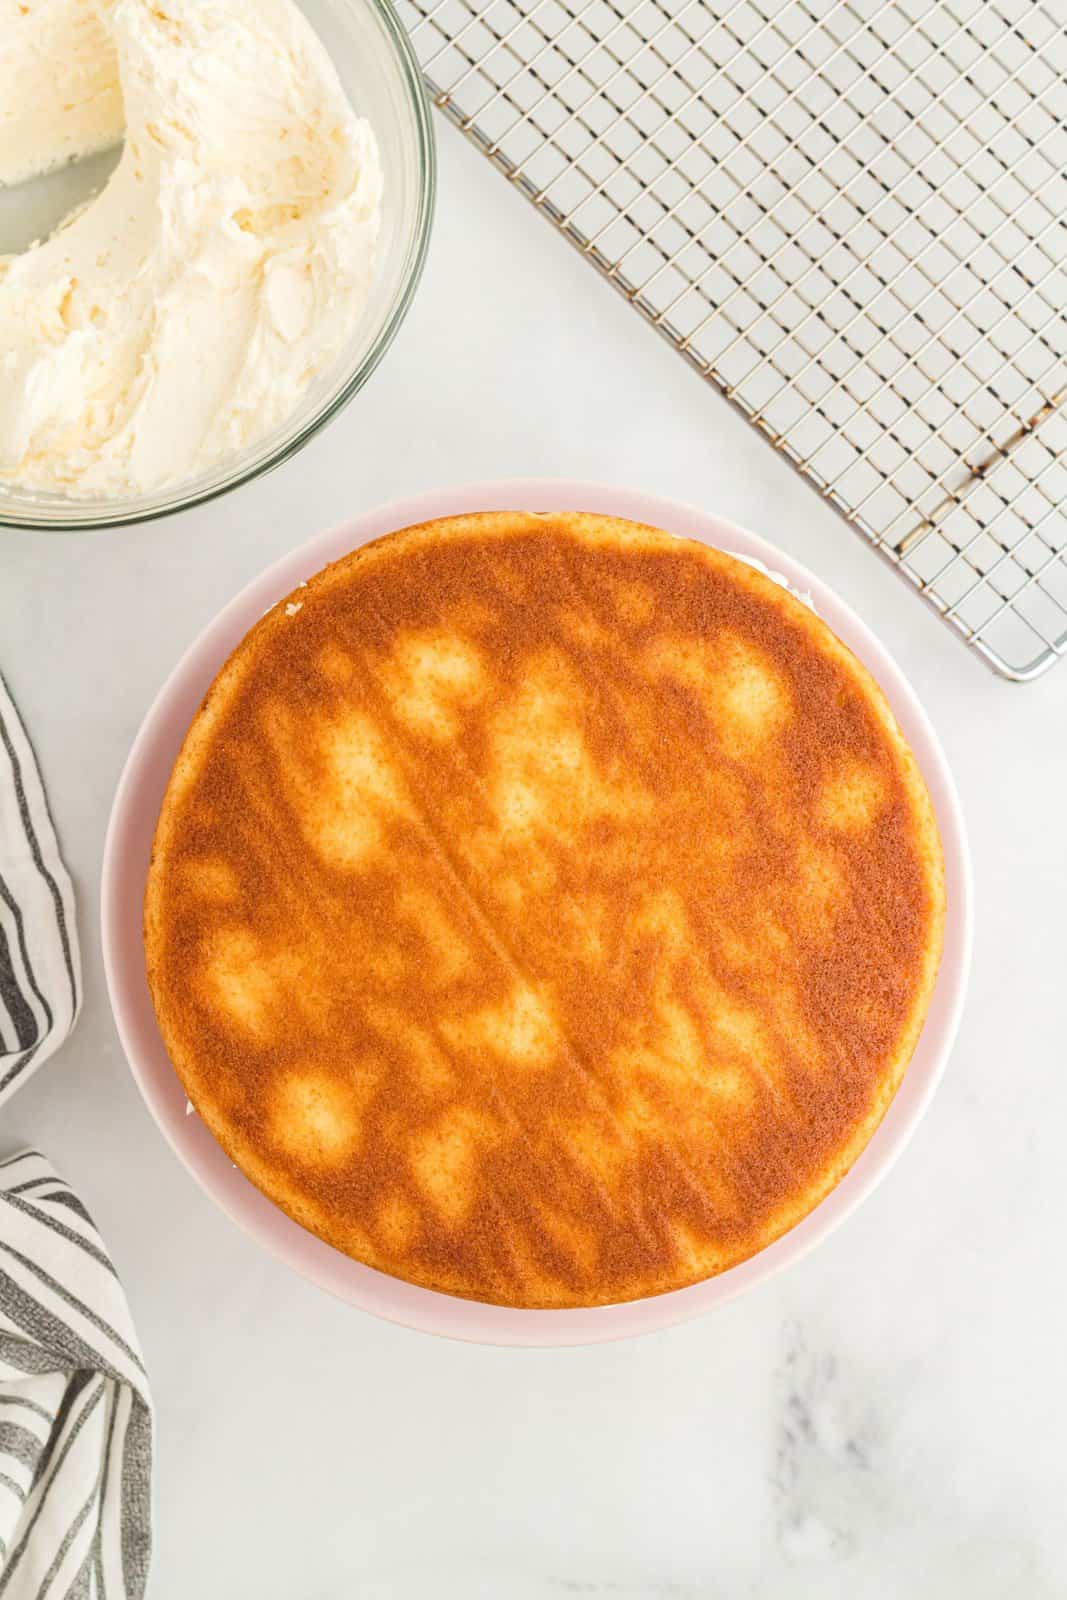
Let cakes cool in pans for 15 minutes before removing then place on wire racks to finish cooling. Be sure to let cakes cool completely before the next step. Once cakes have completely cooled, use a large serrated knife to cut the dome tops off both cakes so they both have a flat top.
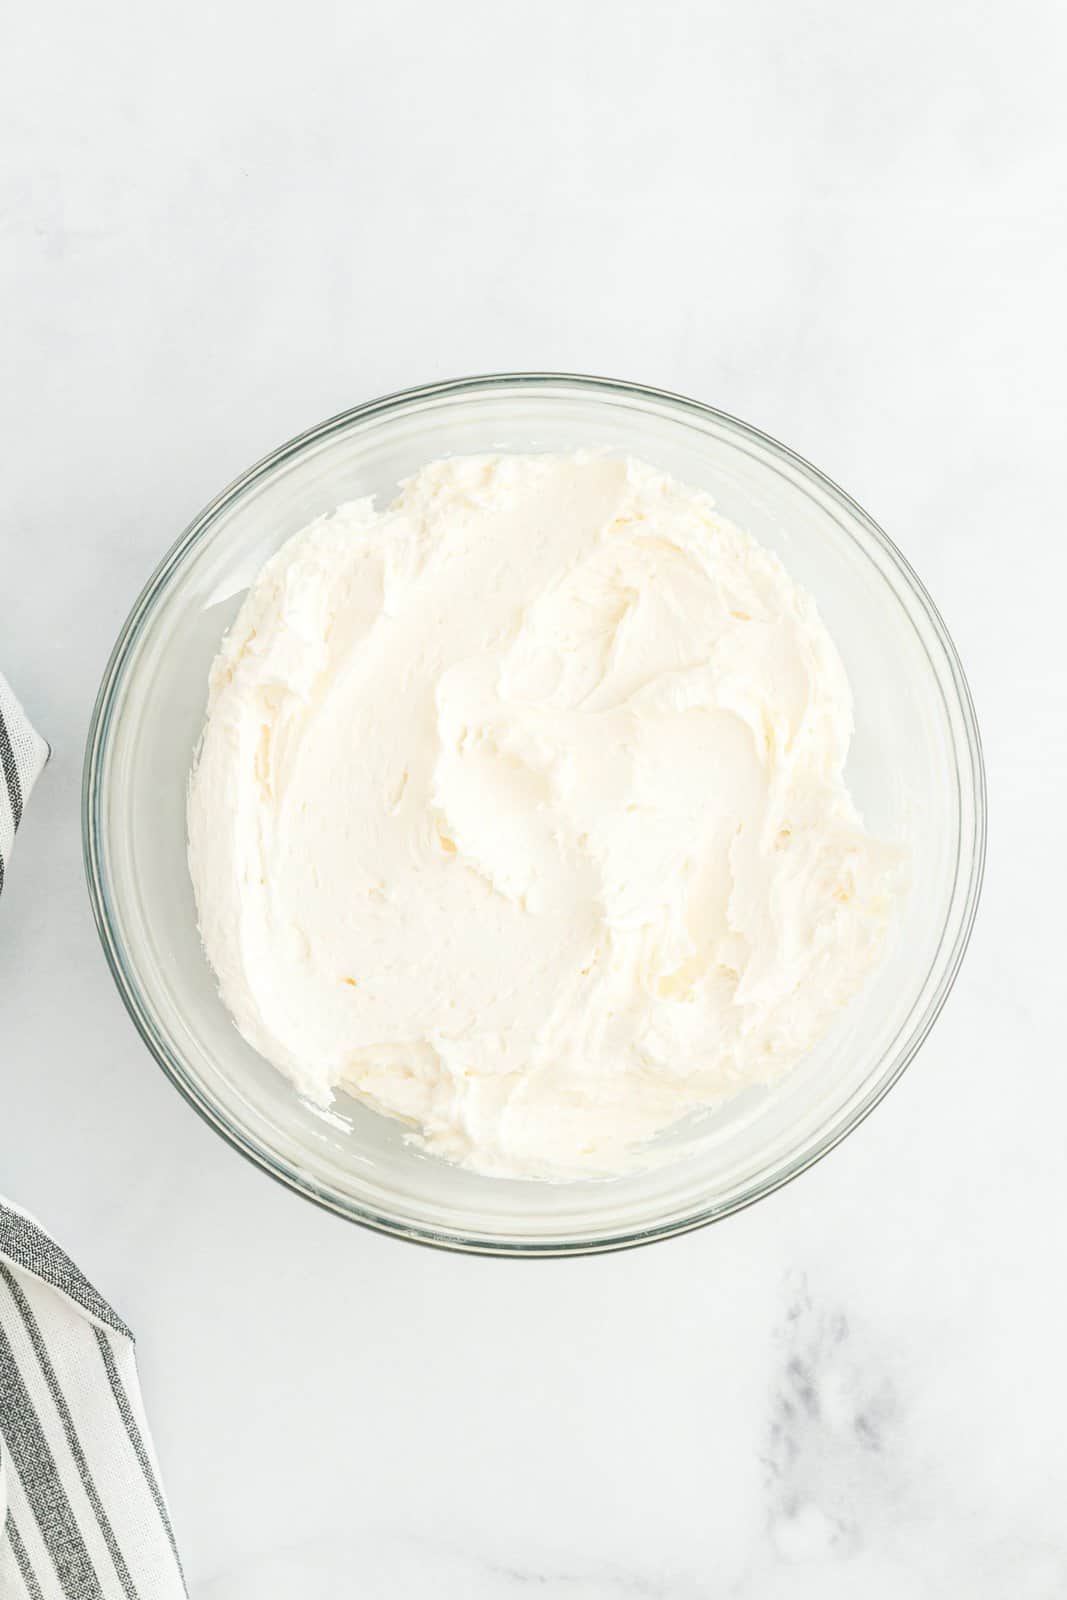
Before frosting, cover cakes completely in food-safe plastic wrap and refrigerate for two hours. You’ll want the cakes to be firm before frosting so that they don’t crumble or tear while spreading frosting. To make the frosting: In a large bowl beat the powdered sugar, slightly melted butter and vanilla extract on high speed until light and fluffy (about 5 minutes). If the frosting seems too thick to spread smoothly onto the cake, beat in a tablespoon of heavy cream.
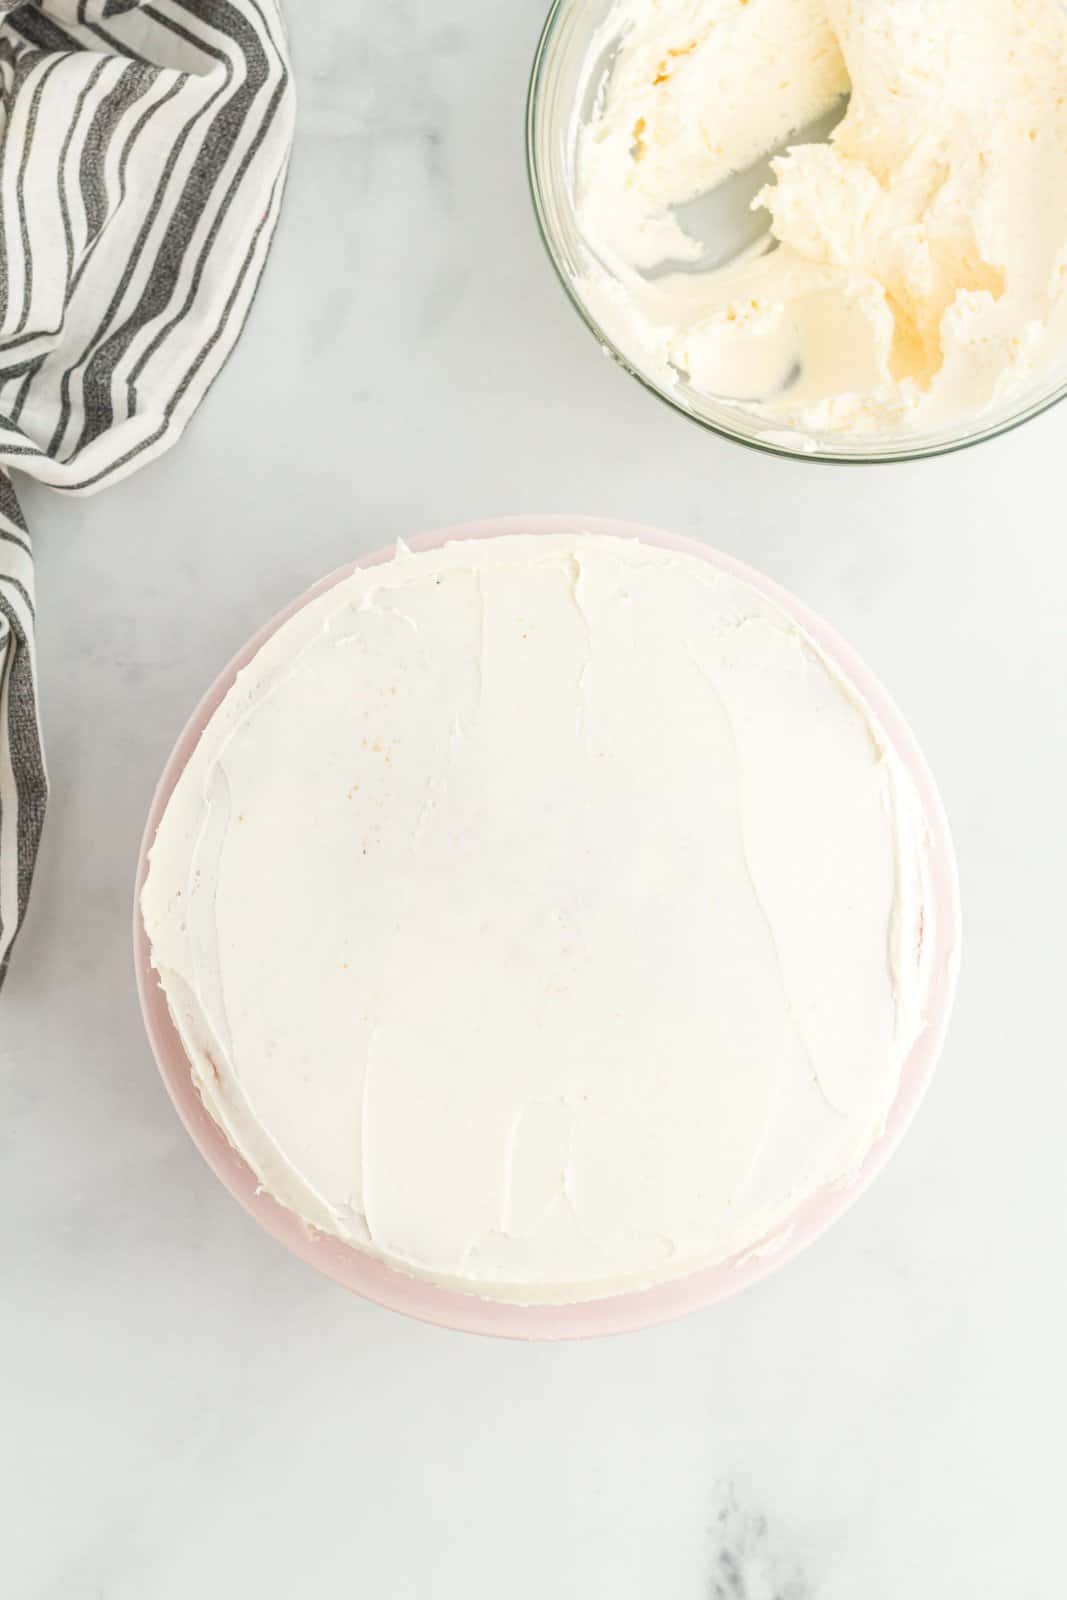
Place a bit of frosting (about 2 tablespoons spread thin) on a cake board or cake plate then place one cake (cut side facing up) on top of that frosting. This thin layer of frosting helps prevent the cake from sliding off the cake board or cake plate while you’re decorating it.
Add a generous layer of frosting on top of that first layer.
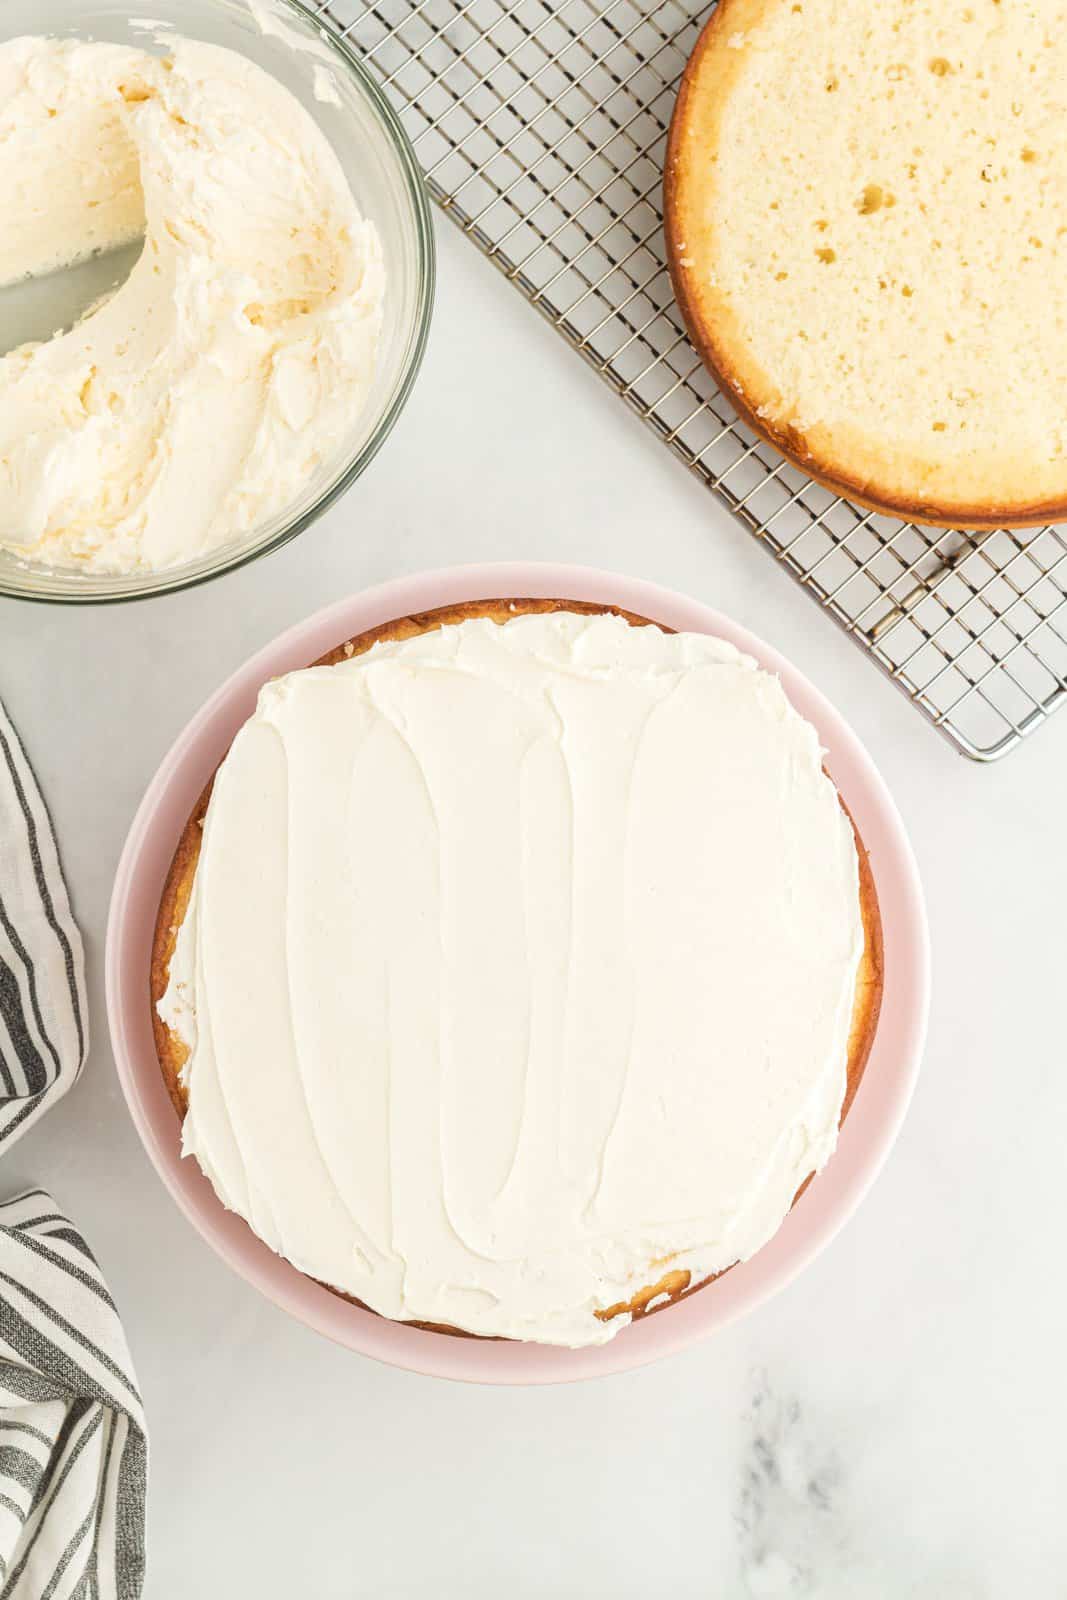
Then place the second layer (bottom facing up) on top of the first layer. You’ll now have a two-layer cake.
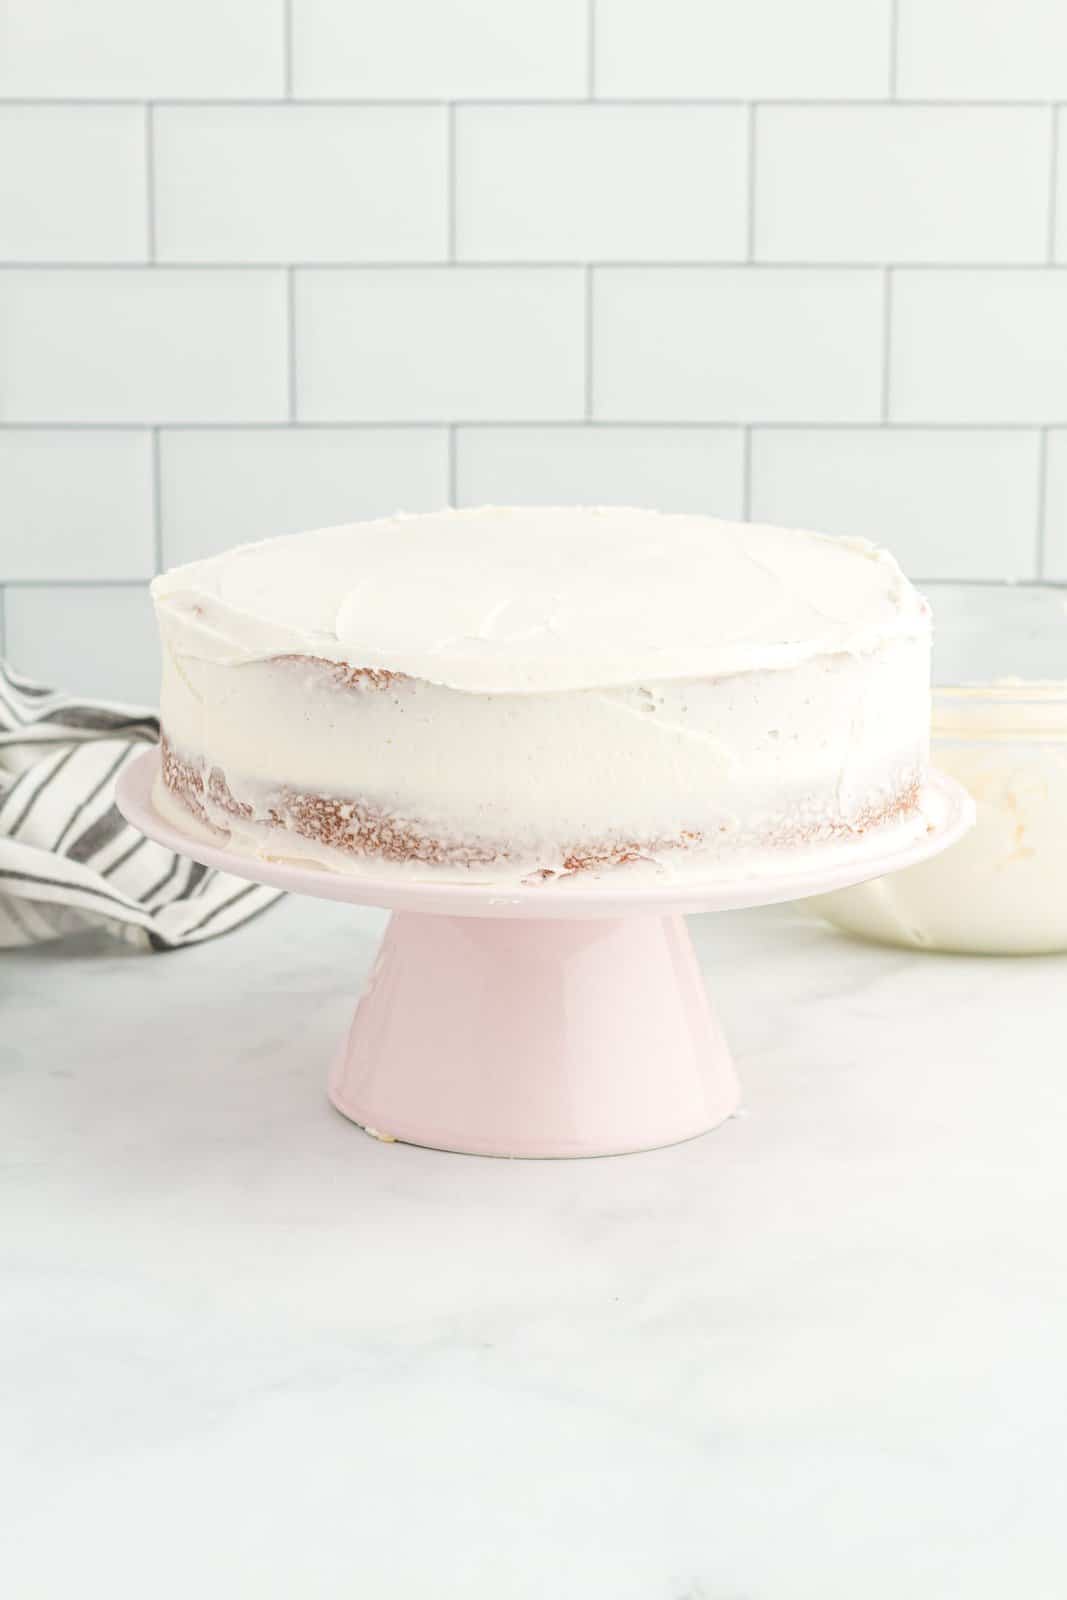
Frost a thin layer of frosting around the top and sides of cake. This first layer of frosting is called the “crumb coat”. This crumb coat is meant to secure all the crumbs to the cake so you don’t have crumbs showing in your final layer.
Place the lightly frosted cake in the freezer for 10 minutes so the crumb coat hardens up a bit before frosting the final layer.
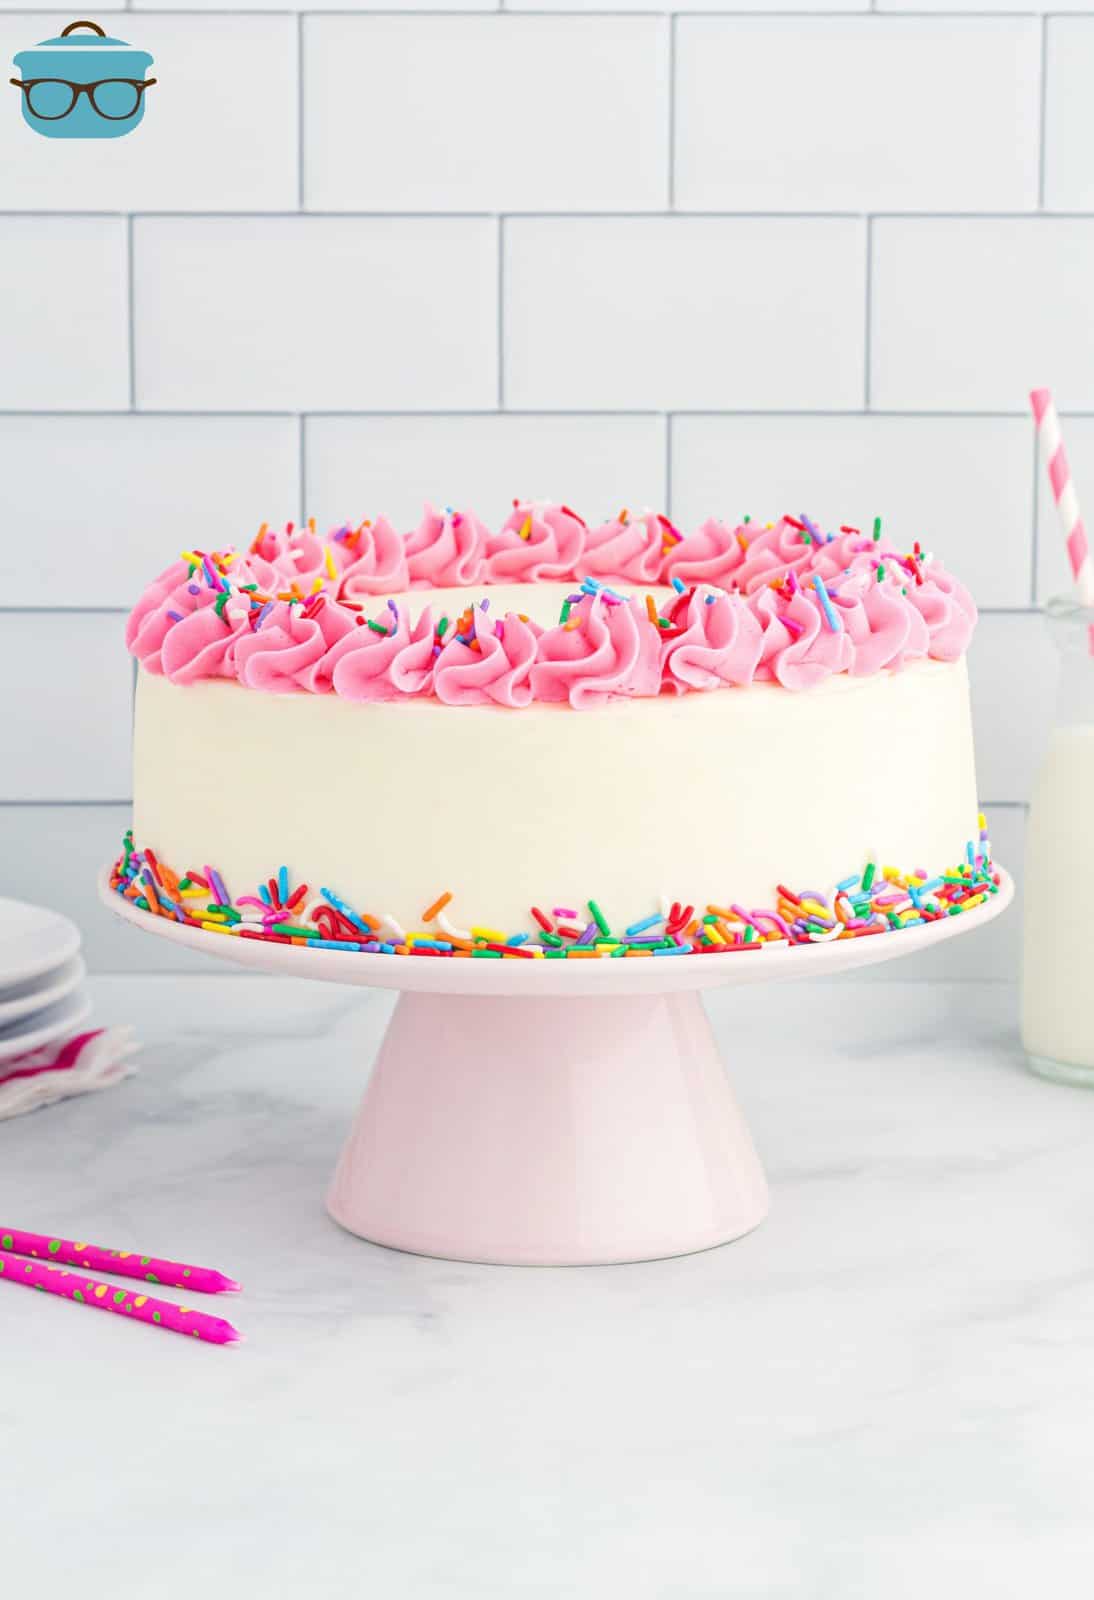
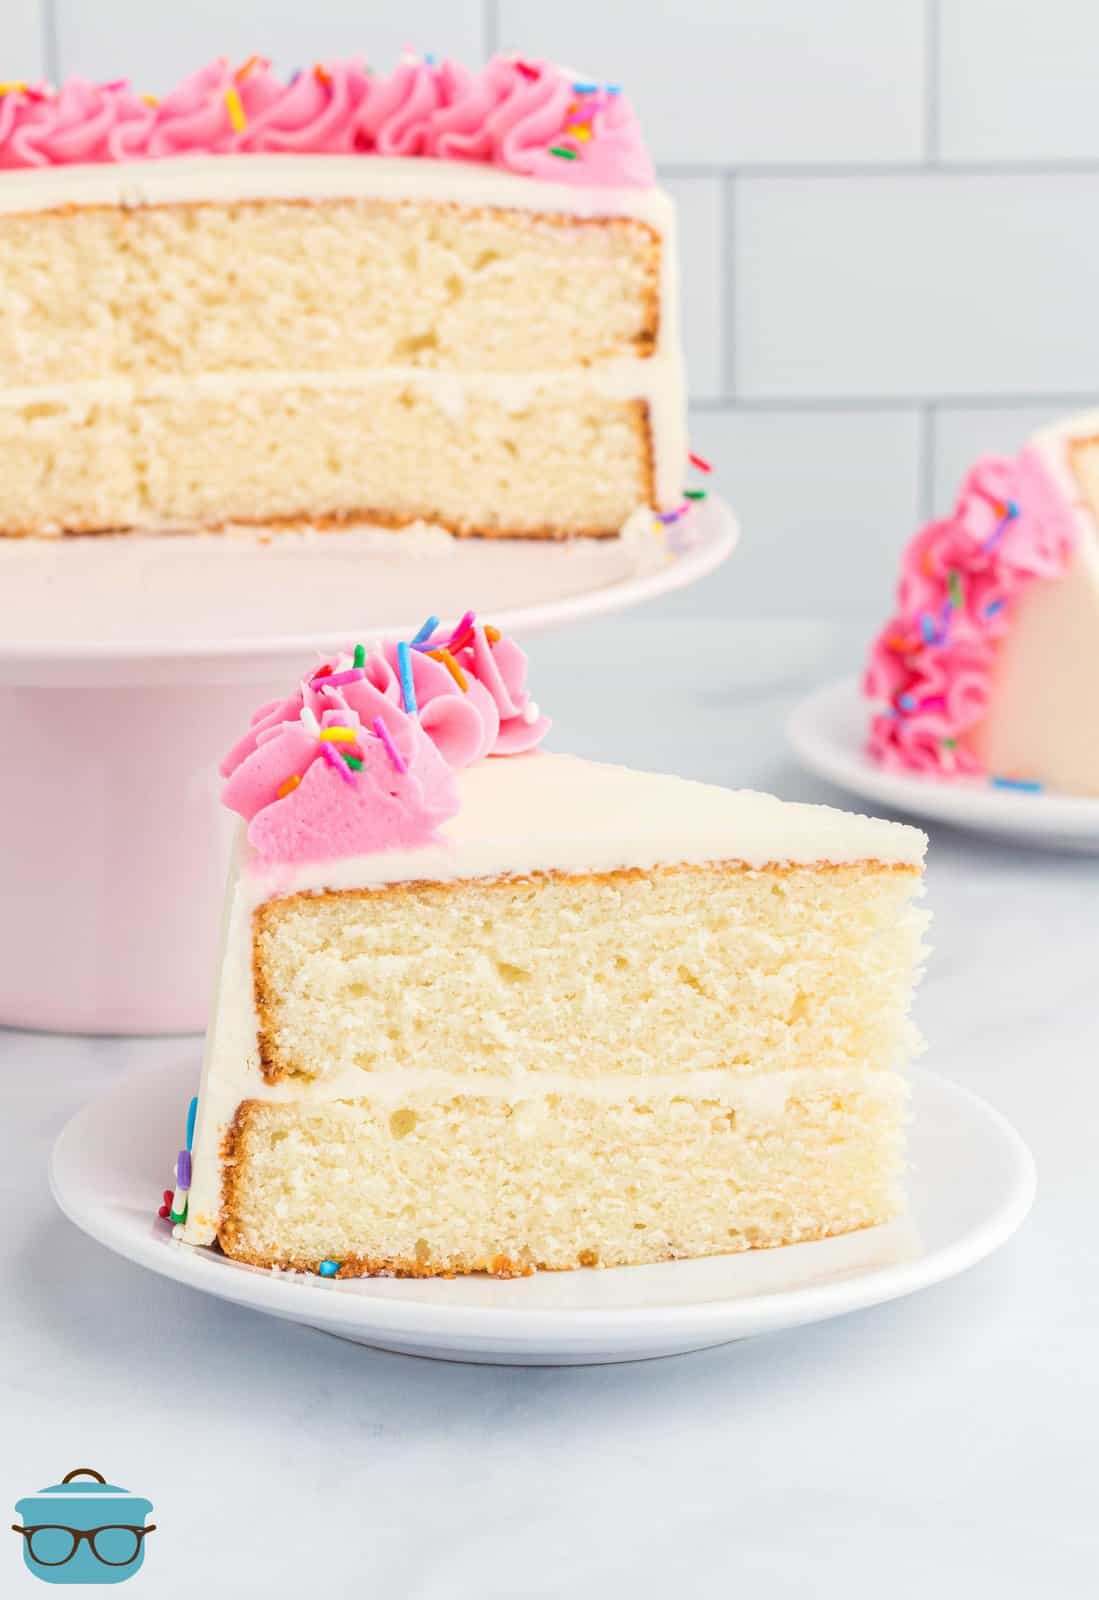
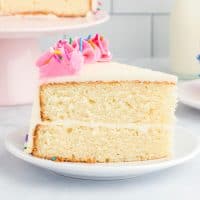
Remove cake from freezer and frost the cake with the final layer of frosting. Decorate the cake as you like. I added a little pink food coloring to some of my frosting then piped swirls around the top cake border. I used a Wilton 1M tip. Then just added some additional sprinkles – because who doesn’t love sprinkles?!
CRAVING MORE RECIPES?
- Easy Homemade Chocolate Cake
- Southern Caramel Cake
- Italian Cream Cake
- Punch Bowl Cake
- Homemade Yellow Cake
- Strawberry Funfetti Cake
- Cinnamon Roll Cake
- Italian Love Cake
- Chocolate Sheet Cake
- White Texas Sheet Cake
Homemade White Cake
Ingredients
For the Cake:
- 2 ½ cups all-purpose flour
- 2 teaspoons baking powder
- ½ teaspoon salt
- ½ cup (1 stick) unsalted butter softened to room temperature
- 1 ½ cups granulated sugar
- ⅓ cup vegetable oil
- 3 large eggs room temperature
- 1 Tablespoon vanilla extract
- 1 cup milk room temperature
For the Frosting:
- 3 ½ cups powdered sugar
- 1 cup (2 sticks) unsalted butter, slightly melted
- 2 teaspoons vanilla extract
- 1 Tablespoon heavy cream (optional)
Instructions
- Preheat oven to 350F degrees.
- Spray two 8” round cake pans with non-stick cooking spray (I like the kind that has flour in it) and line the inside bottom of each pan with parchment paper. Set aside.
- In a medium bowl, whisk together flour, baking powder and salt. Set aside.
- In a separate large bowl, beat together butter, granulated sugar and vegetable oil together on high speed with an electric hand mixer (or in a stand mixer) until combined well.
- Beat eggs and vanilla extract into the mixture until combined.
- On low speed, beat half of the dry ingredients into the wet mixture. Do not overmix – mix just until you no longer see streaks of white flour in the batter.
- Mix in (on low speed) all of the milk just until combined.
- Mix in the remaining dry ingredients. Again, do not overmix.
- Pour cake batter evenly between both prepared cake pans.
- Bake for 32 to 35 minutes or until toothpick inserted in middle comes out clean.
- Let cakes cool in pans for 15 minutes before removing then place on wire racks to finish cooling. Be sure to let cakes cool completely before the next step.
- Once cakes have completely cooled, use a large serrated knife to cut the dome tops off both cakes so they both have a flat top.
- Before frosting, cover cakes completely in food-safe plastic wrap and refrigerate for two hours. You’ll want the cakes to be firm before frosting so that they don’t crumble or tear while spreading frosting.
- To make the frosting: In a large bowl beat the confectioners’ sugar, butter and vanilla extract on high speed until light and fluffy (about 5 minutes). If the frosting seems too thick to spread smoothly onto the cake, beat in a tablespoon of heavy cream.
- Place a bit of frosting (about 2 tablespoons spread thin) on a cake board or cake plate then place one cake (cut side facing up) on top of that frosting. This thin layer of frosting helps prevent the cake from sliding off the cake board or cake plate while you’re decorating it.
- Add a generous layer of frosting on top of that first layer then place the second layer (bottom facing up) on top of the first layer. You’ll now have a two-layer cake.
- Frost a thin layer of frosting around the top and sides of cake. This first layer of frosting is called the “crumb coat”. This crumb coat is meant to secure all the crumbs to the cake so you don’t have crumbs showing in your final layer.
- Place the lightly frosted cake in the freezer for 10 minutes so the crumb coat hardens up a bit before frosting the final layer.
- Remove cake from freezer and frost the cake with the final layer of frosting. Decorate the cake as you like. I added a little pink food coloring to some of my frosting then piped swirls around the top cake border. I used a Wilton 1M tip.
Notes
- Use the spoon and level method or a kitchen scale when measuring your flour.
- Refrigerating the cake helps prevent it from crumbling.
- Use a cake scraper when you want to smooth out your icing.
- You can use canned frosting if desired. Be sure to whip it first so it’s easier to smooth out over the cake. You may need more than one can.
- Use room temperature ingredients for best results.
Nutrition
Nutritional Disclaimer
“The Country Cook” is not a dietician or nutritionist, and any nutritional information shared is an estimate. If calorie count and other nutritional values are important to you, we recommend running the ingredients through whichever online nutritional calculator you prefer. Calories and other nutritional values can vary quite a bit depending on which brands were used.


Have been looking for a white cake recipe that is firm. For my birthday my mom made me a white cake with real fudge for icing made from scratch. She was a master at making fudge. I have worked at it and wanted to make this for my kids.
Just want to know if cake flour can be used in this recipe
Hi Latisha! I’ve never personally tried it but I can’t see why it wouldn’t work.