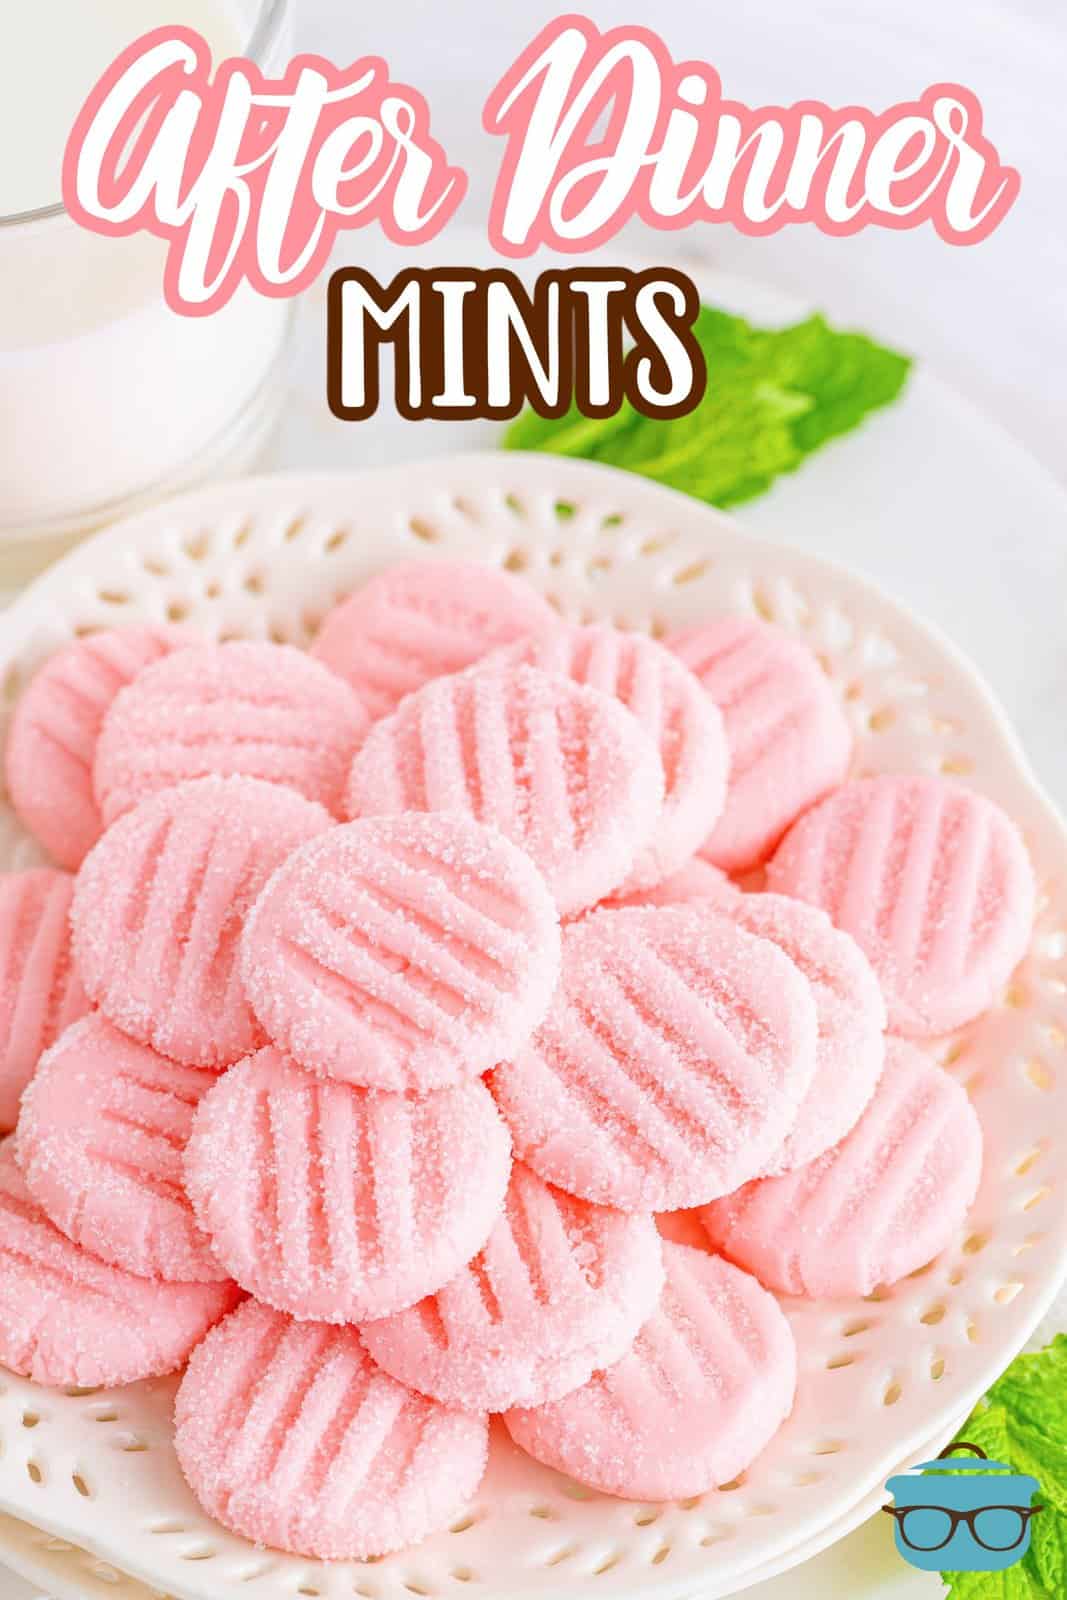
After Dinner Mints
This Homemade After Dinner Mints recipe is a delicious no-bake recipe that whips up in just a few minutes. A perfect after meal sweet treat!
A CREAMY, MINTY AFTER DINNER TREAT
These little mints make a perfect gift. Not only are they easy to make but they can be all be made and ready to go within an hour! I love to give these as gifts. They are so beautiful and are often an unexpected gift as most people don’t know they can make their own mints! I will usually wrap these up and print the recipe out to give along with the after dinner mints.
FREQUENTLY ASKED QUESTIONS:
If you keep them the same size I did, you will get 7 dozen mints from this recipe.
Absolutely! These freeze beautifully. I would flash freeze them on the baking tray for about 30 minutes. Then pop them into a freezer safe container or tray (this process will keep them from sticking together). They will keep for up to 3 months!
Yes. Because of the cream cheese in the mixture, they do need to be kept refrigerated. However, if you are putting them out for a party or giving them as a gift, they can certainly sit out for a few hours with no harm .
Absolutely. You don’t even need to add food coloring if you don’t want. These can be a lot of fun to color during the holidays. You can change up the colors to match the holiday.
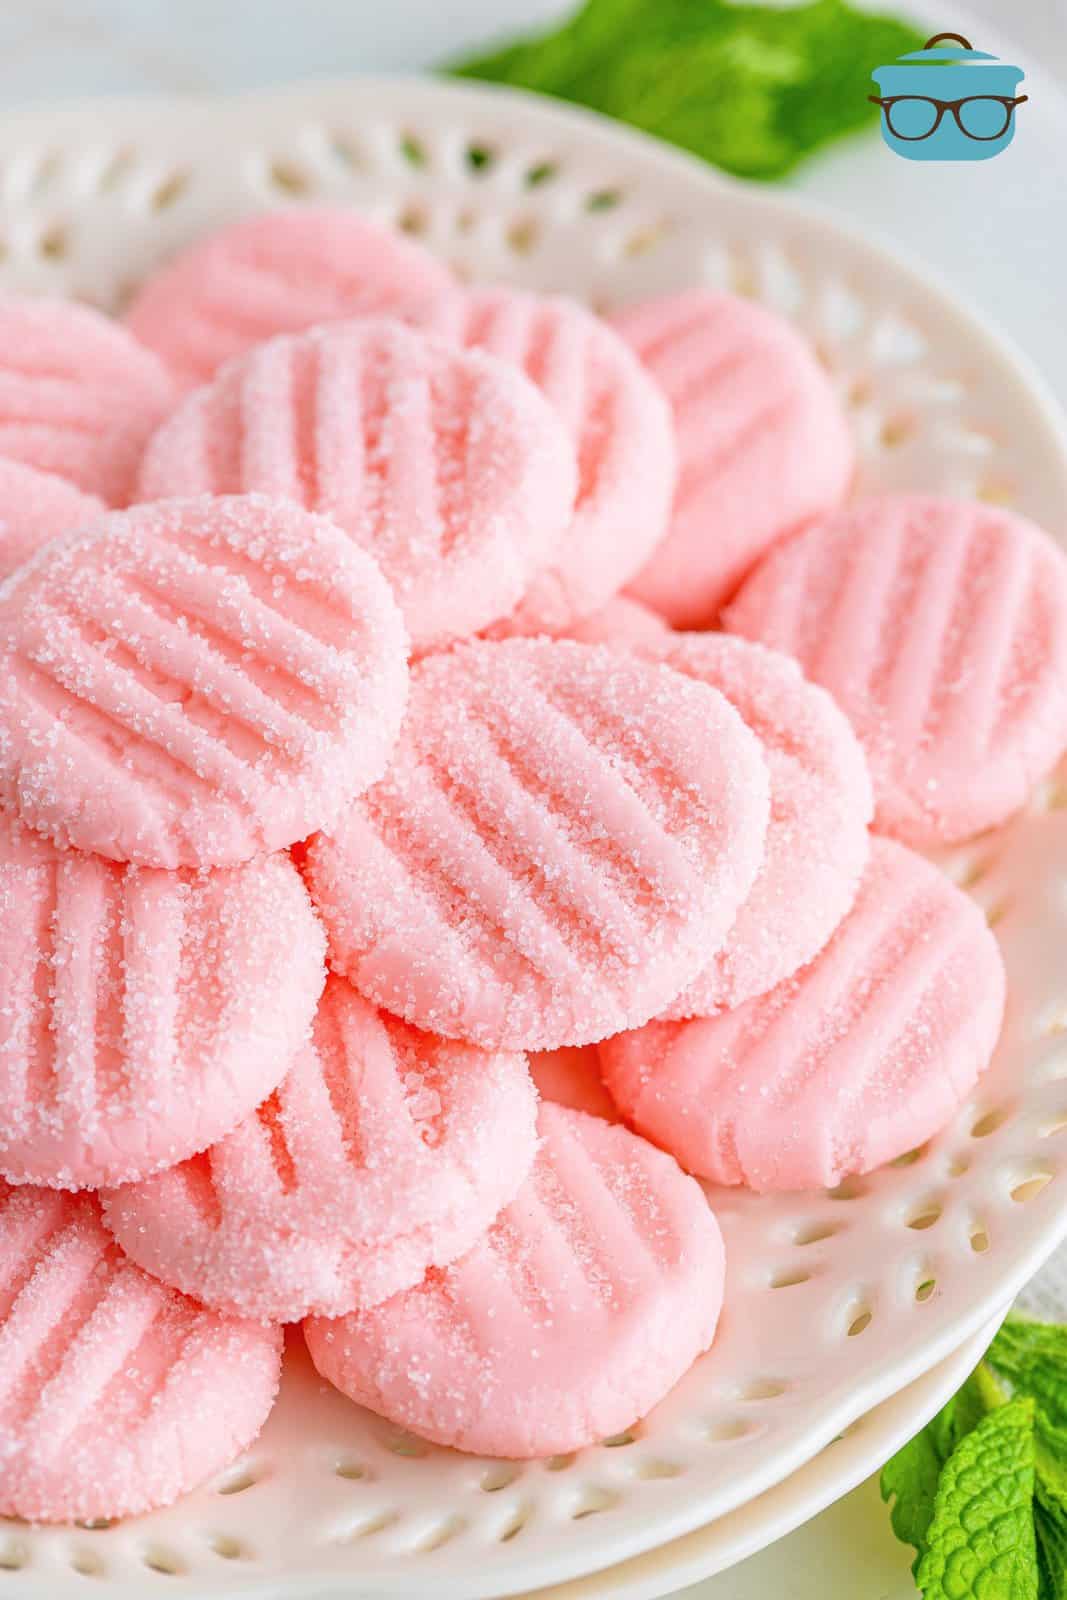
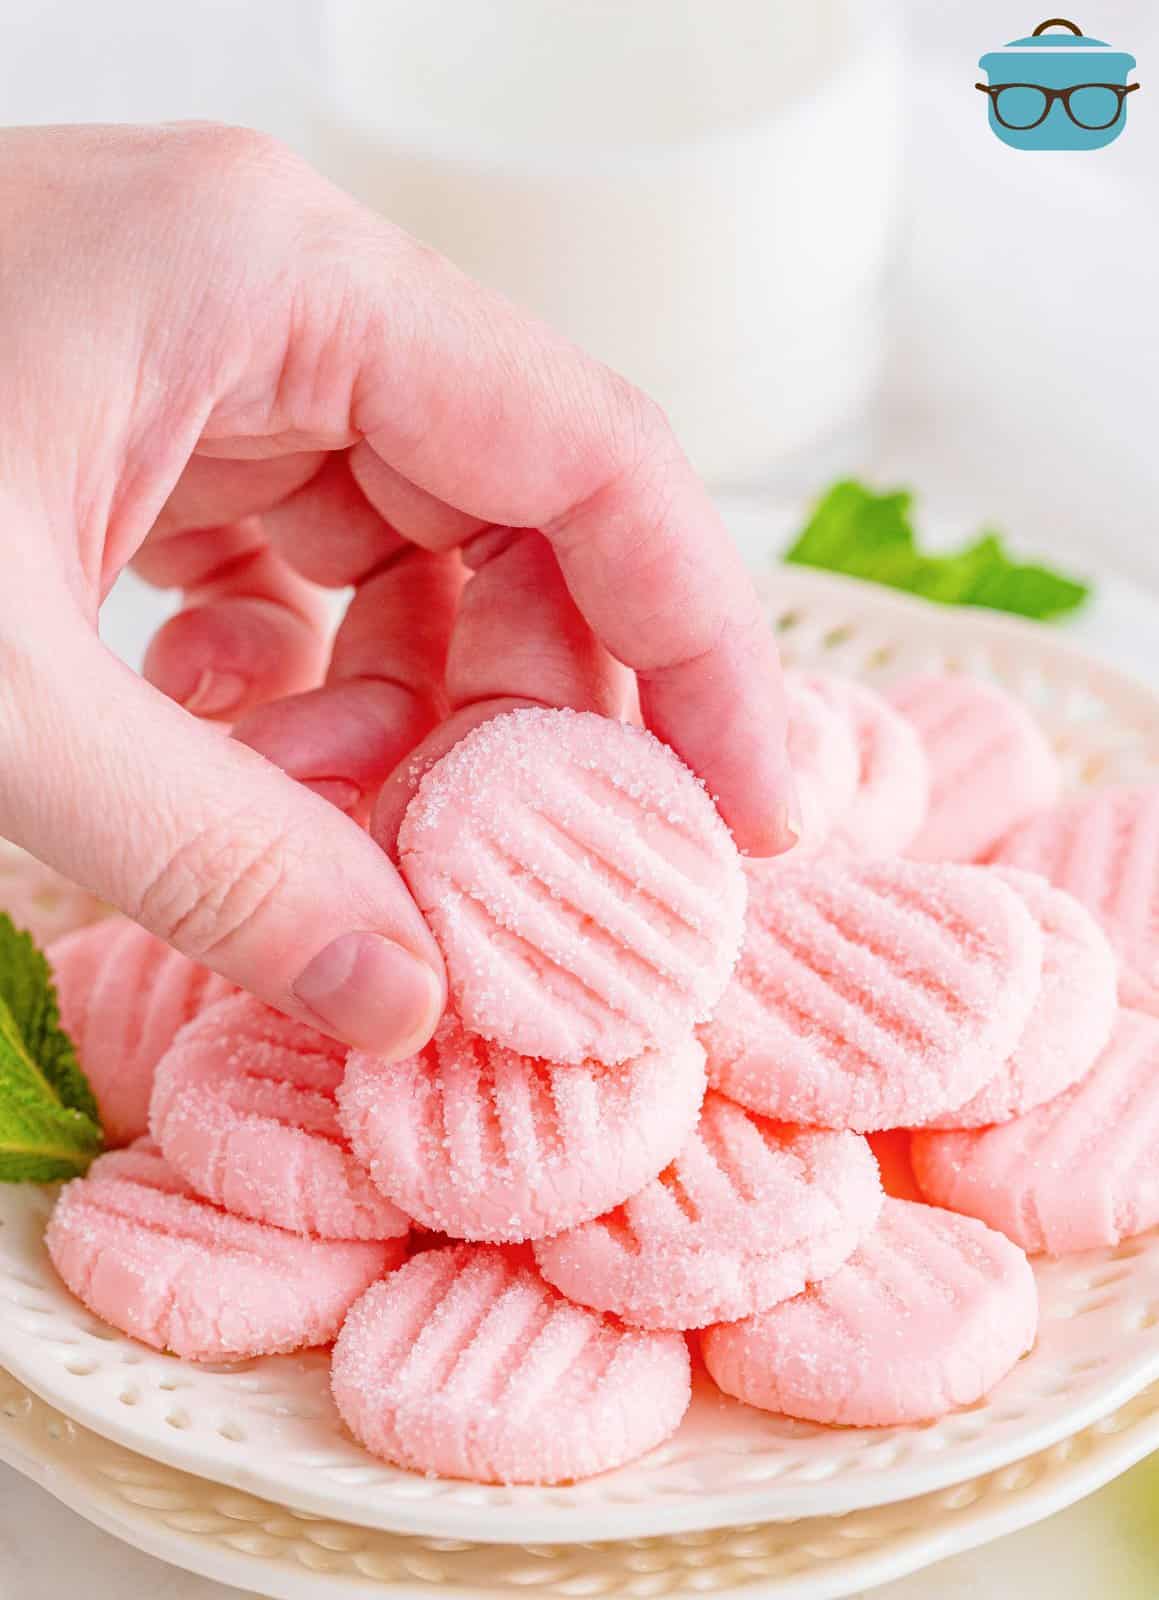
They have an ever so slight crunchy exterior due to the sugar coating but they are soft and creamy and easy to eat. They have a light mint taste that isn’t overpowering.
INGREDIENTS NEEDED: (SEE RECIPE CARD BELOW FOR THE FULL RECIPE)
- cream cheese
- mint extract
- red food color
- powdered sugar
- milk
- granulated sugar

HOW TO MAKE HOMEMADE AFTER-DINNER MINTS:
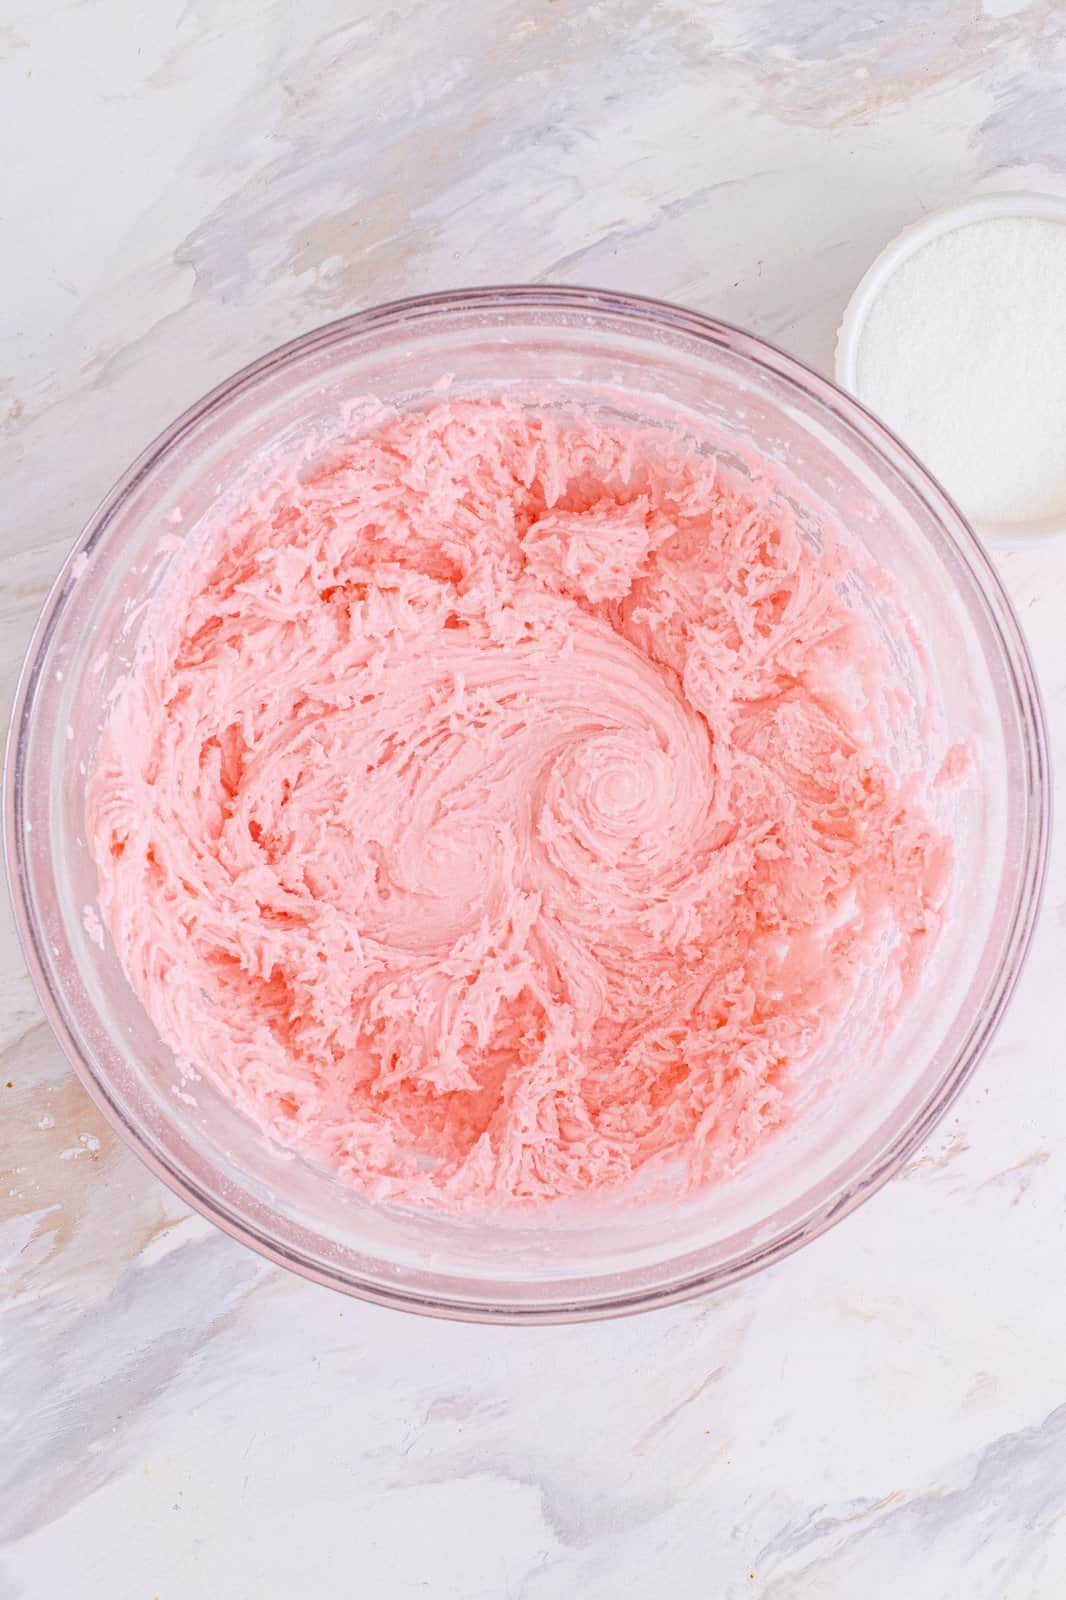
Using an electric or stand mixer, combine softened cream cheese with mint extract and food coloring. Beat until smooth and creamy. Add more food color if necessary to get it to the color you like.
Slowly begin to add powdered sugar. Keep mixer on low to keep the powdered sugar from flying everywhere.
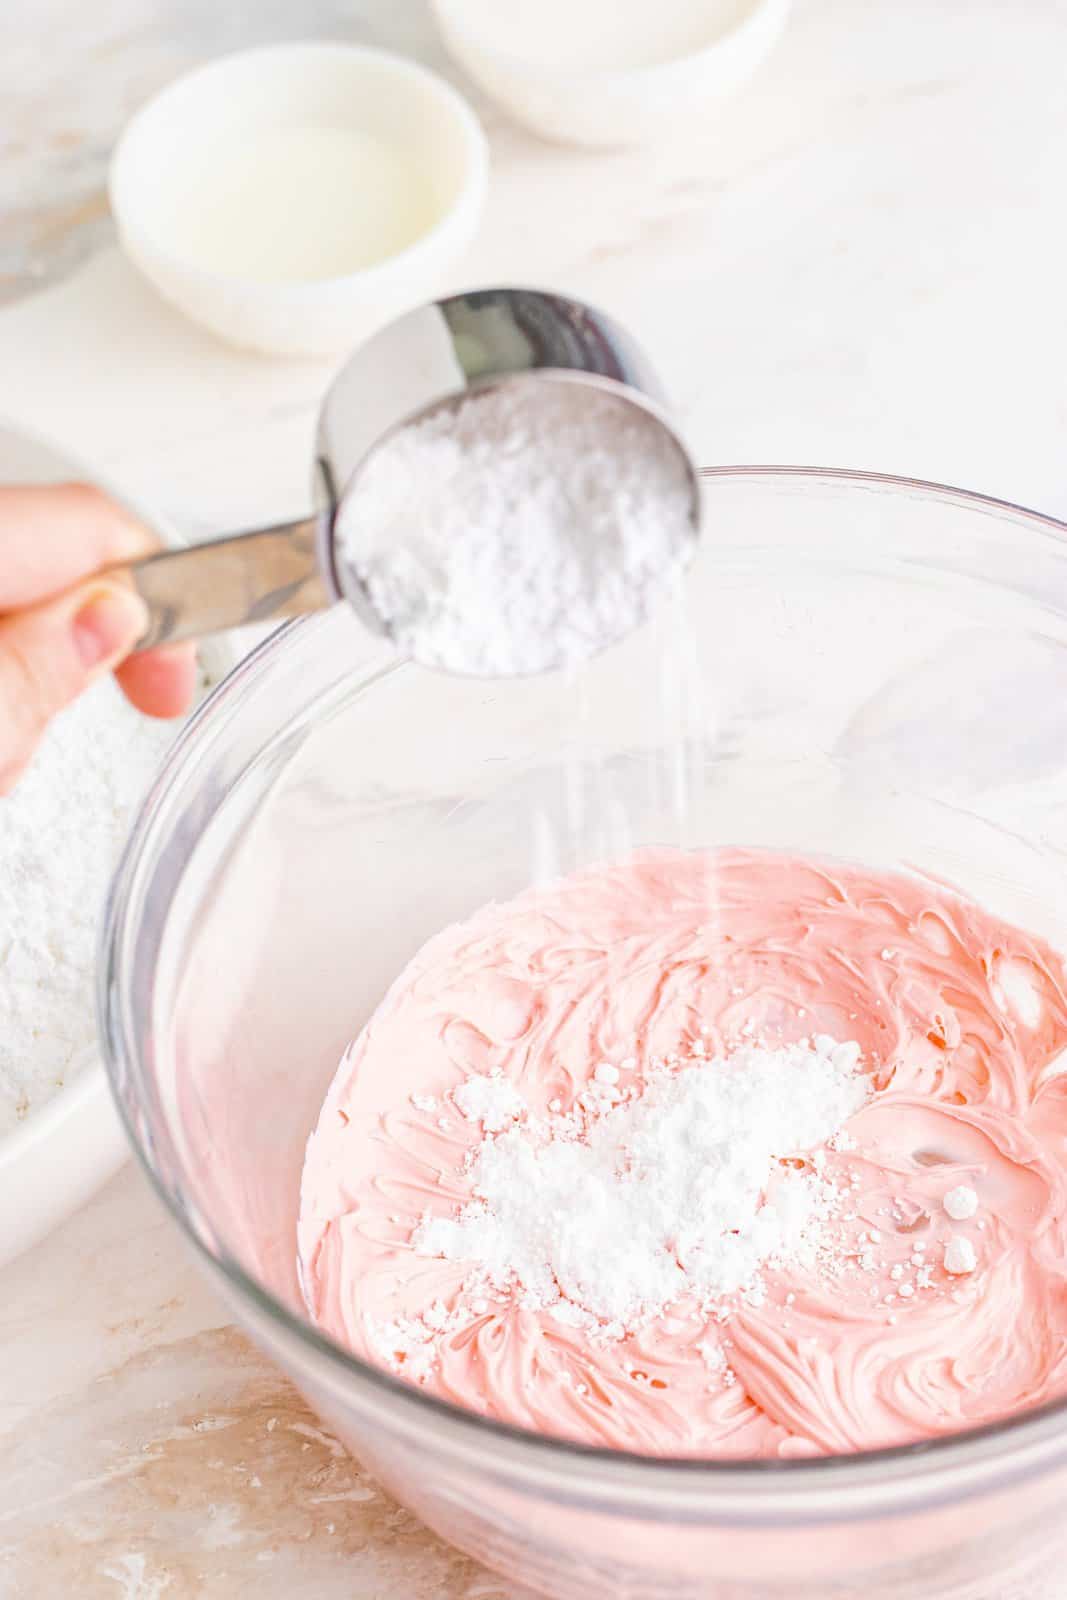
Once you’ve added the powdered sugar, and your mixture is crumbly, you’ll need to add some milk. Add just one tablespoon at a time to get the right consistency. Mixture should be very stiff. Once it starts to pull away from the sides of the bowl, you are good to go.

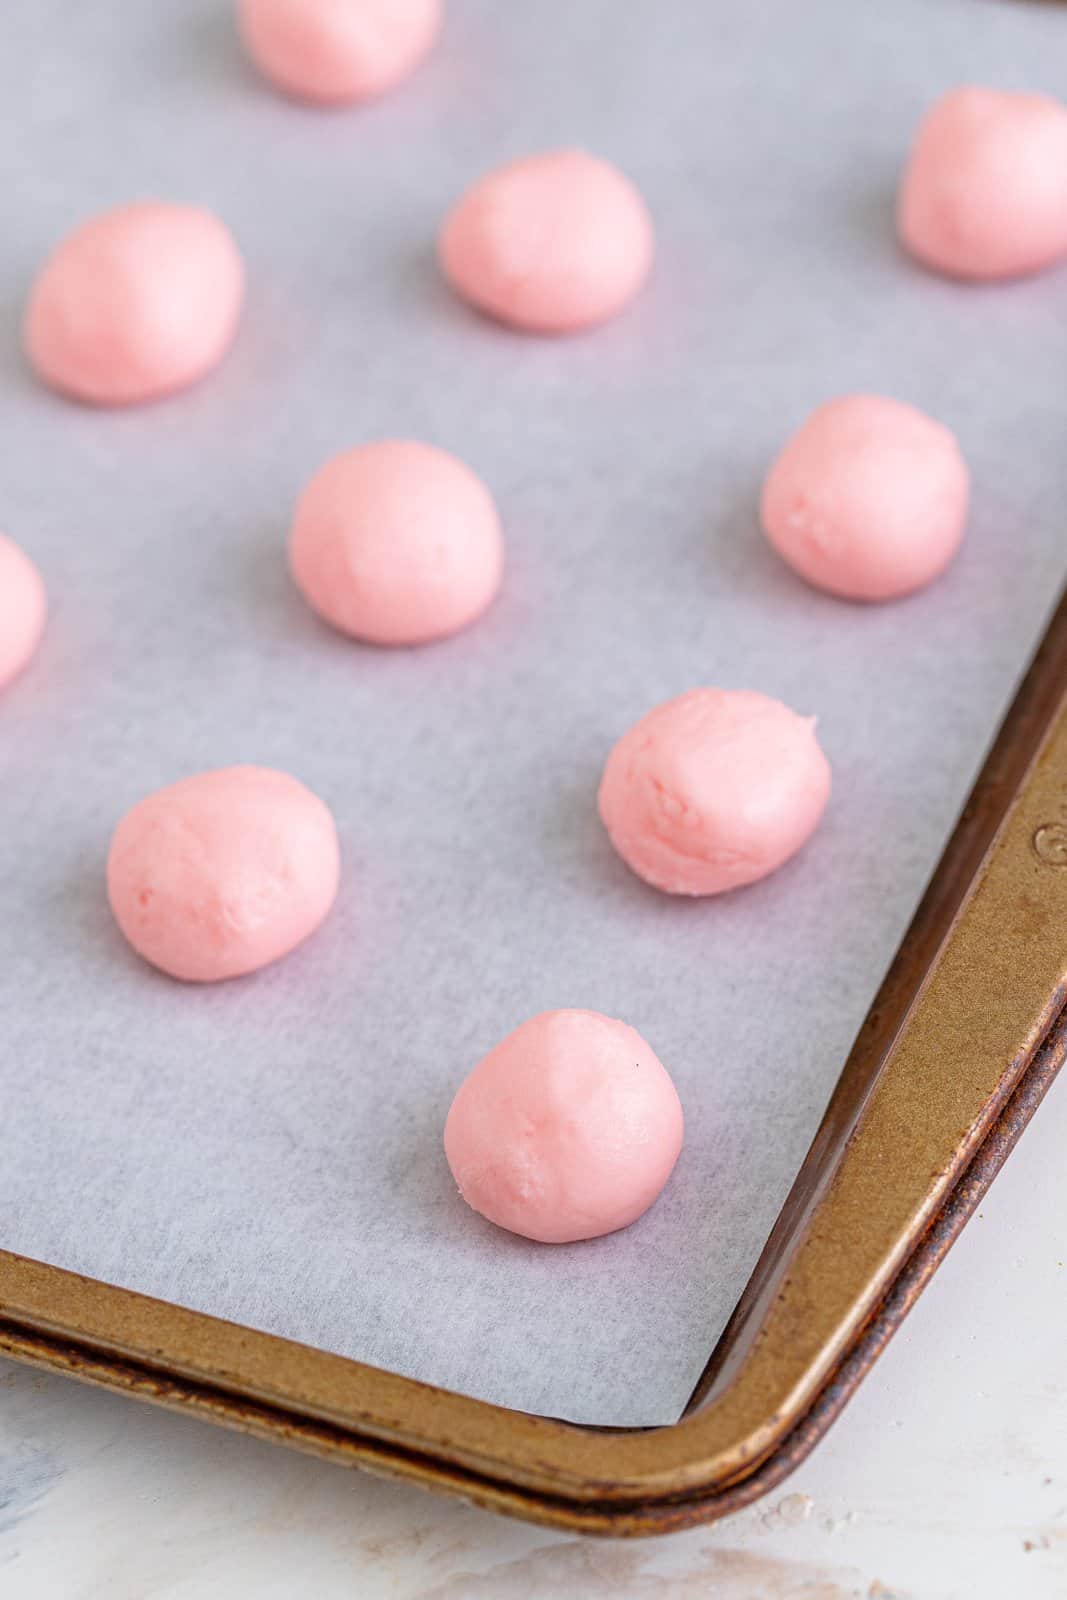
To make the mints, take about a teaspoon of the mixture and roll into a ball. You really don’t want really big mints. Most folks prefer smaller, bite-sized mints.
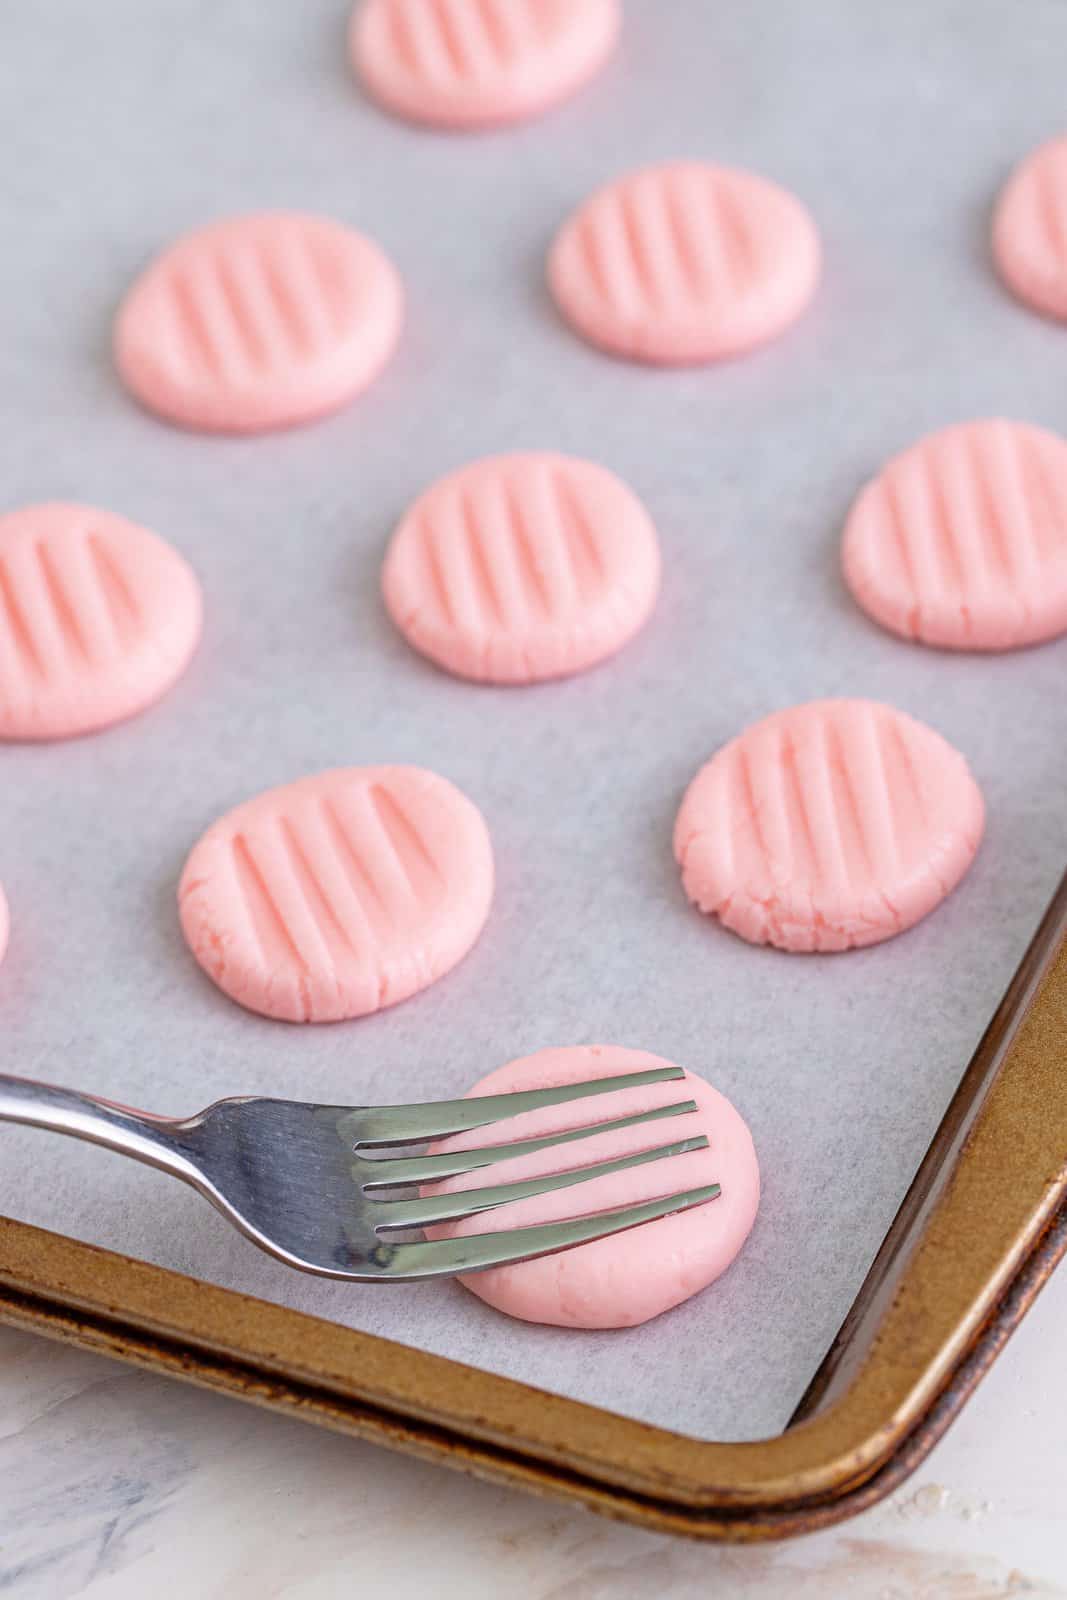
Then, using the palm of your hand, gently smoosh down the ball until it’s flattened to about a 1/4″ thick. Then press the back of a fork lightly on the mints to form ridges. Just like when you are making peanut butter cookies.
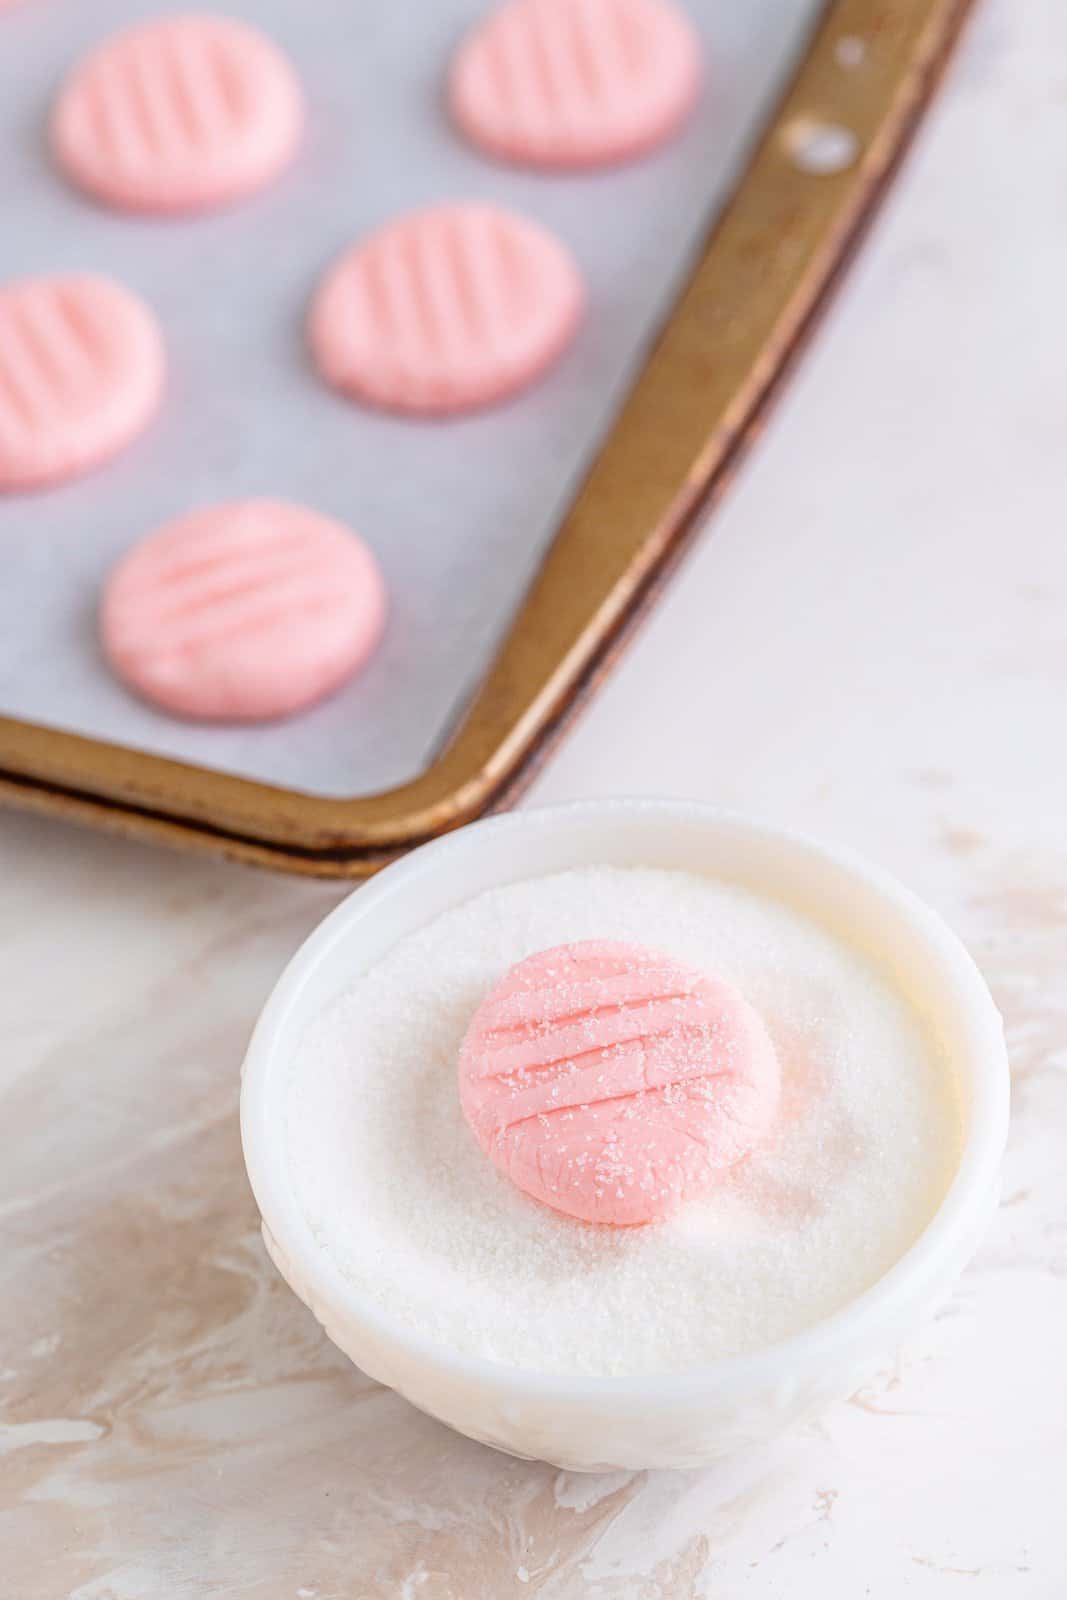
Roll each one in sugar.
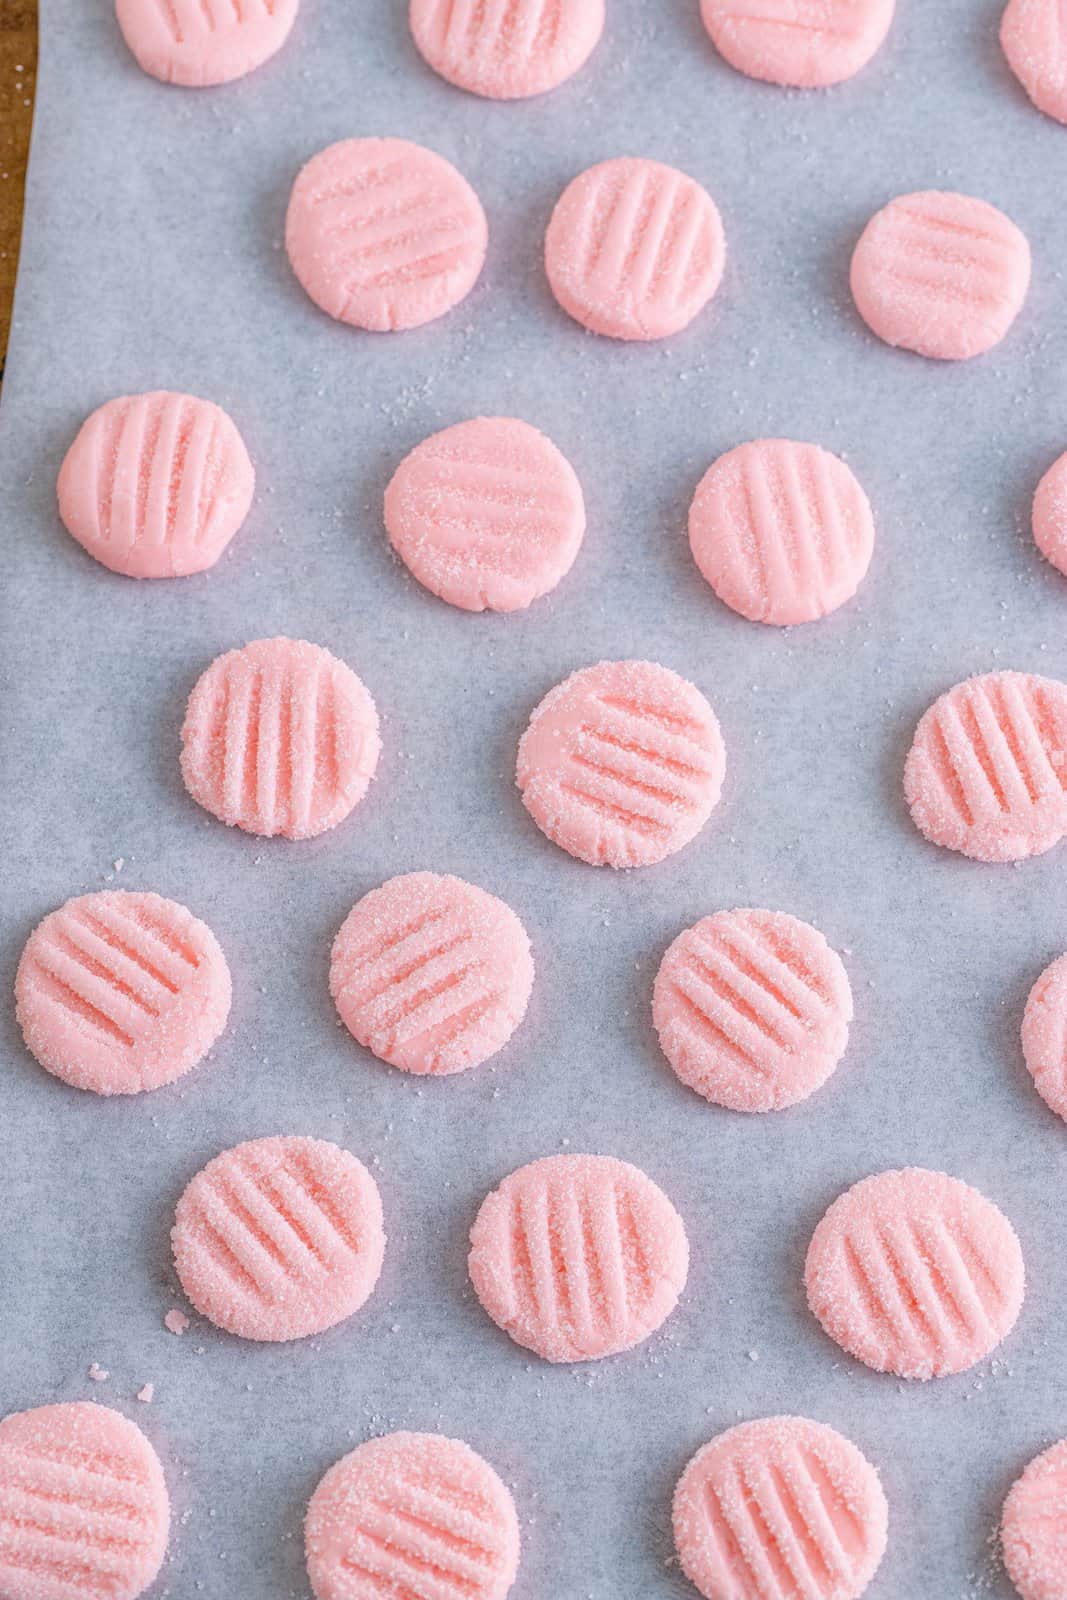
Then pop the trays in the refrigerator to cool and harden.
Store mints in the refrigerator.
CRAVING MORE RECIPES?
Originally published: February 2014
Updated and republished: September 2022

After Dinner Mints
Ingredients
- 4 ounce (1/2 block) cream cheese, softened
- ¼ teaspoon mint extract
- 2-3 drops red food color
- 4 cups powdered sugar
- 1-2 Tablespoons milk
- granulated sugar
Instructions
- Using an electric or stand mixer, combine softened cream cheese with mint extract and food coloring. Beat until smooth and creamy (adding more food color, if necessary).
- Slowly begin to add powdered sugar.
- Keep mixer on low to keep the powdered sugar from flying everywhere.
- Once you’ve added the powdered sugar, and your mixture is crumbly, you’ll need to add some milk.
- Add just one tablespoon at a time to get the right consistency. Mixture should be smooth but very stiff.
- Once it starts to pull away from the sides of the bowl, you are good to go.
- To make the mints, take about a teaspoon of the mixture and roll into a ball.
- Then, using the palm of your hand, gently smoosh down the ball until it’s flattened to about a 1/4″ thick.
- Then press the back of a fork lightly on the mints to form ridges.
- Roll each mint in granulated sugar and then pop them in the refrigerator to cool and harden.
- Once cooled, they are ready to eat!
Notes
- Keep mints stored mints in the refrigerator.
- These freeze really well also!
- This recipe makes 7 dozen
Nutrition
Nutritional Disclaimer
“The Country Cook” is not a dietician or nutritionist, and any nutritional information shared is an estimate. If calorie count and other nutritional values are important to you, we recommend running the ingredients through whichever online nutritional calculator you prefer. Calories and other nutritional values can vary quite a bit depending on which brands were used.


These were a huge hit for the holidays! Everyone has asked that I make them again for Easter!
Love the simplicity of this recipe! I’m going to try it today ☺️
Do you think I would be able to put these through a cookie press?
Thank you!
-HD
That’s a good question. It might be a bit too thick for that but I’d love to know how it goes if you try it – they sure would be pretty!
Can these be made without a hand mixer & just a lot of elbow grease or would it not work? Thank you kindly.
Absolutely can do it by hand! Just make sure your cream cheese is fully at room temperature. It’ll make it much easier and smoother
Thank you so much for taking the time to reply, I do appreciate it. Good news – I just got a hand mixer & this will be the first recipe I make with it! I can’t wait to try it!
Gave you 5 stars mostly because I didn’t have to scroll through a dozen pictures and anecdotes before getting to the recipe.
Also, the recipe is delicious.
Do you have to keep them in the fridge after you make them, or would air tight container be okay? Thinking of gifting them, but don’t want them to not be refrigerated if they need to be.
These turned out great! I found it easier to first roll the balls in sugar then squish them with a fork.
Another thing you can do is melt some chocolate and dip half of it into chocolate and put on tray to set
These sound so good and simple
to make! They look so soft and pretty. Thanks for sharing…your pics are great!
My sister used to make these for baby showers. She had candy molds in the shape of booties. They were always yummy and never any left over.
Hi Susan! Love that you kept them in the round shape. Thanks so much for letting me know how they turned out for you. So happy you and your son loved them!
I made these today for a travel snack (we are about to embark on a 1500 mile trip one way) and as part of my upcoming Twelve Days of Christmas in July. My four-year-old son loved making them and is loving eating them. (I'm hoping there will be enough for the trip at the rate he…and I…are eating them). I did not press them or use the fork tines but left them round and dyed them mint green. My son keeps asking for the "green balls."
My mom would make these (aka cream cheese mints) for Thanksgiving and Christmas and sometimes I would help her. We used to find a wide variety of flavors and color coordinate them… green mint, blue coconut, red strawberry, yellow banana or pineapple, orange orange… We would roll them into little balls and then just flatten them slightly so they were about the size and shape of junior mints. I have dipped them in chocolate, but you should partially freeze them before you dip them because the warmth of the chocolate can soften them and cause them to "melt" sometimes. I haven't tried the other cheese, but if it the same consistency a cream cheese it seems like they might work.
What a great idea, I was wondering if you could possibly make these and then dip them into chocolate. kinda of like York peppermint patties.
Brandie, these look really good and seem easy too! I can't wait to make them
Just add a little more powdered sugar.
My batter is supr sticky. I can't roll it. What did I do wrong? Can I fix it?
I wonder about using mint & vanilla for a vanilla-mint! There used to be mints like this that you could buy that had a little frosting rosette on top of each one! At least now we can make the mint. Memories…..
Thank you!
This recipe is simple and yummy. My Great-Aunt uses this recipe. She puts a small amount into a tiny baby bootie mold to make mints for a baby shower. So cute.
I've made the same mints in little heart molds for a wedding. So simply to just roll them out and decorate with fork tines. Love that ideal.
Would it be okay to use Nuefchatel cheese?
I made these a couple of years ago for my daughters teachers for valentines day and they were a HUGE hit. This year we are making them for her friends. I prefer to use butter flavored extract in them (Watkins)and also clear Vanilla works good too. I put mine in heart shaped silicone ice cube trays then when they've started to harden just push them out…Beautiful.
We made these in Foods class when I was in 7th grade, many years ago! Glad to have the recipe once again. My only fear is that they might become addictive!
I made these for our family Christmas cookie exchange and left them white but flavored them with peppermint extract. OMG, I thought my teenage nephews were going to come to blows trying to get enough of them and that was the first batch I had ever made! This is a winner for any holiday or just because!
Such sweet comments – thank you! You can definitely use other extracts. If mint isn't for him, then maybe almond extract or whatever flavor her loves. There are so many extracts to choose from these days! Laurie, hahaa. Love it!!
You could probably use any extract flavor you like, huh? Hubby doesn't like mint 🙁
I am so excited! Hubby and I are SO broke this month that we were not going to be able to do anything for valentines. Now we can as I already have all these ingredients! Thank you for the perfect timing!
These are gorgeous…yum!!
These are so fun and pretty!