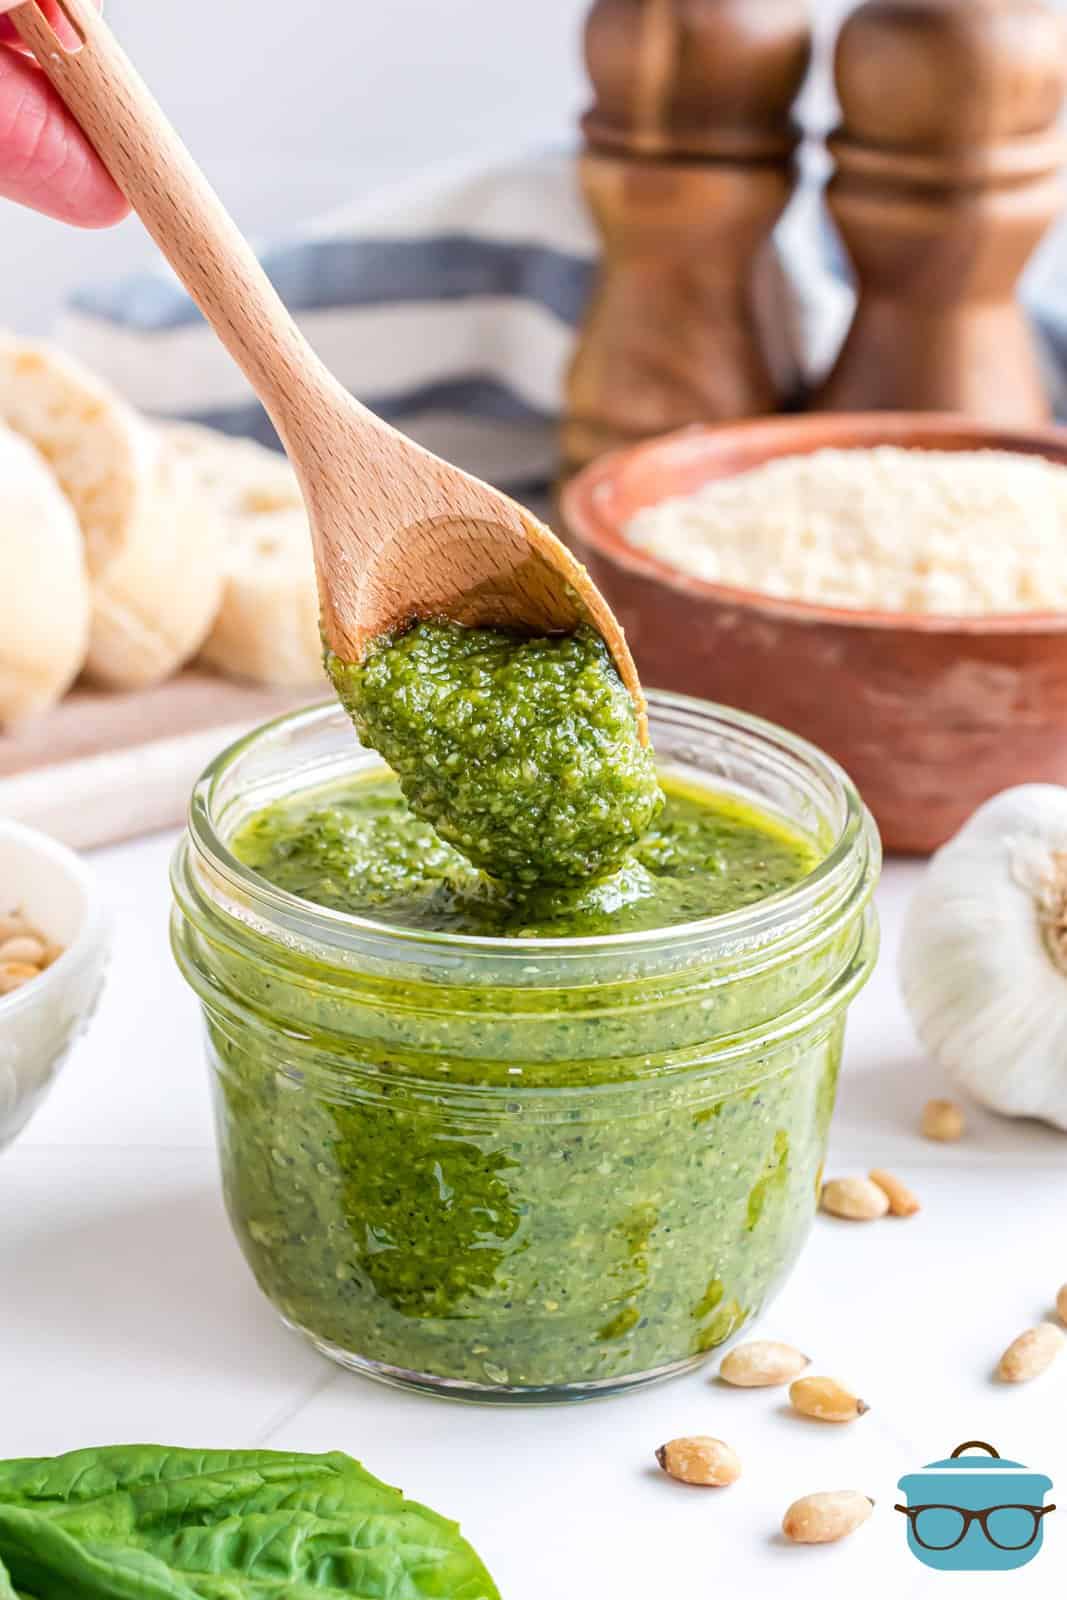
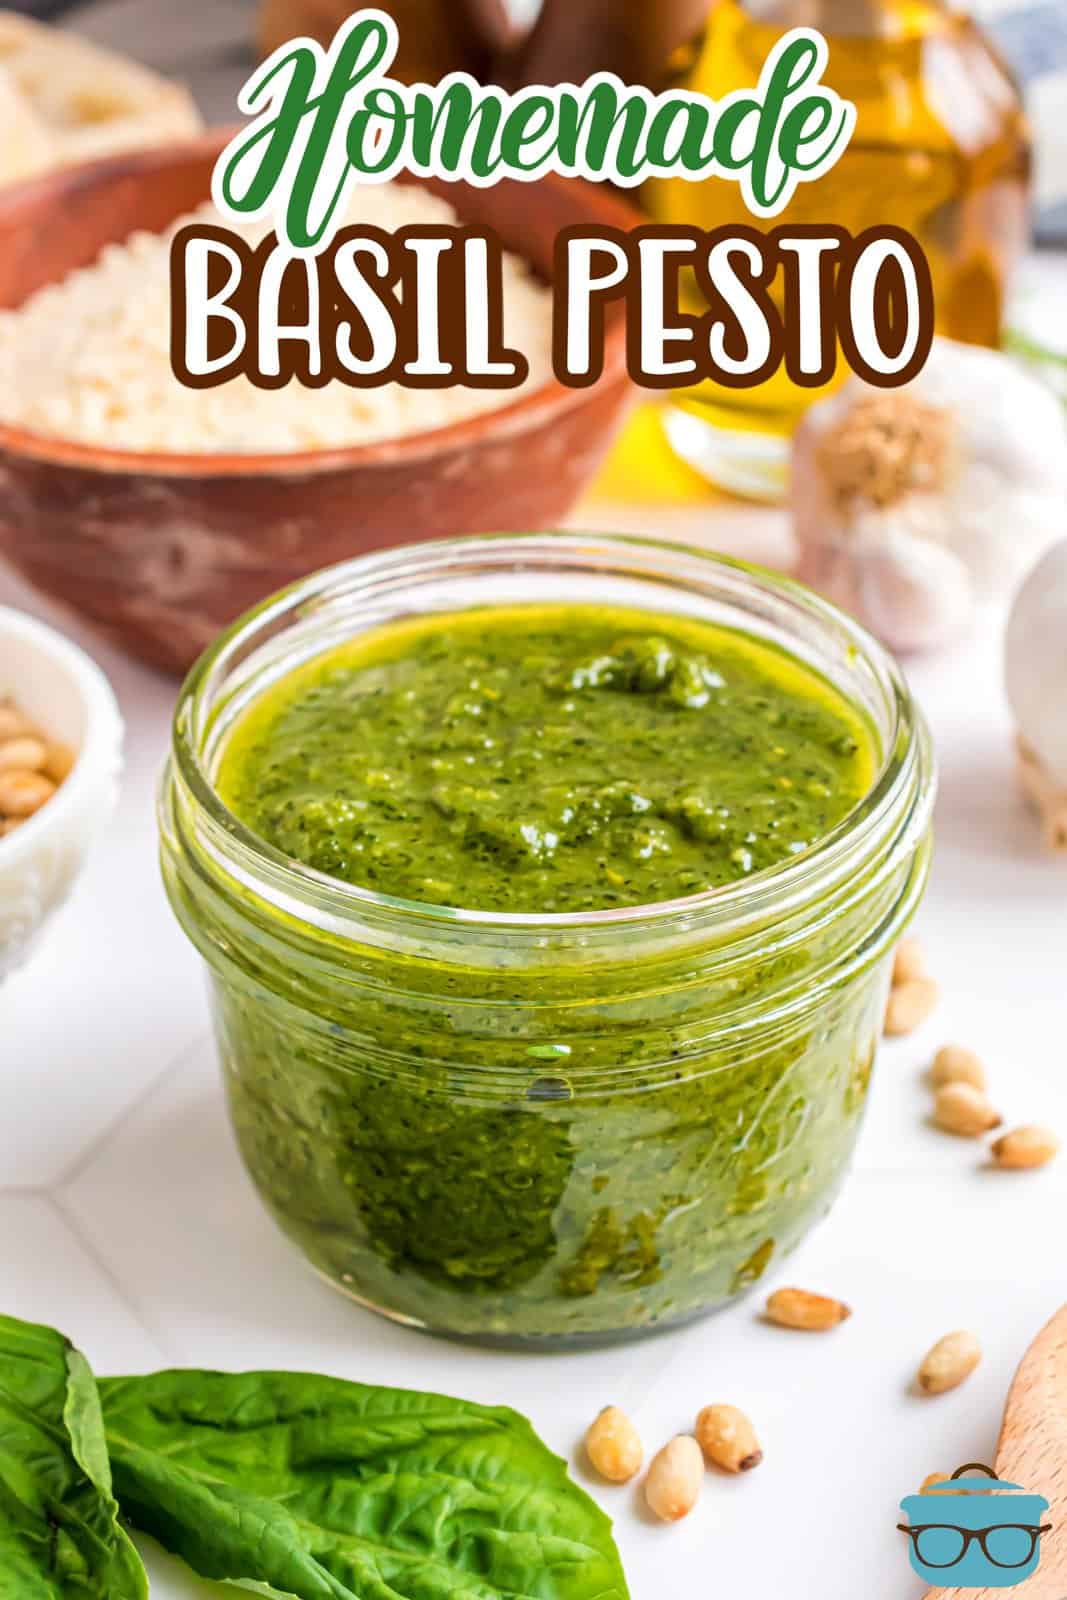
Pesto Sauce
Pesto Sauce can be used in so many recipes, so why not make your own in just a few minutes with this super easy recipe!
GOT FRESH BASIL? THIS RECIPE IS FOR YOU!
Do you love the flavor of homemade pesto and want to learn how to make it yourself? Y’all know that I have no problem with the store-bought pesto and I use it in lots of recipes but there is just something about making it fresh that really knocks your socks off! I promise you that this homemade pesto sauce will quickly become a favorite in your kitchen—it’s perfectly balanced with the flavors of garlic, Parmesan cheese, pine nuts, extra virgin olive oil and fresh basil leaves! With just a few simple steps, you’ll be able to whip together this in no time at all!
FREQUENTLY ASKED QUESTIONS (FAQ’S)
Basil Pesto has an endless amount of things you can use it on. You can use it as a spread, as a dip, or an addition to sauce and more. Here are a few of our favorite recipes to add it in and ways to use it:
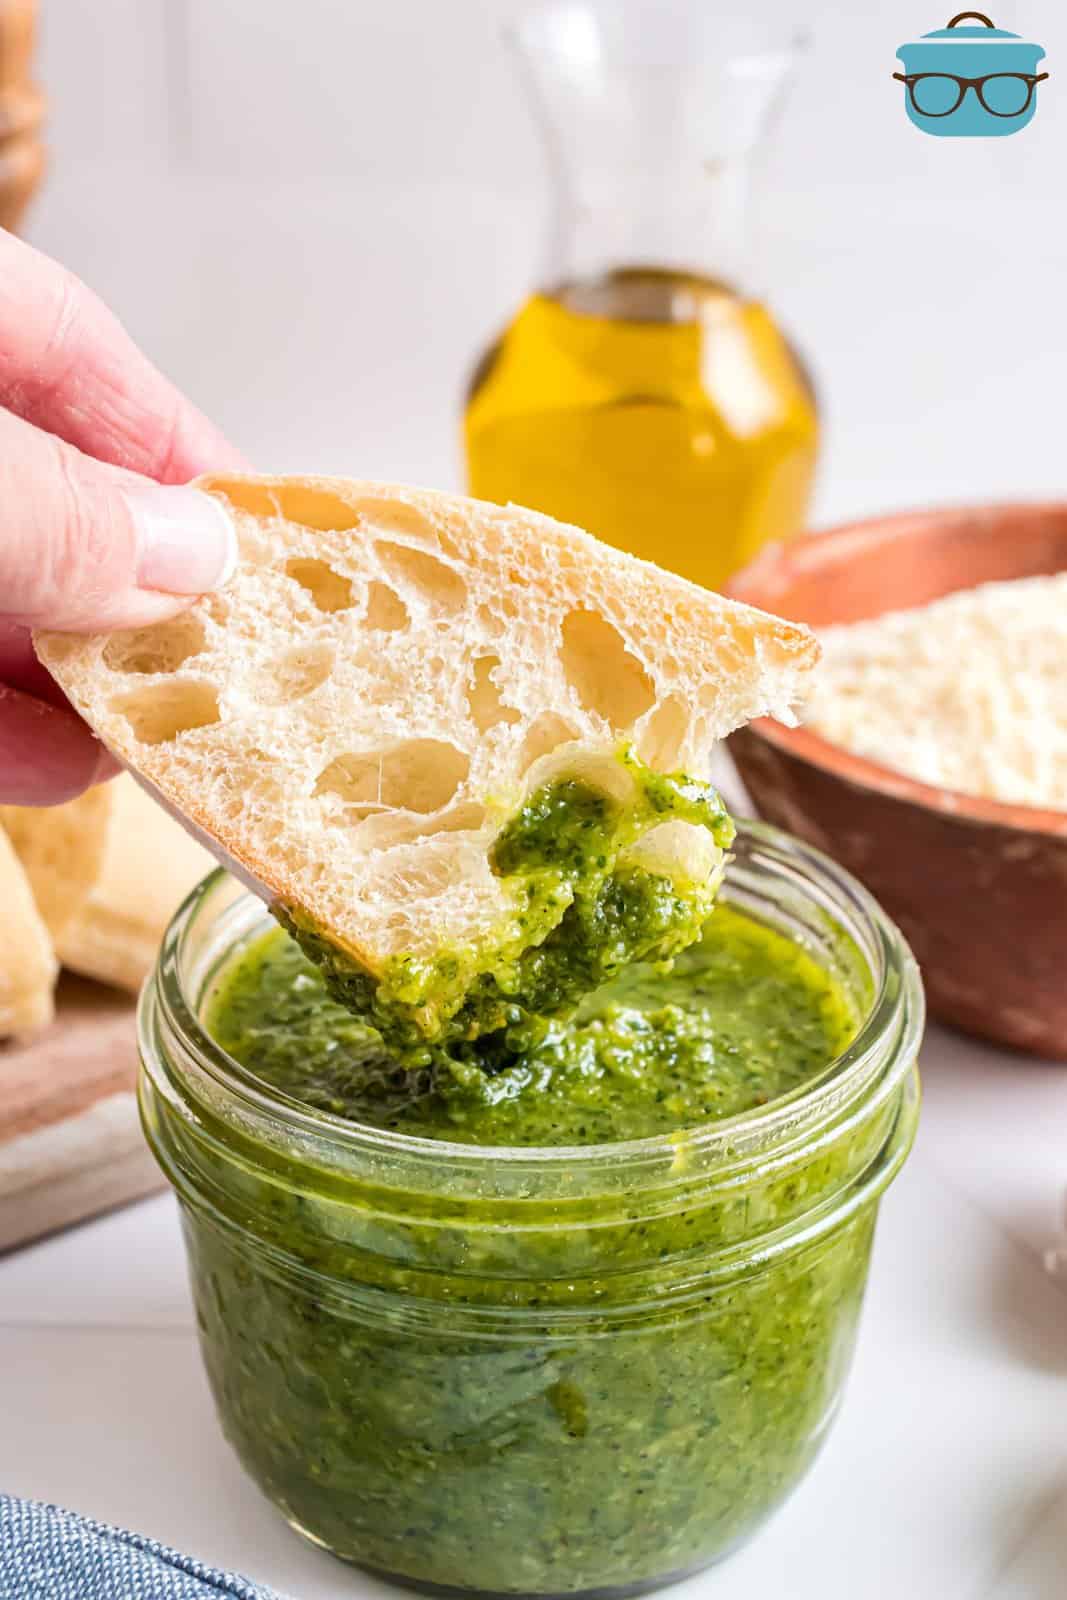
– Use your pesto as a dip for bread
– Spread the pesto on a crostini or other crunchy bread topped with fresh tomatoes and shredded cheese
– Add it to your our favorite pasta
– Stir the pesto into soups for extra flavor
– Add it to your pizza toppings or as a pizza sauce
– Add it to veggies or stuffed in chicken
– Top salmon with it
– Use it as a marinade for meat
– Use it as a spread for sandwiches
– Add it to sour cream or some Greek yogurt and use it as a dip
– Try using it in any of these recipes Caesar Basil Pasta Salad, Italian Sub Squares, Tuscan Chicken Pasta and Italian Gnocchi Soup.
Yes, you should rinse the basil before using it and pat it dry with a paper towel. No need to submerge it in water though.
I like to use olive oil. That is the traditional oil to use. You can use a lighter tasting one if that is what you prefer. I would pick an oil that doesn’t have a really heavy flavor.
While this is an optional step, I really suggest trying it because it brings a fantastic flavor to pesto. To toast your pine nuts, add to a medium skillet (you don’t need oil or butter) over medium-low heat for 6-7 minutes. Stir them frequently and watch them closely because they can burn fast and easily.
If you can’t find them or don’t want to use them, you can skip them or replace them.
If you’re omitting them, start with only a ⅓ cup of olive oil and add more to your pesto as needed. If you’re need to replace them, you can use walnuts, cashews, or even almonds.
It’s completely normal for pesto to change color and get darker. It can even turn brown in the refrigerator from oxidation. But, this is all normal and will not change the flavor of your pesto.
However, if you don’t want to let your pesto change color, you can add a thin layer of olive oil on top to help keep a barrier from the air. In addition to that, you can add about a Tablespoon of lemon juice to your pesto when blending to help act as a preservant.
Finally, you can really ensure your pesto stays a beautiful green by blanching the basil leaves for 30 seconds and then immediately plunging them in ice cold water before wringing them out completely before making pesto with them.
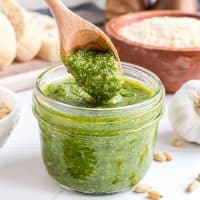
Pesto should be stored in an airtight container in the fridge for up to a week. It’s okay if it turns to a dark green color, this will not impact the taste. You can preserve your pesto even longer by freezing it.
There are two ways to freeze your pesto. Depending on how you plan to use it, one of these ways may be better for you than the other. First, you can freeze pesto in an airtight, freezer safe container for 6 months, or longer.
Or, you can transfer your pesto into ice cube trays and freeze it that way. Once the cubes of pesto have frozen, pop them out and for easier, more convenient serving sizes. Each cube is about 2 Tablespoons of pesto. All of the cubes can be placed in a freezer safe container and kept in the freezer for easy storing.
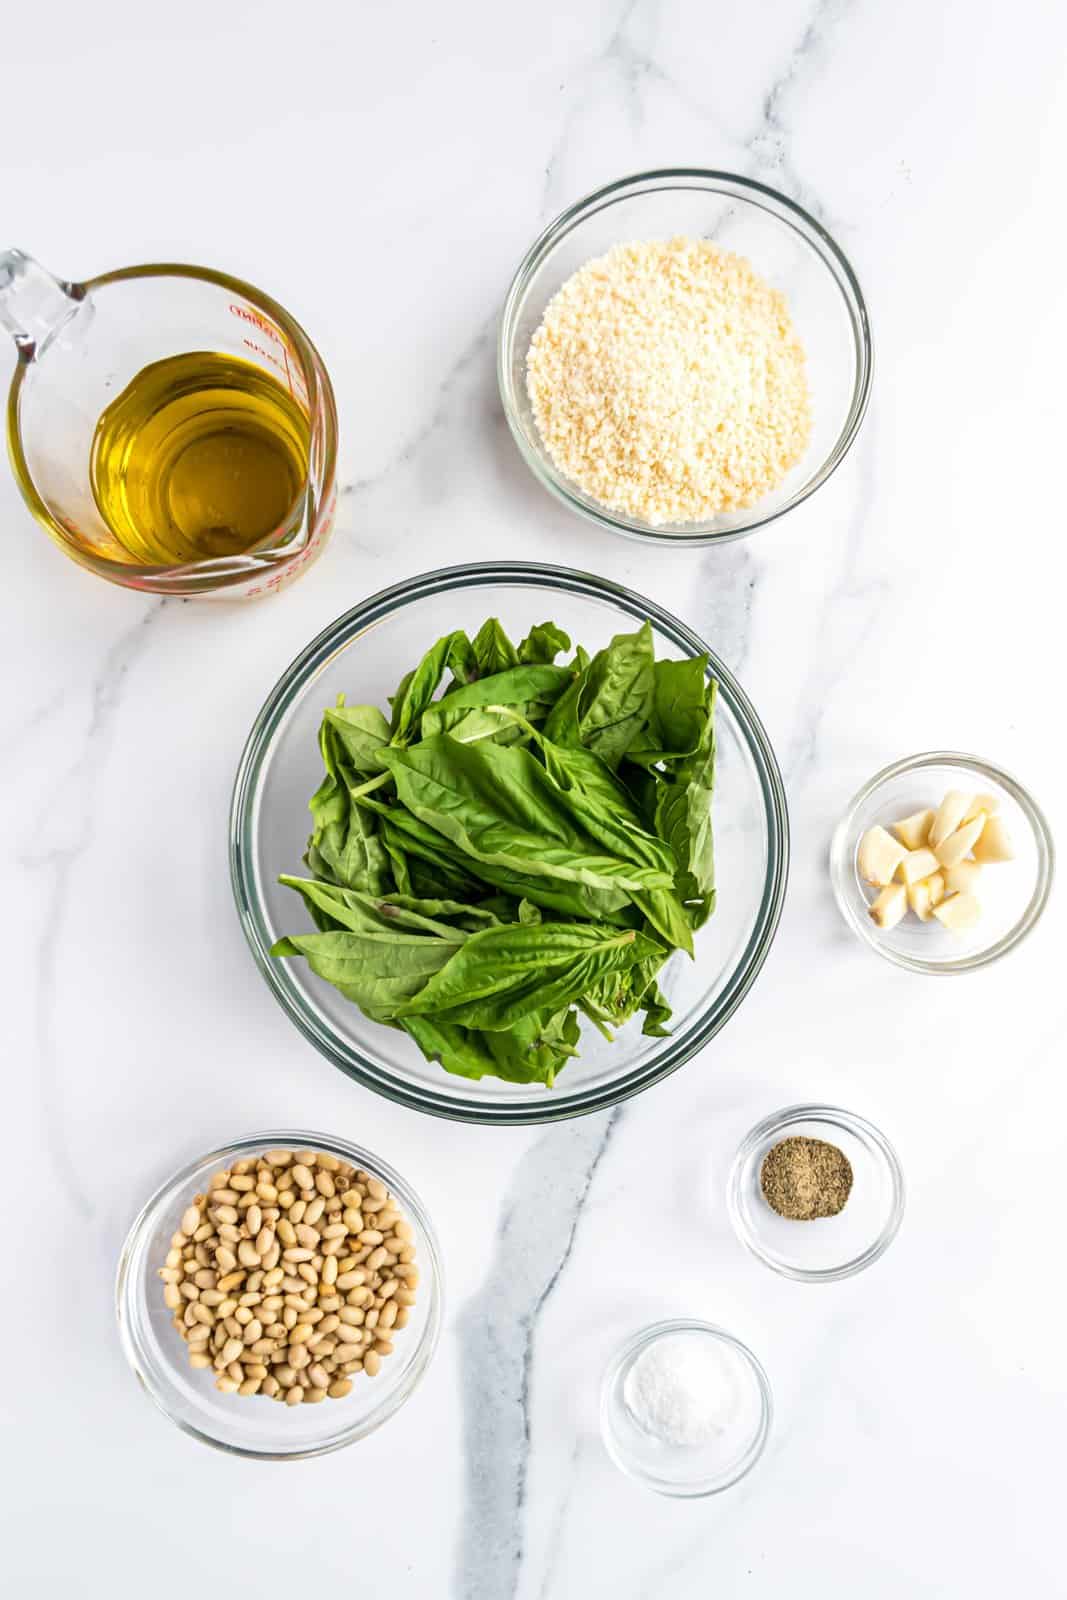
INGREDIENTS NEEDED: (SEE RECIPE CARD BELOW FOR THE FULL RECIPE)
- fresh basil leaves – it’s really important you use fresh basil here (not frozen or dried) – look for bright green leaves without any dark spots.
- garlic – fresh garlic here – not jarred or garlic powder. I have no issue with jarred garlic (I love it) but this really makes a difference in taste in pesto – trust me.
- pine nuts – these are optional but are included in traditional pesto – you can usually find them in the baking aisle along with the other nuts in your grocery store.
- Parmesan cheese – again, go with freshly grated here. You want a bright fresh flavor with pesto so these little things make a big difference in taste
- olive oil – I use extra virgin but you can go with whatever olive oil flavor you enjoy. A light tasting olive oil works just fine!
HOW TO MAKE PESTO SAUCE
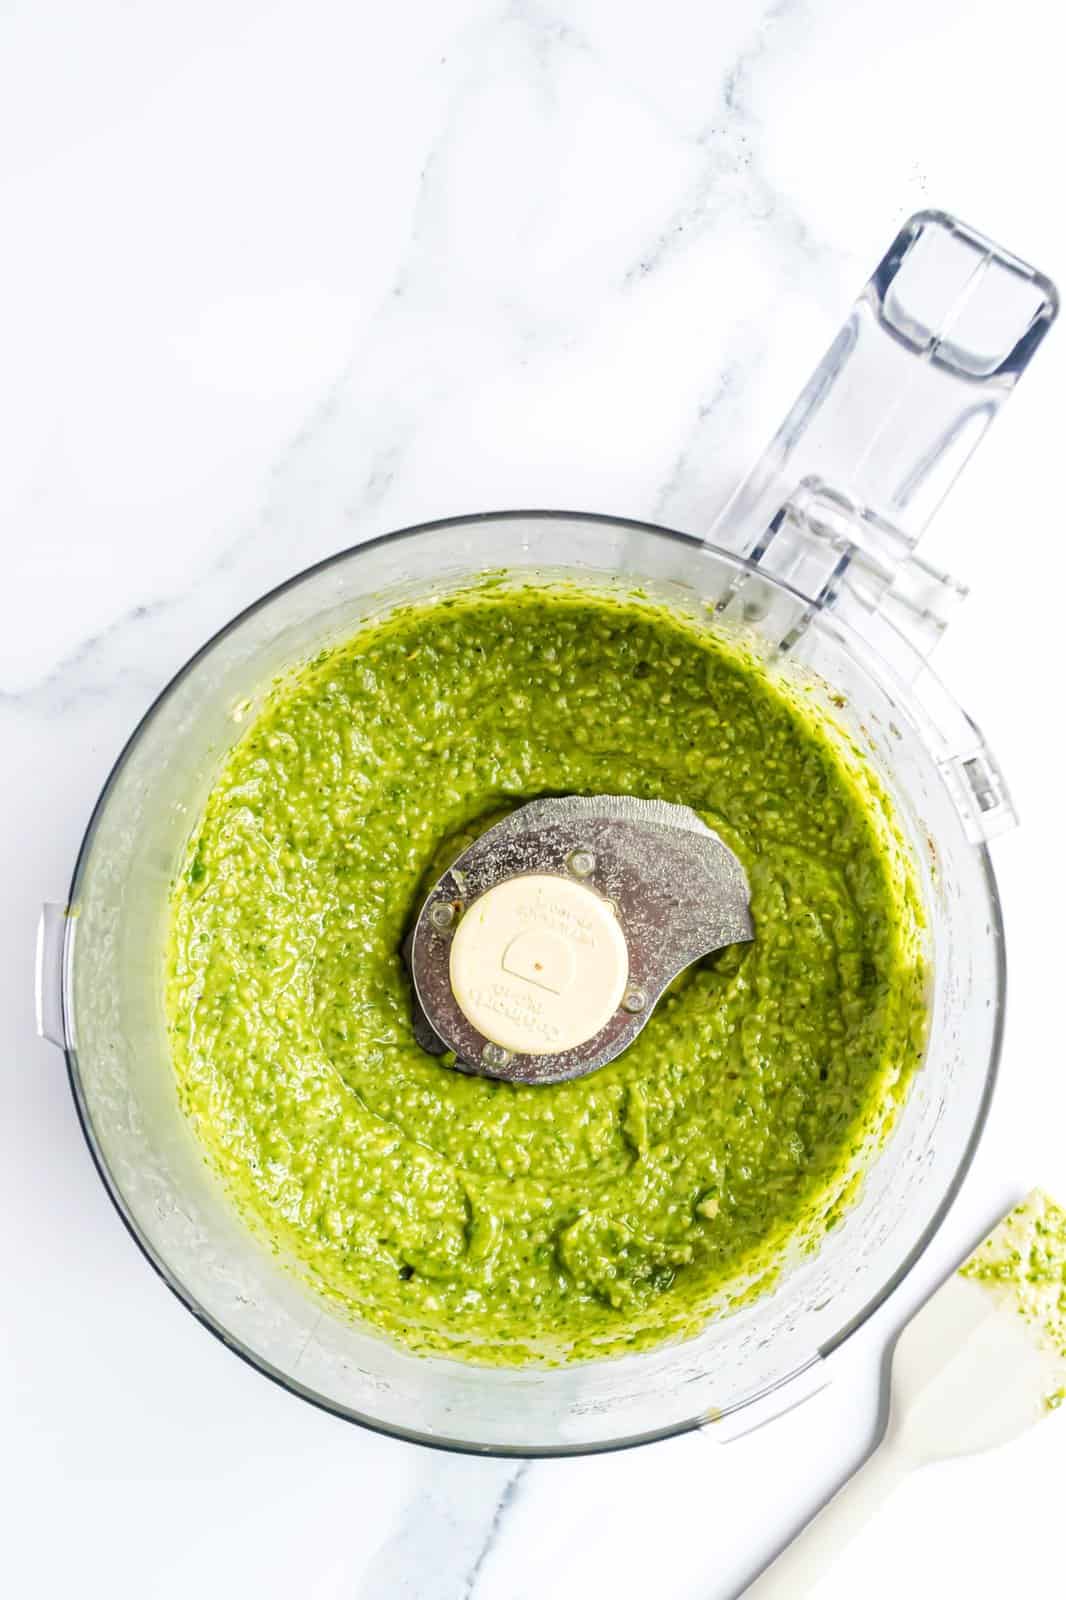
To make the pesto, add all the ingredients into a blender or mini food processor.
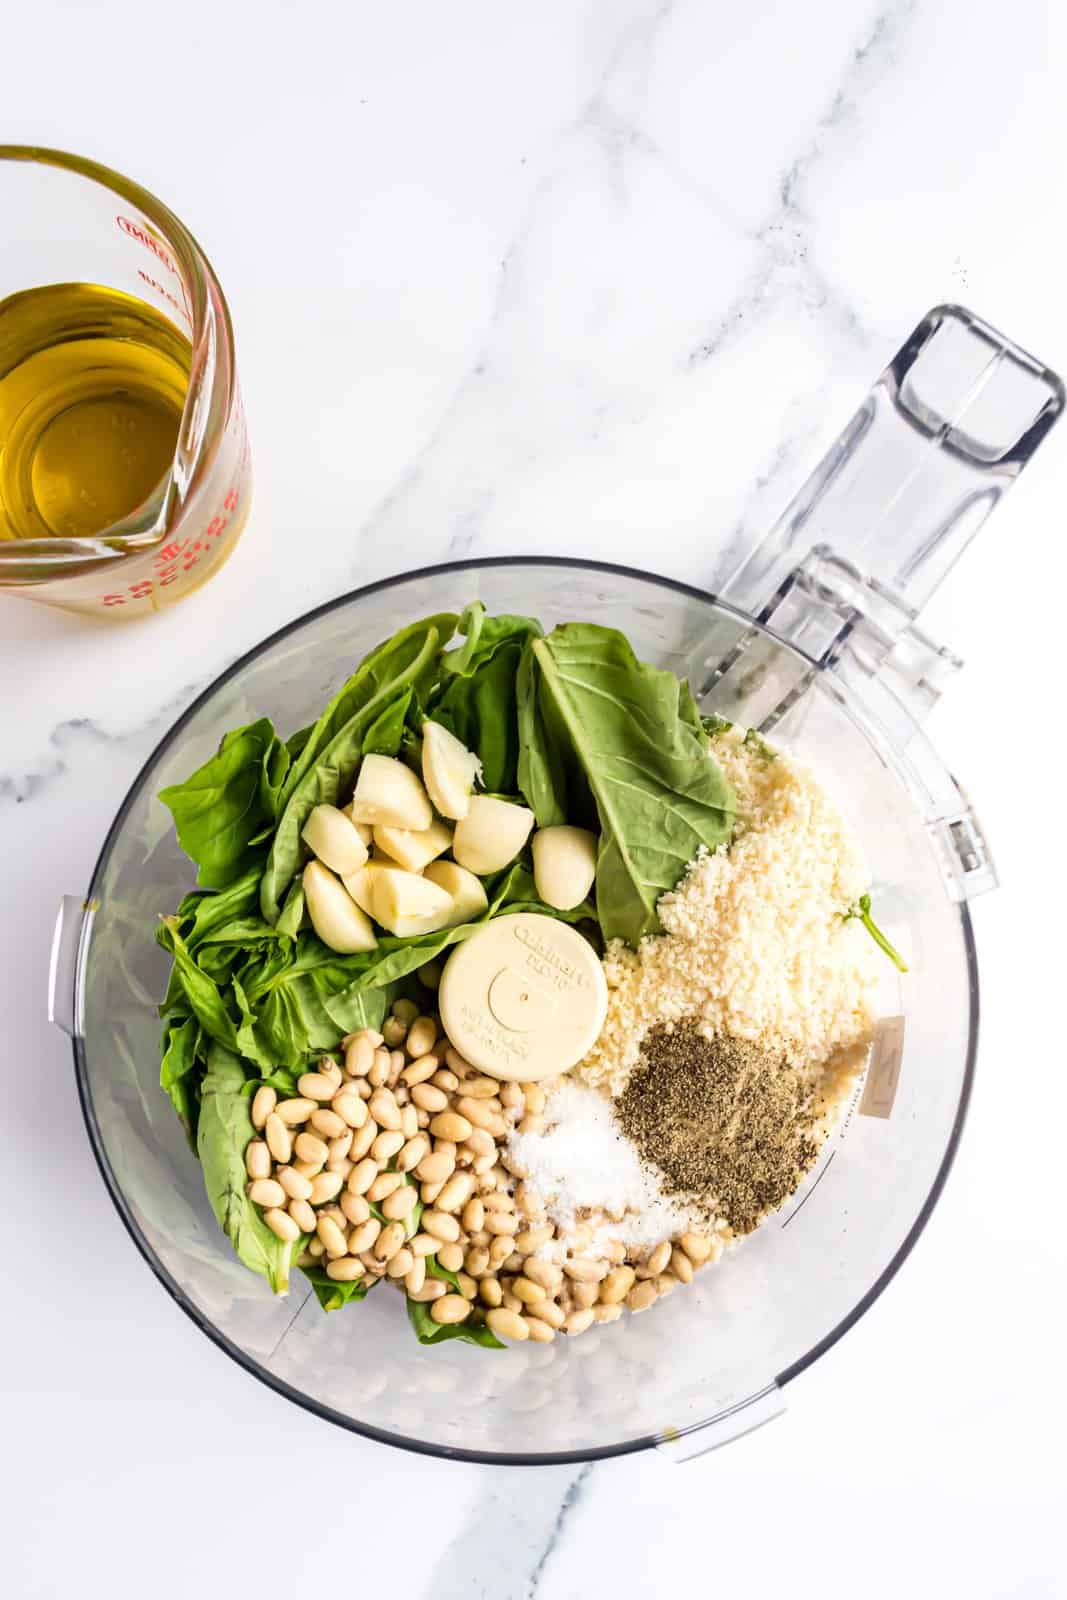
Blend the mixture until it is well combined and has a paste-like consistency. If the pesto is too thick, you can add some extra olive oil to thin it out to your desired consistency.
Then enjoy!
CRAVING MORE RECIPES?
Pesto Sauce
Ingredients
- 2 cups fresh basil leaves packed
- 2-3 cloves garlic
- ½ cup pine nuts toasted
- ½ cup freshly grated Parmesan cheese
- 1 teaspoon kosher salt
- ½ teaspoon black pepper
- ½ cup olive oil
Instructions
- To make the pesto, add 2 cups fresh basil leaves, 2-3 cloves garlic, ½ cup pine nuts, ½ cup freshly grated Parmesan cheese, 1 teaspoon kosher salt, ½ teaspoon black pepper and ½ cup olive oil into a blender or mini food processor.
- Blend the mixture until it is well combined and has a paste-like consistency. If the pesto is too thick, you can add some extra olive oil to thin it out to your desired consistency.
Notes
- Please refer to my FAQ’s and ingredient list above for other substitutions or for the answers to the most common questions.
- Store pesto in an airtight container and keep it in the fridge for a week.
- Keep it longer by freezing it for 6 months or longer in a freezer safe container or as ice cubes in a container.
Nutrition
Nutritional Disclaimer
“The Country Cook” is not a dietician or nutritionist, and any nutritional information shared is an estimate. If calorie count and other nutritional values are important to you, we recommend running the ingredients through whichever online nutritional calculator you prefer. Calories and other nutritional values can vary quite a bit depending on which brands were used.


I don’t know what I was waiting for aside from the fact that I had never heard of or had pine nuts before. Seriously didn’t know that they came from pine trees. I love Basil! LOOOOVE Basil!! I had my husband grow some because I wanted to make Pesto and some of my homemade pasta sauce.
This Pesto is absolutely divine! I toasted the pine nuts in a little bit of EVOO on the stove top (they toast very quickly) and after I processed it all together and took the lid off of the food processor, all I smelled was toasted nuts and I was immediately transported to my happy place. I made some mini farfelle and grilled some chicken breasts and I added the pesto to the pasta with a little of the pasta water and it was absolutely delicious. I didn’t want to stop eating it and it was so rich and indulgent with good quality olive oil that I couldn’t eat too much of it. It is perfect on its own, but I think that I will add a little lemon juice next time to cut through that richness. I bookmarked this recipe. Thank you again!
oh my goodness – I am so happy you tried it! Yay!!! Thanks so much Donna!!